Heeeyho Readers! Gettin' the needles workin' again.
Almost late for #needleworkmonday! There's still time since the moon hasn't gone over our heads yet in far-away Southern Brazil. Right? Anyways. I've also been somewhat busy applying to become a lifeguard this summer, which is consuming the time once used for leather crafts. Whenever possible I squeeze some time to keep on improving, just not improving as fast as I wish it to be.
Today's project is all about up-cycling an old leather wallet into something more useful. Mom was 'bout to throw into the bin a wallet that's been in her drawers for ever — at least since bank checks were a thing, so you have an idea. Despite being old-fashioned, the wallet itself was made of real leather, so I found it quite a waste.
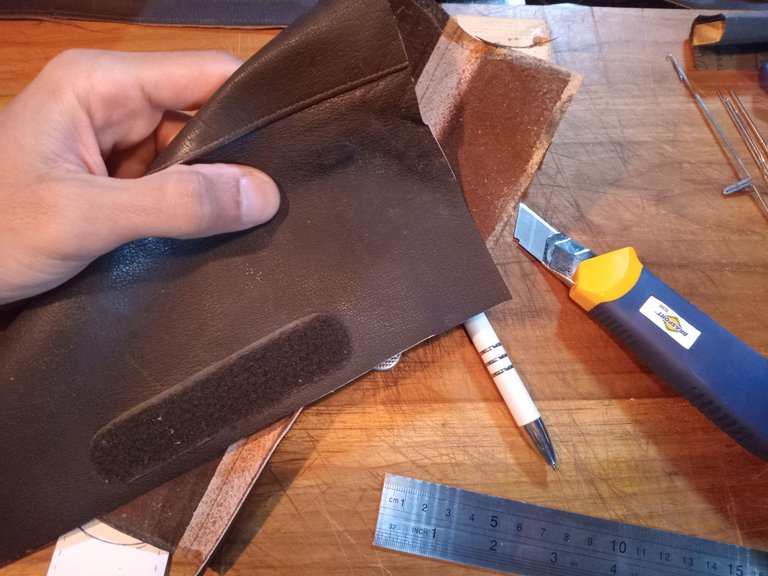
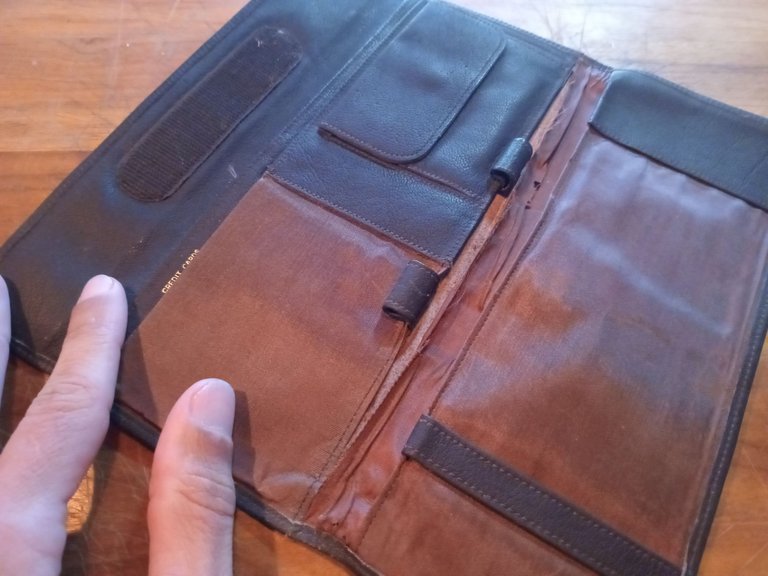
I move on to disassemble the wallet and remove the inner lining to obtain as much flat leather as possible. There's enough material for at least three projects from what is visible. I'm thinking about different styled pocket-knife slip pockets to equip some of the knives in my collection.
The Bantam Alox is best suited for the project. It's so slim that it won't be much of a problem to create a slip pocket featuring a foldable top. With the idea pre conceived in my mind, the next step is to create a template. I used to rush thing out without a template in the past... of course more often the ever the end result meant disaster. It's a lot easier when we test ideas using paper beforehand.
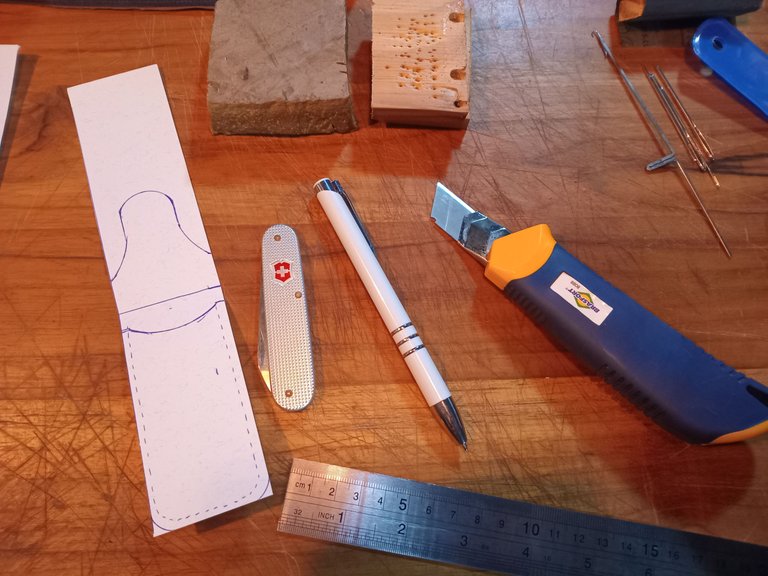
What you se above is the general idea. Two pieces of leather sewed together, one being longer to create a fold-over top. The idea per se is rather simple. Cutting those rounded edges is a whole new problem, at least for me.
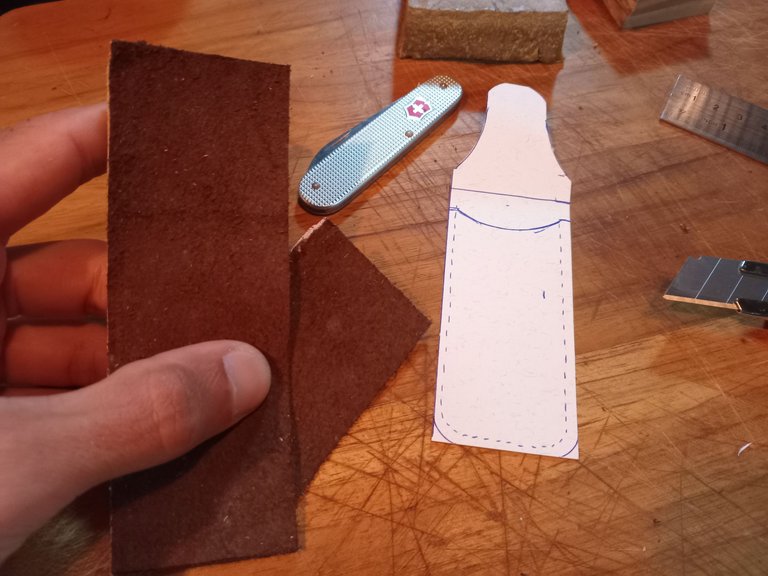
Experience has taught me to cut the pieces slightly larger to cut them to the final dimension only after gluing the edges. Not sure if that's how professionals do it, but that's what works for me to ensure crisp edges between the pieces.
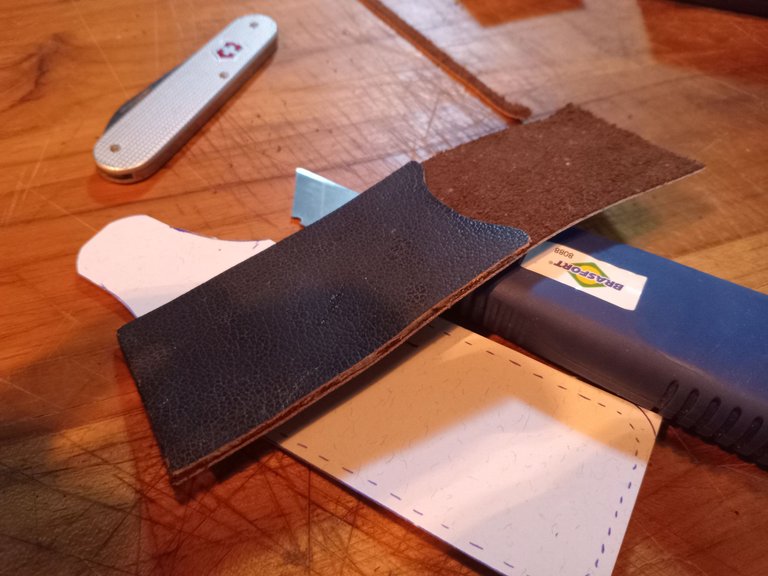
Taking shape! Do you see how the joining edges aren't perfect? The photo is before I trimmed them. Now it's a matter of shaping the fold-over top, poking holes and finally sewing. I manage to cut a strip of leather from the wallet where it says "Couro Legítimo Brazil" (Genuine Leather Brazil), which adds a cool detail to the project.
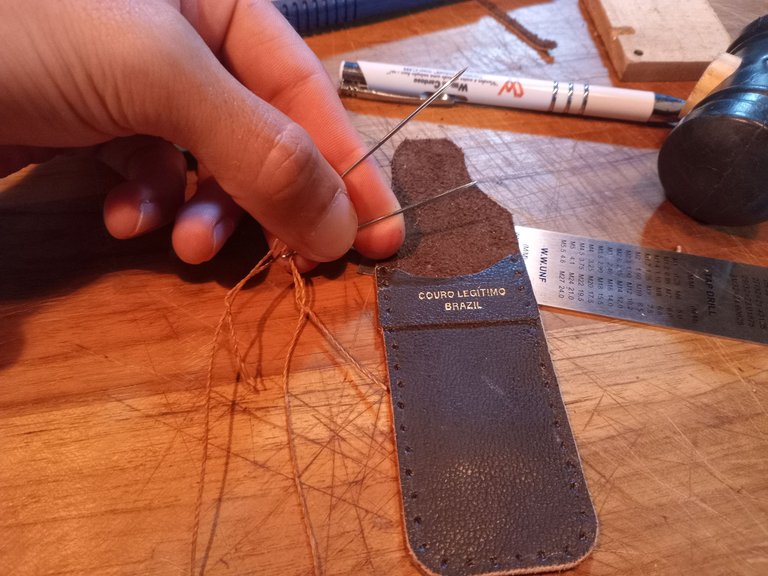
The best part ever is sewing!
On a previous project I made the mistake of cutting the sewing thread a bit to short, meaning I ran out of threat before the end. This time, however, enough thread is used (a bit too much... better that way).
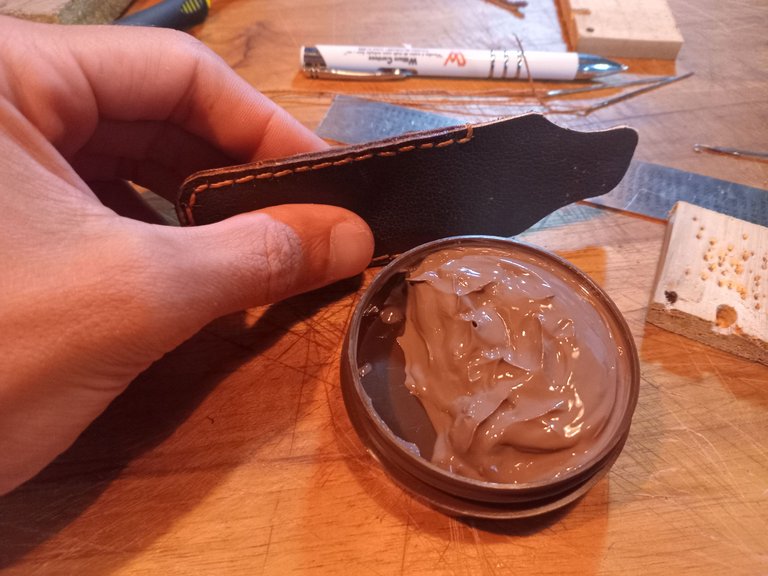
Lastly, I used a cheap leather restorer from the supermarket to burnish the edges. In fact, first I burnished the edges using bee's wax and than applied the restorer. What a difference! It made the edges super smooth and sexy.
The final result is as follow.
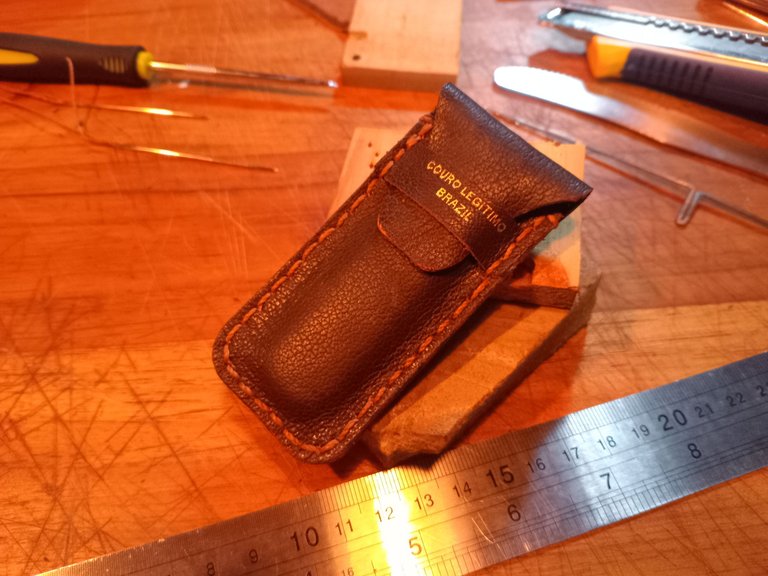
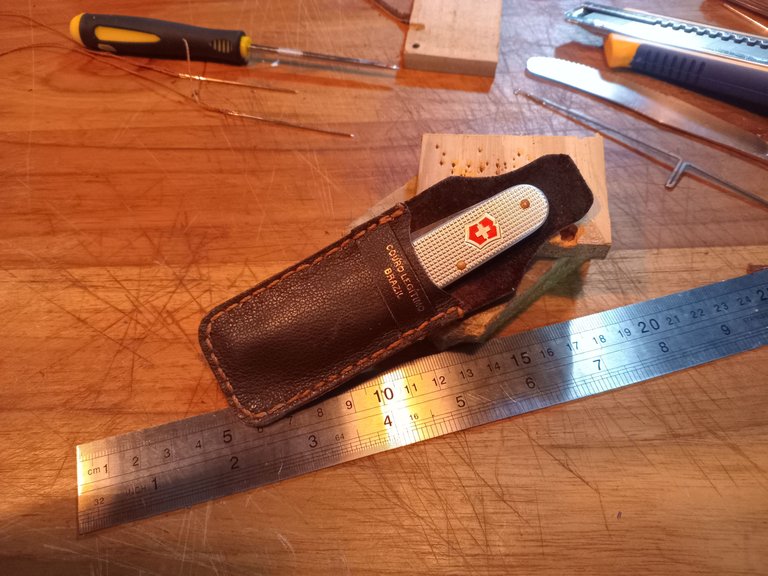
It turned out alright for a piece of recycled leather. The design could've been better though, because the fold-over top is a bit difficult to enter below that thin stripe of leather that's meant to hold it shut.
Overall the pocket does the job as intended: protect the knife. Plus, it adds character to the beautiful Bantam. I may even start using this knife as my carry-on. Let's see.
I hope that you've enjoyed today's project.
Peace.
If you enjoyed this post consider leaving your upvote for a hot coffee.
Find me on Twitter: https://twitter.com/mrprofessor_
~Love ya all,
Disclaimer: The author of this post is a convict broke backpacker, who has travelled more than 10.000 km hitchhiking and more than 5.000 km cycling. Following him may cause severe problems of wanderlust and inquietud. You've been warned.
