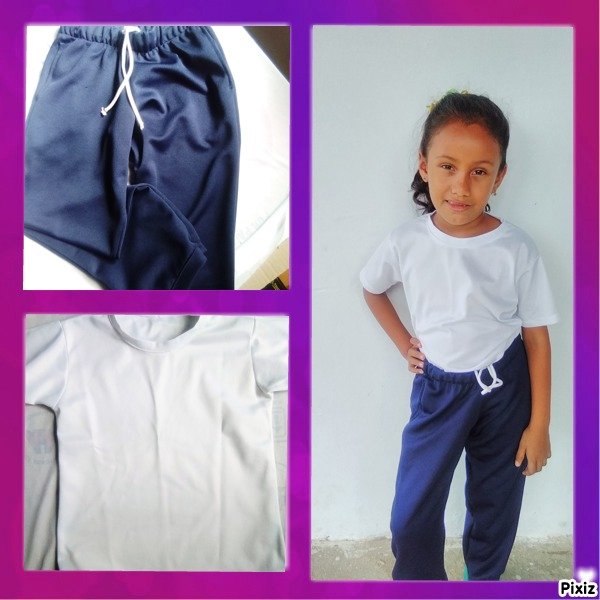
Hola amigos espero que se encuentren muy bien y que se sientan satisfechos de sus trabajos realizados. Les comentaré que es primera vez que estoy publicando por está bonita comunidad y las razones, es que tengo una eterna pelea con mi tiempo ⏳, siento que no me alcanza para todo lo que quisiera realizar y para más poderlo compartir con ustedes. Creo que muchos pasamos por eso y para terminar de completar el señor internet que tengo no es en muchos casos mi amigo 😅.
En mi introducción a Hive mencioné que otra actividad a la que me dedico es a la costura.
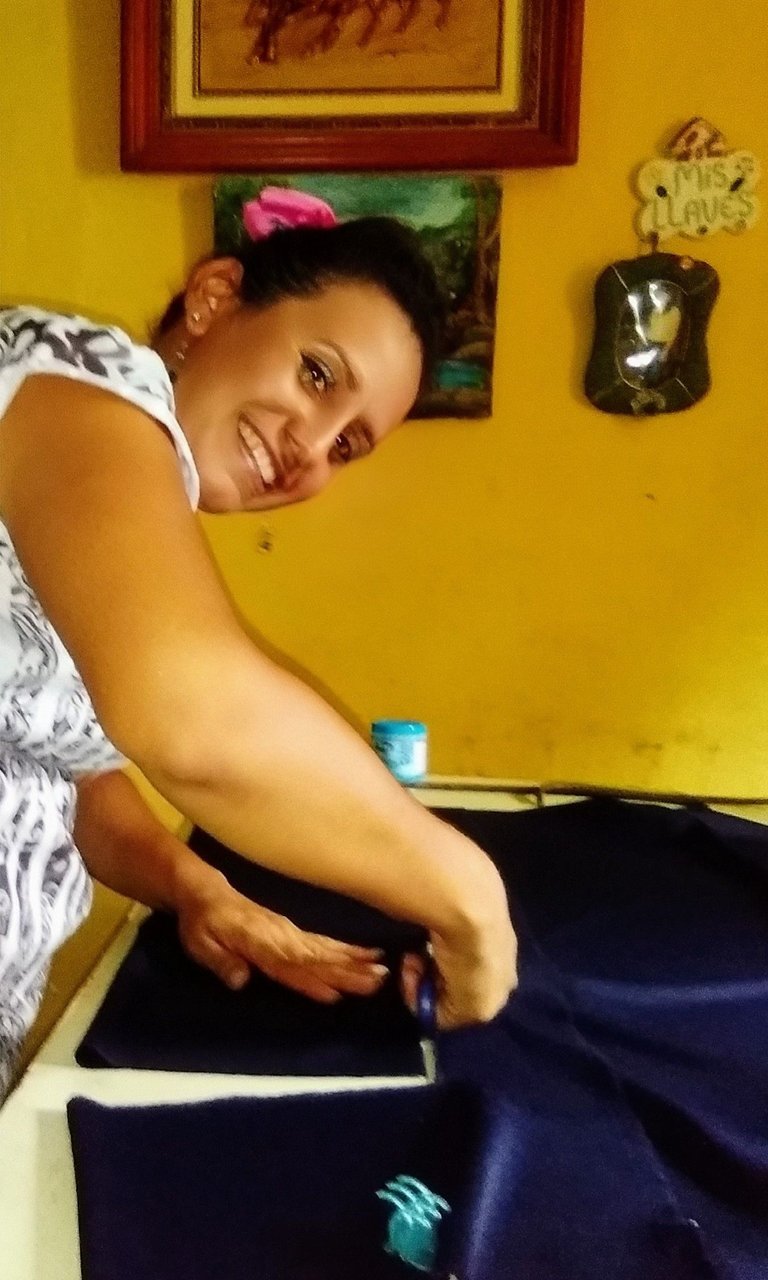
Les cuento que hace algún tiempo la noticia que se volverían a las clases presenciales me tomó como dicen: "fuera de base" 😲. Me preocupe mucho por el uniforme de mi hija y para ser sincera no contaba con los medios para comprarlo. Cómo siempre digo de alguna forma nuestro creador nos ayuda pude comprar la tela. Así que me puse en marcha para elaborarlos. ¡Sin mentir! me daba temor dañar la tela porque no es que tanga mucha experiencia.
Sin embargo, he querido mostrarles lo que para mí fue un éxito porque en tiempo récord lo realice y mi hija pudo iniciar sus clases con nuevo uniforme.
Lo primero fue tomar medidas:
Para la franela
Talle: es el largo de la franela desde la base del hombro hasta lo largo deseado.
Contorno de busto
Cintura
Contorno de la cadera
Hombro : se toma desde la base del cuello al hueso del hombro
Manga: desde el hueso del hombro hasta lo largo deseado.
Contorno de brazo
Para el pantalón de deporte
Cintura
Cadera
Largo total: desde la cintura hasta el talón
De cintura a rodilla
Contorno de rodilla se toma con la rodilla flexionada
Bota: contorno del tobillo a lo ancho deseado.
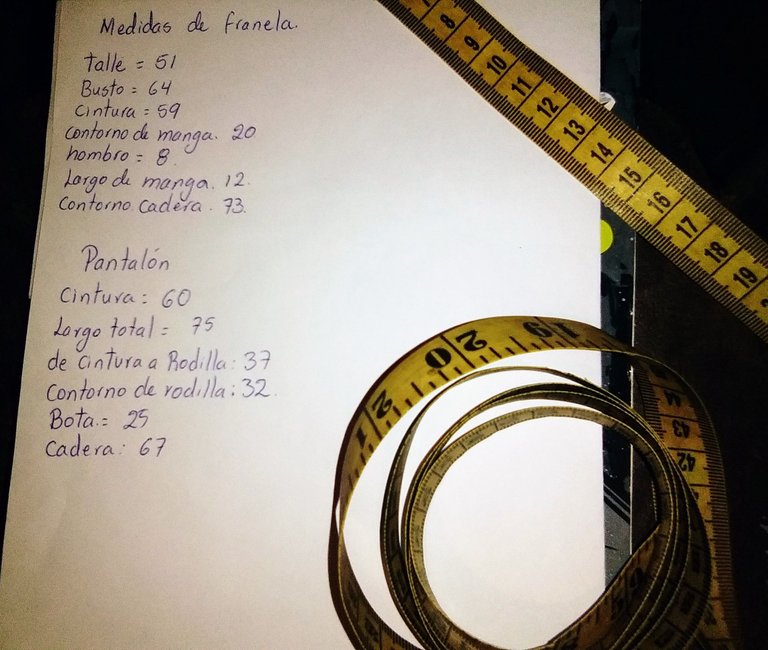
Ya teniendo las medidas fijadas en el papel, se marcó la tela, no use patrón para realizarlo solo marque la tela según las medidas 😉.
Recordemos que las medidas al marcar la tela se saca la cuarta parte de la medida. En el caso de la franela: El contorno de busto, cuello, cintura y cadera excepto las mangas. En el pantalón solo cintura y cadera.
Los materiales que use fueron:
Lápiz y papel , tela, tijera, tiza, aguja con hilo, alfileres, cinta elástica, cinta métrica y por supuesto máquina de cocer.
Comencemos con el pantalón
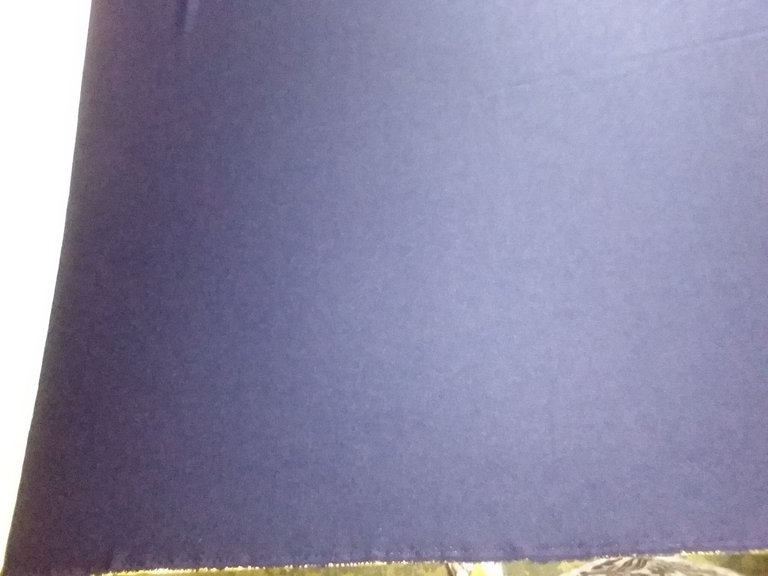
Luego de extender la tela, la doblé de manera que después de marcarla se corte y salgan las dos partes tanto el lado izquierdo como el derecho y del mismo modo este procedimiento se realiza para la parte delantera como la trasera.
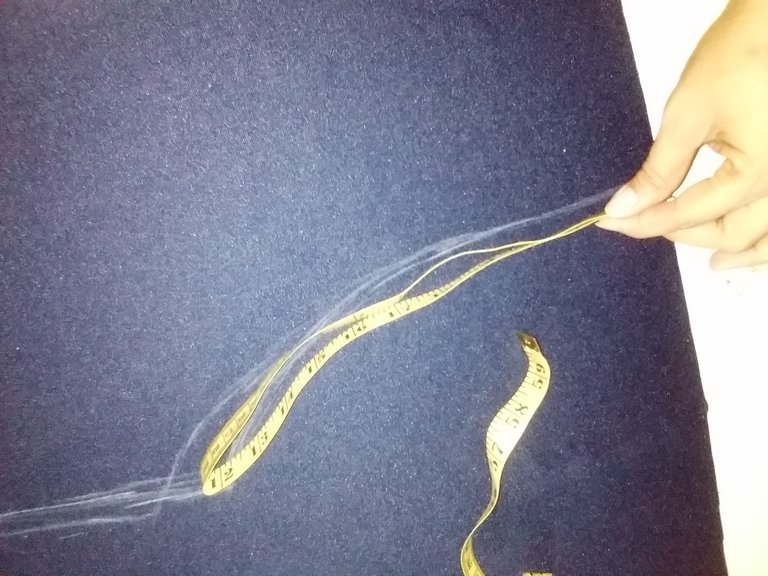
Luego de tener las piezas largas cortadas, calculé la medida de los bolsillos tanto los traseros como las bolsas delanteras. 13 de ancho por 14 de largo tomando en cuenta la tela que corresponde a la costura.
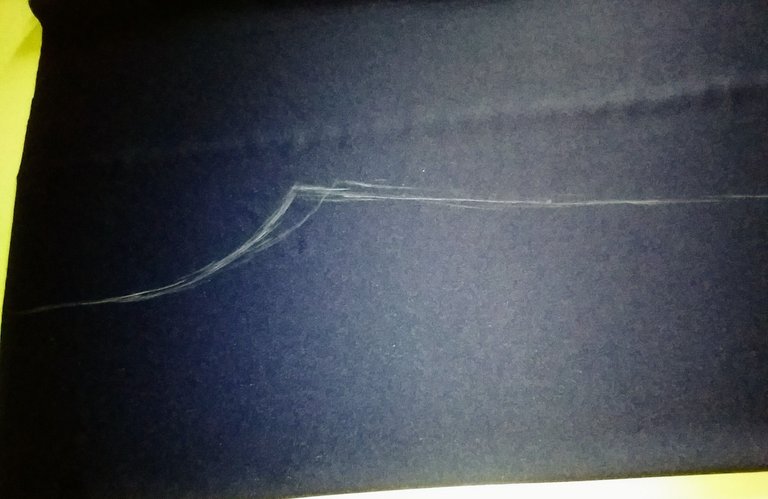
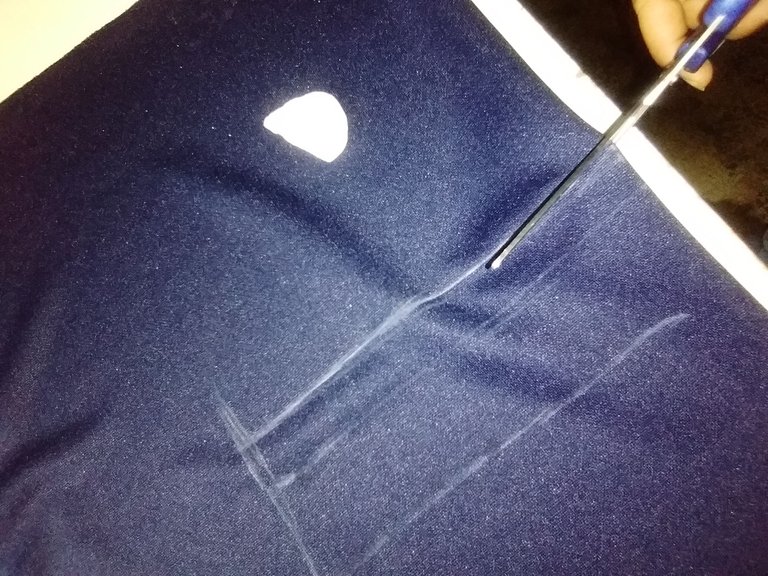
Luego para unir todas las piezas con aguja las partes basteando una a una las piezas.
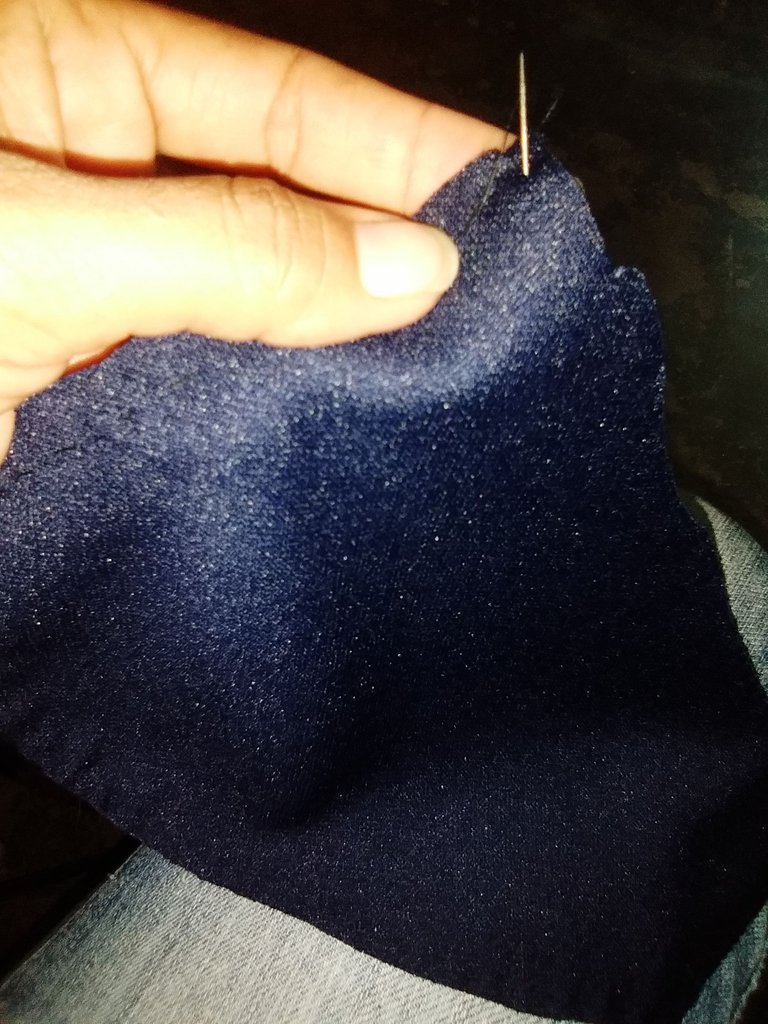
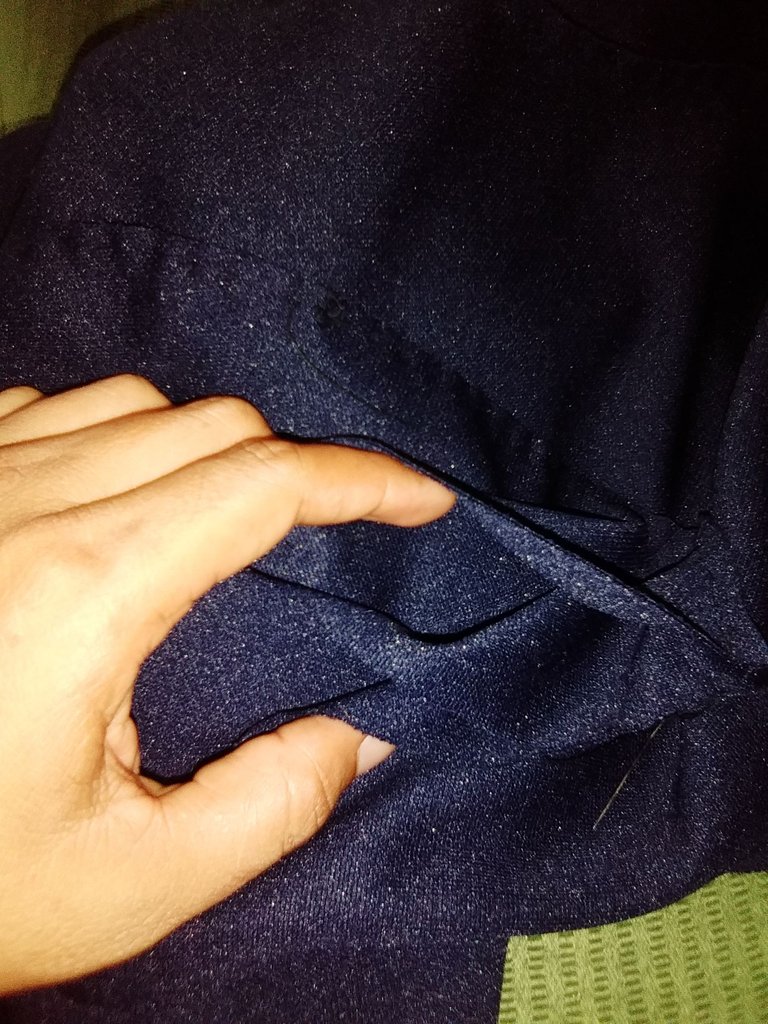
Y ahora sí a cocer en la máquina y por último colocar la cinta elástica.
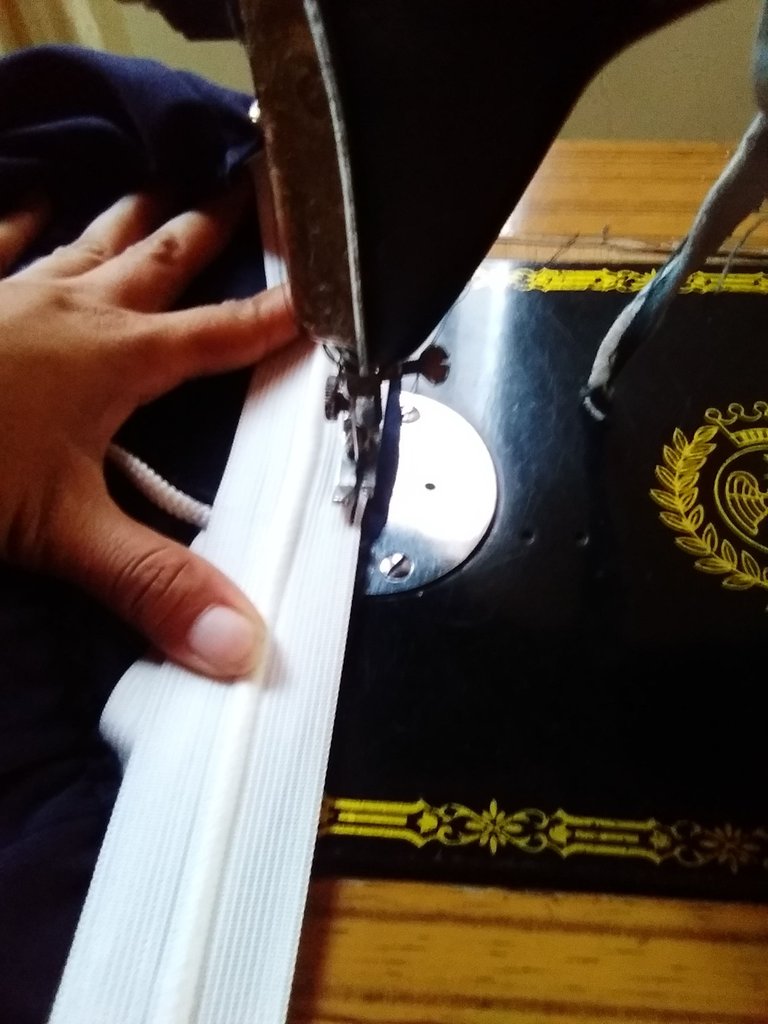
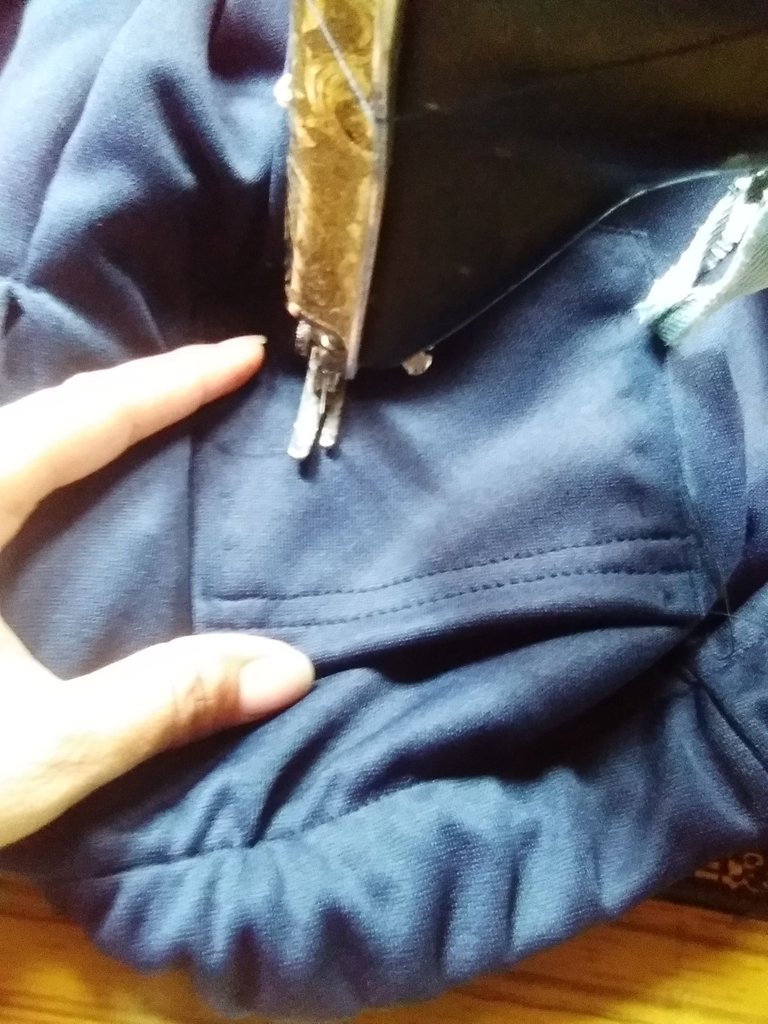
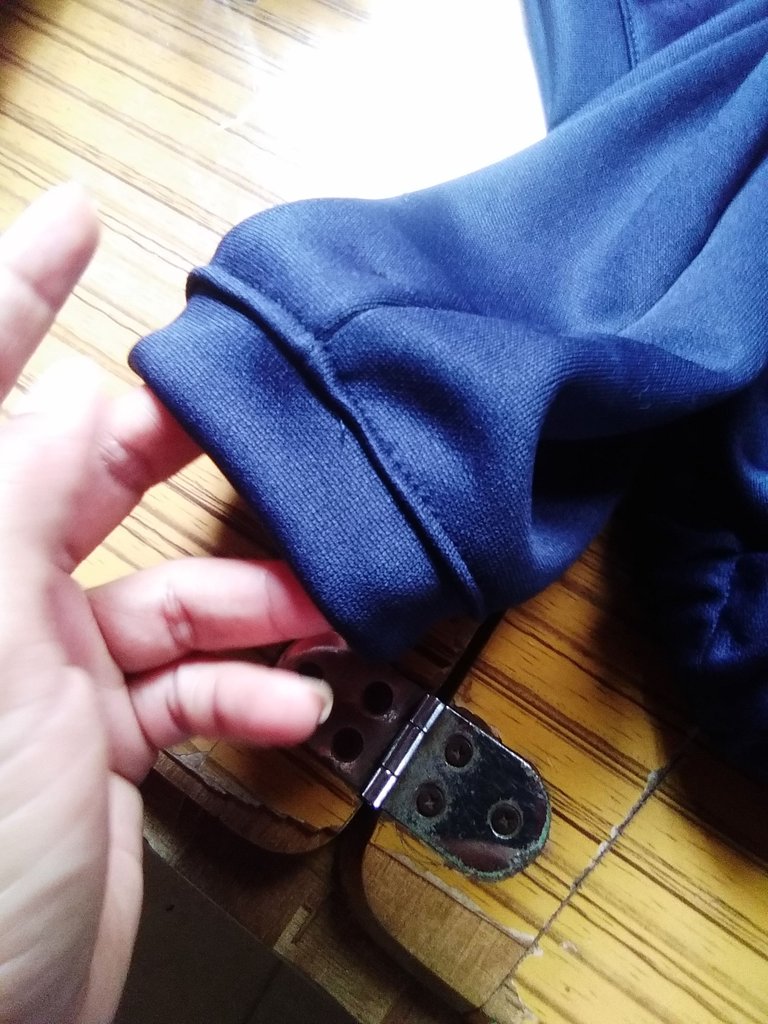
Me pareció bien hacerle la bota del pantalón un tipo ruedo con un trozo de tela de 32 CM de largo por 7 de ancho quedando de la siguiente manera:
Continuemos con la franela:
Con las medidas listas y las herramientas a la mano comencé a marcar la tela, pero en esta oportunidad use un crellon, y al igual que con la tela del pantalón se dobla para marcar la parte delantera y luego la trasera de la franela, usando como ya les mencioné la cuarta parte de la medida.
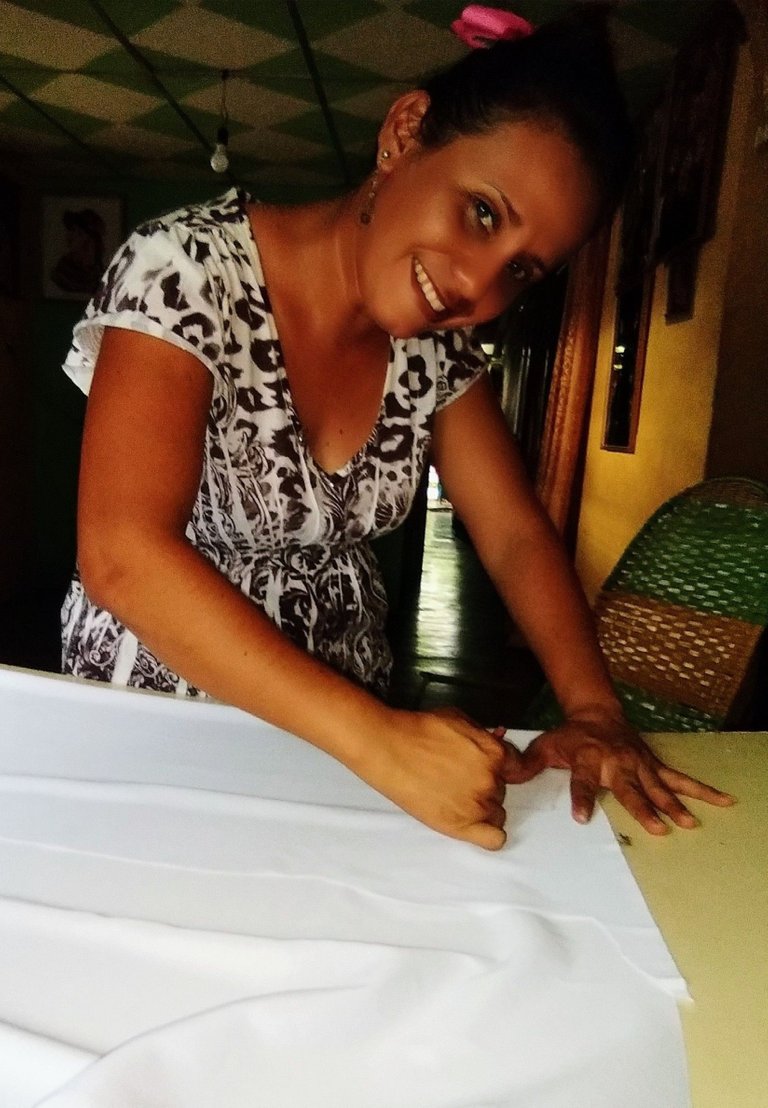
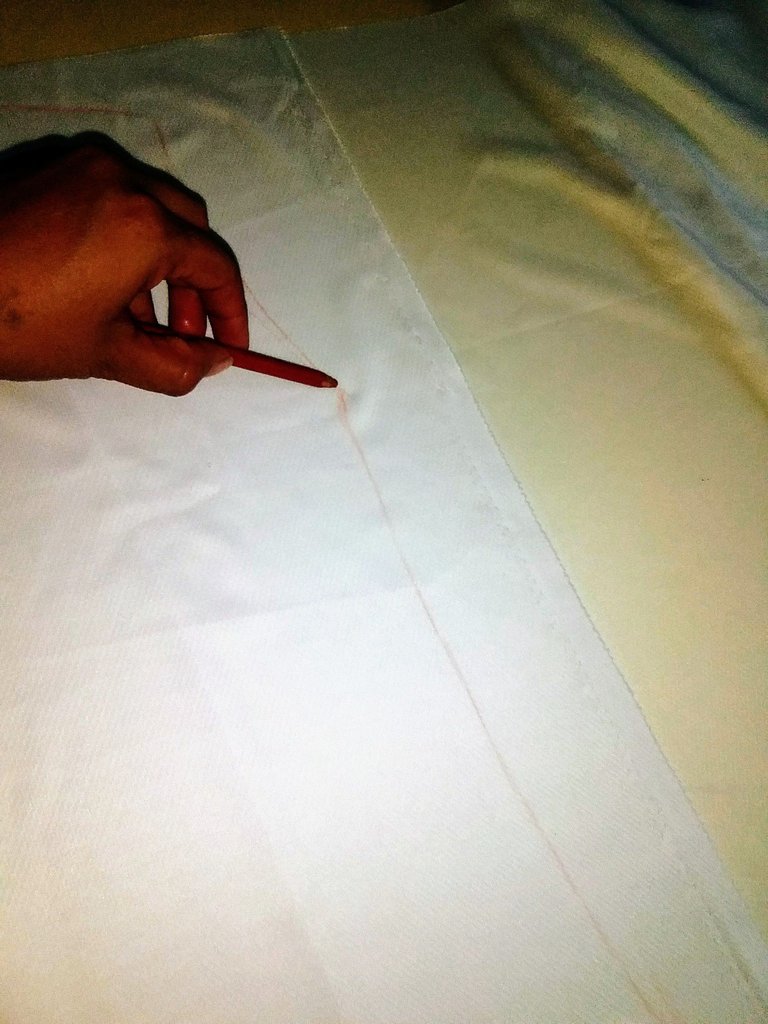
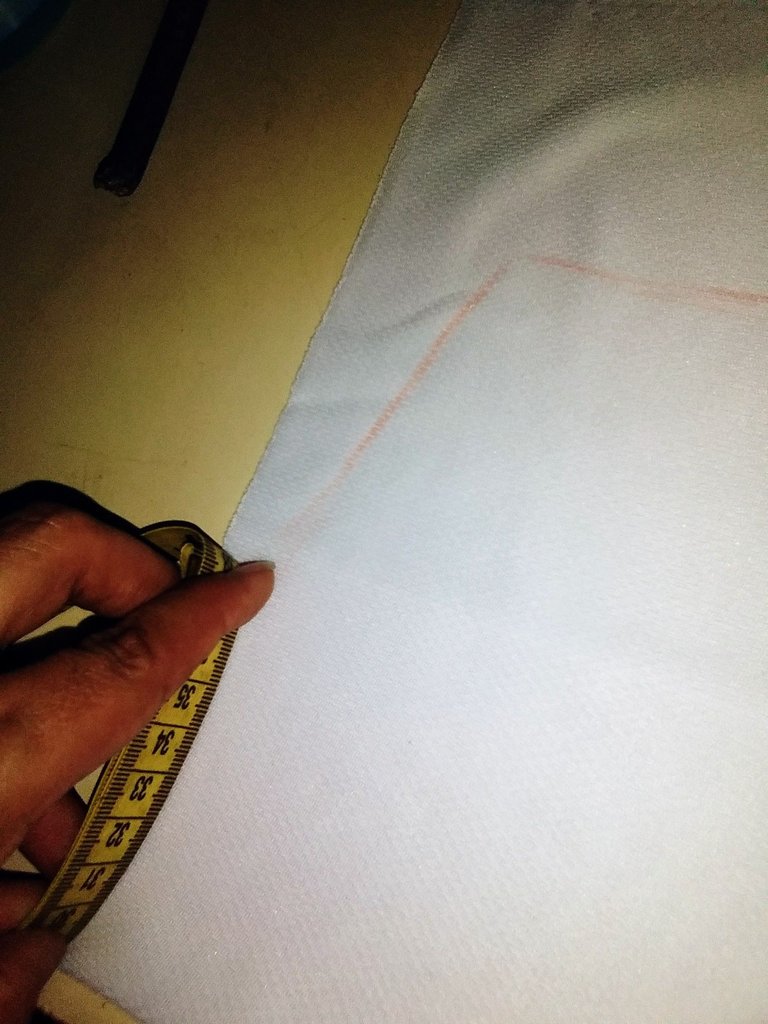
Luego de marcar seguidamente corte las piezas. Luego la uni primero con aguja e hilo basteando, esto nos permite corregir detalles antes de pasar la costura con la máquina.
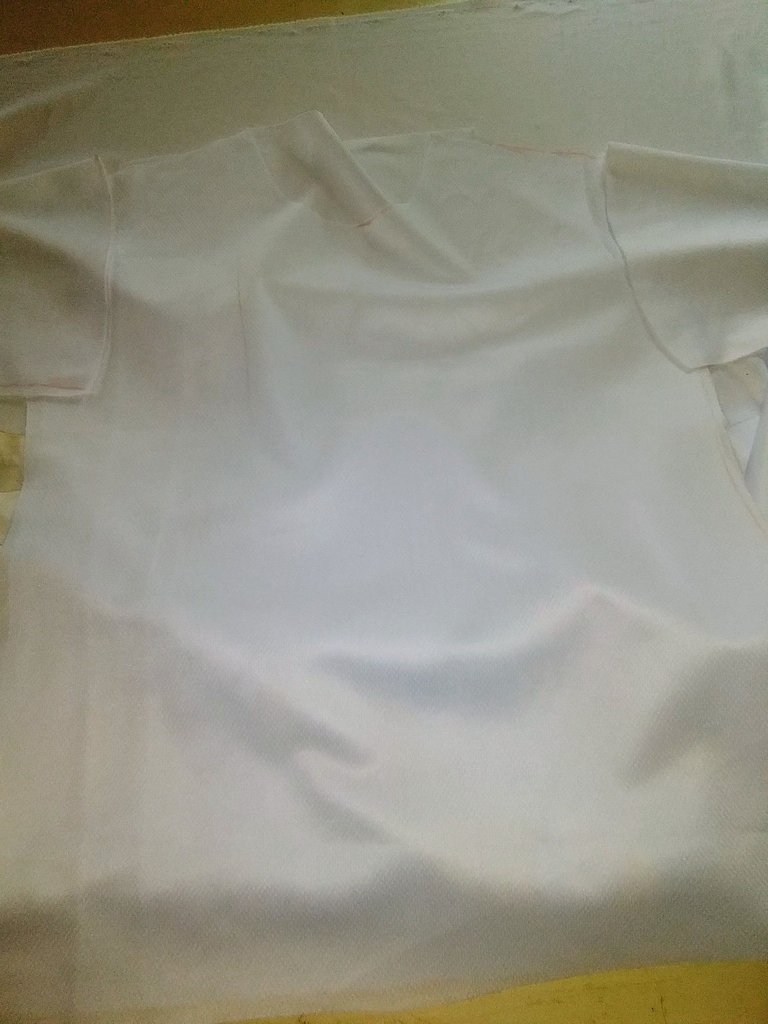
Por último pasar la máquina para darle el retoque final 😃.
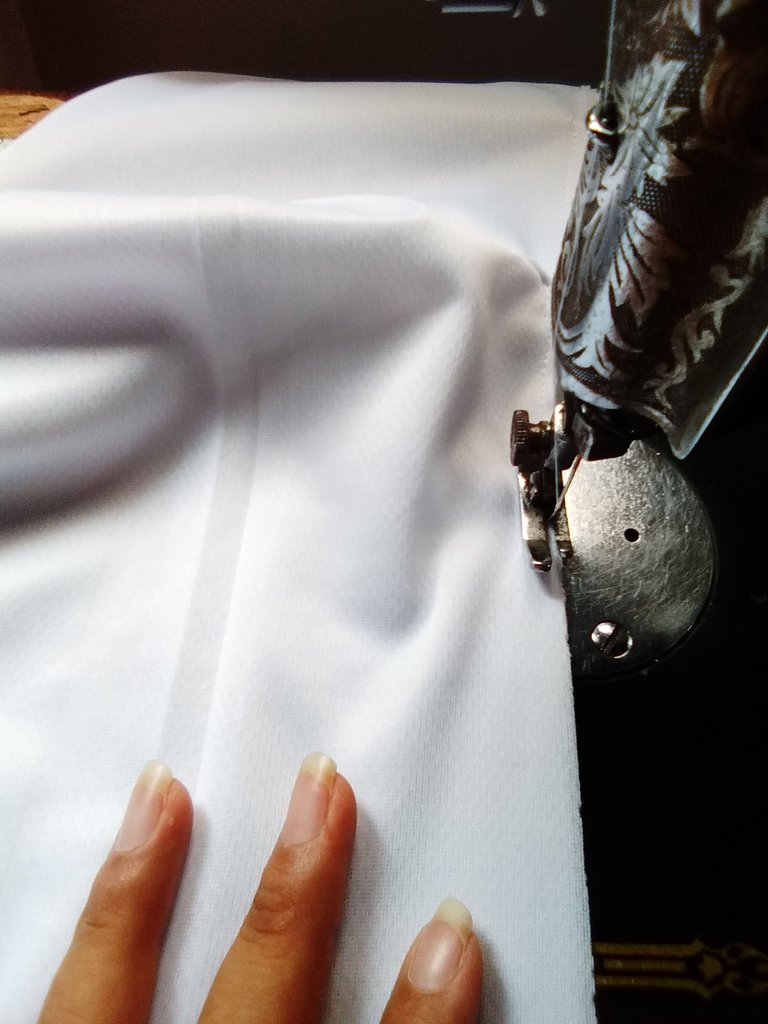
De todo, me pareció más dificultoso colocar la cinta elástica al pantalón. Pero me siento feliz de haber logrado mi objetivo y está nueva experiencia. Espero que les guste y dejen sus apreciados comentarios.
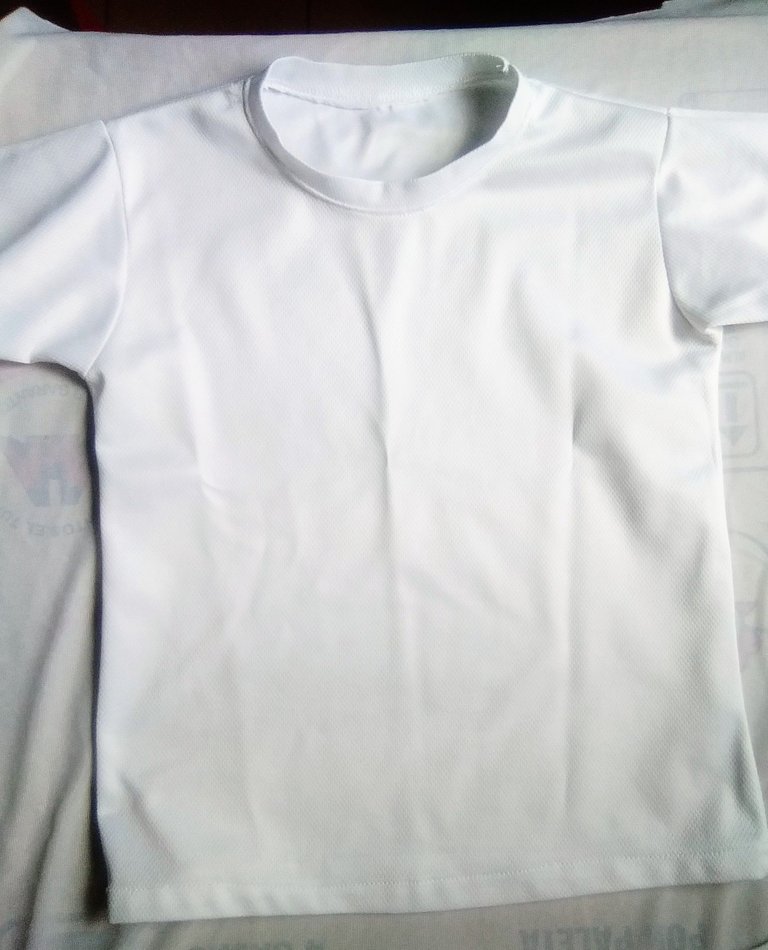
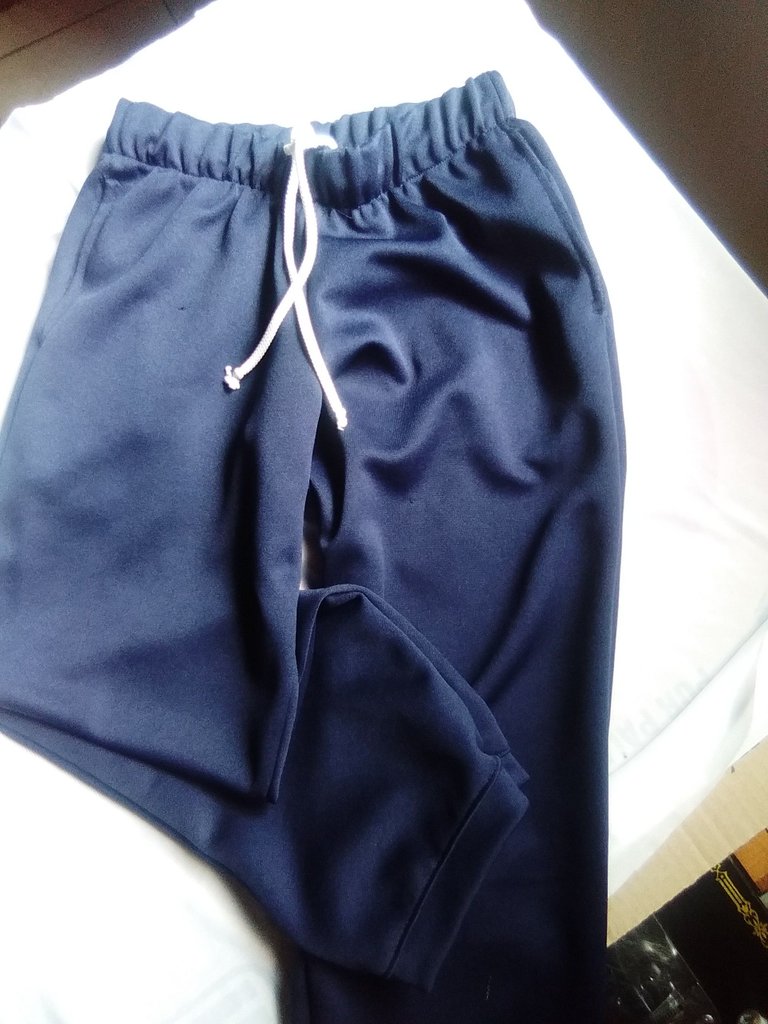
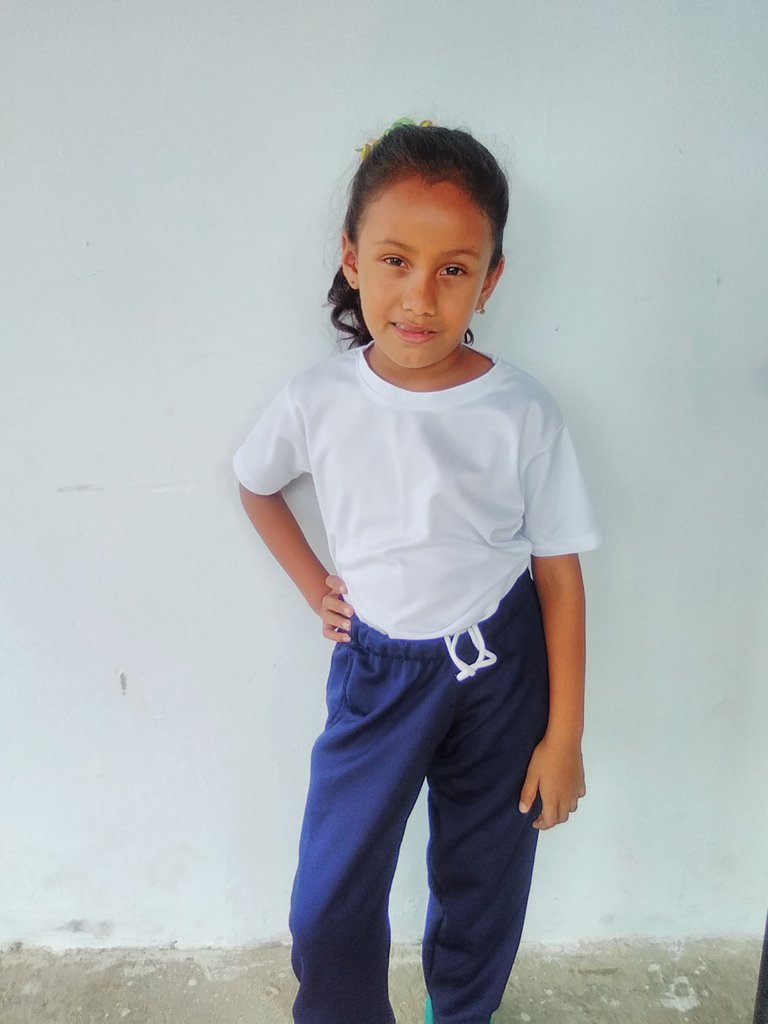
Éste es el resultado final 😊:
ENGLISH

In my introduction to Hive I mentioned that another activity I do is sewing.
I tell you that some time ago the news that they would return to face-to-face classes took me as they say: "off base" 😲. I was very worried about my daughter's uniform and to be honest I didn't have the means to buy it. As I always say somehow our creator helps us I was able to buy the fabric. So I set out to make them, no lie! I was afraid of damaging the fabric because I don't have a lot of experience.
However, I wanted to show you what for me was a success because in record time I made it and my daughter was able to start her classes with a new uniform.
The first thing was to take measurements:
For the flannel
Sizing: is the length of the flannel from the base of the shoulder to the desired length.
Bust circumference
Waist
Hip circumference
Shoulder: taken from the base of the neck to the shoulder bone.
Sleeve: from the shoulder bone to the desired length.
Arm circumference
For sweatpants
Waist
Hip
Total length: from waist to heel
Waist to knee
Knee circumference is taken with the knee bent.
Boot: ankle contour at desired width.

Already having the measurements fixed on the paper the fabric was marked, do not use pattern to make it just mark the fabric according to the measurements 😉.
Remember that the measurements when marking the fabric you take out the fourth part of the measurement. In the case of the flannel: The bust, neck, waist and hip circumference except the sleeves. In the pants only waist and hip.
The materials I used were:
Pencil and paper , fabric, scissors, chalk, needle with thread, pins, elastic tape, tape measure and of course sewing machine.
Let's start with the pants .

After stretching the fabric, I folded it in such a way that after marking it, both the left and right sides are cut and the same procedure is done for the front and back sides.

After I had the long pieces cut, I calculated the size of the pockets, both the back and front pockets. 13 wide by 14 long taking into account the fabric that corresponds to the seam.


Then to join all the pieces with needle the parts by basteing one by one the pieces.


And now it is time to bake in the machine and finally place the elastic band.


I thought it would be a good idea to make the boot of the pants with a piece of fabric 32 CM long and 7 CM wide as follows:

Let's continue with the flannel:.
With the measurements ready and the tools at hand I began to mark the fabric, but this time I used a crellon, and as with the trouser fabric it is folded to mark the front and then the back of the flannel, using as I mentioned a quarter of the measurement.


After marking, I then cut the pieces. Then I joined it first with needle and thread baste, this allows us to correct details before sewing with the machine.

Finally pass the machine to give it the final touch 😃.

Of all, I found it most difficult to attach the elastic band to the pants. But I am happy to have achieved my goal and this new experience. I hope you like it and leave your appreciated comments.
This is the final result 😊:


Las fotos son de mi propiedad tomadas con mi teléfono Alcatel
Photos are my property you send with my Alcatel phone.
Foto de portada editada por mi con la aplicación pixiz.com
Cover photo edited by me with pixiz.com application
Está publicación fue traducida en DeepL
This publication was translated at DeepL