Bad hair days can be so annoying and for the past three days I've had my persistent share of bad hair days and it hasn't exactly been fun. I'm usually too afraid to use and style my natural hair for too long because it can easily shrink and roughen up. So, instead, I braid it into a protective style till whenever I'm ready to get a new hairdo.
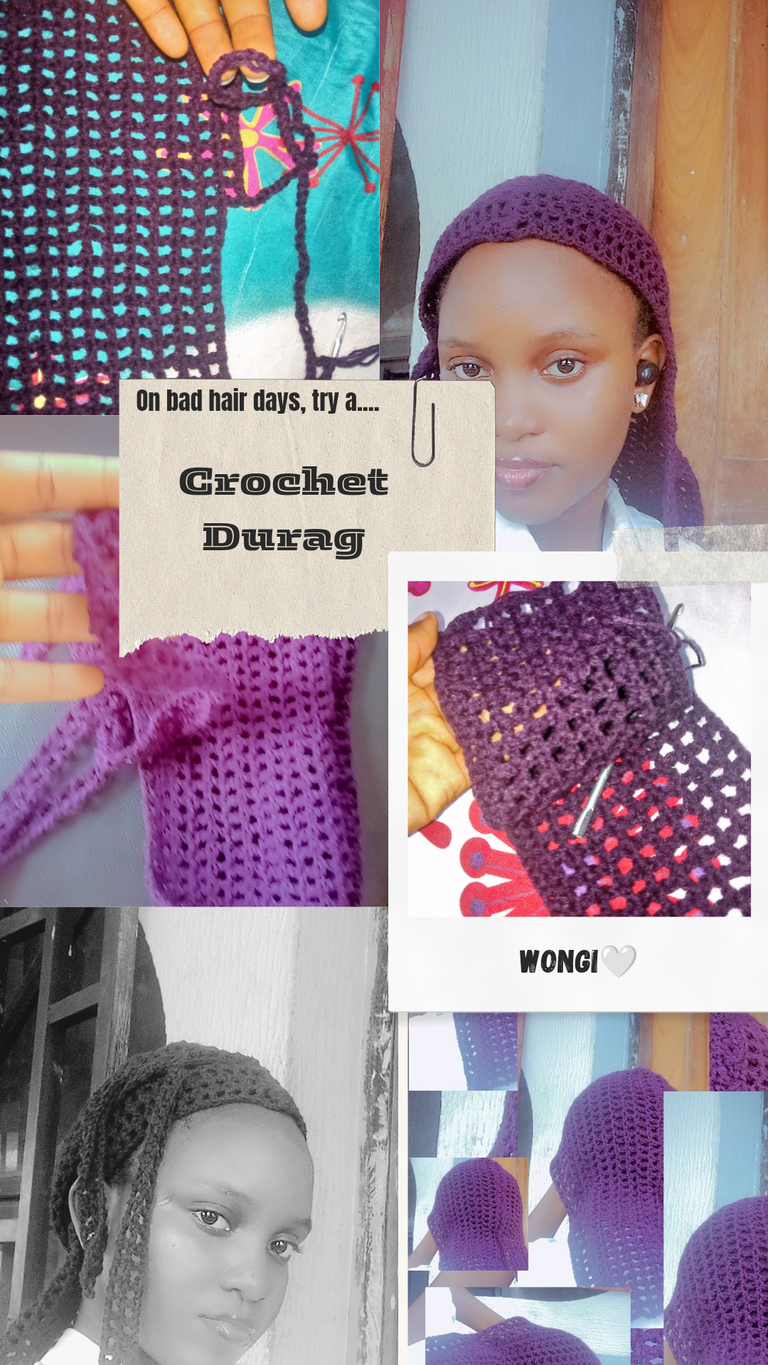
Even with the protective hairstyle, one cannot be 100 percent certain because things like sunlight and harsh weather conditions also affect the growth of one's hair. With that, I made a little breathable gift for my hair–a durag. Durags are great for protecting hairs and essentially prevent breakage. With that, let me take you through the steps of making this durag.


Materials Used.
- 4.5mm and 6.0mm hooks
- 100g of cotton yarn
- Darning needle
- Stitch markers
- Measuring tape
Procedure
This durag was made in two halves to ensure evenness of both sides.
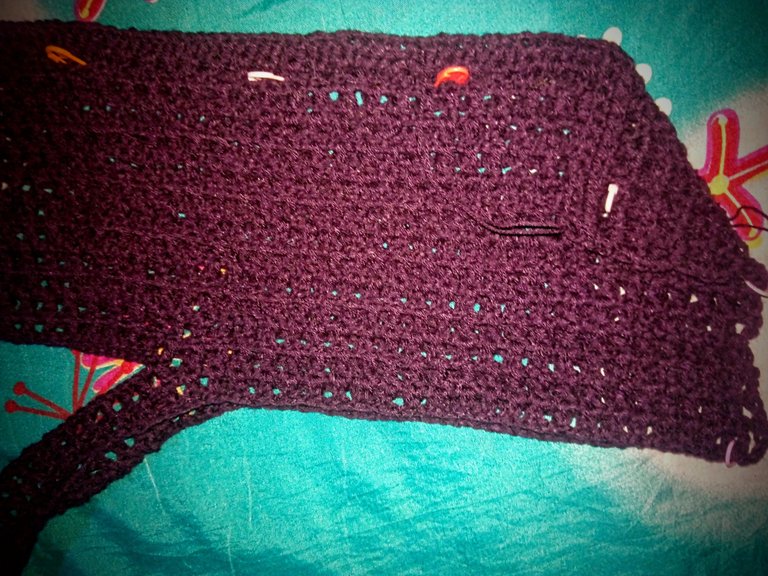
I started by making a chain of eighty with extra four stitches which served as the turning stitch. For the base, I made eighty half double crochet stitches.
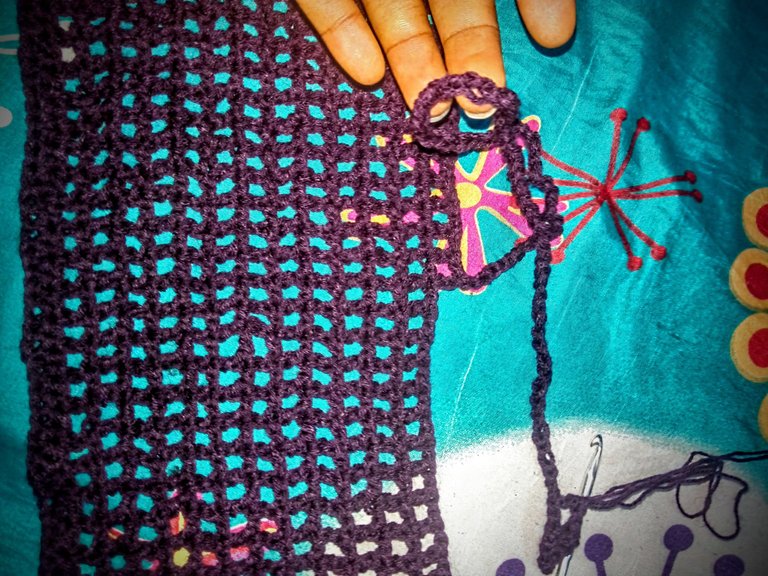
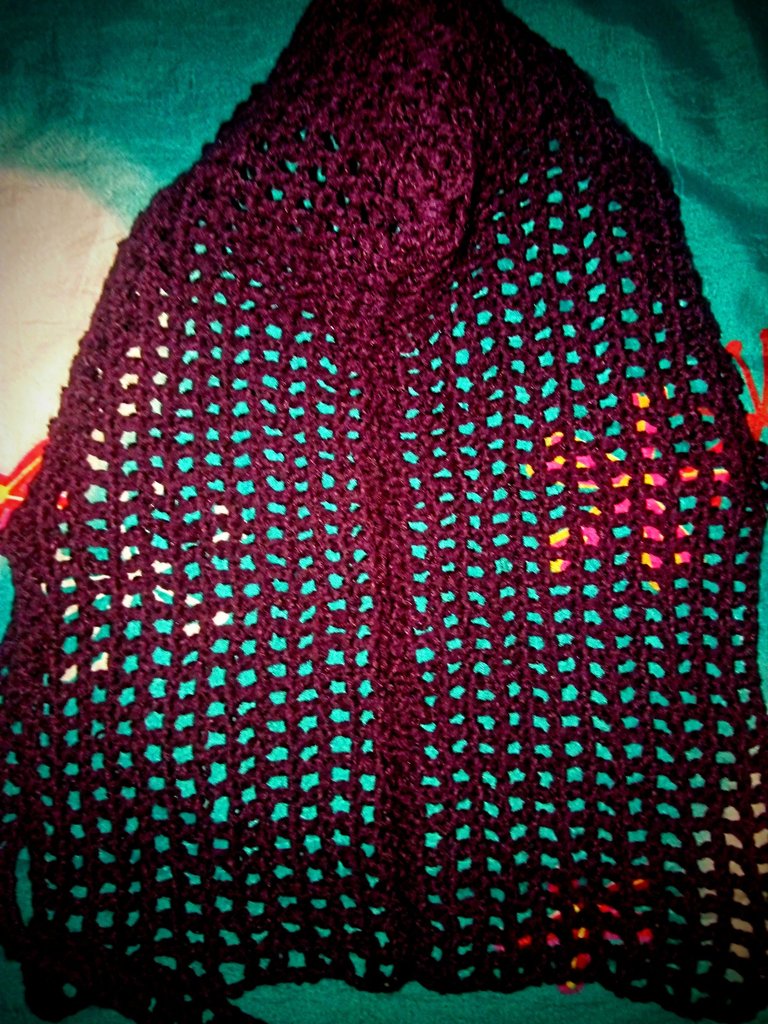
On completion of the half double crochet stitches, I began making the mesh stitches. Mesh stitches are one of the easiest stitches to make which makes projects done with them a lot more interesting.
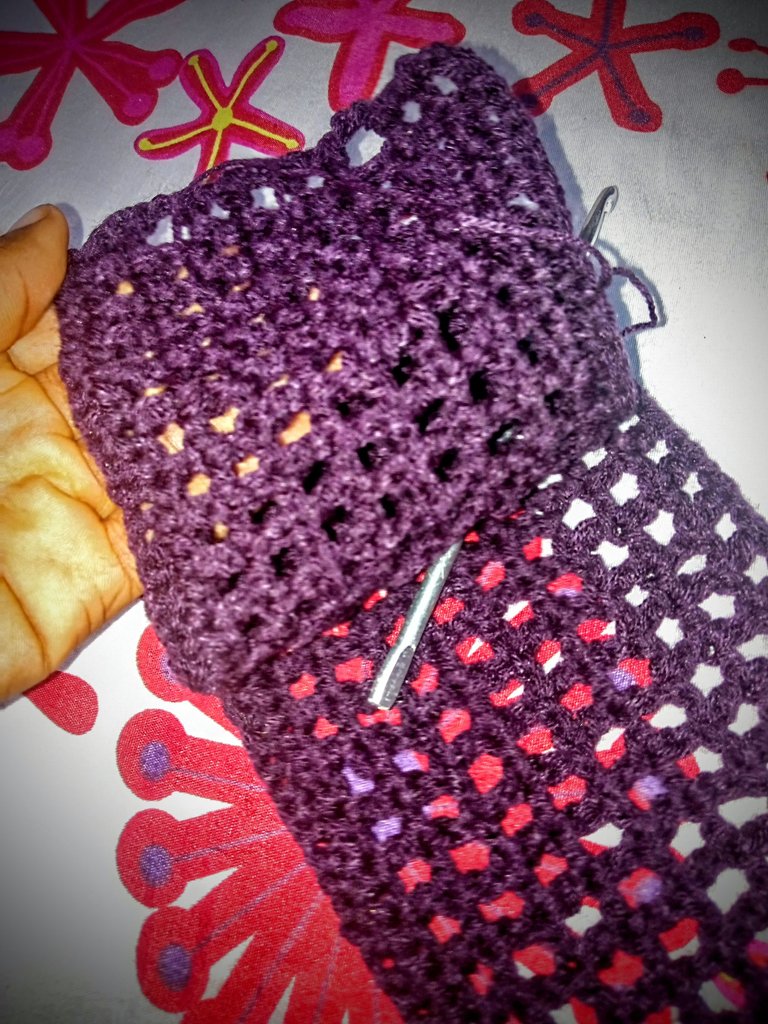
I made a chain of four, skipped one stitch and went into the next stitch; this was done only at the edges. For the body of the mesh stitches, I chained one, skipped one stitch and went into the next stitch.
I continued this pattern until I got to the eleventh row.
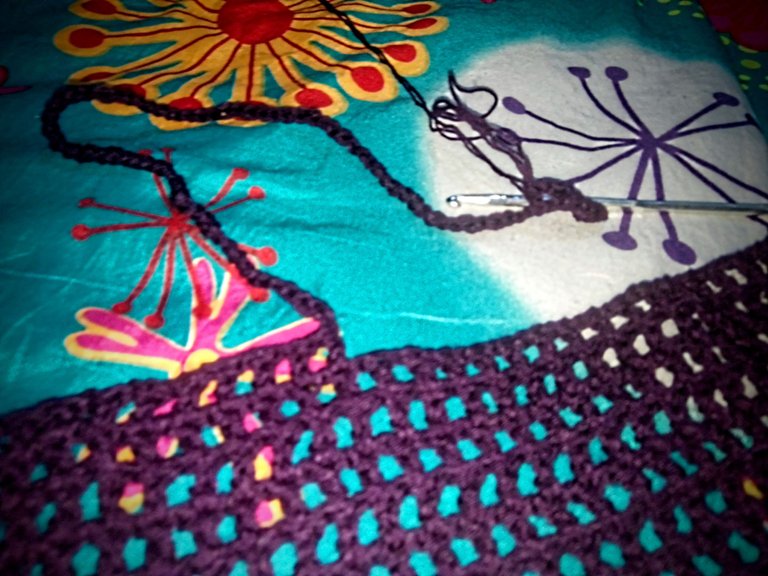
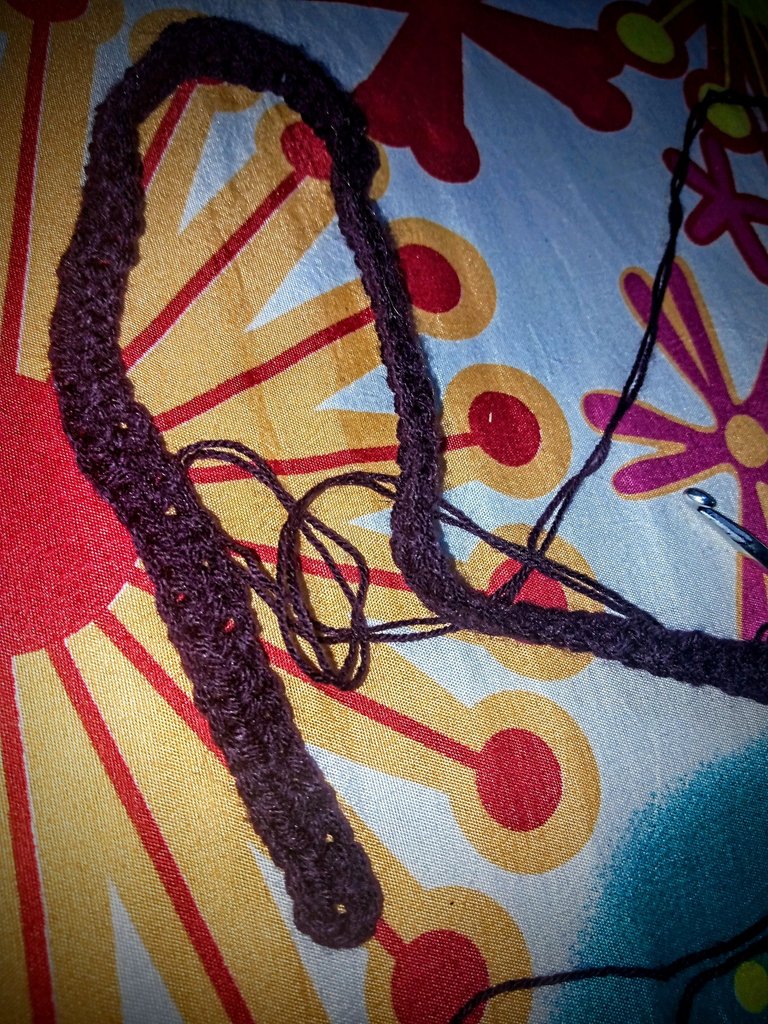
From here, I made just sixteen mesh stitches and on the sixteenth stitch, I made a chain of eighty once again. After chaining eighty, I turned my work over and began making the mesh pattern once again. This was to serve as the tying rope for the durag.
On reaching the body of the durag, I continued till the end and then I came back up once again, making a second row on the ropes.
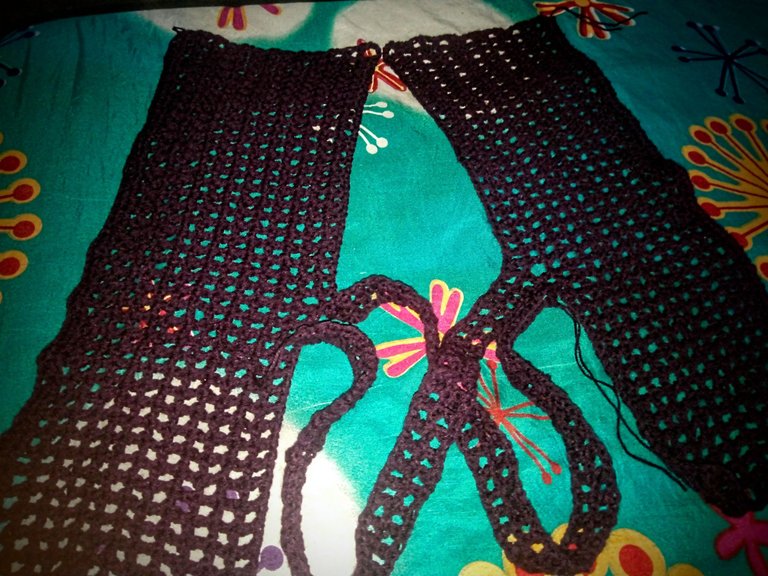
I didn't want the durag to be too big, nor did I want its ropes to be too long, so it's safe to say that I was trading with caution.
With that, I was done with the first half of the durag which was thirteen rows in total from the top but eleven rows from the bottom.
Replicating a design can be impossible sometimes because a few mistakes are bound to happen. Nonetheless, I made the same number of rows for the other half of the durag.
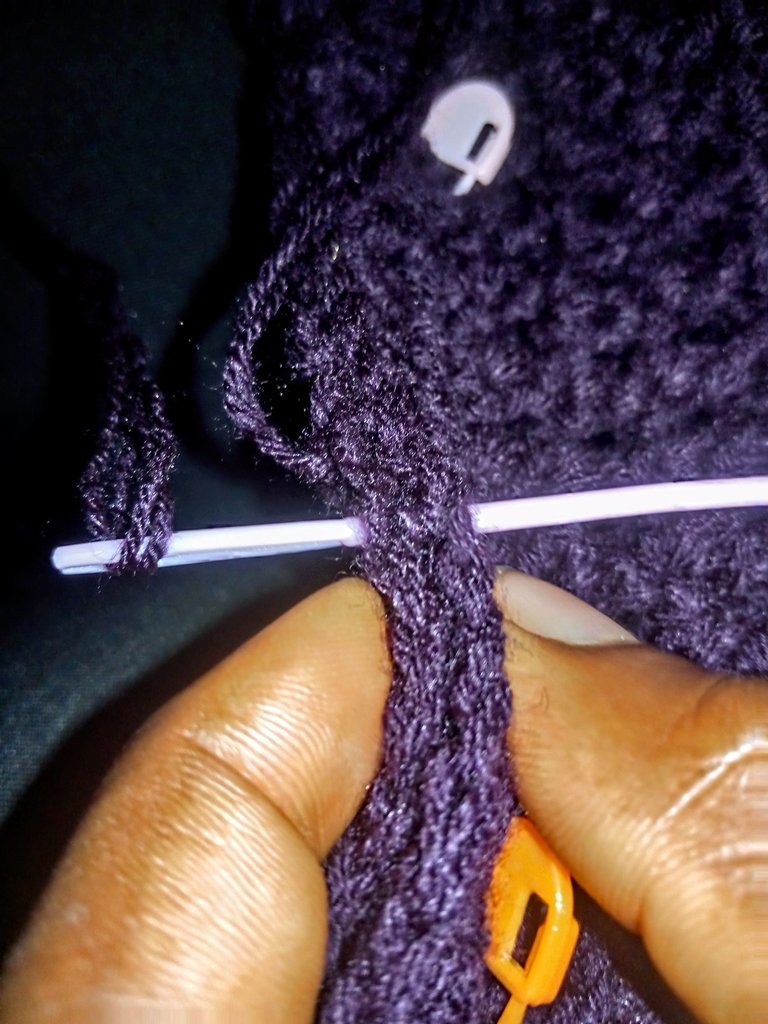
Once my two halves were in place, I began the coupling phase. First off, I applied my stitch markers in order to ensure that both sides aligned properly.
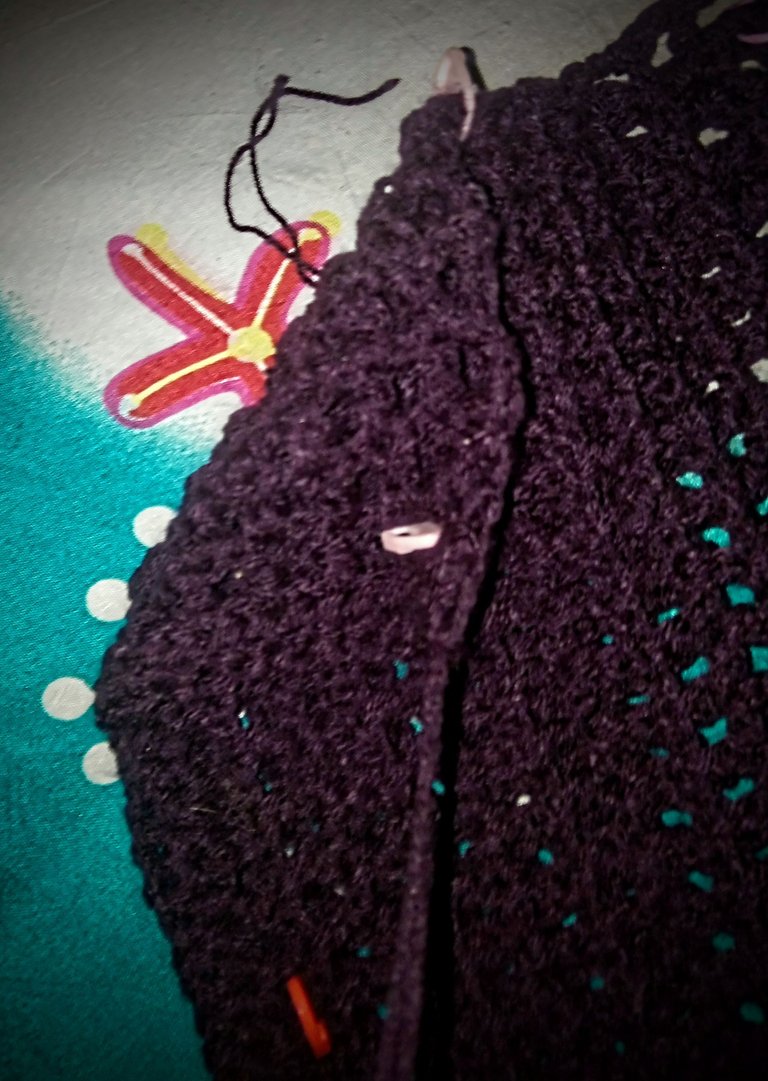
Another important thing I did before joining was folding the edges of the durag. I didn't want the durag to come out with a very sharp edge and so I folded in the sides to create a curve.
With that, I began coupling with the 6.0mm hook. I started from the top and stopped immediately after the fold. From here, I used a darning needle to do the rest of the joining. I switched to a darning needle because using the crocheting hook all the way down was going to make the durag bulge at the middle and no one wants to wear an irregular durag(at least I didn't want to)
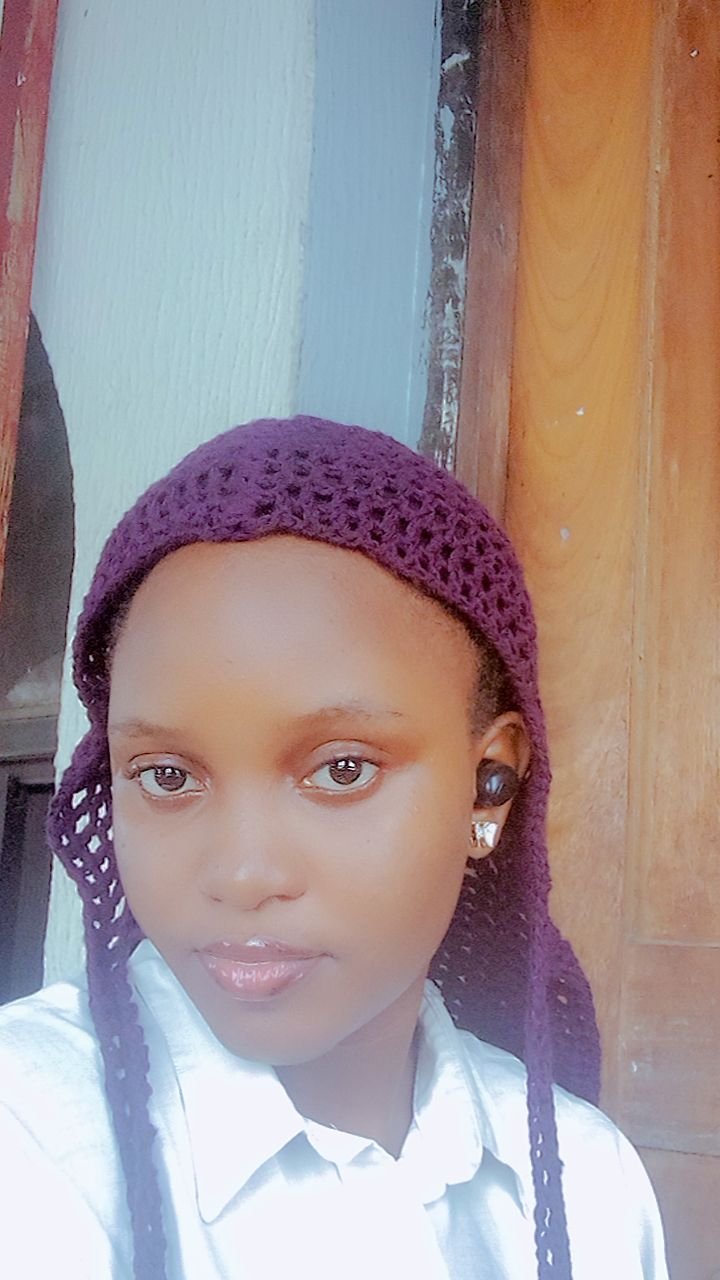
After joining the two parts, I sewed in my loose ends, did the finishing touches where necessary and the durag was ready to be worn. You can bet I wore it immediately after completing it.
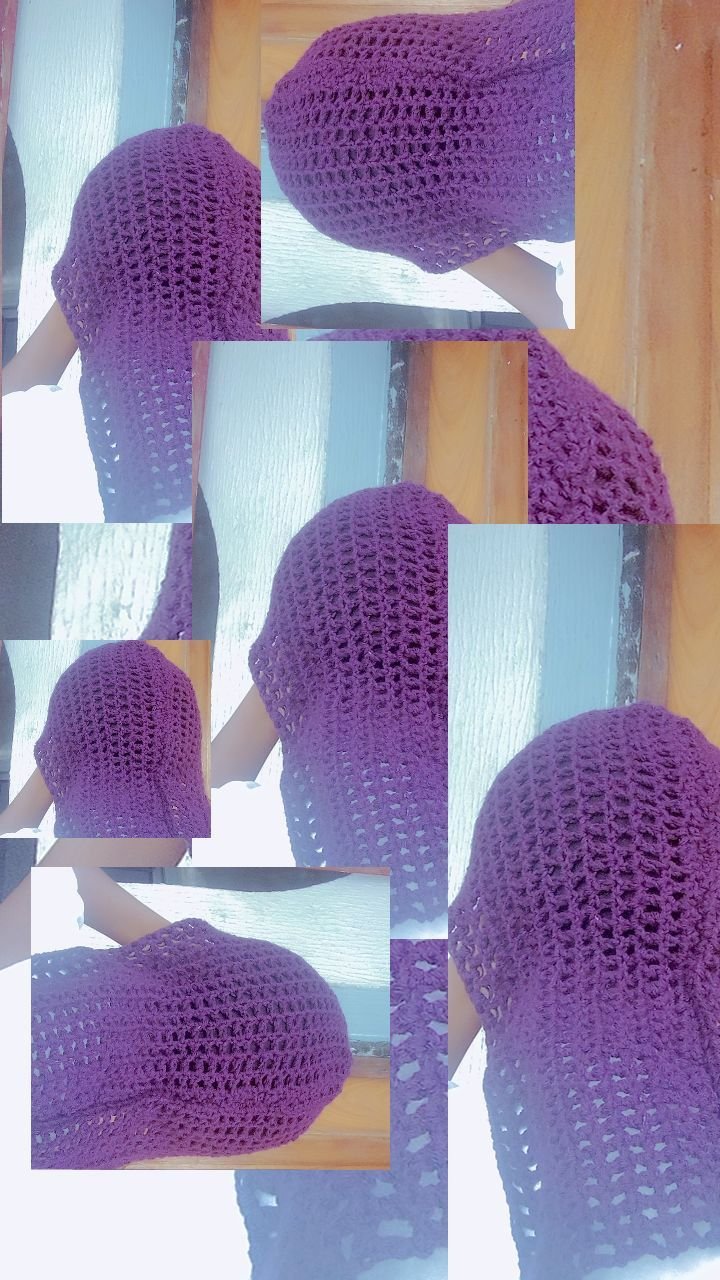
I honestly liked how light the durag came out even when I doubled my yarn. This durag came out looking really pretty and I'm certain it's going to go a long way in saving my natural hair from excessive damage.
What do you think of the pattern? Would a fully covered durag be better? Do let me know what you think😊.
All images used belong to me and were taken with my mobile device except stated otherwise.
Love 🤍
