Hallo! Needlework lovers✨
I am in the habit of taking screenshots of the intriguing crochets designs I come across online, saving them for later. During my free time, I try to recreate some of these designs, not forgetting to make them more unique.
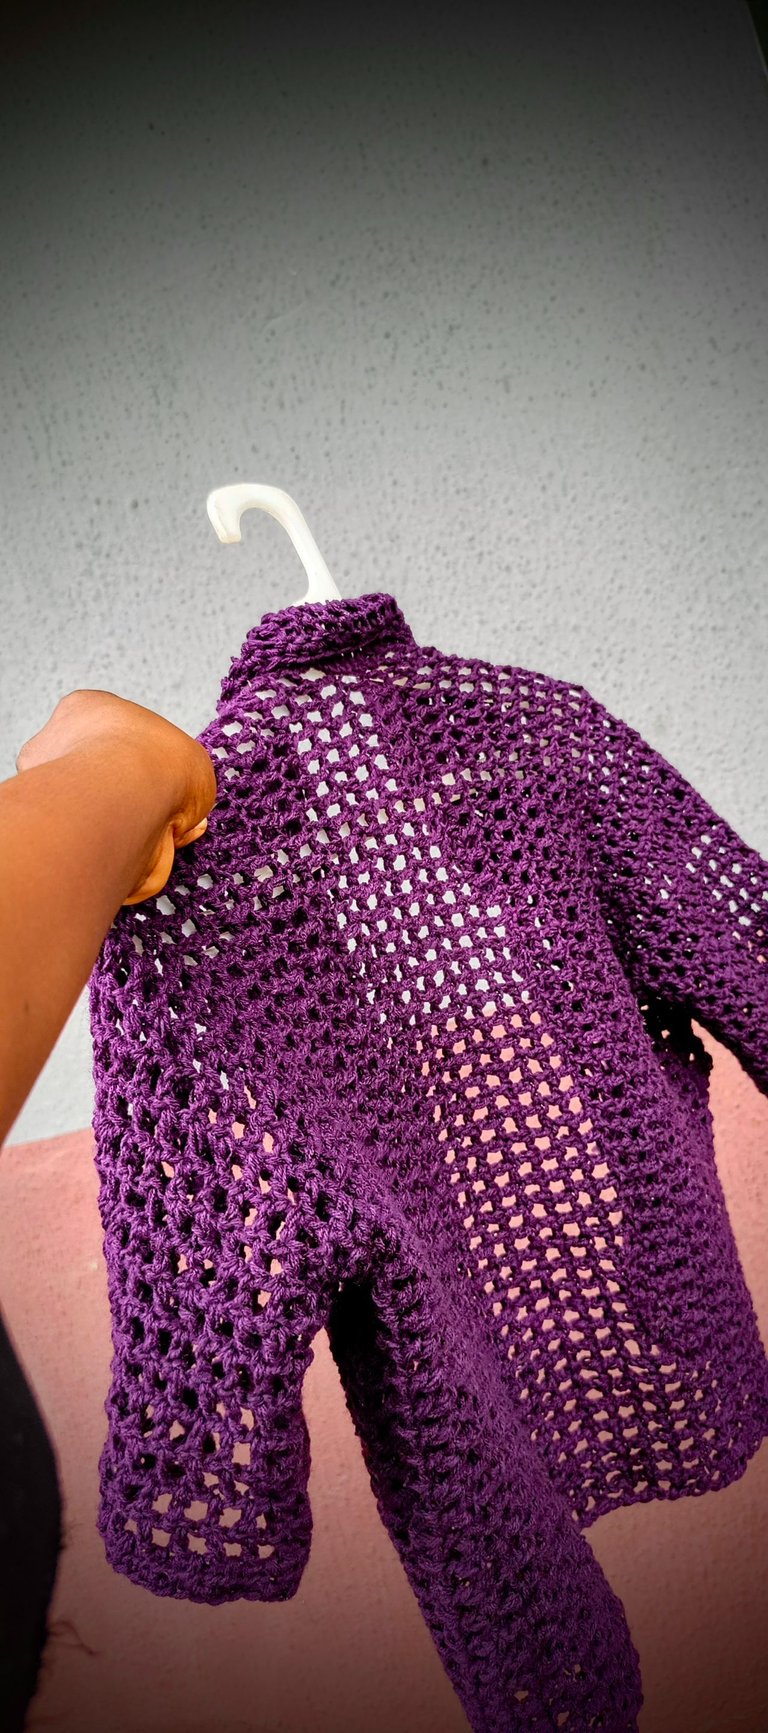
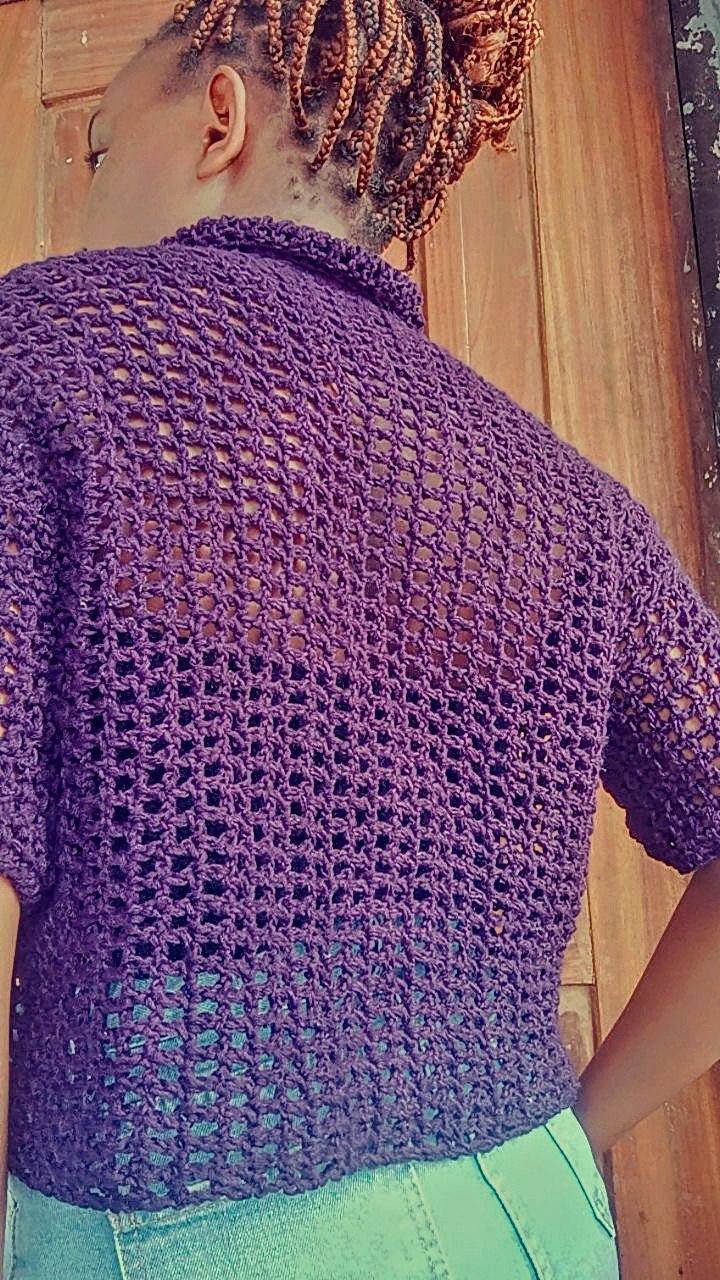 ast month, I came across this beautiful mesh overshirt and the first thing that drew me to it was the colour–lilac. I love all shades of purple; lilac included. On closer examination, I realised that the crochet overshirt was made with a very bold type of yarn and an even bolder crochet hook size; none of which I had. Nonetheless, I decided to try making the overshirt with the largest crochet hook I own, which is a 6.0mm crochet hook and all I can say is, I beat my expectations.
Materials Required
- 6.0mm crochet hook
- 200 grams of yarn
- Darning needle
- Stitch markers
- Measuring tape
- A pair of scissors
- A well curated music playlist to listen to(optional)
Procedure.
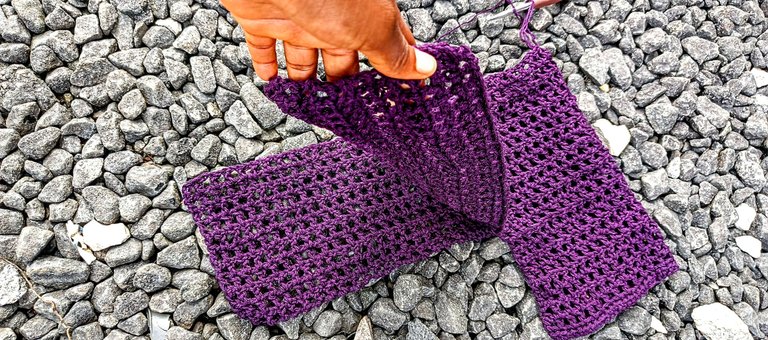
I must start by saying that this was my first ever continuous large crochet project. By continuous I mean; the first project that I didn't have to cut and join during the whole crocheting process. I crocheted both the back and front panels, taking measurements into consideration and the very first time I cut off my yarn was the last. This may not seem like such a big achievement but it is to me. Figuring out the calculations and yarn manipulation involved wasn't a walk in the park.
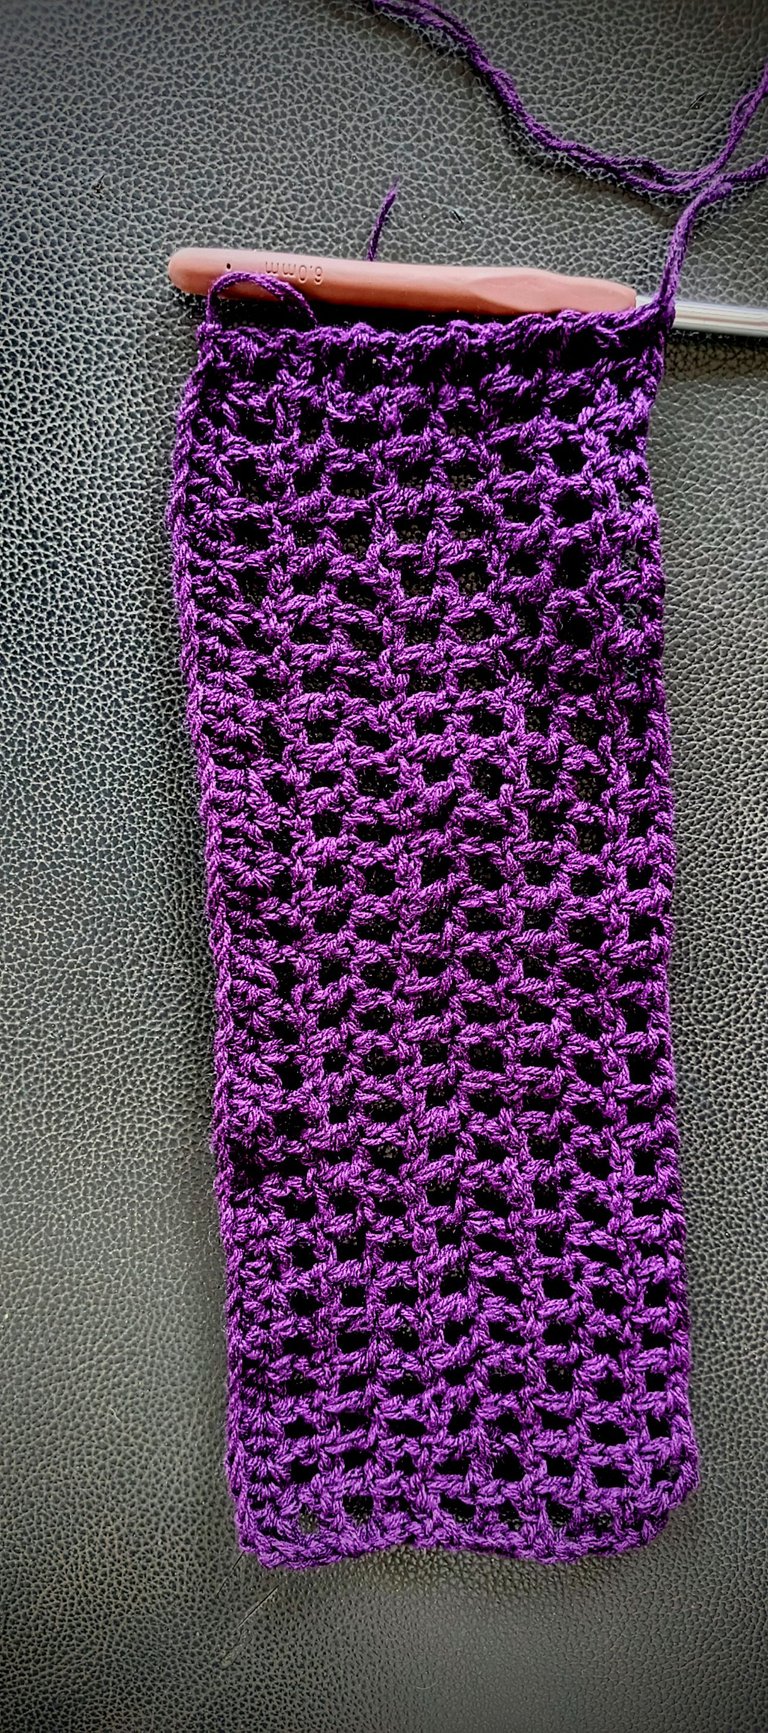
Every crochet project begins with a skip knot.The first thing I did after making my slip knot was to make a chain of forty-six. This was enough to go round my upper arm. After making the beginning chains, I made a row using half double crochet stitches. This was to serve as the finishing touch for the sleeve.
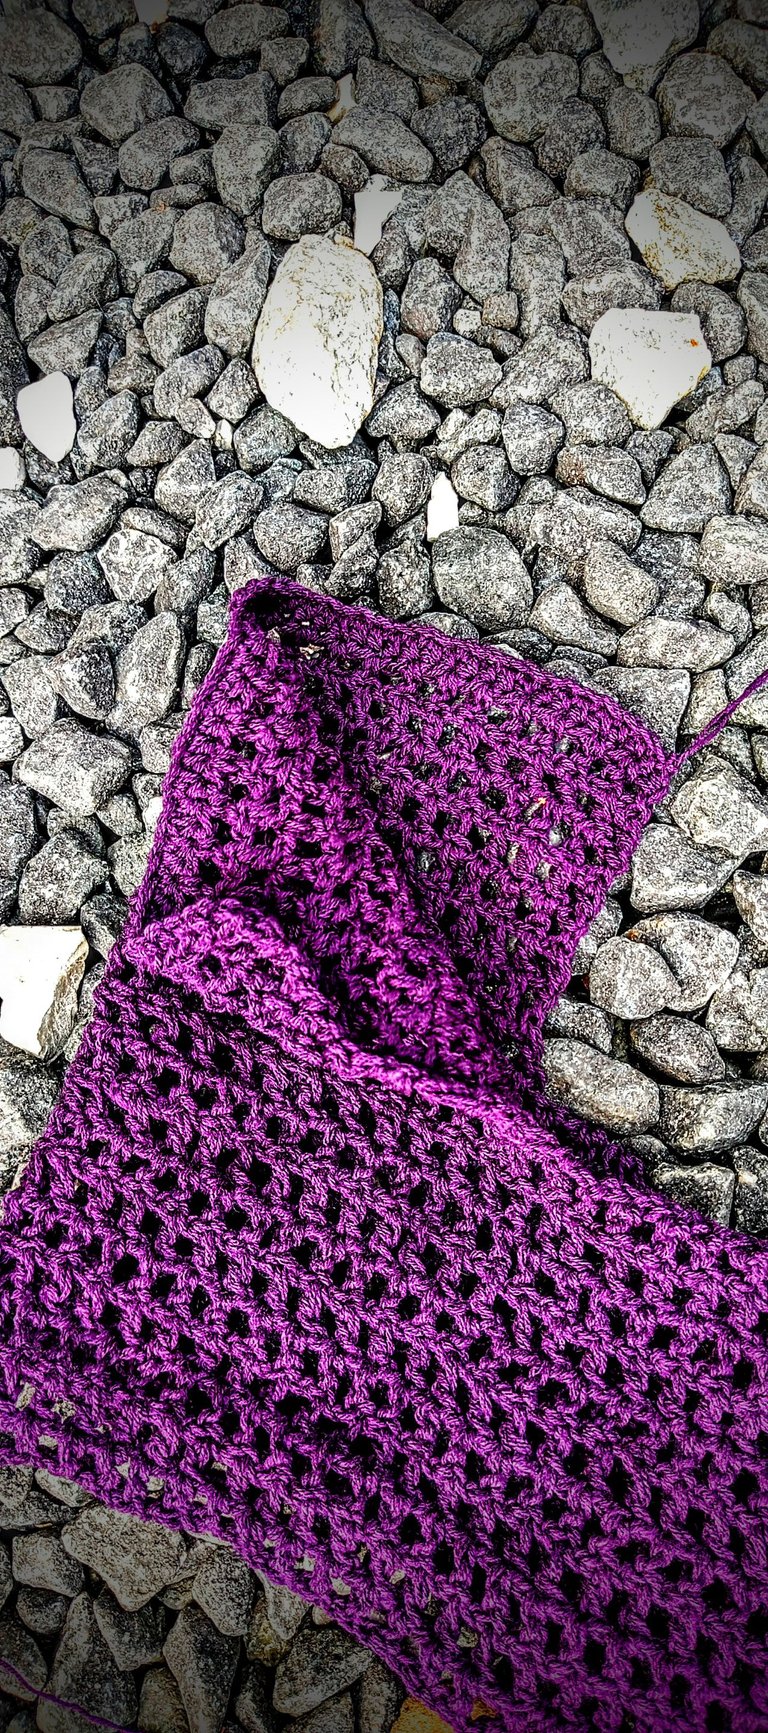
Afterwards, I began making my mesh stitches. To begin the mesh stitch, I made a chain of four, skipped one stitch and into the next stitch, I made a double crochet stitch. I continued this, skipping only one stitch each time, till I got eight rows of mesh stitches. The eight rows were enough to serve as sleeves for me. One can always choose to decrease or increase the rows depending on their preferences.
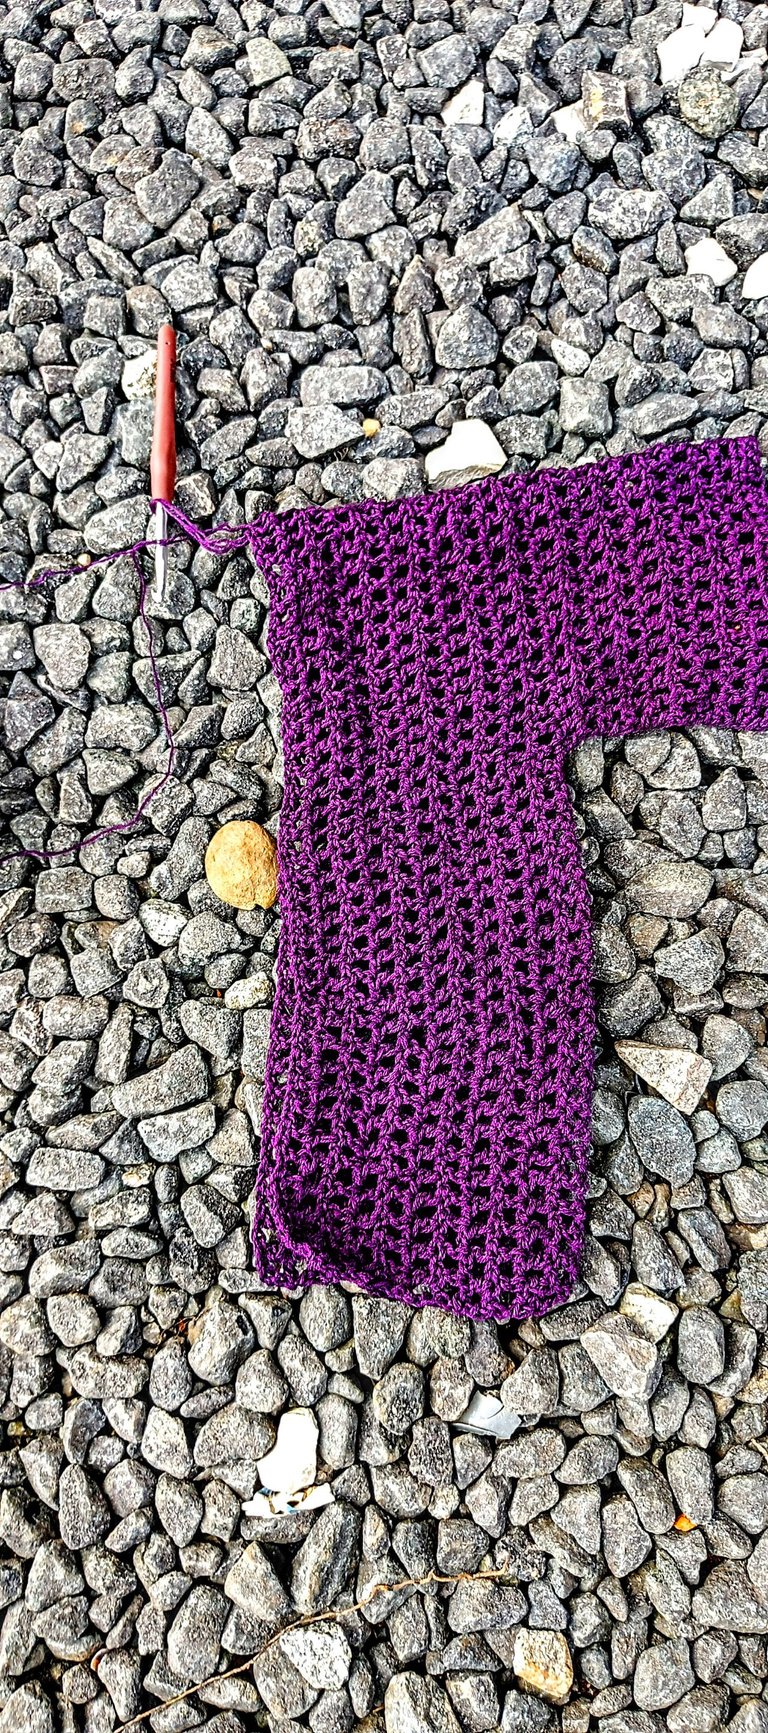
After making the sleeves, it was time to begin the body of the overshirt. For the body, I made a chain of sixty-nine(an odd number). Into the fifth chain from the hook, I made a double crochet stitch to commence my mesh pattern. With that, I continued making the mesh stitches, skipping one, chaining one and proceeding to make a double crochet stitch into the next space.
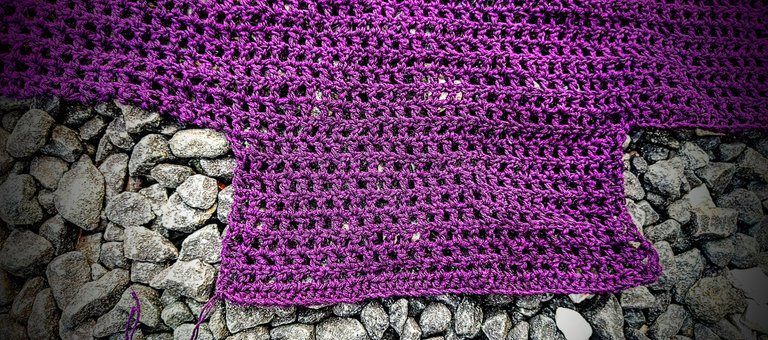
Once I got to the other end of the sleeve, I made a corresponding sixty-nine chains. This was going to serve as the back panel for the overshirt.
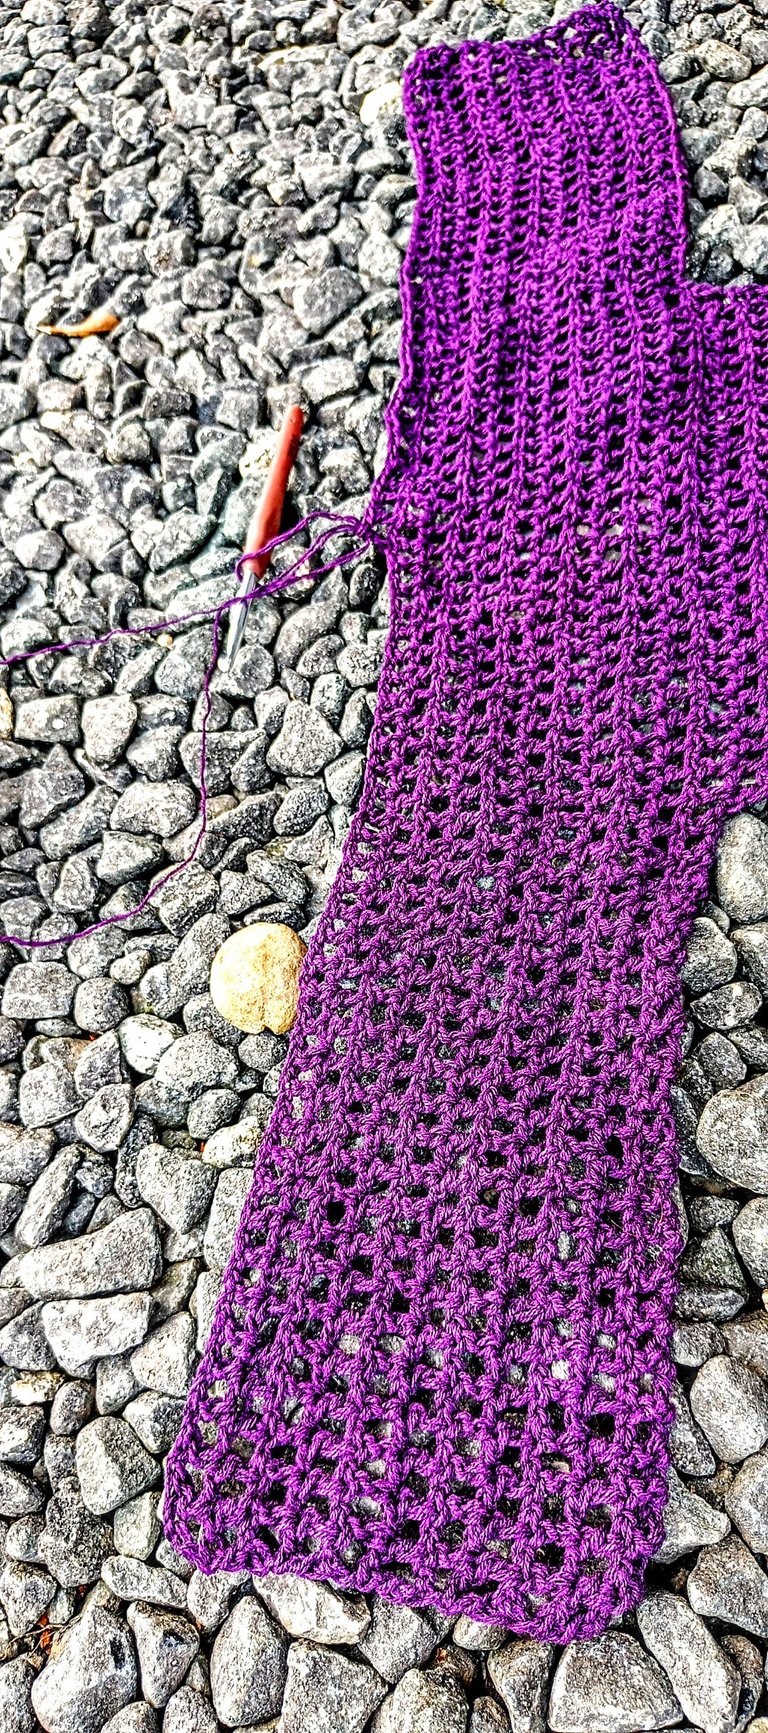
With that, I continued making both the front and back panels in a straight line till I got half of the overshirt which was about eighteen rows of mesh stitch. From here, it was time to break off and make the space in front through which the shirt would be slipped into.
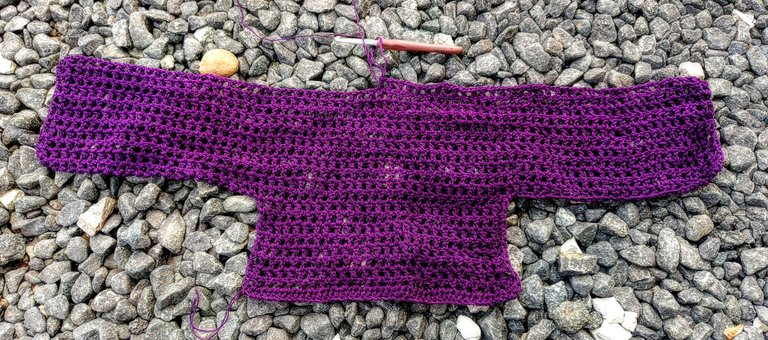
After creating the space, I continued making the mesh stitches in a straight line till I got the other half of the overshirt. Then, I proceeded to make the second sleeve, ending it with a row of half double crochet stitches and another row of single crochet stitches.
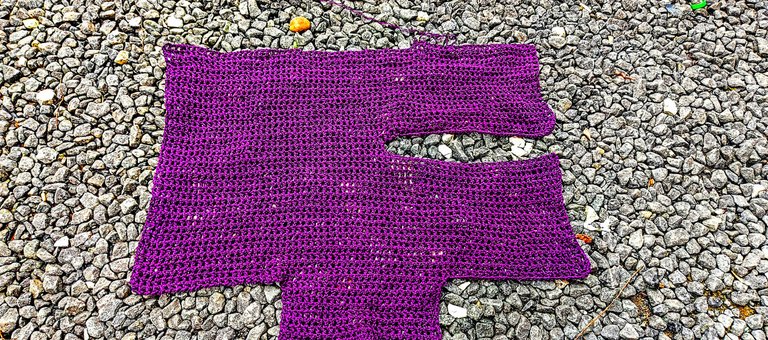
With that, I placed my stitch markers in strategic positions, before I processed to couple both sides of the project using single crochet stitches; without breaking a chain.
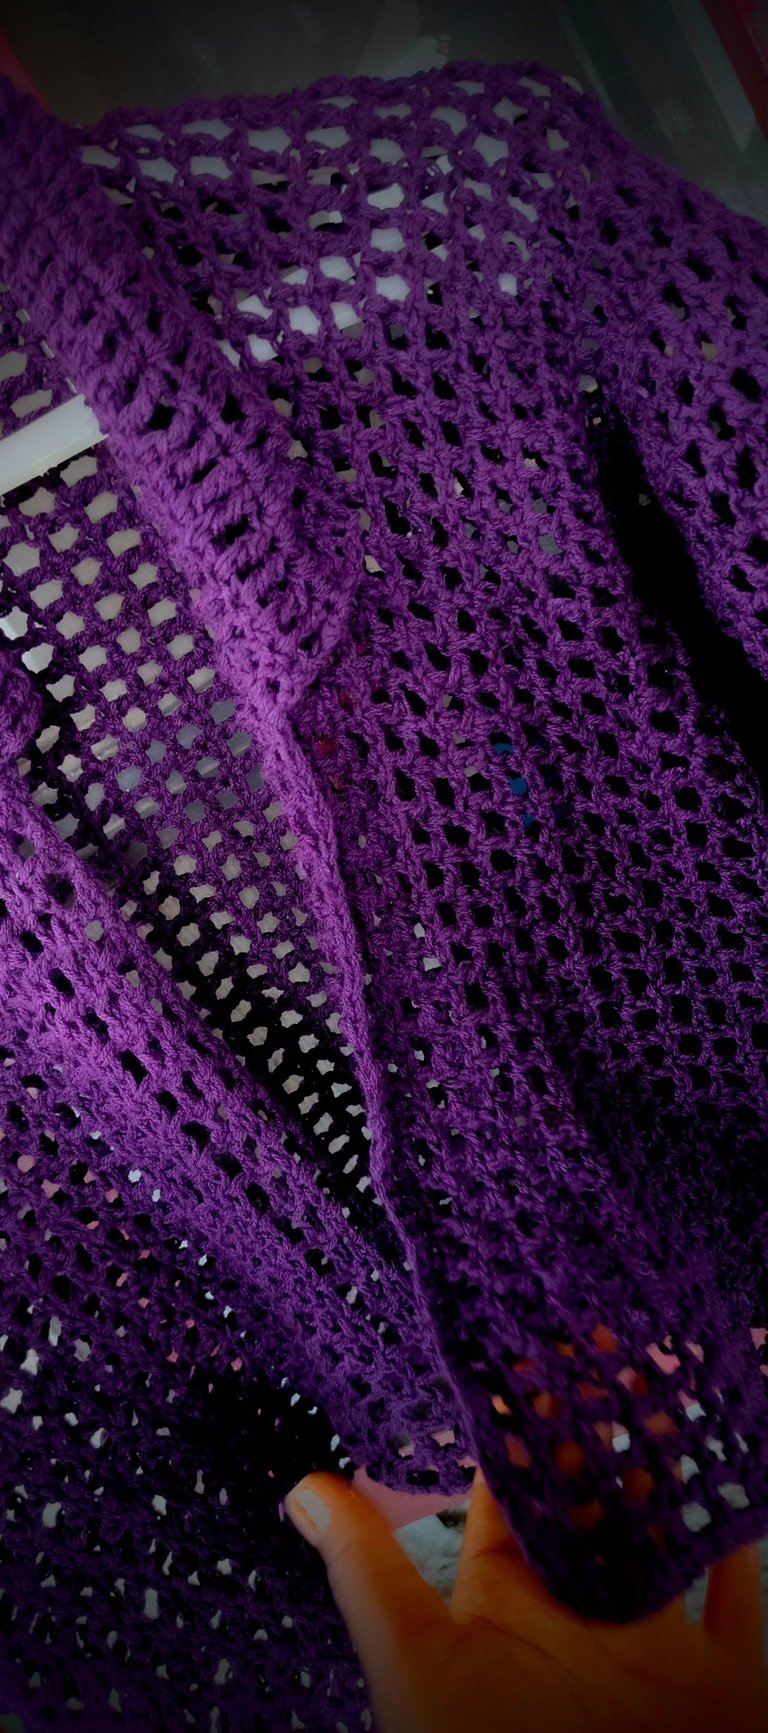
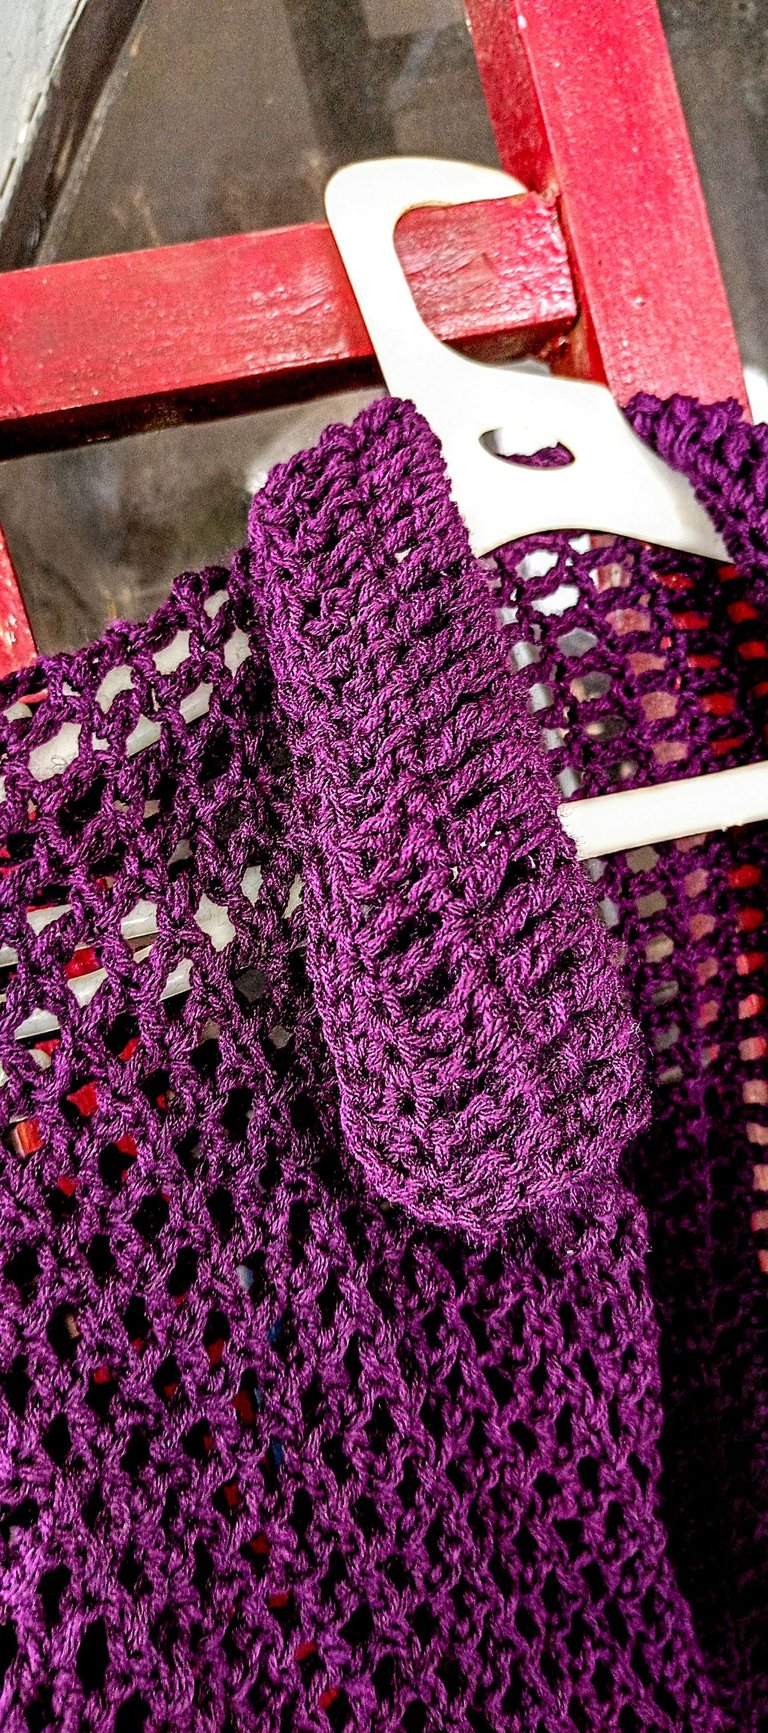
The last thing I did was work my way to the top to attach a collar to the overshirt. With that, I cut off my yarn, sewed in the only two loose ends and my overshirt was pretty much ready to be worn.
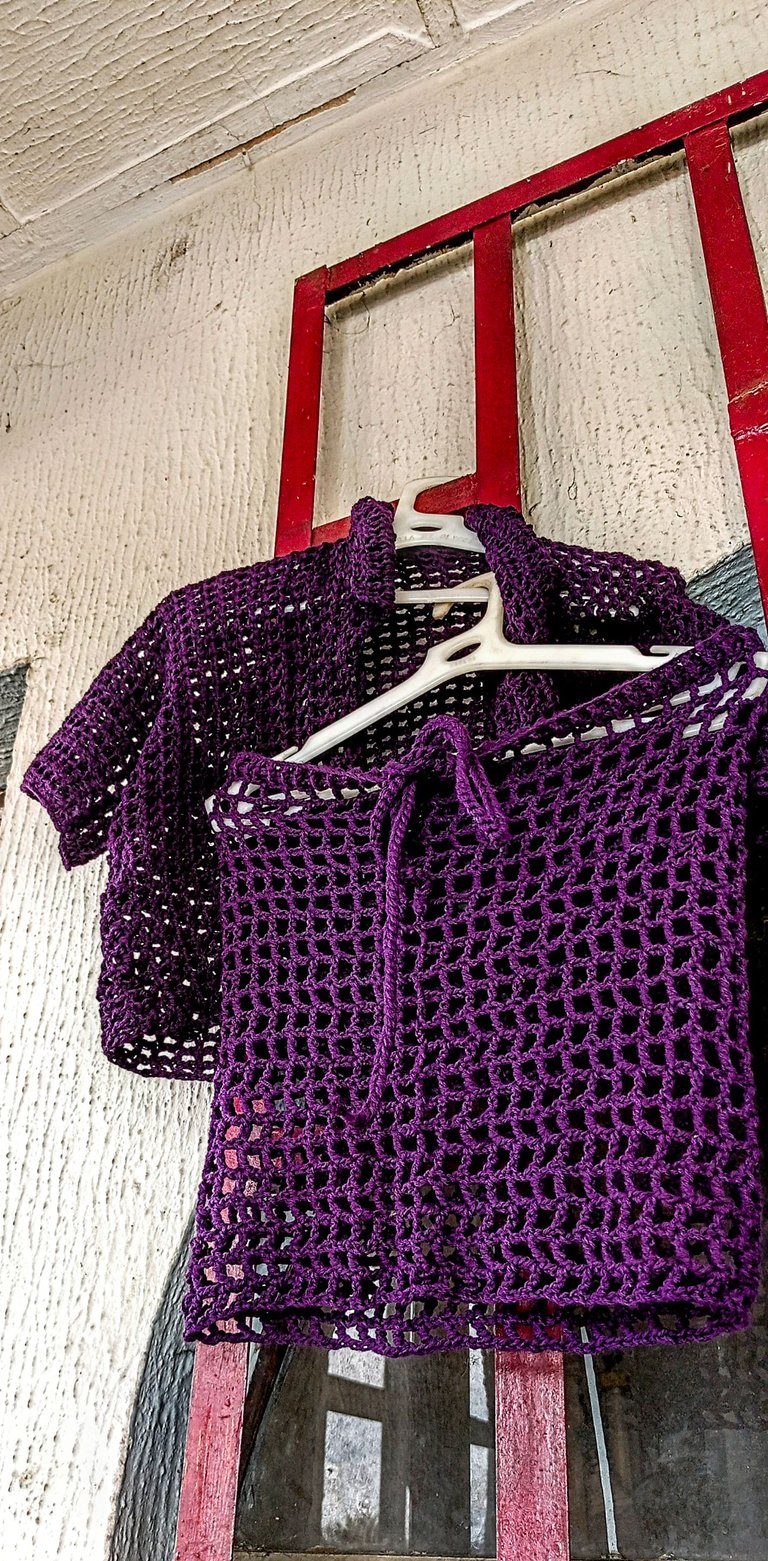
Surprisingly, I found a mesh crochet skirt that was given to me as a gift some time back and thought to myself “I may have just made the second half of a befitting beach wear without being aware.”
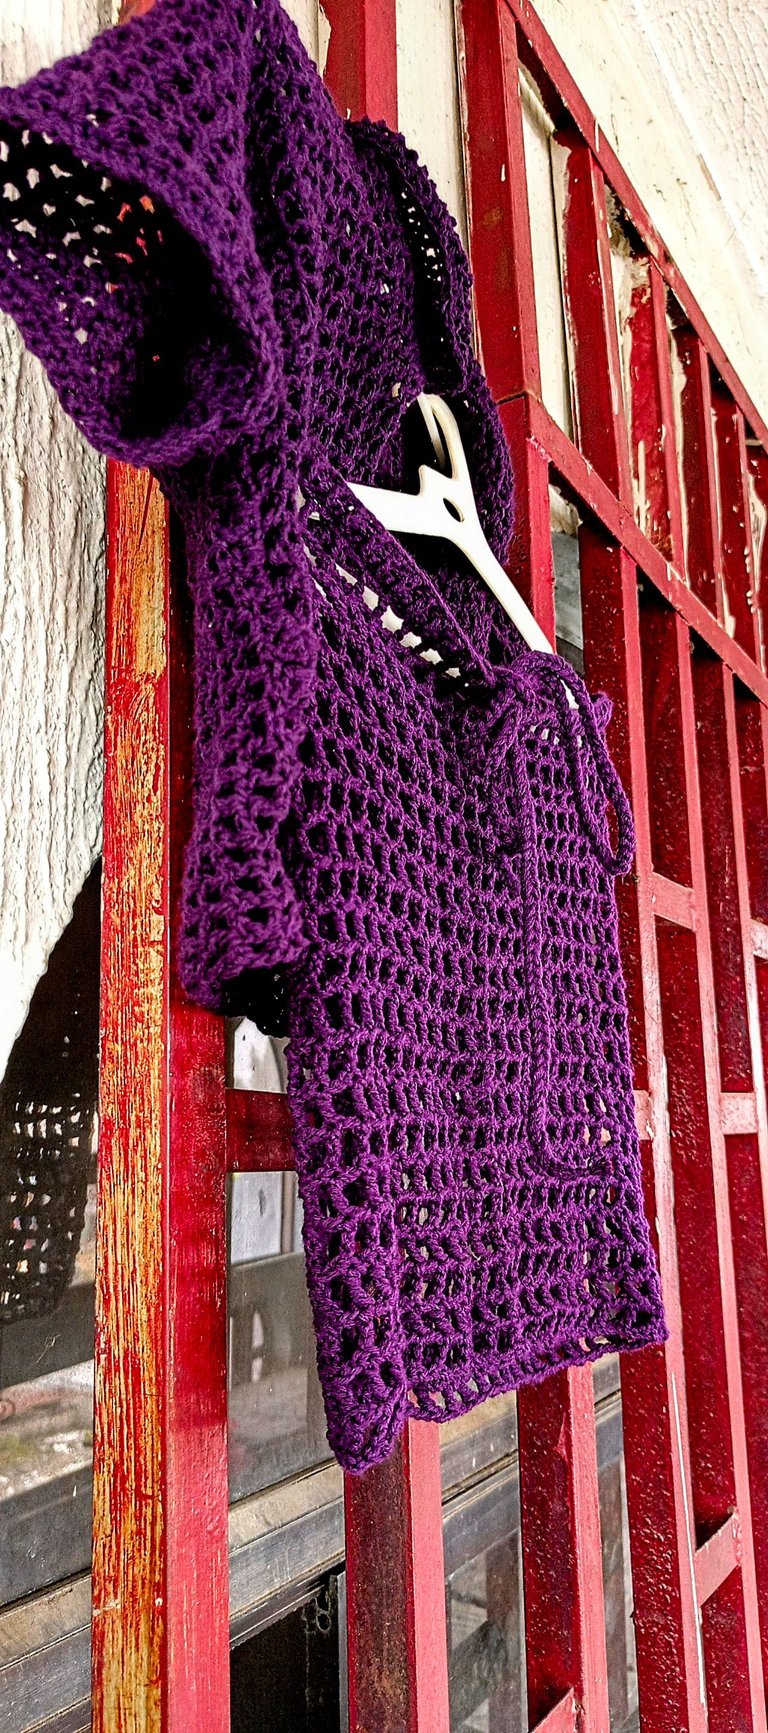
It wasn't so much of a challenge making this overshirt but I'm glad I did anyway. It took me approximately two days to complete this project and I absolutely love how it turned out. Perfect for the summer.
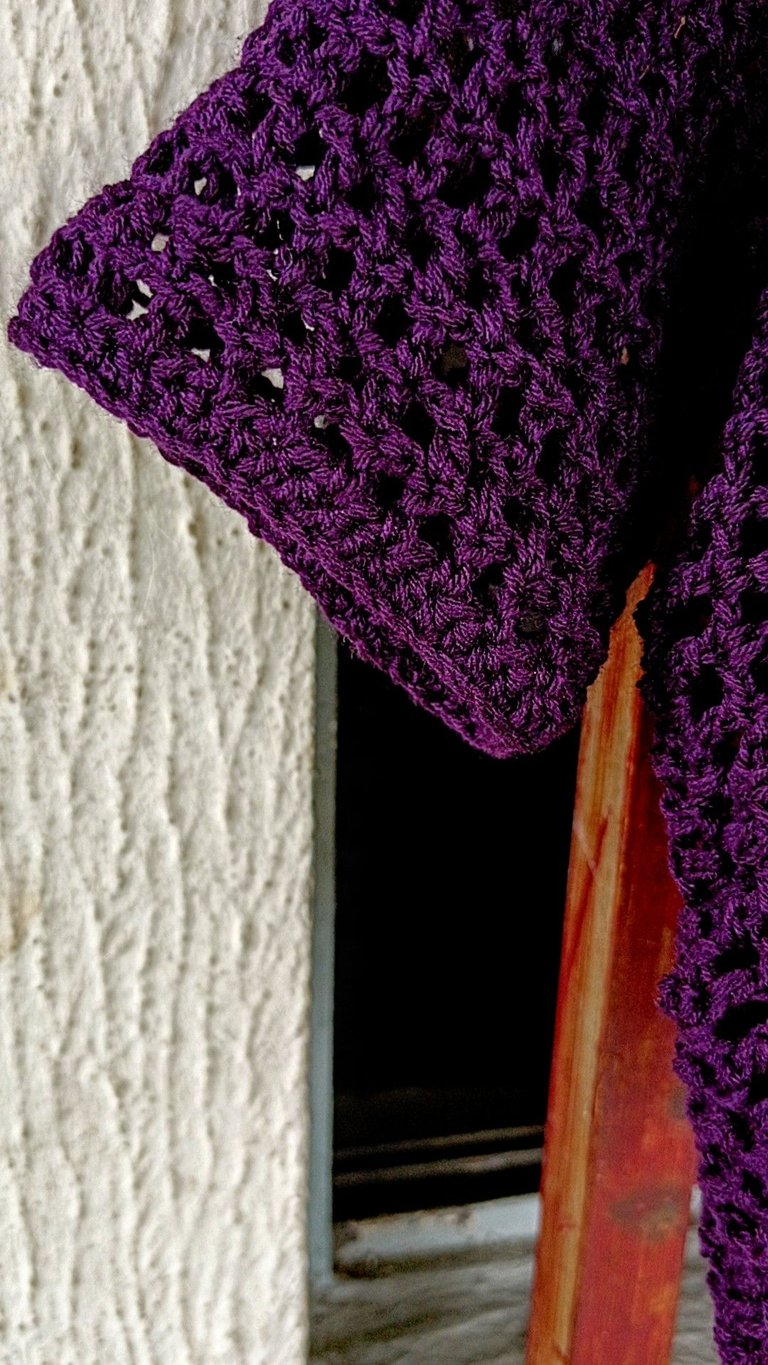
What do you think of this mesh crochet overshirt?
All images used belong to me and were taken with my mobile device except stated otherwise.
Liebe🤍
