Hello Needlework Lovers ✨
For a very long time, I've had my doubts about monetizing my crochet crafts. At first, my source of consolation was the fact that I was just learning and there was a level I had to reach before making crafts for other people; just so I do not deliver low quality crafts.
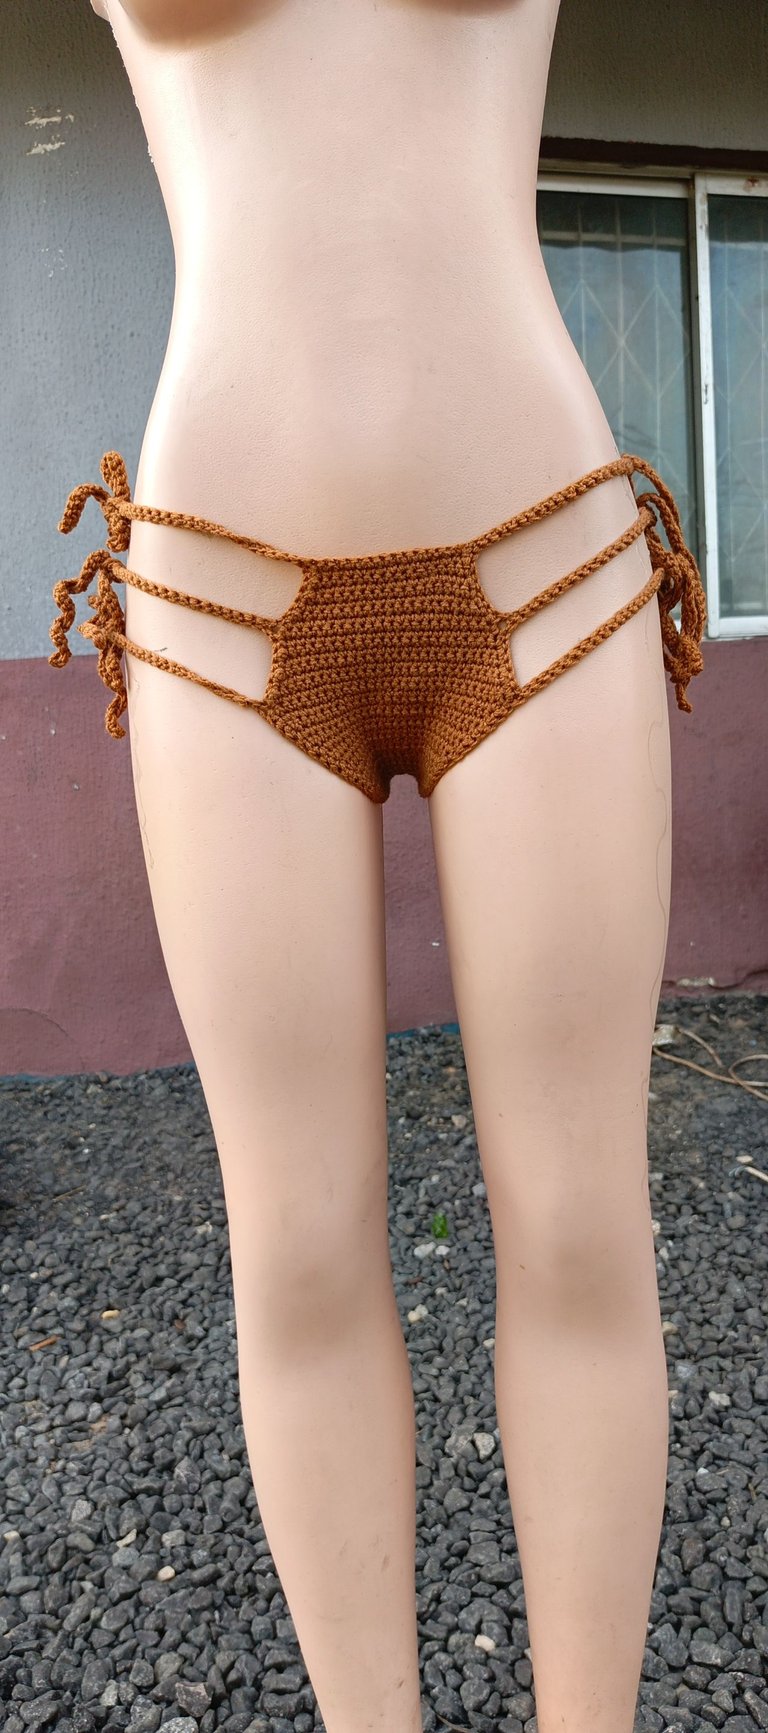
Recently, I reached a level of expertise. A level where I can comfortably deliver crochet crafts to those interested. However, some things kept holding me back. Dealing with the emotional stress and demands that come with certain clients is on the top of the list but then again, that shouldn't really be a problem right? Hence my decision to go all out and actually begin taking orders from not just friends and family but from strangers too.
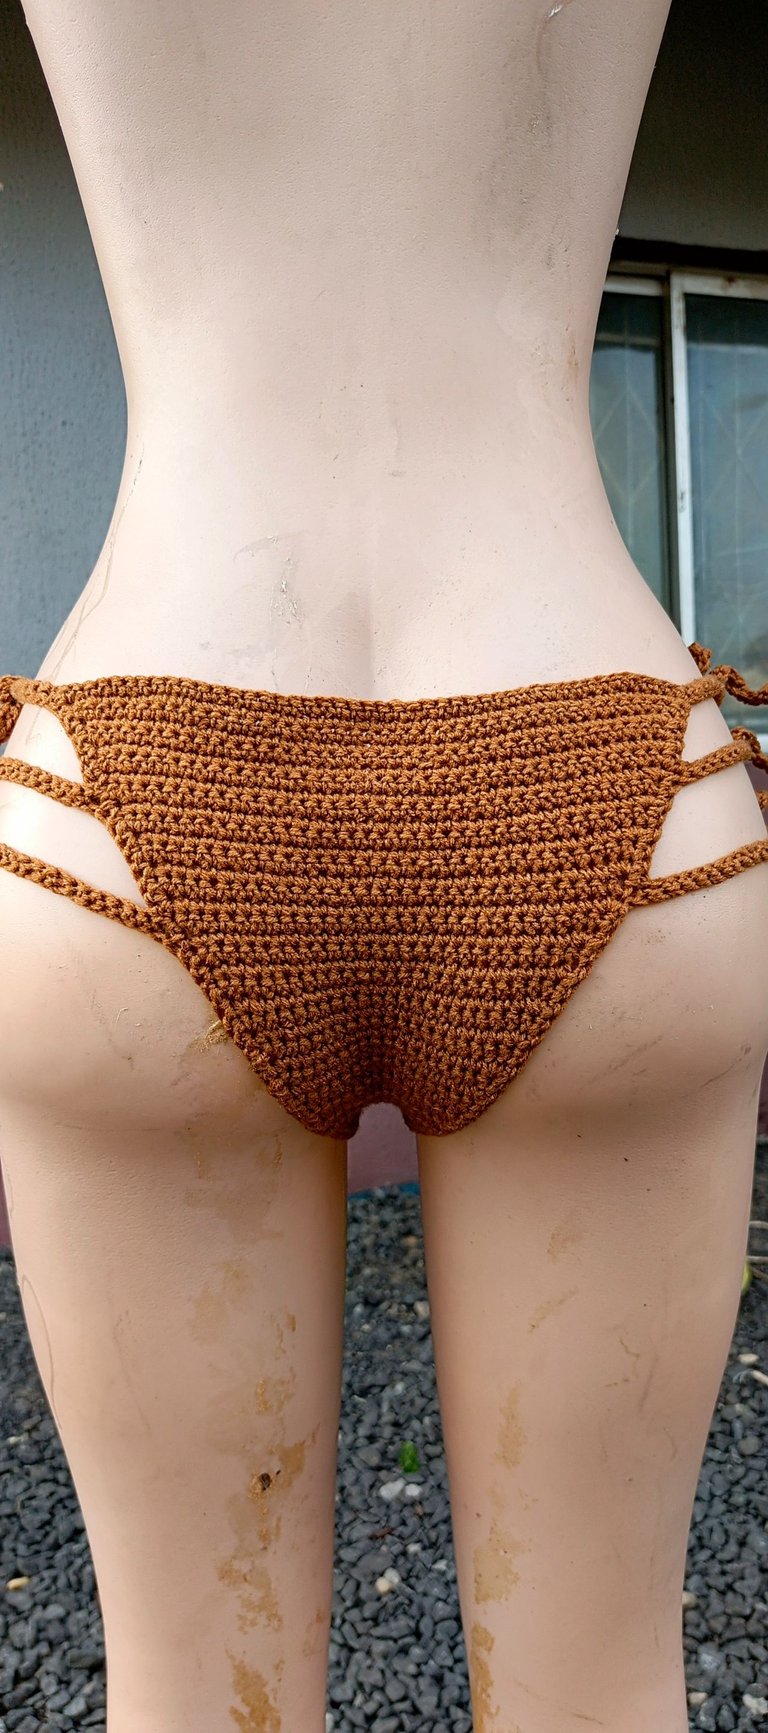
With that said, I got my very first official client last week. The client requested for a three piece crochet beach wear set. This three piece set includes bikini bottoms, a cover up bra top and a cover up mesh gown.
Today, I will be sharing with you the first piece of the three piece beach set; a crochet bikini bottom(panties, if you would prefer).
Materials Needed
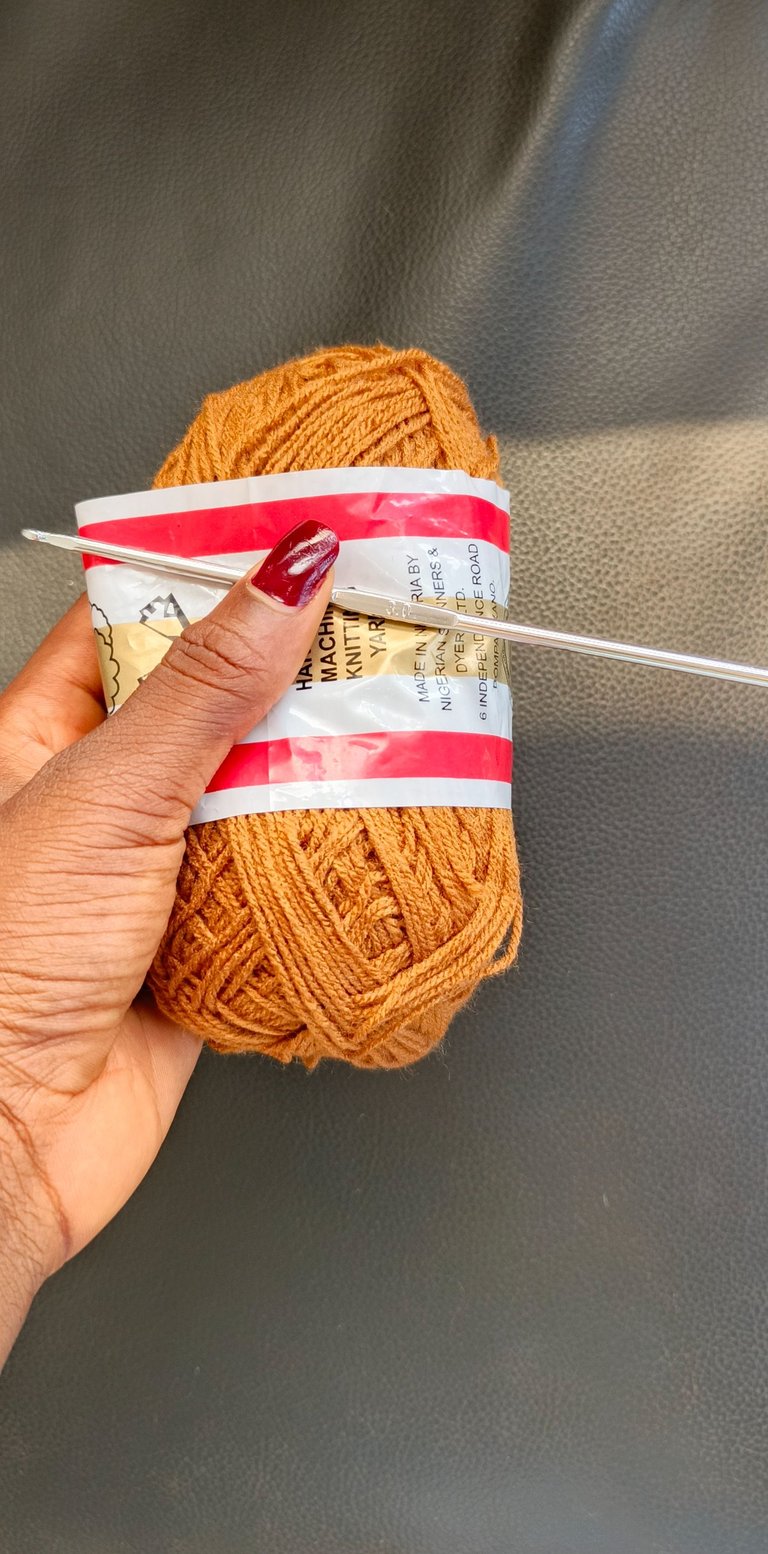
- 3.5mm crochet hook
- Crochet yarn
- Measuring tape
- Darning(tapestry) needle
- A pair of scissorsscissors
- Stitch markers
Procedure
The first thing I did in order to achieve this bikini bottom was to take the required measurements and also help the client pick a yarn colour that would go perfectly with her skin; both of which I did.
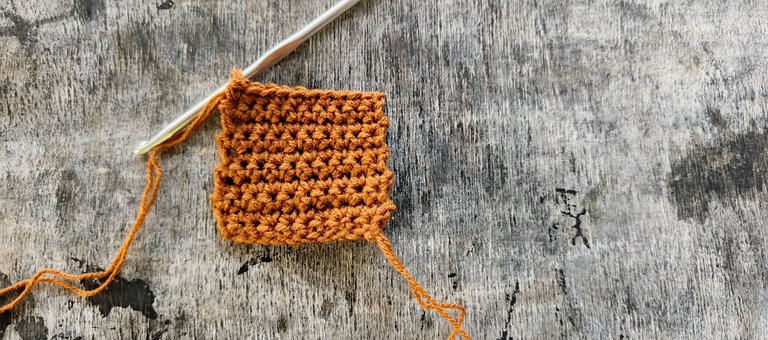
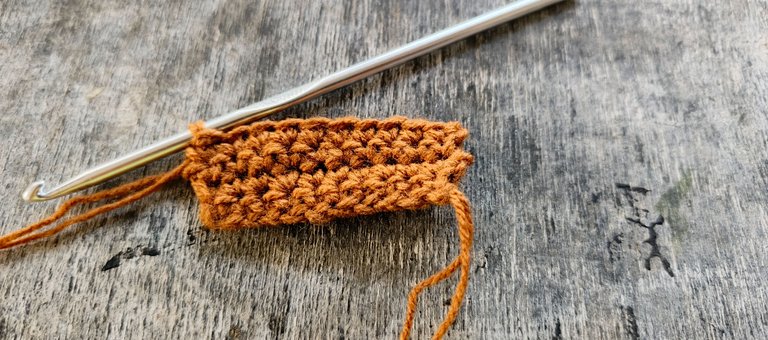
With the measurements, I started by making a chain of seven plus one extra turning stitch. Into this chain, I made a row of single crochet stitches.
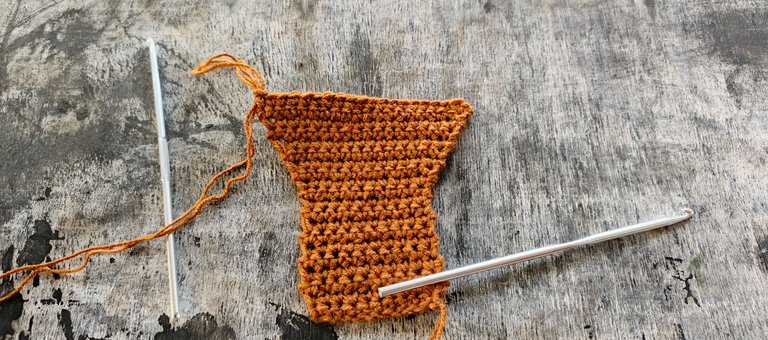
Next, I made six extra rows of single crochet stitches to serve and the base of the bikini bottom. I realized that using an already made bikini Bottom can be helpful for referencing, else one needs to work strictly with measurements.
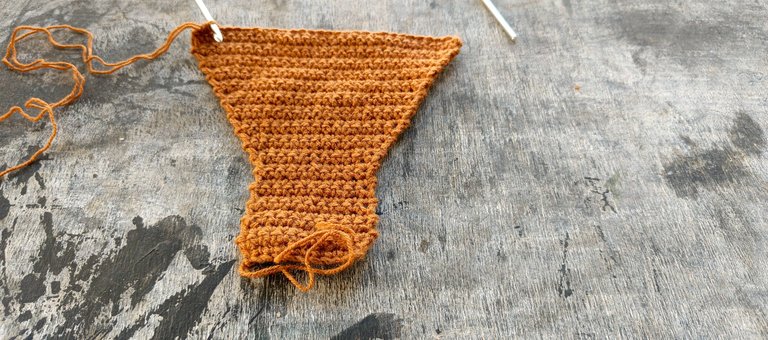
From the eighth row, I began making an increase of one stitch in each row.
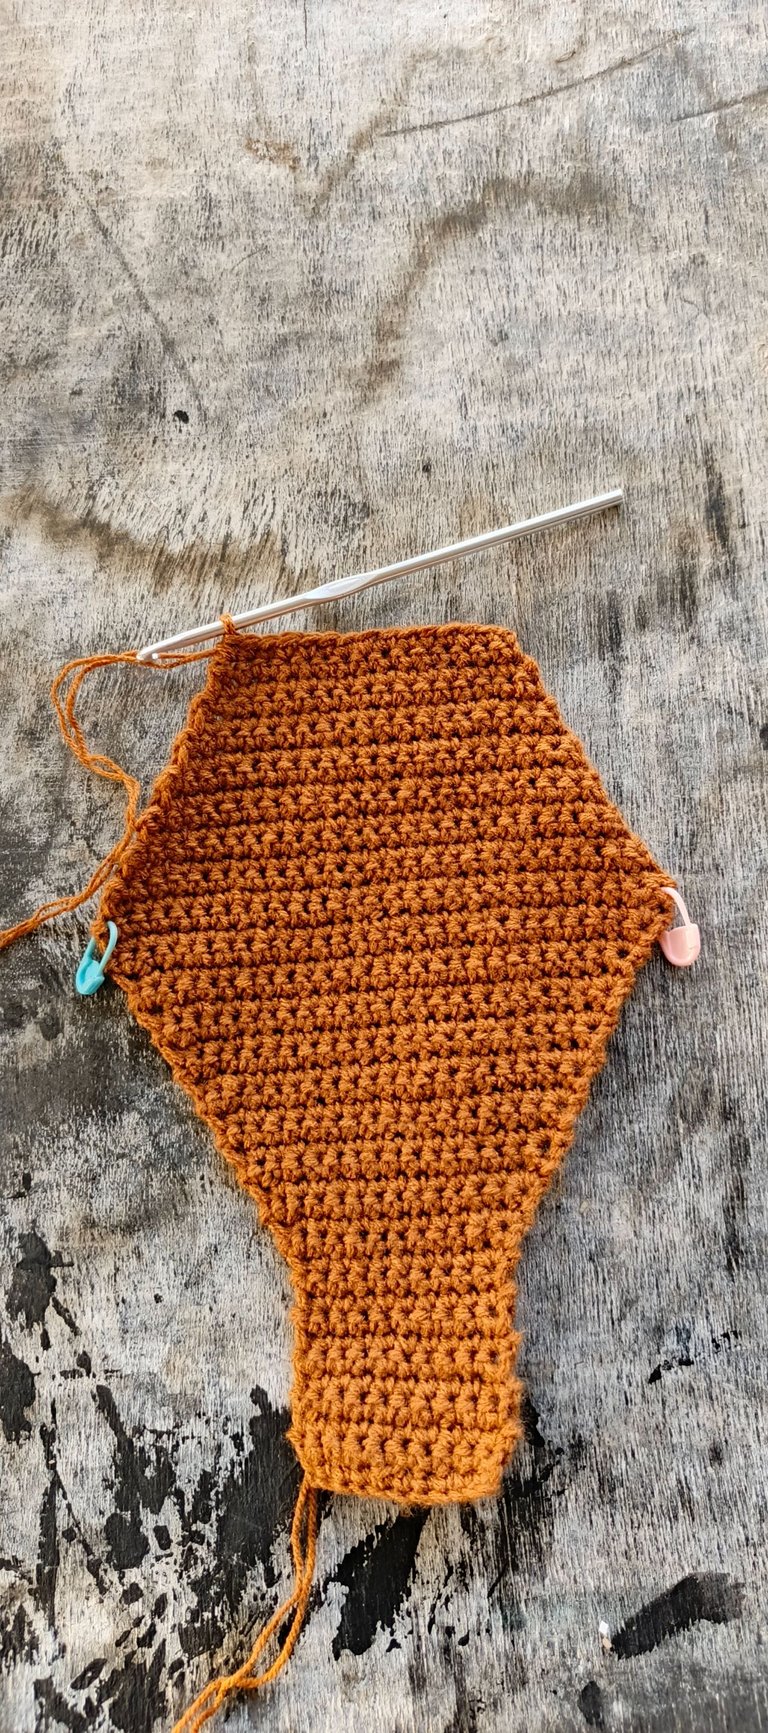
I continued this till I got my desired length. From here on, I began reducing for about seven extra rows.
Once I was done with the front panel, I began making the back panel but as a combination of the front panel from the opposite end.
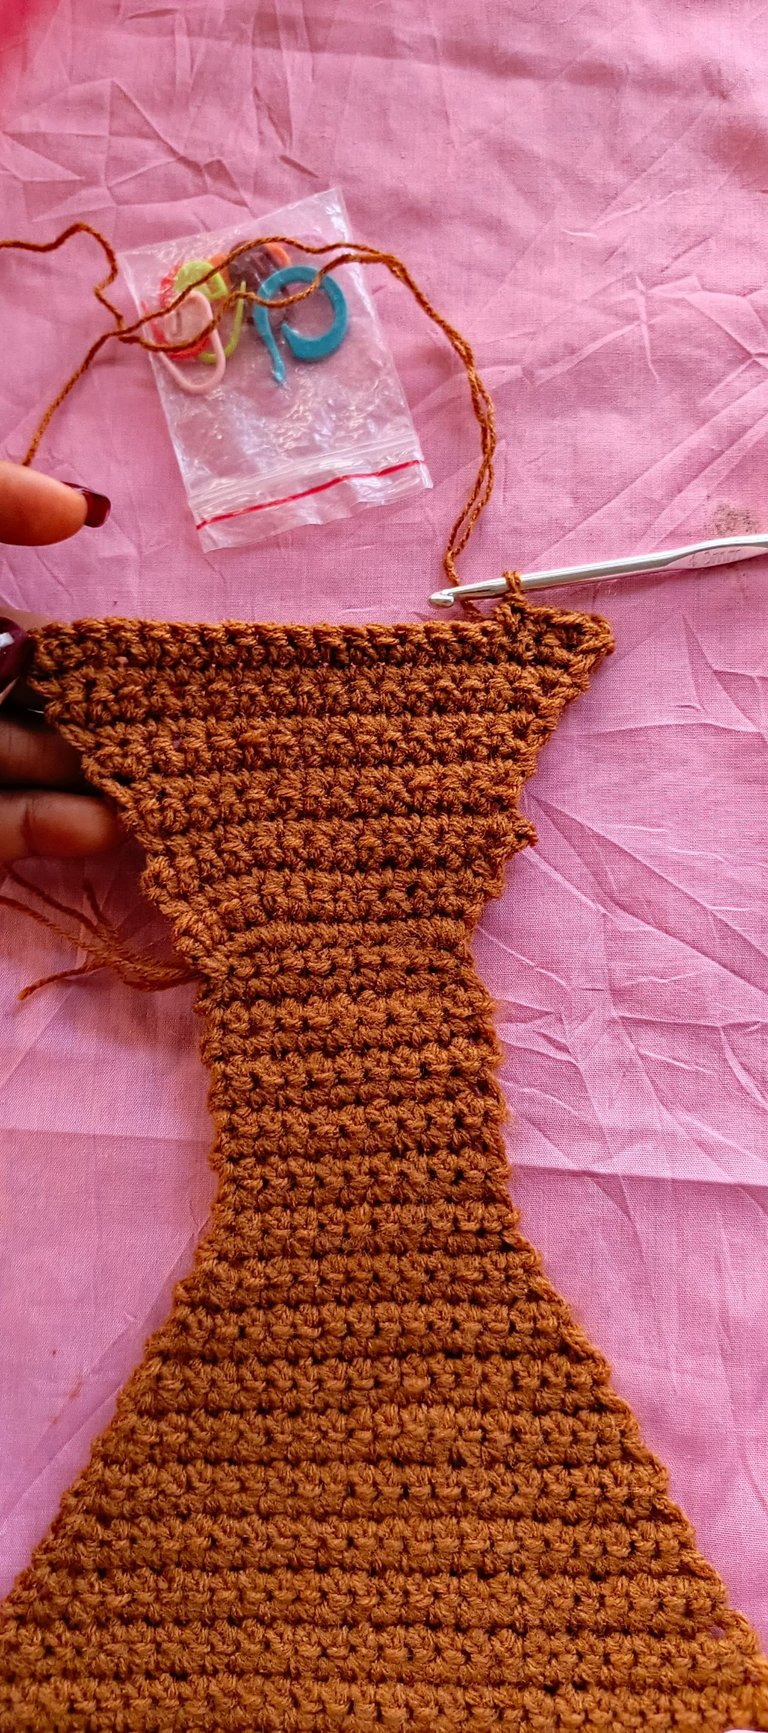
For the back panel, I basically started making increases from the second row. And once I got to my thirty-sixth row, I was done with the back panel– matching the same number of rows as the front panel.
The next thing I did was to go round the bikini bottom using single crochet stitches for a finer finish. While at it, I made sure to add the ropes for fastening. The ropes were each made using chains of fifty crochet stitches plus one extra turning stitch. They were also crafted using half double crochet stitches.
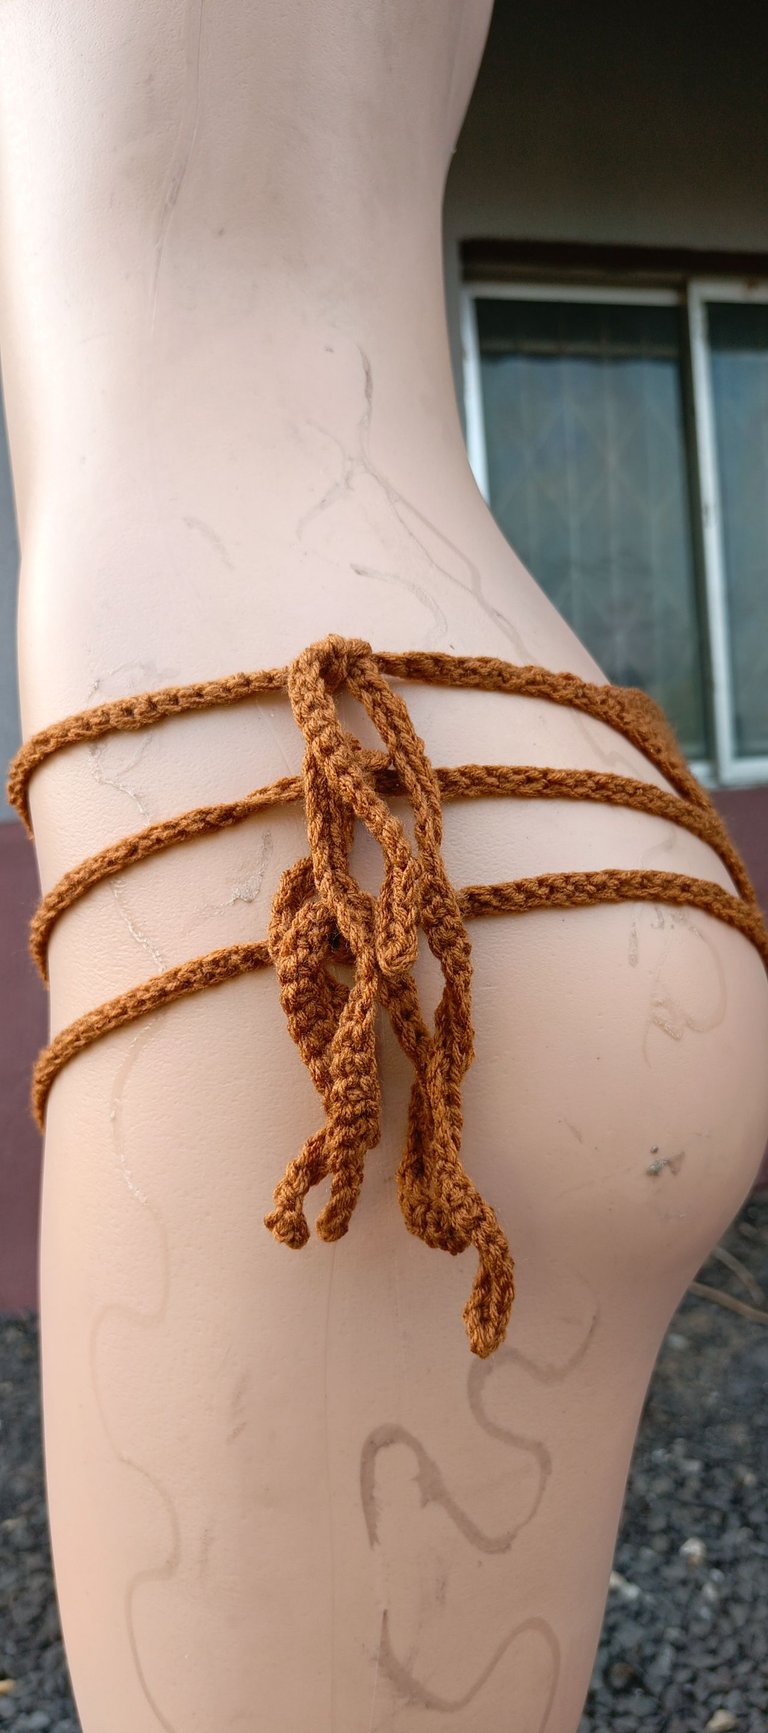
I particularly lived the ropes because they could be tied in different ways. I also love love the design for the crochet bikini bottom in general as it looks different from the regular bikini bottoms I see around.
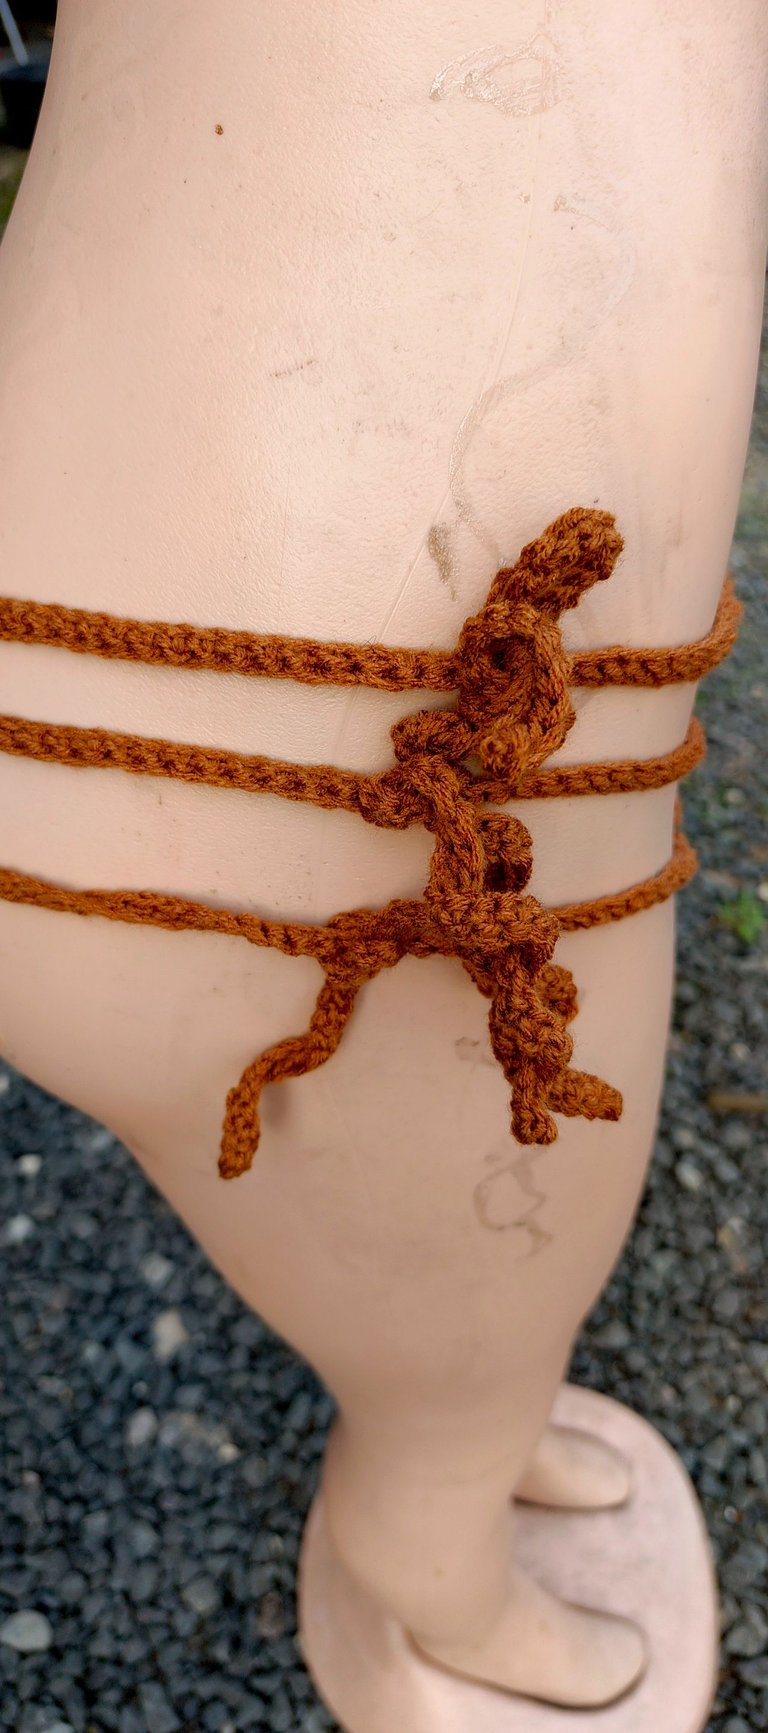
This brought me to the end of the craft. One piece down, two more to go.
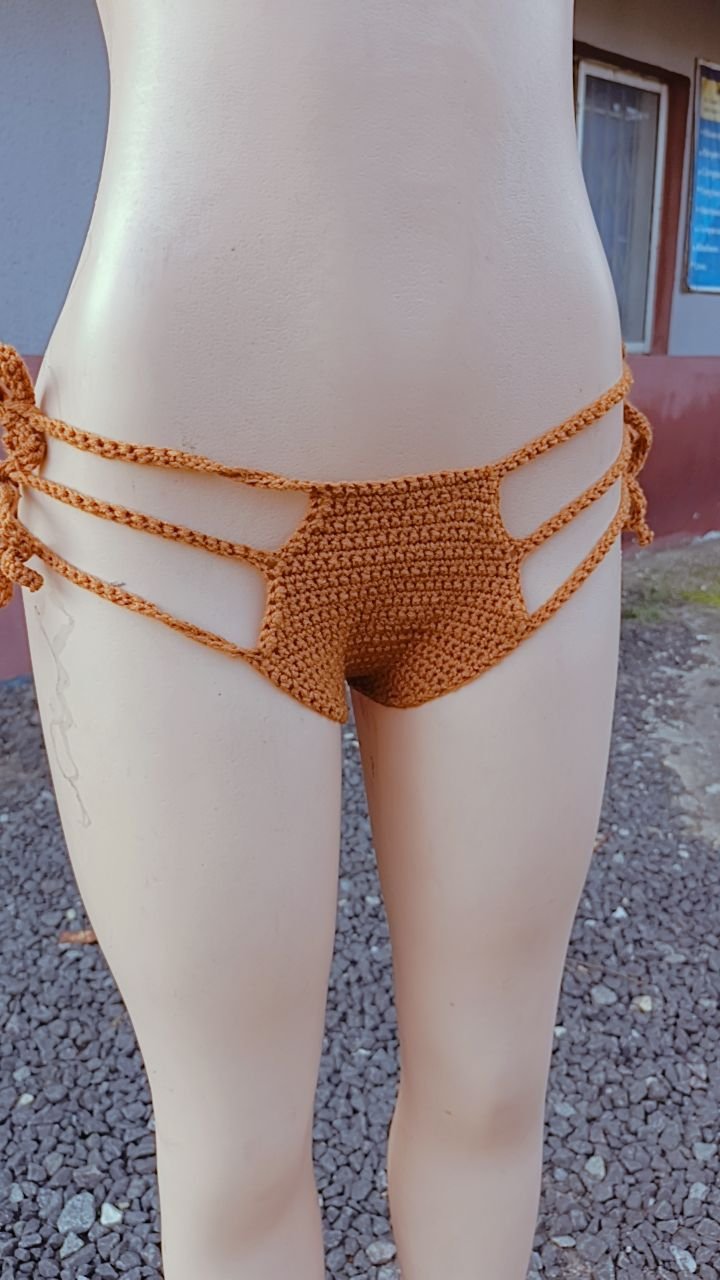
I was really glad as to how the bikini bottoms turned out. I showed the client a sneak peak of the craft and she absolutely loved it.
I cannot wait to share with the community the second piece of the three piece project. However, I would also love to hear your views on the bikini bottoms. What do you think of it?
All images used belong to me and were taken with my mobile device except stated otherwise.
Liebe🤍
