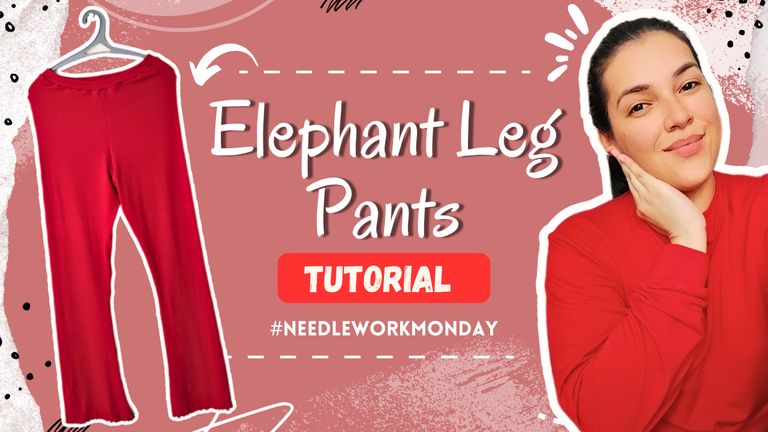
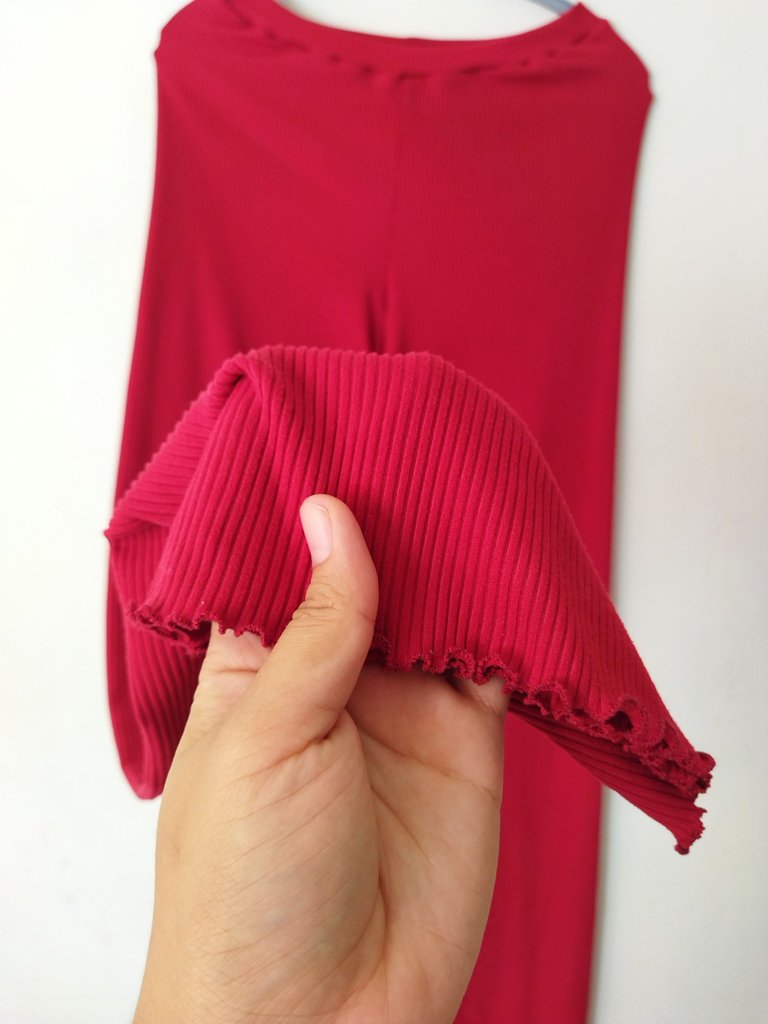
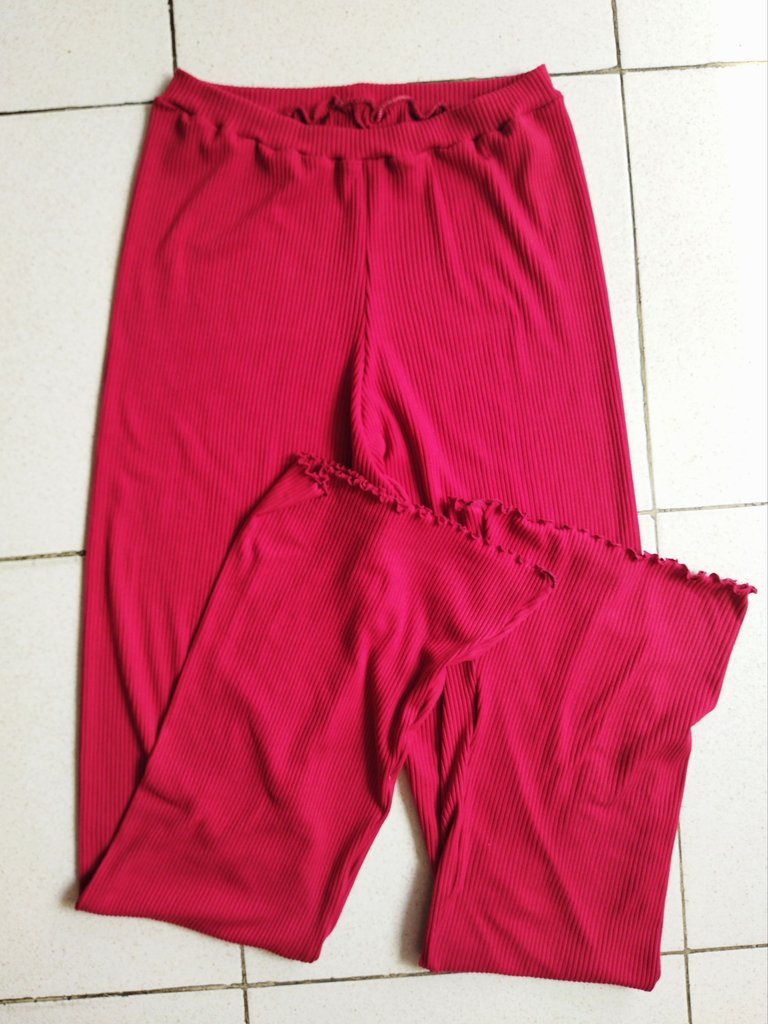
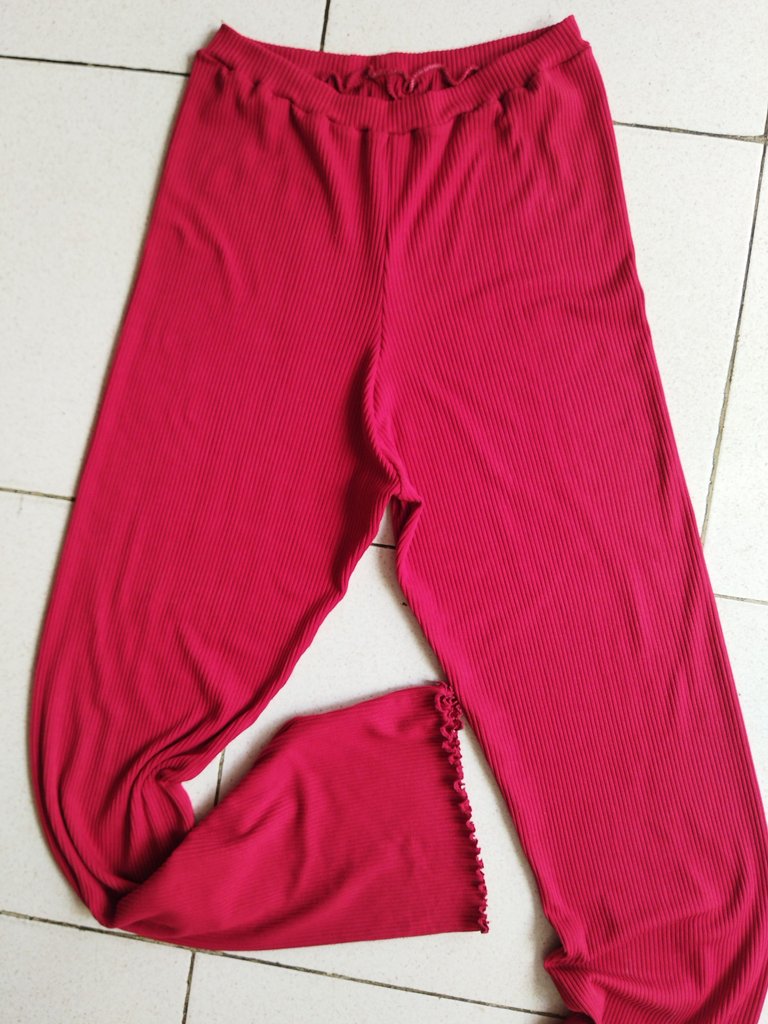
Saludos queridos amantes de la costura, espero se encuentren de maravilla y estén teniendo una excelente comienzo de semana. Hoy estoy feliz de mostrarles un pantalón que hice ayer para mí 🤭 intenté hacer un modelo pata de elefante pero creo que le faltó un poco más de ancho en la bota del pantalón, por si no saben este modelo de pantalón es el que va bien pegado hasta la rodilla y de allí se ensancha hacia la bota o pie, había visto algunos modelos con la tela micro rib y aprovechado que tenía de la última vez que compré me dispuse a realizarlo, el resultado me gusto mucho más denlo que esperaba y el color ni se diga, hermoso, así que sin mas habladuría acompañame a ver el proceso.
Greetings dear sewing lovers, I hope you are feeling wonderful and having a great week. Today I am happy to show you a pair of pants that I made yesterday for me 🤭 I tried to make an elephant leg model but I think it lacked a little more width in the boot of the pants, if you do not know this model of pants is the one that goes tight to the knee and from there it widens towards the boot or foot, I had seen some models with micro rib fabric and took advantage that I had from the last time I bought I set out to make it, the result I liked much more than I expected and the color is not to be said, beautiful, without more talk, come with me to see the process.
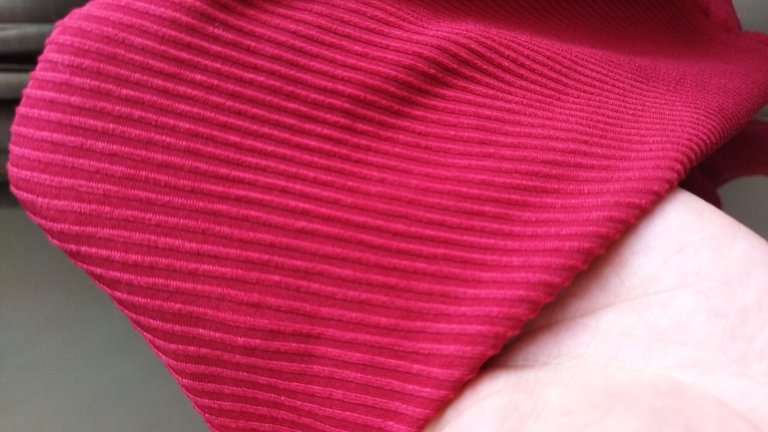
Para realizar este proyecto utilicé:
- Tela de micro rib
- Hilo a tono
- Tijera
- Cinta métrica
- Alfileres
To make this project I used:
- Micro-rib fabric
- Matching thread
- Scissors
- Tape measure
- Pins
Paso a paso || Step to step
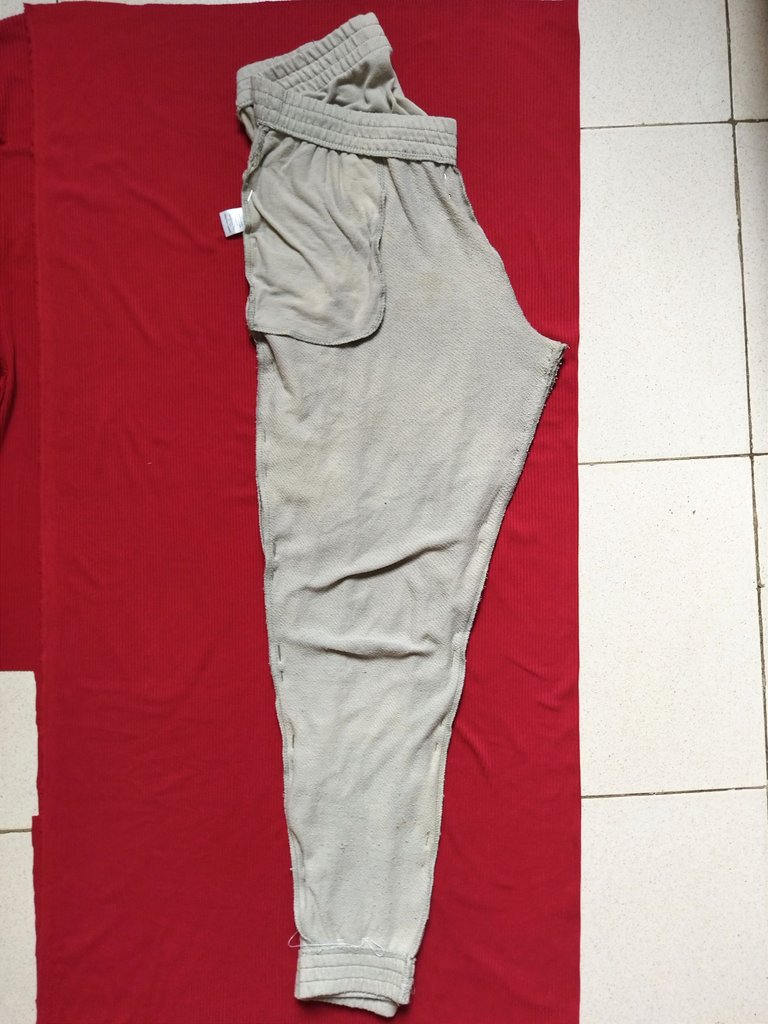
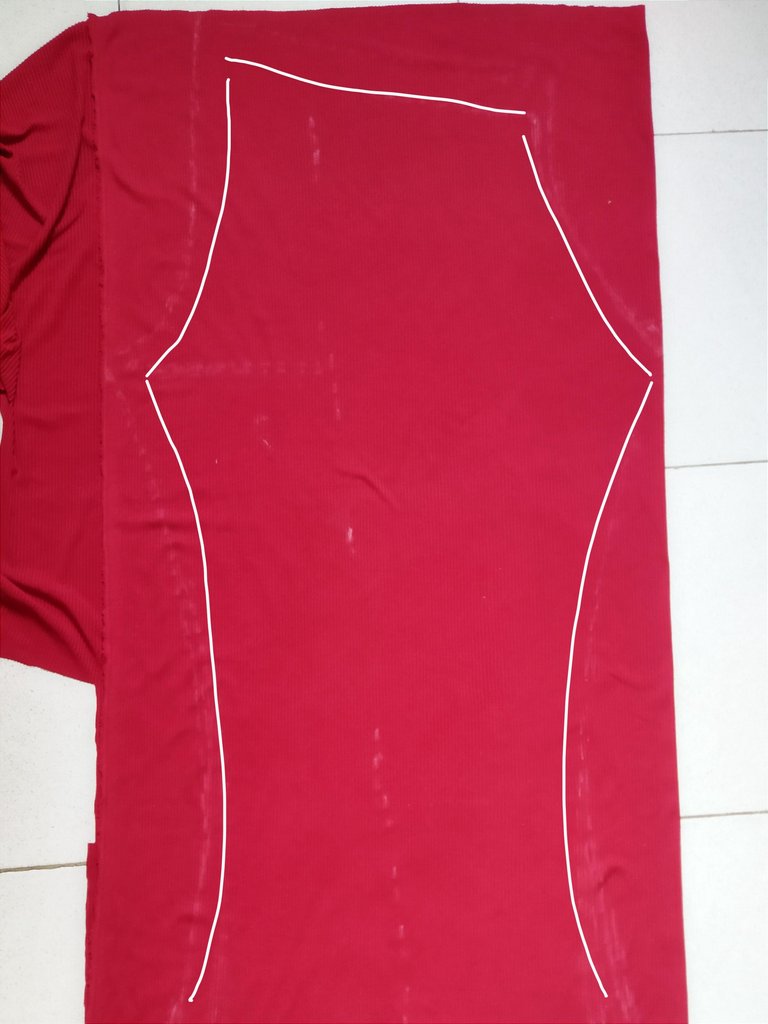
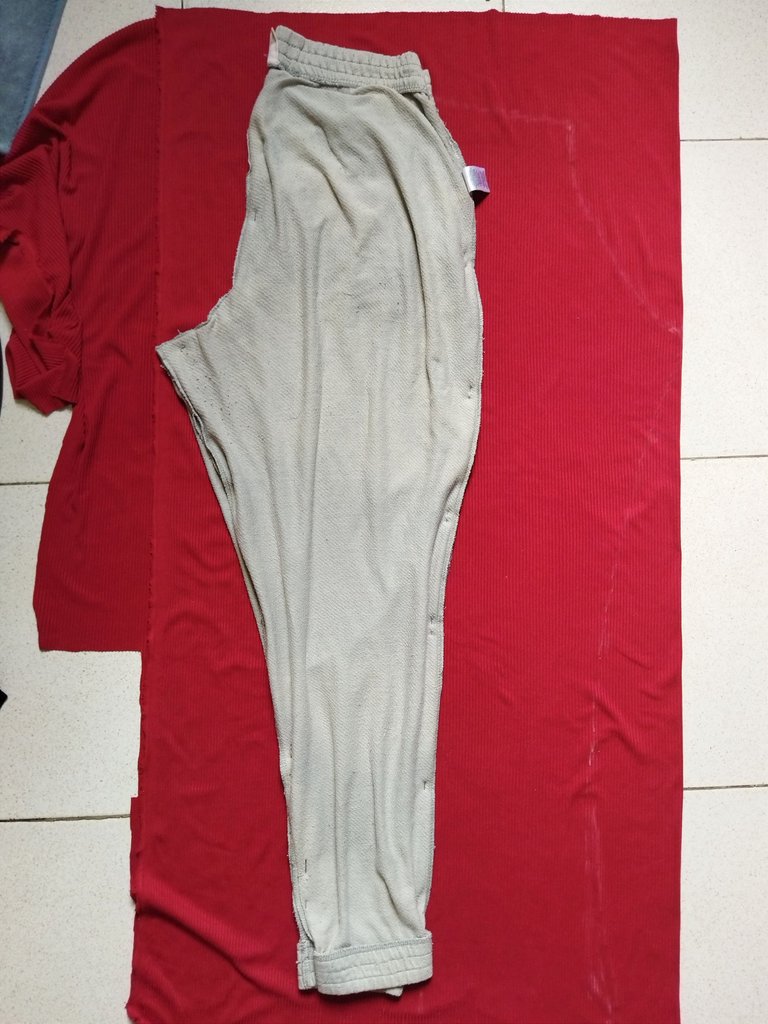
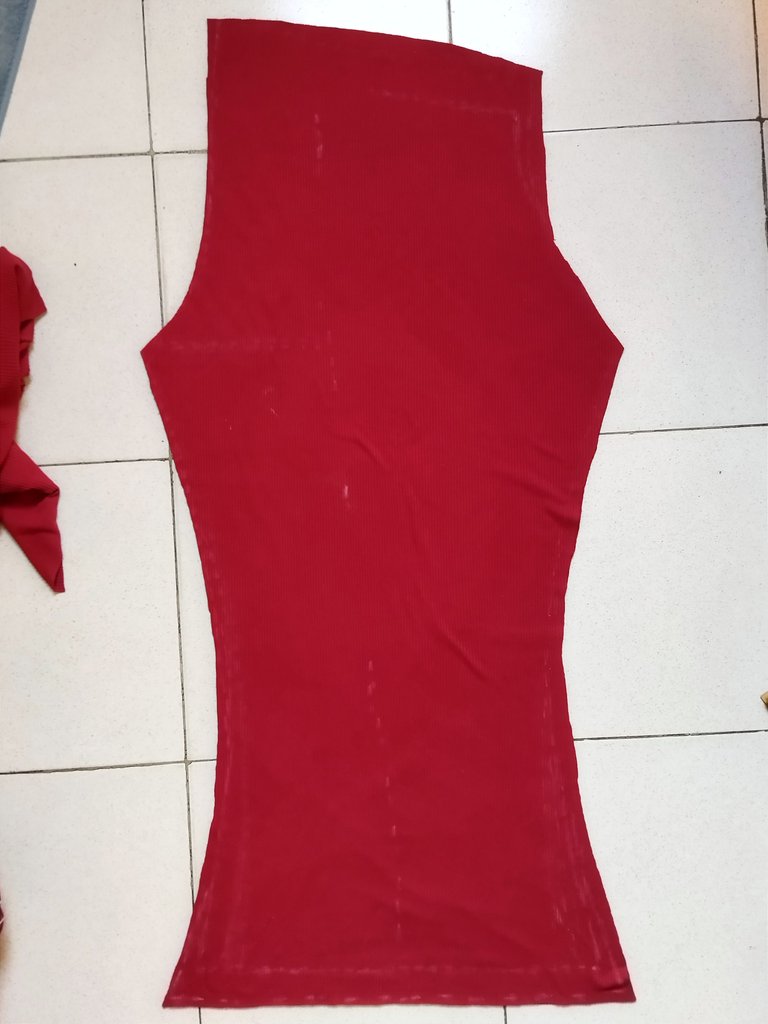
Comencé cortando las dos piezas del pantalón con la tela doble para hacer el trabajo más fácil y sacar las dos piezas de una vez, me ayude con un pantalón para sacar el patrón y en esta ocasión marque con tiza el molde, primero marqué el lado del tira trasero y luego doble el pantalón hacia el otro lado pata marcar el tiro trasero, como este pantalón debe quedar ajustado el cuerpo no agregué centímetros de costura, para la parte de la pierna ensanche la bota unos cuantos centímetros para que quedara más ancho a medida que iba bajando.
I started cutting the two pieces of the pants with the double fabric to make the work easier and get the two pieces at once, I helped me with a trouser to get the pattern and this time I marked with chalk the mold, first I marked the side of the back strip and then I folded the pants to the other side to mark the back shot, as this pants should be tight to the body I did not add inches of seam, for the leg part I widened the boot a few inches to make it wider as it was going down.
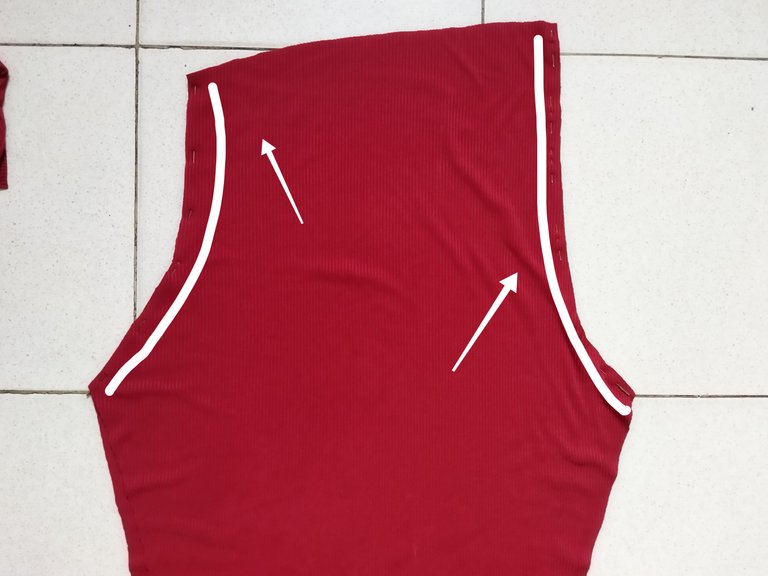
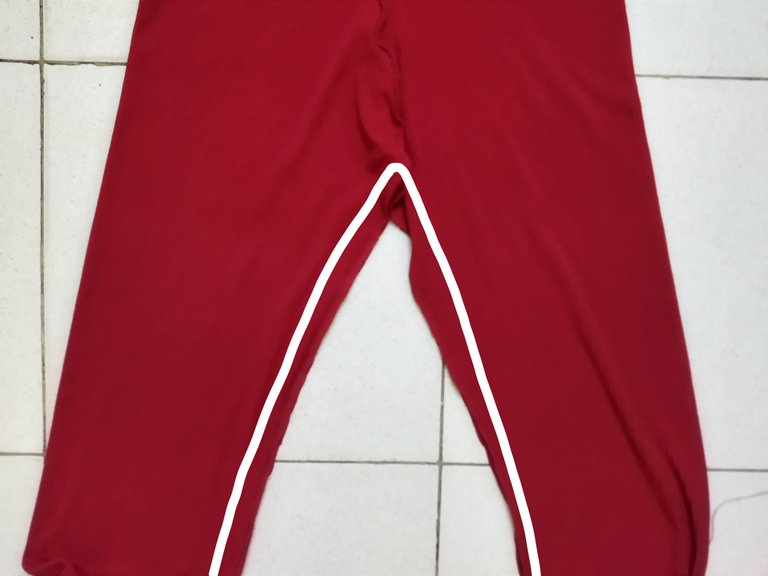
La costura de este pantalón es muy sencilla, vamos a coser los tiros delantero y trasero y luego abrimos el pantalón para coser la entrepierna, yo suelo hacer doble costura y luego zigzag en la orilla para reforzar y tener un mejor acabado.
The sewing of these pants is very simple, we are going to sew the front and back straps and then open the pants to sew the crotch, I usually double stitch and then zigzag the edge to reinforce and have a better finish.
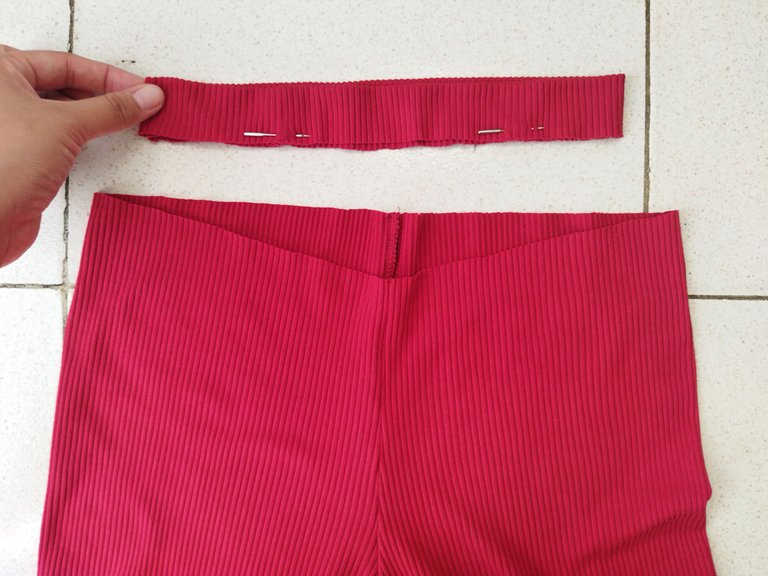
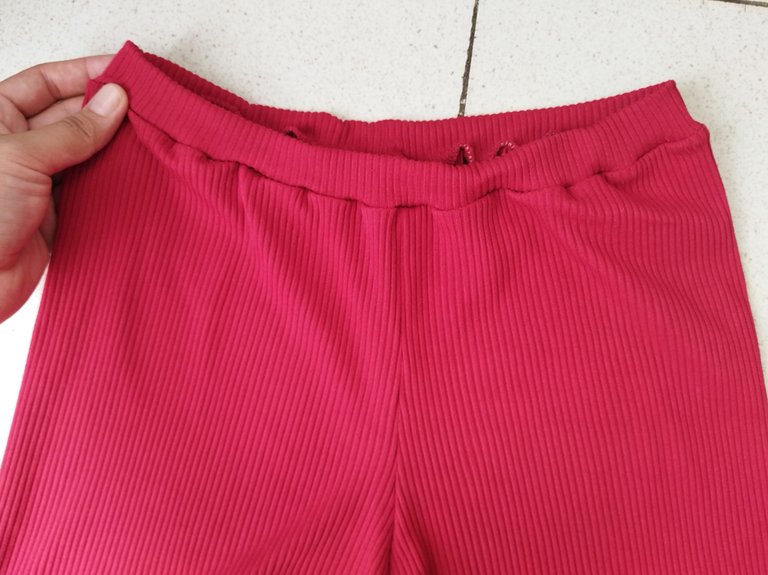
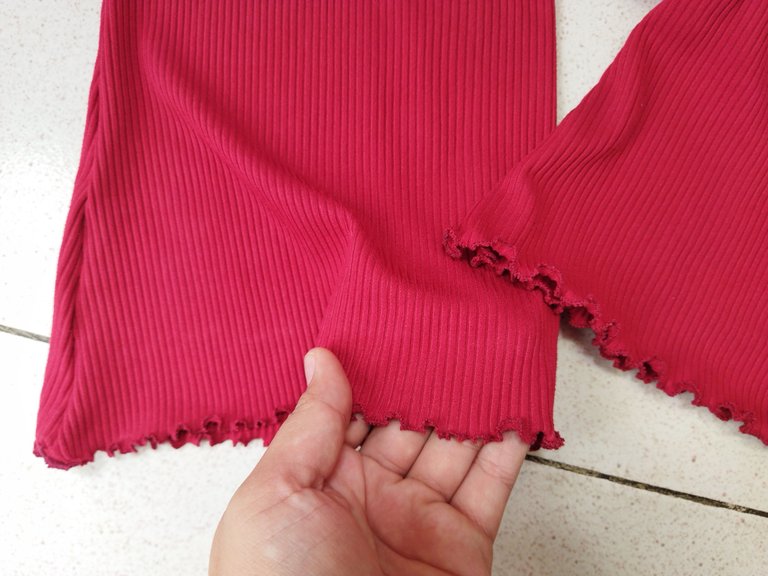
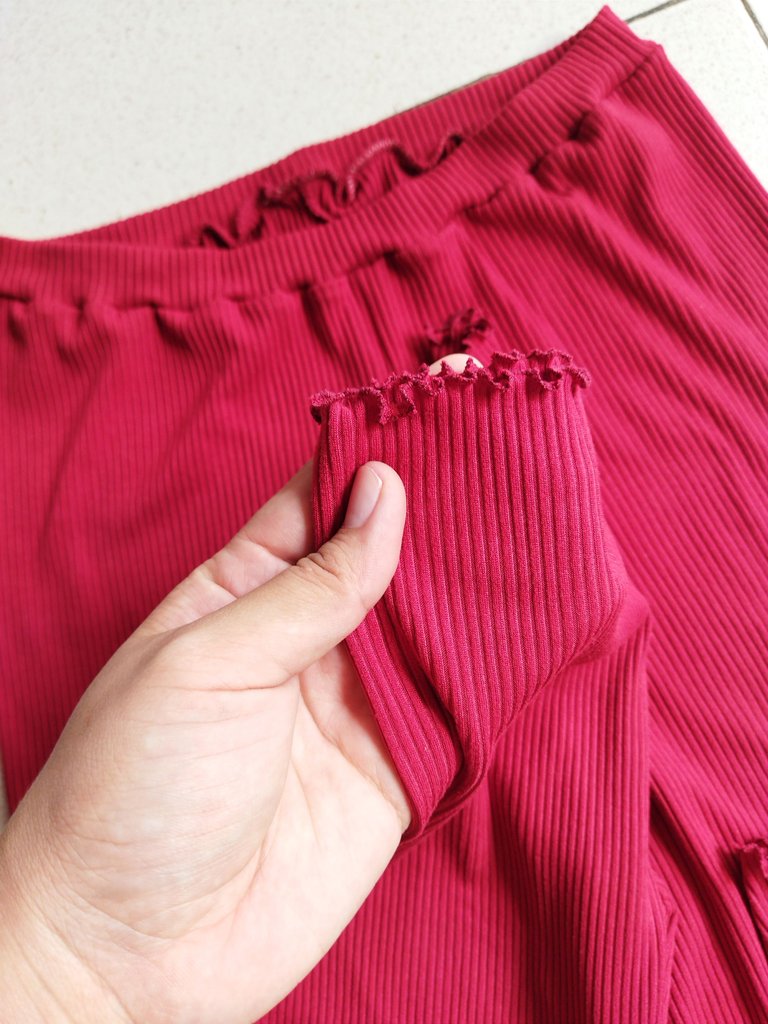
Para hacer la pretina corte una tira de 10 cm de ancho y la cosí al contorno de la cintura del pantalón doblada, para las orillas de las piedras hice el fruncido con la puntada en ojal que queda hermoso. ¿qué tal les pareció este nuevo trabajo? Los leo en los comentarios 😊 a mí me encantó muchísimo como quedó este pantalón, es el primero que hago de este modelo y obviamente hay muchas cosas por mejorar pero quedó muy lindo, mil gracias por leerme, ¡Hasta luego!
To make the waistband I cut a 10 cm wide strip and sewed it to the contour of the folded waistband of the pants, for the edges of the stones I did the gathering with the buttonhole stitch that looks beautiful. How did you like this new work? I'll read you in the comments 😊 I really loved the way these pants turned out, it's the first one I've made of this model and obviously there are many things to improve but it turned out very nice, thank you very much for reading me, see you later!
¡Gracias por leerme, hasta luego!
Thank you for reading me, see you later !


Camera: Xiaomi Redmi 9T. | Separadores: Aquí | Edition: CANVA | Translation: Deepl.com


