
Saludos queridos amantes de la costura y las agujas, espero se encuentren de maravilla, feliz lunes de agujas, espero tengan una excelente semana. La semana pasada les conté que pude reparar mi máquina de coser que tenía ya dos meses sin usar, una de las razones primordiales para repararla además que ya tenía muchas ganas muchas ganas de volver a coser, es que tenía la necesidad de terminar algunos proyectos como por ejemplo el mono es colar de mi niña, ya falta poco para el regreso a clases y hace un año le hice su primer mono, en ese entonces me quedó tela suficiente parq hacer otro y recuerdo que lo corté pero nunca lo cosí así que revisando en mi caja de telas lo encontré y hoy le muestro el proceso de como lo hice.
Greetings dear lovers of sewing and needles, I hope you are wonderful, happy Monday of needles, I hope you have an excellent week. Last week I told you that I was able to repair my sewing machine that had been unused for two months, one of the main reasons to repair it besides the fact that I really wanted to start sewing again, is that I had the need to finish some projects like for example my little girl's jumpsuit, it's almost back to school and a year ago I made her first jumpsuit, I am almost ready to go back to school and a year ago I made her first jumpsuit, at that time I had enough fabric left to make another one and I remember that I cut it but I never sewed it so I found it in my fabric box and today I show you the process of how I made it.
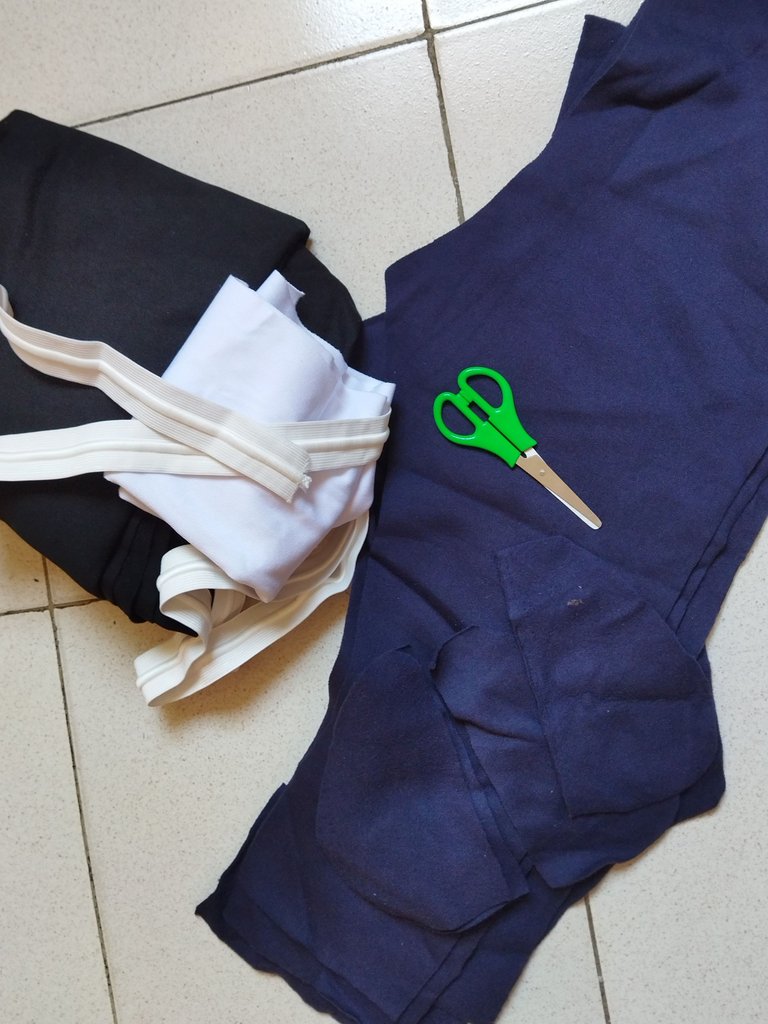
Para realizar este mono escolar utilice:
- Tela de mono
- Hilo a tono
- Tijera
- Elástica con cordón
- Cinta métrica
- Alfileres
To make this school jumpsuit use:
- 1 meter of monkey fabric
- Matching thread
- Scissors
- Elastic with cord
- Measuring tape
- Pins
Paso a paso || Step to step
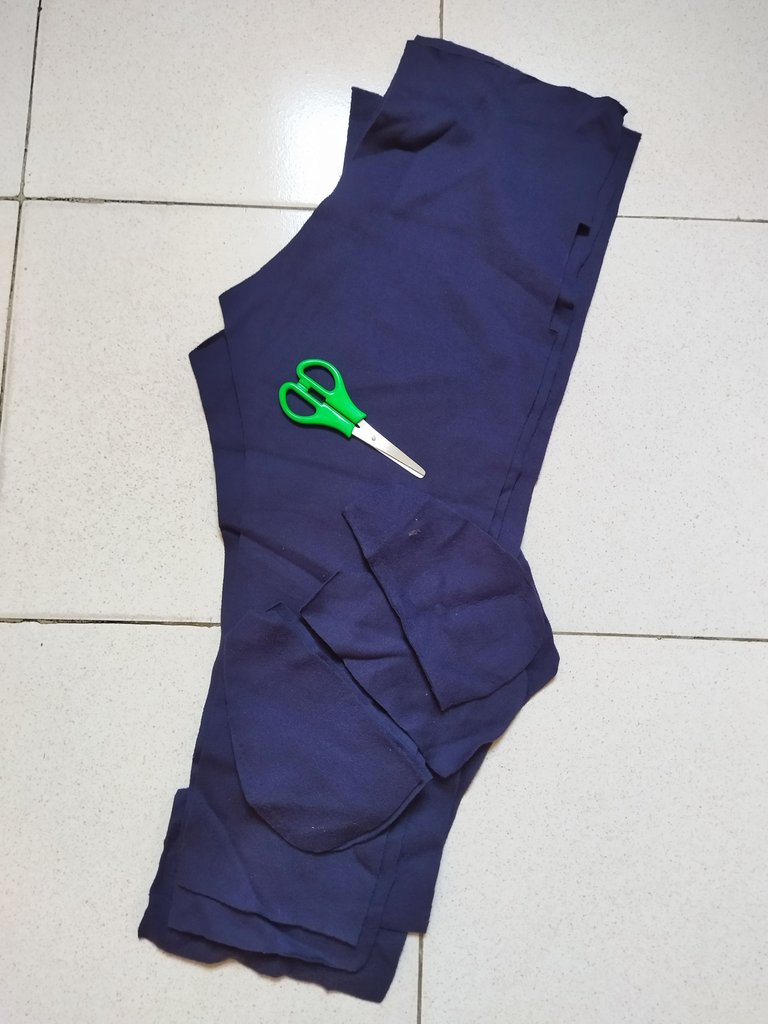
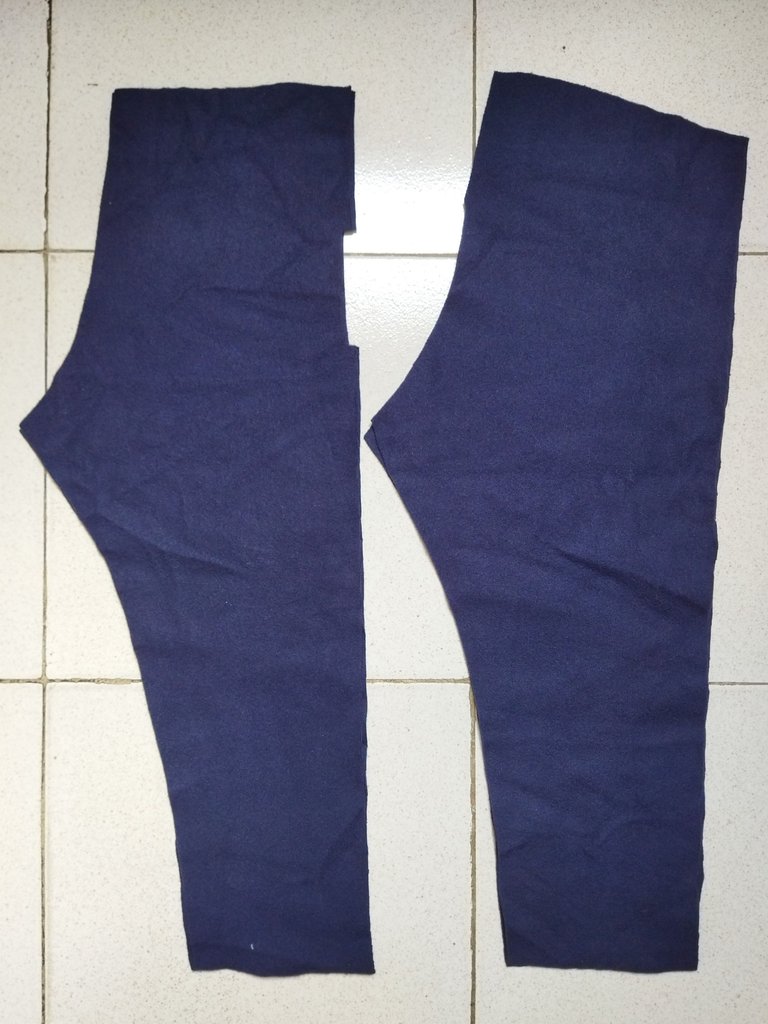
Como ya tenía las piezas cortadas este paso fué fácil, use como patrón un pantalón jogger para cortar las piezas, necesitamos sacar dos piezas de cada lado, 2 traseras y 2 delanteras, cortamos dejando 1cm de margen de costura y vamos a añadír centímetros extra para la pretina esto dependiendo del ancho de la elástica que vaya a usar.
As I already had the pieces cut this step was easy, I used as a pattern a jogger pants to cut the pieces, we need to take two pieces from each side, 2 back and 2 front, we cut leaving 1cm seam allowance and we will add extra centimeters for the waistband depending on the width of the elastic you are going to use.
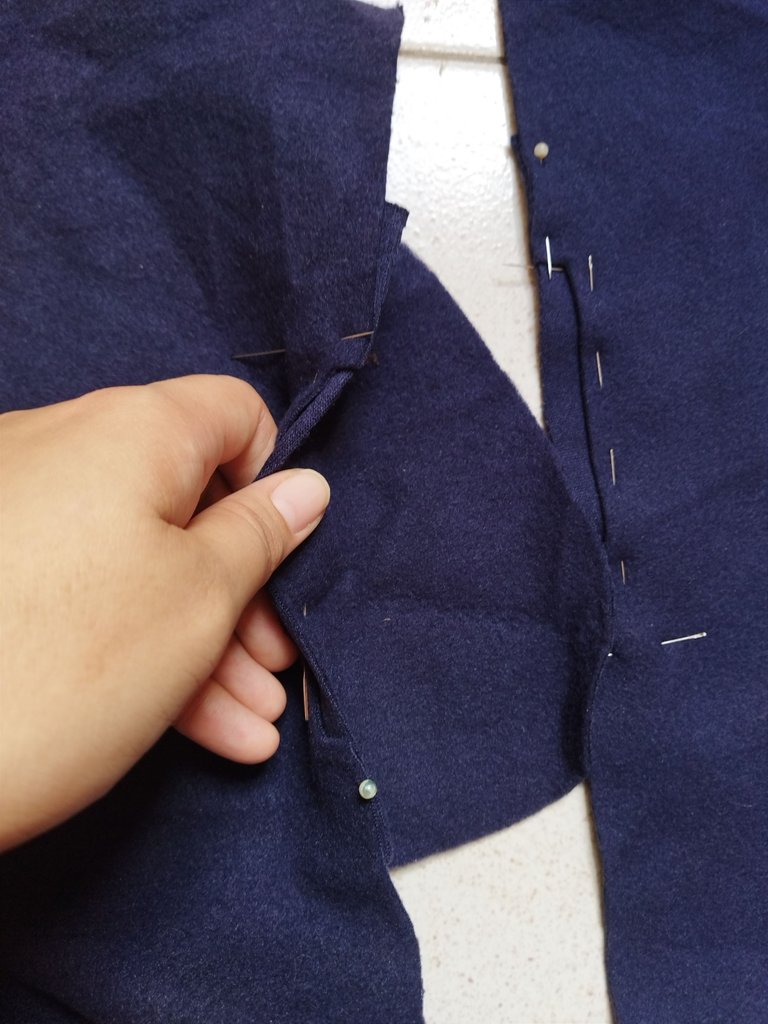
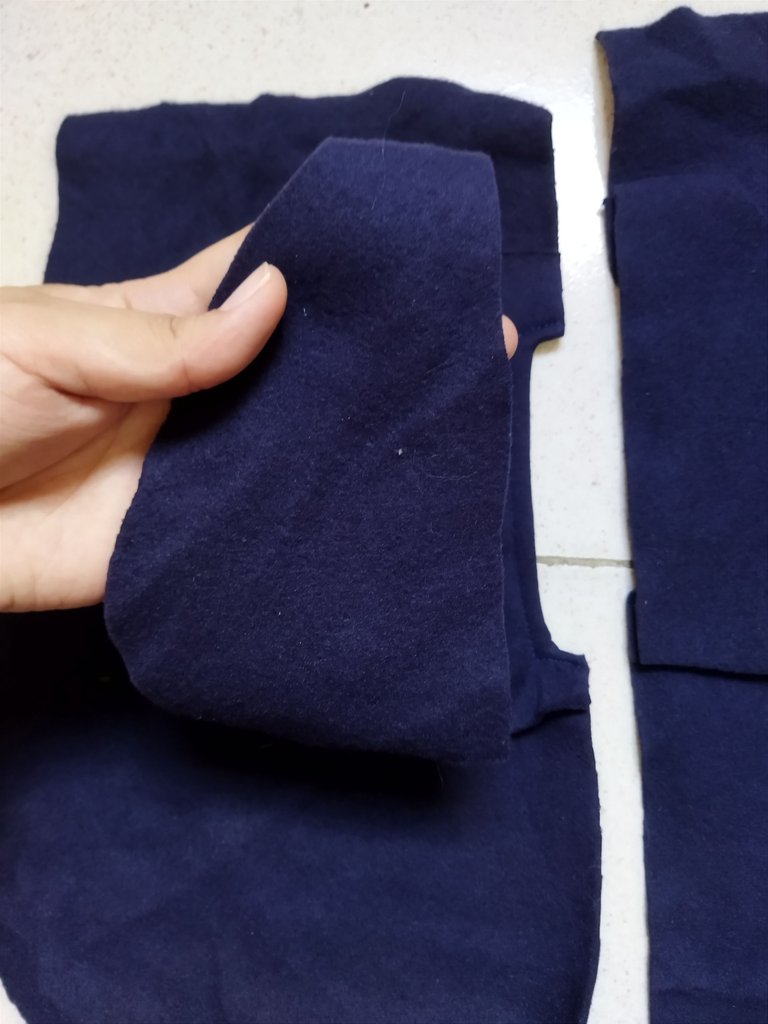
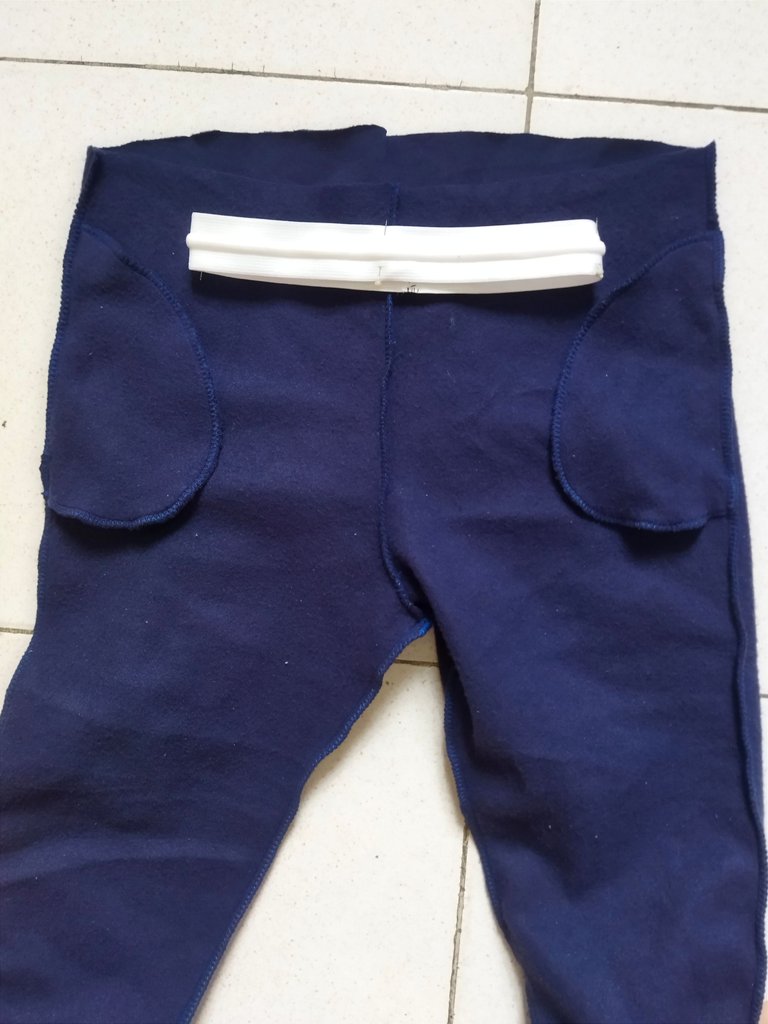
Ahora vamos a coser los bolsillos, estos los cortamos aparte y luego cosemos a los costados de la pieza delantera yo dejé 9 cm hacía abajo de la pretina y cosí haciendo un corte cuadrado de un cm de profundidad como pueden ver en la imagen, después pase la pieza del bolsillo hacía atrás y cosí la otra tapa con costura recta y zigzag ñara un mejor acabado
now we are going to sew the pockets, we cut them apart and then sew them to the sides of the front piece, I left 9 cm down the waistband and sewed making a square cut of one cm deep as you can see in the image, then pass the pocket piece to the back and sew the other cover with a straight seam and zigzag for a better finish.
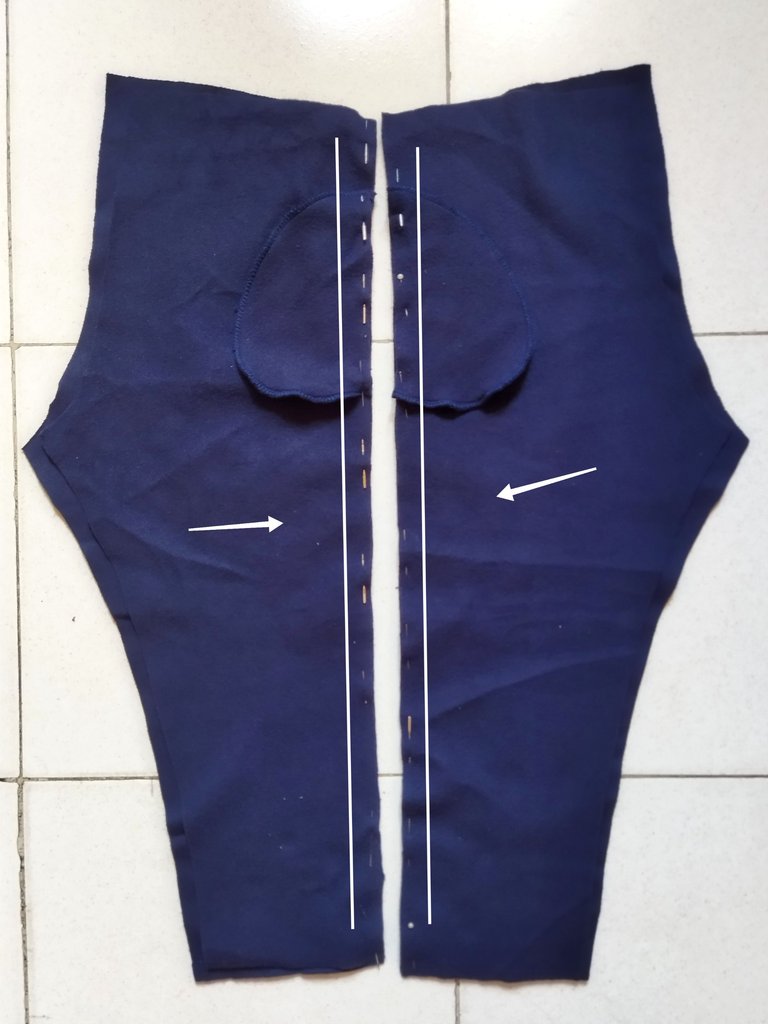
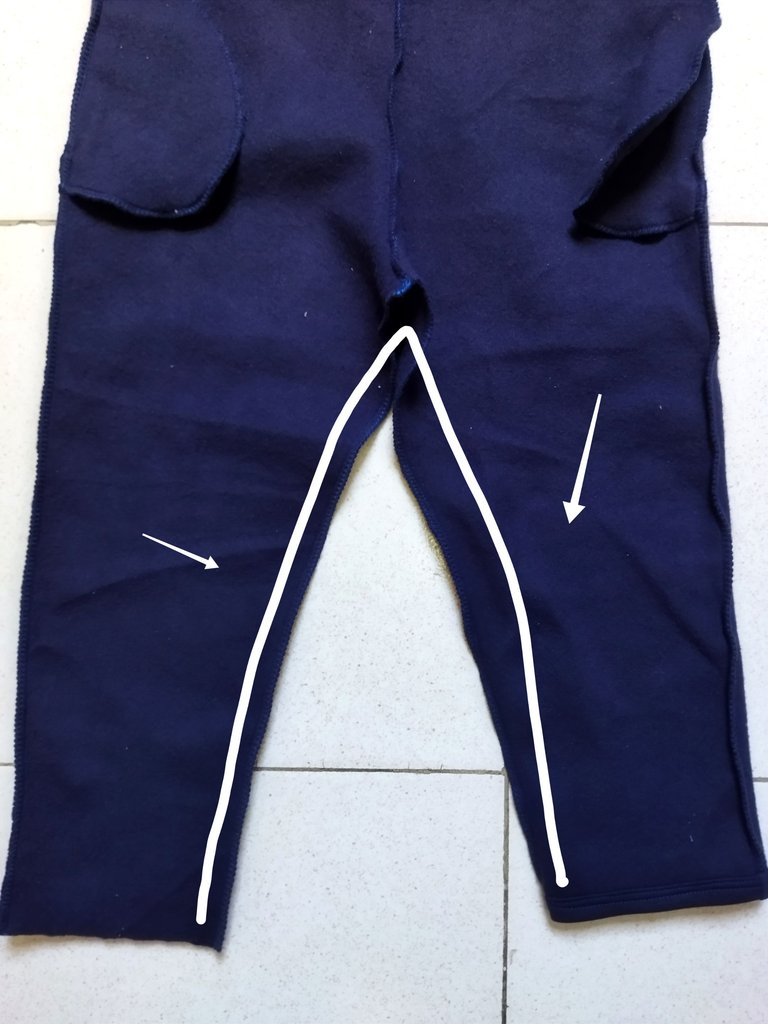
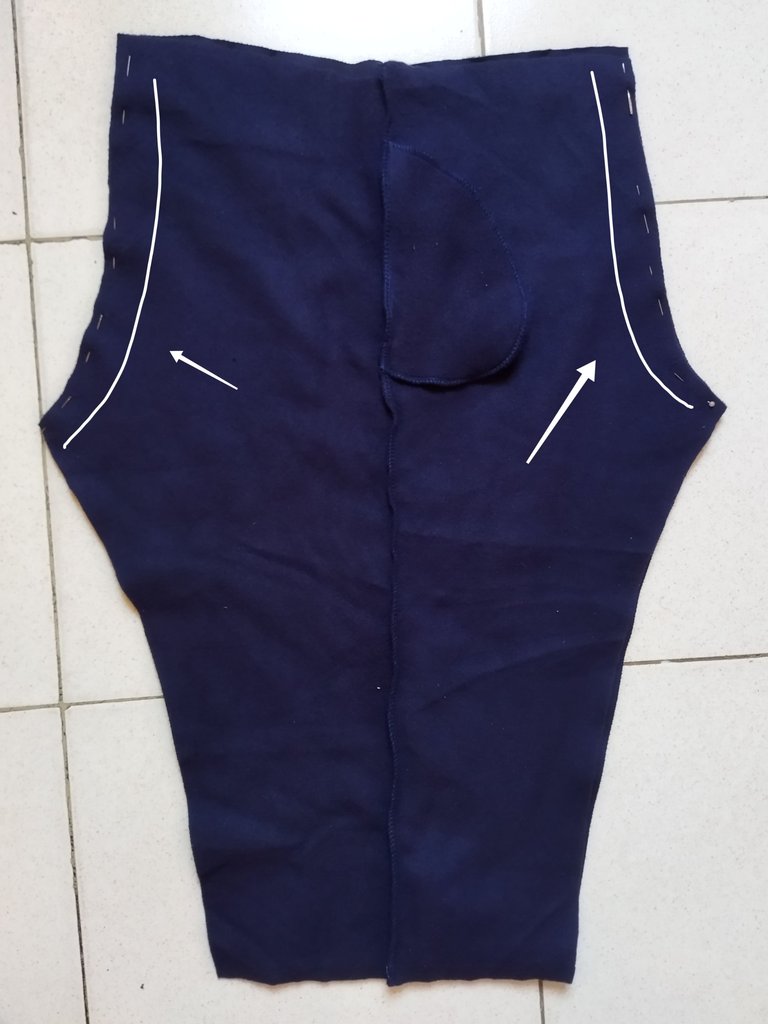
Seguí cosiendo la pieza delantera del pantalón con la pieza trasera, lo mismo repetí con las demás piezas, y luego enfrente los derechos de estás dos para coser los tiros delantero y trasero, seguí cosiendo la entrepierna para cerrar el pantalón y también cosí las orillas de los ruedos con doble costura recta, ahora viene coser la pretina, el largo de pretina dependerá de lo ancho qur necesites.
I continued sewing the front piece of the pants with the back piece, I repeated the same with the other pieces, and then I sewed the right sides of these two to sew the front and back straps, I continued sewing the crotch to close the pants and also sewed the edges of the hems with double straight stitching, now comes sewing the waistband, the length of the waistband will depend on how wide you need it to be.
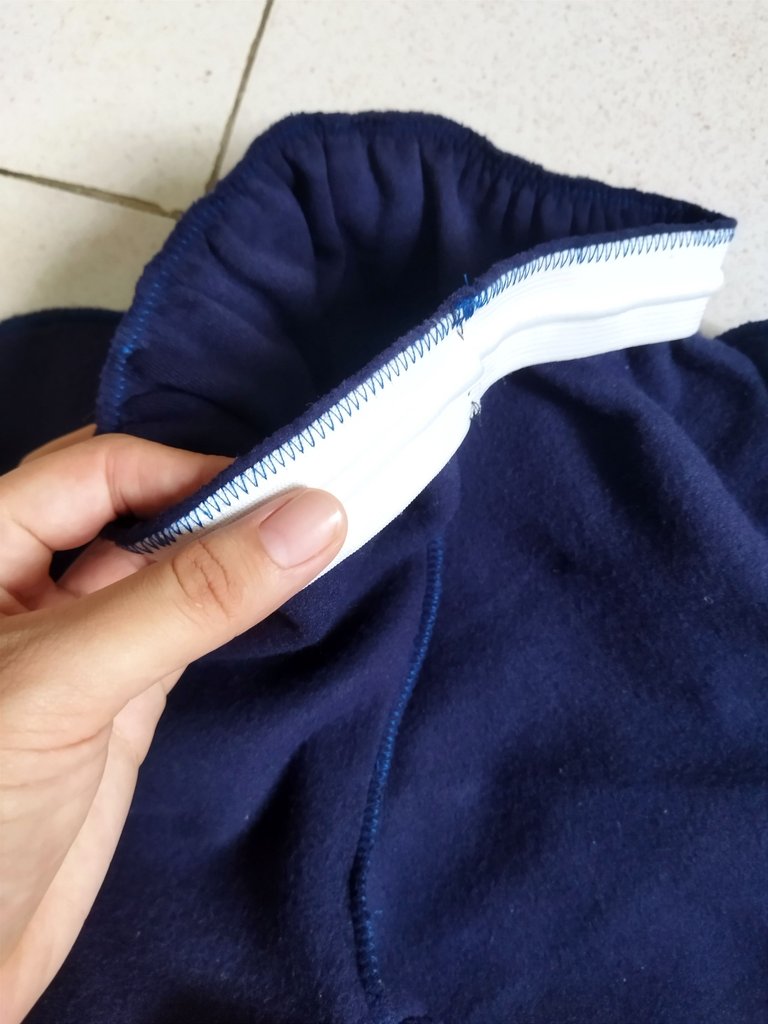
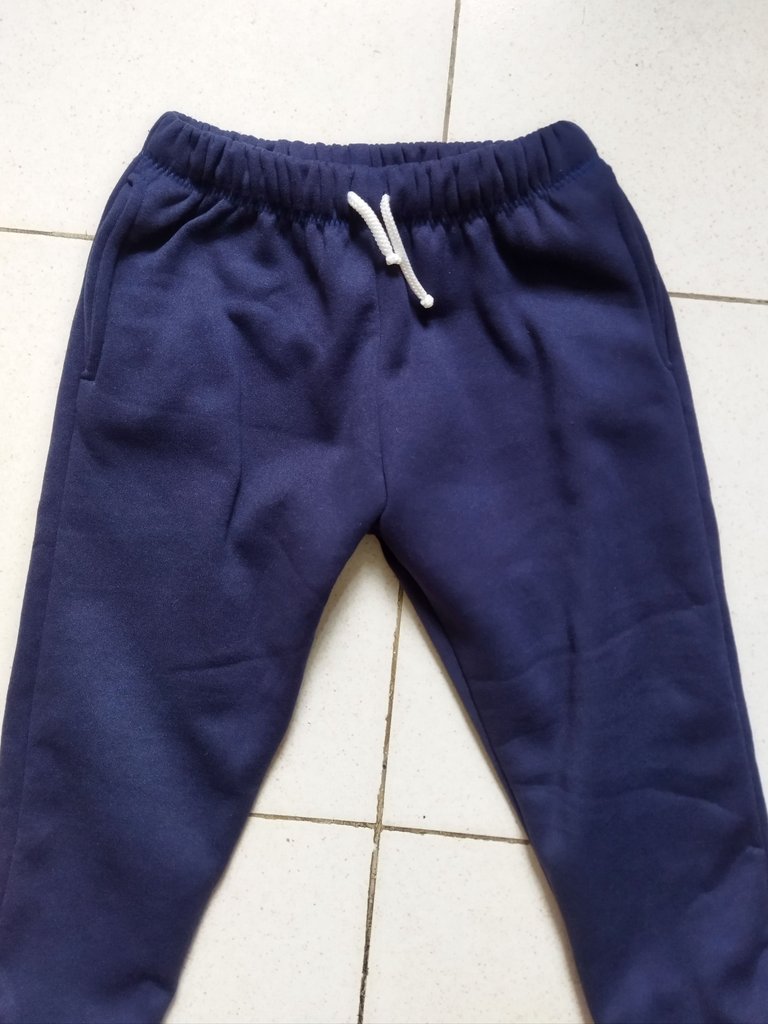
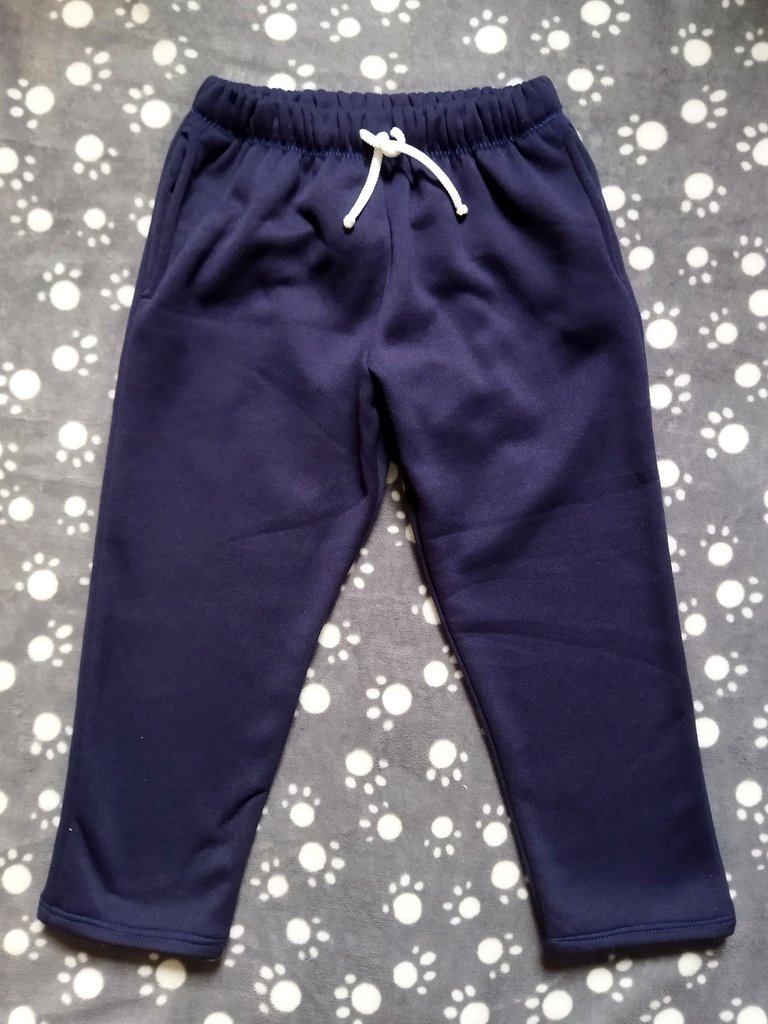
Para coser la pretina primero corté la elástica que utilizaría y con los Alfileres sujeté para luego pasar por la máquina con una costura zigzag en la orilla, luego doble hacía dentro y volví a pasar zigzag nuevamente, cuando ya tenía la pretina cosida saqué los cordones y hice unos nudos también quemé las puntas para qué no se viera feo. Amigos así quedaría el resultado final de este mono escolar siento que me quedó muy bien 😊 gracias por leerme, ¡Hasta luego!
To sew the waistband I first cut the elastic that I would use and with the pins I pinned it and then went through the machine with a zigzag seam on the edge, then I folded it inside and zigzagged it again, when I had the waistband sewn I took out the laces and made some knots I also burned the ends so it wouldn't look ugly. Friends, this is how the final result of this school jumpsuit looks like 😊 thanks for reading me, see you later!
¡Gracias por leerme, hasta luego!
Thank you for reading me, see you later !


Camera: Xiaomi Redmi 9T. | Separadores: Aquí | Edition: CANVA | Translation: Deepl.com
