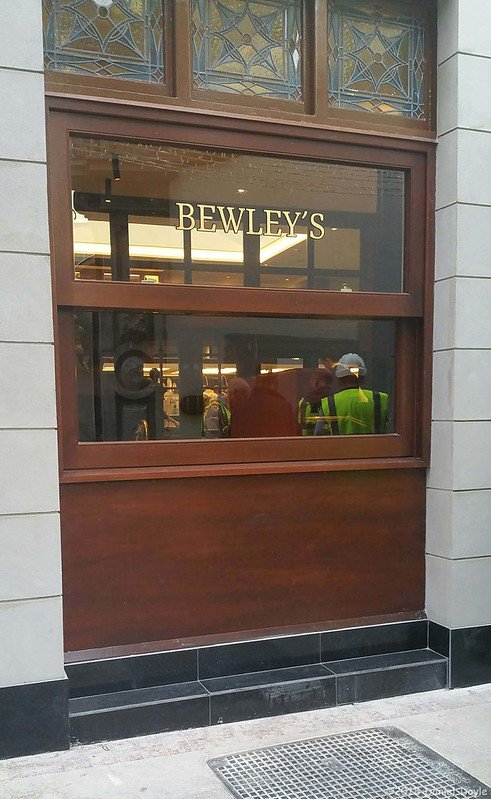
I posted a while back about some planters I made for a prestigious Cafe in the heart of Dublin. Here is a link to it. It was the first job I did in my then new workshop and I thought it would be nice to document the trials and tribulations I had to work through.
If you had of been paying attention you would have remembered that I had problems fitting some of them. I'm sure it has kept you up at night.
You see, after taking all my measurements and setting to work the builders decided that they would change the area where they were supposed to go without telling me. They replastered the wall making the gap smaller. The owner had also changed their mind and wanted the planters to be raised off the ground, Which I agreed with.
As a maker you have to be used to making everything right in the end, as long as the client understands that there will be an extra cost for the changes. So I said yes and told them how much it would cost to fix their fuck up.
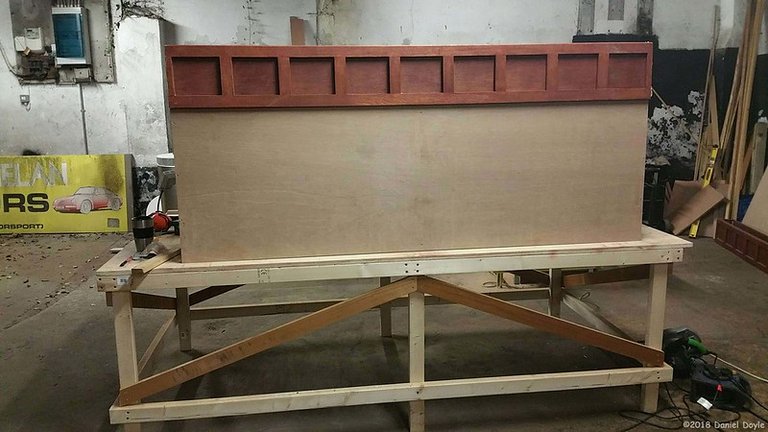
Shrink
The first thing I fixed was the width which I tried to resolve by taking the same amount off each side. I thought I would get away with this and probably I would have but it annoyed me that the solid wooden frame was so thin at the edge.
Putting that fix on hold I decided to make the plinth for it to stand on to see if that would improve matters. It didn't. I couldn't let this leave my workshop till I was happy with my bodge job.
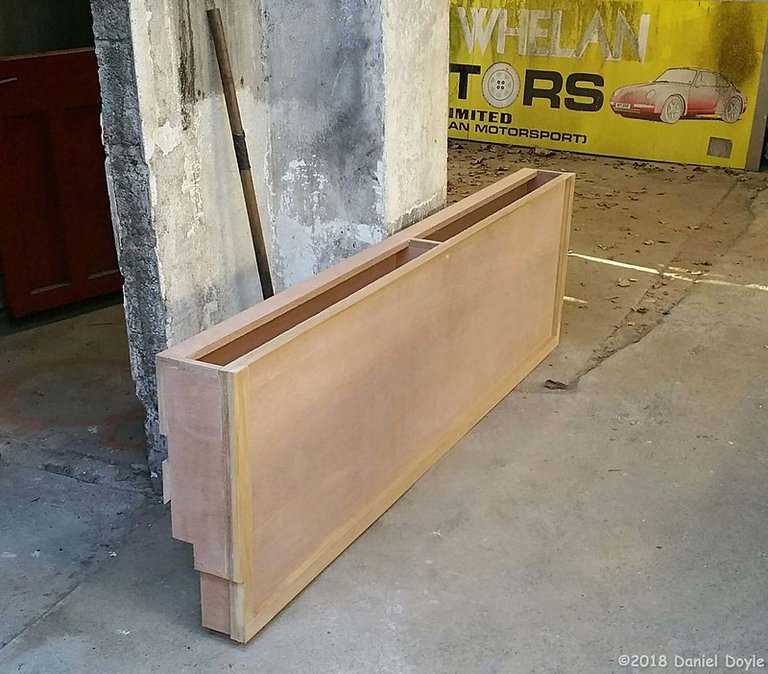
A little bit taller
The construction of the plinth was simple enough. Just a box but I needed some cut outs at the bottom to fit around the step. This would be attached to the wall with a French cleat and the planter would be screwed to the top.
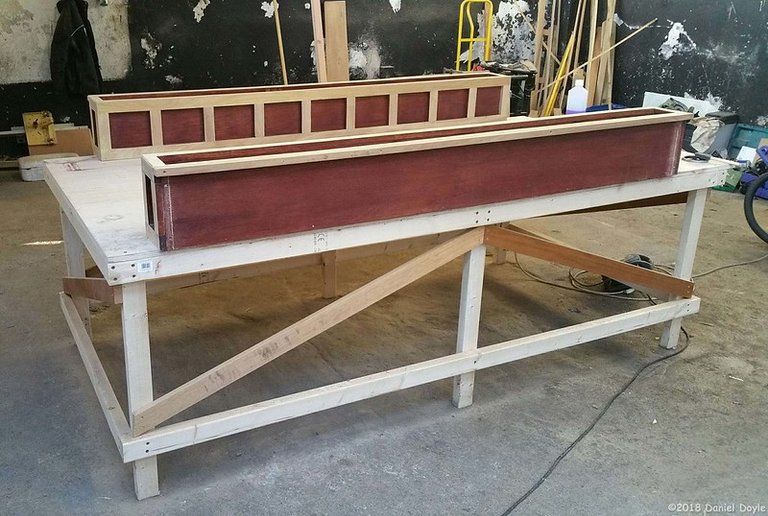
Scrap that
Once that was done I bit the bullet and redid all the solid Iroko wooden framework. Visually this needed to be done because the gaps had to be of equal size. Luckily, I had some wood left over and just had enough.
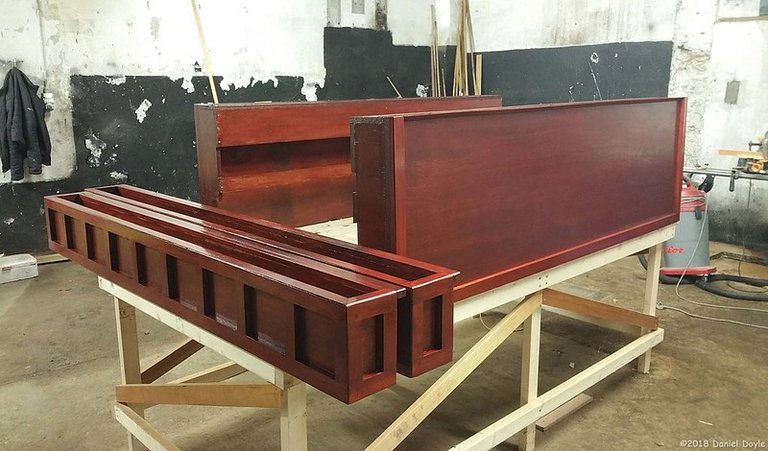
A few coats of varnish later and they were ready. I wasn;t very fond of the varnish finish but I had been assured that this was the best varnish money could buy for Ireland rainy climate.
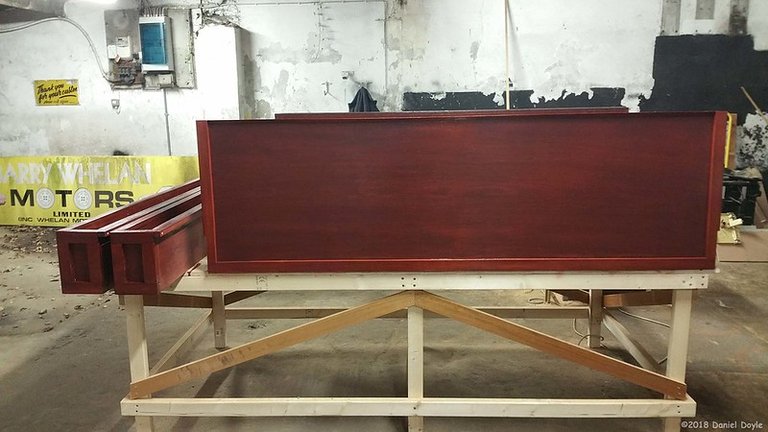
I'll get my coat
It was difficult to get a nice even finish because it was staining the wood and had to be the same thickness or it would look blotchy. with lots of light layers, I got it as best I could.
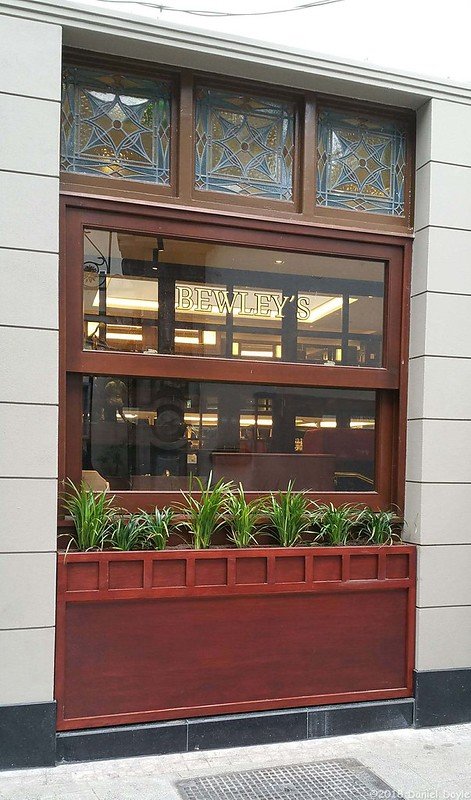
Signed sealed and delivered
In place, they came up pretty well. This image is from a few weeks after installation and you can see s few scuff marks from the public. The colour didn't match exactly because the builders never provided the Ral number but over time the wood sometimes darkens.
The plants were pretty plain but would come out with some nice flowers in the summer.
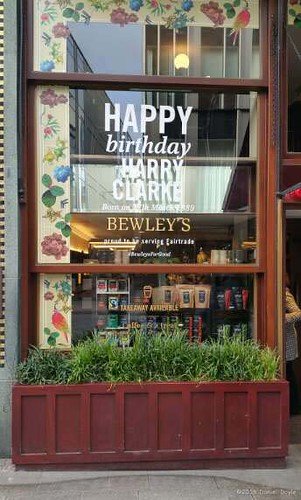
Loose ends
The ones I had made before were still there but again scuffed by passers-by. Funny enough the plants kept on getting stolen even though at this point they just looked like grass.
I figured people took them home so they could tell their friends these were plants from Bewleys that I have in my collection.
The owners asked if I could put a cage over them to stop it from happening but I told them it would look like they were in prison and take away from the whole look of the storefront. My solution was to remove all the plants and put a metal mesh in the soil that the plants could grow up through. The root ball would be captured below. It worked very well and no more plants were nicked.
I was happy with how it all came together and so were they but, I will say, for the record, that it took a long time for me to get paid for my work. I had to send several invoice reminders and it was only when I threatened I would send the boys 'round to collect that I got it. This left a bad taste in my mouth. This whole refurb cost millions and for a small little maker like me to have to beg for his money was just not on.
This was all done in 2017/ 2018 and all these years later the planters are still there and look pretty good even though they are exposed to so much public interaction. I must have done something right.


