En esta oportunidad les traigo la elaboración de un papagayo o cometa que forma parte de los juegos tradicionales en mi país Venezuela.
El papagayo llegó a Venezuela gracias a los colonizadores y es conocido en diferentes países como cometa, papalote, barrilete.
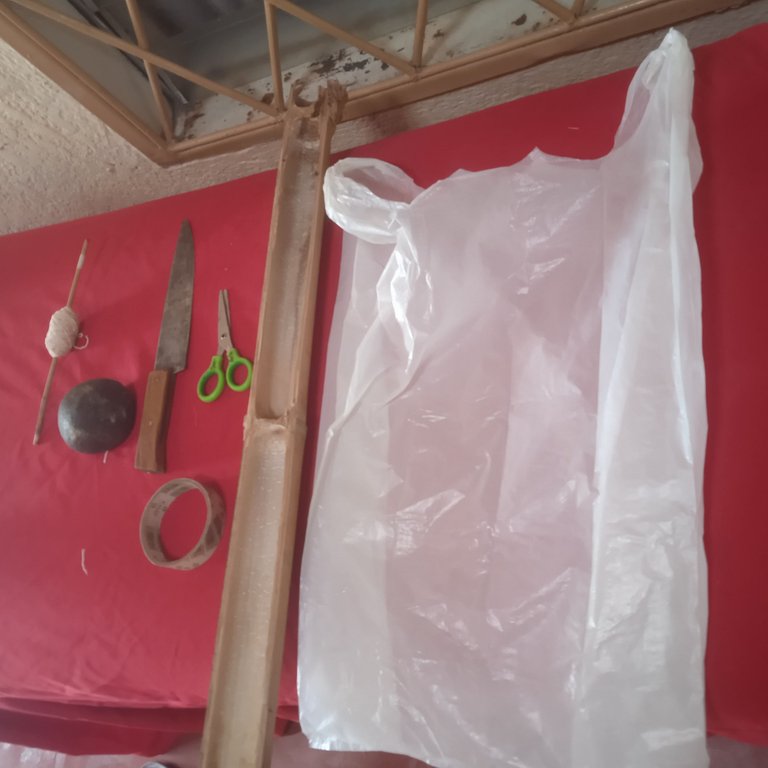
El papel que tradicionalmente se utiliza para hacer los papagayos es el papel de seda, pero también funciona con papel de periódico, bolsas de papel plástico, por lo que también lo reciclaremos dándole un nuevo uso.
En esta oportunidad utilizaremos una bolsa de papel, para la estructura de nuestra cometa ,bambú o caña, tijeras, cinta plástica, hilo, y opcionalmente tela para la cola, que también se puede utilizar la misma bolsa.
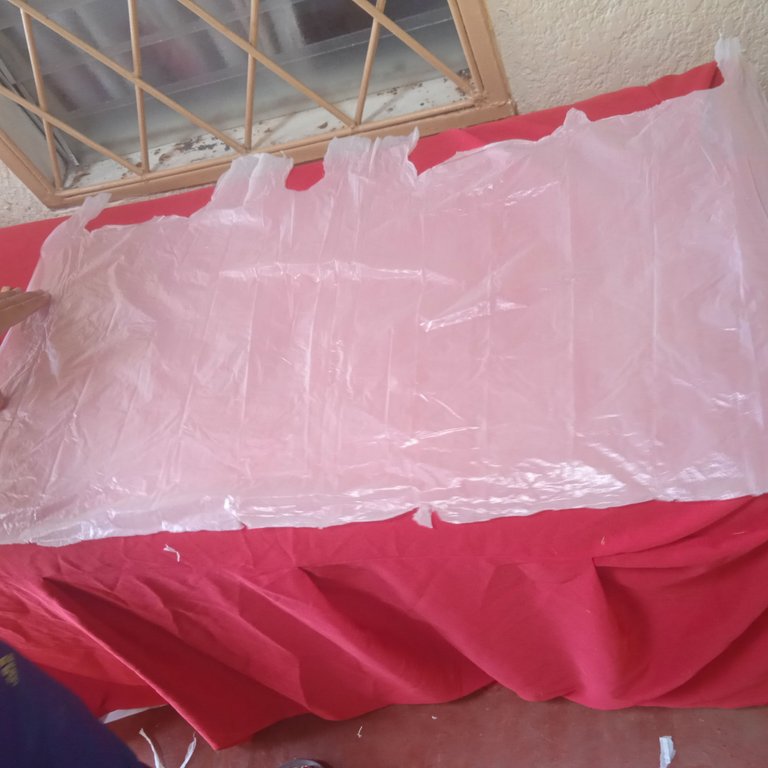
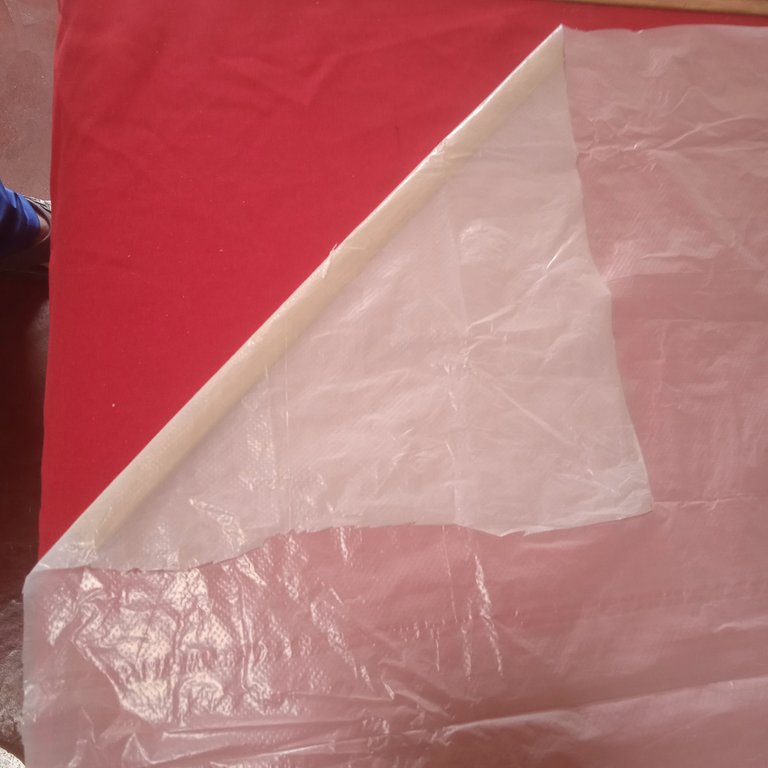
Cortamos los bordes de la bolsa para poder abrirla, incluso de una bolsa podemos sacar dos cuadrados.
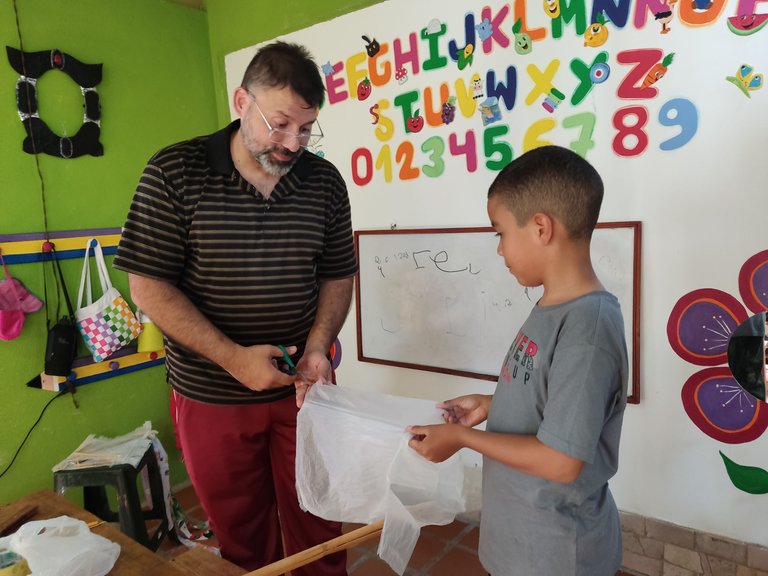
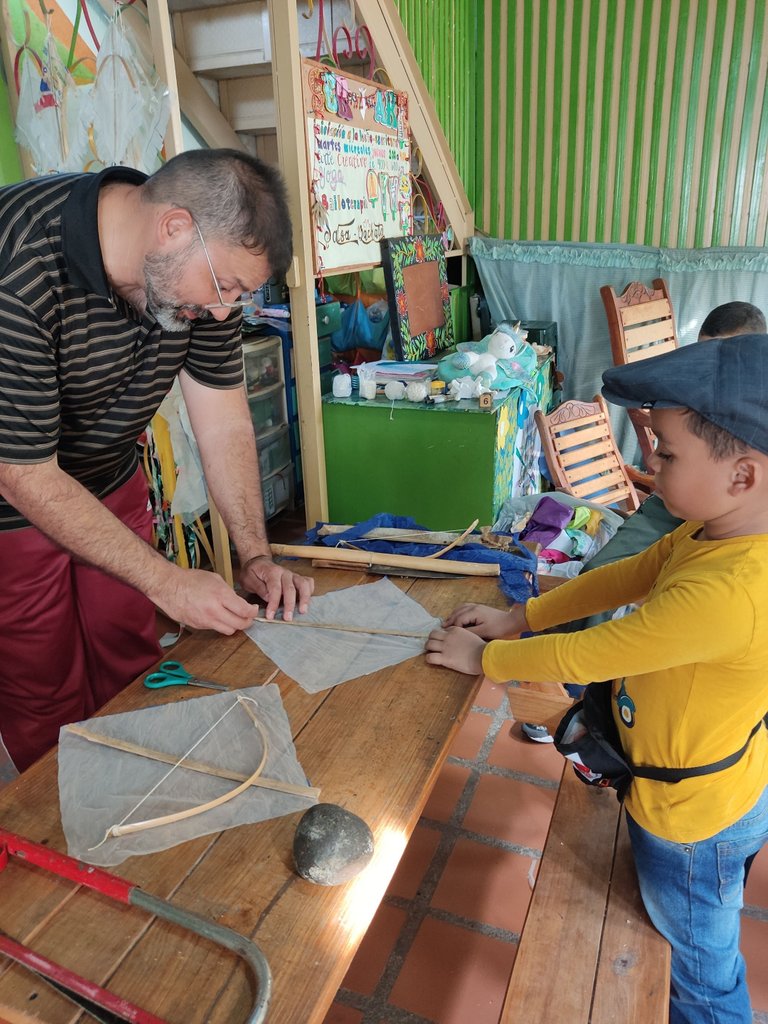
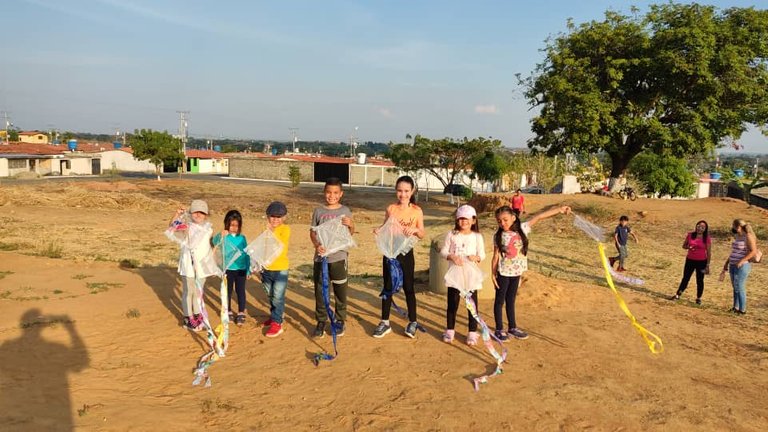
Los niños participaron y pudieron ver cómo hacer nuestra cometa paso a paso.
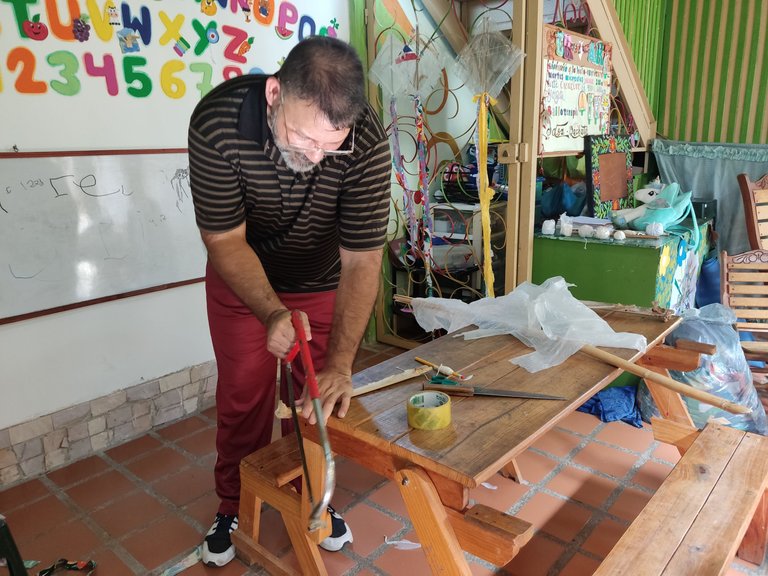
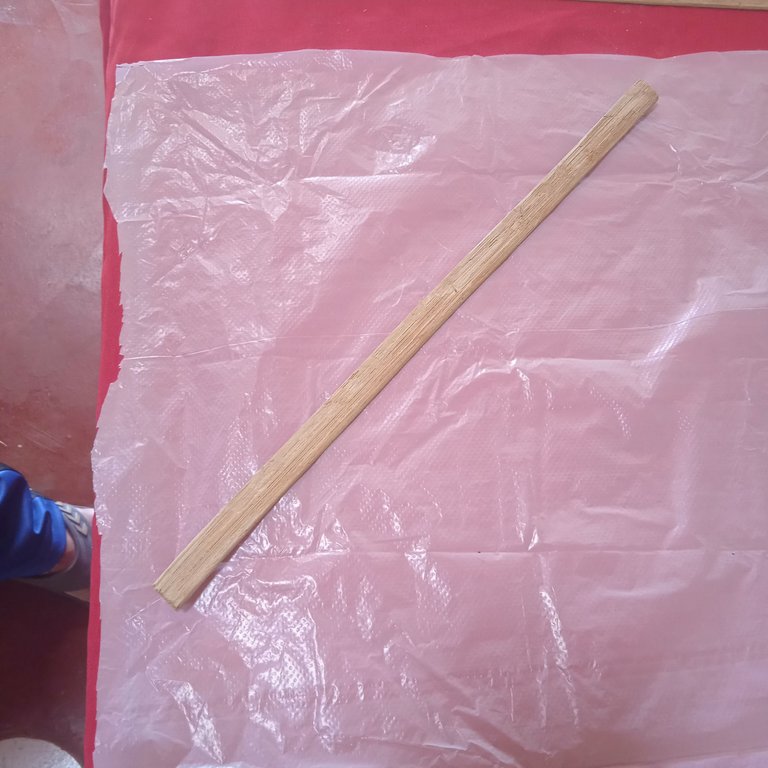
Luego procedemos a picar la caña o bambú para obtener una varilla de aproximadamente 30 cm de largo por 1 c.m de ancho, dependiendo del tamaño de la bolsa en este caso utilizamos una bolsa de 35 cm de largo.
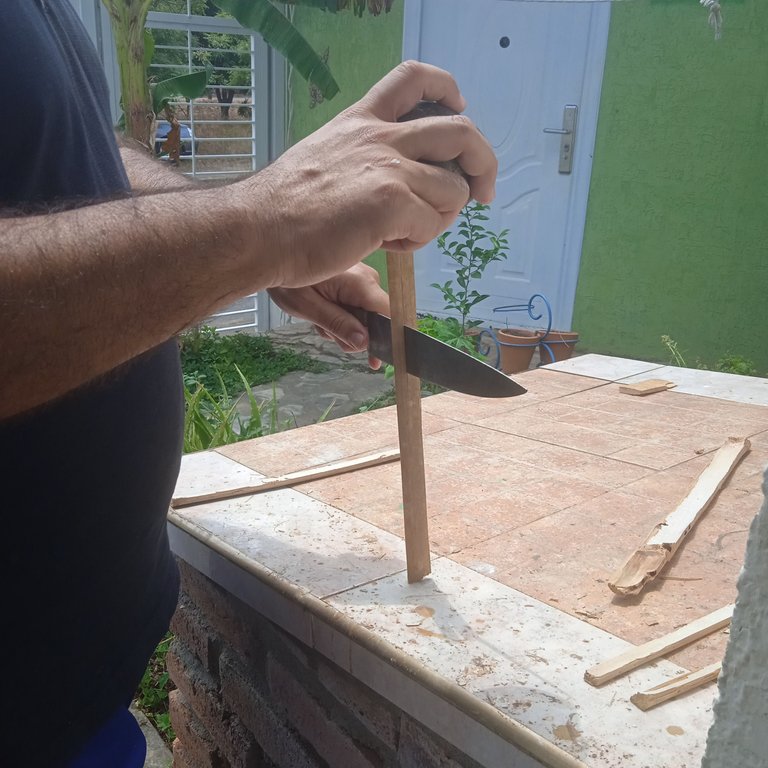
Puedes hacerla tan larga como quieras dependiendo del tamaño de la bolsa. Este es un tamaño medio ya que no es recomendable hacerlo más pequeño que este tamaño.
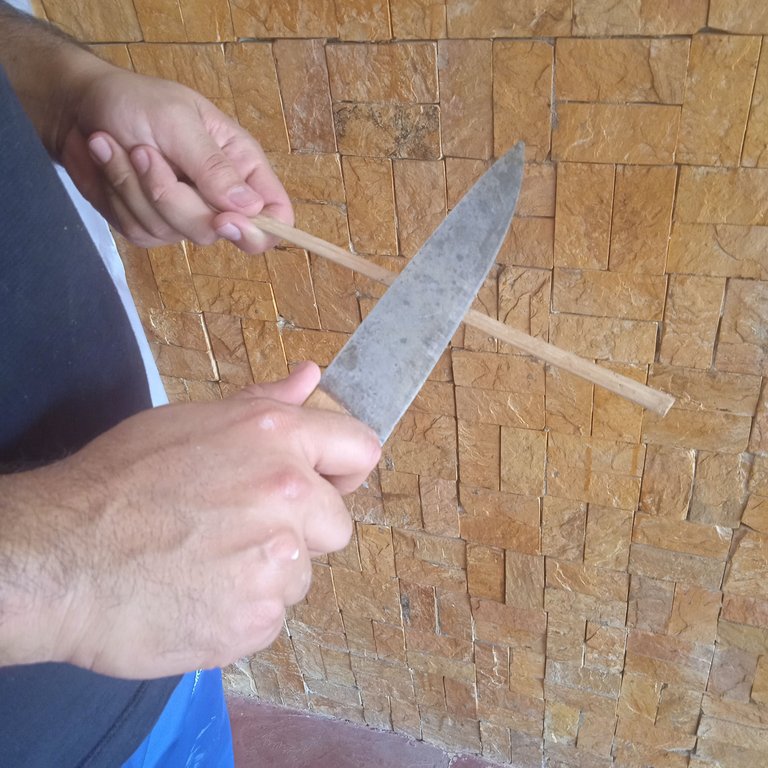
Con el cuchillo quitamos el exceso para dejarlo lo más plano posible. Cortamos otro trozo ya hecho del mismo tamaño que el anterior y lo vamos a reducir hasta que podamos formar el arco de con él.
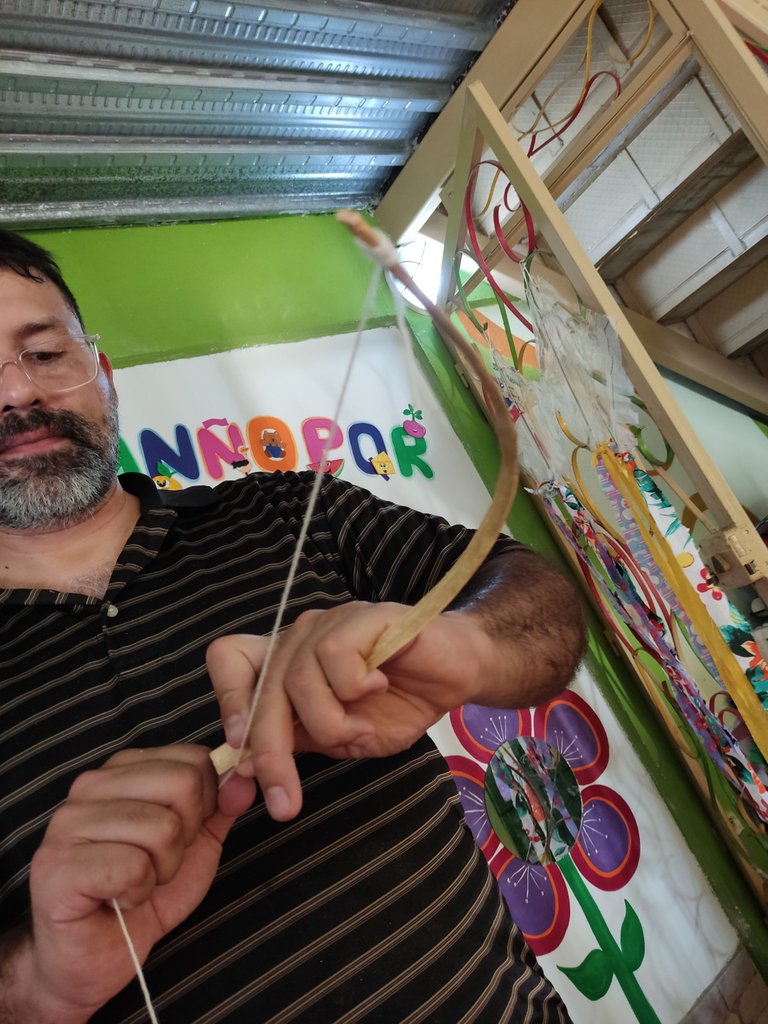
Luego vamos a atar los extremos con hilo ,damos varias vueltas y vamos a montar el arco dejando la presión necesaria, con cuidado de no romperlo.
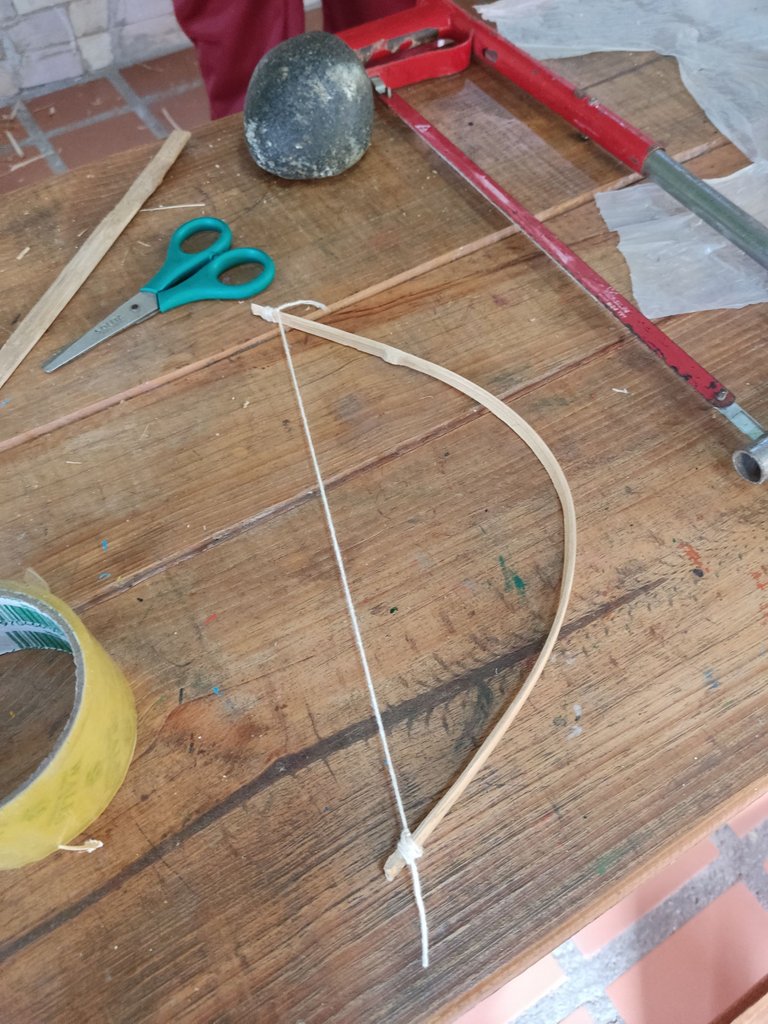
El arco debe quedar así.
Una vez que tenemos las tiras listas, podemos medir y hacer el cuadrado formando un triángulo para cortarlo.

Aquí en el proceso los niños pudieron ver cómo colocar la varilla y la estructura en forma de arco para armar la cometa.

Fijamos la varilla en el centro con cinta plástica, al igual que el arco.

Para fijar la cometa abrimos unos pequeños agujeros en el extremo superior y un poco más abajo, podemos utilizar una aguja o la punta de un lápiz, primero fijamos un hilo en el extremo superior y lo atamos y hacemos otro aproximadamente 14cm más abajo, luego anudamos en el centro el hilo con el que volaremos nuestra cometa.
Para terminar podemos decorar colocando una cinta de papel de la misma bolsa en los laterales y cortar unos flequillos de aproximadamente 8 cm de ancho.
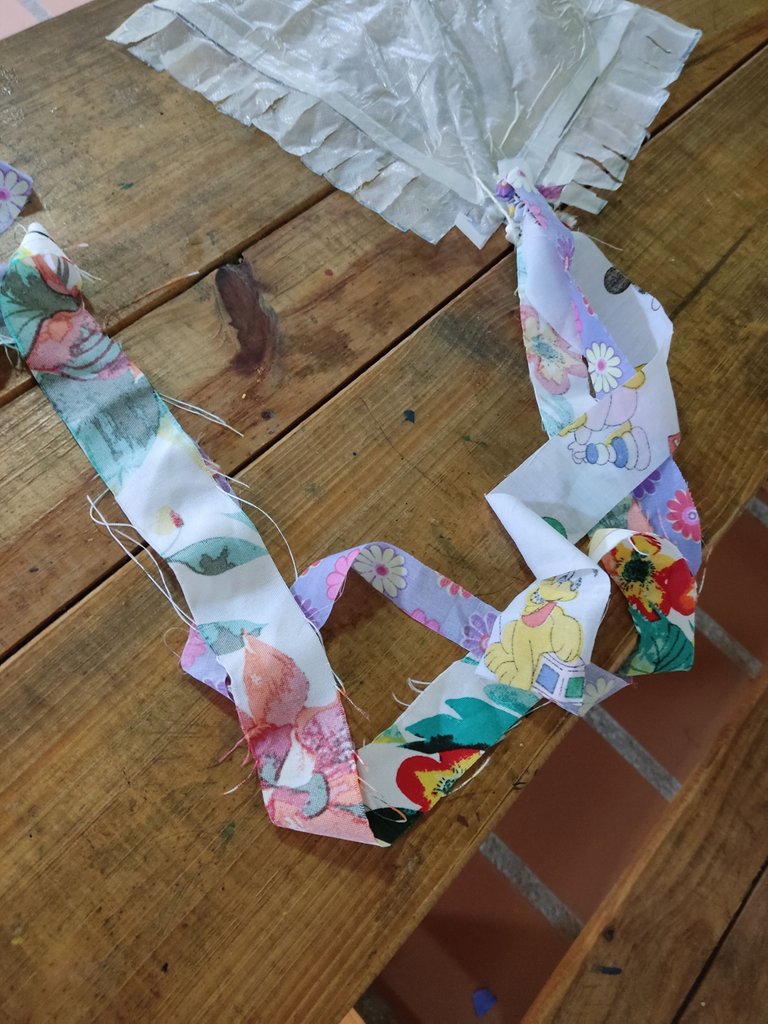
Otro elemento muy importante para poder volar es la cola, que puede ser de papel o de tela, que puede tener un tamaño aproximado desde 50 cm en adelante, hasta un metro y cuarto.
En el momento de volar se determinará si el tamaño de la cola es el adecuado para el peso o si es necesario cortarla para hacer algún contrapeso.
Una vez que nuestras cometas están listas, vamos a un campo grande para volarlas.
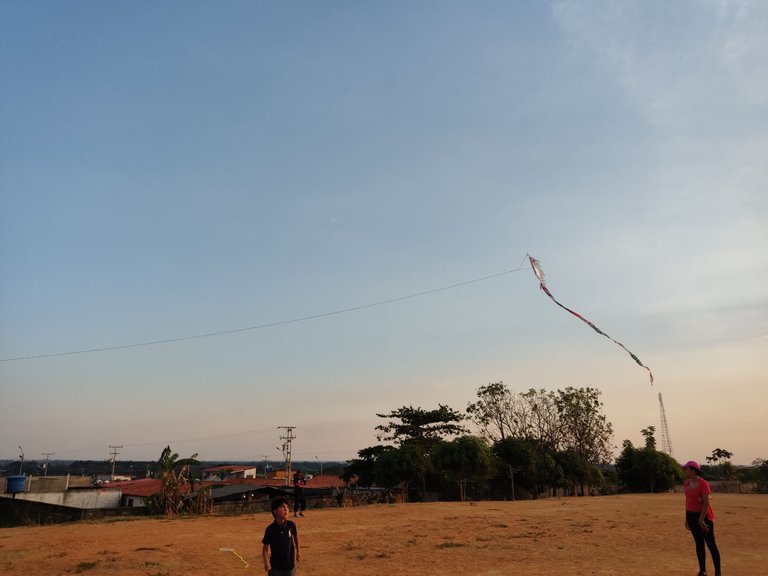
Es muy emocionante para los niños ver cómo se elevan sus cometas y tener en cuenta la brisa para facilitar la elevación.
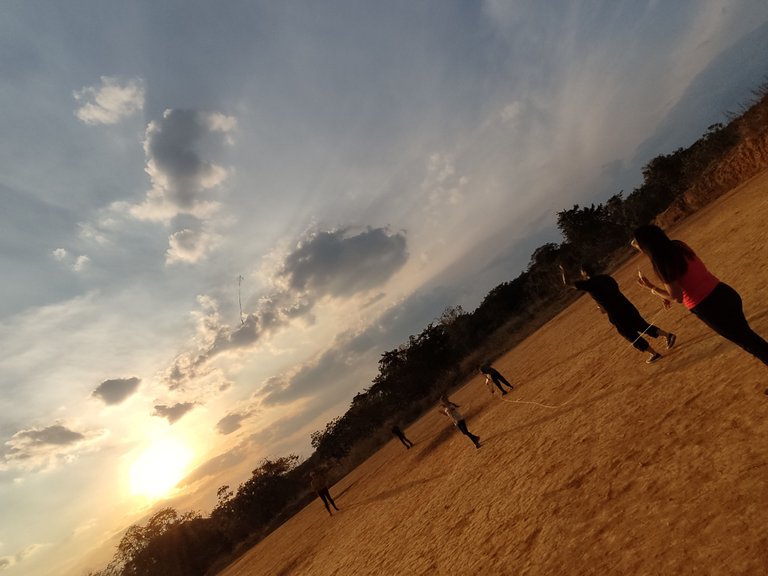
Fue una tarde maravillosa y muy emocionante, los niños quedaron encantados con esta actividad y así estimulamos estas tradiciones que nos animan a utilizar nuestras manos con los recursos que tenemos a nuestro alcance.
Gracias por leer.

- Fotos tomadas por @aldara desde su telefonoRedmi.
- Traduccion realizada con Deepl.
- Imágenes editadas con photoshop
English version
In this opportunity I bring you the elaboration of a parrot or kite that is part of the traditional games in my country Venezuela.
The parrot arrived in Venezuela thanks to the colonizers and is known in different countries as kite, barrilete, papalote.
The paper traditionally used to make the parrots is tissue paper, but it also works with newspaper, plastic paper bags, so we will also recycle it giving it a new use.
In this opportunity we will use a paper bag, for the structure of our kite, bamboo or cane, scissors, plastic tape, thread, and optionally fabric for the tail, which can also be used the same bag.
We cut the edges of the bag to be able to open it, even from one bag we can take out two squares.
The children participated and were able to see how to make our kite step by step.
Then we proceed to chop the cane or bamboo to obtain a rod of approximately 30 cm long by 1 cm wide, depending on the size of the bag in this case we used a bag of 35 cm long.
You can make it as long as you want depending on the size of the bag. This is a medium size as it is not recommended to make it smaller than this size.
With the knife we remove the excess to leave it as flat as possible. We cut another piece already made of the same size as the previous one and we are going to reduce it until we can form the arch with it.
Then we are going to tie the ends with thread, we give several turns and we are going to assemble the bow leaving the necessary pressure, being careful not to break it.
The arch should look like this.
Once we have the strips ready, we can measure and make the square forming a triangle to cut it.
Here in the process the children could see how to place the rod and the arch-shaped structure to assemble the kite.
We fix the rod in the center with plastic tape, as well as the arch.
To fix the kite we open some small holes at the top end and a little lower, we can use a needle or the tip of a pencil, first we fix a thread at the top end and we tie it and we make another one approximately 14cm lower, then we knot in the center the thread with which we will fly our kite.
To finish we can decorate by placing a paper ribbon of the same bag on the sides and cut some bangs of approximately 8 cm wide.
Another very important element to be able to fly is the tail, which can be made of paper or fabric, which can have an approximate size from 50 cm onwards, up to a meter and a quarter.
At the moment of flying it will be determined if the size of the tail is adequate for the weight or if it is necessary to cut it to make some counterweight.
Once our kites are ready, we go to a large field to fly them.
It is very exciting for the children to see their kites soar and take into account the breeze to make the lift easier.
It was a wonderful and very exciting afternoon, the children were delighted with this activity and in this way we stimulate these traditions that encourage us to use our hands with the resources we have at our disposal.
Thank you for reading.