Welcome to my blog everyone. This is my first time of posting in Hive Diy. We all know that pictures are a very important reminders of beautiful moments we are unwilling to forget so easily. With the various events and occasions that people usually host or go to, taking a photo or a quick selfie to serves as a remembrance is one important thing many people don't fail to do. Especially, when you first bought that new attire, or your looking so good, or the occasion your going to, you met so many old faces you haven't seen in a while and you just want to savour that moment. Pictures are always the best remedy.
I particularly love taking pictures when I am in a great mood or I am going to a special occasion I don't want to forget so easily. But you know what, the next thing better than taking pictures is having where to keep them. Having a beautiful photo frame where you can put your best photos in display for not just you, but everyone to see especially in your home can be refreshing. A photo frame can serve many purposes all at once. It houses the picture so it won't get worn out or torn. It also puts it in the best form of display where you can easily reach it if you want to go back to fond memories. These and lots more are why we need a good photo frame.
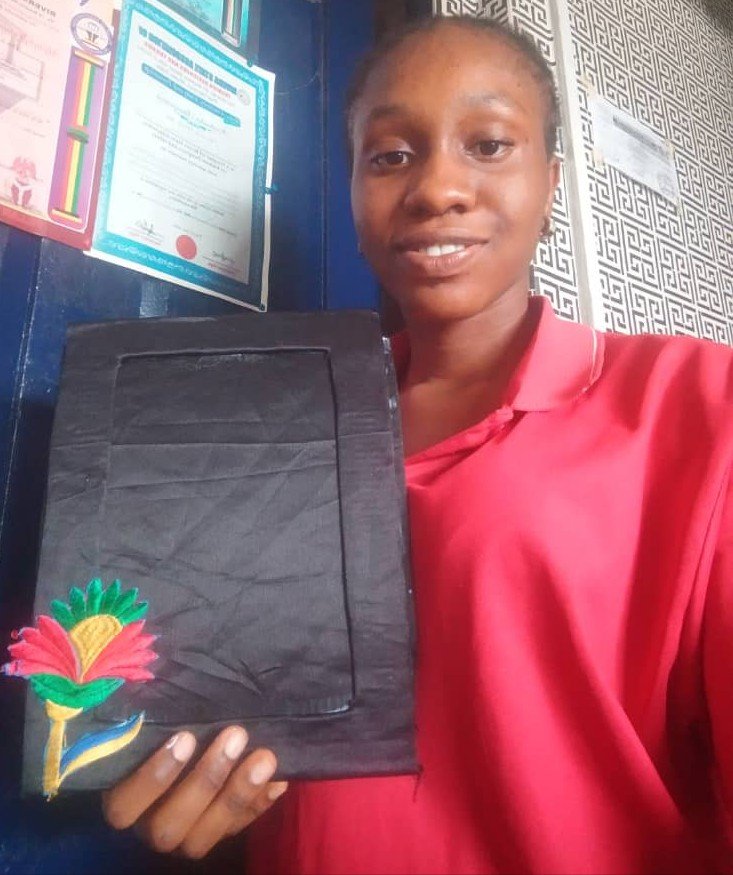
So let's go make a photo frame!
MATERIAL NEEDED
- Strong cardboard paper
- Scissors
- Glue
- Black pieces of material.
STEP BY STEP PROCEDURES
STEP ONE: Using your scissors cut a big rectangle and a slightly small rectangle on your cardboard.
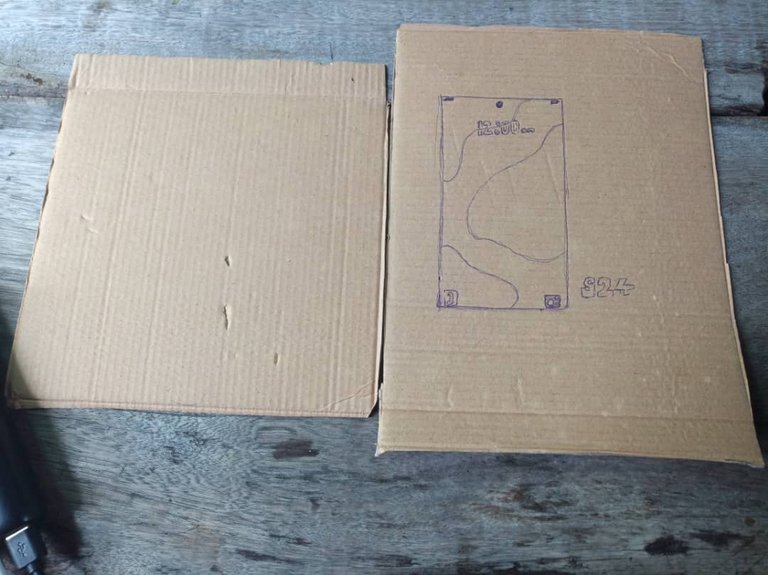
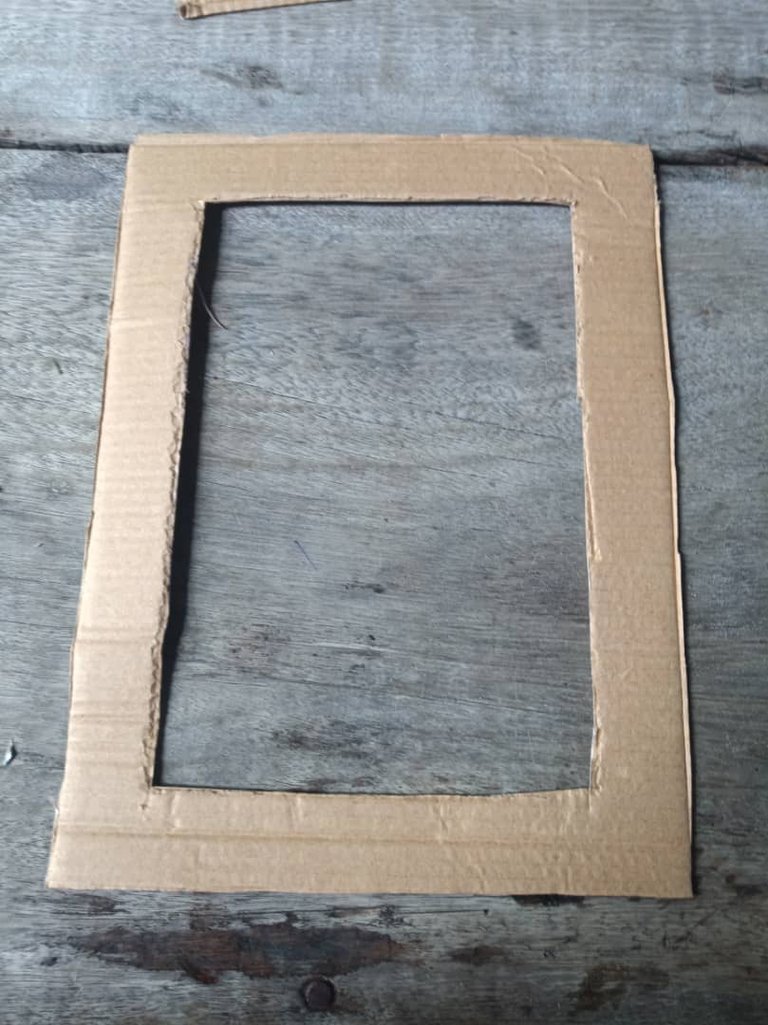
STEP TWO: Take the bigger rectangle and draw a border line inside. Two inches from each of the edges. Like a smaller rectangle, only two inches smaller, then carve it out. It should look like this.
STEP THREE: After doing that, get your pieces of black material, Rub some glue on the flat face of the rectangular frame you just cut and place it on top of the material like this.
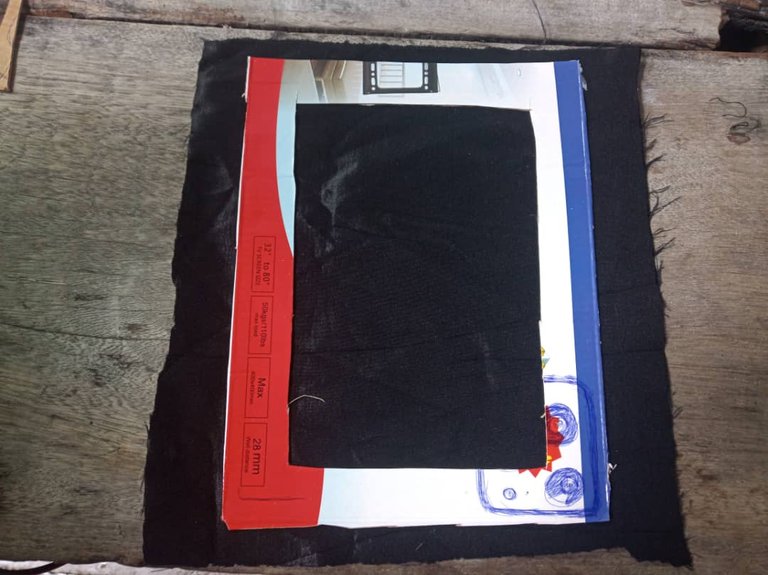
STEP FOUR: Do on the black material the same thing you did on the rectanglular frame. That is cut out a small rectagle on the inside and center of the material like this.
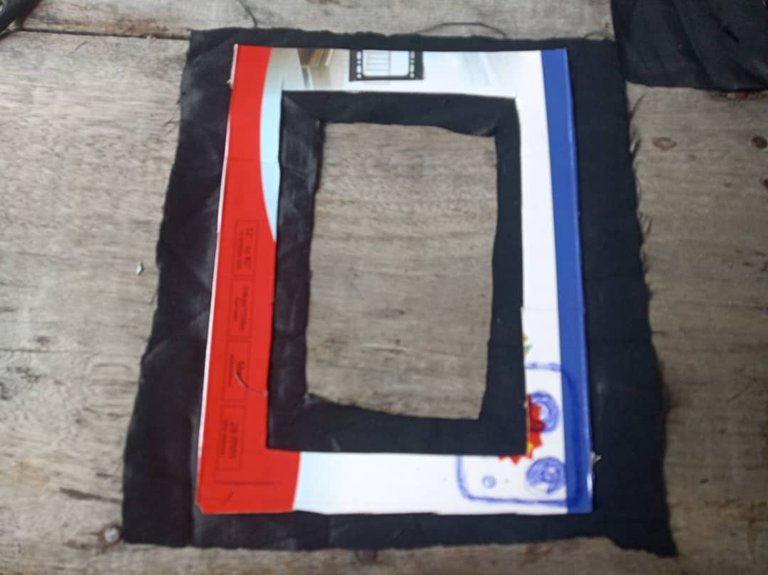
STEP FIVE: Apply some glue to the rectangular cardboard and use the remaining pieces of black material around the rectangular cardboard to wrap around it like this.
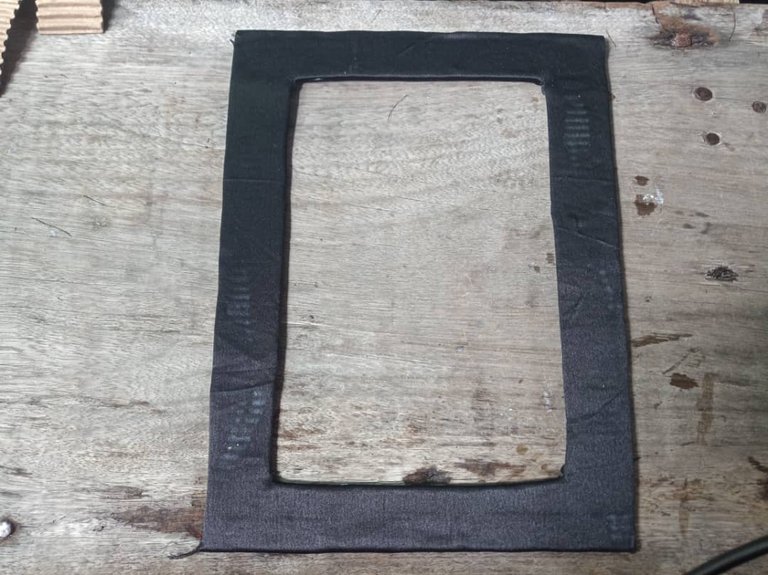
STEP SIX: Take the other smaller rectangle we cut earlier using the cardboard and apply gum all over it. After doing that you place it on another black peice of material llike this.
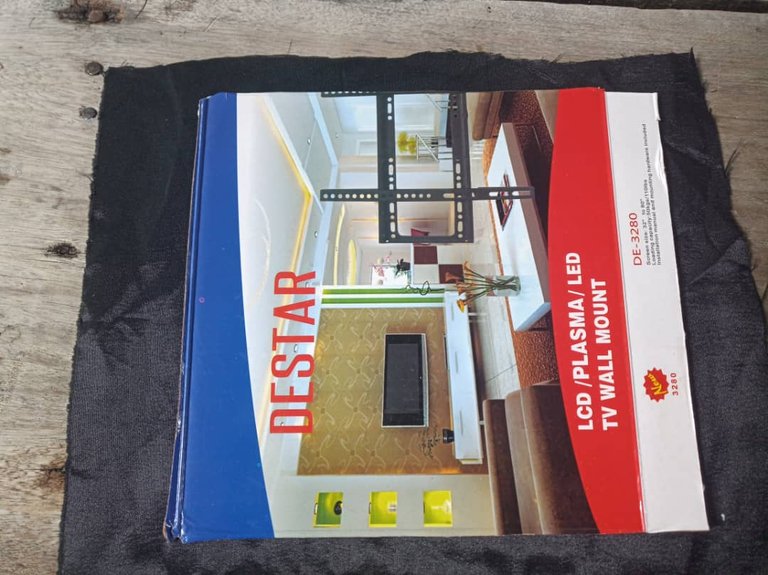
STEP SEVEN Use the gum to wrap the material around the rectangular cardboard to look like this.
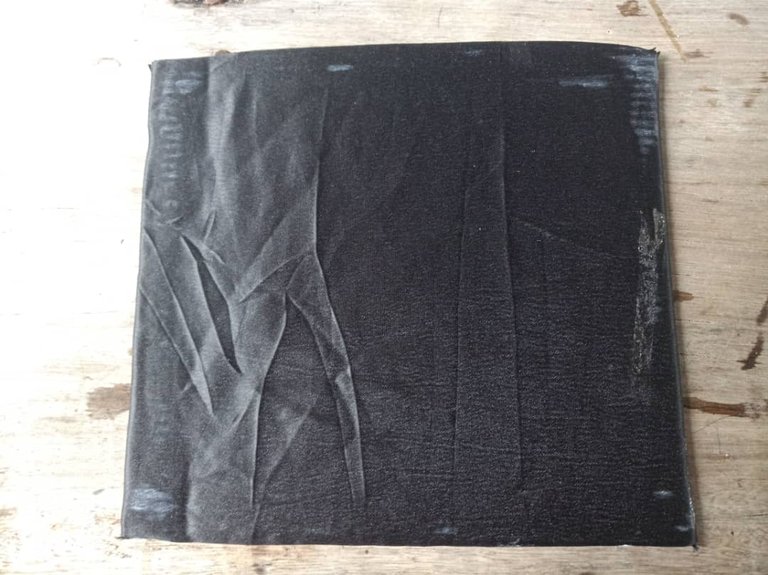
STEP EIGHT: After doing that, use your gum to glue the smaller rectangular frame to the back of the bigger rectangular frame in such a way that, the space at the center is covered firmly.
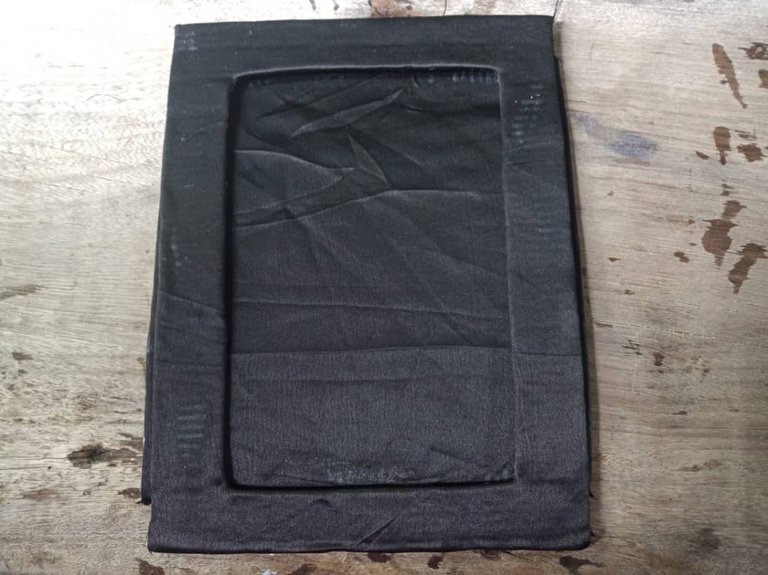
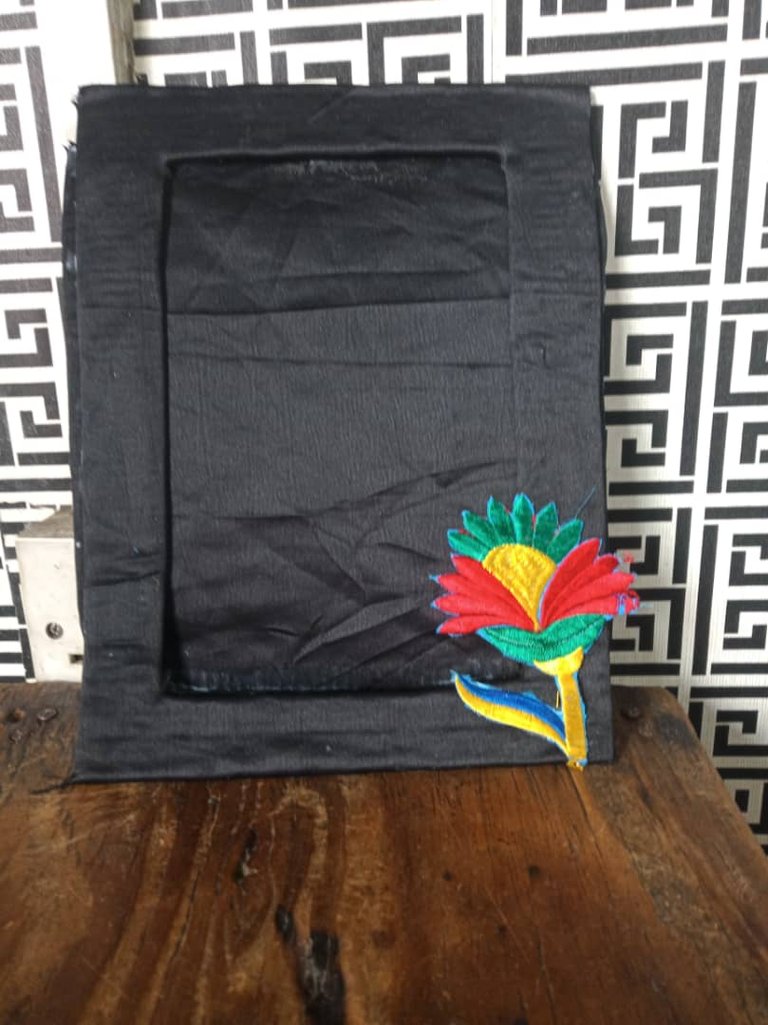
STEP NINE You can choose to beautiful your frame as you wish. As for me I used this beautifully embroidered flower to beautify mine.
