Fuente | Source | Photo of my authorship captured with my Iphone 8- Edited with Picsart
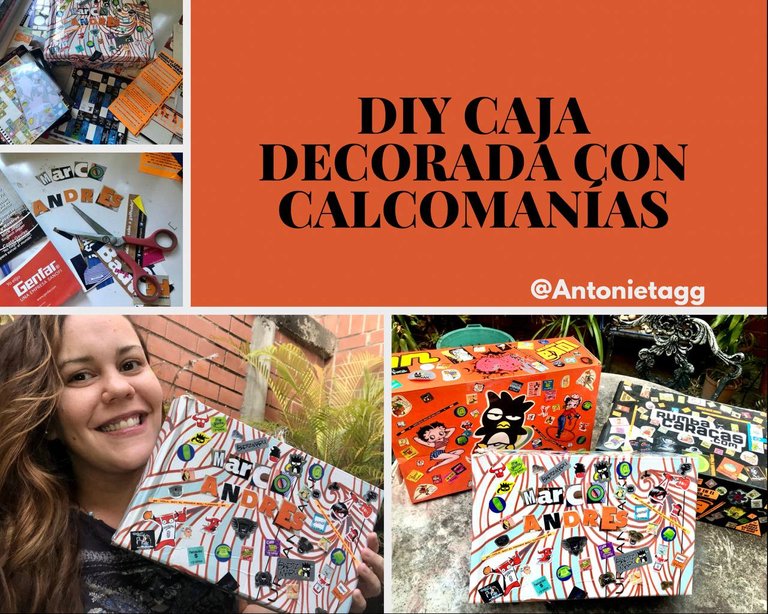
Un gran saludo a toda la comunidad de Hive y a quienes comparten su creatividad en esta maravillosa comunidad, cargada de ideas. Hoy comparto con ustedes mi primer post aquí y he traído una sencilla pero espectacular caja decorada con recortes de revistas y muchas calcomanías. Ya basta de cajas aburridas o de botarlas, porque pueden ser útiles y darle un toque único a nuestros espacios. Para esta caja decorada usé una vieja caja de zapatos que tenía reservada, en ella podemos guardar ropa, medias, documentos, organizar nuestro closet y muchas cosas más. A continuación, comparto con ustedes el proceso fotográfico y los detalles de cómo la hice. ¡Espero que les guste!
A big hello to the entire Hive community and to those who share their creativity in this wonderful community, full of ideas. Today I share with you my first post here and I brought a simple but spectacular box decorated with magazine clippings and lots of stickers. Enough of boring boxes or throwing them away, because they can be useful and give a unique touch to our spaces. For this decorated box I used an old shoe box that I had reserved, in it we can keep clothes, socks, documents, organize our closet and many more things. Below, I share with you the photographic process and the details of how I made it, I hope you like it!
Materiales
- Caja de zapato vacía
- Calcomanías y recortes de revistas
- Pega y tijera
- Mucha pasión y toneladas de creatividad
Materials
- Empty shoe box
- Stickers and magazine clippings
-Glue and scissors
-Lots of passion and tons of creativity
PHOTOGRAPHIC PROCESS/ PROCESO FOTOGRÁFICO
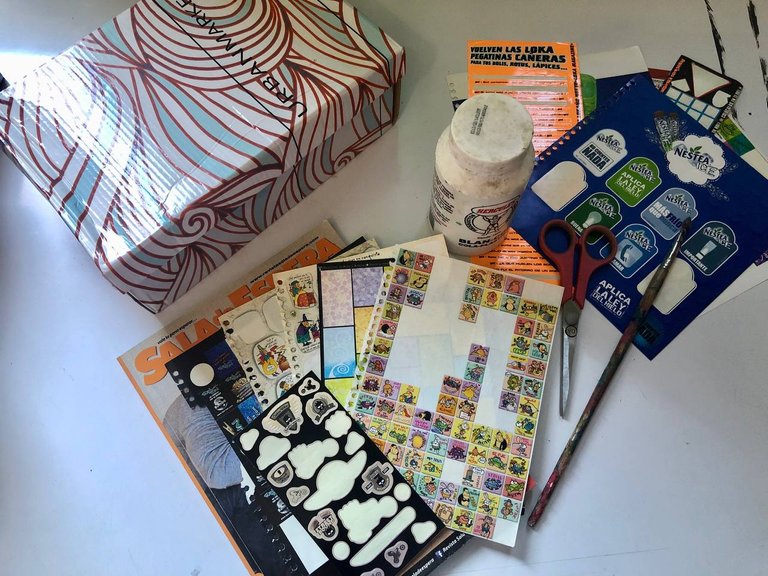
1. Para hacer esta genial caja para guardar lo que más te guste, necesitarás una caja, muchas calcomanías, recortes de revistas, pega y tijeras. La temática la escoges tú.
1. To make this cool box to store your favorite things, you'll need a box, lots of stickers, magazine clippings, glue and scissors. You choose the theme.
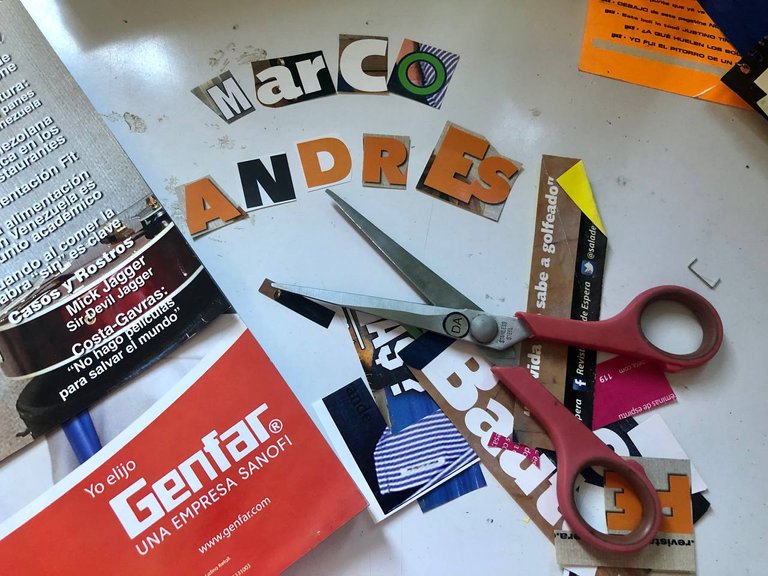
2. Recorta las letras de las revistas o fotos que te gusten para tu caja.
2. Cut out letters from magazines or photos that you like for your box.
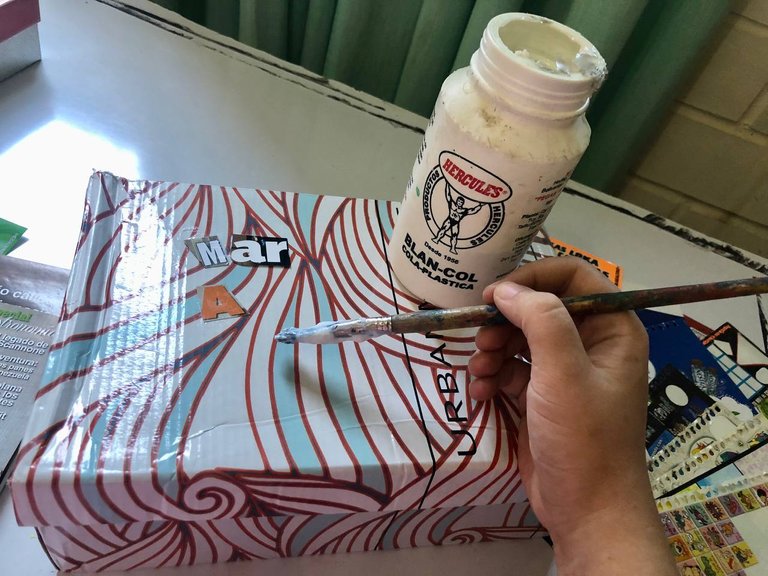
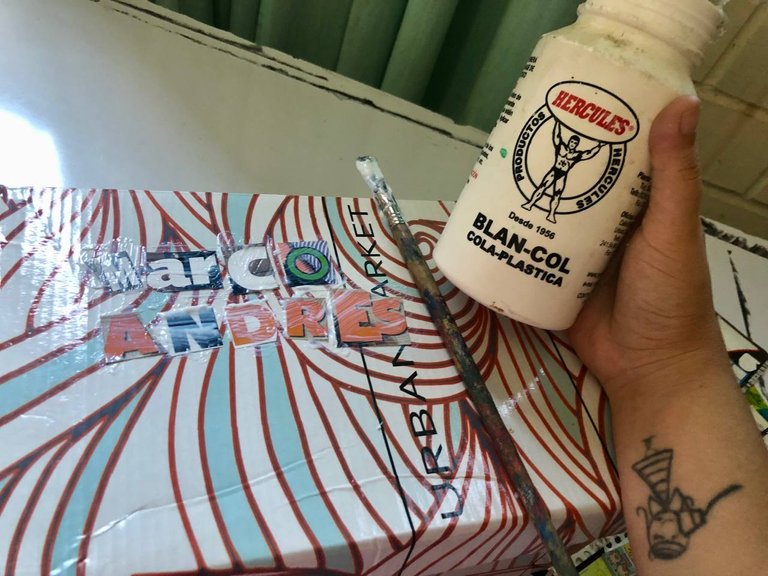
3. Arma tus palabras con las letras recortadas de la revista y pégalas a la caja. Te recomiendo que coloques pega por ambos lados para reforzar y dar brillo.
3. Assemble your words with the letters cut out from the magazine and glue them to the box. I recommend that you glue on both sides to reinforce and add shine.
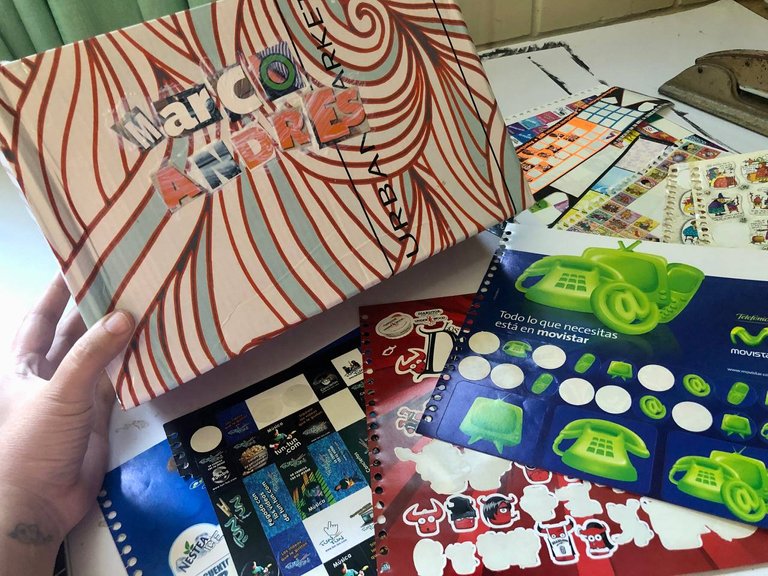
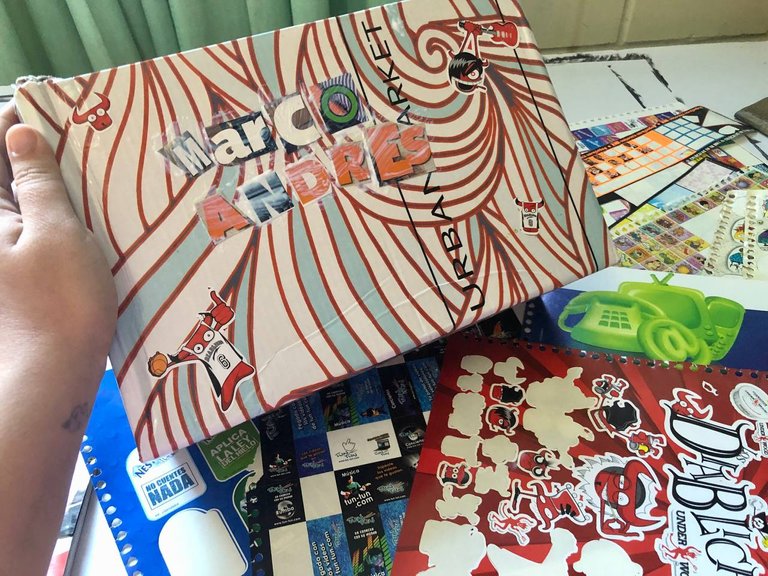
4. Comienza a pegar tus calcomanías favoritas por todos los lados de tu caja, haciendo un collage o simplemente un poco separadas para que se aprecien mucho mejor.
4. Start sticking your favorite decals all over the sides of your box, making a collage or just a little apart to make them look much better.
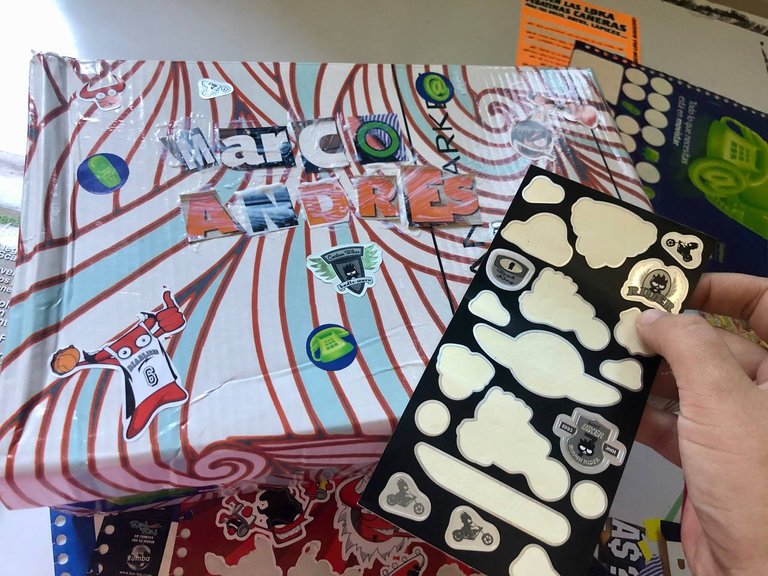
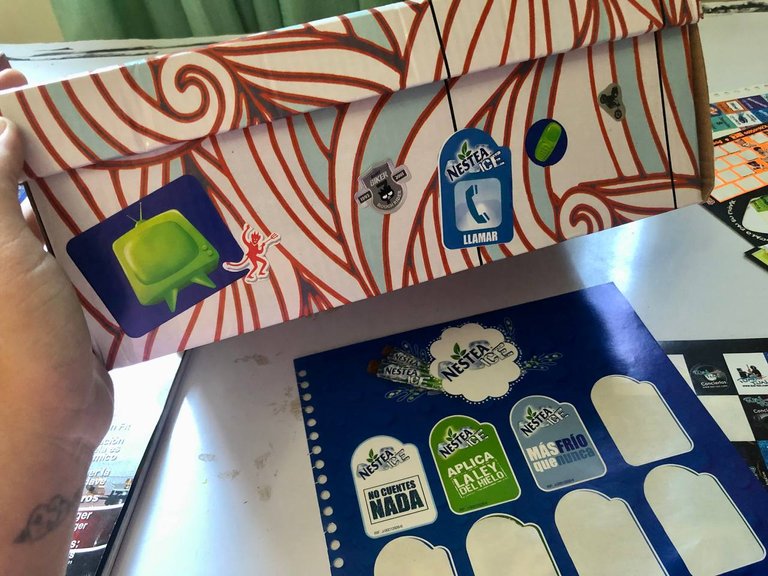
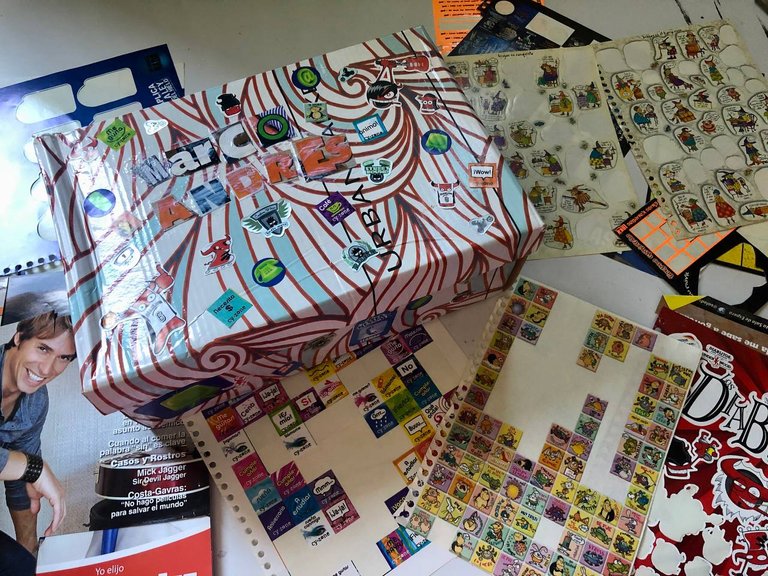
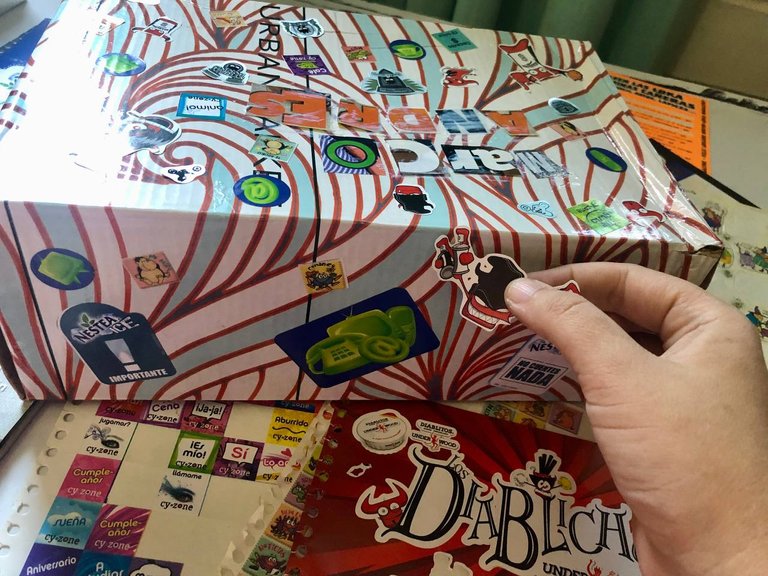
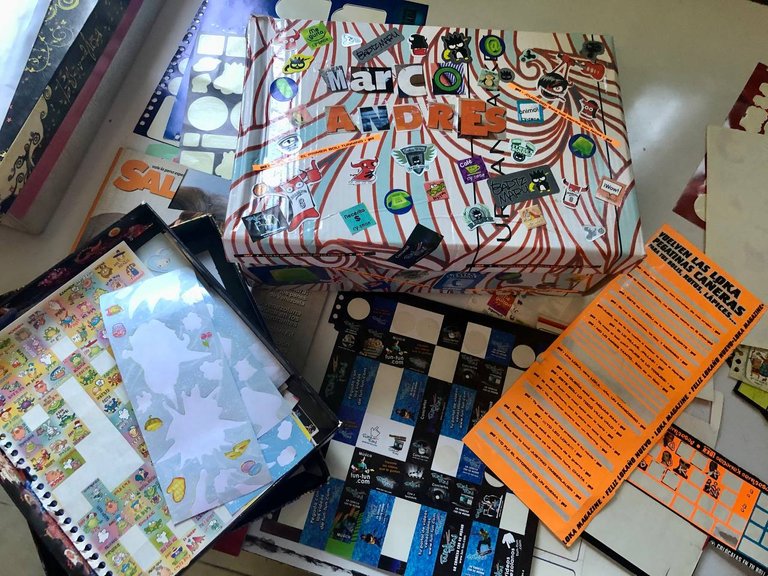
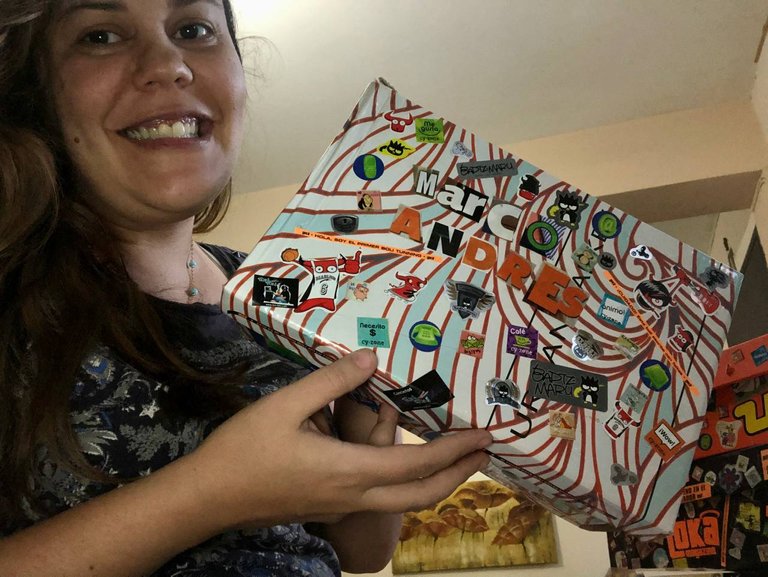
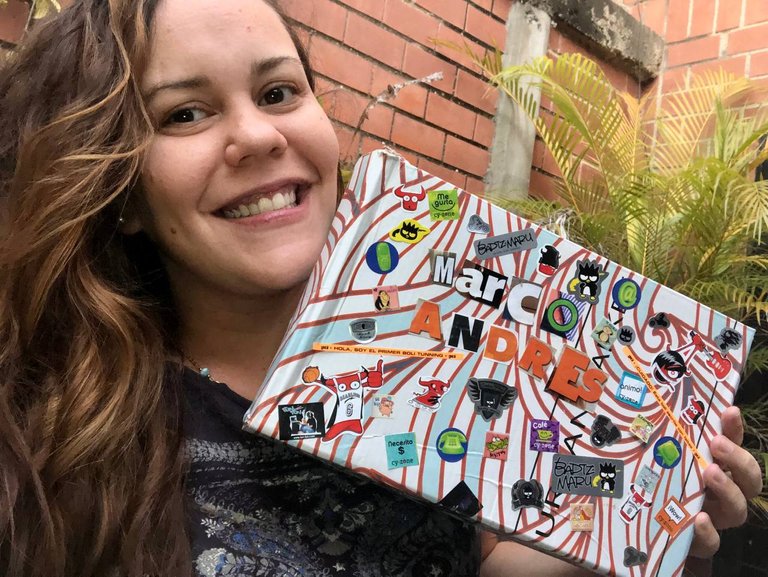
5. Pega tantas calcomanías como desees y así estará lista tu caja. Acá te muestro como quedó la mía.
5. Glue as many stickers as you want and your box is ready. Here I show you how mine turned out.
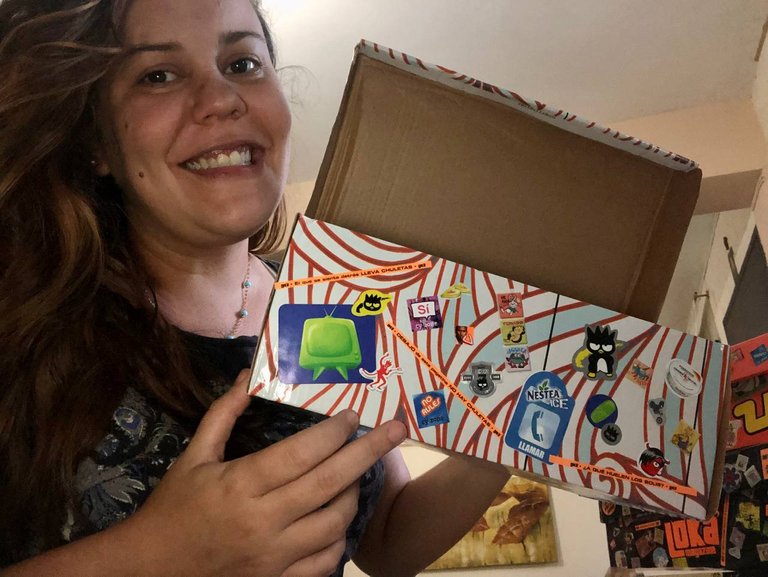
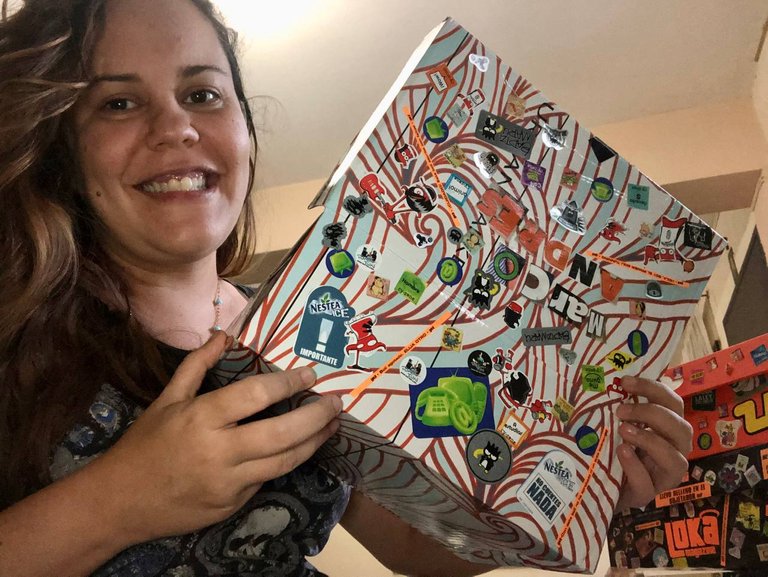
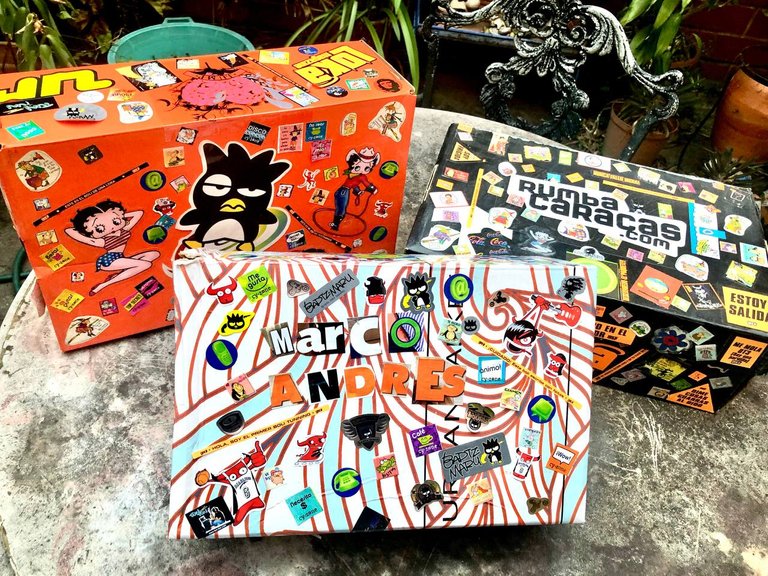
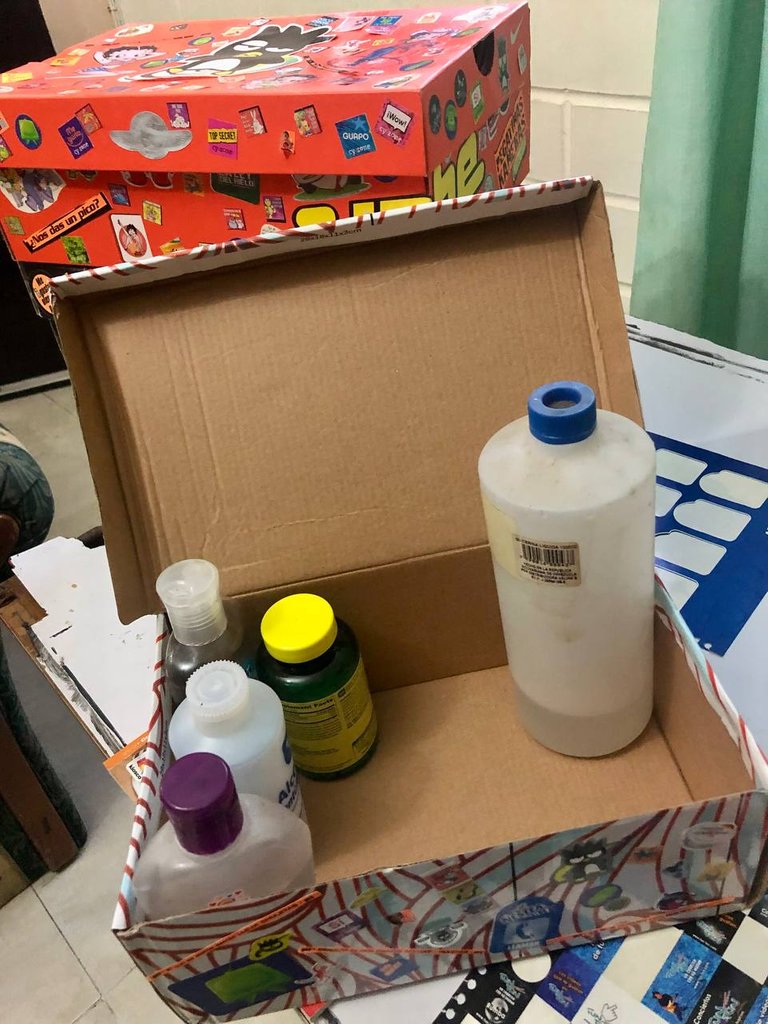
Aquí les muestro mi caja terminada junto a otras que realicé hace algunos años y que uso para guardar fotos y recuerdos.
Here I show you my finished box along with others that I made some years ago and that I use to keep photos and souvenirs.
Fuente | Source | Photos of my authorship captured with my Iphone 8-Edited with Picsart
Thank you for enjoying the whole process, I appreciate your comments and suggestions for future
Gracias por disfrutar de todo el proceso, valoro mucho sus comentarios y sugerencias
Traducido con App https://www.deepl.com/translator
Translated with App https://www.deepl.com/translator


