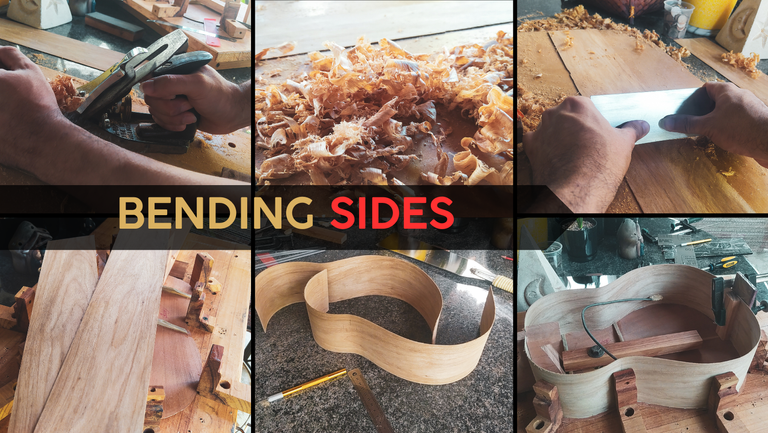

The year is slowly coming to an end and for a fact this instrument won't be ready before that. However, as it is a personal project, it will take as long as it needs. It is time to start closing on the figure of the Venezuelan Cuatro by working on the sides. If you haven't checked on the previous entry, just click here.
Let's jump to it!
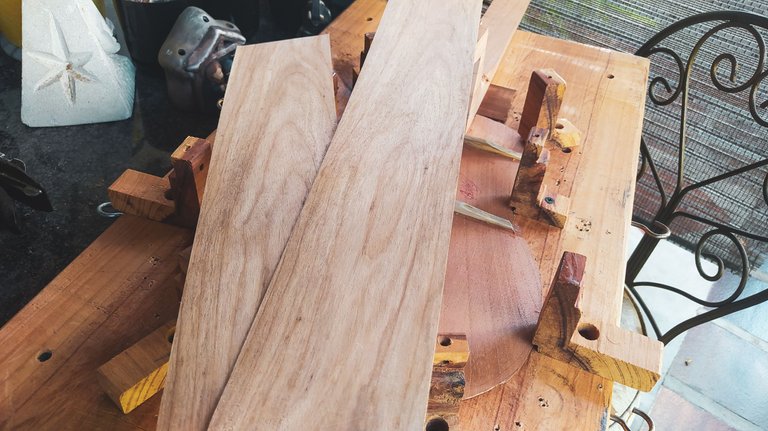
Thicknessing Sides
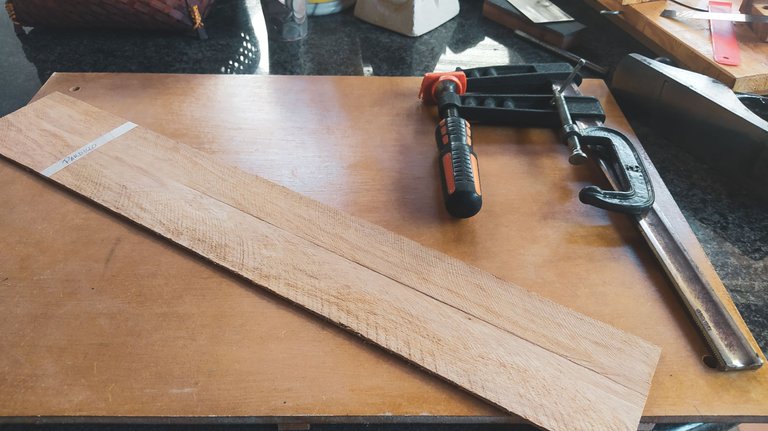

We have this beautiful Salmwood (cordia alliodora) to make both sides and back of this instrument. As the latter is already done and waiting, it's time to get the sides done. In case you're wondering why these aren't ready beforehand, it's a simple fact. Sides get thin and thin wood moves a lot. They might break if we take too long to bend them after we have worked on the thickness of the pieces.
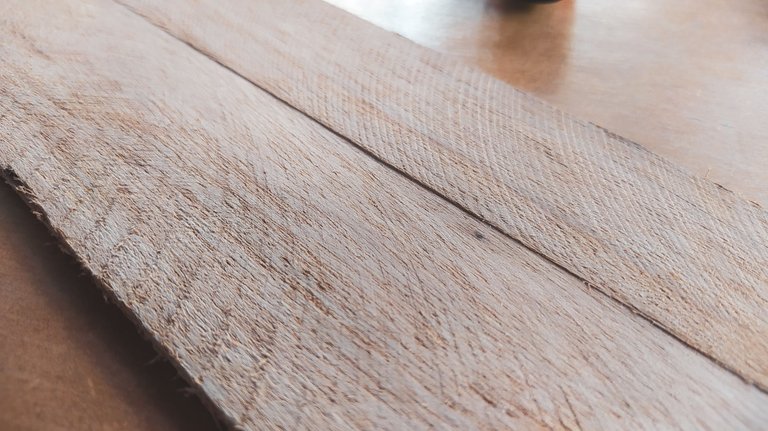
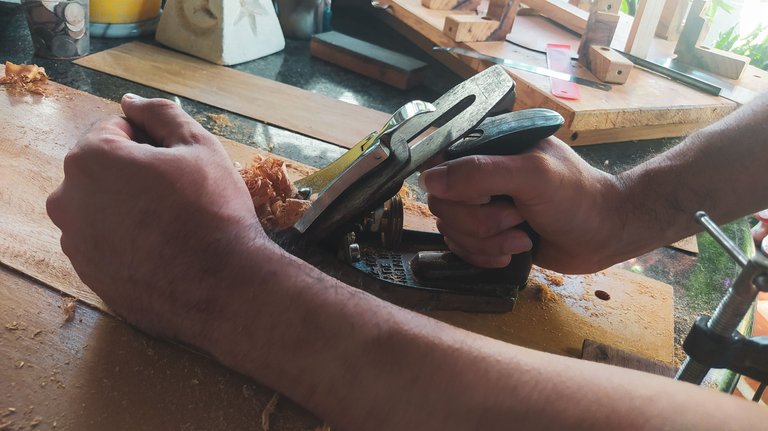
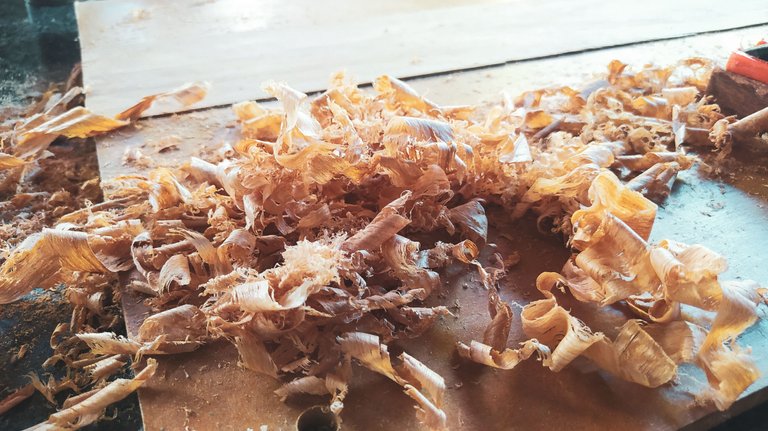
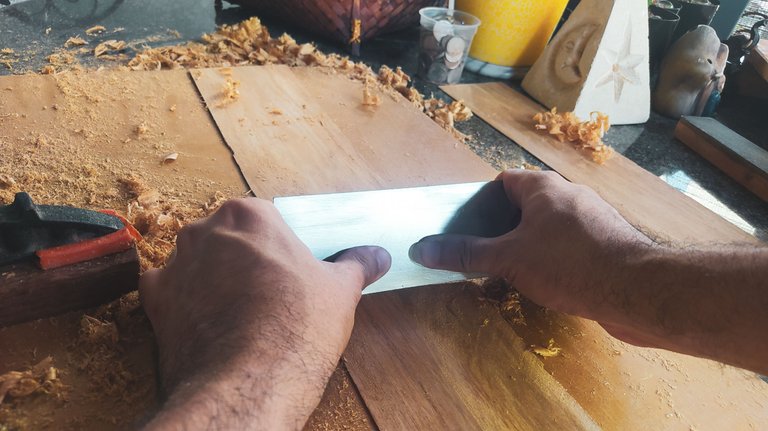
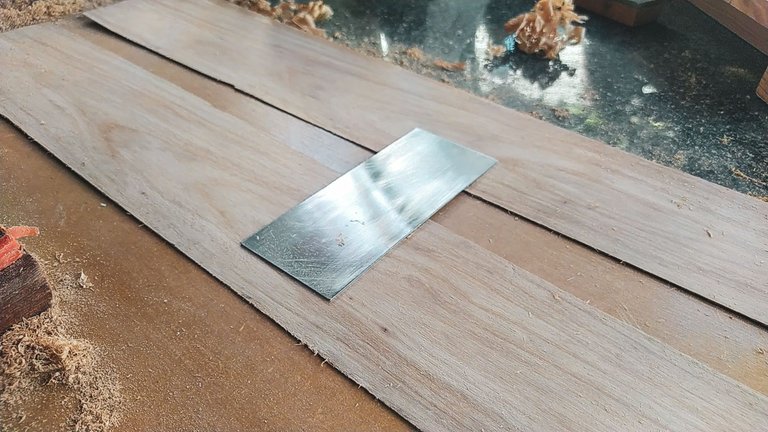
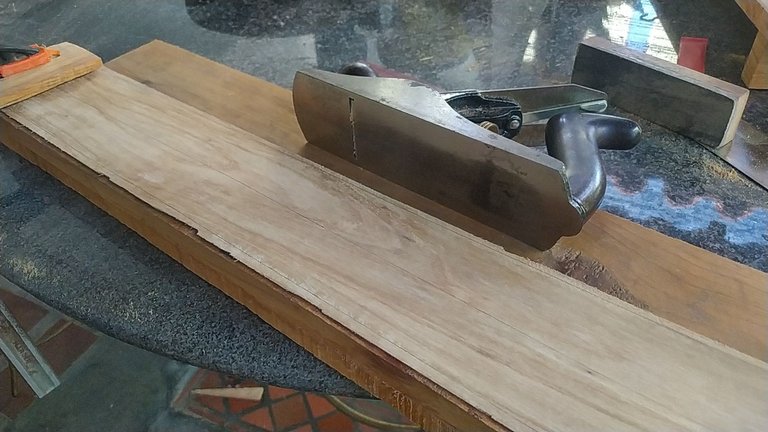
So it's time to take off all the cutting marks on each face of the sides and have them on shape for the bending process. With the help of the smoothing plane and the card scraper, this is done with no problem. The idea is to keep an eye for the direction of the grain to avoid any chips and tears on the wood. When we can make a U shape with the sides, we know we are ready on the flexibility side.
The final step is to make be on a 9cm width to have the size of the body to a comfortable measure.
Cut and Bend
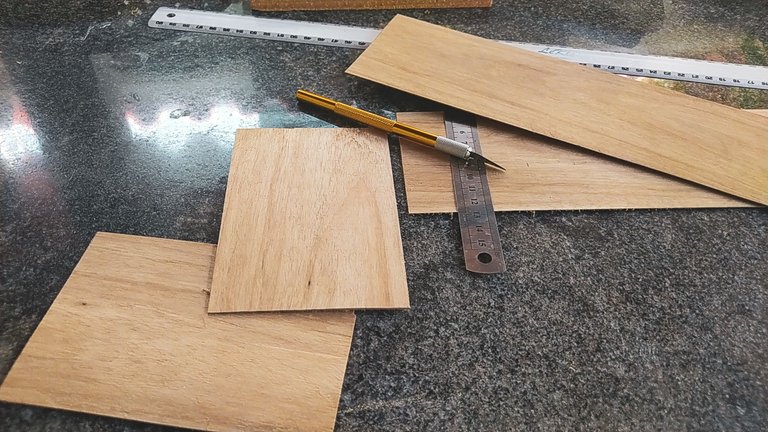
The final dimension we need to work here is the length. We need around 50cm on each side to have the complete length of the curvature of the instrument. This of course gives us some wiggle room to make the adjustments necessary, but it also gives us 2 pieces of wood to be used in any other project.
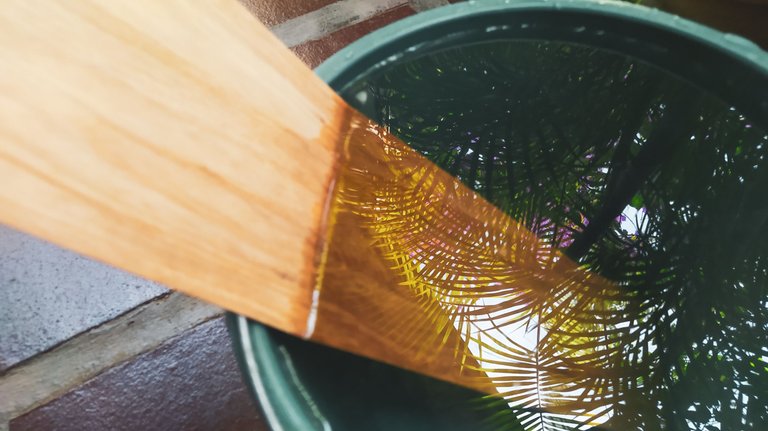
After cutting, we can put the sides in water to soak. This is to hydrate the fibers and make them flexible. It will also prevent them from burning when we use the bender. While the sides soak, we connect the bender and let it heat up.
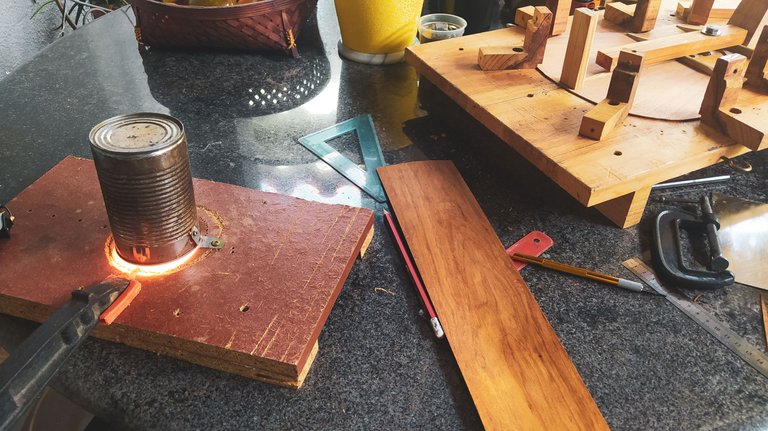
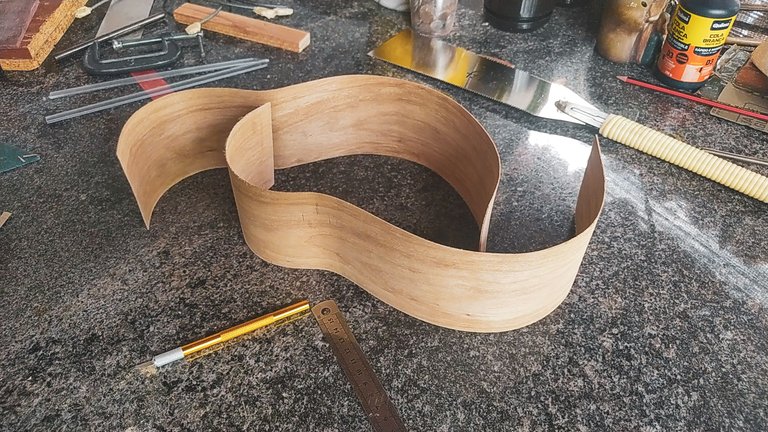
Before starting to bend, we make some marks to keep an eye where we need to make the waist of the instrument. Two of the curves on the sides go to the outside and the aforementioned goes inward. We make the different one before to keep an eye on the other two. With patience and a firm hand, we bend the wood against the hot bender to get the shape we need. On this stage, we can make as many adjustments as we need to fit the curve of the sound board.
However, we need to be care as to not overexpose the wood to heat or it will burn. Salmwood is an aromatic wood. As it is exposed to heat and even when it is worked. The aroma is quite pleasing as it is similar to that of dried bay leaf.
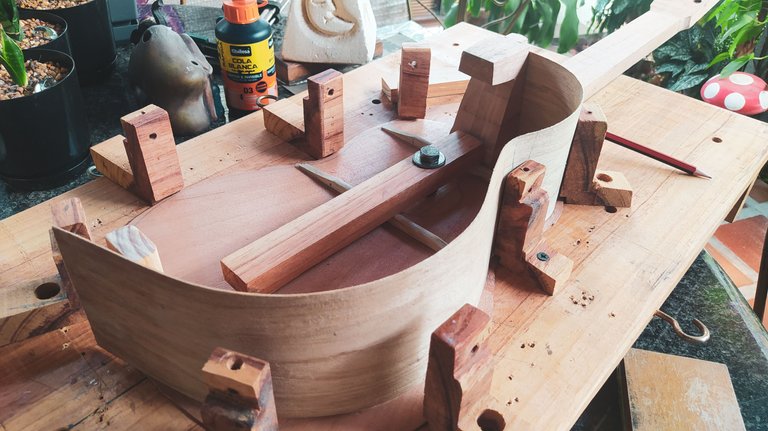
Glue up
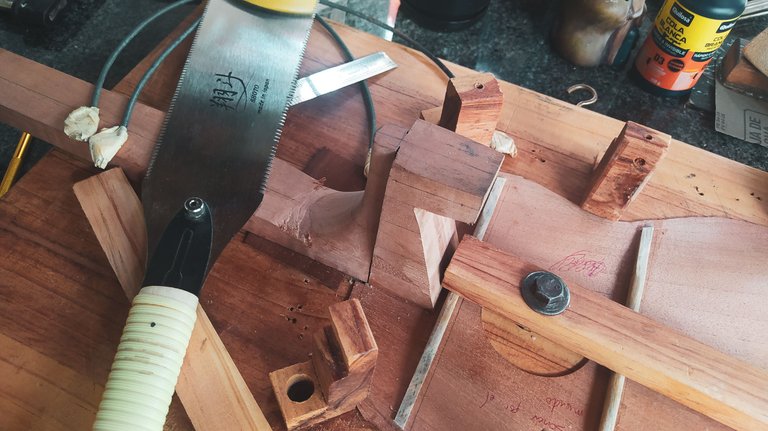
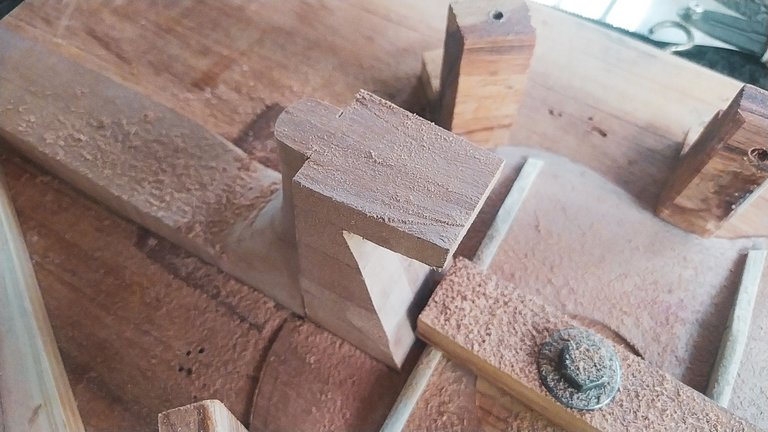
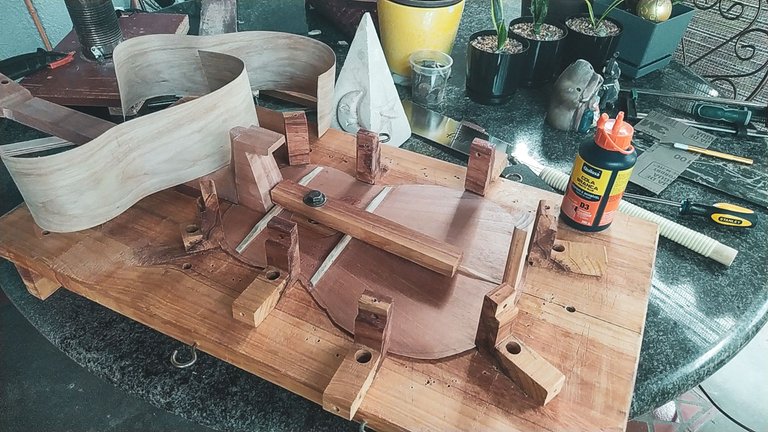
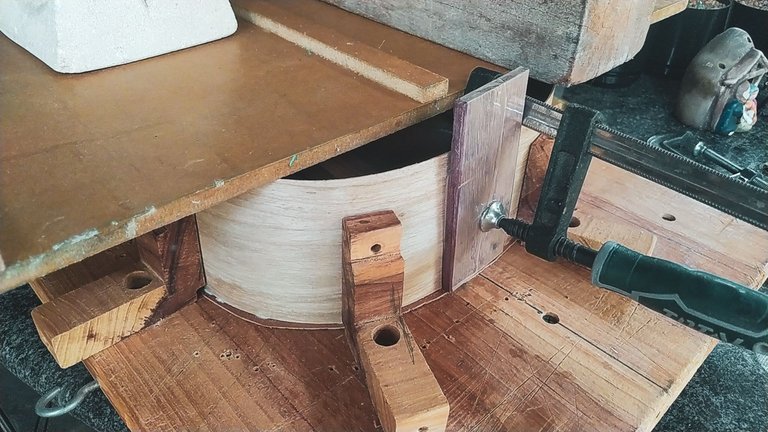
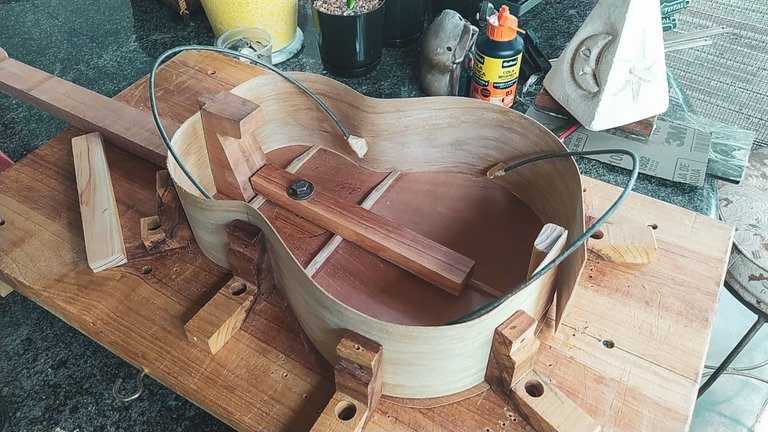
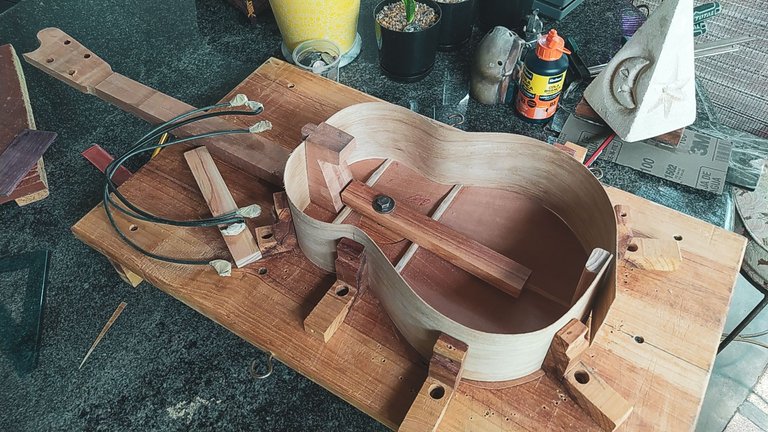
The final part of this job is to get the bent sides to the right measure and glue them in place. It gets kind of hard to do it once they are bent, but it is possible. Before the last dry fit in, we need to cut the heel to the height marked by the sides. When we have this ready, we can make a final test for the sides before applying the glue.
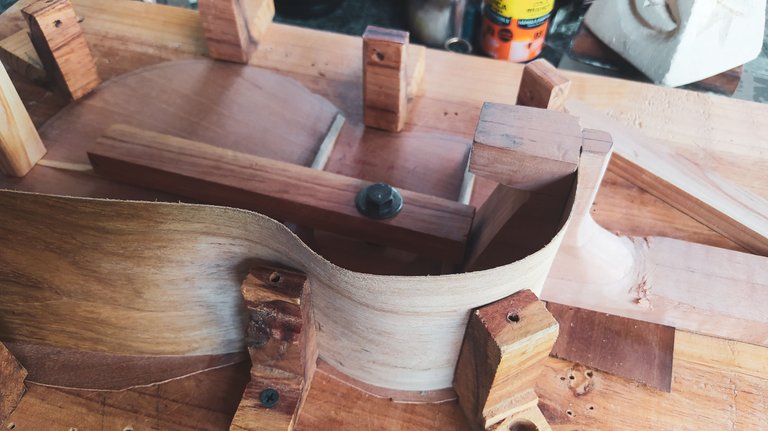
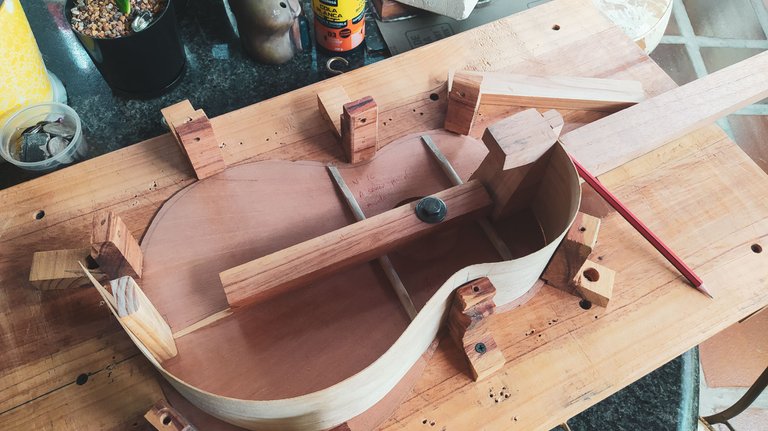
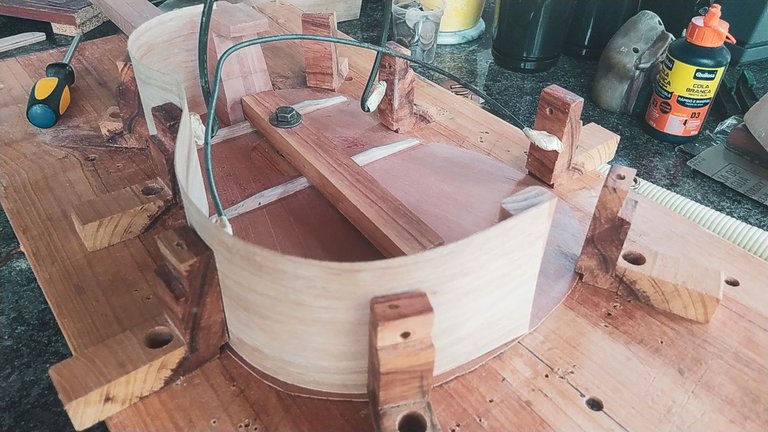
Once we checked everything is ok, we can proceed to place the sides with glue in their place and apply some pressure from the inside to the outside to hold them steady. This last bit will help us build the strength necessary to place some weight on top of them without having them breaking. We just need to clamp the bottom part to the end block and let glue do its magic.
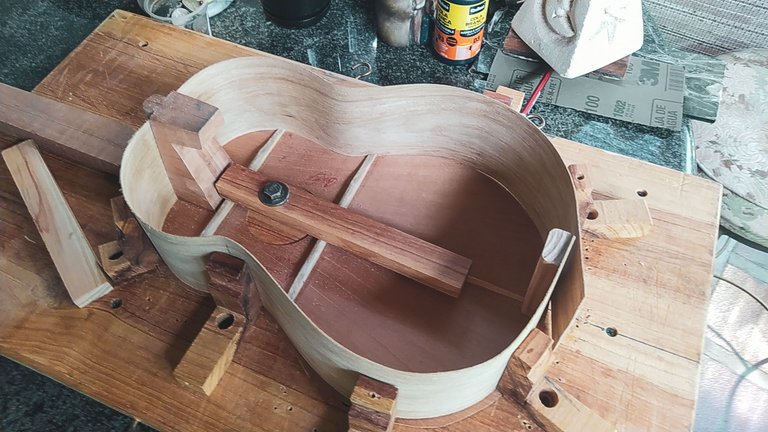
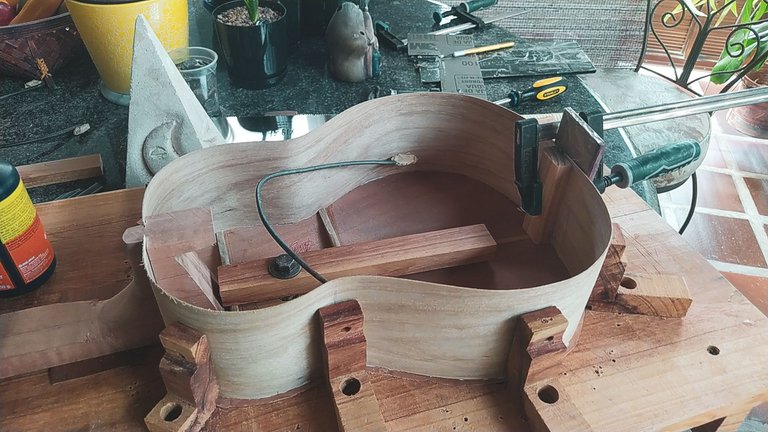
And like so, we have the sides on the instrument. We're only missing some pieces to have this one closed and taking it out of the solera mould. We'll see that next time!
Thanks for reading!
Fotos/Photos 📷: taken by me (Redmi Note 8)
Portada/Thumbnail 🖼️: by me, created with Canva.
Edición/Editing 🎬: by me, made with Adobe Photoshop Lightroom.

Follow me on Instagram for enquires and commission.
If you'd like to help the workshop grow, you can make a donation here. You can find me at discord as bertrayo#1763