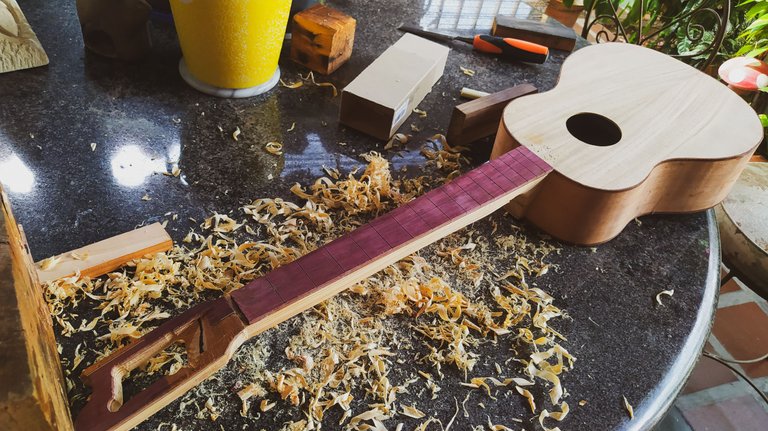

Today, we continue the process of this instrument, and for the first time in the series, we have a incomplete project. There are certain mistakes on this project that deem it a failed attempt. But such is the learning process. It isn't the first time it happens and I doubt it will be the last. Each project is a learning experience.
Let's see how this one ended.
Fretboard dimensions
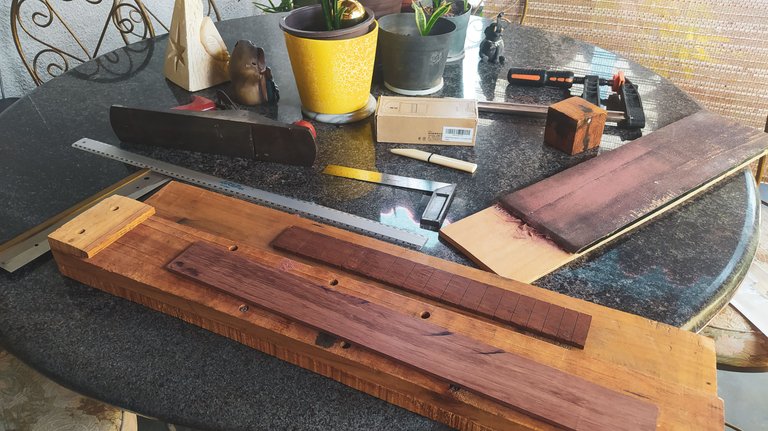
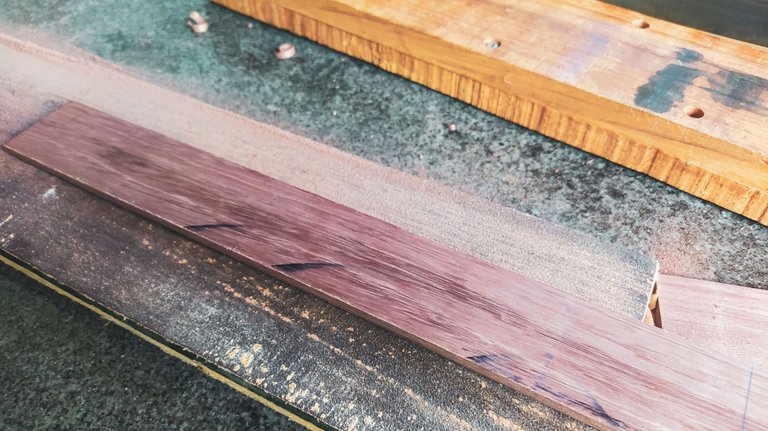
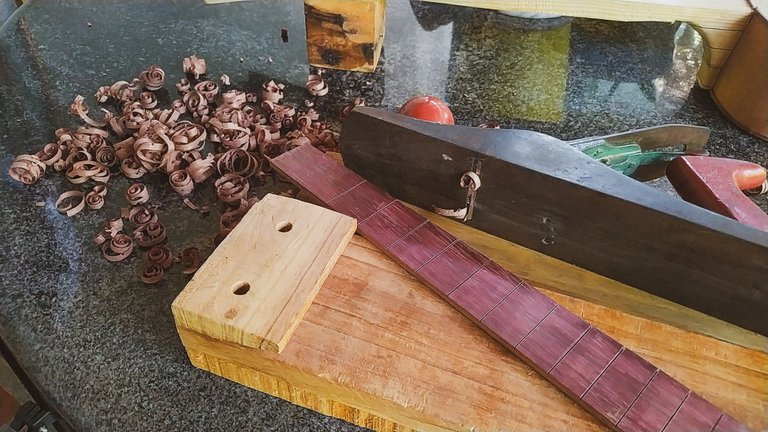
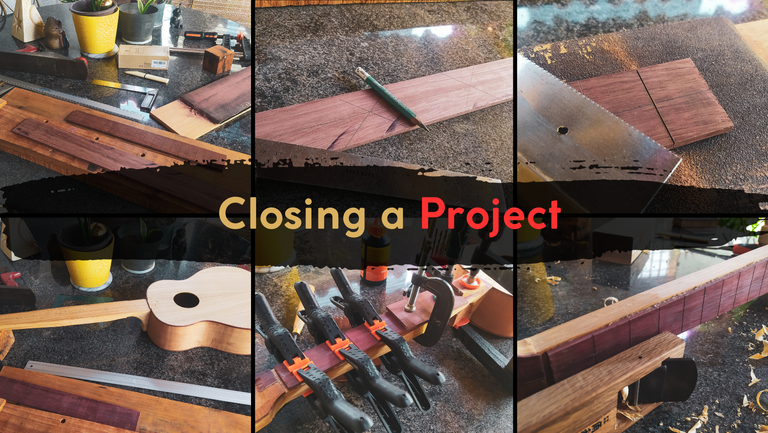
We had some trouble when the whole instrument project was on a halt, coming back to it, the whole colour palette was a mess. However, I had decided from before to add a piece of purpleheart on the fretboard. Fortunately, there are still some around and this one got a lot of work on sanding to remove the cutting disk marks.
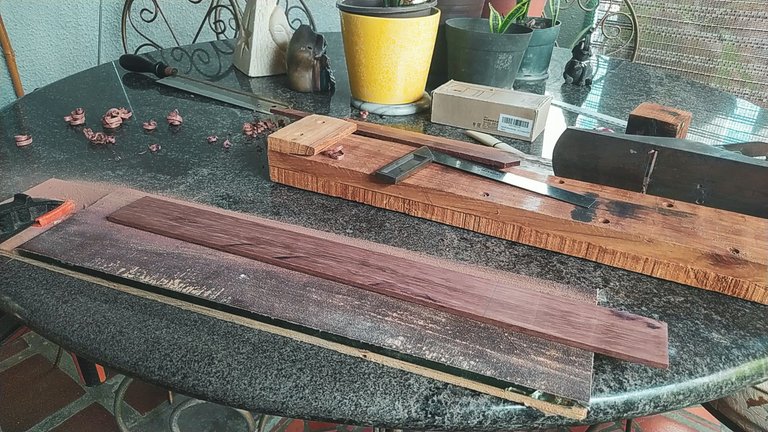
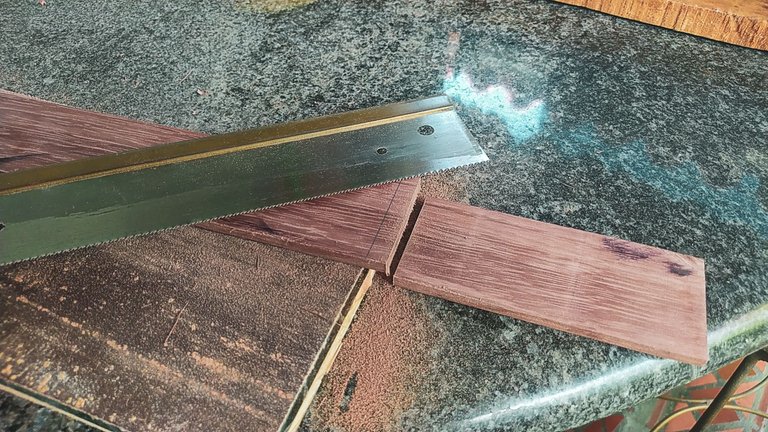
Then, we needed a straight face to start with the markings for the fret slots. Also, cutting it to a usable length. Note that it isn't the complete length. That will be determined by the template.
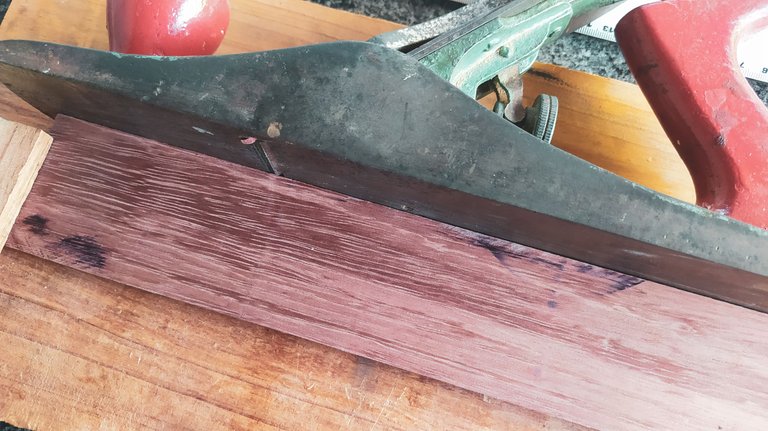
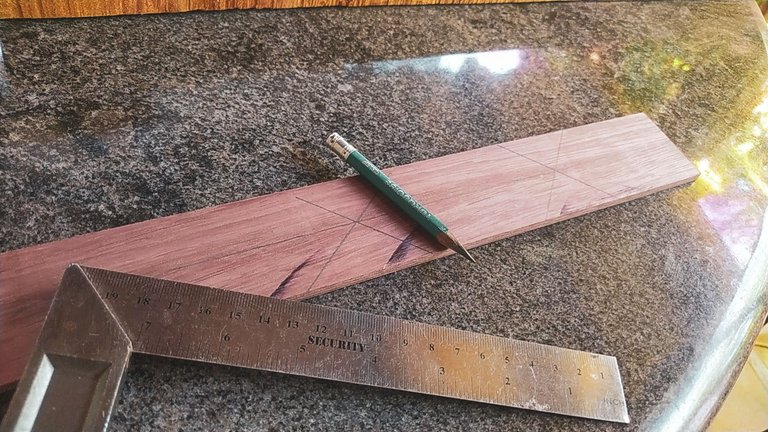
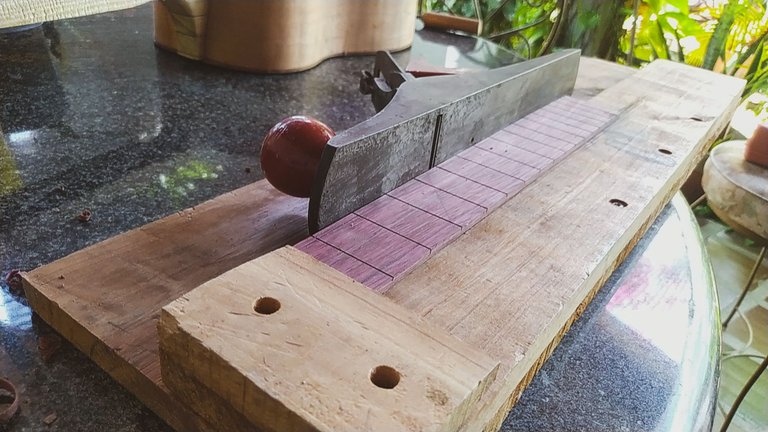
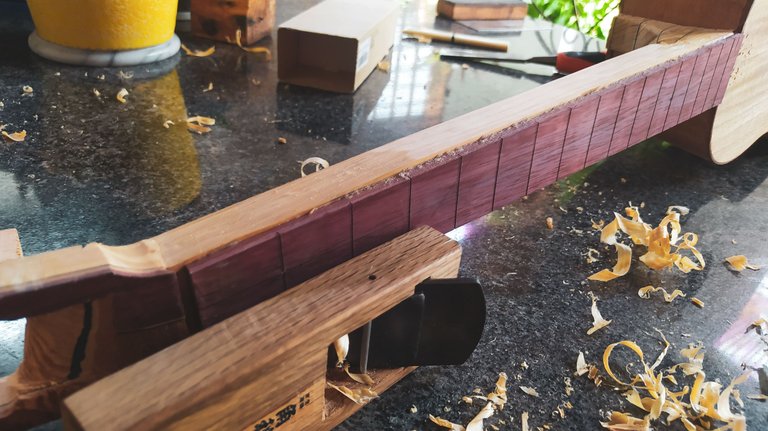
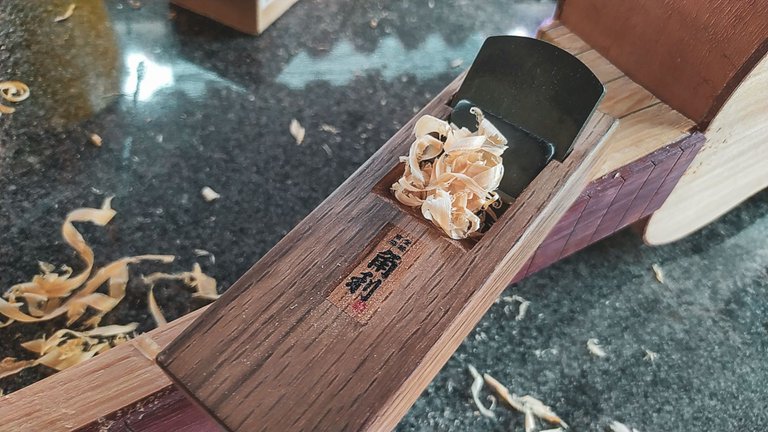
Doing a lot of this work by hand is regular business. Using the plane to get the straight edges on the narrow sides to be able to mark the slots for the frets at 90°. Also, we need to mark the central line of the piece.
Slots
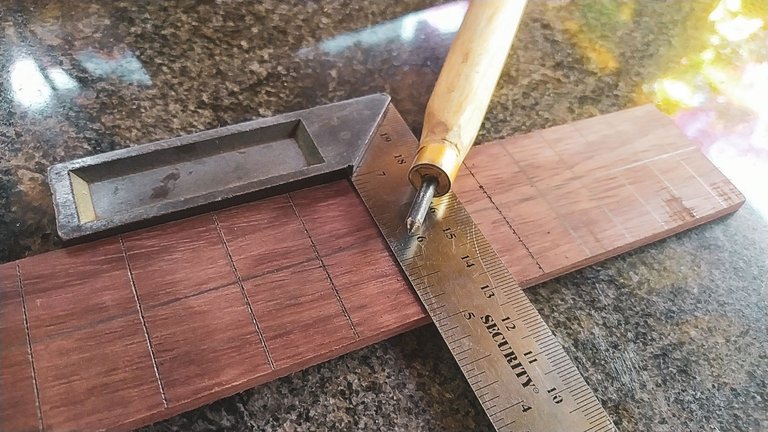
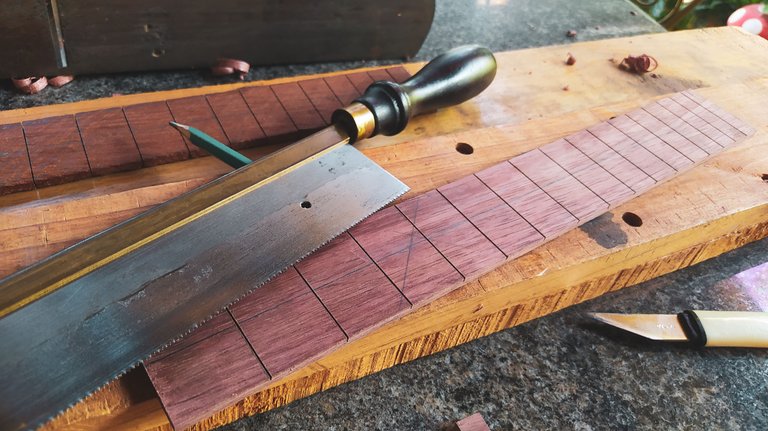
Having some rough dimensions on the piece, we can make the marks for the frets and the final length of the piece. Using a marker and a ruler we can make the marks that will be turned into slots. The trick here is having both narrow faces straight. That way me can use both sides with the ruler to make sure the marks are at 90°.
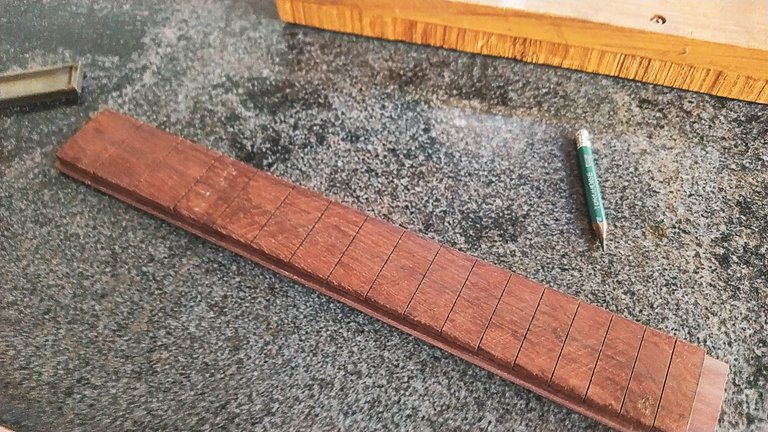
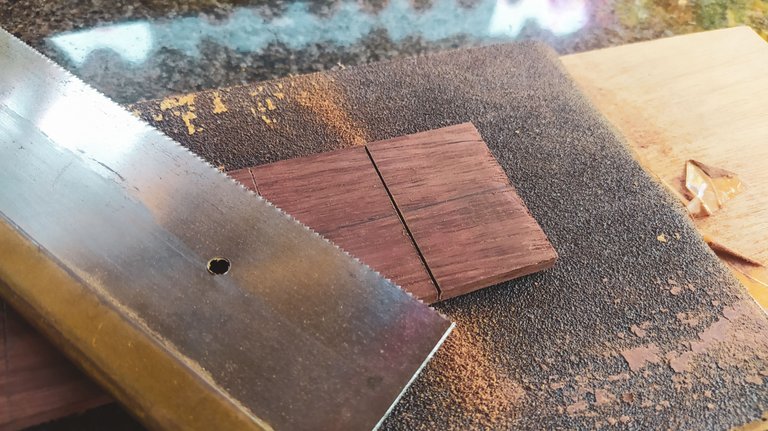
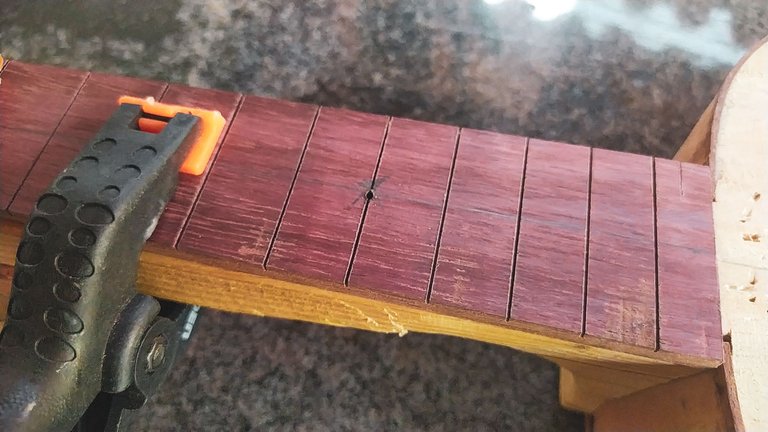
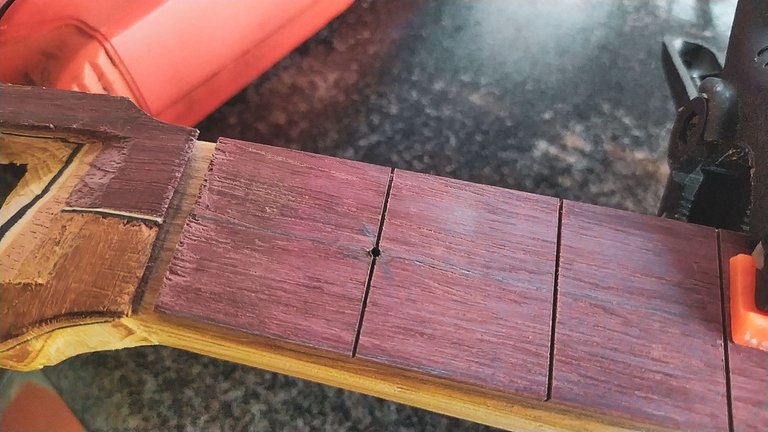
Once we make the marks, it is time to use the saw and make the slots. It is a matter of keeping a steady hand a making the slots straight. Any problems here can be solved with glue on the frets and other tricks. However, good slots mean less work in the future.
With the slots in place, we can give the fretboard the final shape. It is similar to a cone. The part that goes near the head stock is narrower than the one going to the body.
Glue it
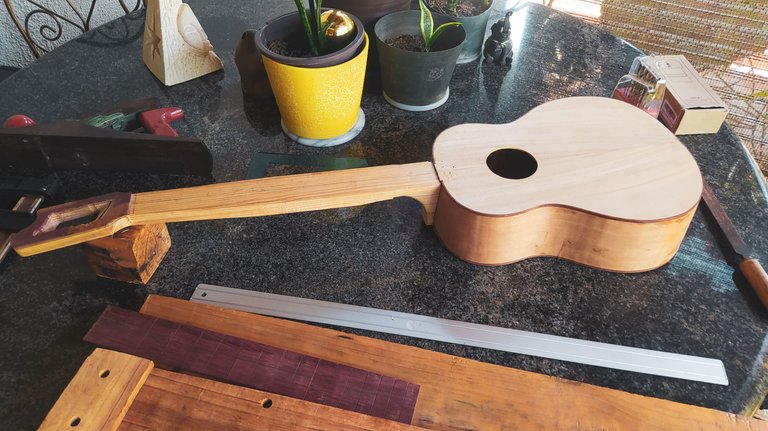
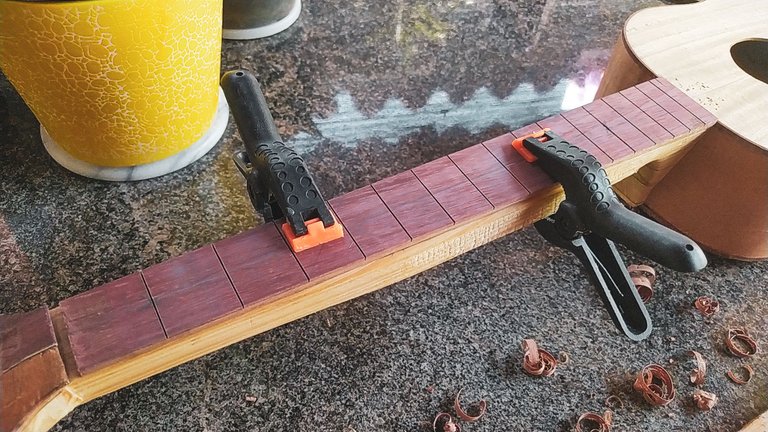
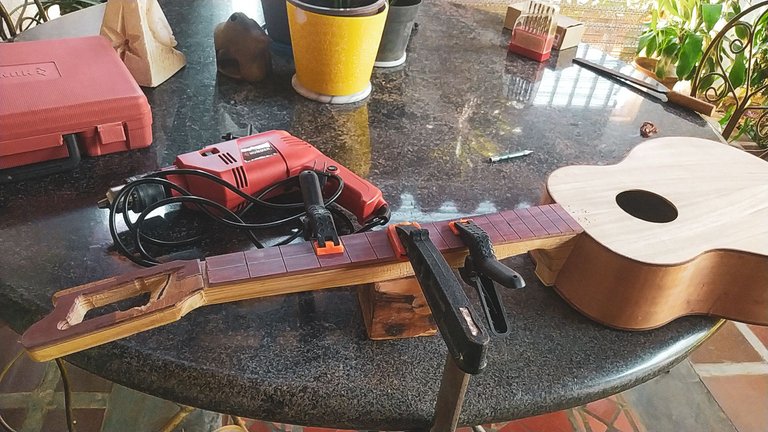
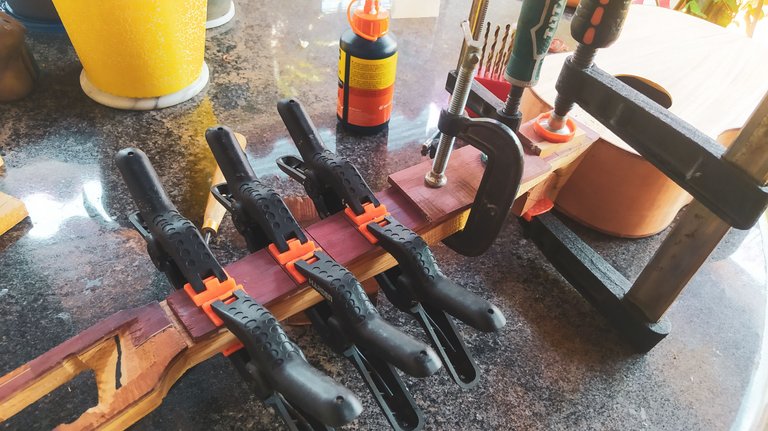
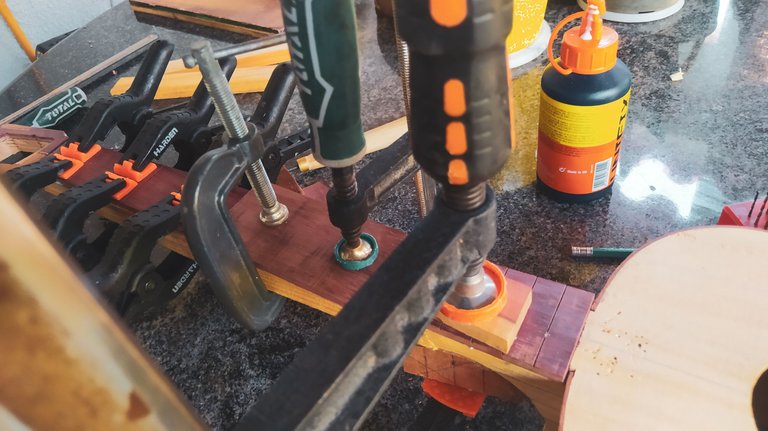
Finally, we can glue the piece on the instrument. For this, we'll use a trick. By holding the fretboard on the neck with clamps, we can use a drill to make room for some anchors. With this we won't be troubled by the movement of the pieces once we have glue between them. We just need to make 2 holes. One goes on the 1st fret; the second, on the 2nd.
The anchor will just be a toothpick piece that can be easily removed when we place the frets. Having this done, we go ahead and apply the glue. Then, it's clamping time. And of course, this extra step saves a lot of time and struggles with the glue.
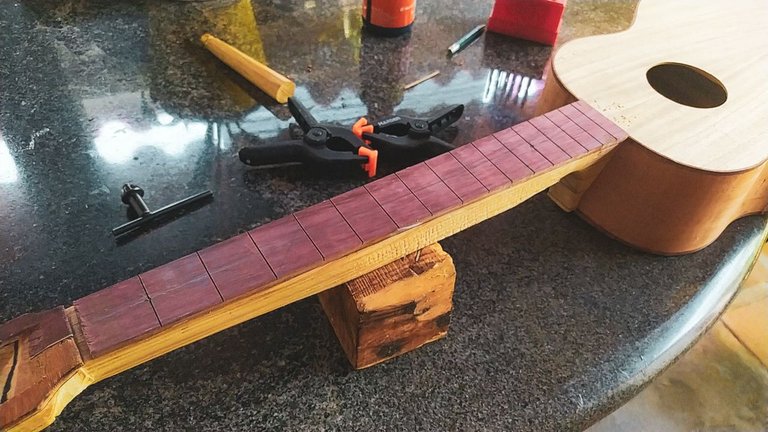
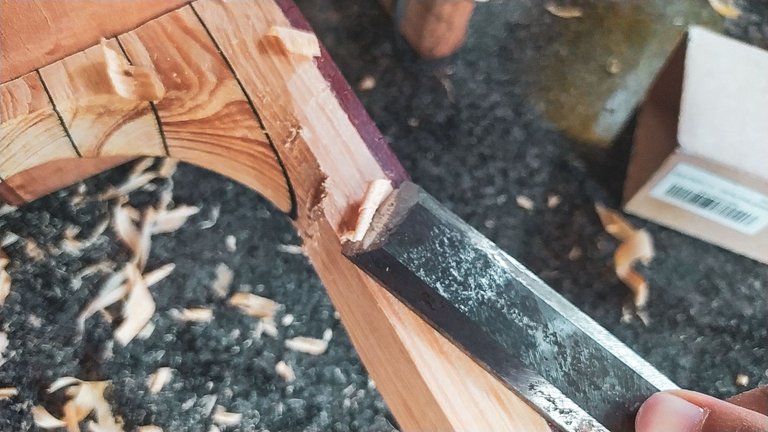
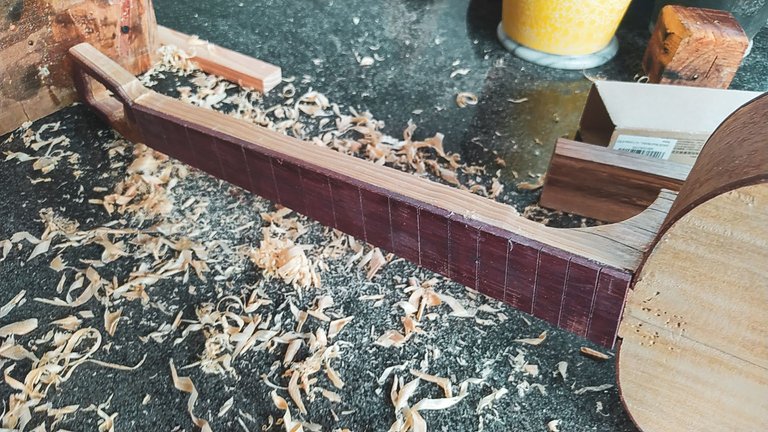
To finish the job, once the fretboard is glue we can remove some of the extra space on the neck we have left from before. And we are done for the moment.

After some inspection, there are some issues with this one that won't let me finish the instrument and have something that rises to the bar of my taste. So, this project ends on this step being a reminder of keeping an eye on some details and working without haste.
Remember the old saying:
Measure twice. Cut once.

Photos 📷: taken by me (Redmi Note 8)
Thumbnail 🖼️: by me, created with Canva.
Editing 🎬: by me, made with Adobe Photoshop Lightroom.


Follow me on Instagram for enquires and commission.
If you'd like to help the workshop grow, you can make a donation here. You can find me at discord as bertrayo#1763
