It's time to follow up with the progress on the last instrument of the year. And luckily, we're on the best part of the work, assembly! If you haven't you missed the previous entry on this series, take a look here.
Let's jump right to it!
One last trim
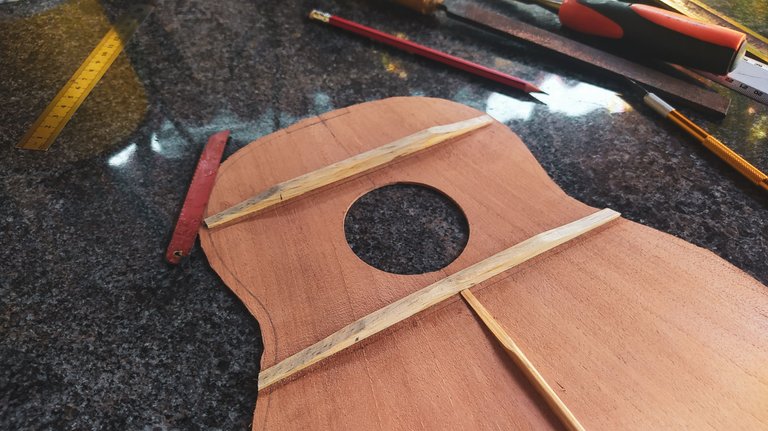


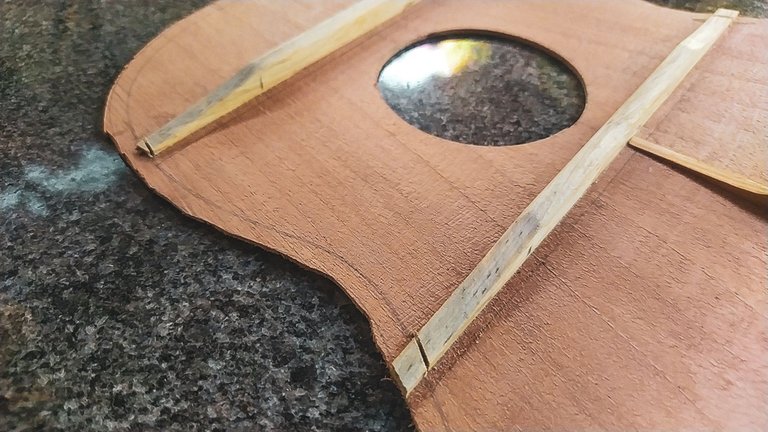
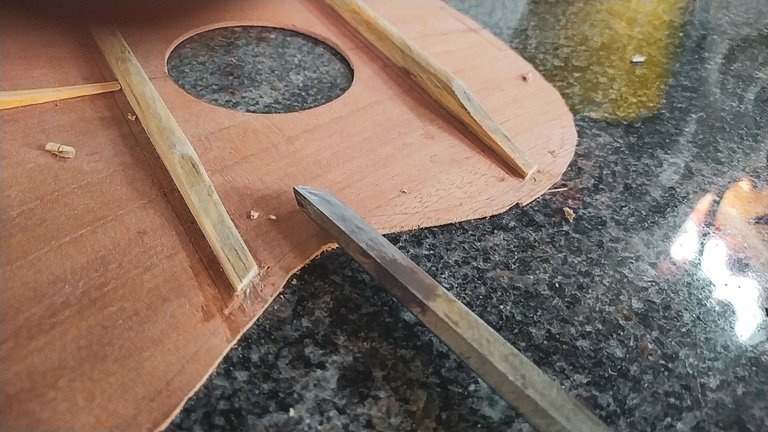
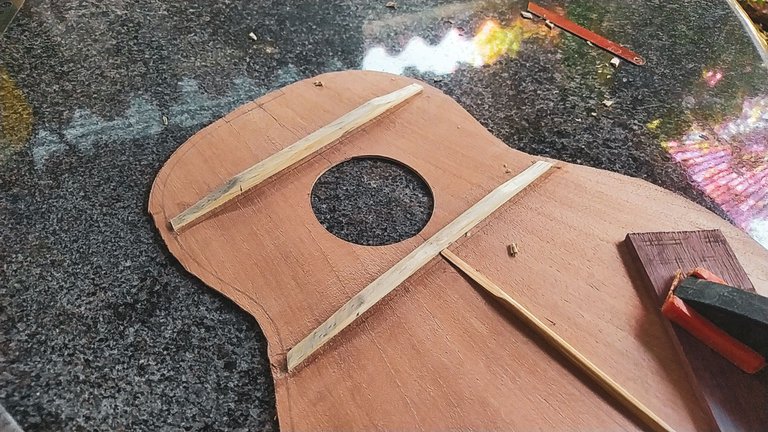
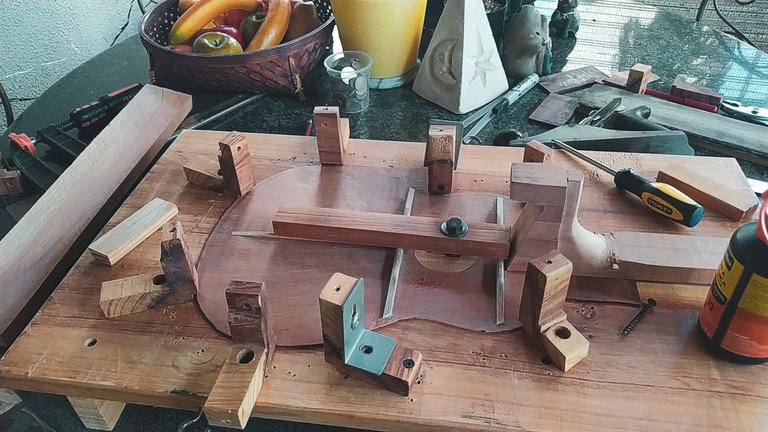
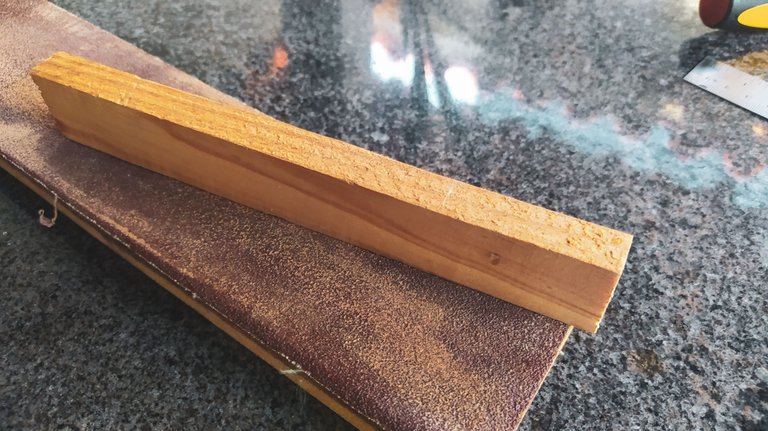
Almost all parts of this build are ready to put them together. The only exception are the sides, but that will come soon enough. Learned the hard way that you need to work the thickness of those pieces only when you are going to bend them. Anyways, the first part of this entry is to trim the bars to get them close to the outline of the sound board. This is the line will be using to put the angles on the mould later.
So I have this piece of a hacksaw blade that broke a long time ago and it's been really useful for these cuts where a frame gets in the way of the cut. The idea is to remove a bit from the bars. First we use this piece of blade to mark how much we're removing. Then, we use a chisel to get the piece out of the way.
This is one those cuts that have very little variation among luthiers. Unless you're cutting the bars to the exact shape, we all do it the same way. In case you're wondering why, it helps preventing any shortcomings from the pieces used during the build. Doing it this way also prevents breaking anything.
Step one
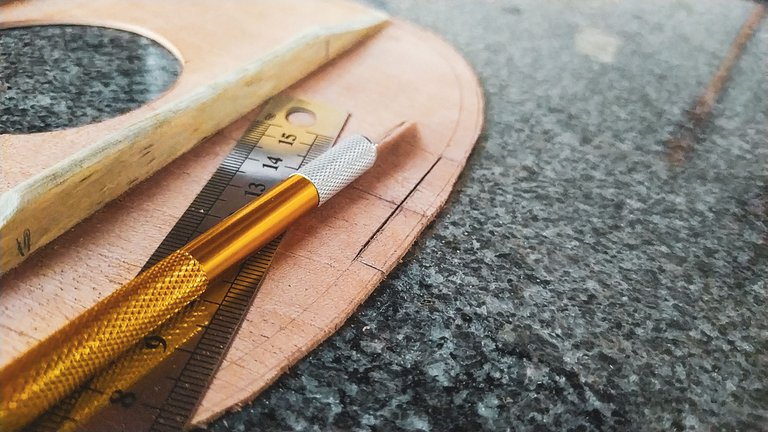
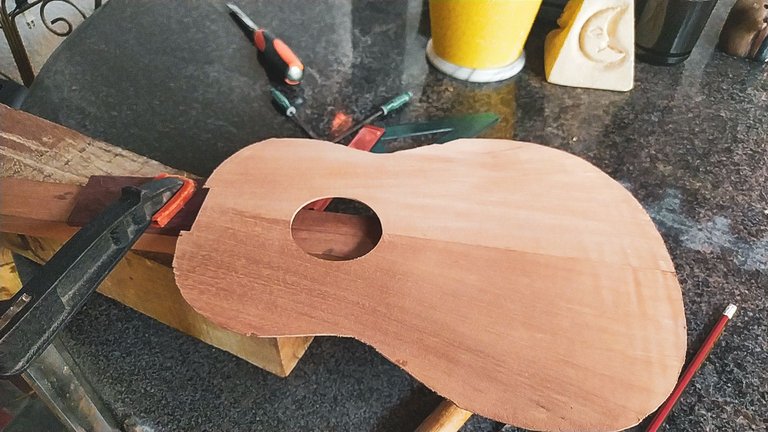
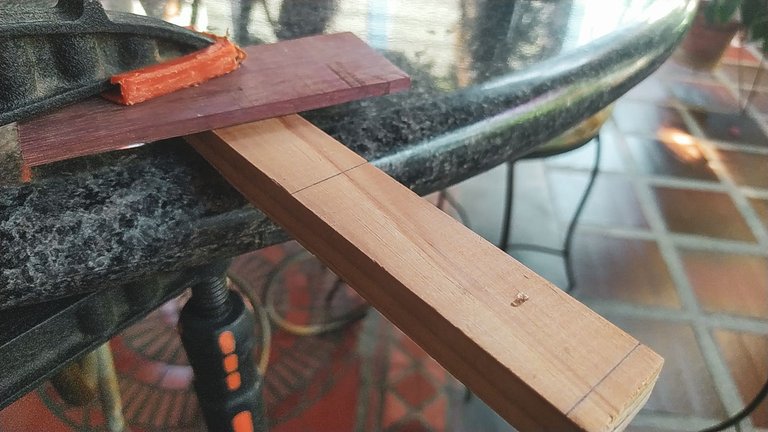
And it comes to this, we have to join the neck and sound board to get the instrument in the mould. First, we make one last cut on the sound board. Just at the top with the same width as the widest part of the neck. This cut need to be flush since the end on the fretboard will go right next to it. And this is also the same place where we'll have to put the 17th fret.
It's a good thing that an exacto knife does wonders for straight cuts on pieces on wood as thin as a sound board. With the help of the rule, we can make this cut in no time and chip away that bit of the top to have it ready for the glue up with the neck.
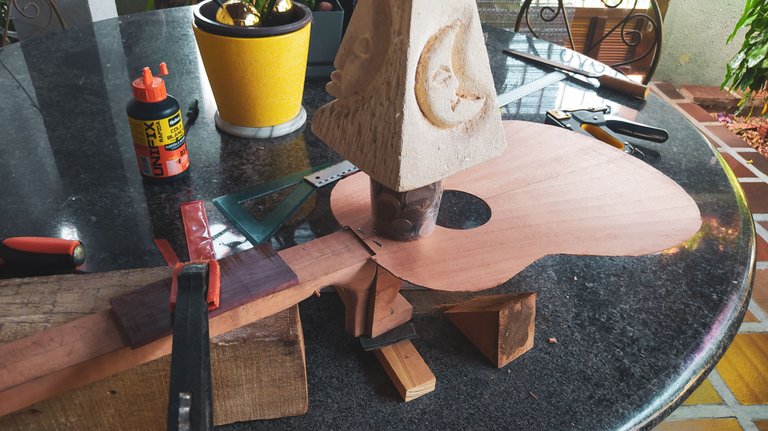
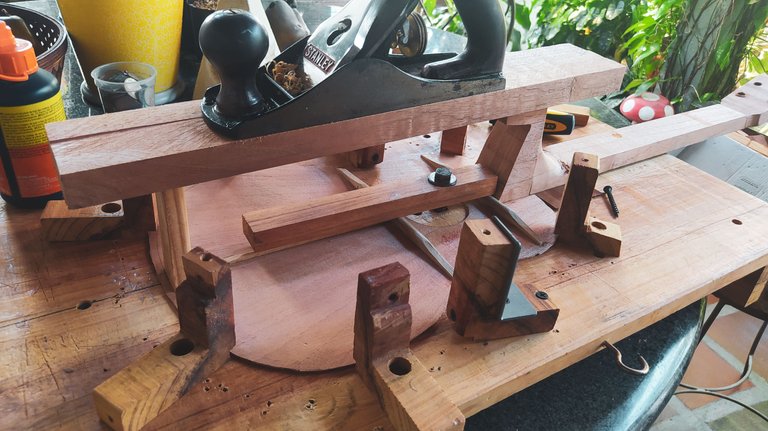
The next step has almost no photos of the process because it requires to align the neck and sound board while gluing. To help on this process, we'll use some staples. This helps getting some grip between the pieces of wood and then some weight to help the glue. The process takes a long time since both the center line of the top, plus the center line of the neck need to be perfectly aligned. Here again, patience is the name of the game.
End Block
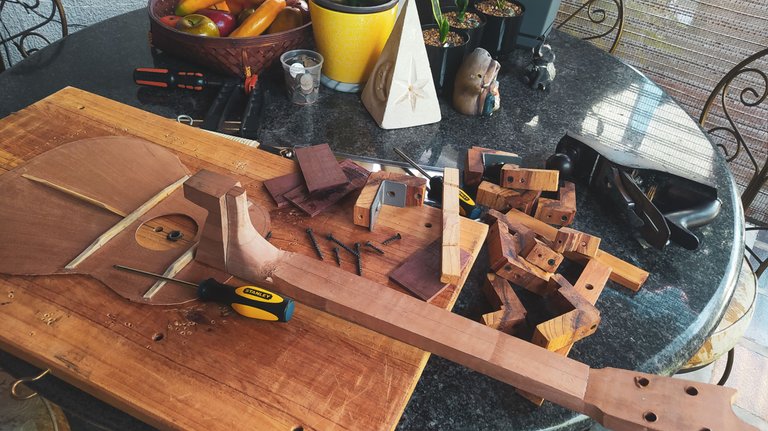
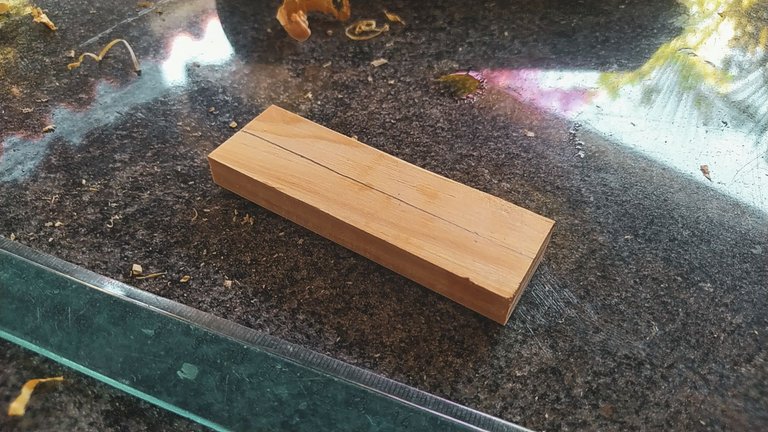
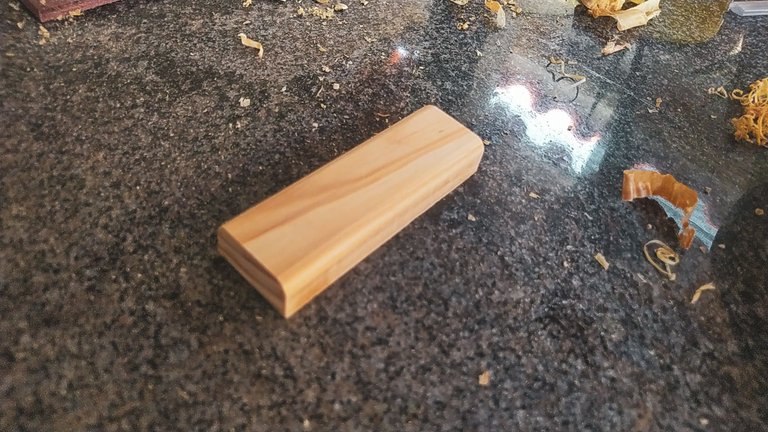
With the neck and sound board glued together, we can finally get the instrument on the mould and start getting the angles in place alongside the outline. To finish for today, we'll get the end block ready. This block is the other heel of the instrument meaning it is the part where the sides meet on the bottom of the instrument. Since there's no more cedar in the workshop to make this piece, we'll settle for a piece of pine and this time it won't be as wide as usual. This build is all about being light.
We need to sand the piece and cut it to length plus working on all it's faces to make it flush on every side. We draw a center line on the block to know here to glue it and keep it aligned with the center line of the sound board. To finish this, we apply glue and use our trusty plane and another neck blank to press it down.
Once the glue has made its magic, we can continue with this build.
Next time, we'll start with the sides and keep giving this one shape.
Thanks a lot for reading!
Fotos/Photos 📷: taken by me (Redmi Note 8)
Portada/Thumbnail 🖼️: by me, created with Canva.
Edición/Editing 🎬: by me, made with Adobe Photoshop Lightroom.

Follow me on Instagram for enquires and commission.
If you'd like to help the workshop grow, you can make a donation here. You can find me at discord as bertrayo#1763