
Si el Inglés no es tu primer idioma, puedes ir a la versión en Español dando click aquí

You know what day it is! Time for another entry in the section Woodworking Wednesdays! Let's keep going on with the process of this instrument!
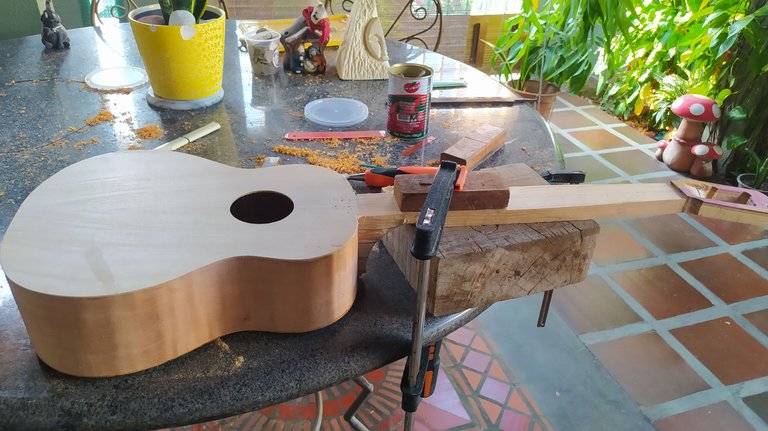
Unbound
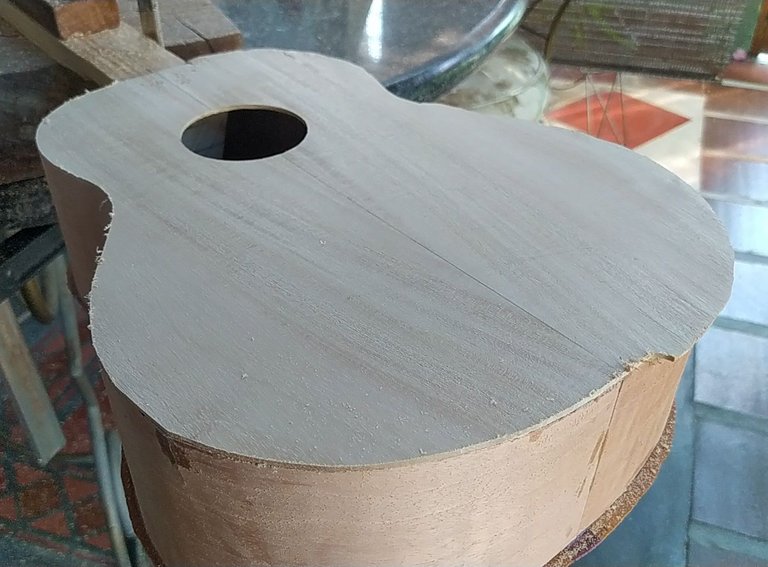
When we last saw this cuatro, it was all bound by rubber bands. We can now see the band did their job and the back in the instrument glued in place. So, it's finally closed! Now, it time to tackle some of the fine details and give it a more fancy shape.
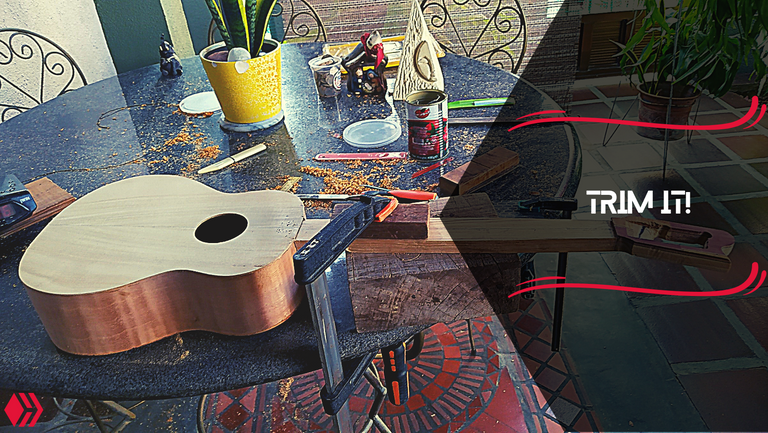
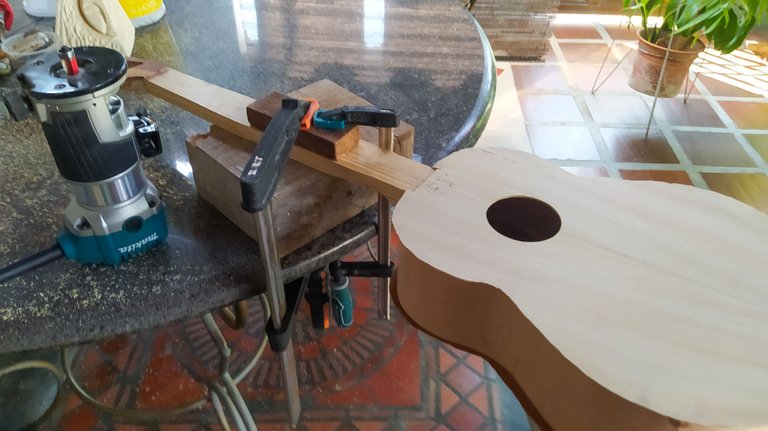
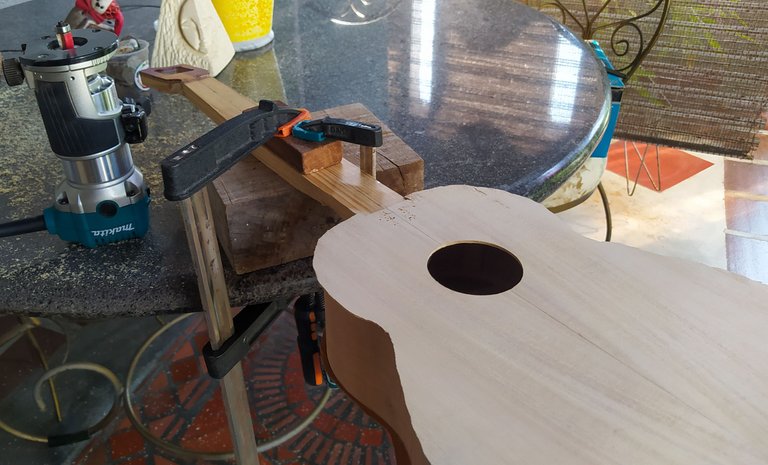
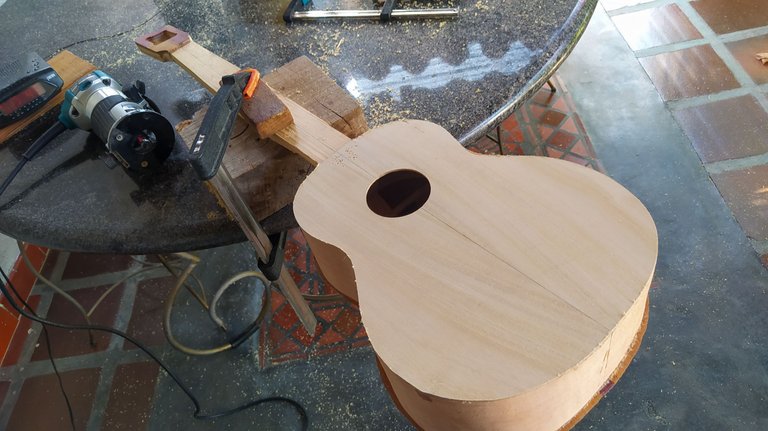
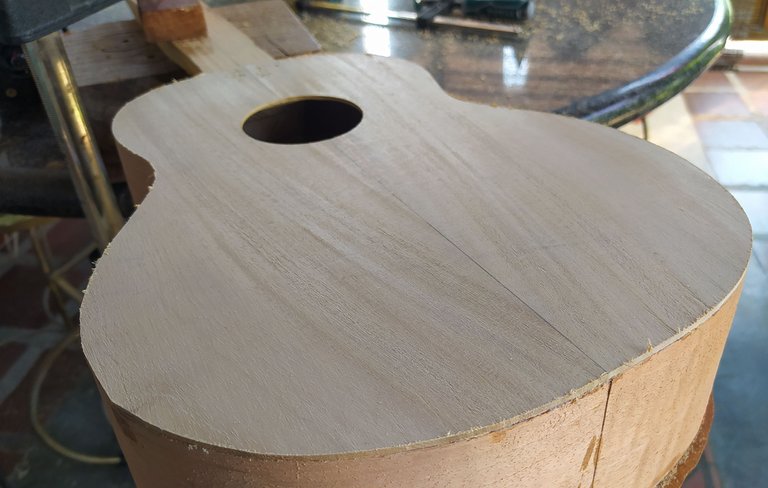
For that, we'll use a router and a repeating straight bit. That we well copy the curve if the sides and trim the excess from both sound board and back. It's a straightforward process as the router gives us more control and speed that doing it by hand with a knife.
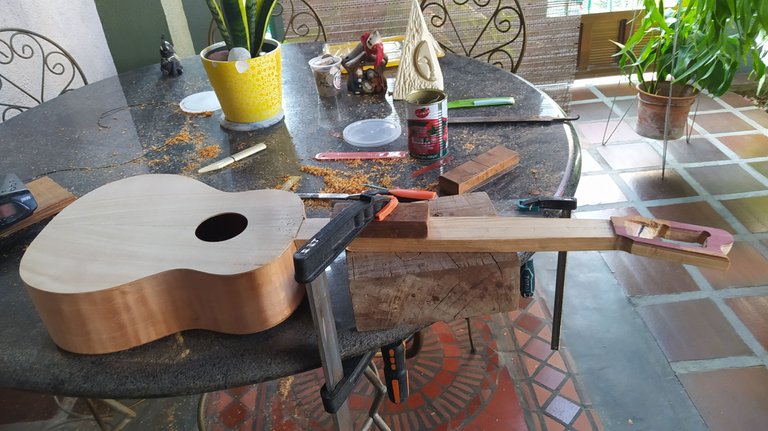
Trimming

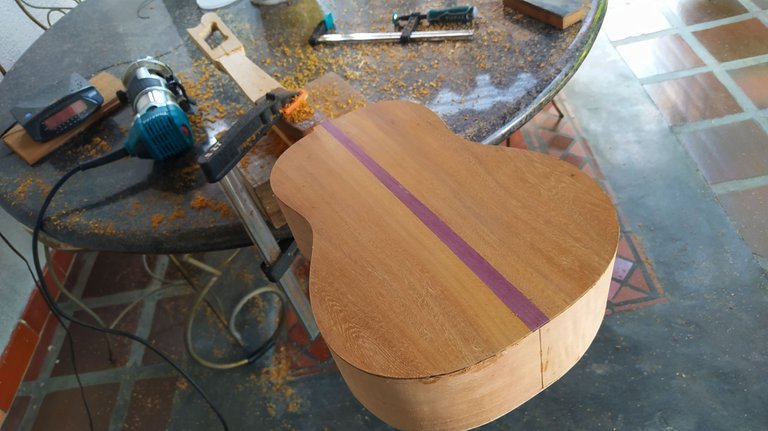
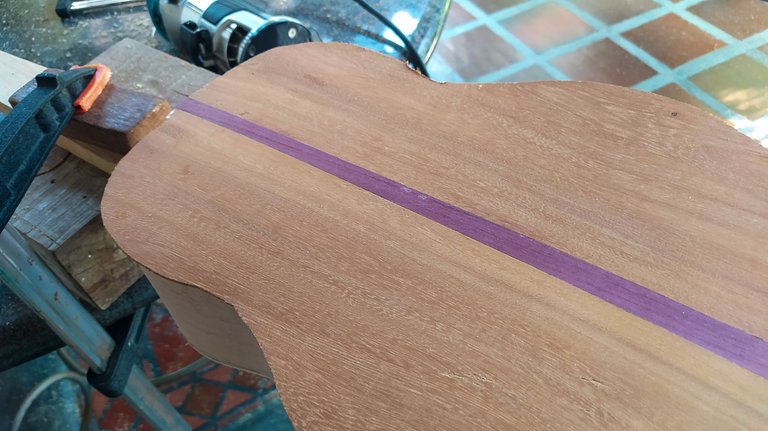
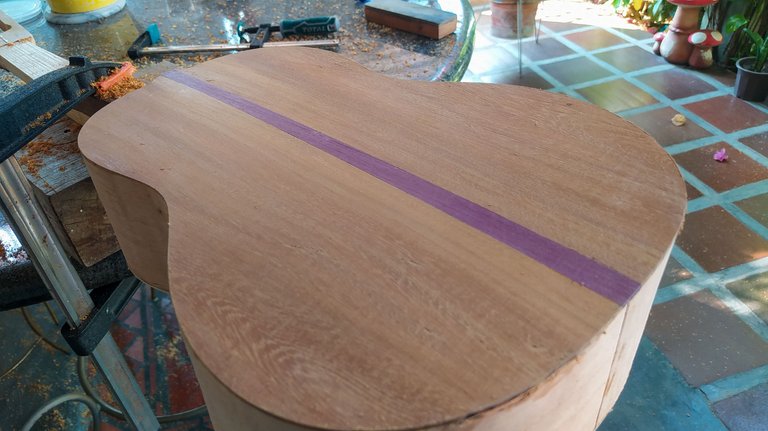
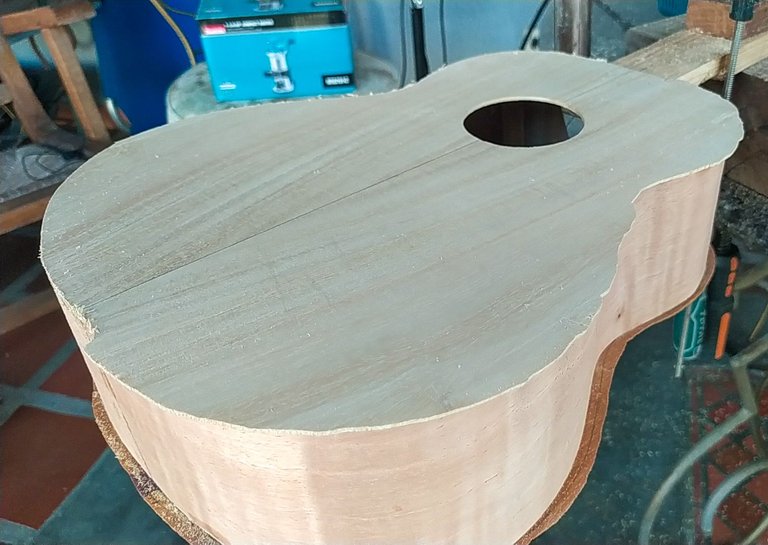
After trimming the sound board side, we flip the instrument to do the same in the back. As you can see, we have this beautiful Osage Orange (maclura pomifera) back with a Purpleheart (petolgyne) wedge in the middle. Just look at that colour and remember the sides were going to be of this wood, but they broke while bending. Such are the risks of working exotic hard woods.
With this part, we need to adjust the speed of the router. We need speed but not too much as the wood is way harder than the top. Osage Orange is tough to work and it chips easily. So, we need a steady hand while moving along the border and trimming the excess. We also need to keep an eye for the direction of the grain and understand we cannot move on the same direction along the whole distance. In some point, we need to change the direction of the movement to avoid chipping the material.
But with patience and keeping an eye for the movement of the grain, it is a piece of cake.
Headstock
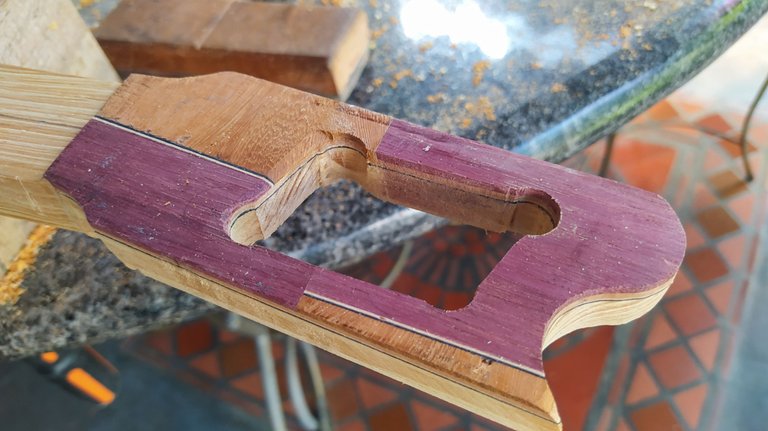
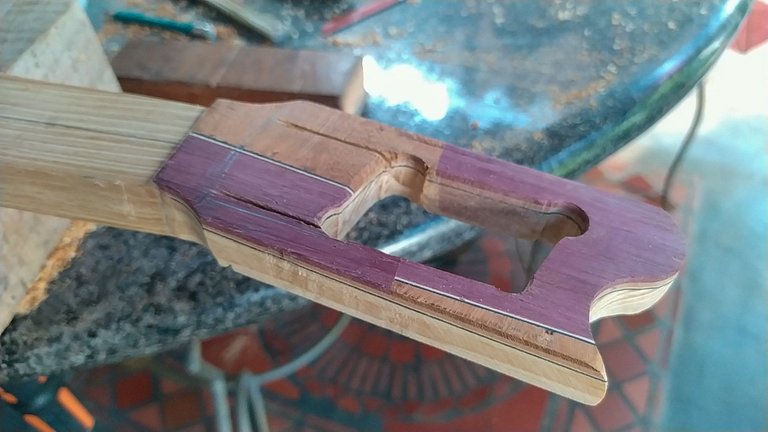
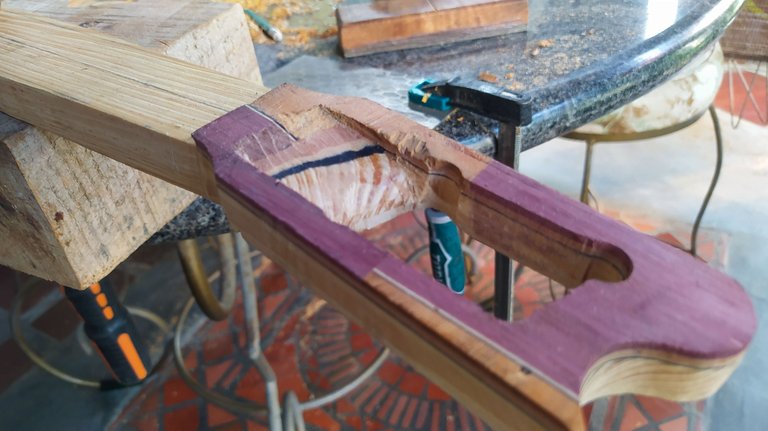
To finish with the work for today, let's jump into the first stages of making this hollow-style head stock. I had mentioned doing something about it before, but couldn't start until now. The idea is to make a ramp for the strings as the tuning machines will go to the sides. However, it's more than that. We need to play with the carving and make use the combination of colours resulting of the process of wood used for making the head stock.
There are veneers and a piece of cedar in the layers. It will have an interesting effect and I'm sure it will catch the eyes of people. But there's a lot of trimming left to do before completing this task.
On that note, I'll finish with this entry. See you in the comment section!
Rebaje

¡Ya saben qué día es! Es hora de una nueva publicación en la sección Miércoles de Carpintería. Vamos a ver cómo ha progresado este instrumento desde la última vez que lo vimos.
Desatado
La última vez que vimos este cuatro, estaba a amarrado con pedazos de caucho. Al retirarlas podemos ver que cumplieron su propósito. El fondo está pegado en su lugar. Ahora el instrumento está cerrado. Es tiempo de trabajar en otros detalles, comenzando por su forma.
Para esto, utilizaremos una fresadora y una fresa recta con copiadora. De esta manera podemos copiar la curva de la aros a medida que vamos retirando el exceso de la tapa y el fondo. Este proceso es muy sencillo ya que la fresadora hará todo el trabajo pesado, solo debemos tener una mano firme. Es mucho más rápido y seguro que utilizar un cuchillo.
Rebaje
Después de rebajar el lado de la tapaz le damos la vuelta al instrumento para hacer lo mismo en el fondo. Como pueden ver, tenemos este hermoso fondo de Mora Amarilla (maclura pomifera) con un adornos de Nazareno (petolgyne) en el medio. Observen bien ese color y ahora imagínense que los aros del cuatro son de la misma madera. Iban a ser los, pero les quebraron mientras se doblaban. Esos son los riesgos de trabajar maderas duras y exóticas.
Al respecto del fondo, tenemos que ajustar la velocidad de la fresadora. Necesitamos manetener una velocidad media ya que la madera es más dura que en la tapa y no queremos forzar la herramienta. La Mora Amarilla es dura, pero se astilla con facilidad. Por lo tanto, necesitamos movernos despacio mientras retiramos el exceso de material. Además, hay que estar pendiente del movimiento del grano de la madera ya que no siempre nos favorece ir en la misma dirección mientras cortamos. Así que en algunos puntos, tendremos que ir en sentido contrario para evitar que se astille alguna parte del fondo.
Nada que no se pueda hacer con un poco de paciencia y viendo con cuidado el grano de la madera.
Clavijero
Para terminar con el trabajo por hoy, vamos a comenzar a darle la forma final al clavijero. Este tendrá un estilo que podemos denominar vacío. Había mencionado algo al respecto en publicaciones anteriores, pero no había empezado a hacerlo hasta considerar como quería que se viera. La idea es hacer una rampa para las cuerdas ya que las clavijas estarán colocadas a los lados del clavijero. Aunque es más complejo que eso porque estéticamente, hay que jugar con los colores de las chapillas que están componen está pieza.
Hay chapillas de dos colores más una de cedro en las capas. Esto nos dará un efecto visual muy interesante que seguro captará la atención de las personas que lo vean. Aunque todavía que mucho por hacer al respecto.
Y en esta idea, doy por terminada esta publicación. ¡Nos leemos en los comentarios!
On that note, I'll finish with this entry. See you in the comment section!
Fotos/Photos 📷: taken by me (Redmi Note 8)
Portada/Thumbnail 🖼️: by me, created with Canva.
Edición/Editing 🎬: by me, made with Adobe Photoshop Lightroom.
Follow me on Instagram for enquires and commission.
If you'd like to help the workshop grow, you can make a donation here. You can find me at discord as bertrayo#1763