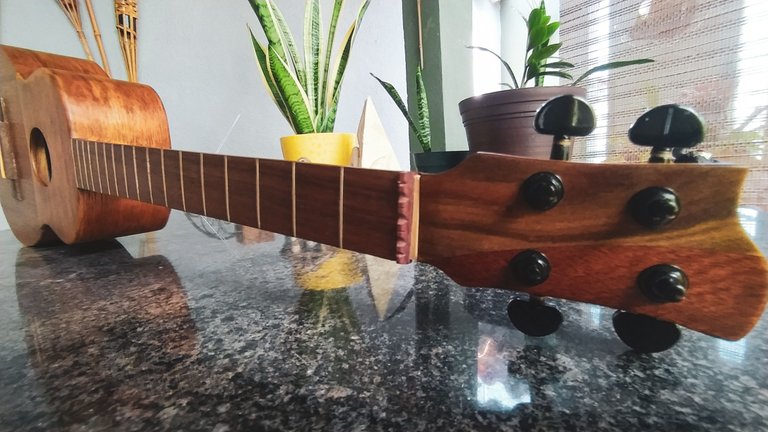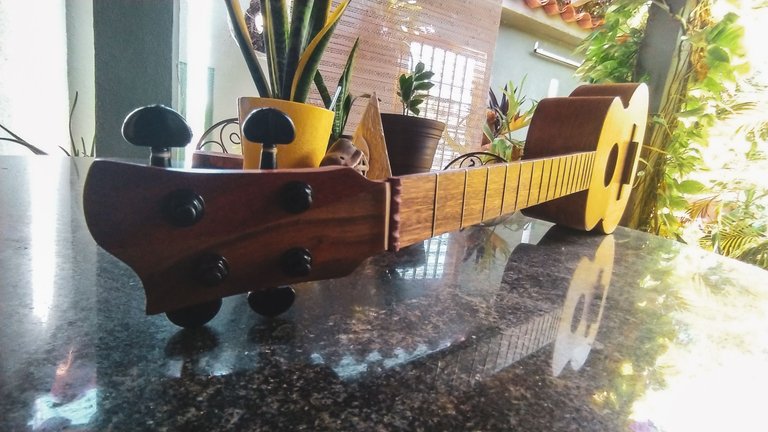


It's time to go on the last step before handing this over to its owner. Last week, I had a free spot to go and apply lacquer to this instrument and other pending projects. Let me show you the results!
Water and sanding
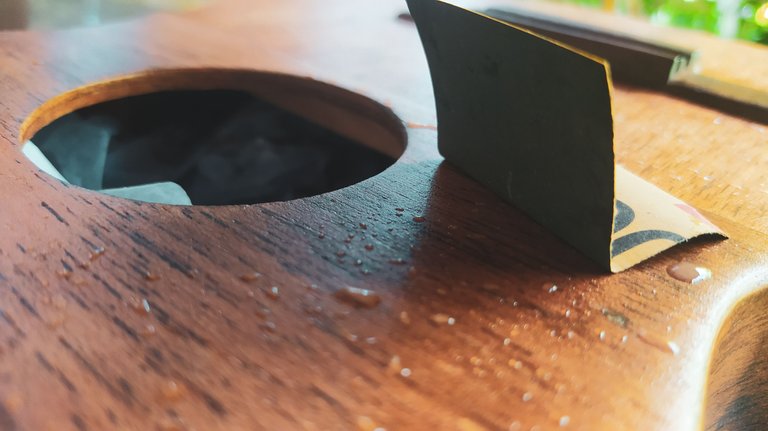
Once we have the lacquer on, we need to do a final stage of sanding. This is the most delicate sanding you can imagine. To start, we are going to used 1200 grit sandpaper on the finish, but the catch is that we are also using water to sand.
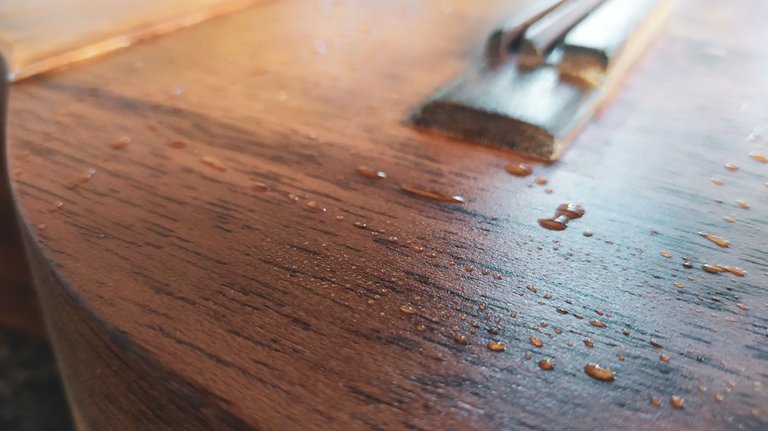
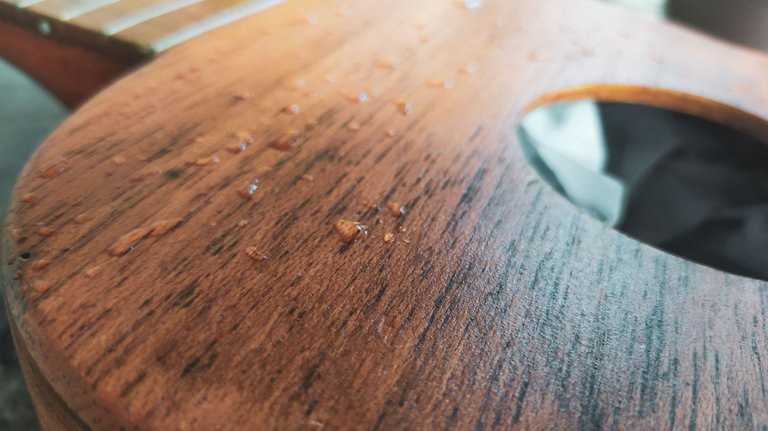
The idea is to remove any dust that might have adhere to the finish. This is a normal thing to do. It also smooths the surface. Water also gives us a visual cue to prevent us from sanding too much. If apply too much pressure, the finish could be ruined. So, we need to to sand until we can see some white dust in the water.
Not bright but cool
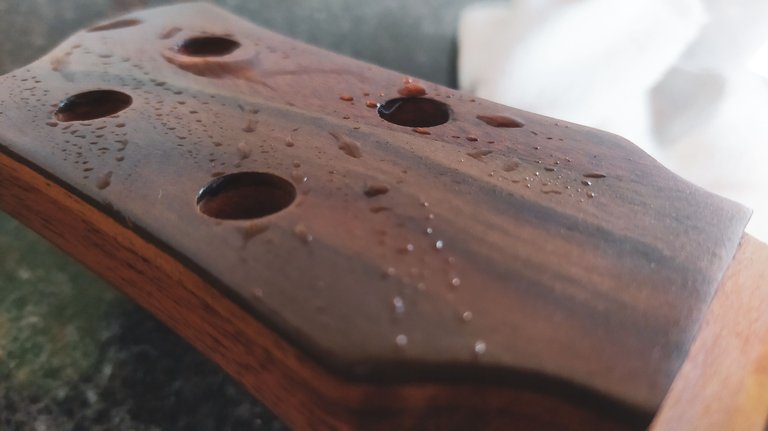
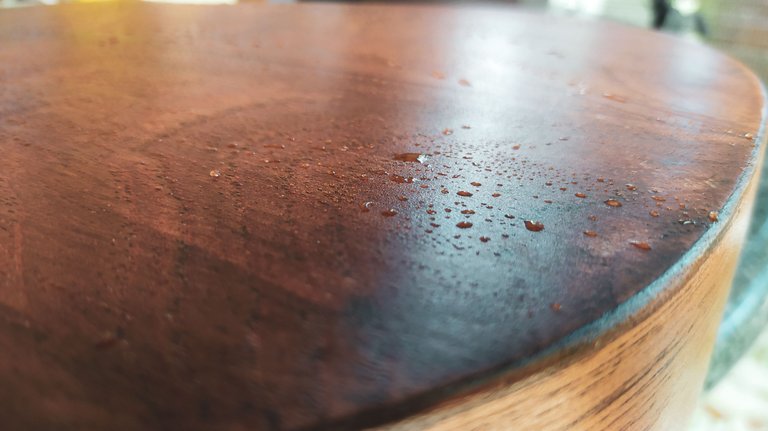
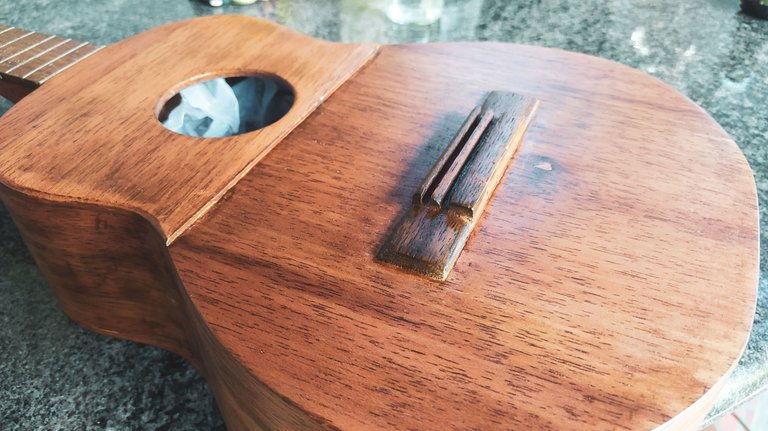
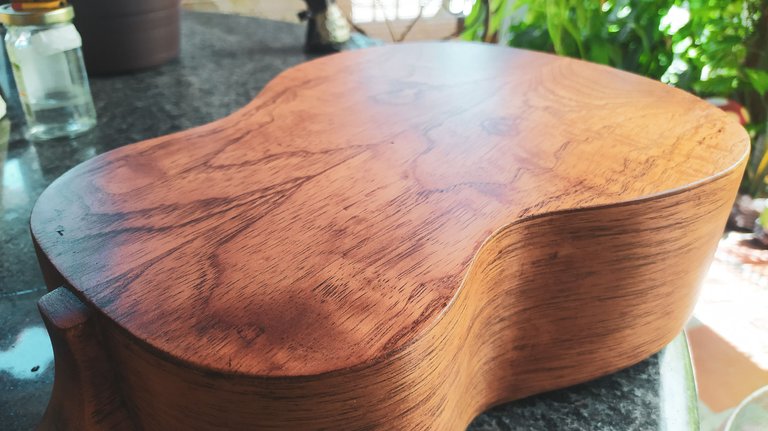
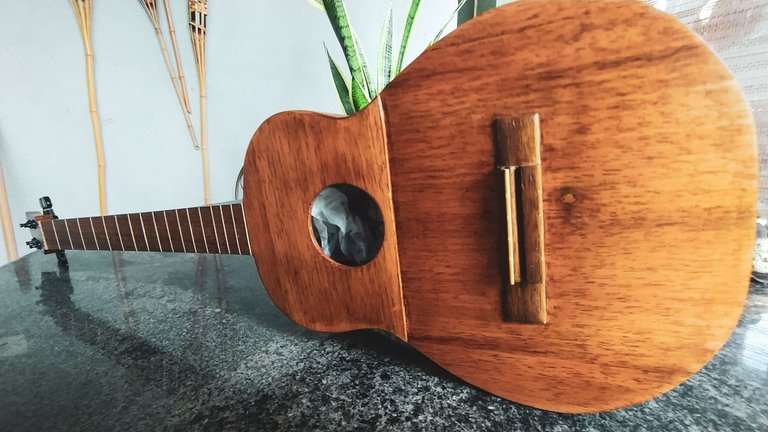
These are the results of sanding. This one is not going to have a polishing process since it's very hard to do it properly when the bridge is already glued on the sound board. However, take a look at the vibrant colour it has even without it. This mate finish is a nice touch to keep any kind of scratches from showing too much.
Also, the wood of the instrument looks like it has aged 10 years. That's a side effect on the previous application of ink on the instrument. Some of the residual ink can be see in the black spots along the whole surface of the instrument. It highlights the grain even more.
Final touches
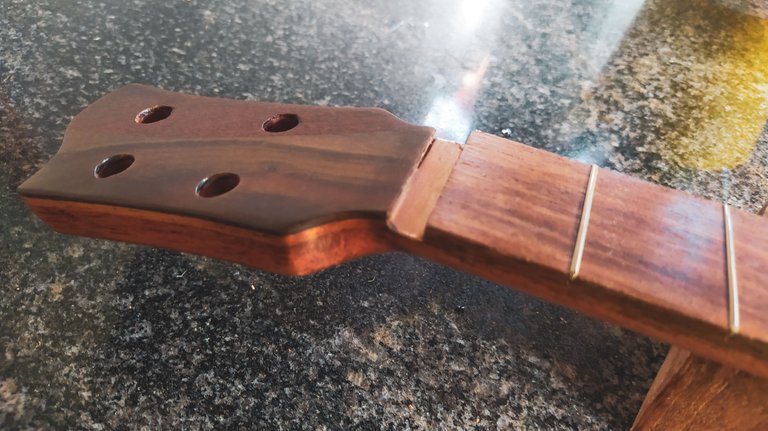
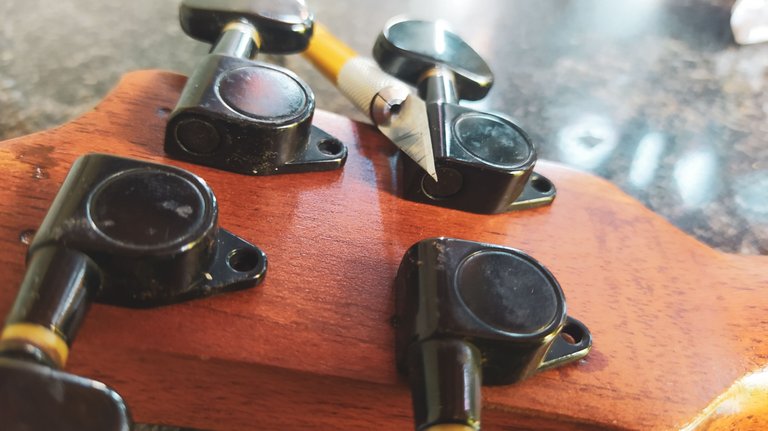
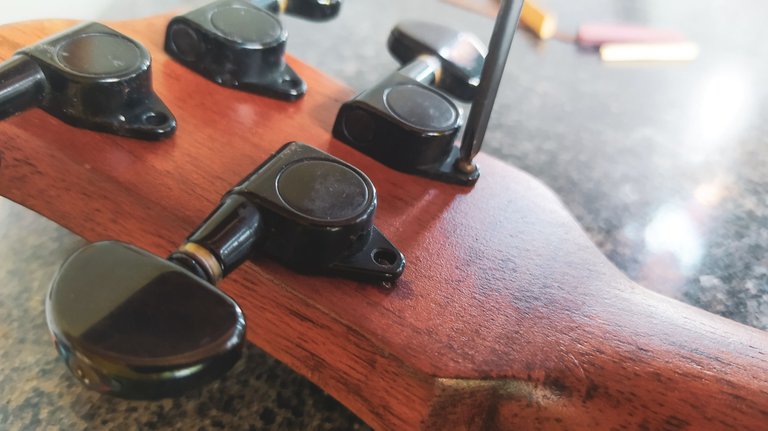
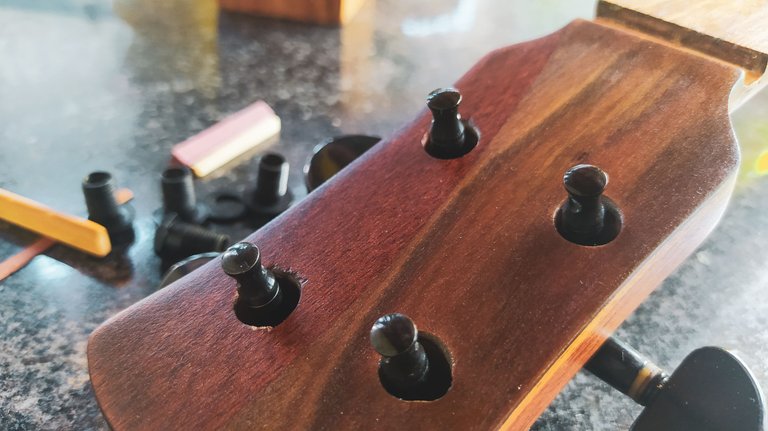
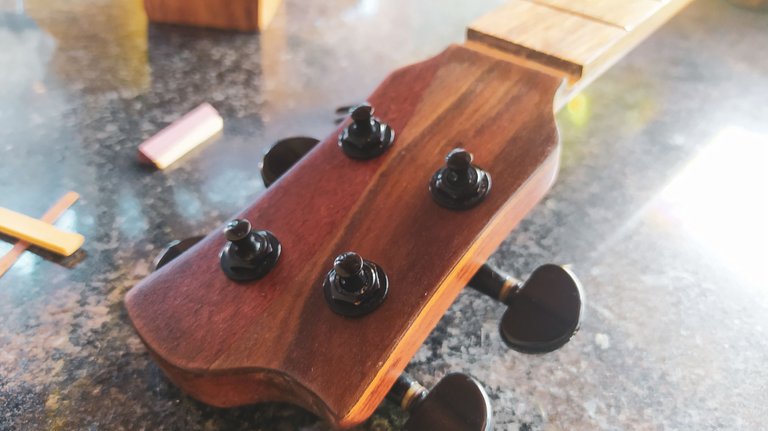
To finish this repair job, we are installing the tuning machines. This time, we are screwing them to the head stock. I don't like too much these tuners since they're too big and heavy for this instrument, but hey, the client wanted them and I charged him extra for it. After the previous steps we took last time, these are just ready to for a quick set up.
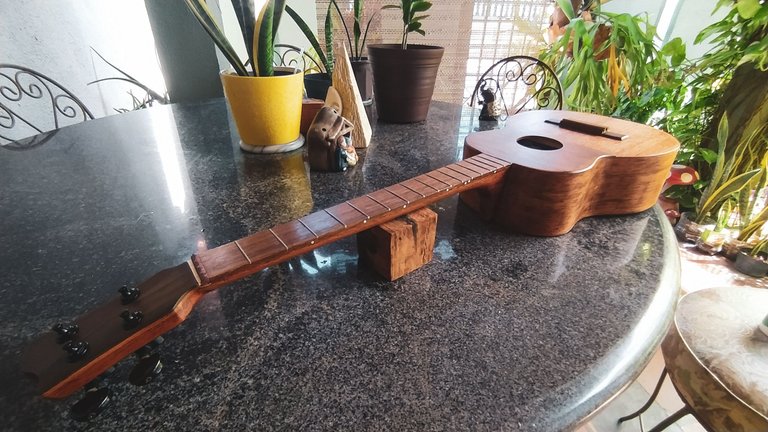
And after some weeks of work and some details during the job, we can see the last of this instrument and it goes back to its owner looking better than it did when it came here.
With this repair complete, we can get going on some other projects that have been in pause since last year. But that will come on the next entry of this series.
Thanks a lot for following up this work. Be seeing you next time!

Title
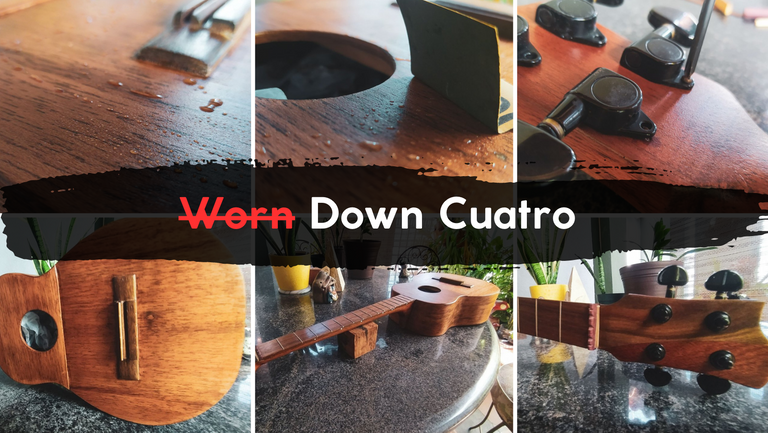

Es hora de terminar con esta reparación para que este instrumento regrese con su dueño. La semana pasada pudimos agendar un espacio para ir a laquear este cuatro y otros dos que tenía por ahí. Pero vamos a ver cómo quedó todo.
Lijado al agua
Después de laquear, nos queda hacer otro lijado. Este es el más delicado de todos. Para comenzar, vamos a utilizar lija de grano 1200 sobre el acabado del instrumento, pero el truco es que vamos hacer con agua.
La idea es remover todo el polvo que se haya pegado a la laca mientras esta estaba secando. Este proceso es muy común. Además, nos permite dejar una superficie lisa en la pieza. El agua nos da una clave visual para saber cuando dejar de lijar. Cuando empezamos a ver el residuo de la laca dentro de las gotas de agua, podemos parar. De lo contrario corremos el riesgo de echar a perder el acabado por lijar en exceso.
Belleza sin brillo
Este es el resultado del lijado al agua. En este instrumento, no vamos a pasar por el proceso de pulir porque es difícil hacerlo bien cuando el puente ya está pegado a la tapa. Sin embargo, vean el color que tiene aún sin pulir. Este acabado satinado se ve bastante bien y nos permite ocultar cualquier defecto que se haría muy visible si brillara.
Ademas, la madera del instrumento se ve como si hubiera envejecido al menos 10 años. Este es un efecto de la aplicación de tinta directamente sobre la madera. Algo de estos residuos todavía se pueden verse en las pequeñas manchas oscuras que hay por todo el instrumento. Esto nos permite resaltar mucho más la veta de la madera.
Toques finales
Para completar este trabajo, es tiempo de fijar las clavijas de precisión en su lugar. Ahora sí vamos a utilizar los tornillos para anclarlas al clavijero. En lo personal, no me gustan mucho este tipo de clavijas porque son muy grandes y pesadas para este instrumento y el color tampoco ayuda mucho. Sin embargo, el cliente pidió que se las colocara y mi respuesta fue agregar la instalación al total. Así que hasta ahí va mi opinión. Después del trabajo que adelantamos la vez pasada, instalar estas es mucho más fácil.
Y después de algunas semanas e incovenientes en el trabajo, vemos lo último de este instrumento antes de que regrese a las manos de su dueño. Basta decir que se ve mucho que mejor que cuando llegó.
Al terminar esta reparación, quedamos libres para retomar otros proyectos que estaban pendientes desde el año pasado. Pero eso quedará para publicaciones futuras.
Muchas gracias por leerme. ¡Nos vemos en la próxima!

Fotos/Photos 📷: taken by me (Redmi Note 8)
Portada/Thumbnail 🖼️: by me, created with Canva.
Edición/Editing 🎬: by me, made with Adobe Photoshop Lightroom.


Follow me on Instagram for enquires and commission.
If you'd like to help the workshop grow, you can make a donation here. You can find me at discord as bertrayo#1763
