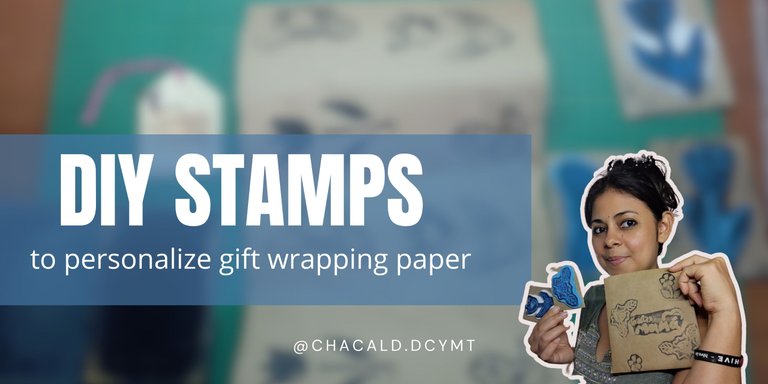
Greetings friends who love handicrafts! Welcome once again to my DCrafting DC, a special corner to create. This time I would like to show you how to make some pretty flower stamps to decorate gift bag paper. Join me to see this simple process.
¡Saludos amigos amantes de las artes manuales! Sean bienvenidos una vez más a mi Talle Bricolaje DC, un rincón especial para crear. En esta oportunidad me gustaría mostrarles como hacer unos bonitos sellos de flores para decorar el papel de las bolsas de regalo. Acompáñenme a ver este sencillo proceso.
Materials:
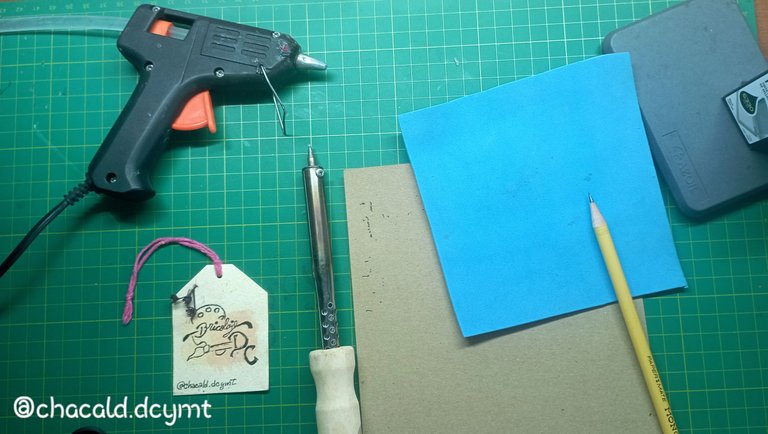
For this project we will need some foamy cutouts, thinner is better, sharp pencil, scissors, soldering iron, a piece of thick cardboard, stamp pad and stamp ink, craft paper, silicone.
Materiales:
Para este proyecto vamos a necesitar algunos recortes de foamy, si es fino mejor, lápiz bien afilado, tijera, cautín, un trozo de cartón grueso, almohadilla y tinta para sellos, papel crafts, silicona.
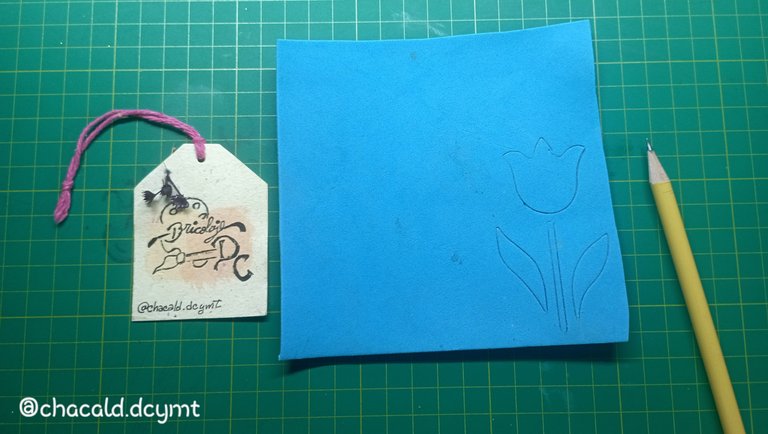
We started by drawing a flower with the pencil on the foamy. I did a lily as it is one of my favorite flowers.
It is not necessary to have a perfect drawing. We can even use a flower mold or template, this will make the work much easier.
Comenzamos dibujando con el lápiz sobre el foamy alguna flor. Yo hice un Lirio ya que es una de mis flores favoritas.
No es necesario tener un dibujo perfecto. Incluso podemos utilizar algun molde o plantilla de flores, esto hará el trabajo mucho más sencillo.
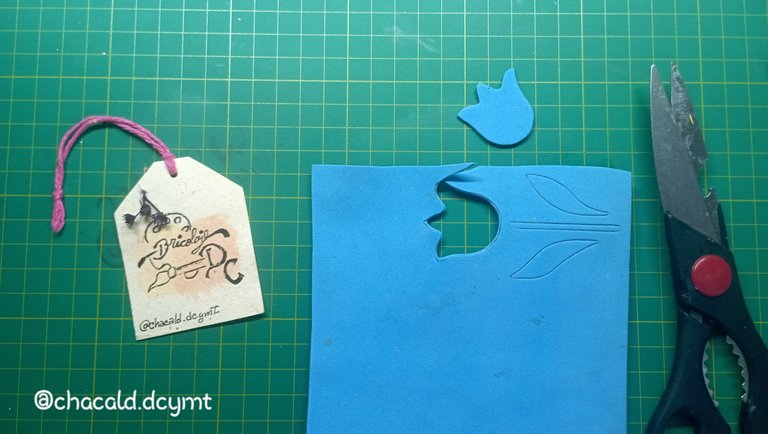
We will make the stamp with the figure in positive and negative, that is, one marking the inside and the other marking the outside of the flower.
To mark the inside of the flower, which we will call the positive of the image, we will cut out the flower all around the contour.
Haremos el sello con la figura en positivo y negativo, es decir, uno que marque la parte de adentro y otro que marque la parte de afuera de la flor.
Para marcar la parte de adentro de la flor, lo que llamaremos el positivo de la imágen, vamos a recortar la flor por todo el contorno.
Once we have cut the flower, we mark it again on the foamy and with the silicone we glue each piece of the flower we cut where it corresponds to the figure.
Una vez que tenemos cortada la flor, volvemos a marcarla sobre el foamy y von la silicona pegamos cada pieza de la flor que cortamos donde corresponde la figura.
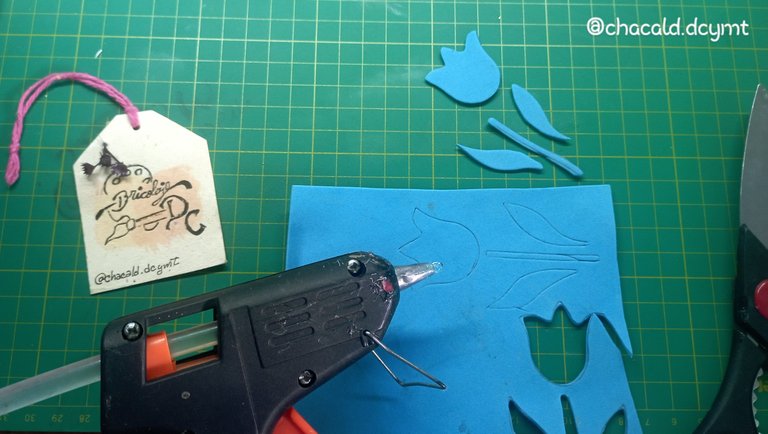
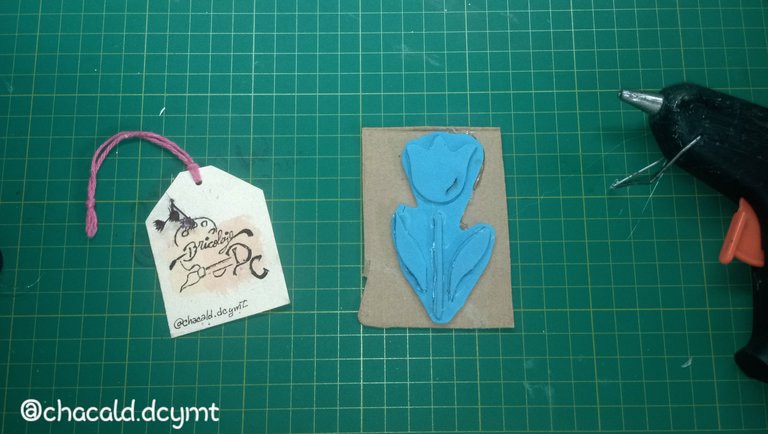
Then we cut the foamy leaving an outline of 1 millimeter around the flower we just glued. We are going to glue the foamy on a piece of cardboard.
Luego recortamos el foamy dejando un contorno de 1 milímetro alrededor de la flor que acabamos de pegar. Vamos a pegar el foamy sobre un trozo de cartón.
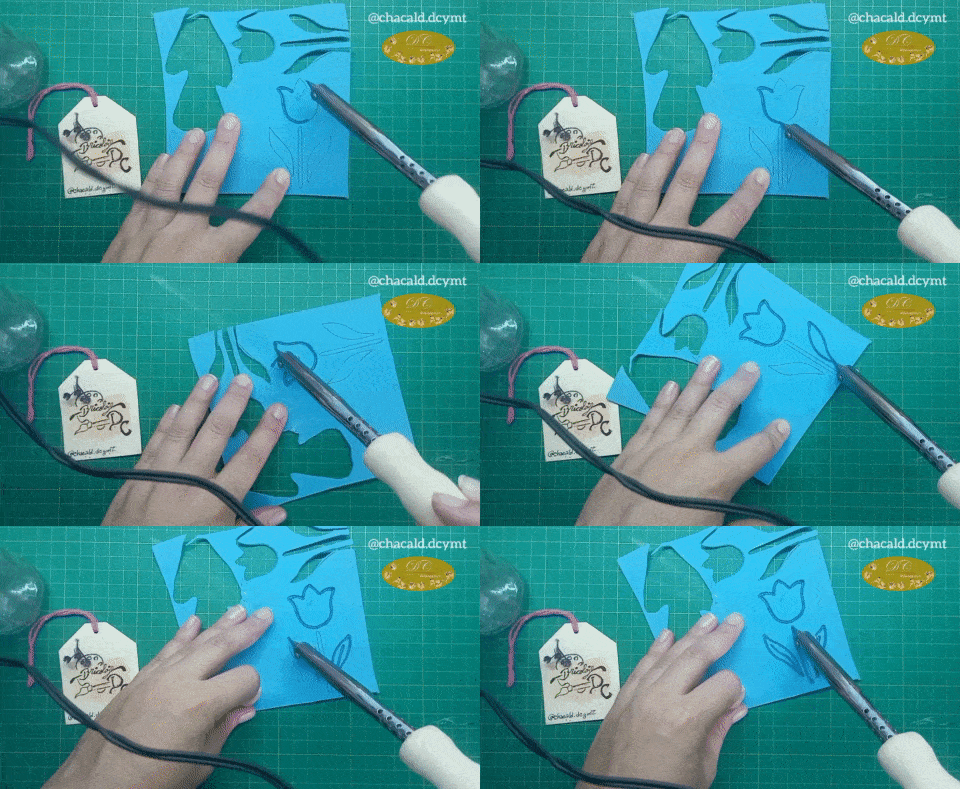
To make the negative image, we will do a procedure similar to the previous one. Draw the flower on the foamy and outline the whole drawing with the soldering iron.
Para hacer la imagen en negativo, haremos un procedimiento parecido al anterior. Dibujamos la flor en el foamy y vamos a delinear todo el dibujo con el cautín.
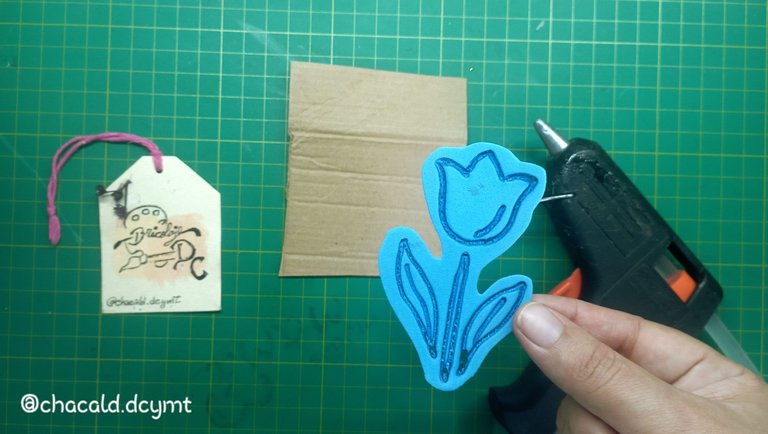
Cut out leaving a border of 1 millimeter around and glue on another piece of foamy to give it height. Then we glue on a rectangle of cardboard so that our stamp is ready.
Recortamos dejando un borde de 1 milímetro alrededor y pegamos sobre otro trozo de foamy para darle altura. Después vamos a pegar sobre un rectángulo de cartón para que quede nuestro sello listo.
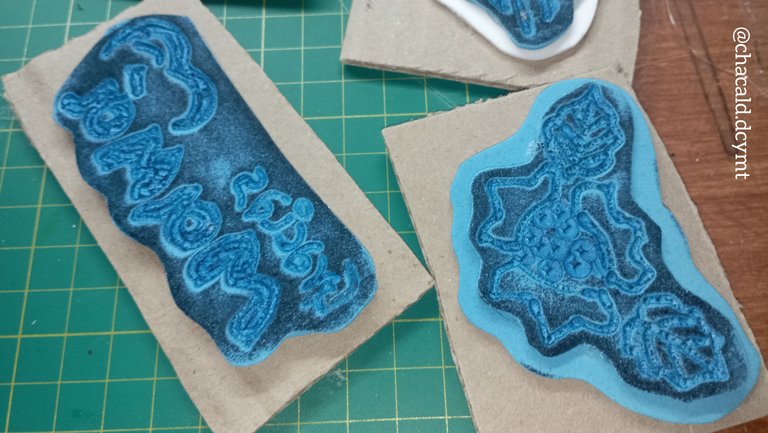
We can also make stamps with complete phrases. Like this one I made with the phrase: "Thank you mom". For this is the same process but we must make the phrase on tracing paper to do it in mirror mode when transferring to foamy, ie, upside down.
También podemos hacer sellos de frases completas. Como este que hice con la frase: "Gracias mamá". Para esto es el mismo proceso pero debemos hacer en papel vegetal la frase para al momento de transferir al foamy hacerlo en modo espejo, es decir, al revés.
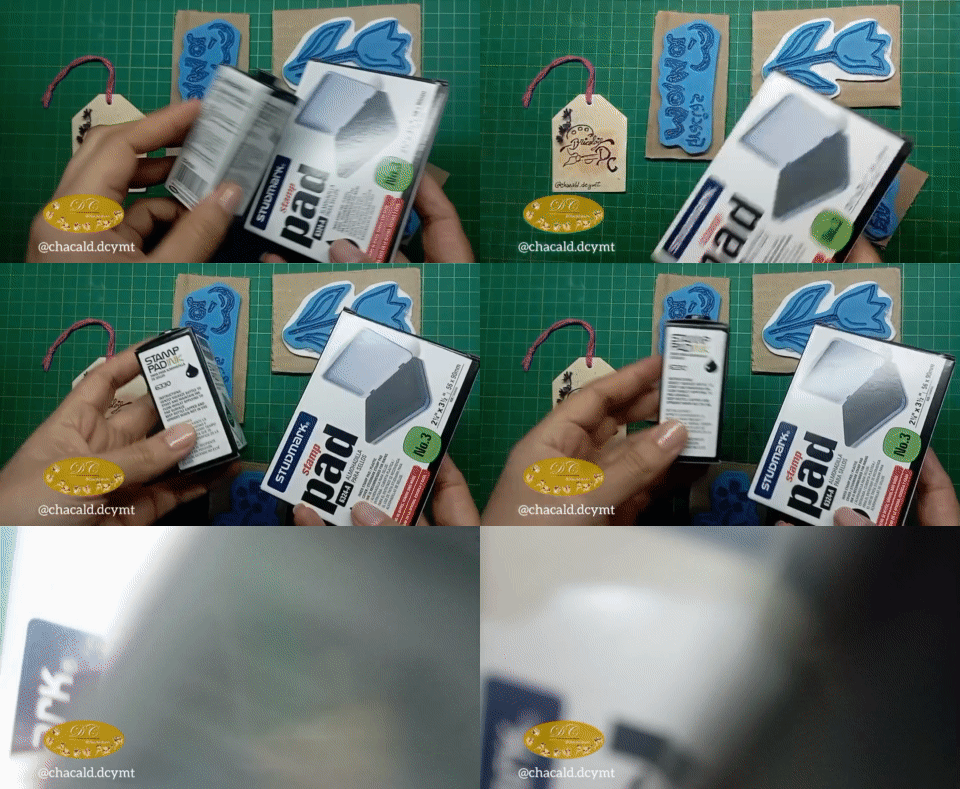
We can get the ink and pad at any stationery store, they are very inexpensive materials in both I paid a bill of $2.5 and the ink is of very good quality.
Podemos conseguir la tinta y la almohadilla en cualquier papelería, son materiales muy económicos en ambas cosas pagué una factura de 2.5$ y la tinta es de muy buena calidad.
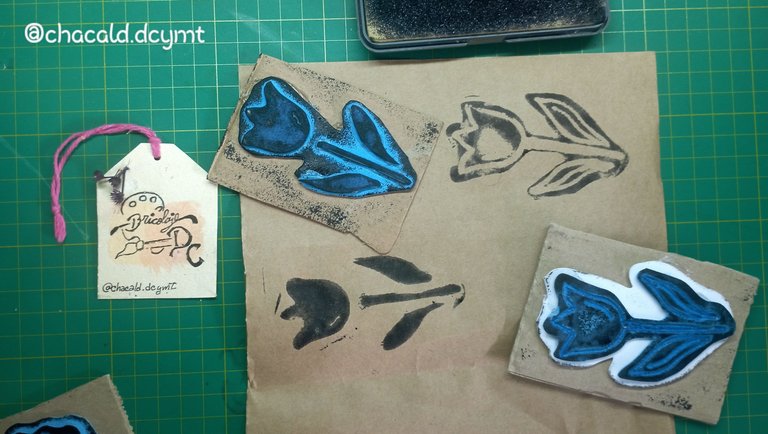
We can make as many figures and designs as we need to stamp our craft paper and thus be able to personalize the gift bags.
I made a phrase and 4 different models of flowers.
Podemos hacer la cantidad de figuras y diseños que necesitamos para poder estampar nuestro papel crafts y así poder personalizar las bolsas de regalo.
Yo hice una frase y 4 modelos diferentes de flores.
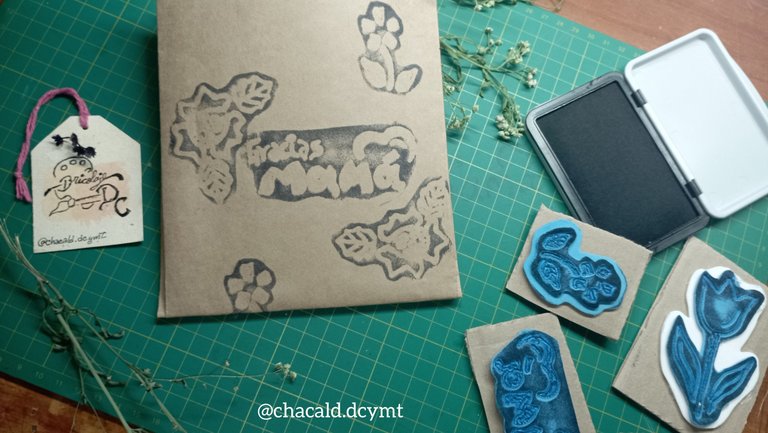
My favorite part was the moment of printing the stamps to the paper. It is so exciting to see how we can make our own gift wrap design.
Mi parte favorita fue el momento de imprimir los sellos al papel. Es muy emocionante ver como podemos hacer nuestro propio diseño de papel de regalo.
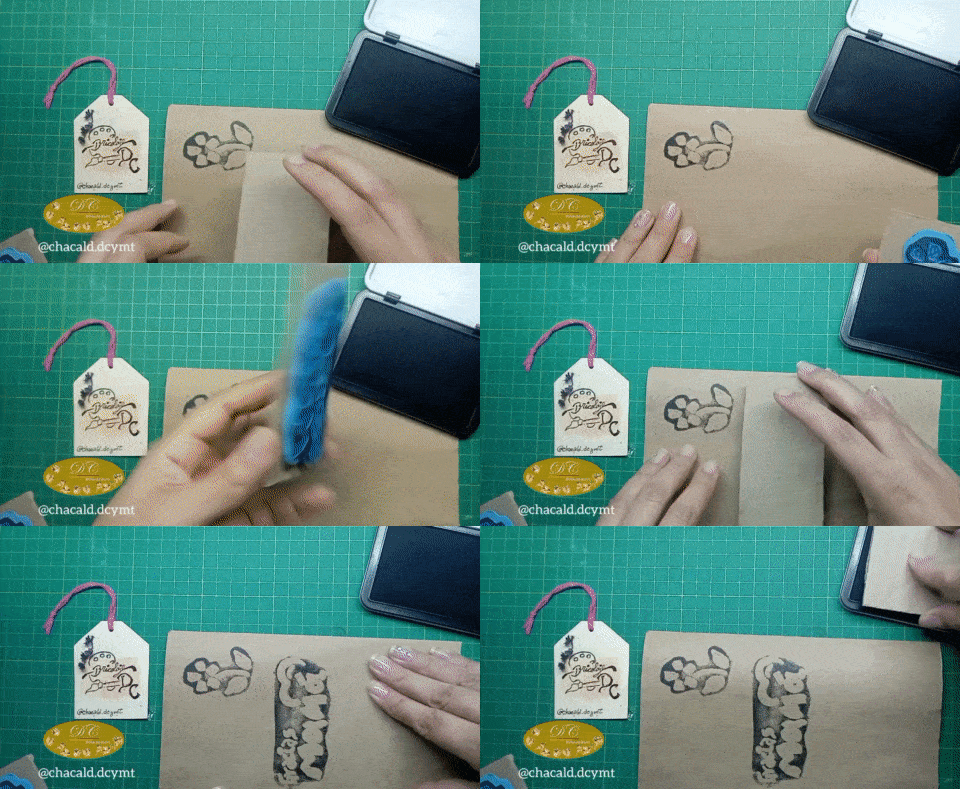
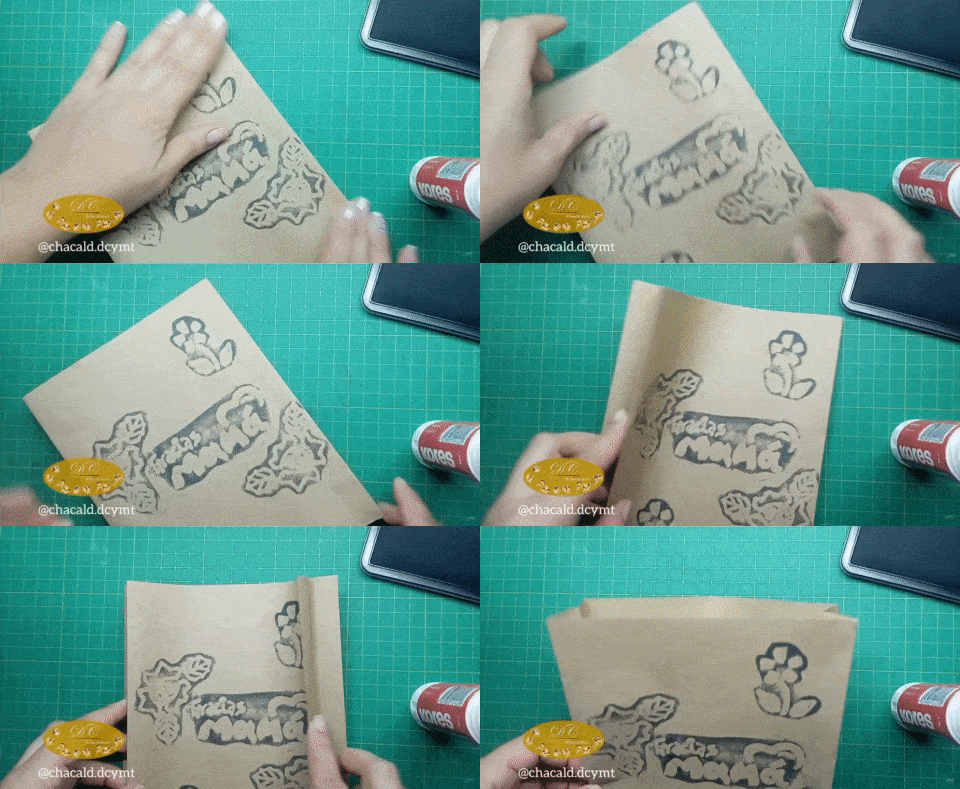
It remains to make a bag to store a gift. And that's it!
Nos queda hacer una bolsa para guardar un regalo. Y listo!
Not only stamping ink is used, although it is also available in different colors. We can apply acrylic paint of the color of our preference with a sponge on each stamp and then stamp it on the paper.
With this type of paint we must be careful that it is not too liquid or the paper would fade when printing the stamp.
No solamente se utiliza tinta para sellos, aunque también se consigue en diferentes colores. Podemos aplicar pintura acrílica del color de nuestra preferencia con una esponja en cada sello y luego estamparlo sobre el papel.
Con este tipo de pintura debemos tener cuidado de que no esté muy líquida o marcharía el papel al momento de imprimir el sello.
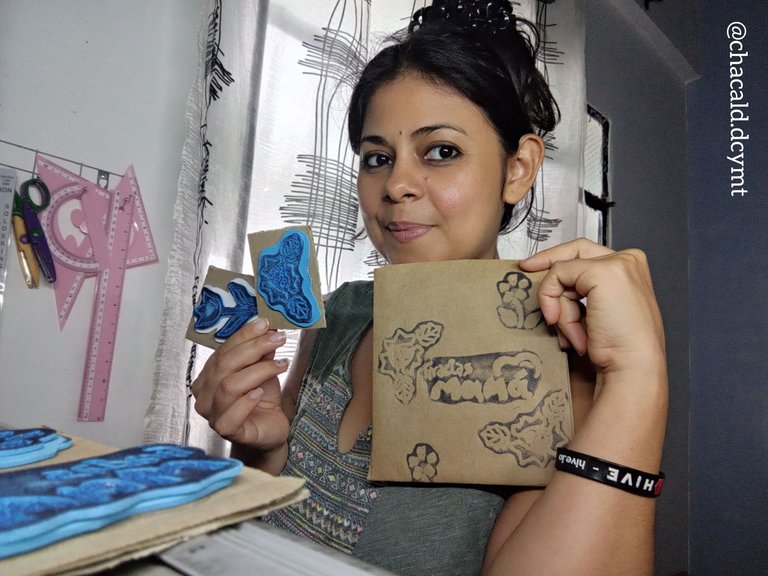
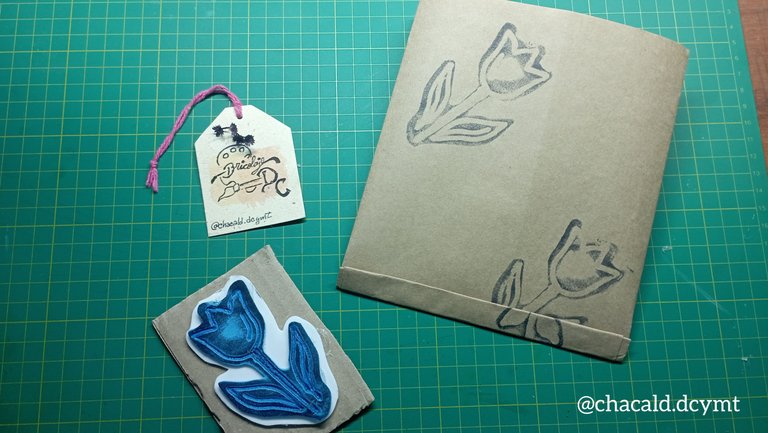
I loved the final result and I can tell you that I will never buy wrapping paper again. I hope you like my work and I encourage you to personalize your wrapping paper with DIY stamps. See you next time. Bye!
Me encantó el resultado final y puedo decirles que nunca más volveré a comprar papel de regalo. Espero les guste mi trabajo y se animen a personalizar su papel de regalo con sellos DIY. Nos vemos en una próxima oportunidad. Chao!

Original content by the author.
Resources: App: Canva / Giphy / Inshot
📷 Redmi 10 Smartphone
Translation done with Deepl.com
✿ All Rights Reserved || © @chacald.dcymt 2024✿
💌 Discord: chacald.dcymt#3549
X: @chacald1
Reddit: chacald
_
Contenido original del autor.
Recursos: App: Canva / Giphy / Inshot
📷 Redmi 10 Smartphone
Traducido con Deepl.com
✿ Todos los Derechos Reservados || © @chacald.dcymt 2024✿
💌 Discord: chacald.dcymt#3549
X: @chacald1
Reddit: chacald

