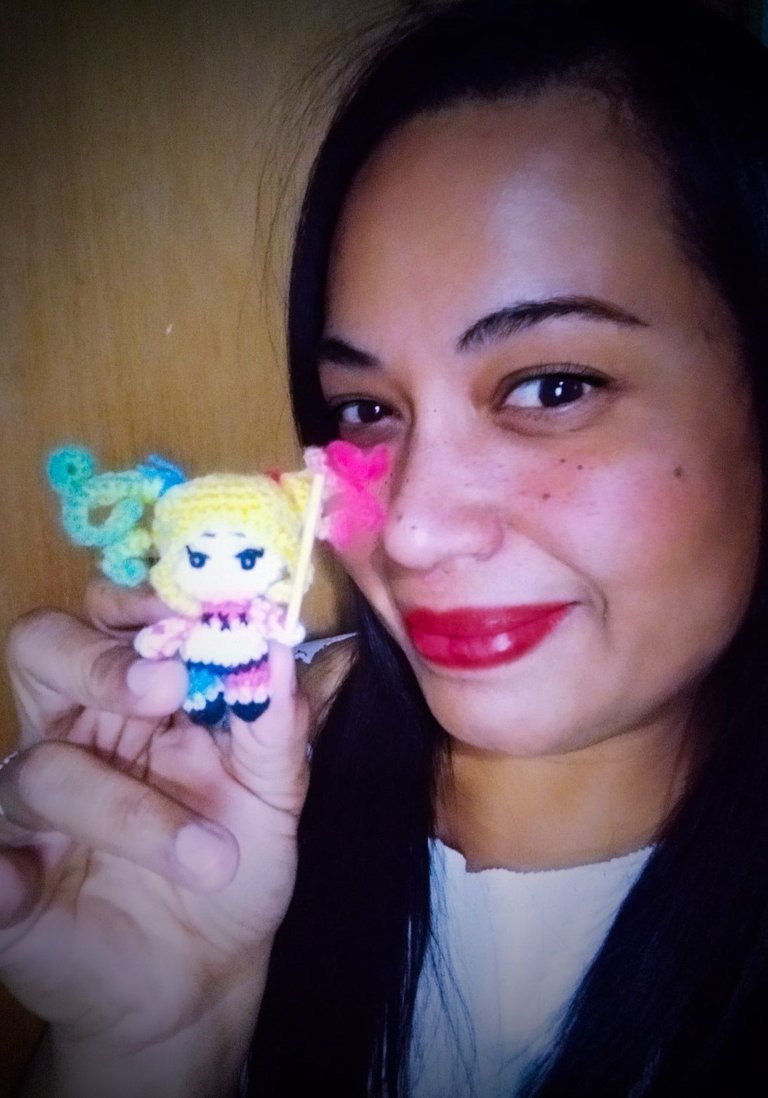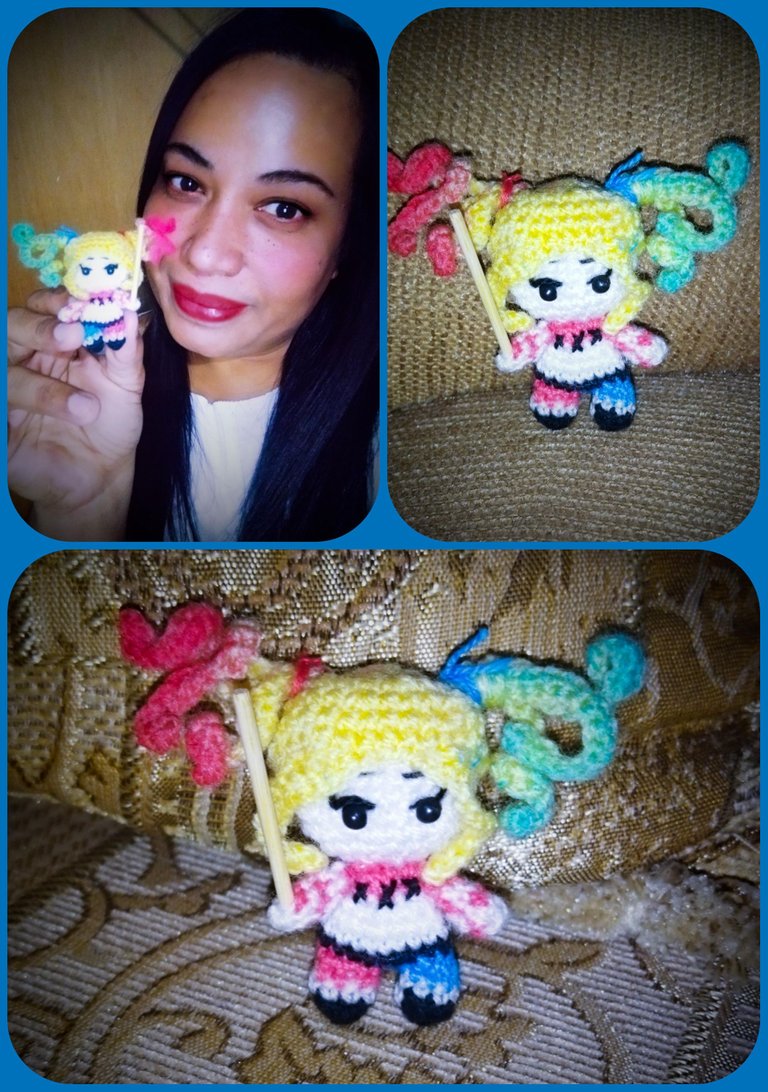
As always it is a pleasure for me to share a beautiful and creative craft in this community.
Hola hola qué tal queridas abejitas 🐝🐝!! Cómo siempre es para mí un placer poder compartir una bonita y creativa manualidad en esta comunidad.
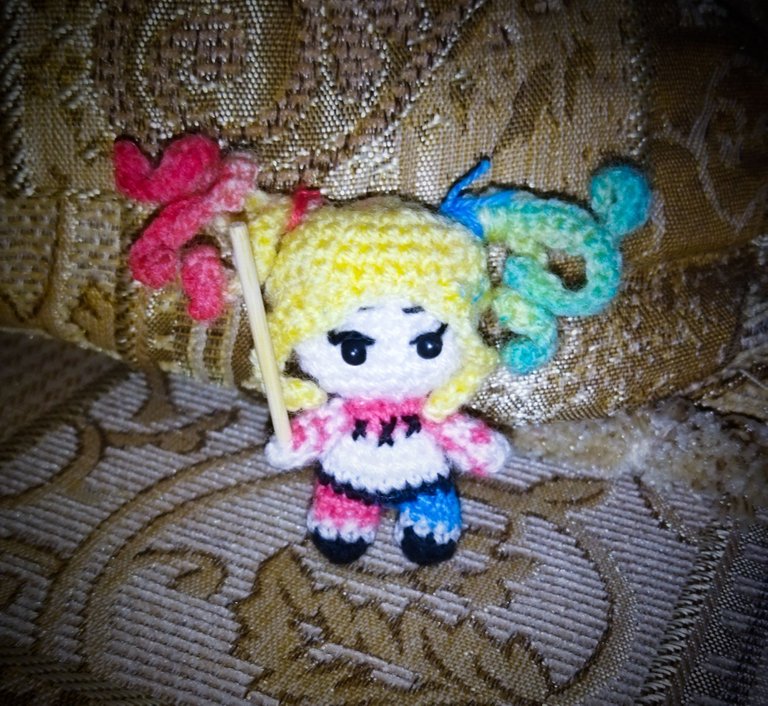
En esta oportunidad les presento a la pequeña Harley Quinn elaborada en crochet con la técnica amigurumi en su versión Mini Mini, que ha Sido uno de mis proyectos favoritos y cuyo resultado me encantó.
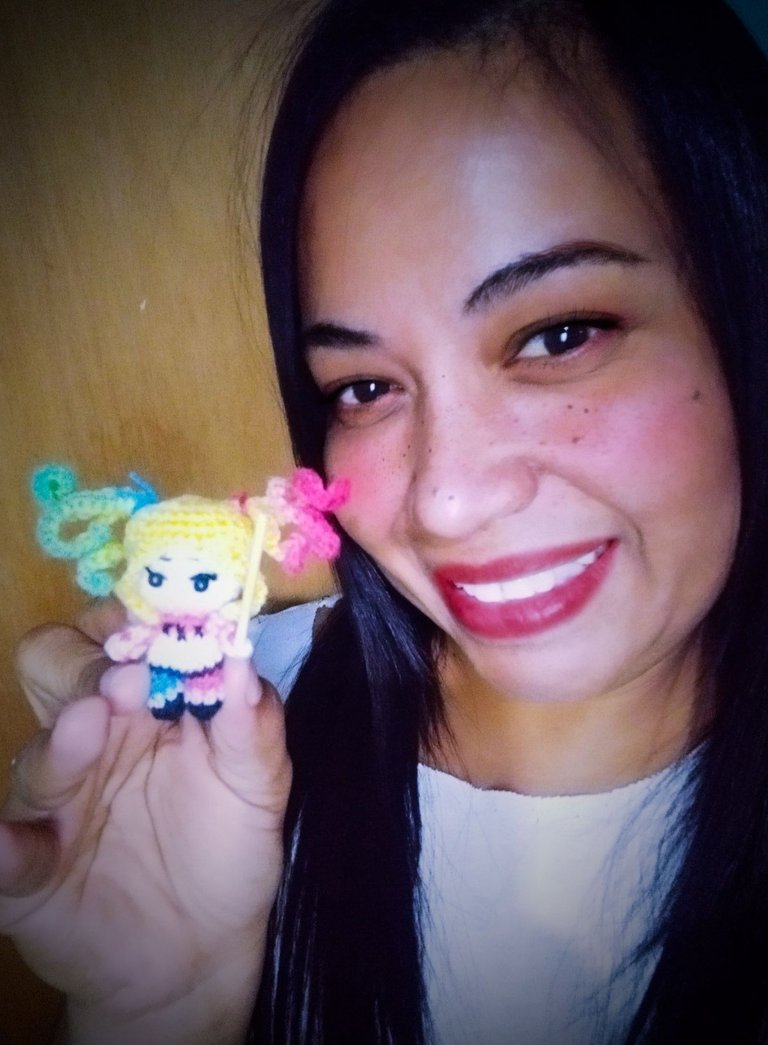
Los materiales utilizados fueron hilo de tejer de algodón en tonos negro, banco, piel, azul, rojo y amarillo, Dos ojitos negros, aguja número 0, algodón hipoalergénico, colorantes líquidos azul y rojo, aguja lanera para coser y tijeras.
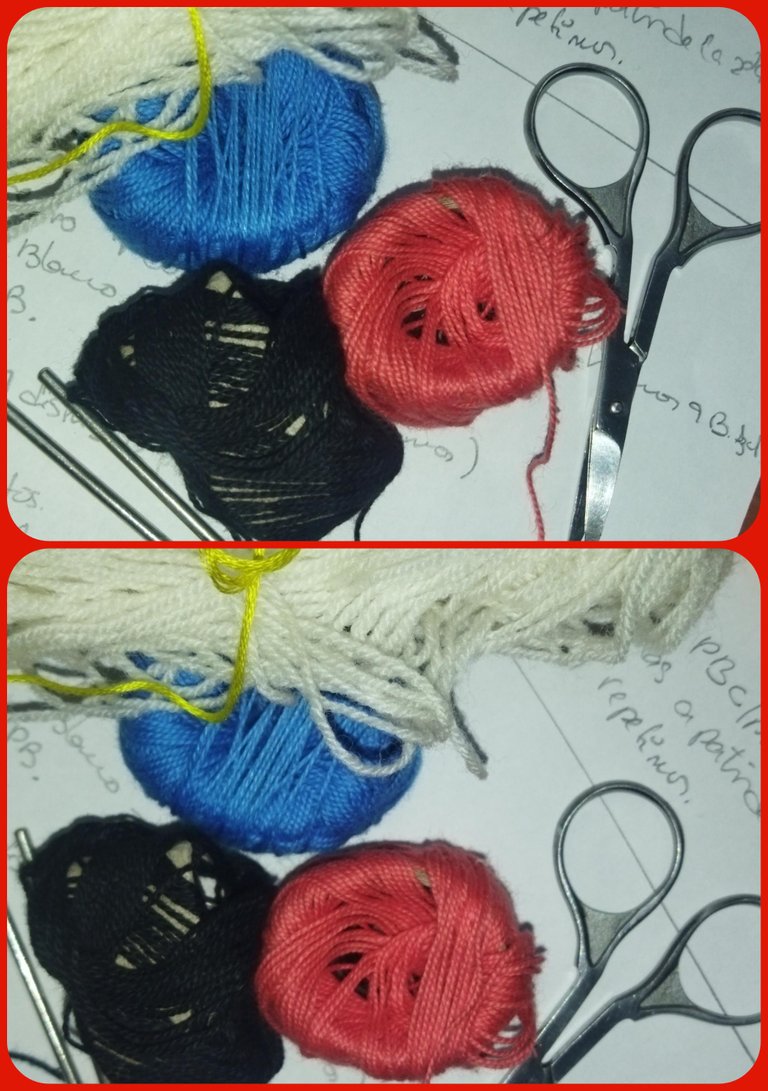
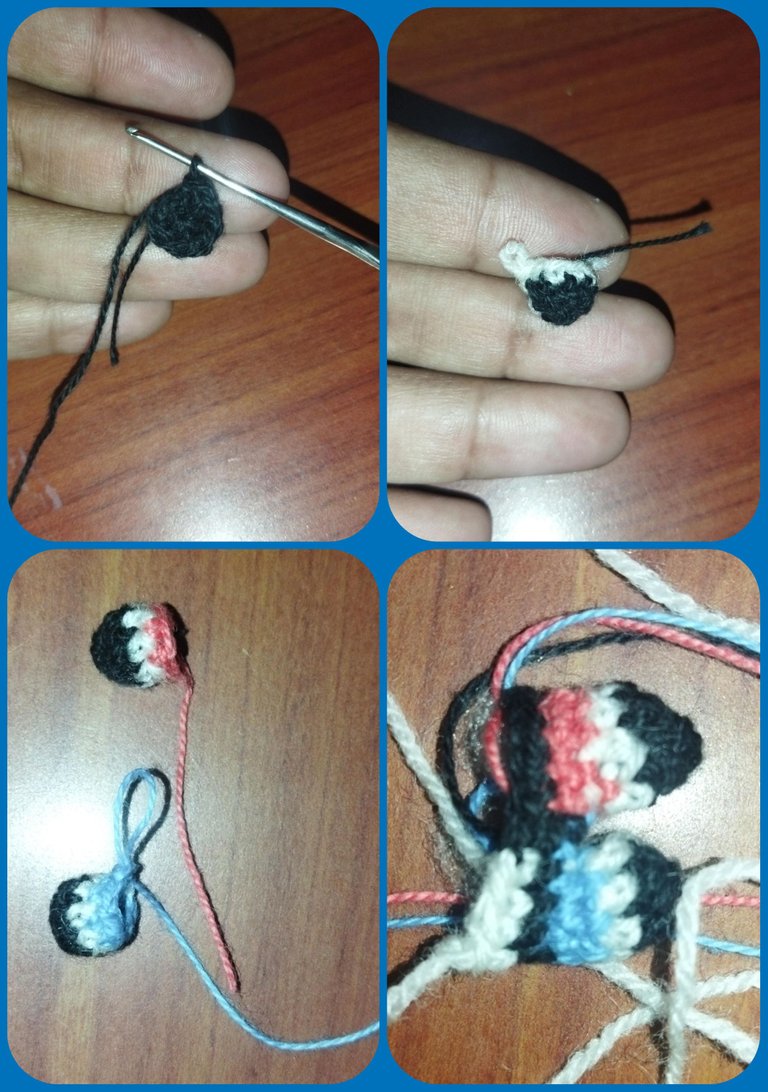
Para iniciar vamos a formar sus piernitas, y para ello en hilo negro,hacemos un anillo mágico de seis puntos bajos.para la primera vuelta 1pb y 1aumento. Ya para la tercera vuelta cambiamos de tono de hilo a piel y repetimos los mismos 9 puntos bajos. En el último punto cambiamos a tono rojo y realizamos los mismos 9 puntos bajos, hacemos un punto deslizado y cortamos.💥❤️💙💖🧁✨✳️💥❤️💙💖🧁✨✳️ 💥❤️💙💖🧁✨✳️💥❤️💙💖🧁✨✳️
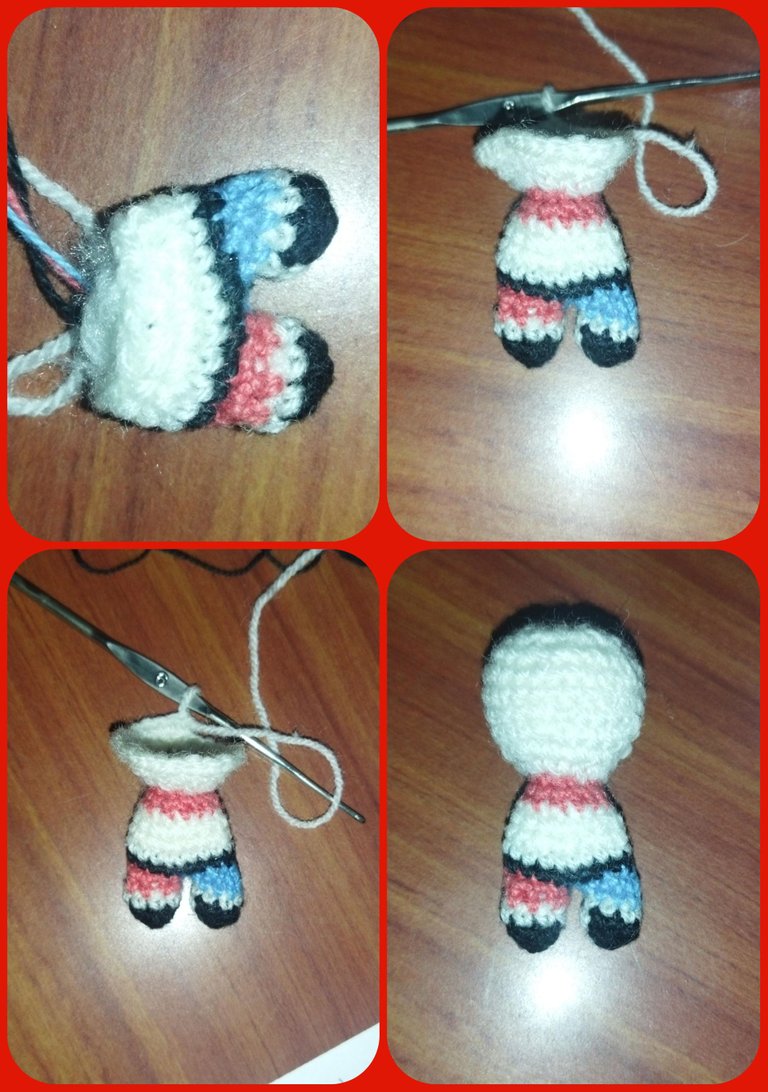
We repeat the same operation but we change the color to blue and when we finish we are going to join the other leg without making chains in the air, and we join both of them making the same 9 single crochet stitches for each leg, we change to the red tone of the other leg and we must finish with a total of 18 single crochet stitches.
The next round we change to black to form the belt, making the same 18 single crochet stitches.
The next row we change to white to form the shirt with the same 18 single crochet stitches.Repetimos la misma operación pero cambiamos el color a azul y al culminar vamos a unir a la otra piernita sin hacer cadenas al aire, y unimos ambas realizando los mismos 9 puntos bajos por cada pierna cambiamos al tono rojo de la otra piernita y debemos culminar con un total de 18 puntos bajos. La próxima vuelta cambiamos a color negro para formar el cinturón, realizando los mismos 18 puntos bajos. La siguiente vuelta cambiamos a color blanco para ir formando la camisa con los 18 puntos bajos iguales.💥❤️💙💖🧁✨✳️💥❤️💙💖🧁✨✳️ 💥❤️💙💖🧁✨✳️💥❤️💙💖🧁✨✳️
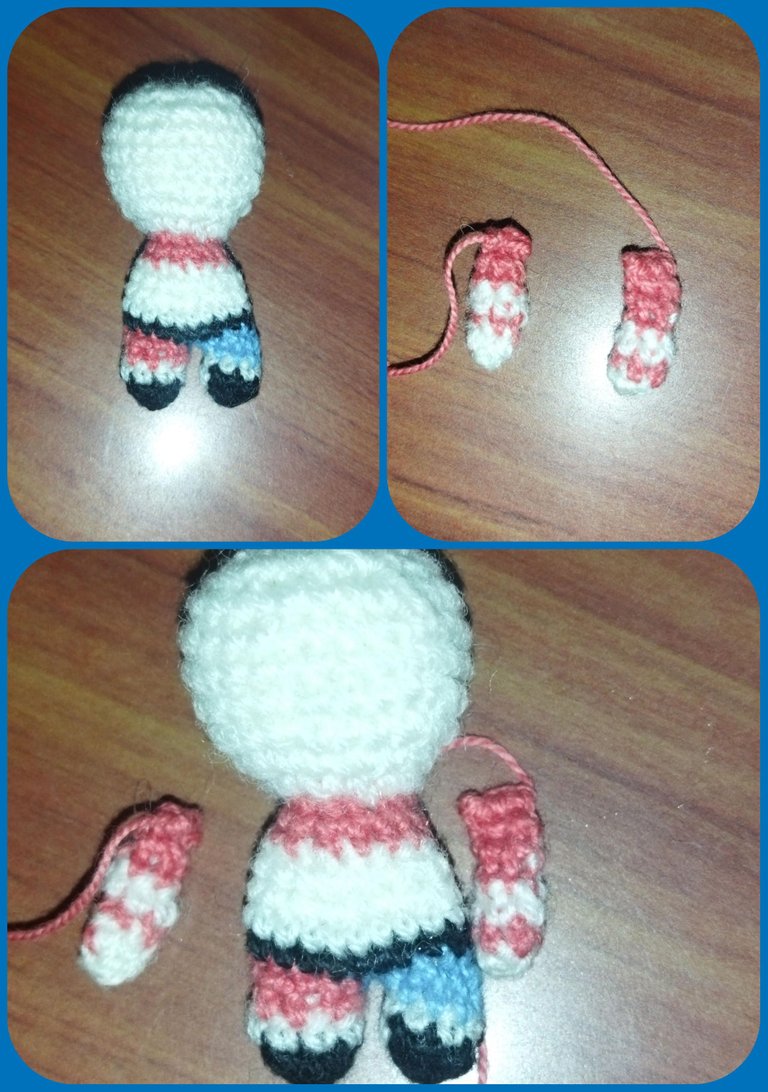
We knit 4 single crochets and 1 decrease for a total of 15 single crochets. The next round we repeat the same 15 single crochet stitches. In the next row we change to red tone by making the sequence of 3 single crochet 1 decrease for a total of 12 single crochet stitches. Next row repeat the same 12 single crochet stitches. Next round we make the sequence of 2 single crochet and 1 decrease for a total of 9 stitches. This completes the body.Realizamos 4 puntos bajos y 1 disminución para un total de 15 puntos bajos. La próxima vuelta repetimos los mismos 15 puntos bajos. En la otra vuelta cambiamos a tono rojo realizando la secuencia de 3 puntos bajos 1 disminución para un total de 12 puntos bajos. Próxima vuelta repetimos los mismos 12 puntos bajos. Próxima vuelta hacemos la secuencia de 2 puntos bajos y 1 disminucion para un total de 9 puntos. Culminando así el cuerpo.💥❤️💙💖🧁✨✳️💥❤️💙💖🧁✨✳️ 💥❤️💙💖🧁✨✳️💥❤️💙💖🧁✨✳️
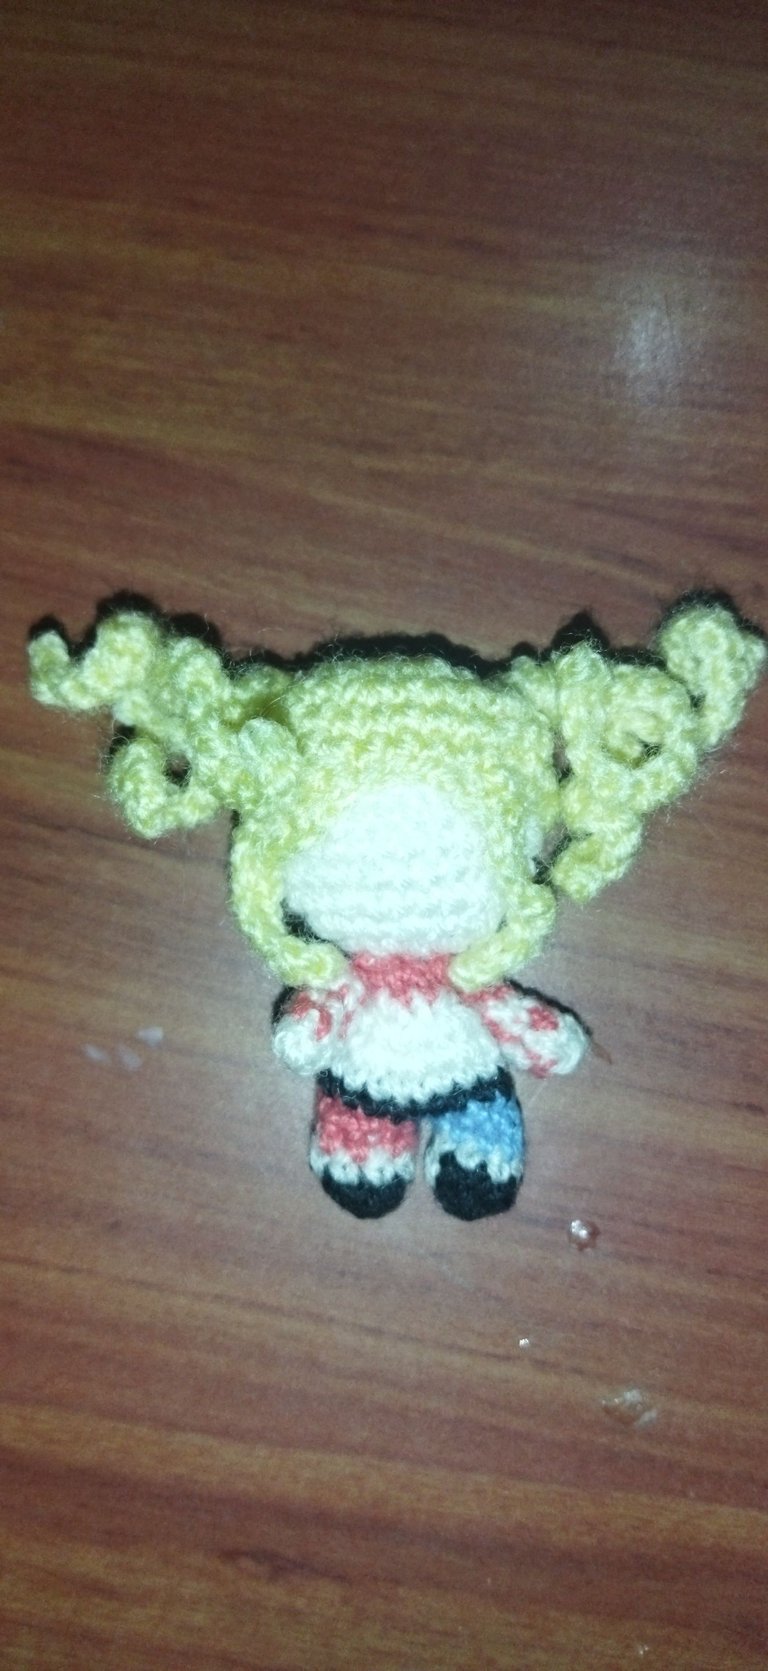
For the head we change to skin tone by making the sequence of 2 single crochet and 1 double crochet for a total of 24 single crochet stitches. The next round 3 single crochet and 1 increase for a total of 30 single crochet stitches. In this stitch we make four equal rows of 30 single crochet stitches and place the eyes between the 2nd and 3rd rows with six stitches of separation. Then we repeat the same steps but with decrease until we close with the help of the knitting needle.Para la cabeza cambiamos a tono piel realizando la secuencia de 2 puntos bajos y 1 aumento para un Total de 24 puntos bajos. La próxima vuelta 3 puntos bajos y 1 aumento para un total de 30 puntos bajos. En este punto hacemos cuatro vueltas iguales de 30 puntos bajos y colocamos los ojitos entre la 2 y 3 vuelta de altura con seis puntos de separación. Luego repetimos los mismos pasos pero con disminución hasta cerrar con la ayuda de la aguja lanera.
For the hair we make the following sequence:
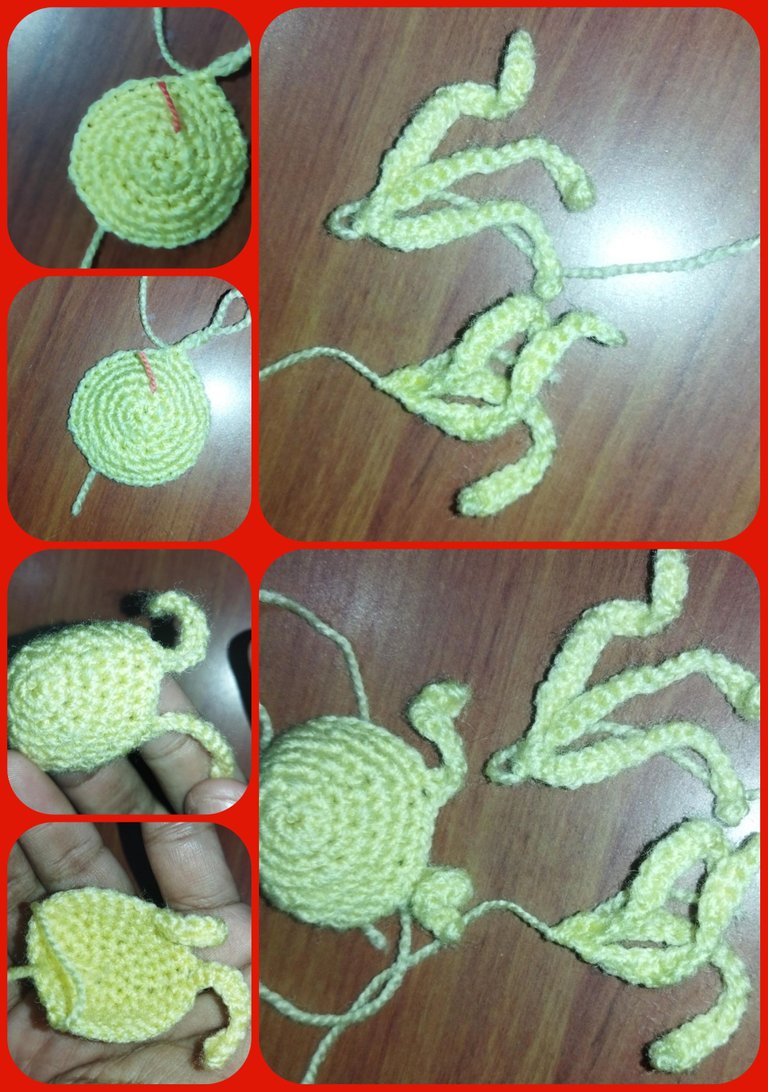
Magic ring of six stitches, 2v. 1 increase per stitch for a total of 12 single crochet stitches. The next round we knit 1 single crochet and 1 double crochet for a total of 18 single crochet stitches. The next round, 2 single crochets and 1 increase for a total of 24 single crochets. The next round we make 3 single crochets and 1 increase for a total of 30 single crochets. The next round 9 single crochets and 1 increase for a total of 33 single crochets. Next row repeat the same 33 stitches. For the 8th row we make 15 single crochet stitches and raise 13 chains making a slip stitch in the second chain and 11 single crochet stitches, 3 slip stitches and repeat 13 equal chains to make the two loose locks.Para la cabellera realizamos la siguiente secuencia: Anillo mágico de seis puntos, 2v. 1 aumento por cada punto para un total de 12 puntos bajos. La próxima vuelta realizamos 1 punto bajo y 1 aumento para un total de 18 puntos bajos. La próxima vuelta 2 puntos bajos y 1 aumento para un total de 24 puntos bajos. La próxima vuelta hacemos 3 puntos bajos y 1 aumento para un total de 30 puntos bajos. La próxima 9 puntos bajos y 1 aumento para un total de 33 puntos bajos. Próxima vuelta repetimos los mismos 33 puntos. Ya para la 8 va vuelta hacemos 15 puntos bajos y levantamos 13 cadenas haciendo un punto deslizado en la segunda cadena y 11 puntos bajos, 3 puntos deslizados y repetimos 13 cadenas iguales para realizar los dos mechones sueltos.💥❤️💙💖🧁✨✳️💥❤️💙💖🧁✨✳️ 💥❤️💙💖🧁✨✳️💥❤️💙💖🧁✨✳️
The bunches are made separately by making 18 chains, a slip stitch in the second to last chain and a total of 16 single crochet stitches and repeat three times in two equal pieces.Los moñitos los hacemos de forma separada haciendo 18 cadenas un punto deslizado en la penúltimo y un total de 16 puntos bajos y repetimos tres veces en dos piezas iguales.💥❤️💙💖🧁✨✳️💥❤️💙💖🧁✨✳️ 💥❤️💙💖🧁✨✳️💥❤️💙💖🧁✨✳️
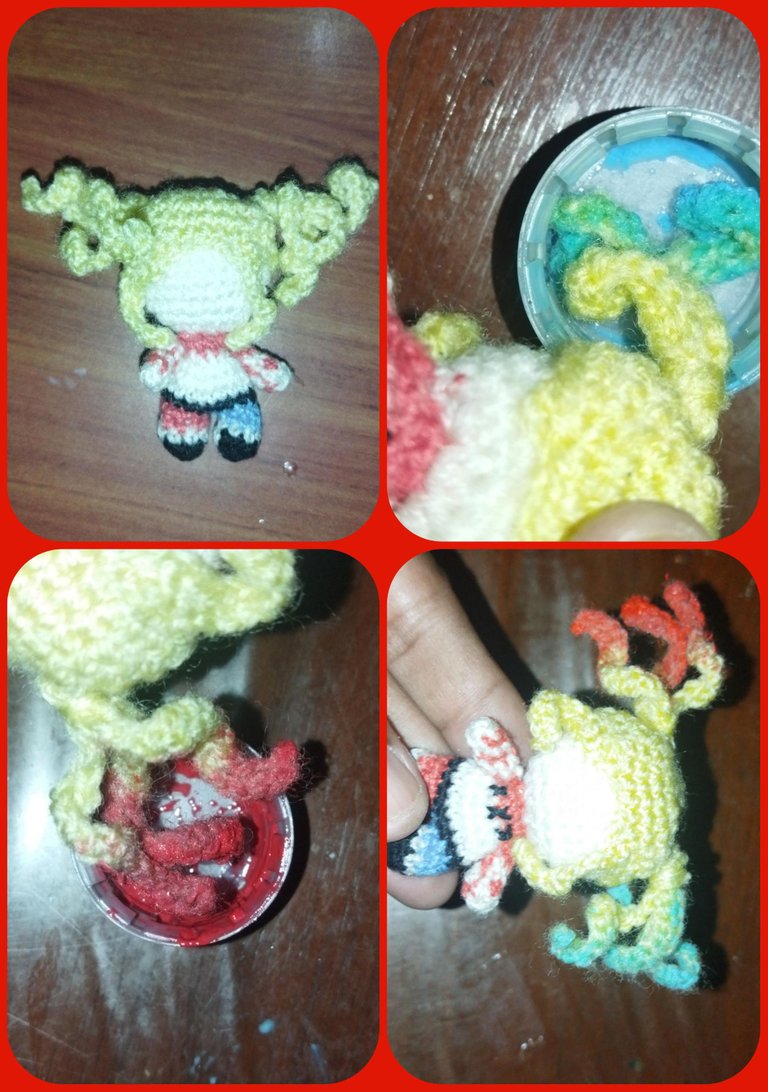
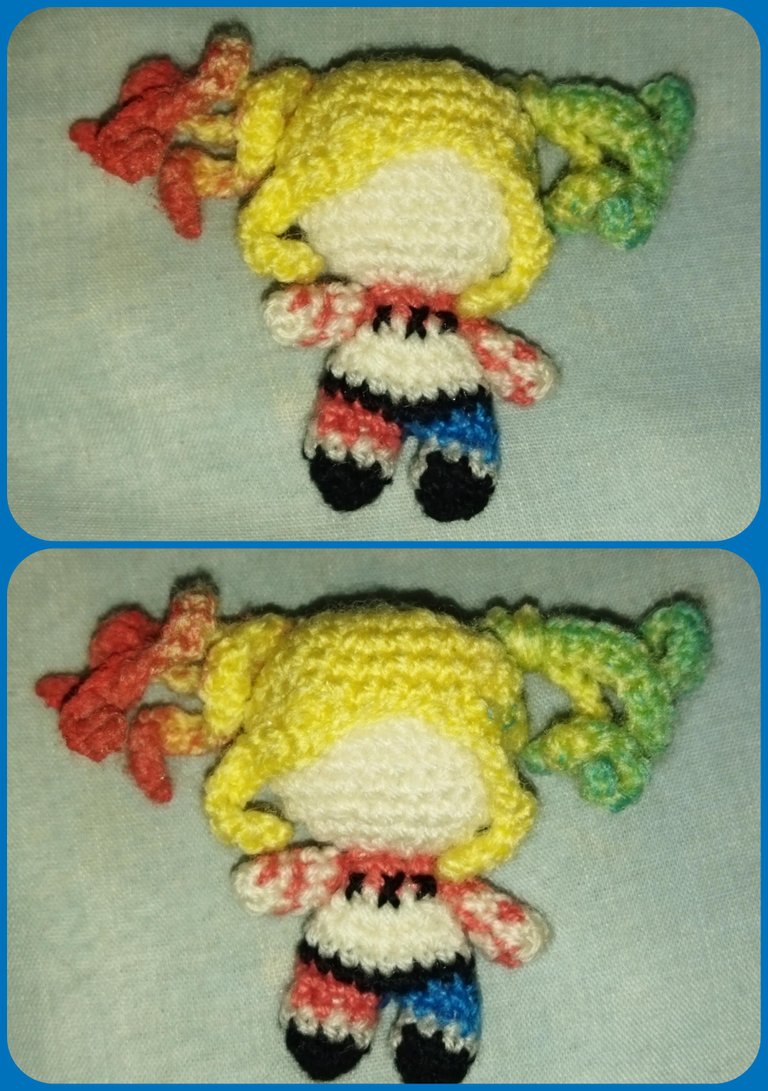
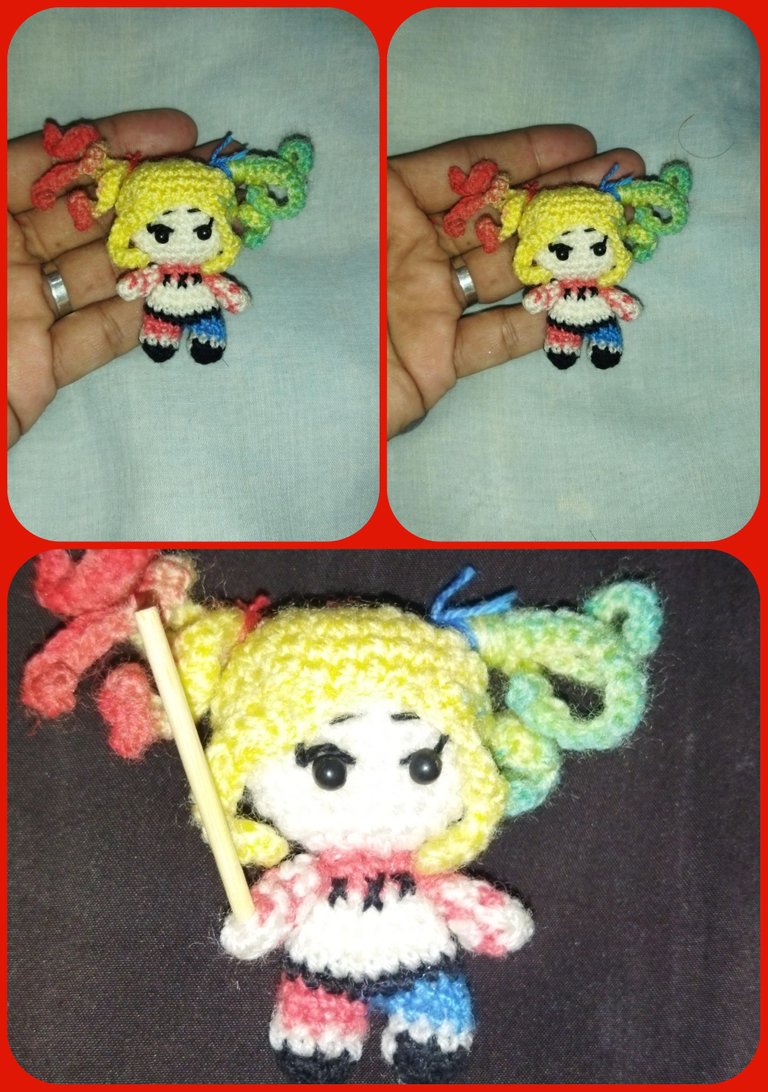
Now we just need to place the accessories like the paint in the locks with blue and red liquid pigment, the embroidery of eyes and eyebrows, the ribbons in the buns and as a final touch her wooden bat, which caused me a lot of fun.ya sólo nos restaria colocar los accesorios como la pintura en los mechones con pigmento liquido azul y rojo, el bordado de ojos y cejas , las cintas en los moñitos y como último toque su bate de madera, el cual me causó mucha gracia.💥❤️💙💖🧁✨✳️💥❤️💙💖🧁✨✳️ 💥❤️💙💖🧁✨✳️💥❤️💙💖🧁✨✳️
I loved this little Harley Quinn and its size is ideal to make a unique and personalized gift and I wish with all my heart that it was also to your liking.
I say goodbye until a new opportunity wishing you many blessings and success greetings!!!!Esta pequeña Harley Quinn me encantó y su tamaño es ideal para hacer un regalo único y personalizado y deseo de todo corazón también haya sido de todo su agrado. Me despido hasta una nueva oportunidad deseándoles muchas bendiciones y éxitos saludos!!!💥❤️💙💖🧁✨✳️💥❤️💙💖🧁✨✳️ 💥❤️💙💖🧁✨✳️💥❤️💙💖🧁✨✳️ 💥❤️💙💖🧁✨✳️💥❤️💙💖🧁✨✳️
All images are my own taken with Redmi 9t and edited with Photoshop Express for Android and translated with Deepl application in its free version for Android.Todas las imágenes son de mi propiedad tomadas con Redmi 9t y editadas con Photoshop Express para Android y traducido con la aplicación Deepl en su versión libre para Android.💥❤️💙💖🧁✨✳️💥❤️💙💖🧁✨✳️ 💥❤️💙💖🧁✨✳️💥❤️💙💖🧁✨✳️
