Hello everyone... ✨
Hello to my dear Hivers and the beloved community of artists HiveDIY, as always very pleased and excited to be here again, showing you my work made with love and especially for you.
Greetings to the Splinterland community, and everyone who lives there, I am pleased to be here to participate in the Splinterlands Art Contest Week 257.
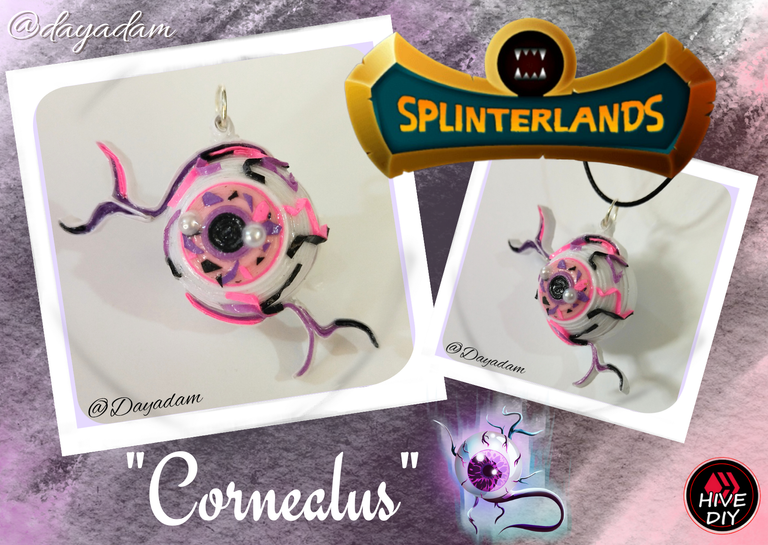
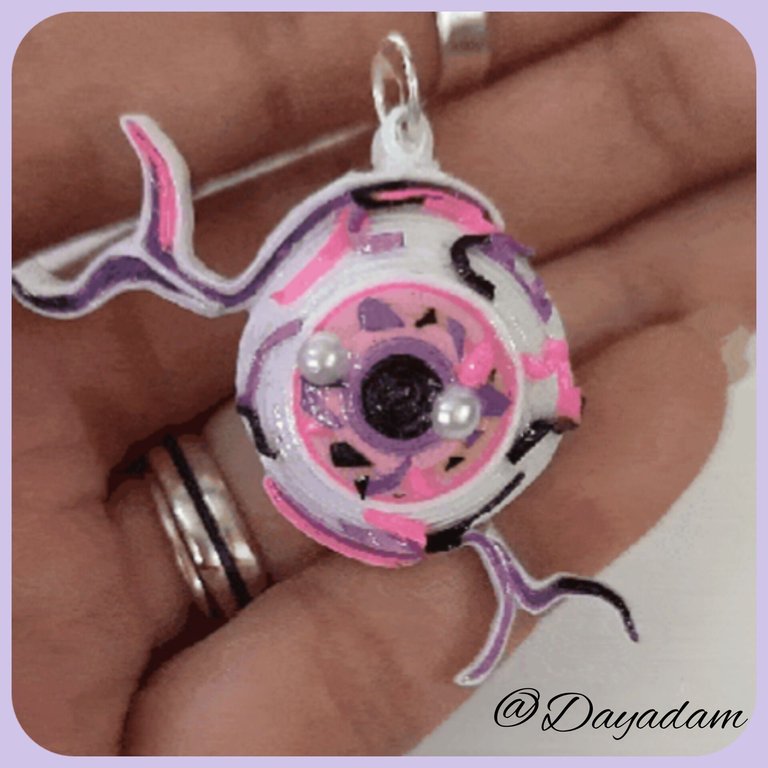
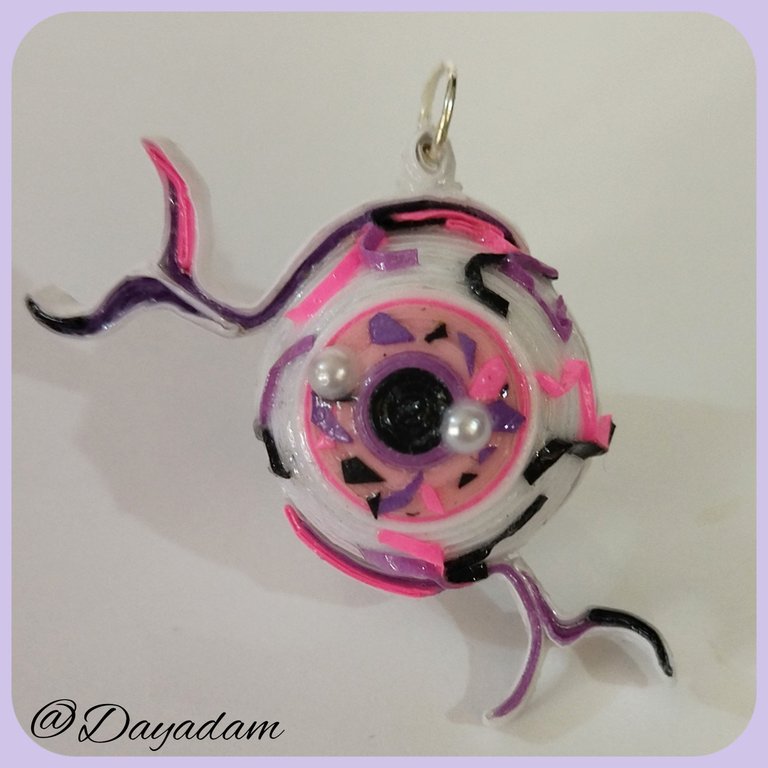
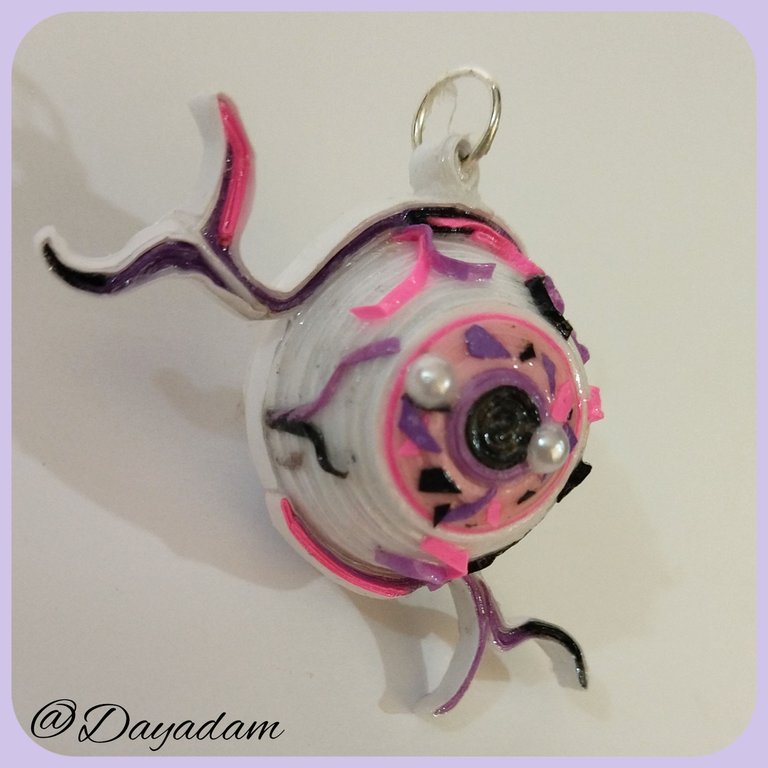
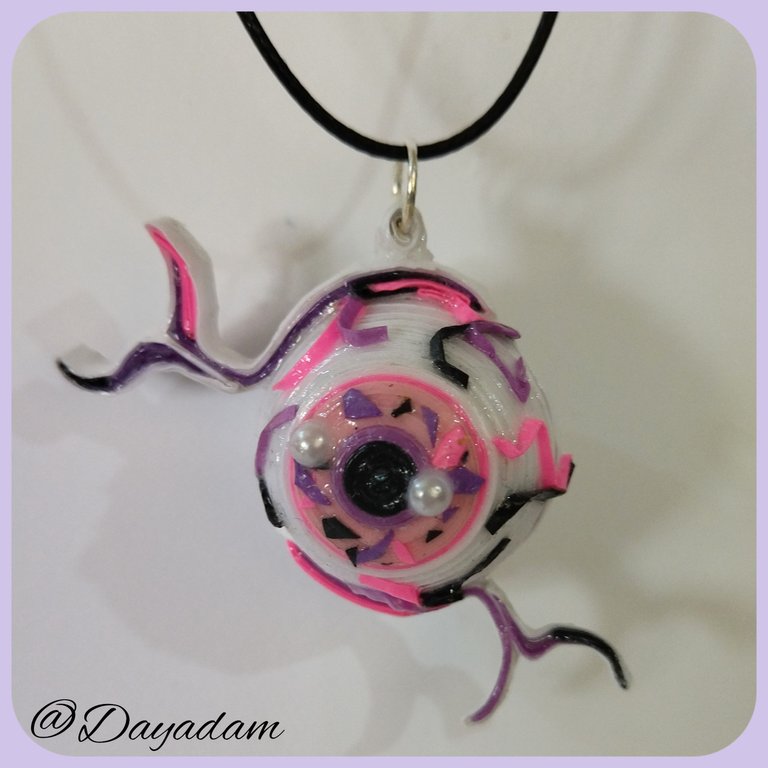
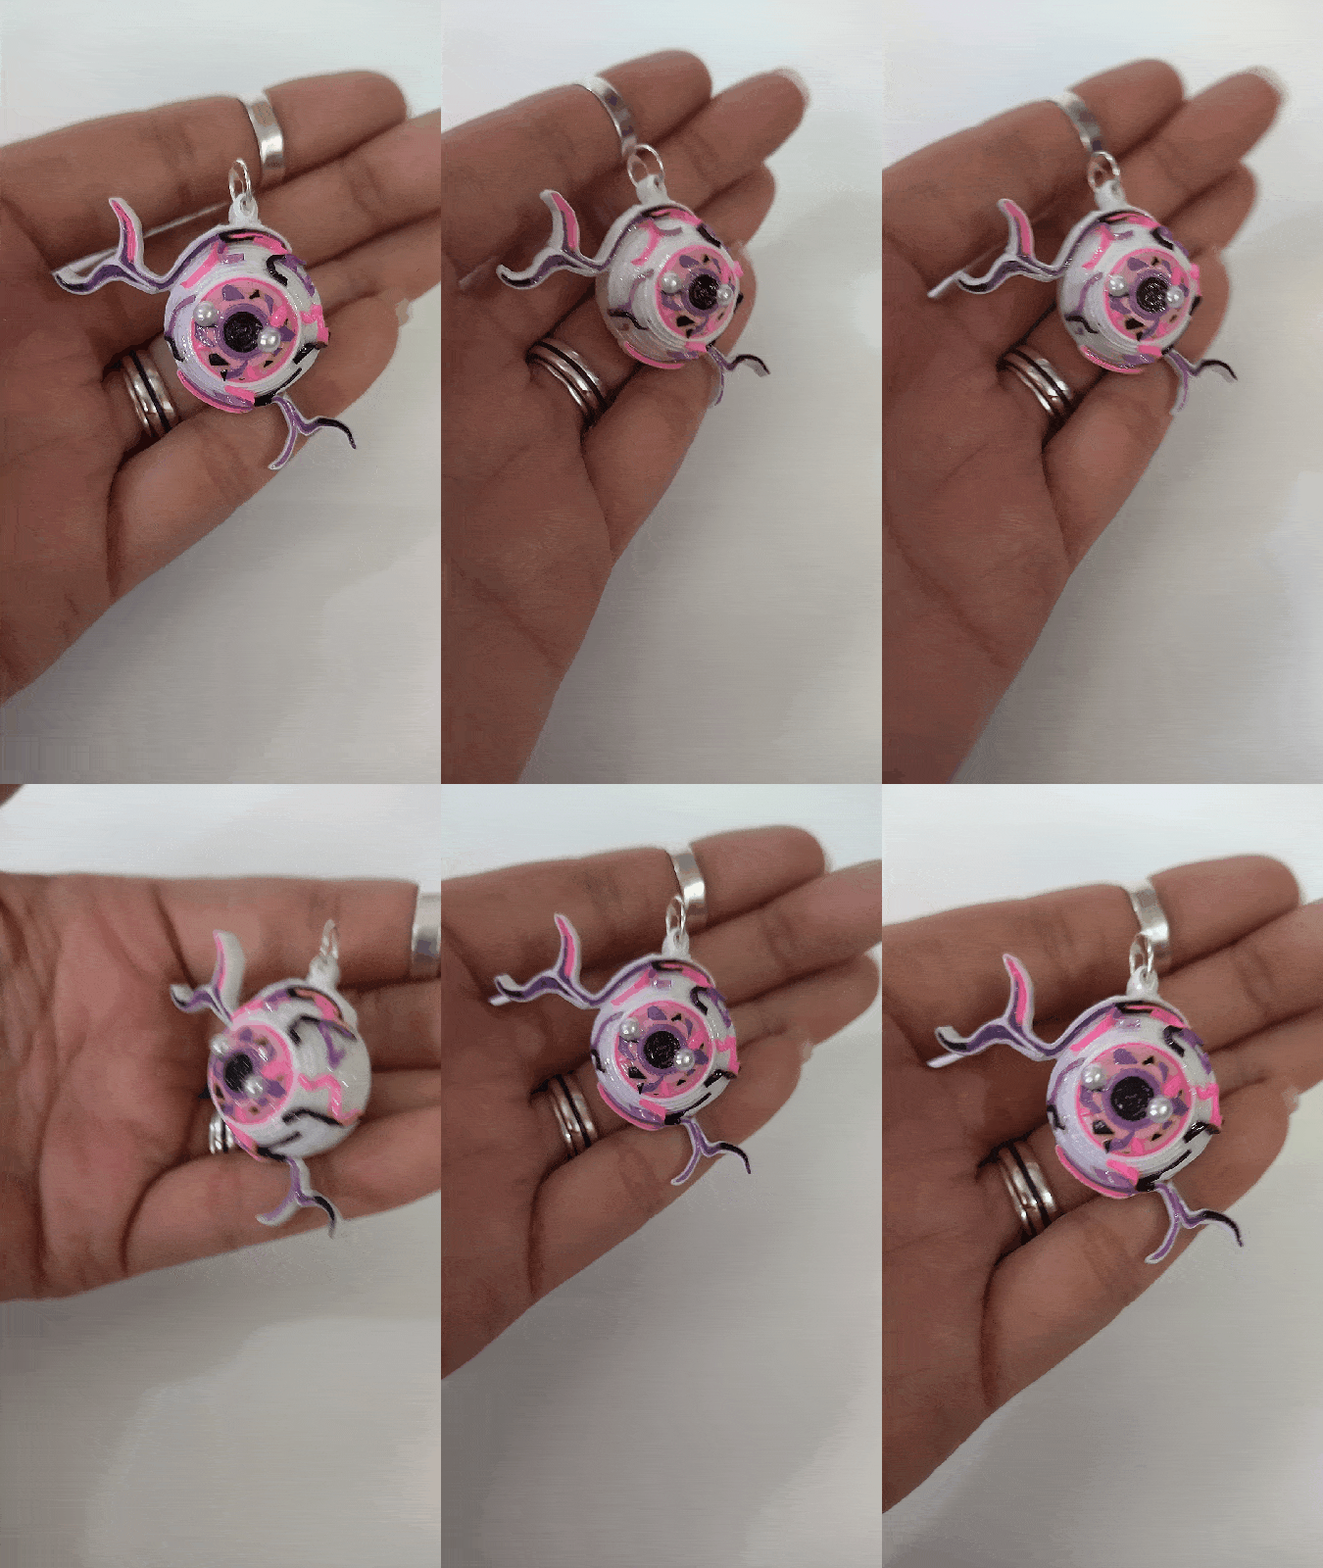
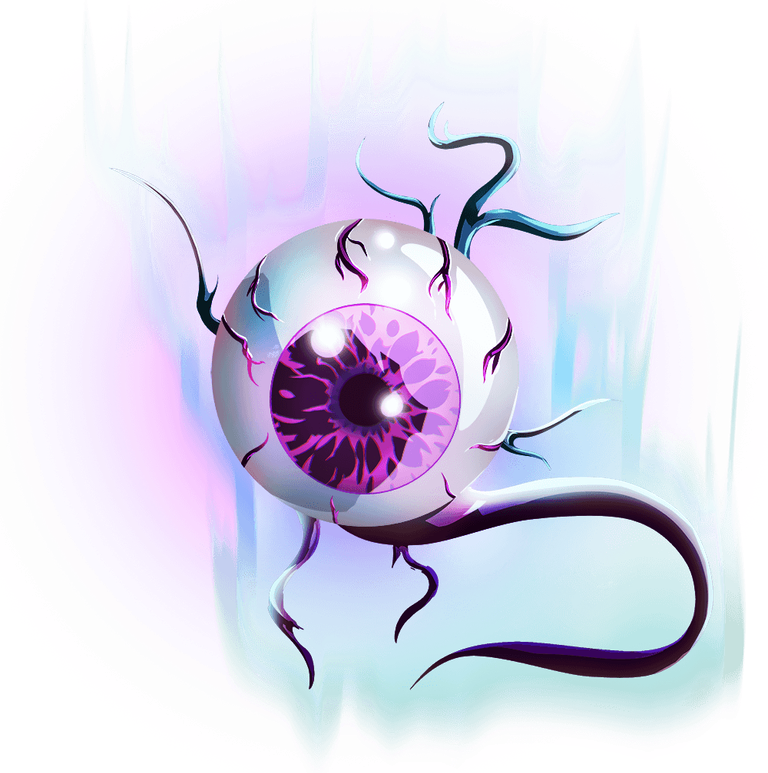
Today I bring you a fan-art of a card that looks very interesting and imposing, as it is a big eyeball, which I read that it is a powerful monster that has strange magical powers, and manages to see anything that is in its path at any distance and at any angle. It is called "Cornealus" and I decided to materialize it in the form of a pendant for necklace or pendant in 3D, in the quilling technique.
Hoping you like my work, without further ado, I leave you my creative process.
Let's get started:😃

Hola a Todos... ✨
Hola a mis queridos Hivers y a la querida comunidad de artistas HiveDIY, como siempre muy complacida y emocionada de encontrarme por acá nuevamente, mostrándole mi trabajo hecho con mucho amor y especialmente para ustedes.
Un saludo para la comunidad de Splinterland, y todos los que hacen vida por allí, me gratifica estar por acá para participar en el Splinterlands Art Contest Week 257.
Hoy les traigo un fan-art, de una carta que se ve muy interesante e imponente, ya que es un gran globo ocular, la cual leí que es un monstruo poderoso que tiene extraños poderes mágicos, y pues logra a ver cualquier cosa que este a su paso a la distancia que sea y en cualquier ángulo existente. La misma se llama “Cornealus” y decidí materializarla en forma de dije para collar o colgante en 3D, en la técnica de quilling
Esperando les guste mi trabajo, sin más preámbulos, les dejo mi proceso creativo.
Comencemos:😃

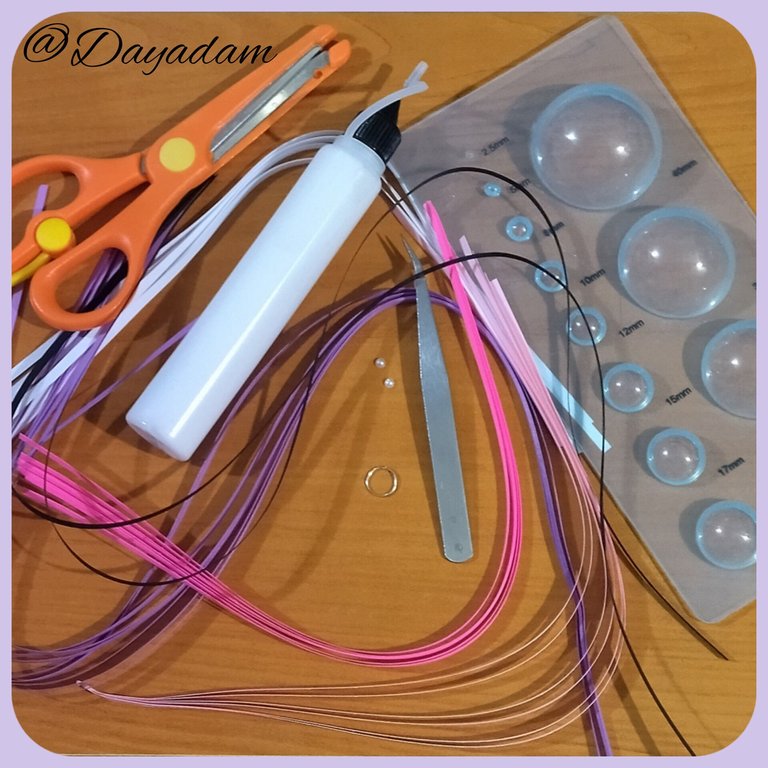
• Cintas de quilling de 1mm y 3mm de ancho, negra, morada, rosada, fucsia, blanca.
• Aguja para quilling.
• Plantilla para moldear círculos.
• Pega blanca extra fuerte (de carpintería).
• Tijera.
• Pincel.
• Perla blanca de bisutería.
• Argolla mediana de bisutería.
- Quilling ribbons 1mm and 3mm wide, black, purple, pink, fuchsia, white.
- Quilling needle.
- Template to mold circles.
- Extra strong white glue (carpentry glue).
- Scissors.
- Paintbrush.
- White costume jewelry bead.
- Medium-sized costume jewelry ring.

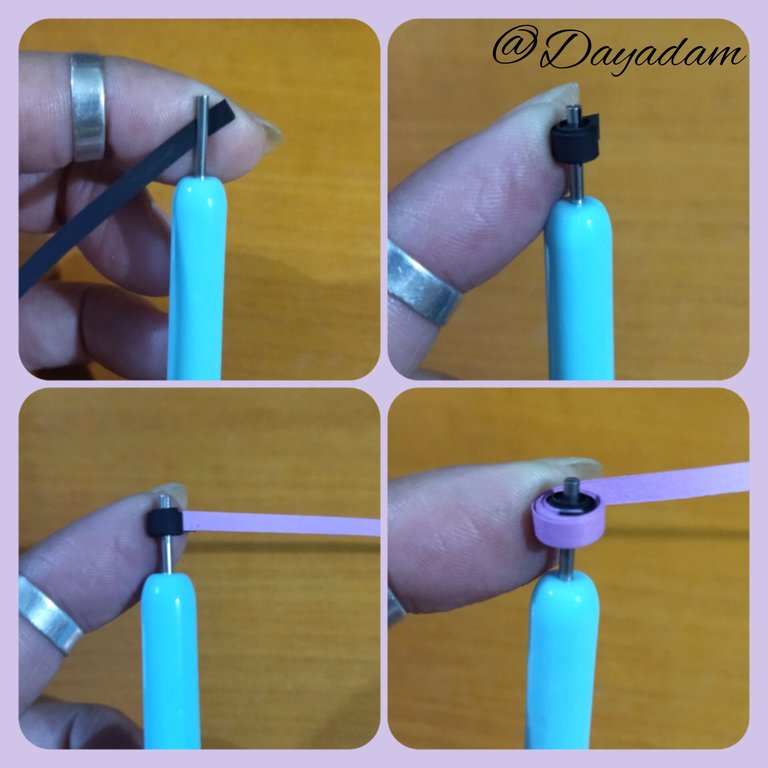
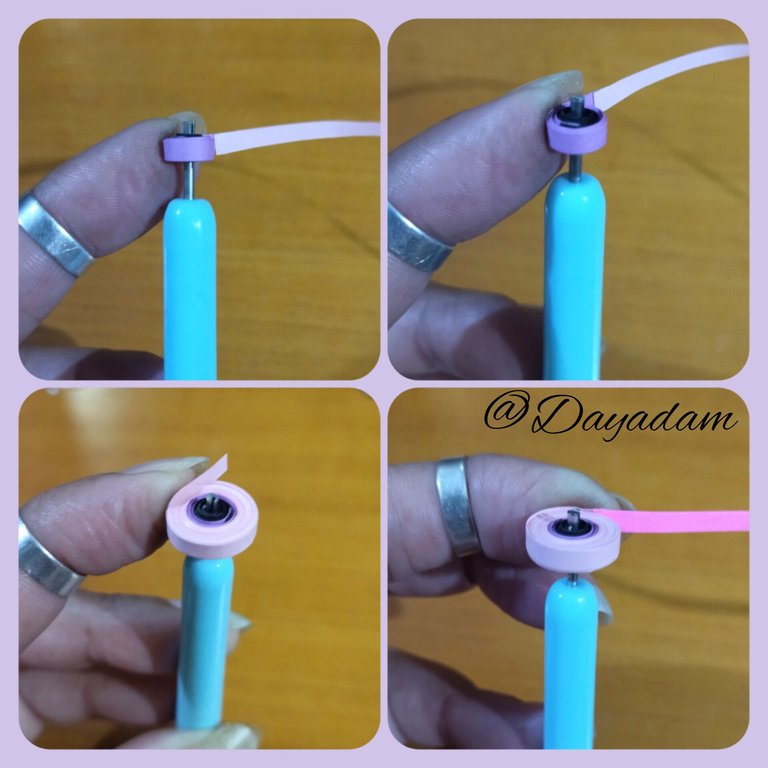
- As it is an eye this will be the combination of different colored ribbons that result in a closed circle, I will not give you specific measures as I took the ribbons I was rolling until I considered enough for each layer of the same, cut and pasted another one that is to say I was adding color by color. For this one I used 3mm wide ribbons of black, purple, pink, fuchsia and white respectively, you can see better in the pictures.
- Once the first part of the eye is finished, we will take 3mm wide white ribbon and make another closed circle of the same size as the previous one, as we don't have measurements we will roll white ribbon with the help of the needle, until we get the right size.

• Como es un ojo esta será la combinación de diferentes cintas de colores que resulten en un círculo cerrado, no les voy a dar medidas específicas ya que tome las cintas fui enrollando hasta que considerara suficiente para cada capa del mismo, cortaba y pegaba otro es decir fui añadiendo color por color. Para este utilice cintas de 3mm de ancho negra, morada, rosada, fucsia y blanca respectivamente, pueden ver mejor en las imágenes.
• Una vez terminada la primera parte del ojo, pues tomaremos cinta de color blanca de 3mm de ancho y haremos otro círculo cerrado del mismo tamaño del anterior, como no tenemos medidas enrollaremos cinta blanca con la ayuda de la aguja, hasta conseguir el tamaño adecuado.
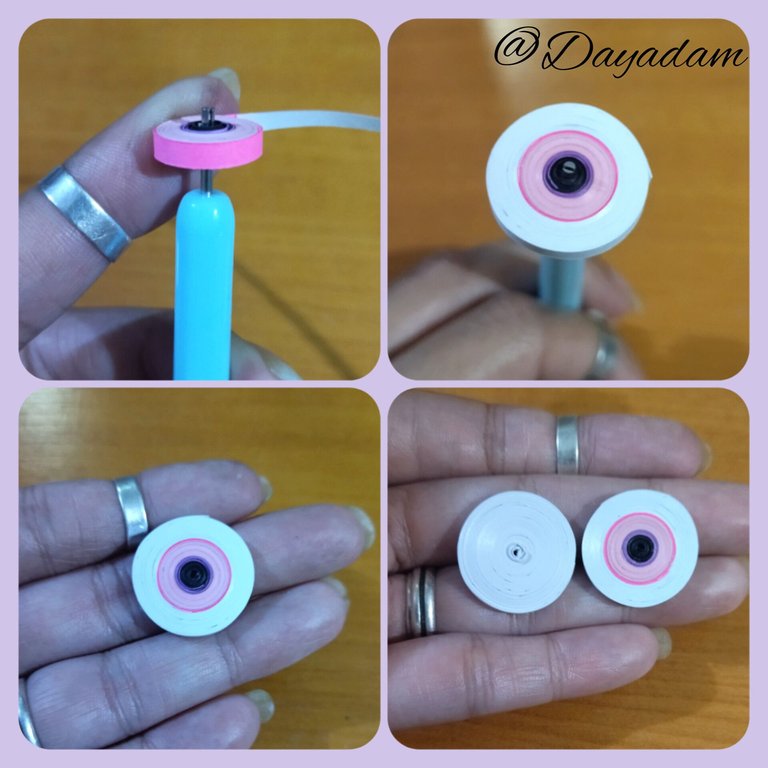
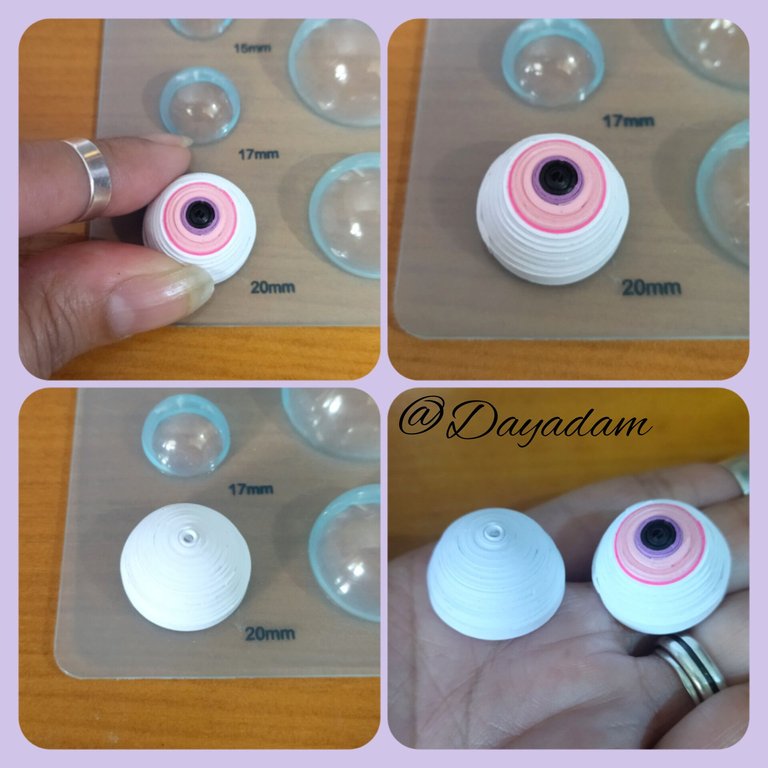
- Ready the two circles that will be the base of the eye, we proceed to mold them, I molded them with the help of a template to mold circles in the measure of 20mm, this way they are equal, (note that if you do not have the template can do it with your fingers, so far all my work I have done that way, now I was given along with other work tools this template which I will take full advantage).
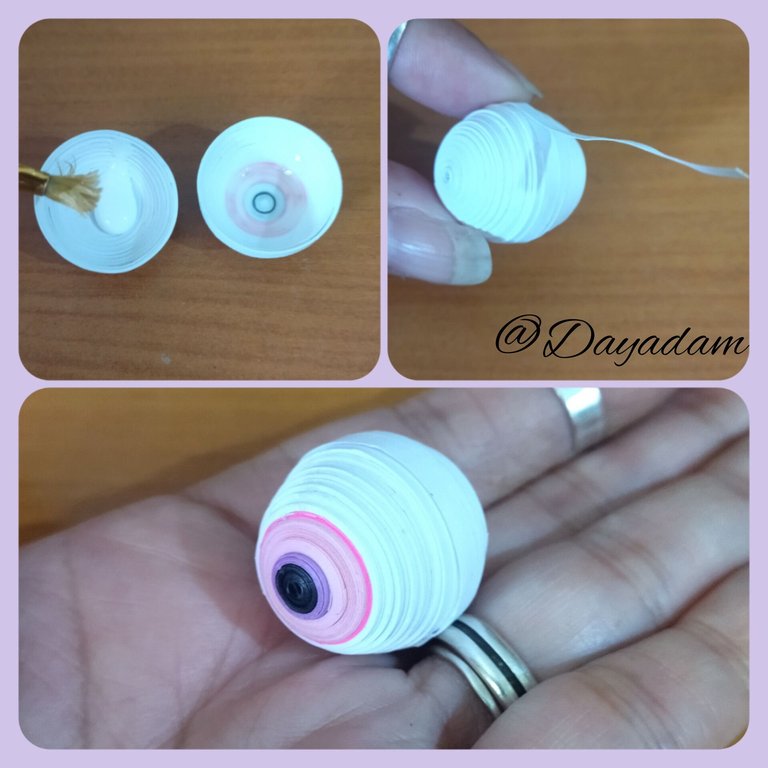
- Once the pieces are molded, apply extra strong white glue on the inside and wait for it to dry, to prevent the pieces from moving or deforming.
- Now we join both pieces applying glue, and passing a piece of white tape 3mm wide around it.

• Listos los dos círculos que serán la base del ojo, procedemos a moldearlos, los moldee con la ayuda de una plantilla para moldear círculos en la medida de 20mm, de esta manera quedan iguales, (tomen en cuenta que si no tienen la plantilla pueden hacerlo con los dedos, hasta ahora todos mis trabajos los he realizado de esa manera, ahora me regalaron junto a otros implementos de trabajo esta plantilla la cual aprovechare a lo máximo).
• Moldeadas las piezas aplicaremos pega blanca extra fuerte en la parte interna y esperaremos que seque, para evitar que las piezas se mueven o deformen.
• Ahora unimos ambas aplicando pega, y pasando un trozo de cinta blanca de 3mm de ancho alrededor de la misma.
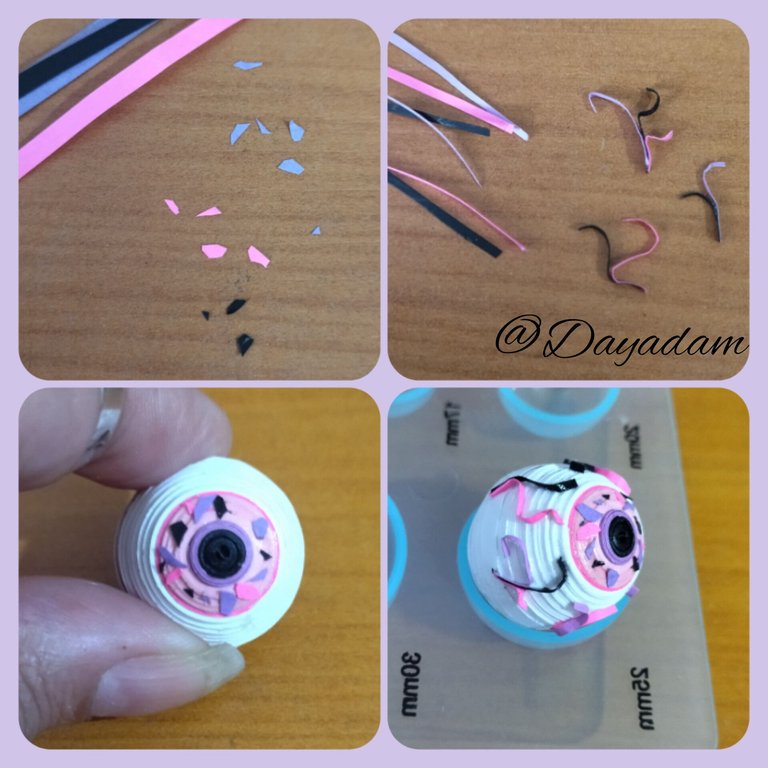
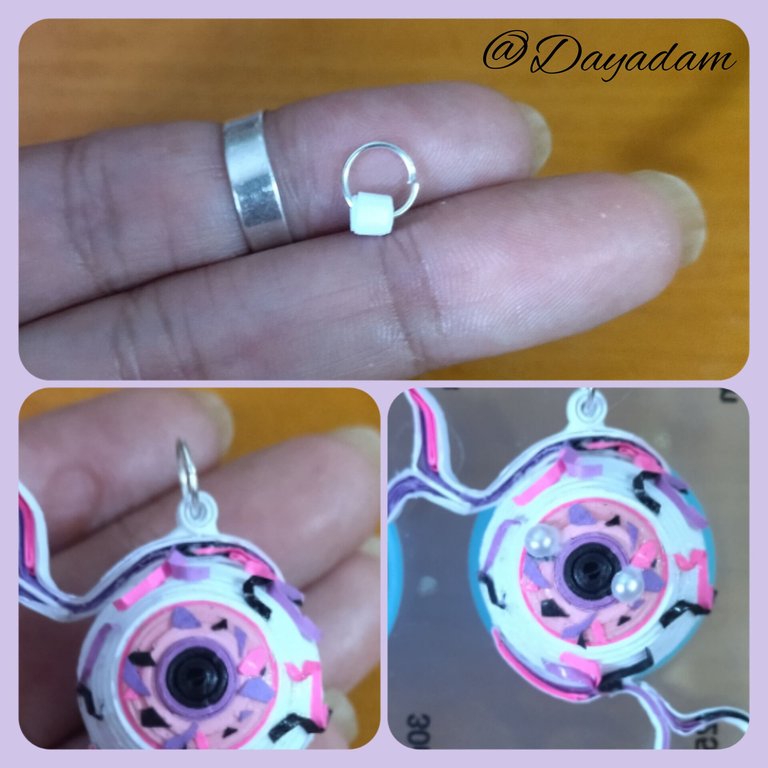
- I cut small pieces of black, purple and fuchsia ribbons to decorate the iris, then some linear ones which I molded in an unspecific way, for the white part of the eye, I proceeded to glue them in different places.
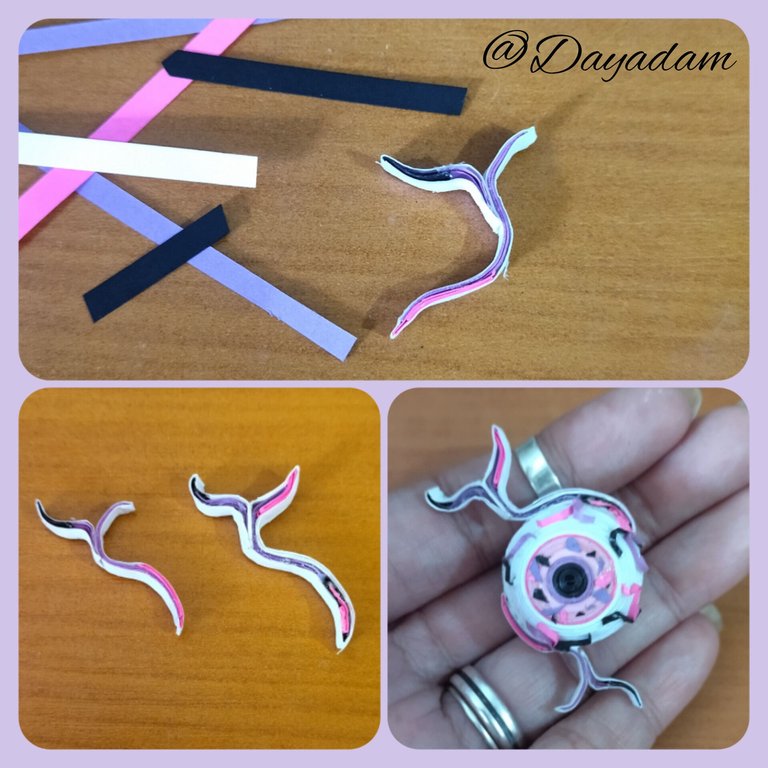
- With 3mm wide white, black, fuchsia and purple ribbons joining pieces together, I made a kind of root to place outside the eye in a 3D way, I placed it above and below the eye.
- Finally, make a small white closed circle with 3mm wide ribbon to which I added a costume jewelry ring and place it on top of the eye, additionally add two pearls to simulate the lights of the eye.
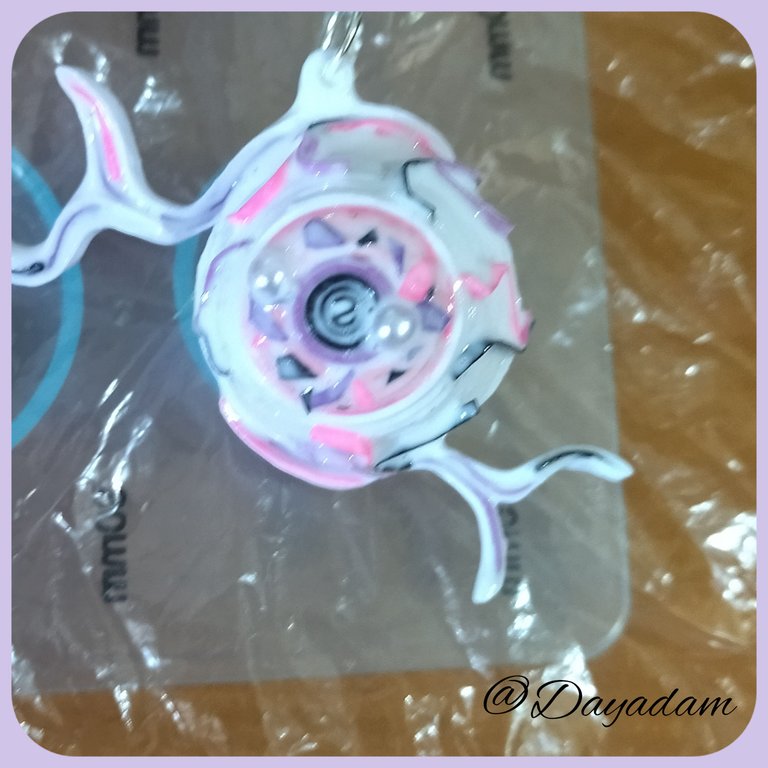
- Finally, I added a layer of extra strong white glue to protect and plasticize the piece.
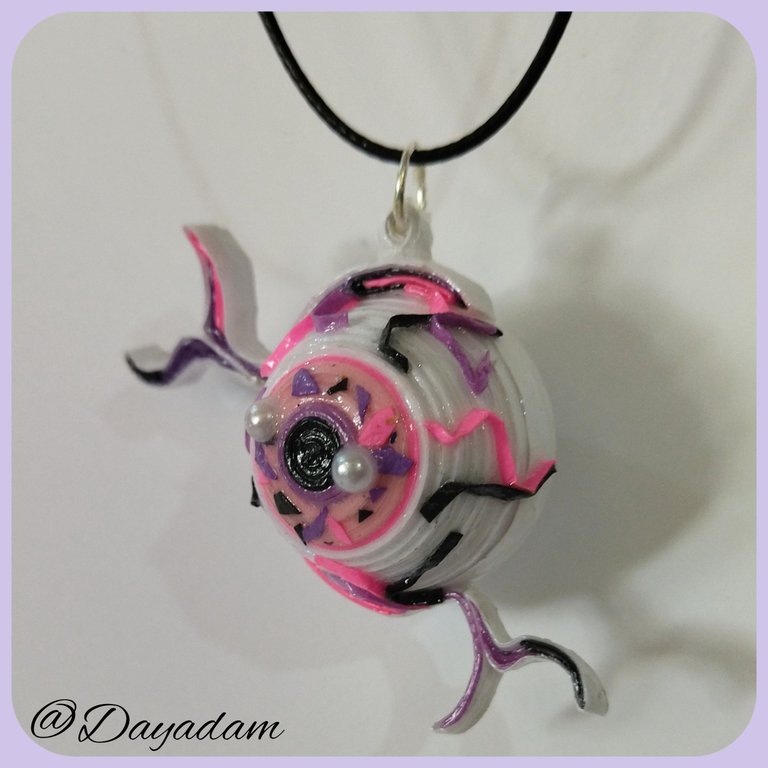
This way this fan-art in the shape of a 3D earring, from the Cornealus card, is ready.

• Pique mínimos trocitos de cinta negro, morado, y fucsia para adorar el iris, luego algunas lineales las cuales moldeé de manera inespecífica, para la parte blanca del ojo, procedí a pegarlas en diversos sitios.
• Con cintas de 3mm de ancho blancas, negras, fucsia y moradas uniendo trozo entre sí, realice una especie de raíz para colocar fuera del ojo de manera 3D, coloque arriba y abajo del ojo.
• Por ultimo realice un pequeño círculo cerrado blanco con cinta de 3mm de ancho a la cual le agregue una argolla de bisutería y coloque en la parte de arriba del ojo, adicionalmente agregue dos perlas para simular las luces del ojo.
• Para finalizar, le agregue una capa de pega blanca extra fuerte para proteger y plastificar la pieza.
De esta manera está listo este fan-art en forma de pendiente 3D, de la carta Cornealus.


What did you think, did you like it?
I hope you did, I hope you liked my explanation, procedure and photos, I made them with love for you.
"Let out that muse that inspires you, and let your imagination fly".
Thank you all, see you next time.

¿Qué les pareció, les gustó?
Espero que sí, que les haya gustado mi explicación, procedimiento y fotos, los hice con mucho cariño por y para ustedes.
"Deja salir esa musa que te inspira, y deja volar tu imaginación".
Gracias a todos, nos vemos en la próxima.

Todas las fotos usadas en este post son de mi autoría y han sido sacadas en mi celular personal un Redmi 9T y editadas en Canva y en Inshot Fuente Carta Cornealus Banner y separador hecho por mí en Canva Traducido con la ayuda de DeepL


