Hello everyone...✨
Hello to my dear Hivers and the dear community of artists #HiveDIY, as always very pleased and excited to be here again, showing you my work made with love and especially for you.
Hoping you like it, I leave you my creative process:
Let's get started:😃

Hola a Todos...✨
Hola a mis queridos Hivers y a la querida comunidad de artistas #HiveDIY, como siempre muy complacida y emocionada de encontrarme por acá nuevamente, mostrándole mi trabajo hecho con mucho amor y especialmente para ustedes.
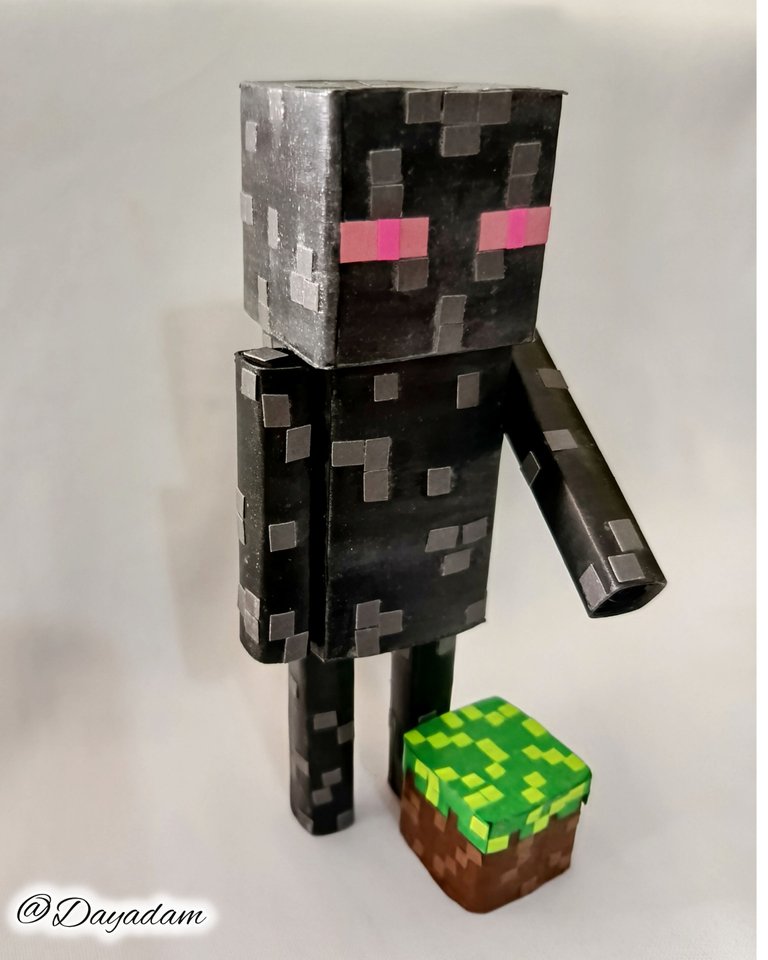
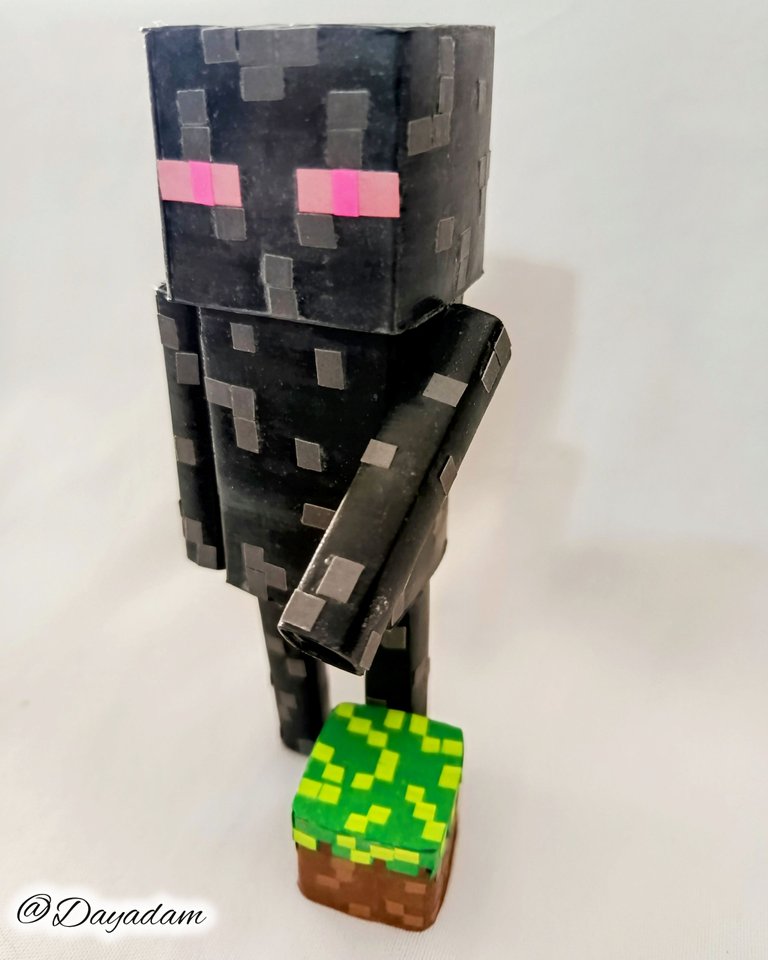
Para hoy les traigo un trabajo un tanto especial, ya que es una comisión para una persona de Hive, la amiga @rosmiapure me pidió un encargo especial para realizar un obsequio, un personaje del juego Minecraft, "Enderman", es la figura con mayor tamaño que he realizado, y la llevé a cabo en la técnica de cartonaje combinada con la técnica de quilling.
Esperando que sea de su agrado, les dejo mi proceso creativo:
Comencemos:😃
 |

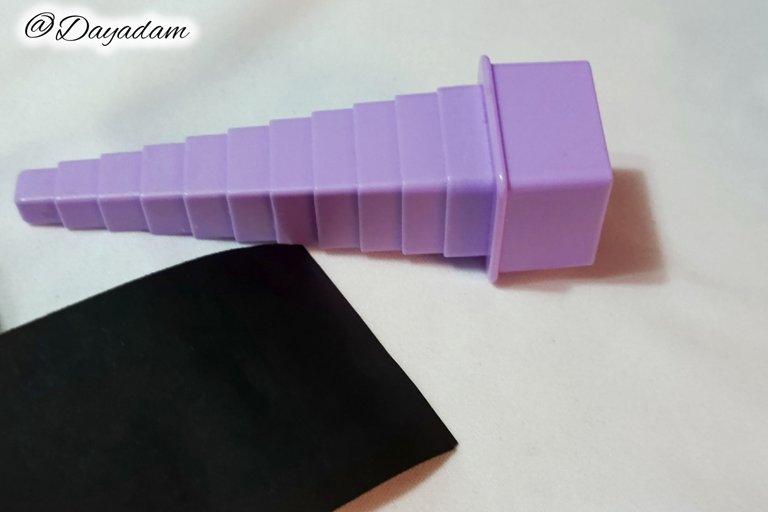
• Cintas de quilling de diversas medida y colores.
• Conos para moldear cuadrados.
• Cartulinas de color, negro, marrón, verde.
• Pega blanca extra fuerte (de carpintería).
• Tijera.
• Pincel.
- Quilling ribbons of different sizes and colors.
- Cones to mold squares.
- Colored cardboard, black, brown, green.
- Extra strong white glue (carpentry glue).
- Scissors.
- Brush.

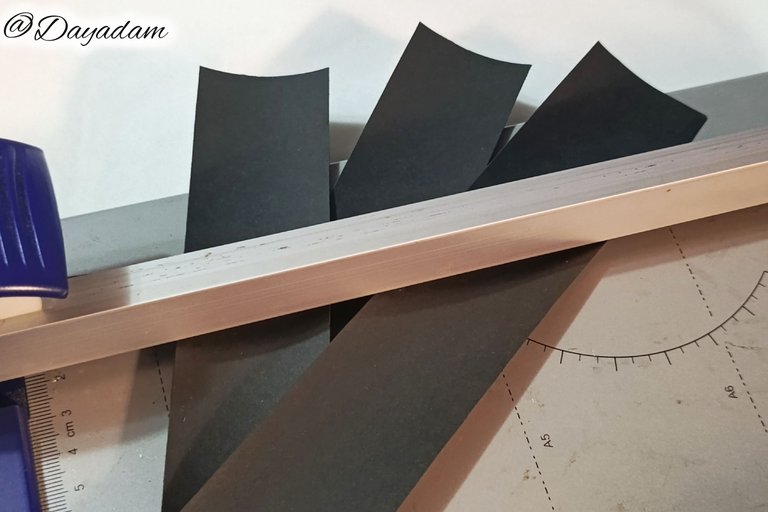
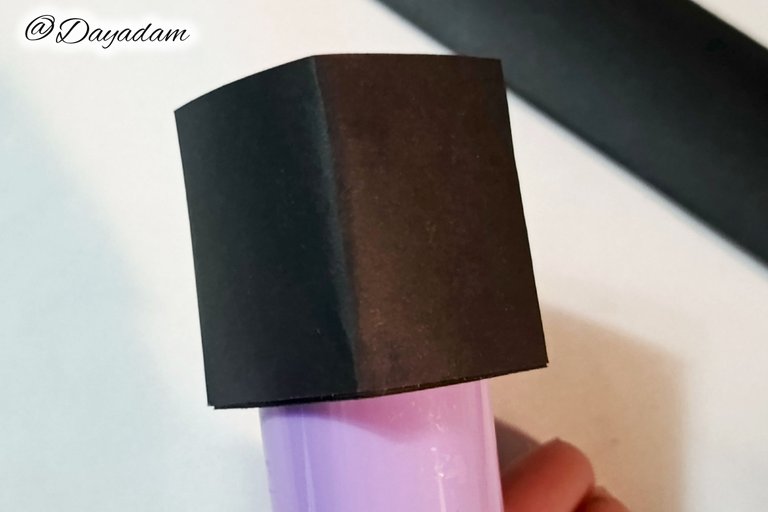
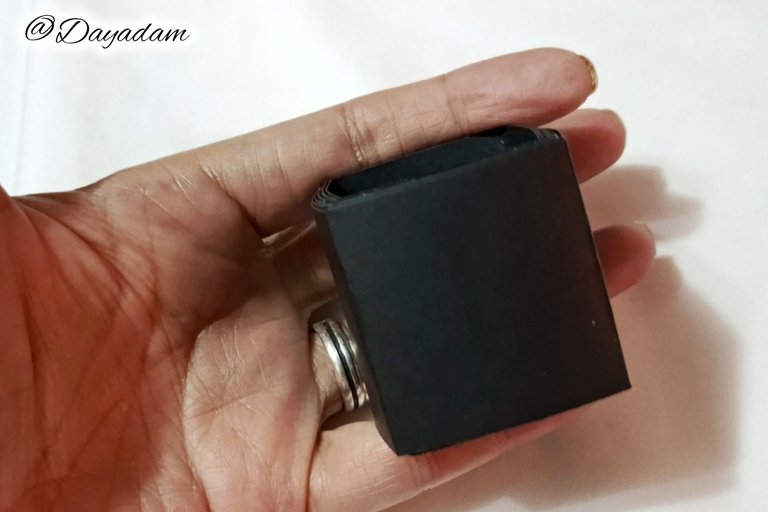
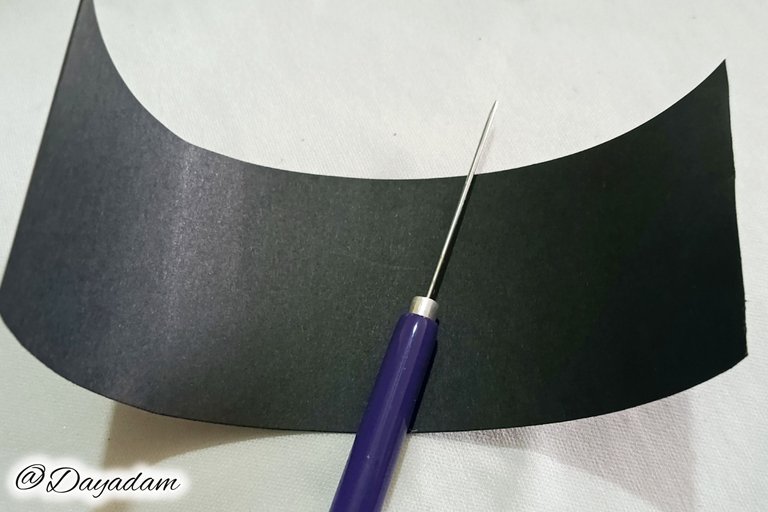
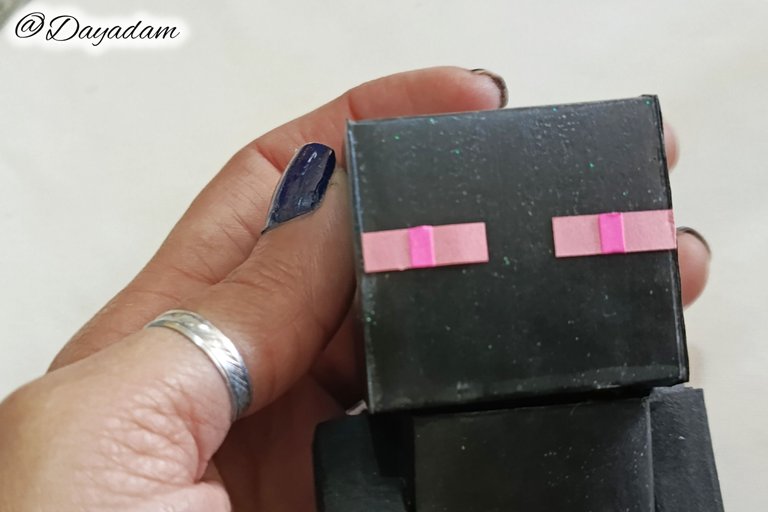
- I started by cutting strips of black cardboard of 4cms x 4cms with a guillotine, we can also do it with a scissors.
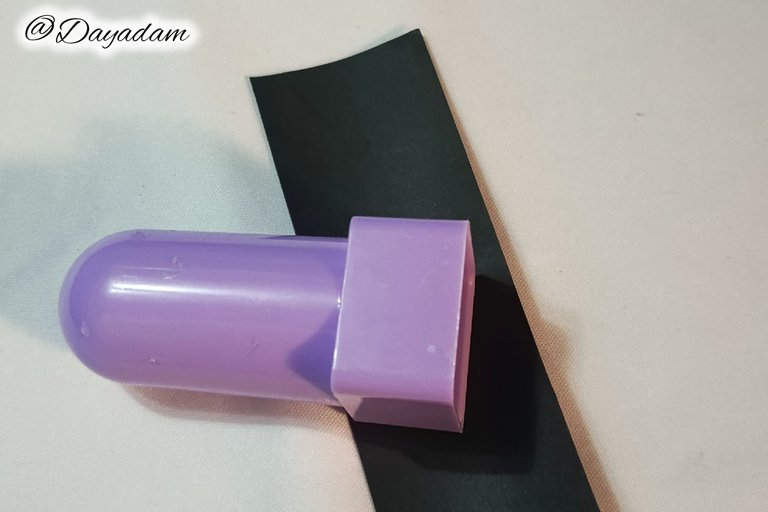
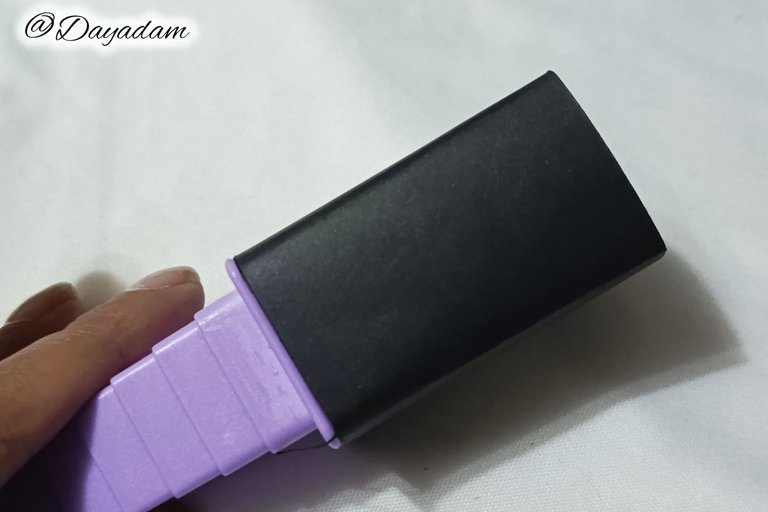
- With a mold I proceeded to make a square, passing the strip repeatedly around the mold until I finished with the same, at the end we sealed it with extra strong white glue.
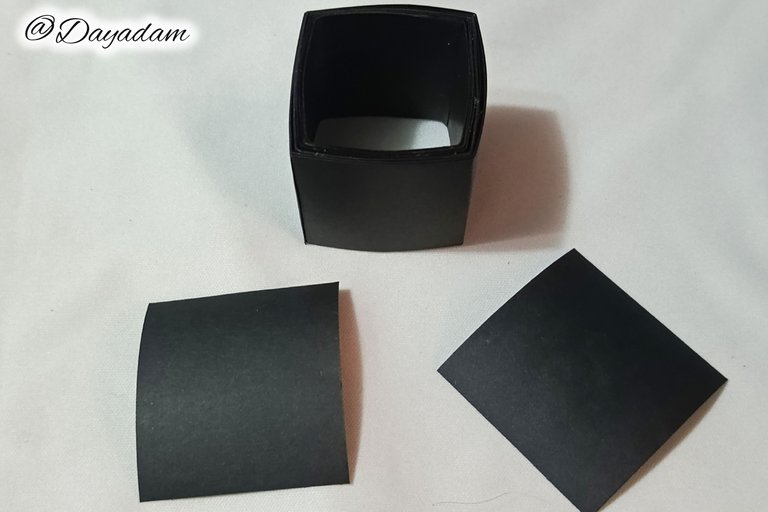
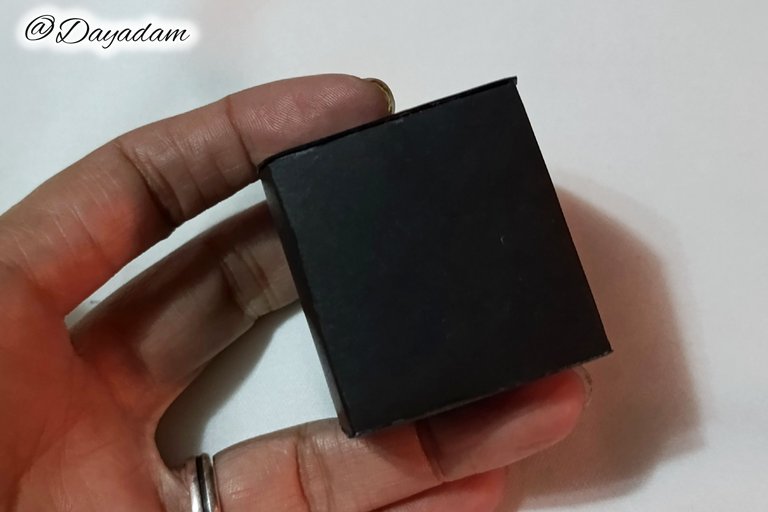
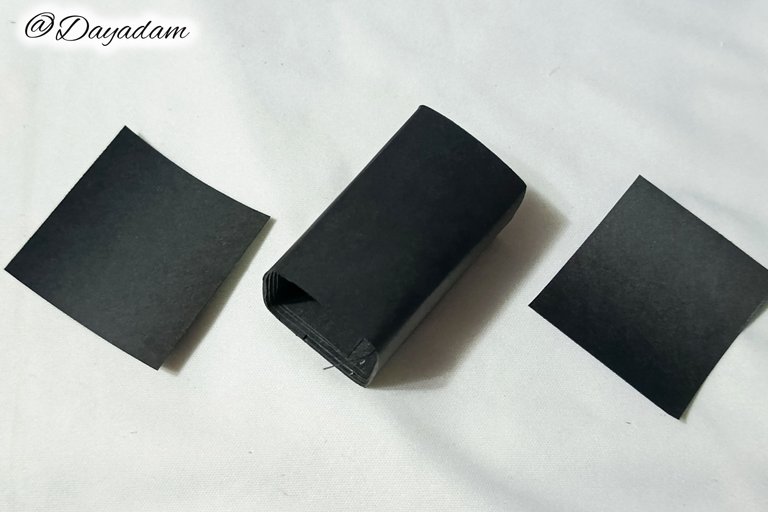
- Once the square was ready, I glued a piece of black cardboard on the top and bottom.

• Comencé cortando unas tiras de cartulina color negro de 4cms x 4cms con una guillotina, también lo podemos hacer con una tijera.
• Con un molde procedí a llevar a cabo un cuadrado, pasando la tira reiteradas veces alrededor del molde hasta terminar con la misma, al finalizar sellamos con pega blanca extra fuerte.
• Listo el cuadrado, le pegué en la parte de arriba y de abajo un trozo de cartulina de color negro.
 |  |  |
 |  |  |
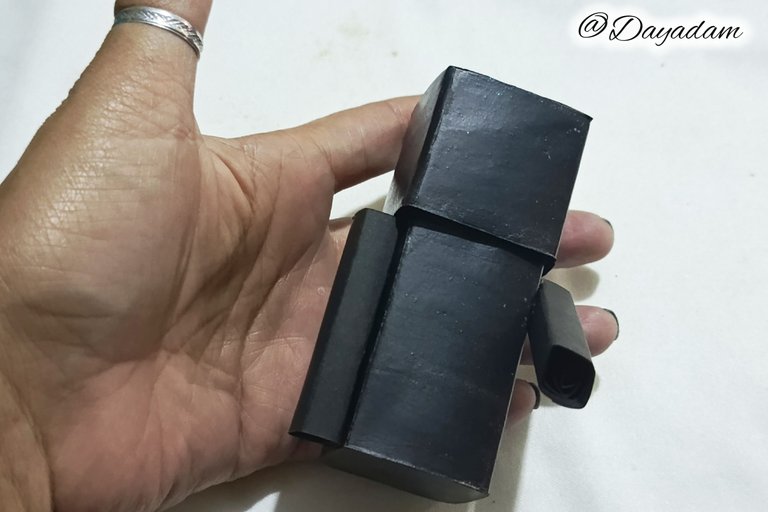
- I proceeded to make a rectangle this time of 4cms by 8cms long, I proceeded to put black cardboard on it as I did with the previous square.
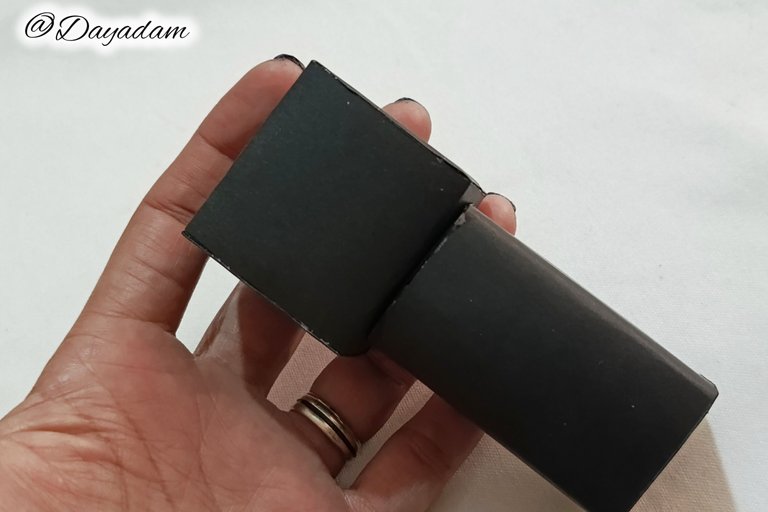
- Once ready, I glued both pieces and applied a layer of extra strong white glue to give it protection.
• Procedí a realizar un rectángulo esta vez de 4cms por 8cms de largo, procedí a colocarle cartulina de color negro tal como ese con el cuadrado anterior.
• Una vez listo, pegué ambas piezas y apliqué una capa de pega blanca extra fuerte para ir dándole protección.
 |  |  |
 |  |  |
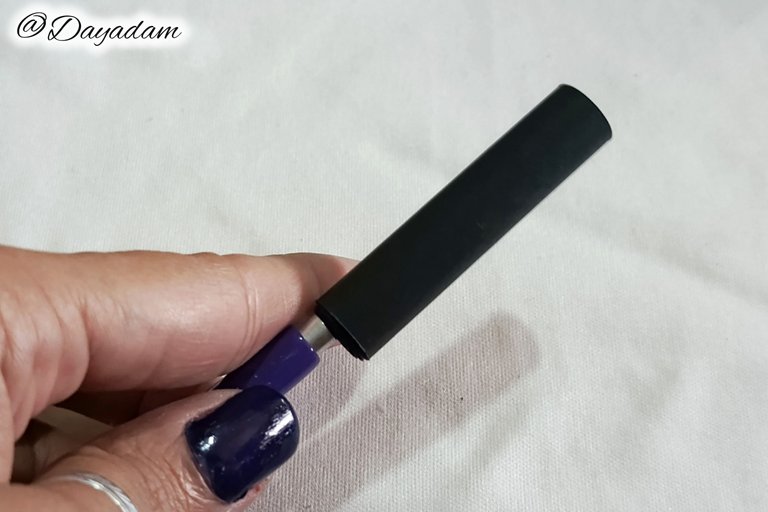
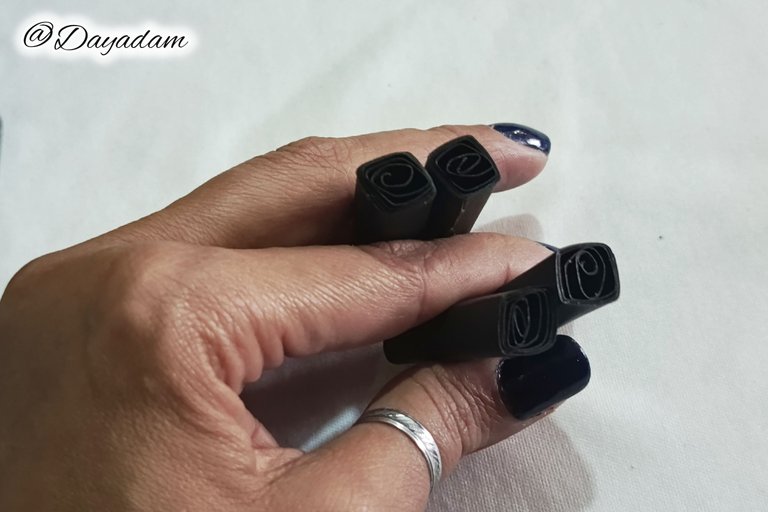
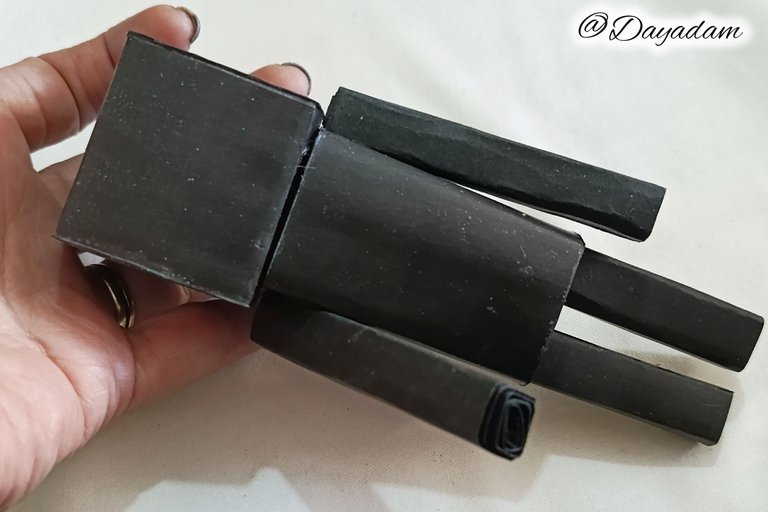
- I cut 4 thick strips of black cardboard and proceeded to roll them up one by one, with a long quilling needle without a groove. These will be the arms and legs of the character.
- I proceeded to glue them to the body of the character.
• Ahora corté 4 tiras gruesas de cartulina negra y procedí a enrollar una por una, con una aguja de quilling punta larga sin ranura. Estos serán los brazos y piernas del personaje.
• Procedí a pegar los mismos del cuerpo del personaje.
 |  |  |
 |  |  |
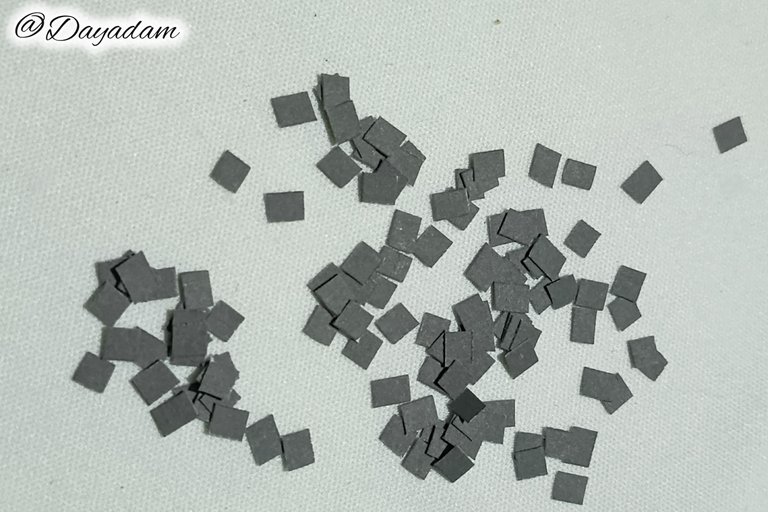
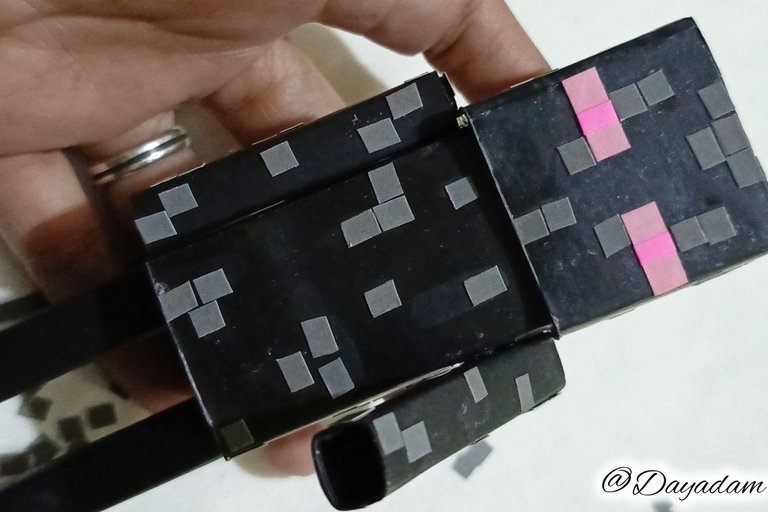
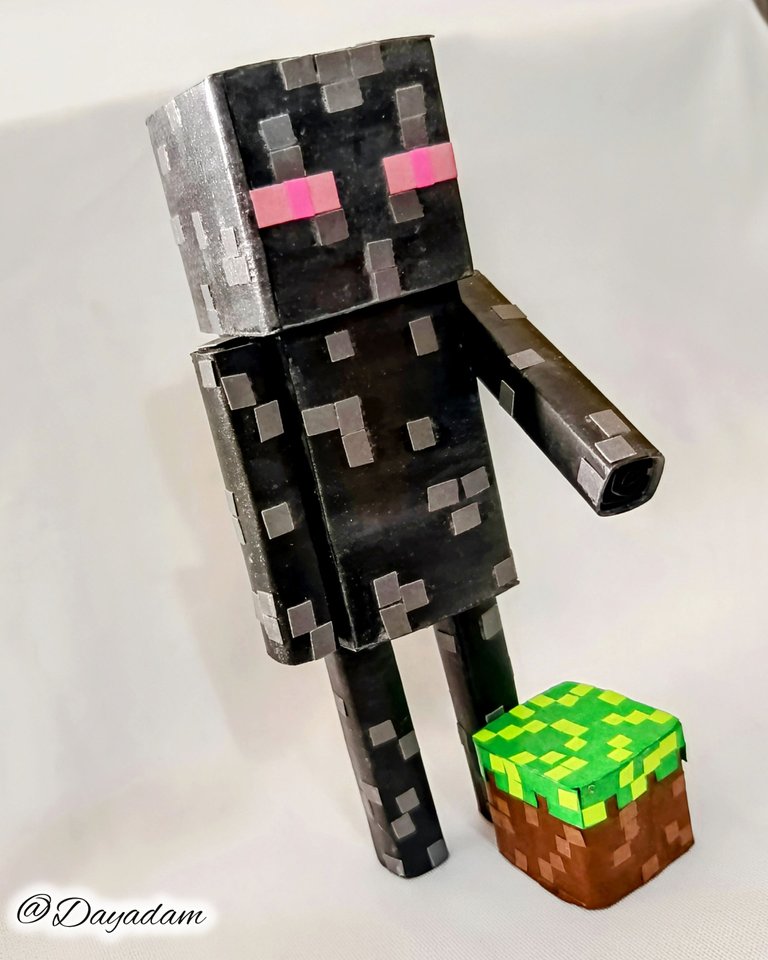
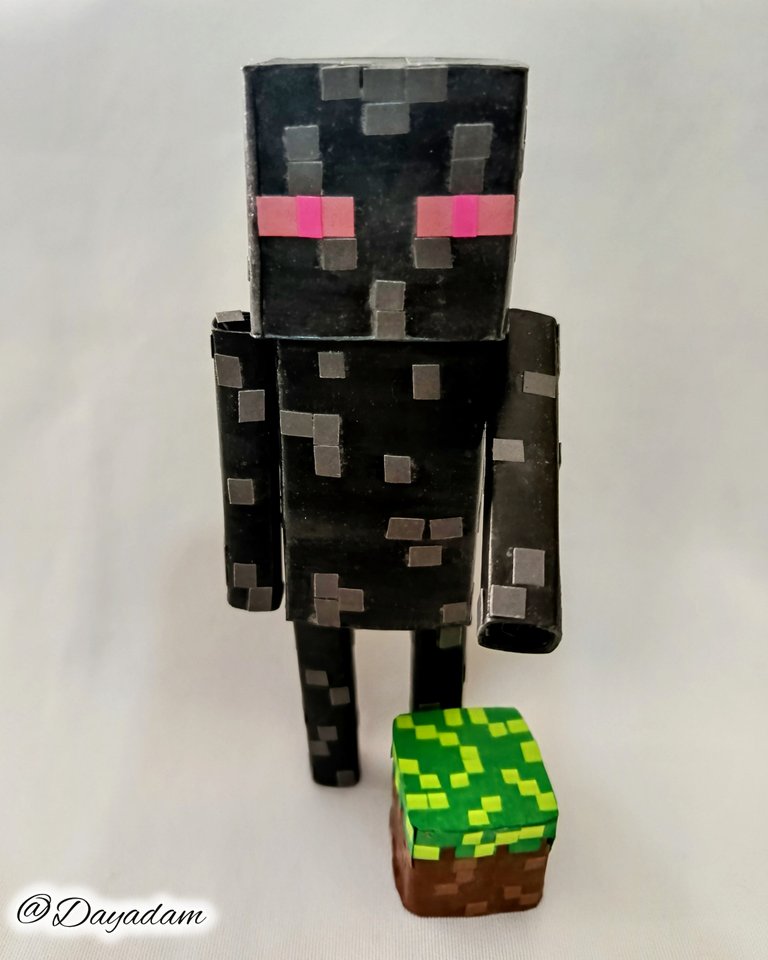
- At this point I proceeded to cut very small squares of gray cardboard, these will be the pixels of the character, I glued them in various areas of the body, head, arms and feet.
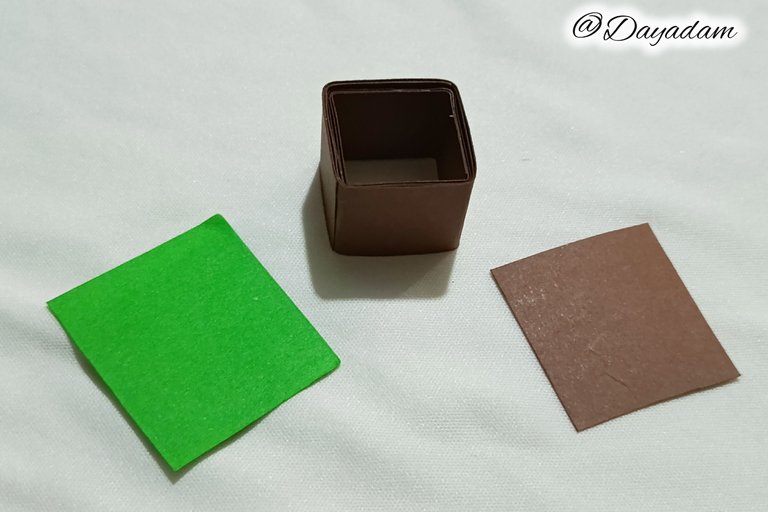
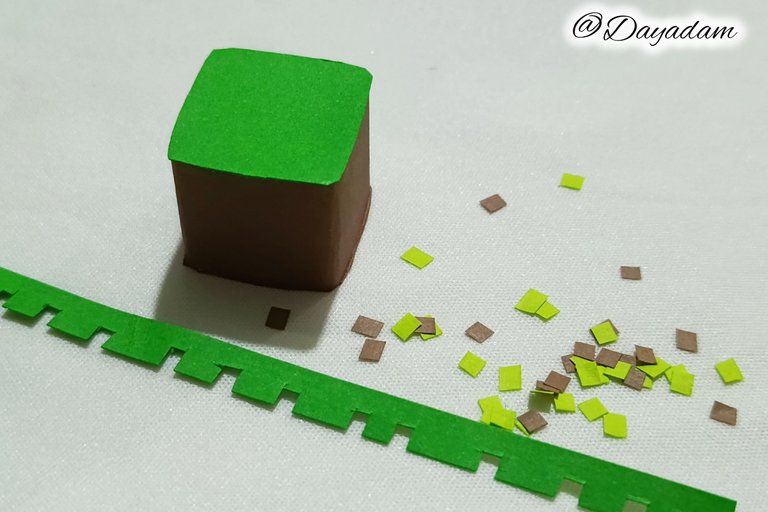
- Under the same parameters I proceeded to make a brown square, to which I placed a green cardboard face, I glued small squares of different shades of green and brown, also to make some pixels.
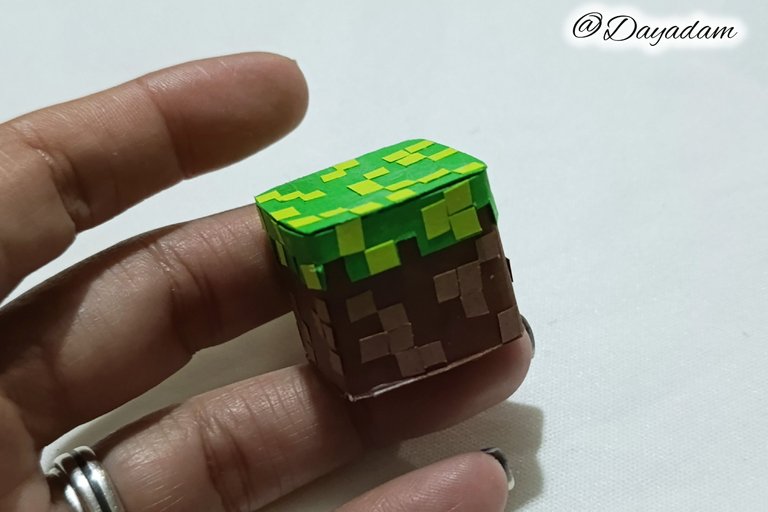
- To finish and give protection to the character, plasticity and brightness, I proceeded to apply with a brush several layers of extra strong white glue, letting it dry between one layer and another.
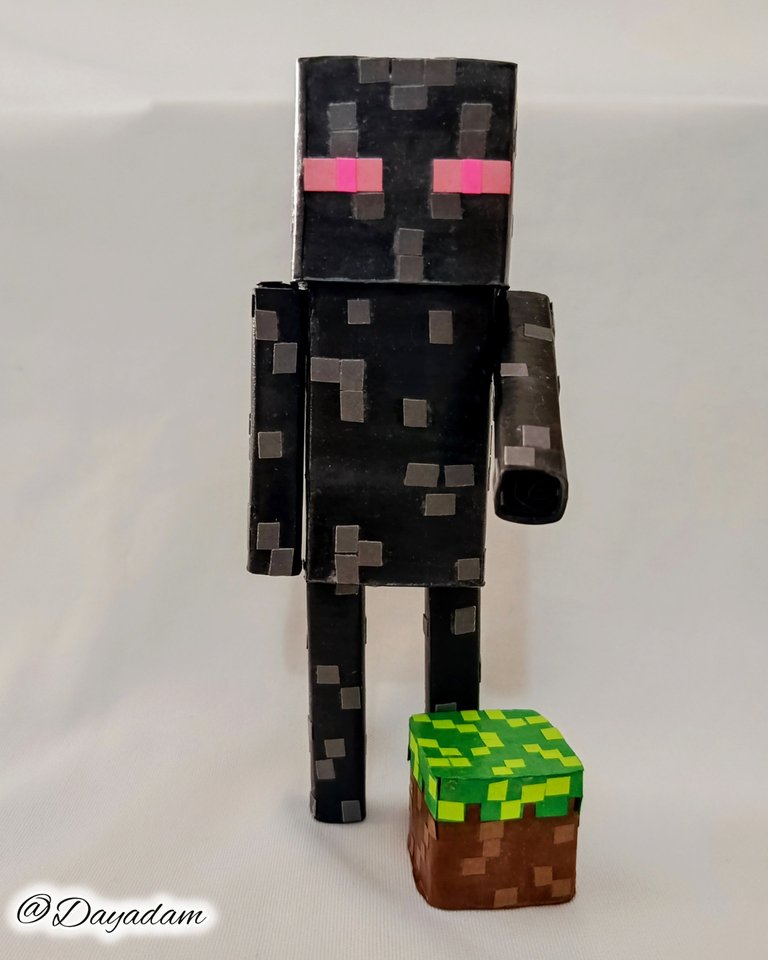
This is how I finished this 3D decorative Enderman, in the cartoning technique combined with the quilling technique.
• En este punto procedí a cortar cuadrados muy pequeños de cartulina color gris, estos serán los píxeles del personaje los pegué en diversas zonas del cuerpo, cabeza, brazos y pies.
• Bajo los mismos parámetros anteriores procedí a realizar un cuadrado de color marrón, al cual le coloqué una cara de cartulina color verde, pegue pequeños cuadrados de tonalidades diferentes verde y marrón, también para realizarle algunos píxeles.
• Para finalizar y darle protección al personaje, plasticidad y brillo, procedí a aplicar con un pincel varias capas de pega blanca extra fuerte dejando secar entre una capa y otra.
De esta manera finalice este Enderman decorativo en 3D, en la técnica de cartonaje combinada con la técnica de quilling.
 |  |
 |  |  |

|
 |  |
 |  |
 |
What did you think, did you like it?
I hope you did, I hope you liked my explanation, procedure and photos, I made them with love for you.
"Let out that muse that inspires you, and let your imagination fly".
Thank you all, see you next time ✨.
¿Que les pareció, les gustó?
Espero que sí, que les haya gustado mi explicación, procedimiento y fotos, los hice con mucho cariño por y para ustedes.
"Deja salir esa musa que te inspira, y deja volar tu imaginación".
Gracias a todos, nos vemos en la próxima✨


Posted Using INLEO


