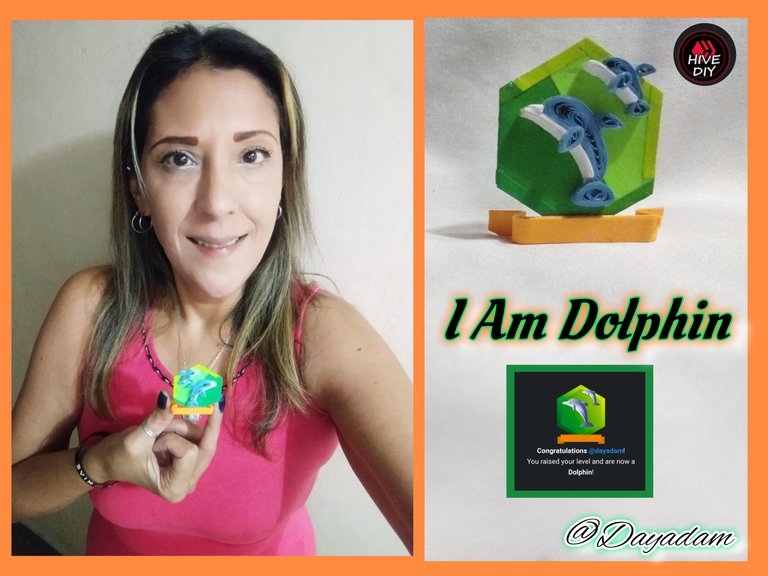
Hello everyone...🐬
Hello to my dear Hivers and the dear community of artists #HiveDIY, as always very pleased and excited to be here again, showing you my work especially for you.
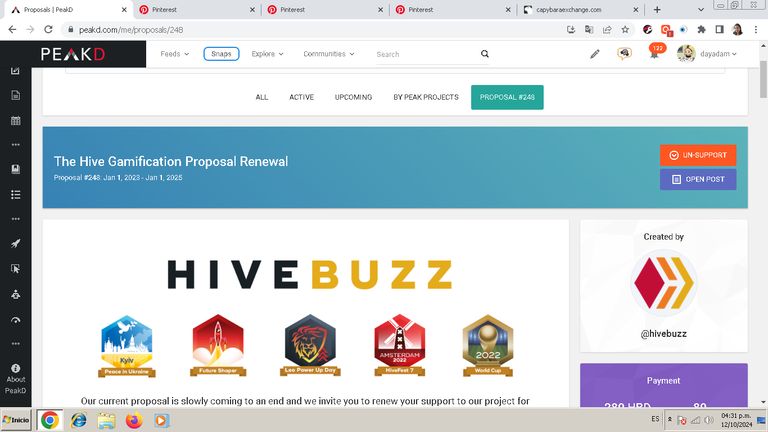
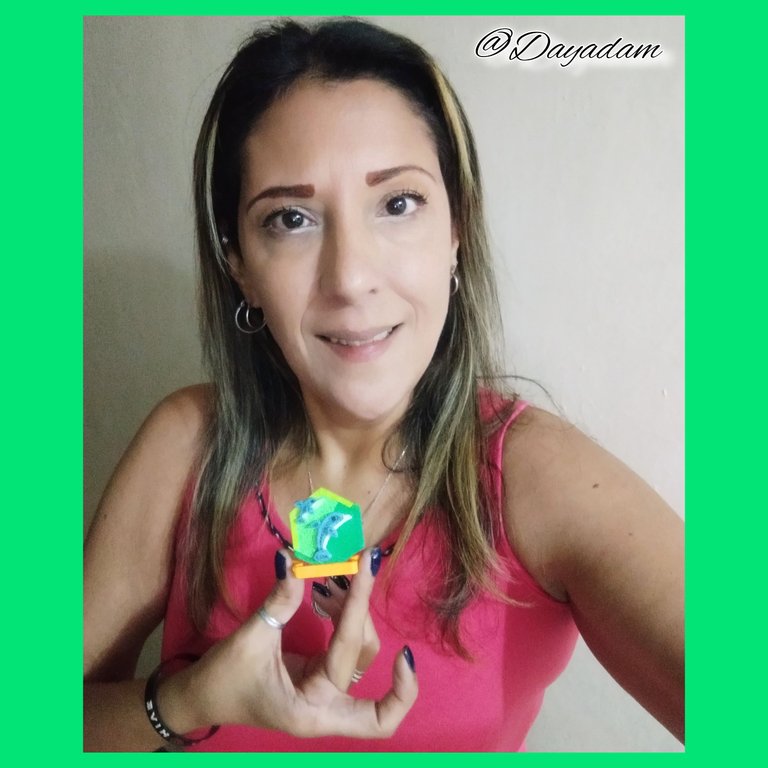
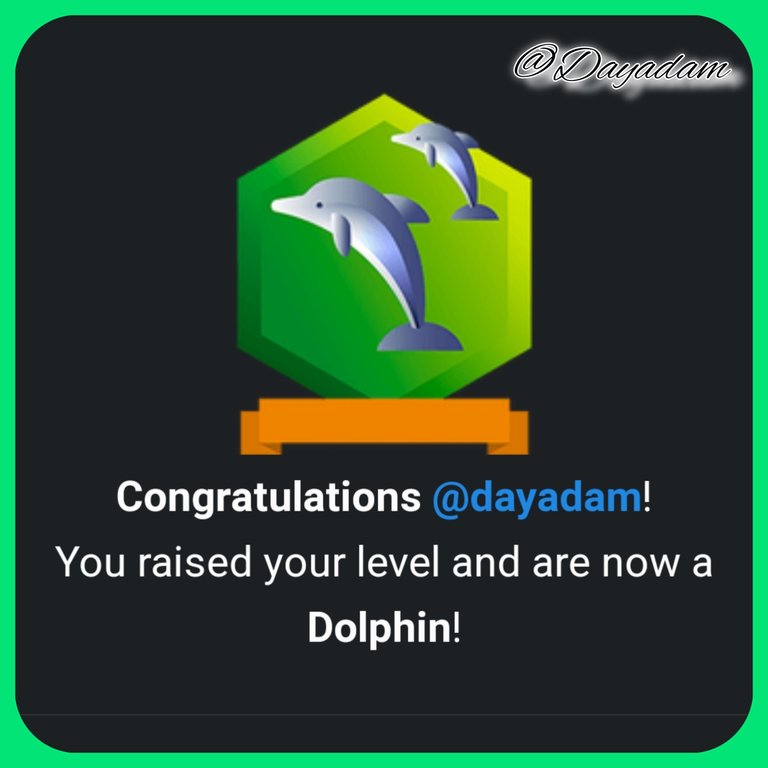
*Today is a special day, a day when I reached a very important achievement for me in Hive, I received the dolphin badge for the beloved @hivebuzz project, which is fitting that it reached that level.
I have so many people, projects, and communities to thank, as this has all been hard work on my part but support from so many as well. I am infinitely grateful to the communities that saw me born and grow and for the opportunity they gave me today to be moderator of the same, for me it is an honor, @equipodelta in #Hivediy which was the first community that received me, my dear Isa thank you very much, @yolimarag in #jewelry thank you very much to you too.
To the healing projects that have opened doors for me to be part of them @diyhub, @discovery-it, @innerblocks, @hispapro, @la-colmena thank you too.
There are many hivers who have helped me, inspired and motivated me to achieve so much, I can not fail to mention @irenenavarroart, the first person who guided me in the steps to follow in hive, my dear @chacald.dcymt, @gaboamc2393 who were pillars for me in motivation, inspiration and a thousand things more to get here, I love them God bless me ....
To @ninaeatshere thank you infinite my beautiful for the great gift you gave me to keep moving forward, growing and working.
@frankches you made me my beautiful fantart, that I show off everywhere, Thanks....
There are so many more that I would have to tag but I feel it is not necessary because each one of them knows what they have done for me, and what my heart feels for them.
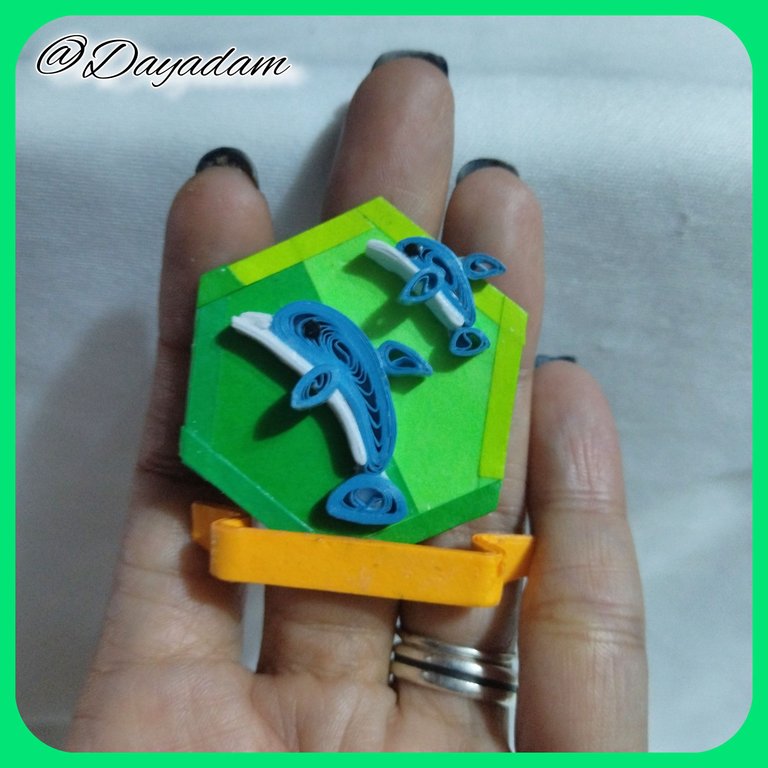
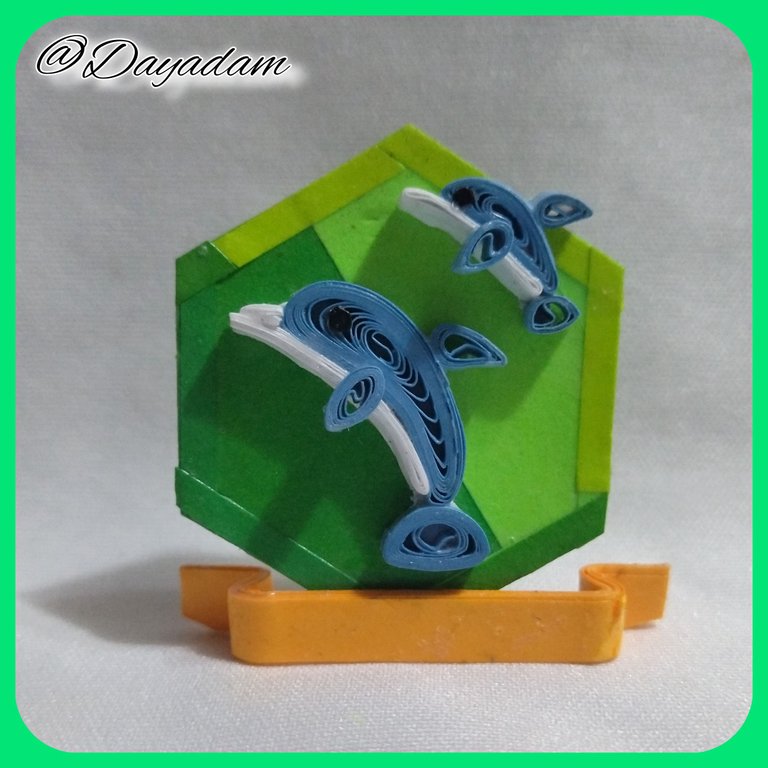
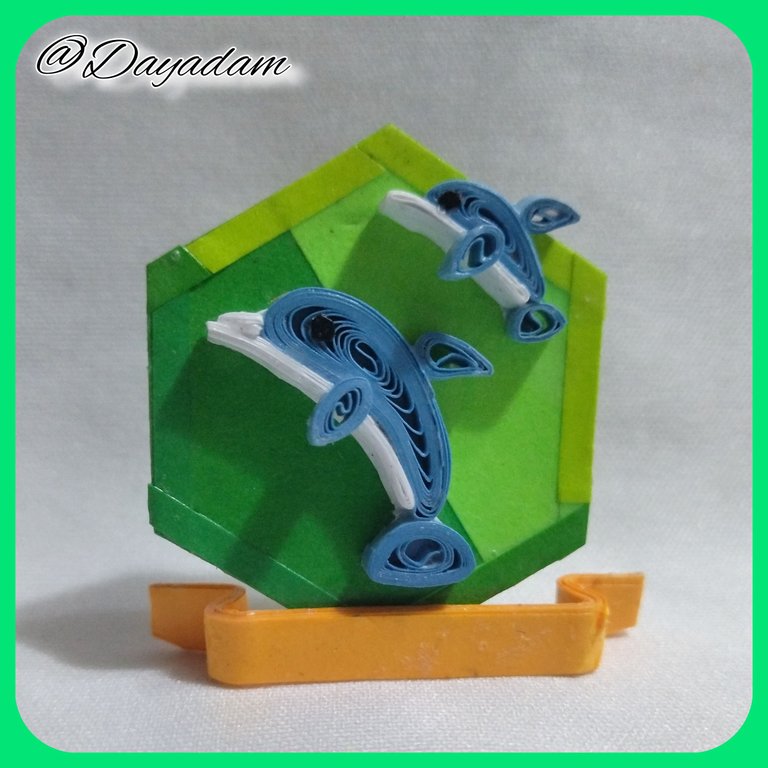
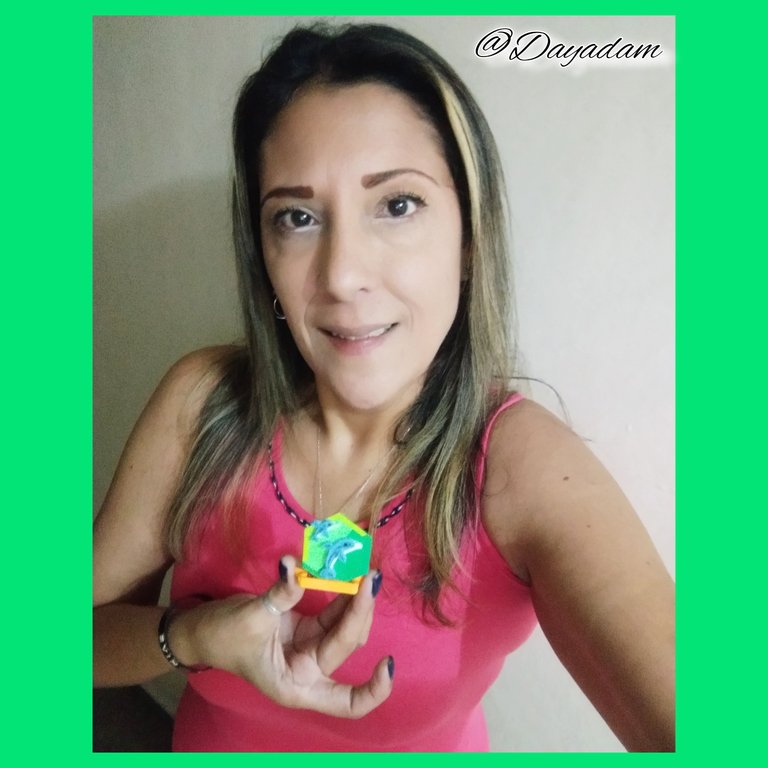
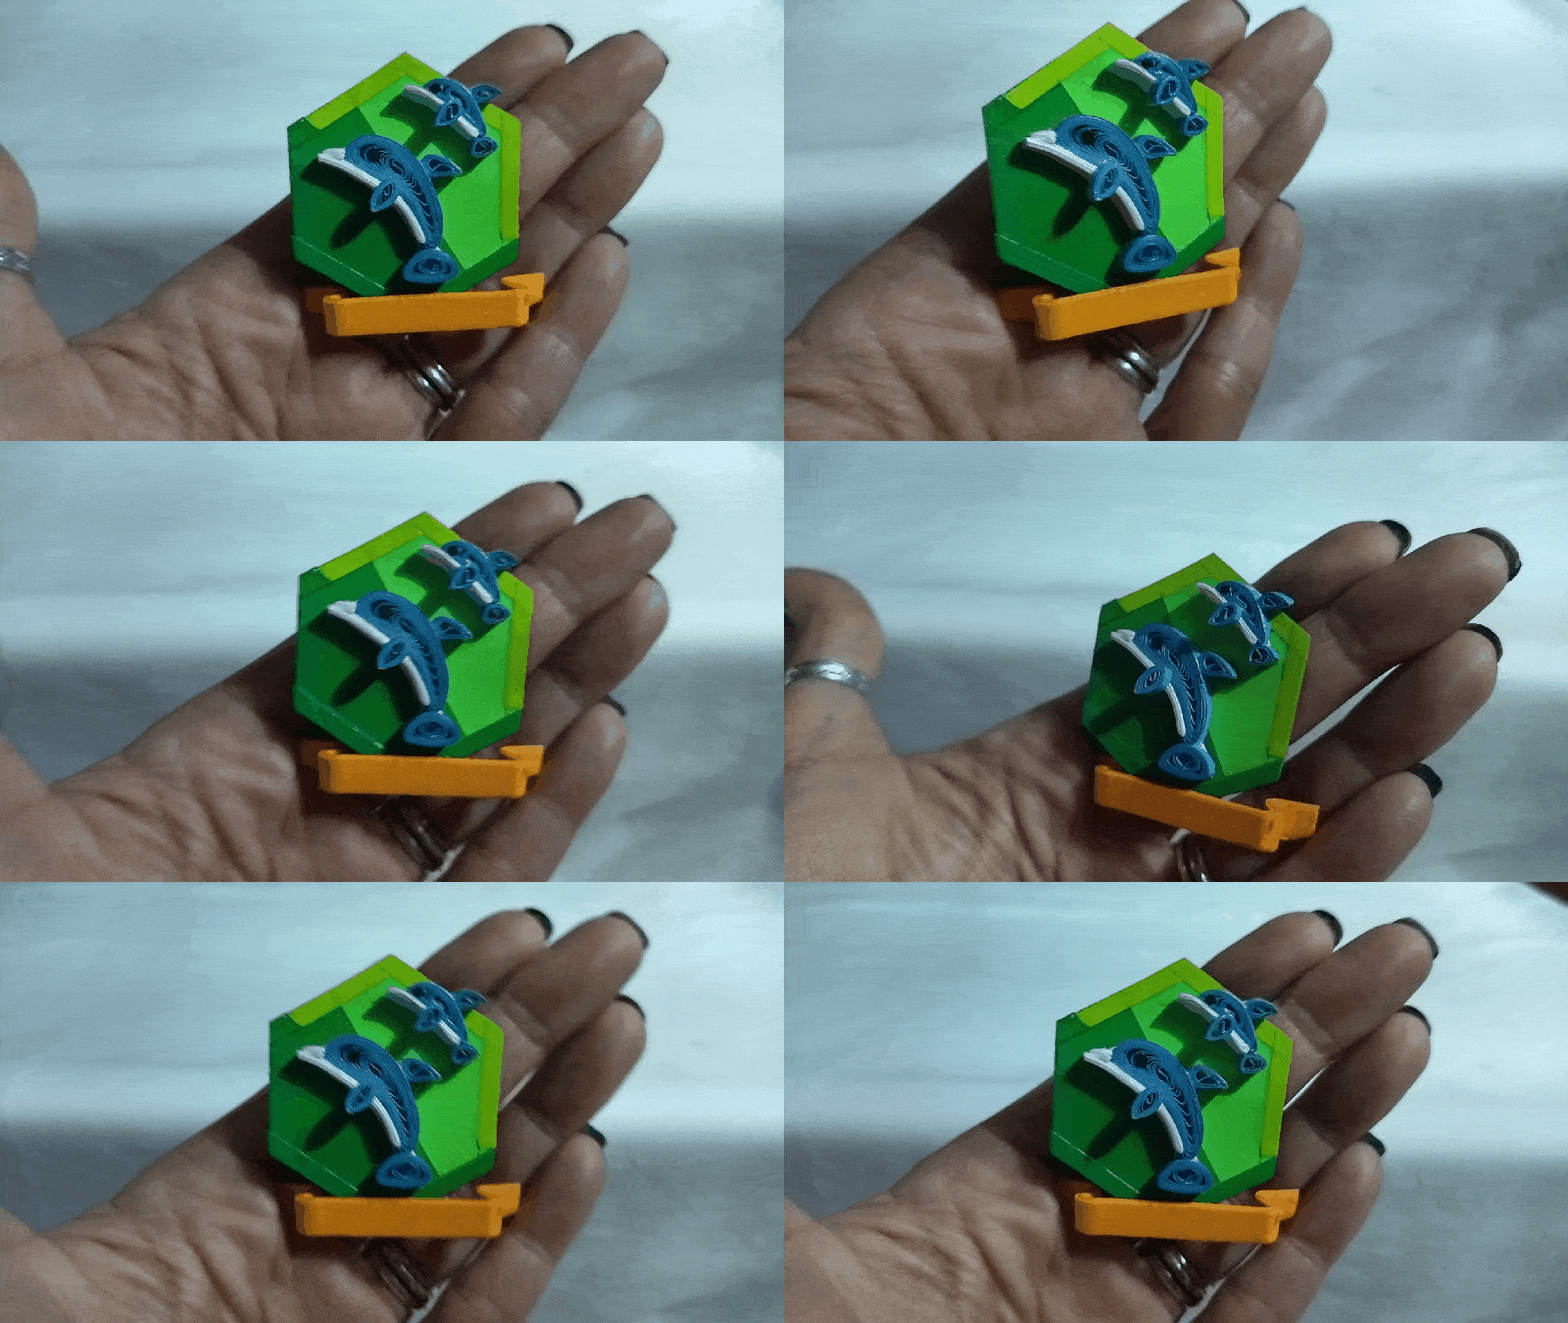
For this special day I wanted to make my Dolphin pin, in the quilling technique to celebrate.
Let's get started:😃

Hola a Todos... 🐬
Hola a mis queridos Hivers y a la querida comunidad de artistas #HiveDIY, como siempre muy complacida y emocionada de encontrarme por acá nuevamente, mostrándole mi trabajo hecho especialmente para ustedes.
Hoy es un dia especial, un dia en que alcance un logro muy importante para mi en Hive, recibió la insignia de delfín por el querido proyecto de @hivebuzz, lo que corresponde que llegue a ese nivel.
Tengo a muchas personas, proyectos, y comunidades a quien agradecer, ya que todo esto ha sido trabajo arduo de mi parte pero apoyo de tantos también. De manera infinita agradezco a las comunidades que me vieron nacer y crecer y por la oportunidad que me dieron hoy dia de ser moderadora de las mismas, para mi es una honra, @equipodelta en #Hivediy que fue la primera comunidad que me recibió,mi querida Isa mil gracias, @yolimarag en #jewelry mil gracias a ti también.
A los proyectos de curación que me han abierto las puertas para formar parte de ellos @diyhub, @discovery-it, @innerblocks, @hispapro, @la-colmena, gracias también.
Hay muchísimos hivers que me han ayudado, inspirado y motivado para lograr tanto, no puedo dejar de mencionar a @irenenavarroart, la primera persona que me guió en los pasos que debía seguir en hive, a mi queridos @chacald.dcymt, @gaboamc2393 quienes fueron pilares para mi en motivacion, inspiracion y mil cosas mas para llegar hasta aquí, los amo Dios me los bendiga...
Para @ninaeatshere gracias infinito mi bella por el gran regalo que me diste para seguir avanzando, creciendo y trabajando.
@frankches me hiciste mi fantart hermoso, que presumo por todos lados, Thanks...
Hay muchisimos mas que tendría que etiquetar pero siento que no es necesario porque cada uno de ellos sabe que han hecho por mi, y que siente mi corazón hacia ellos.
Para este dia especial quise elaborar mi insignia de Delfín, en la tecnica de quilling para celebrar.
Espero sea de su agrado el trabajo, acompáñame en este proceso creativo.
Comencemos:😃

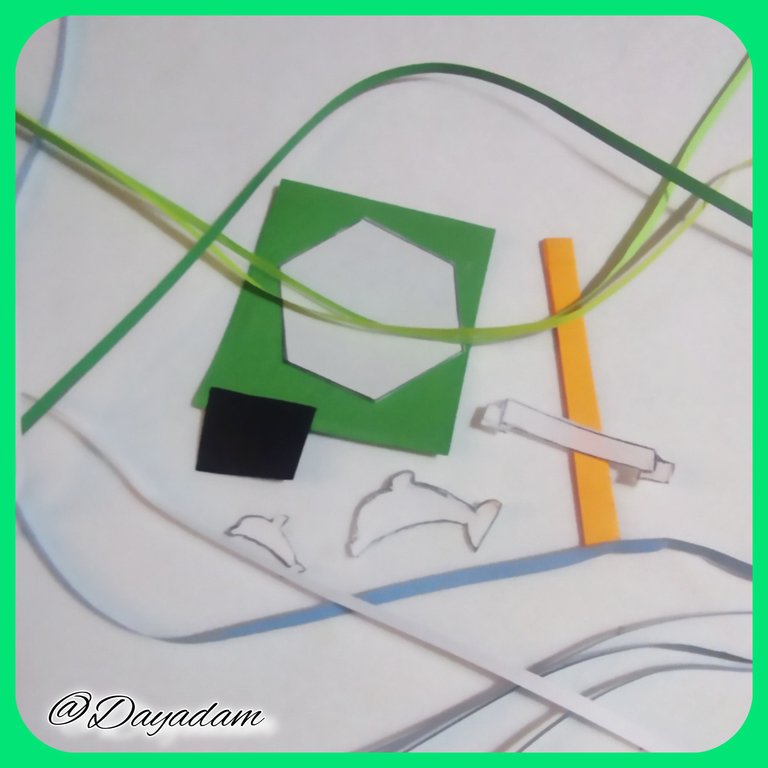
• Cartulina de color verde.
• Hoja blanca.
• Lápiz.
• Cintas de quilling de diversos colores, y medidas.
• Aguja para quilling.
• Tijera.
• Pega blanca extra fuerte (de carpintería).
• Pincel.
- Green cardboard.
- White sheet.
- Pencil.
- Quilling ribbons of different colors and sizes.
- Needle for quilling.
- Scissors.
- Extra strong white glue (carpentry glue).
- Paintbrush.

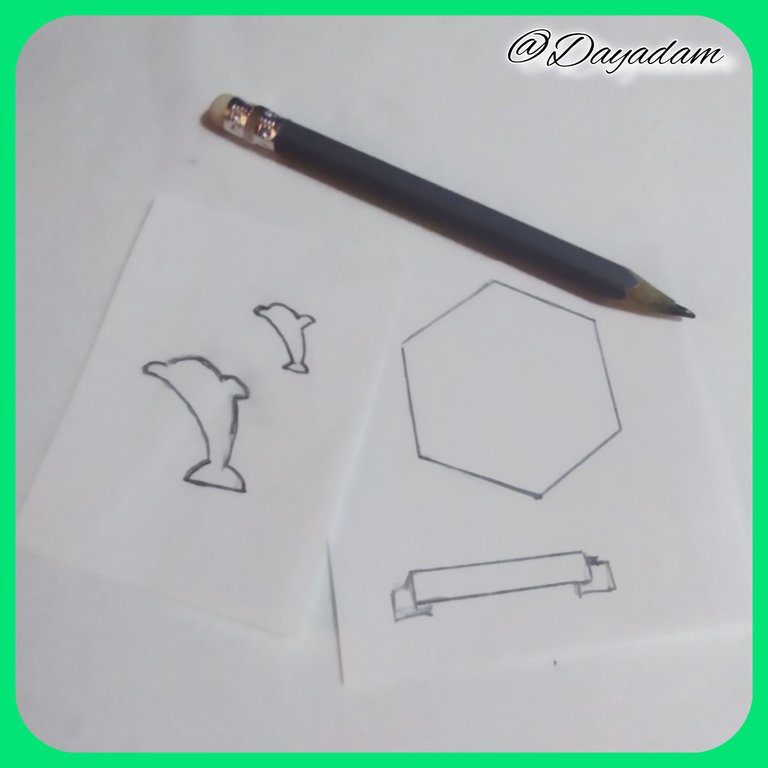
- We started by making a sketch on a white sheet of paper, drawing with a pencil each of the pieces to be made, to define the exact size. Cut everything out with a scissors.
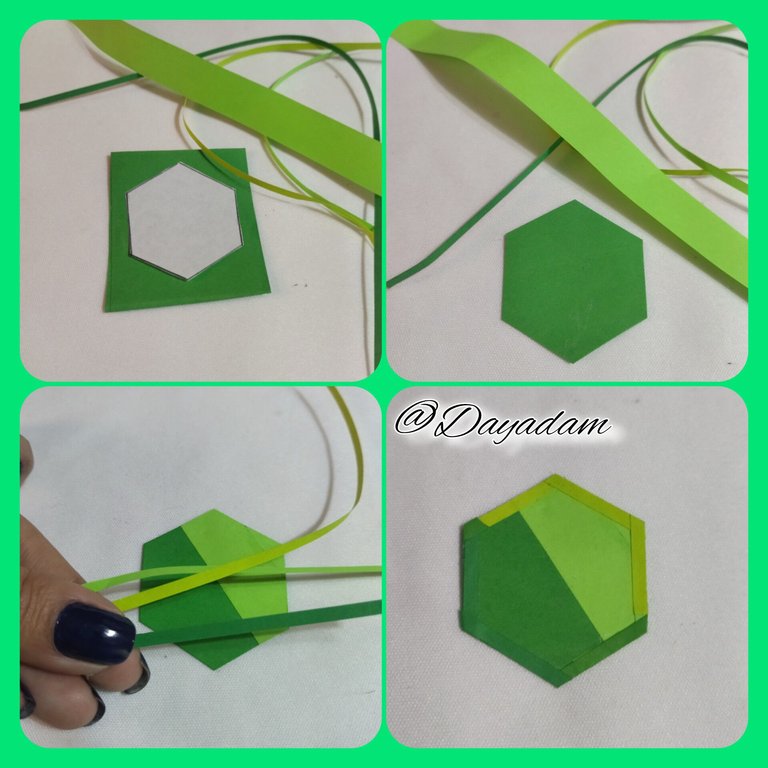
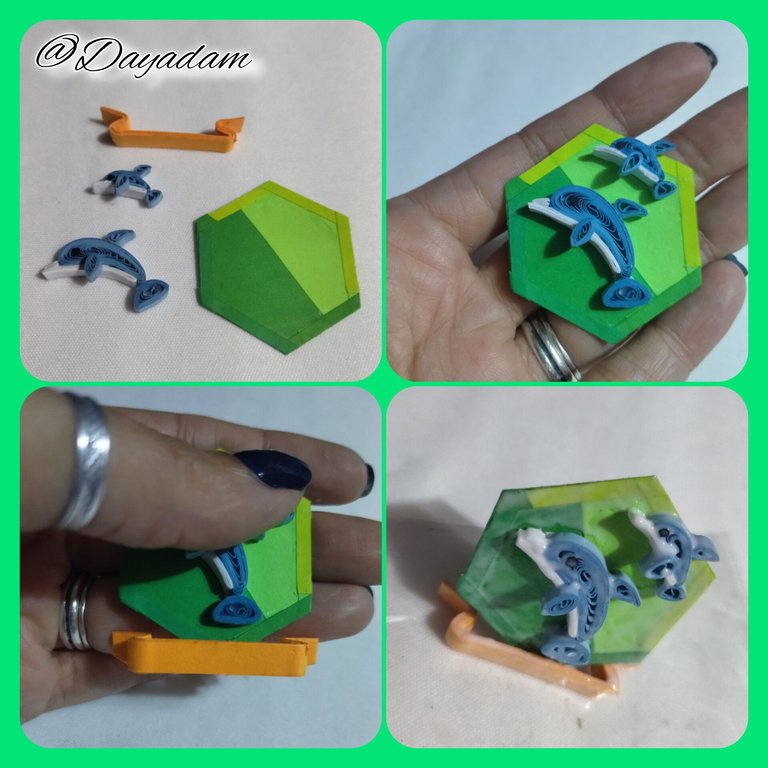
- To make the first part of the base, take a green cardboard and cut out the template previously made, once cut out, take quilling ribbons in different shades of green, decorate in the center and around the edges.
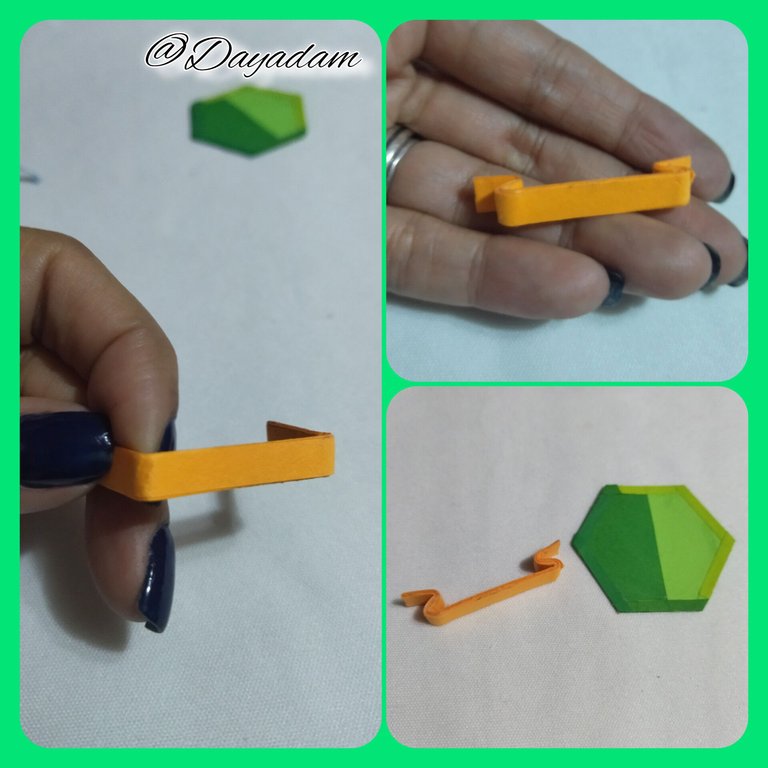
- To make the bottom of the base, I took a 5mm wide orange quilling tape, I made some folds adding glue, after drying very well, I molded the sides.

• Comencé llevando a cabo un boceto en una hoja blanca, dibujando con un lapiza cada una de las piezas que iba a realizar, para definir el tamaño exacto. Recorte todo con una tijera.
• Para realizar la primera parte de la base, tome una cartulina de color verde y recorte de la plantilla realizada con anterioridad, una vez recortada, tome cintas ara quilling en diversas tonalidades de verde, decore en el centro y por los bordes.
• Para realizar la parte de abajo de la base, tome cinta para quilling de 5mm de ancho color naranja, hice algunos dobleces añadiendo pega, al secar muy bien, moldee a los lados.
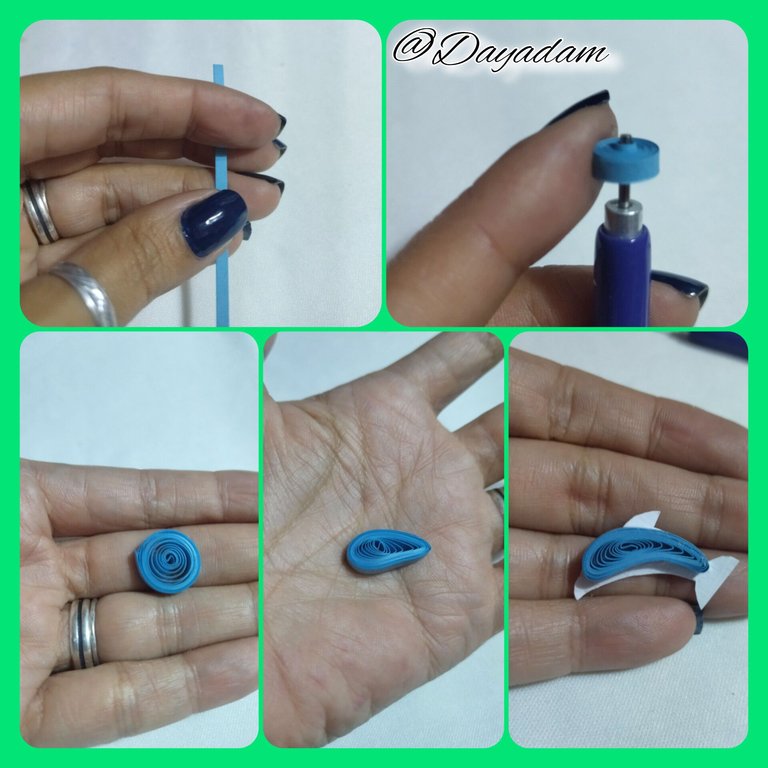
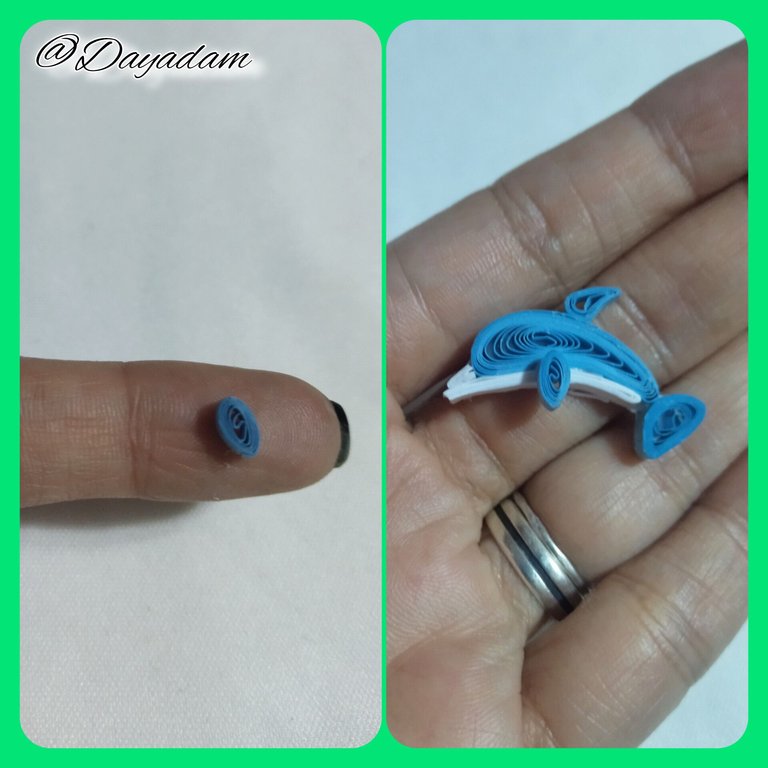
- To make the dolphin, I took 3mm wide blue quilling tape, with the quilling needle I made an open circle, rolling all the tape until I reached the end of it, I took it out of the needle and loosened it a little until I got the right size, I molded this circle in the shape of a curved drop and glued it from the template I had made.
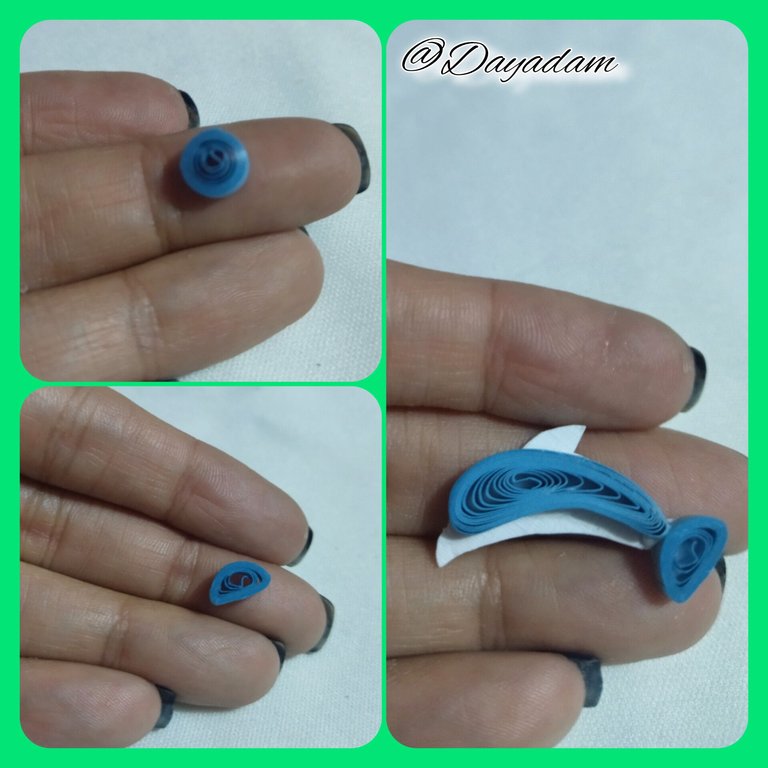
- For the tail fin I made an open circle which I molded into a semicircle and glued from the template.
- For the top fin, make a small open circle, mold and glue from the template.
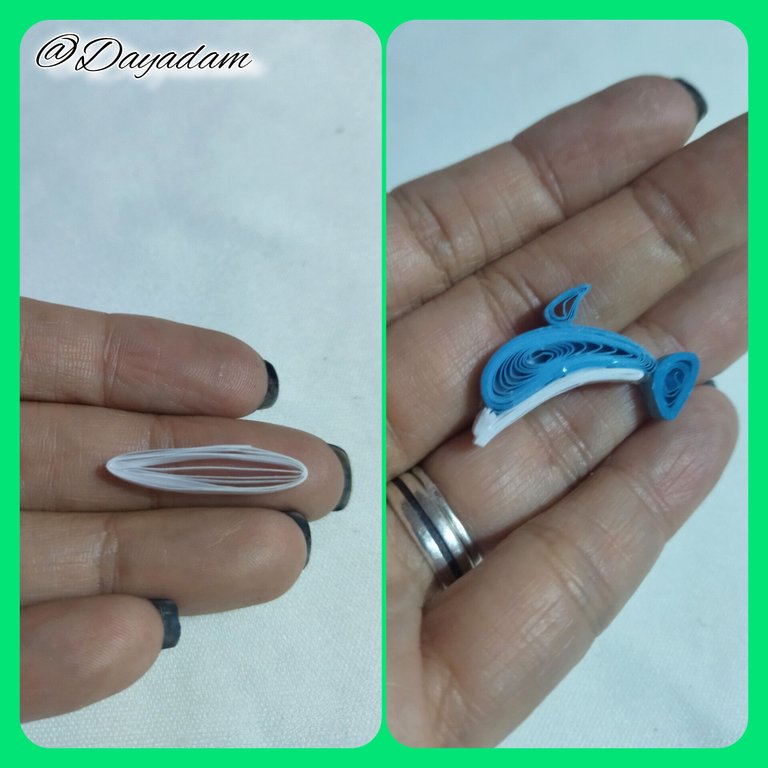
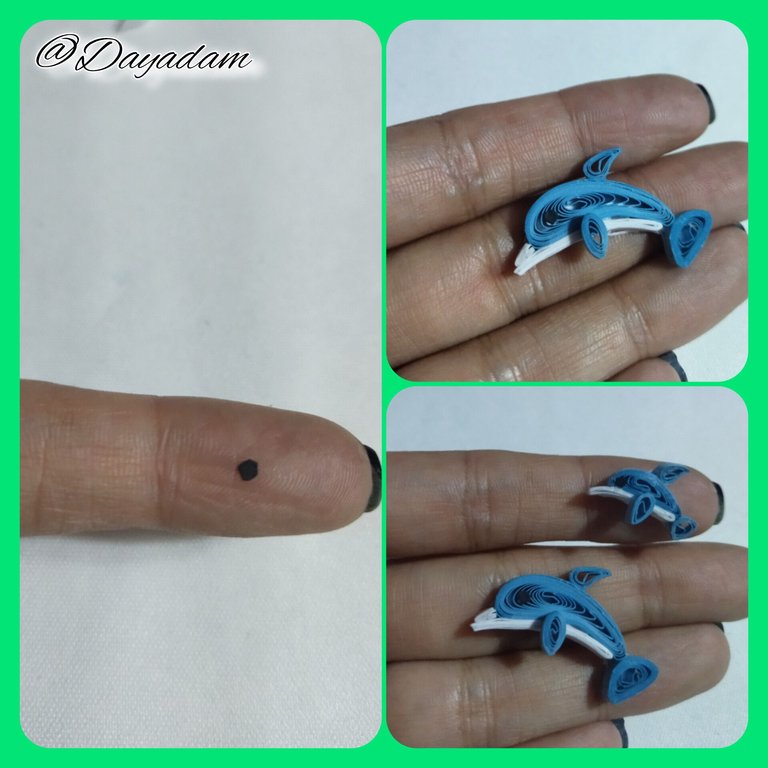
- To make the bottom part of the dolphin, I took 3mm wide white tape and made several folds with extra strong white glue, glue from the bottom of the template.
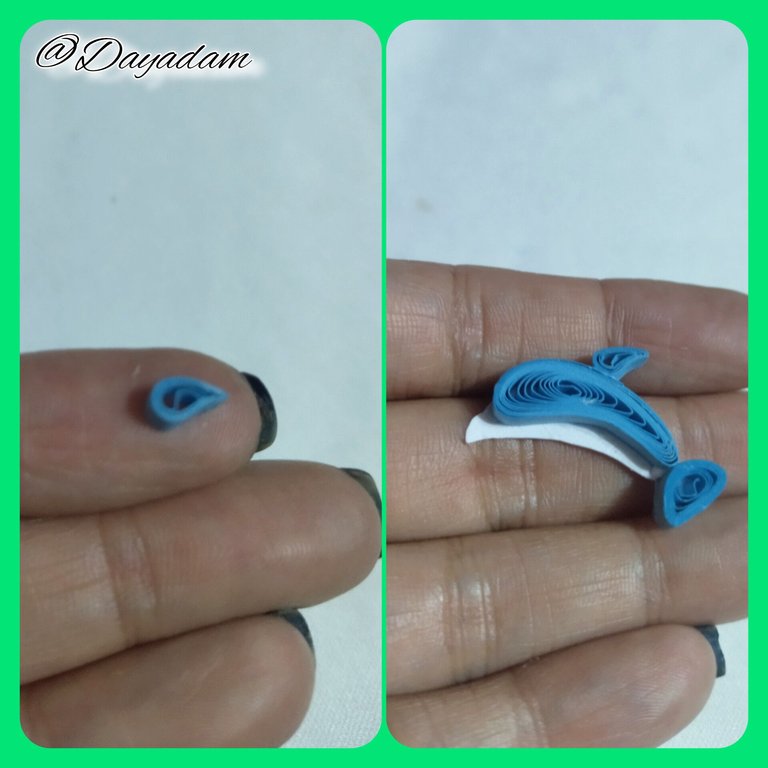
- The bottom fin I made by making another small open circle with blue tape 3mm wide, molded as you can see in the image and glued from the dolphin's body. The other dolphin I made by making the pieces much smaller.
- Then glue all the pieces together with extra strong white glue.
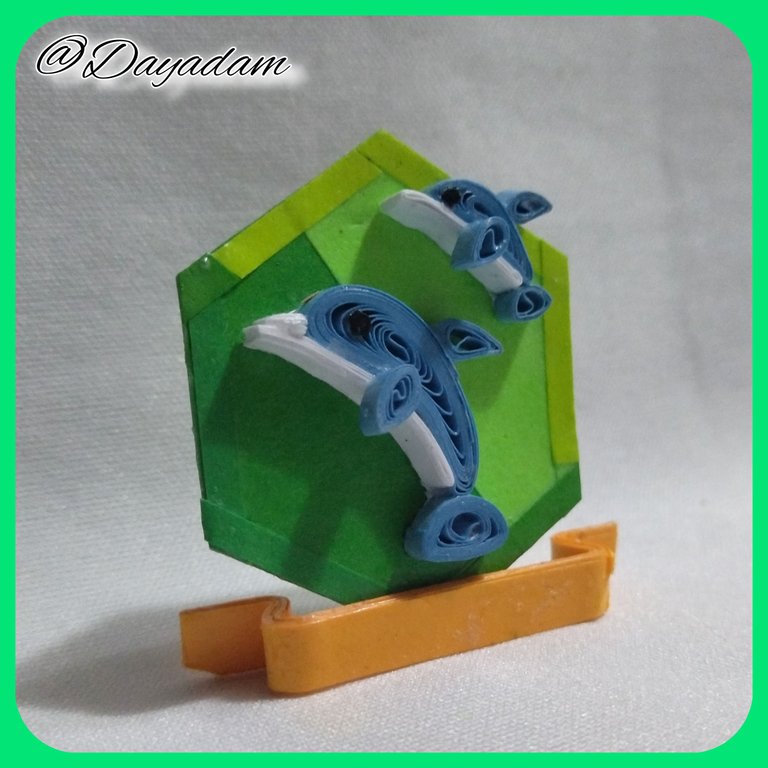
- Finally apply a layer of glue to protect and laminate the work.
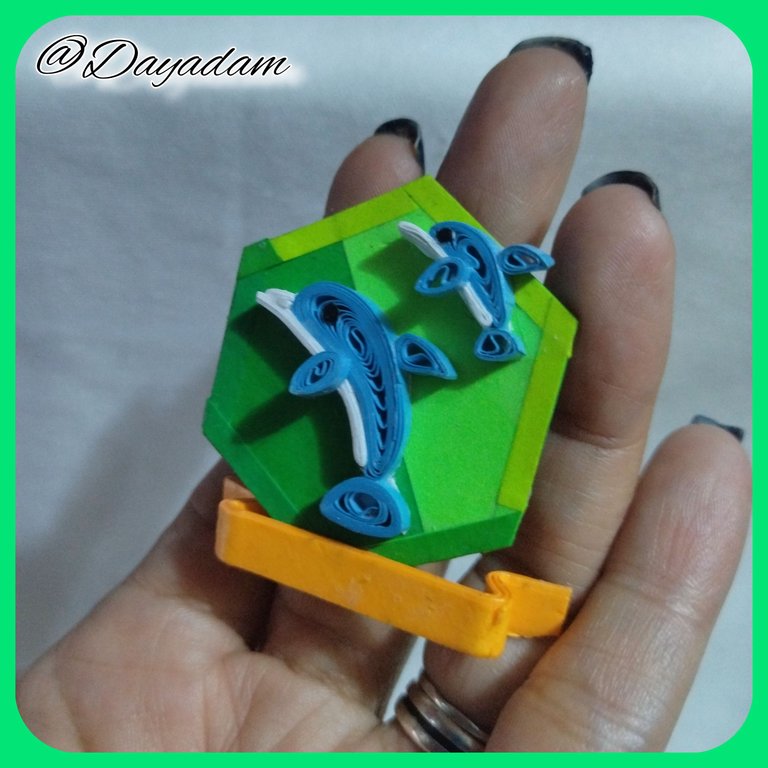
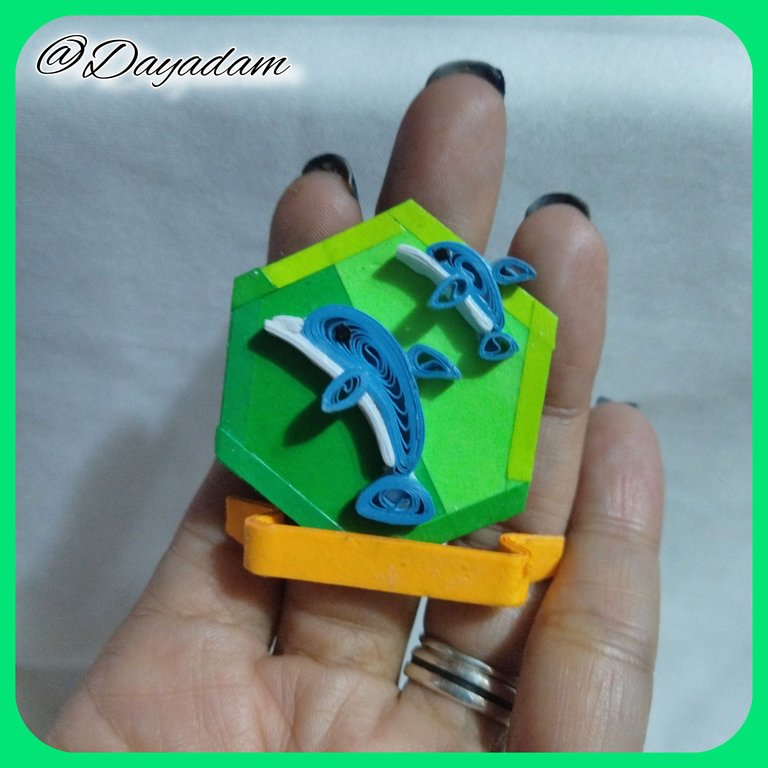
This way we have ready this decorative dolphin badge made in the quilling technique, to celebrate my achievement of being a dolphin in my beloved Hive.

• Para hacer el delfin, tome cinta para quilling color azul de 3mm de ancho,con la aguja para quilling realice un círculo abierto, enrollando toda la cinta hasta llegar al final de la misma, saqué de la aguja y solté un poco hasta conseguir el tamaño adecuado, este círculo lo moldee en forma de gota curva y pegue de la plantilla que había realizado.
• Para la aleta de la cola realice un círculo abierto el cual moldee en forma de semicírculo, pegue de la plantilla.
• Para la aleta de arriba realice un pequeño círculo abierto, moldee y pegue de la plantilla.
• Para hacer la parte de abajo del delfín, tome cinta blanca de 3mm de ancho con la cual hice varios dobleces uniendo con pega blanca extra fuerte, pegue de la parte de abajo de la plantilla.
• La aleta de abajo la realice haciendo otro pequeño circulo abierto con cinta color azul de 3mm de ancho, moldee como pueden ver en la imagen y pegue del cuerpo del delfín. El otro delfín lo realice haciendo las piezas mucho mas pequeñas.
• Luego uní con pega blanca extra fuerte, todas las piezas.
• Para finalizar aplique una capa de pega, para proteger y plastificar el trabajo.
De esta manera tenemos lista esta insignia de delfín decorativa realizada en la técnica de quilling, para celebrar mi logro de ser Delfín en mi querido Hive.


What did you think, did you like it?
I hope you did, I hope you liked my explanation, procedure and photos, I made them with love for you.
"Let out that muse that inspires you, and let your imagination fly".
Thank you all, see you next time...

¿Que les pareció, les gustó?
Espero que sí, que les haya gustado mi explicación, procedimiento y fotos, los hice con mucho cariño por y para ustedes.
"Deja salir esa musa que te inspira, y deja volar tu imaginación".
Gracias a todos, nos vemos en la próxima.

Todas las fotos usadas en este post son de mi autoría y han sido sacadas en mi celular personal un Redmi 9T y editadas en Canva y en Inshot Banner y separador hecho por mí en Canva Traducido con la ayuda de DeepL

Posted Using InLeo Alpha


