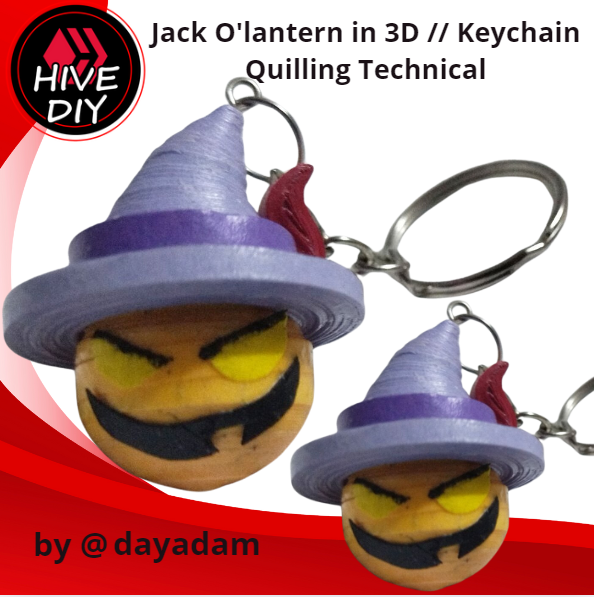
Hello everyone... 🎃
Hello to my dear Hivers and the dear community of artists #HiveDIY, as always very pleased and excited to be here again, showing you my work especially for you.
Hoping that you like it, and are encouraged to carry it out, without further ado I leave here my creative process.
Let's get started:😃
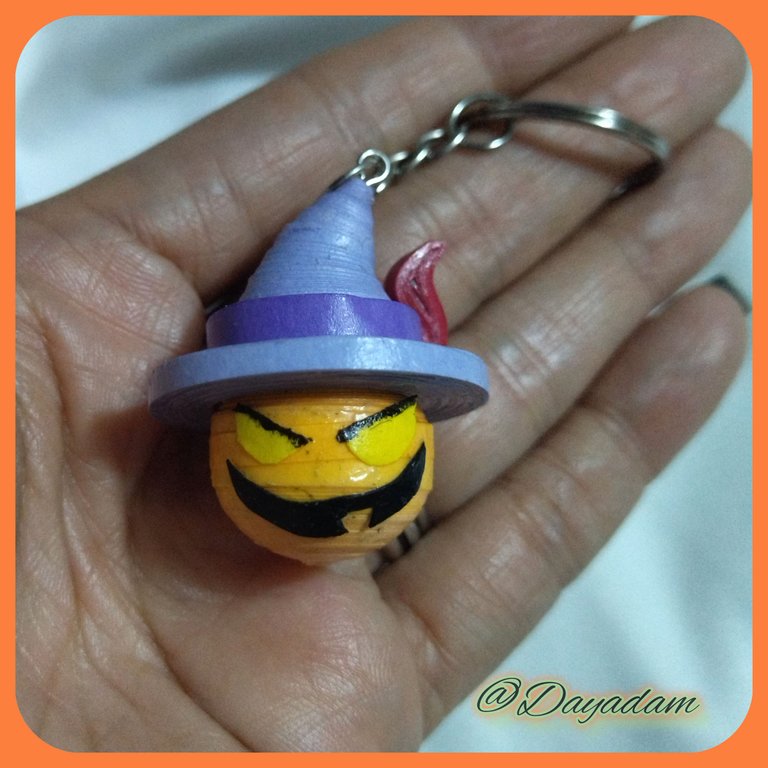
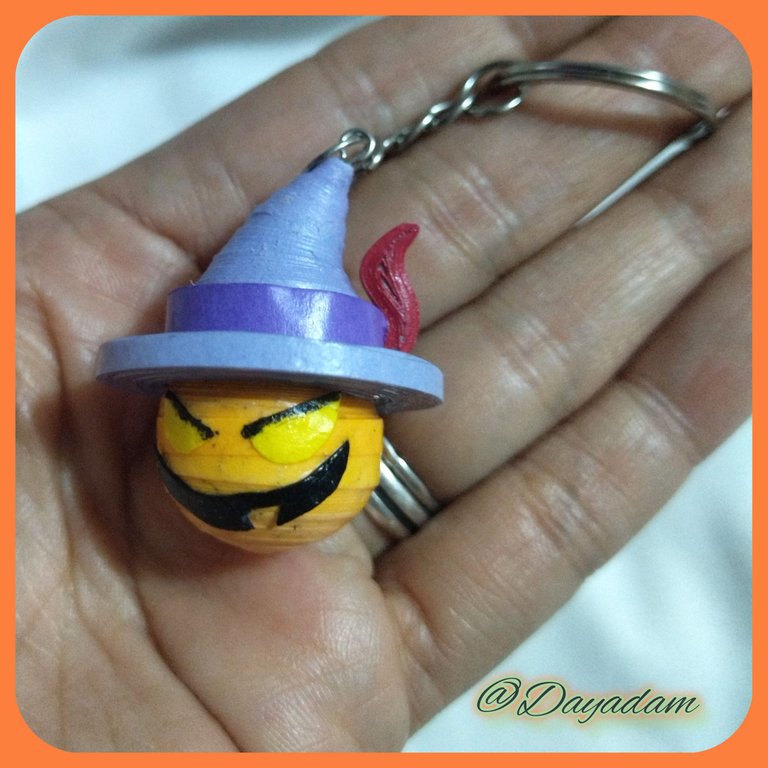
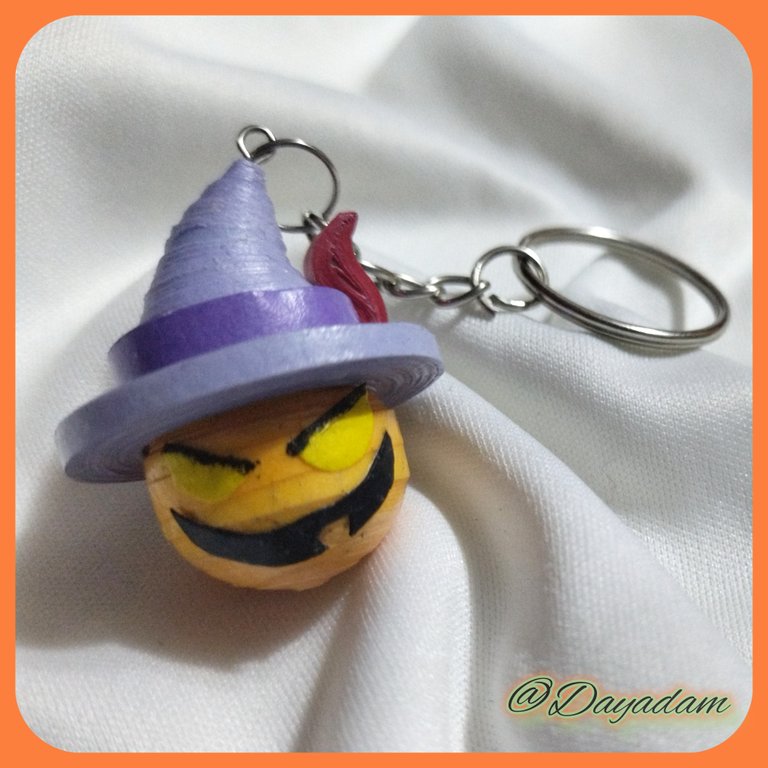
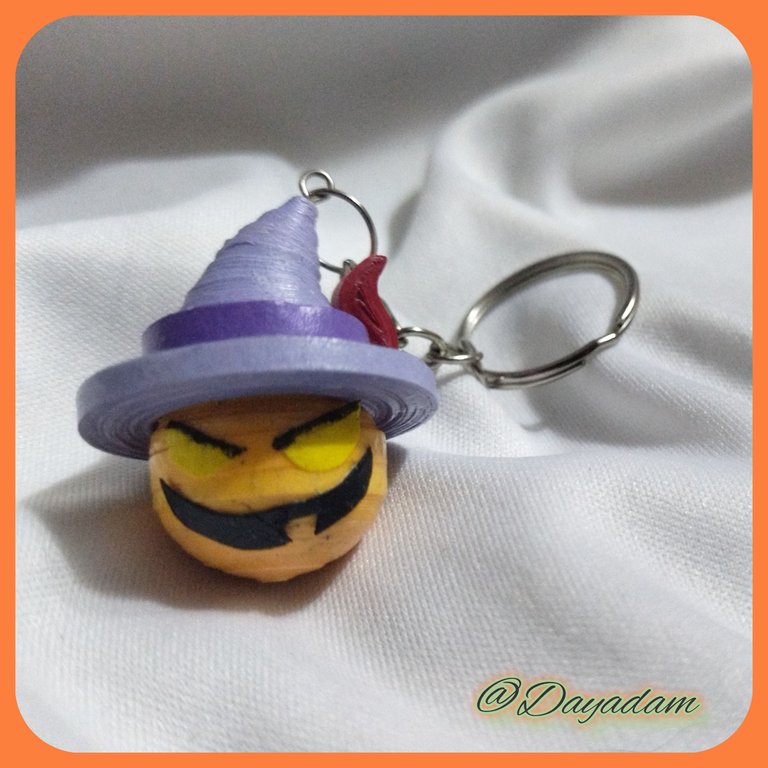
For today I join the Activate initiative on the occasion of "Halloween ”, and for it I wanted to materialize inspired by the animated series Sombrias Aventuras de Billy y Mandy, the character Jack Pumpkin Head in 3D, making a keychain in the quilling technique.
If you want to participate here are the guidelines for Activate your HiveDiy community through Inleo, cheer up and do not stay without participating. I invite @chacald.dcymt, @elbuhito, @fixie.
Hoping that you like it, and are encouraged to carry it out, without further ado I leave here my creative process.

Hola a Todos... 🎃
Hola a mis queridos Hivers y a la querida comunidad de artistas #HiveDIY, como siempre muy complacida y emocionada de encontrarme por acá nuevamente, mostrándole mi trabajo hecho especialmente para ustedes.
Para hoy me uno a la iniciativa de Activate con motivo de "Halloween", y para ella quise materializar inspirado en la serie animada Sombrias Aventuras de Billy y Mandy, al personaje Jack Cabeza de calabaza en 3D, elaborando un llavero en la técnica de quilling.
Si quieres participar por aqui te dejo las pautas del Activate de tu comunidad HiveDiy por medio de Inleo, animate y no te quedes sin participar. Invito a @chacald.dcymt, @elbuhito, @fixie.
Esperando que sea de su agrado, y se animen a llevarlo a cabo, sin más preámbulos les dejo por acá mi proceso creativo.
Comencemos:😃

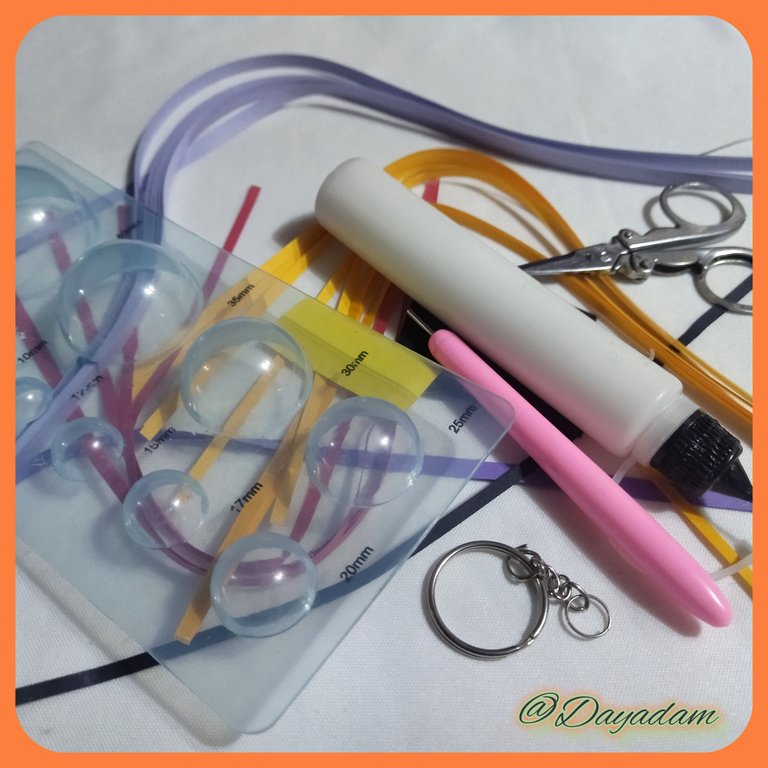
• Cintas de quilling de diversas medidas.
• Aguja para quilling.
• Plantilla para moldear círculos.
• Pega blanca extra fuerte (de carpintería).
• Argolla para llavero con su cadena.
• Tijera.
• Pincel.
- Quilling ribbons of various sizes.
- Quilling needle.
- Template to mold circles.
- Extra strong white glue (carpentry glue).
- Ring for key ring with its chain.
- Scissors.
- Paintbrush.

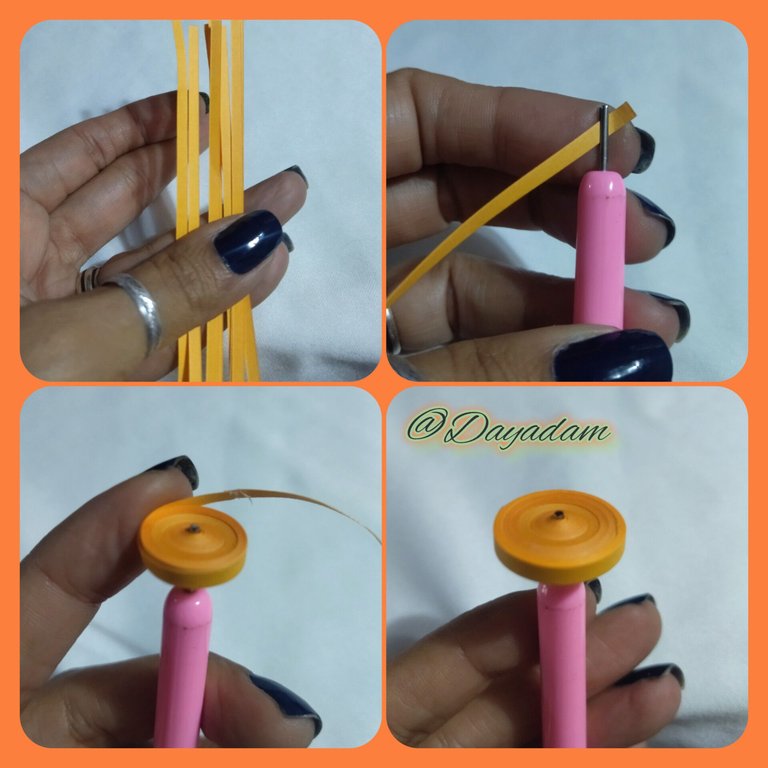
For the Head:
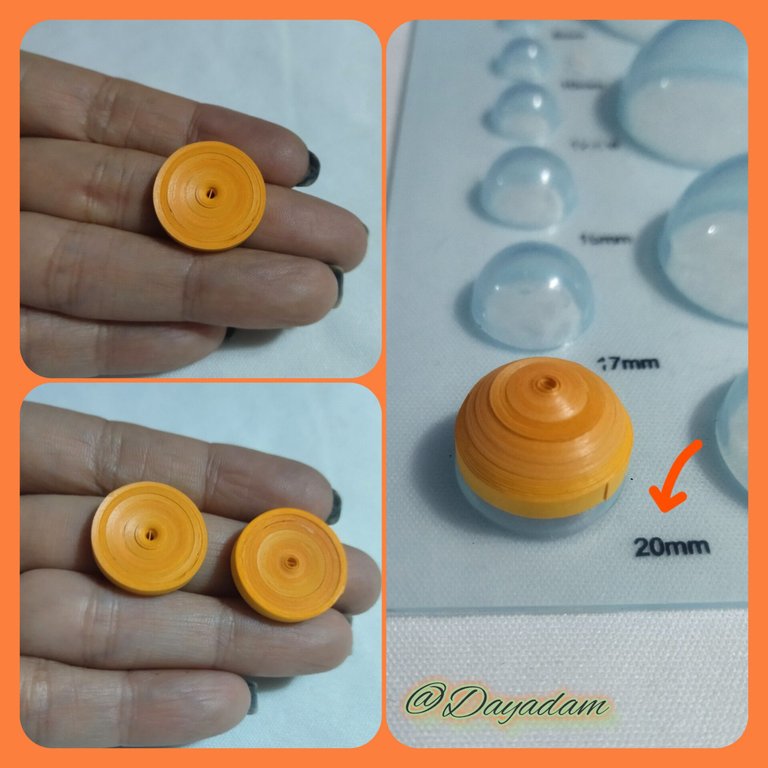
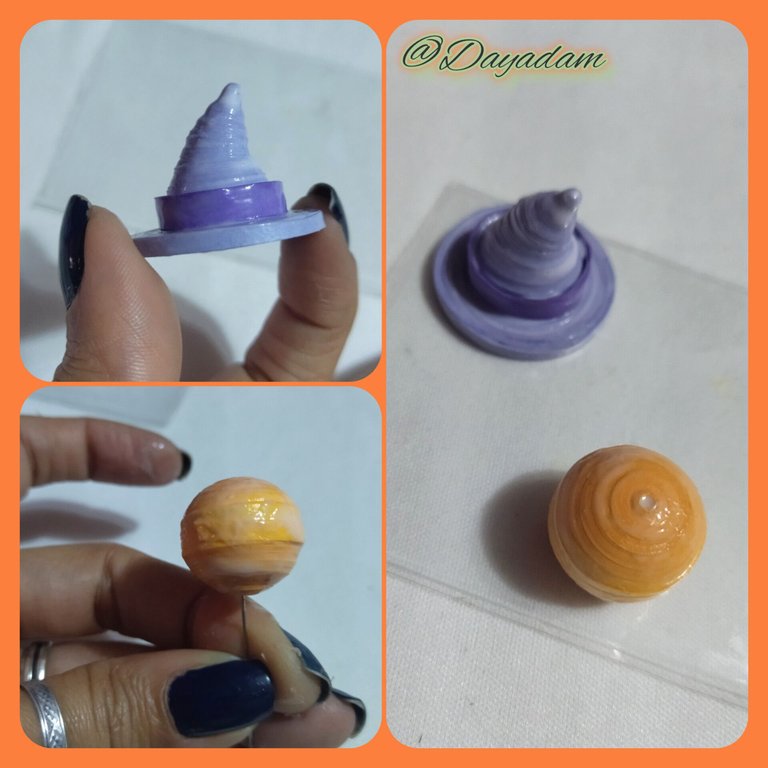
- We start by taking orange quilling tape 3mm wide x 250cms long, we roll it with the quilling needle until we reach the end of the tape, we seal it with extra strong white glue, we take it out of the needle, we will obtain a closed circle. We will need 2 circles of equal size.
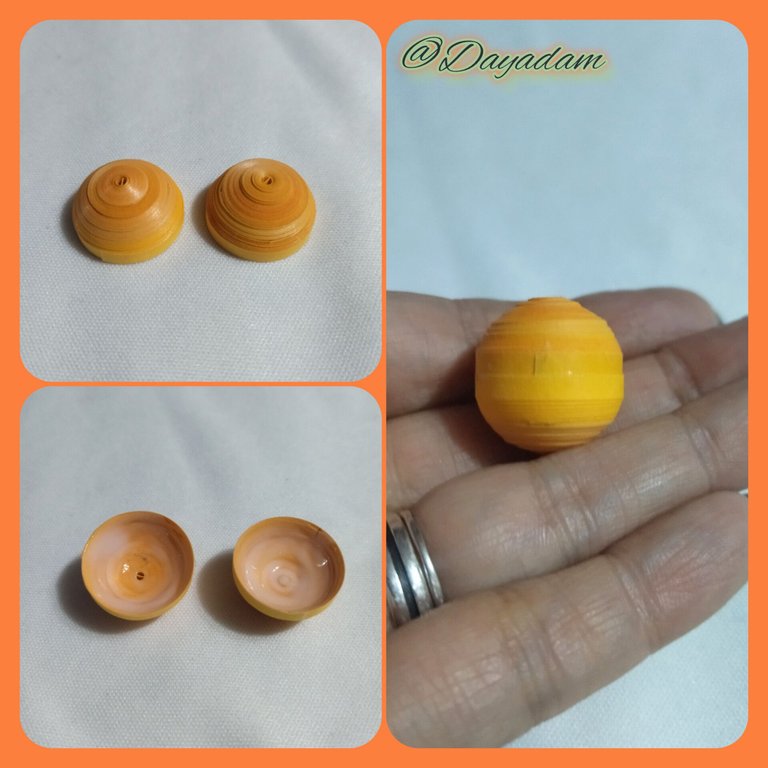
- We are going to mold the circle, placing the piece in the template of circles in the measure 20mm, once molded we take out of the template and in the inside part we add glue, let it dry very well to avoid moving the pieces.
- We take a small piece of orange quilling tape, 3mm wide to join the pieces we made, we couple both pieces passing the tape through the middle with extra strong white glue (reserve).

Para la Cabeza:
• Comenzamos tomando cinta para quilling de color naranja de 3mm de ancho x 250cms de largo, enrollamos con la aguja para quilling hasta llegar al final de la cinta, sellamos con pega blanca extra fuerte, sacamos de la aguja, obtendremos un círculo cerrado. Necesitaremos 2 círculos de igual tamaño.
• Vamos a moldear el círculo, colocando la pieza en la plantilla de círculos en la medida 20mm, una vez moldeada sacamos de la plantilla y en la parte de adentro agregamos pega, dejamos secar muy bien para evitar que se muevan las piezas.
• Tomamos un pequeño trozo de cinta de quilling naranja, de 3mm de ancho para unir las piezas que elaboramos, acoplamos ambas pasando la cinta por el medio con pega blanca extra fuerte (reservamos).
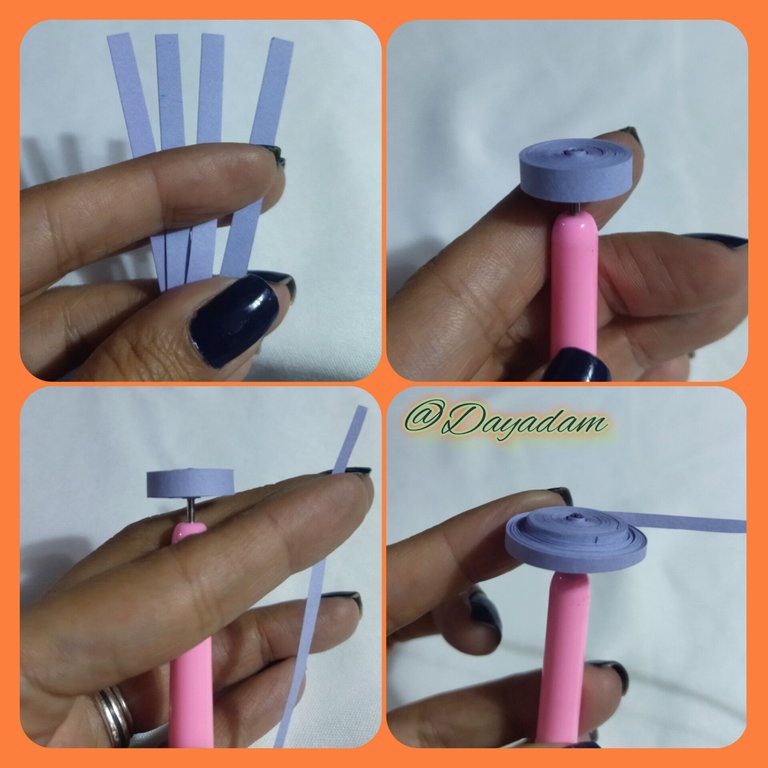
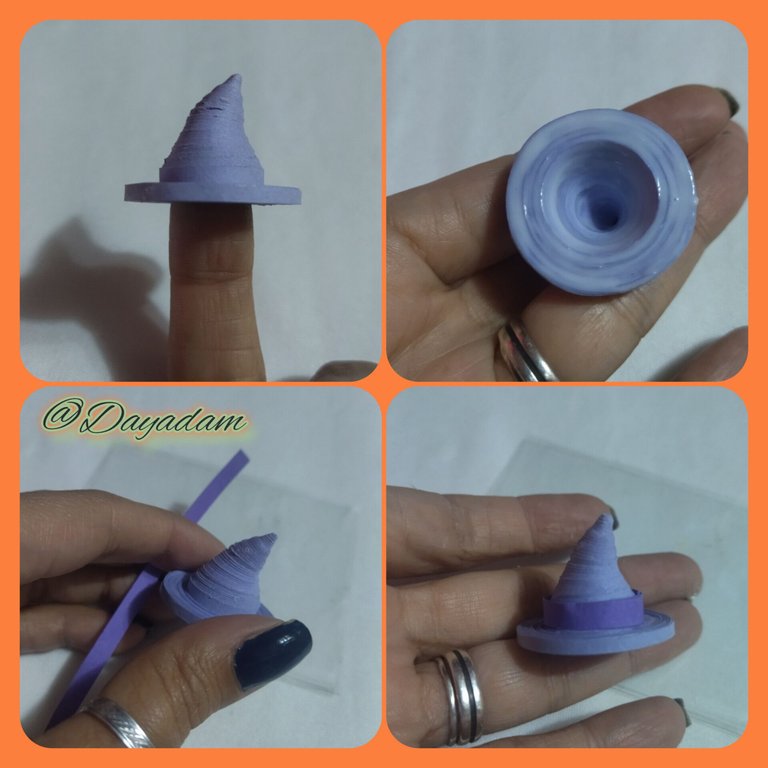
- Under the same parameters we are going to make another closed circle but this time in purple color with combined ribbons of 5mm wide and 3mm wide, we will start wrapping the 5mm ribbon until we finish with the 3mm ribbon.
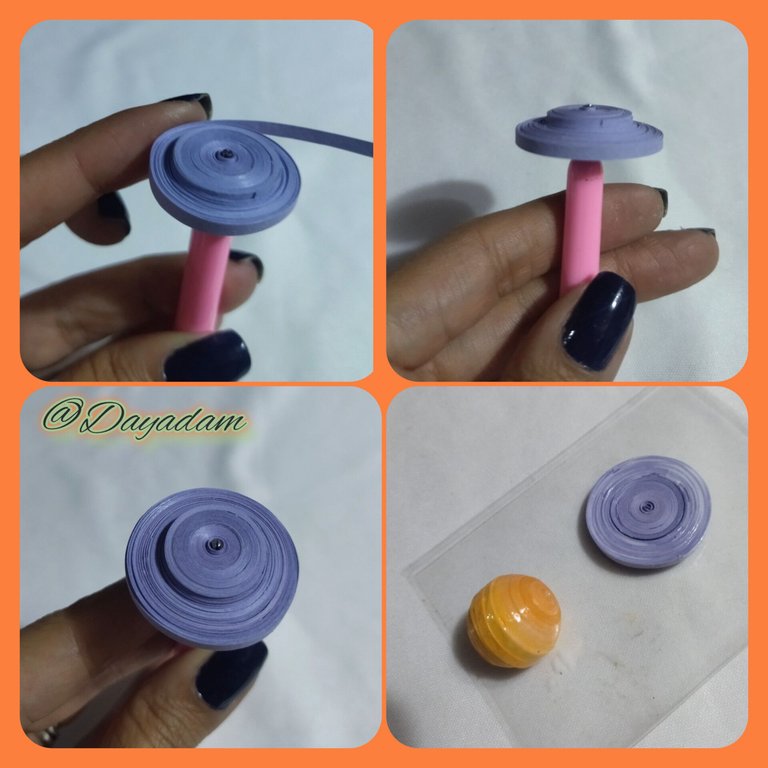
- Take the piece and apply extra strong white glue on the 3mm part so that it doesn't move, take advantage of this and apply several coats of glue to both pieces to protect them.
- I proceeded to mold the hat by lifting the central part with my fingers and making a curve at the tip. Then I placed a piece of darker purple ribbon 4mm wide around the top of the hat.
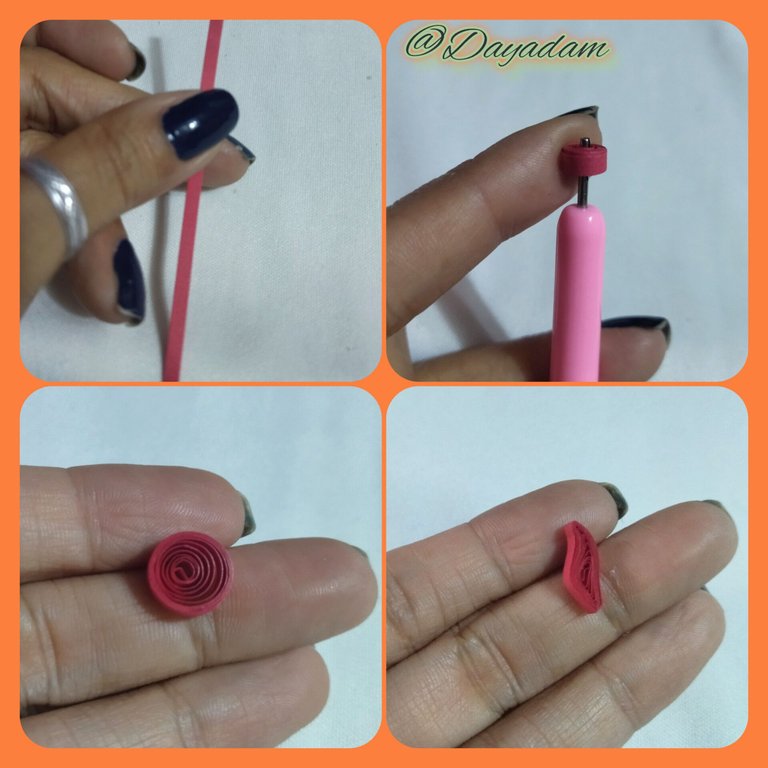
- I made a leaf by making an open circle with red ribbon of 3mm wide which I molded, applied glue and put to dry, finally I placed it on the side of the hat.

• Bajo los mismos parámetros anteriores vamos a realizar otro círculo cerrado pero esta vez de color morado con cintas combinadas de 5mm de ancho y de 3mm de ancho, comenzaremos a enrollar por la de 5mm hasta finalizar con la de 3mm.
• Tome la pieza y le aplique pega blanca extra fuerte por la parte de 3mm para que no se mueva, aproveche y le aplique varias capas de paga a ambas piezas para protegerlas.
• Procedí a moldear el sombrero levantando la parte central con los dedos y haciendo una curvatura en la punta, Luego le coloque un trozo de cinta morada mas oscura de 4mm de ancho alrededor de la copa del sombrero.
• Realice una hoja llevando a cabo un círculo abierto con cinta de color rojo de 3mm de ancho la cual moldee, aplique pega y puse a secar, por ultimo coloque a un lado del sombrero.
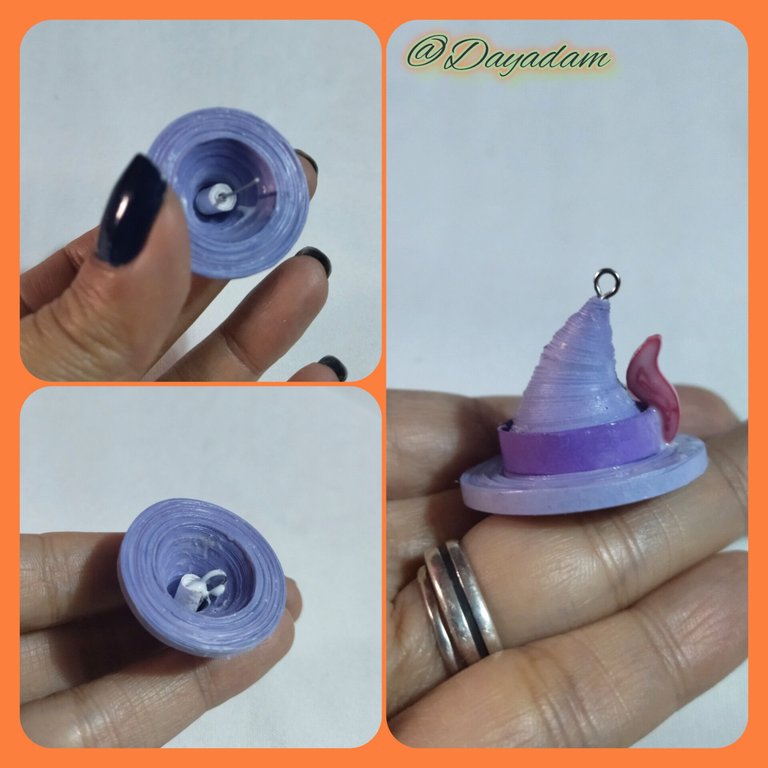
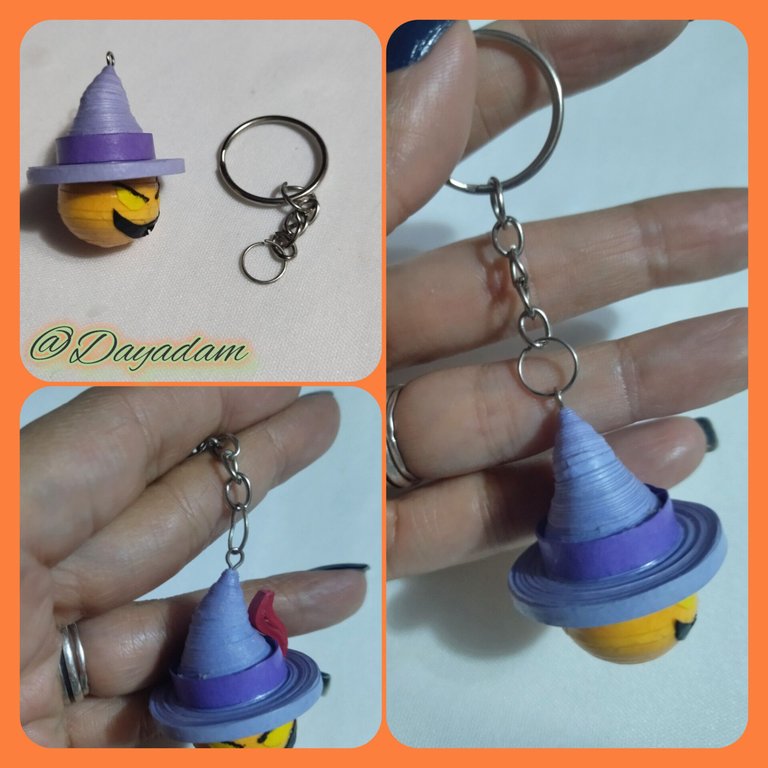
- I inserted a hollow point pin of costume jewelry in the center of the hat to be able to place the ring of the key ring later.
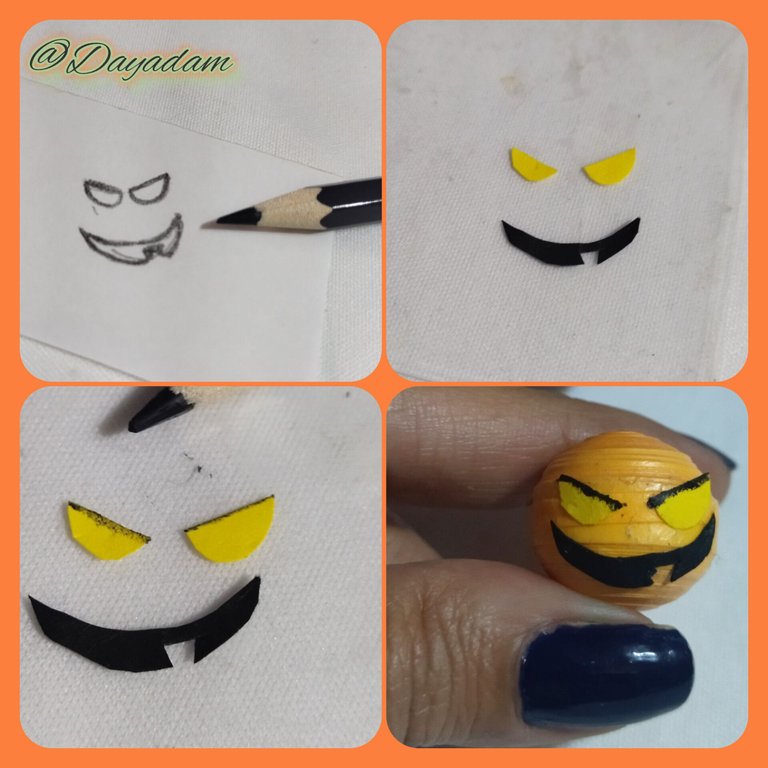
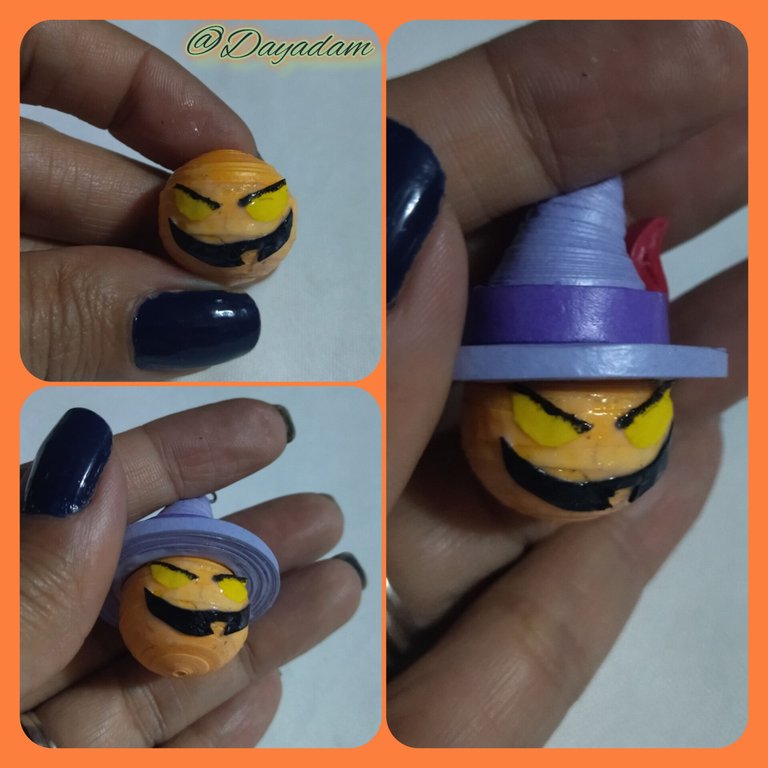
- For the eyes and mouth I previously made a sketch with a pencil on a white sheet, then cut out the corresponding colors in this case yellow and black from a piece of quilling, glue from the face of the Jack.
- Take the hat, and place it on top of the head applying glue.
- Finally place the key ring.
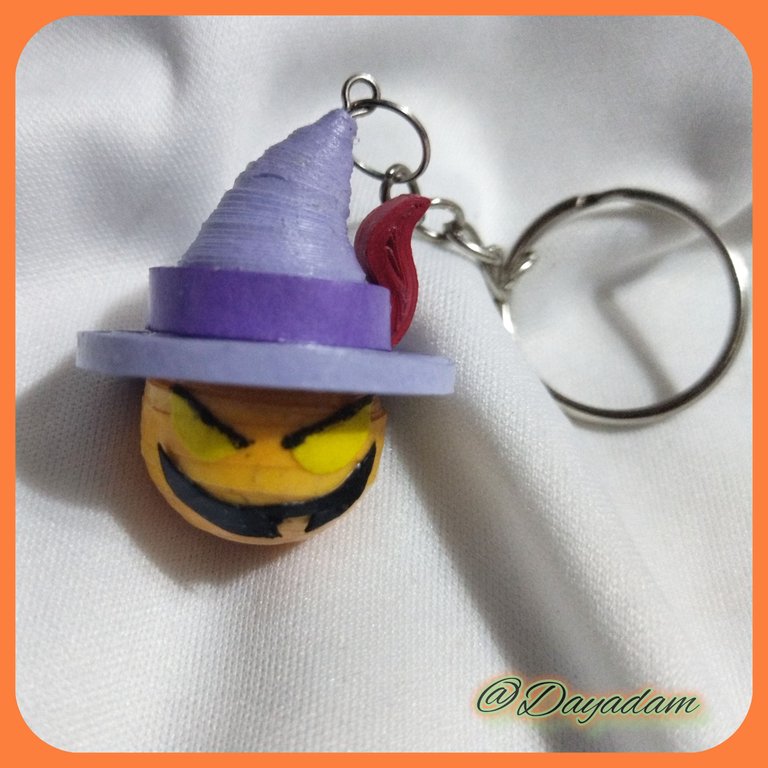
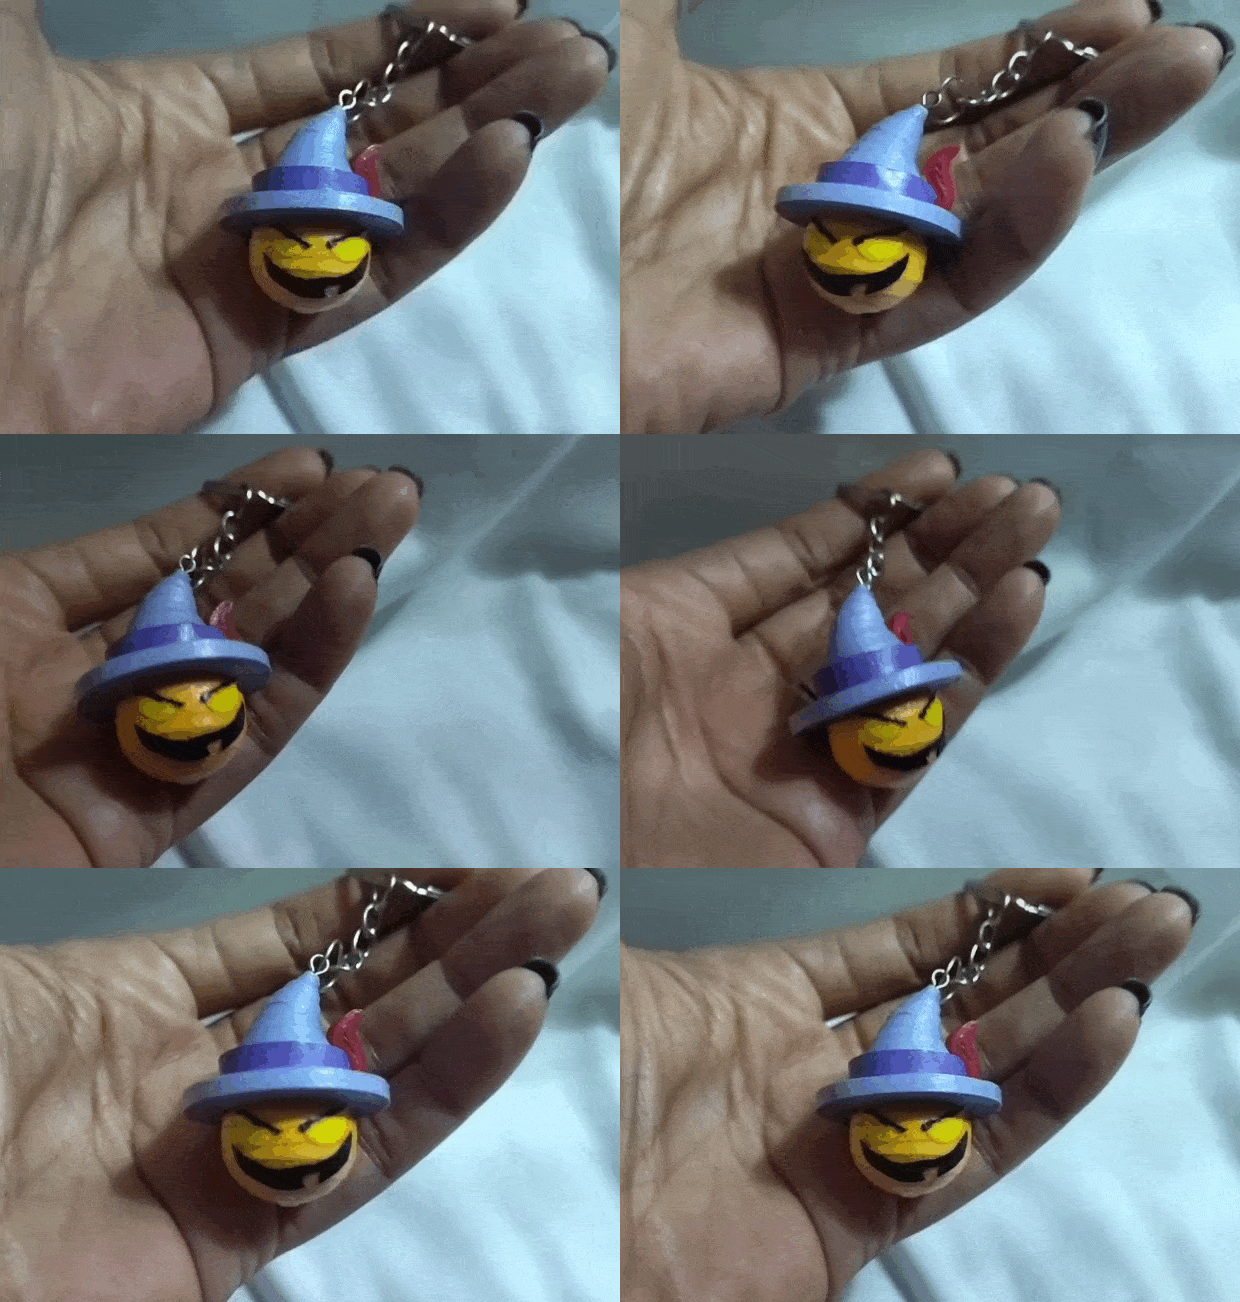
This way we have ready this 3D pumpkin head Jack keychain, very easy to make to use or to give as a gift this Halloween.🎃

- Introduje un alfiler de punta hueca de bisutería en el centro del sombrero para poder colocar después la anillo del llavero.
- Para los ojos y la boca hice previamente un boceto con un lápiz sobre una hoja blanca, luego recorté los colores correspondientes en este caso amarillo y negro de un trozo de quilling, pegamento de la cara del Jack.
- Cogemos el sombrero, y lo colocamos encima de la cabeza aplicando pegamento.
- Por último colocamos el llavero.
De esta manera ya tenemos listo este llavero 3D de Jack cabeza de calabaza, muy fácil de hacer para usar o regalar este Halloween.🎃



What did you think, did you like it?
I hope you did, I hope you liked my explanation, procedure and photos, I made them with love for you.
"Let out that muse that inspires you, and let your imagination fly".
Thank you all, see you next time.

¿Qué les pareció, les gustó?
Espero que sí, que les haya gustado mi explicación, procedimiento y fotos, los hice con mucho cariño por y para ustedes.
"Deja salir esa musa que te inspira, y deja volar tu imaginación".
Gracias a todos, nos vemos en la próxima.

Todas las fotos usadas en este post son de mi autoría y han sido sacadas en mi celular personal un Redmi 9T y editadas en Canva y en Inshot Banner y separador hecho por mí en Canva Traducido con la ayuda de DeepL

Posted Using InLeo Alpha


