Saludos amigos Hivers.
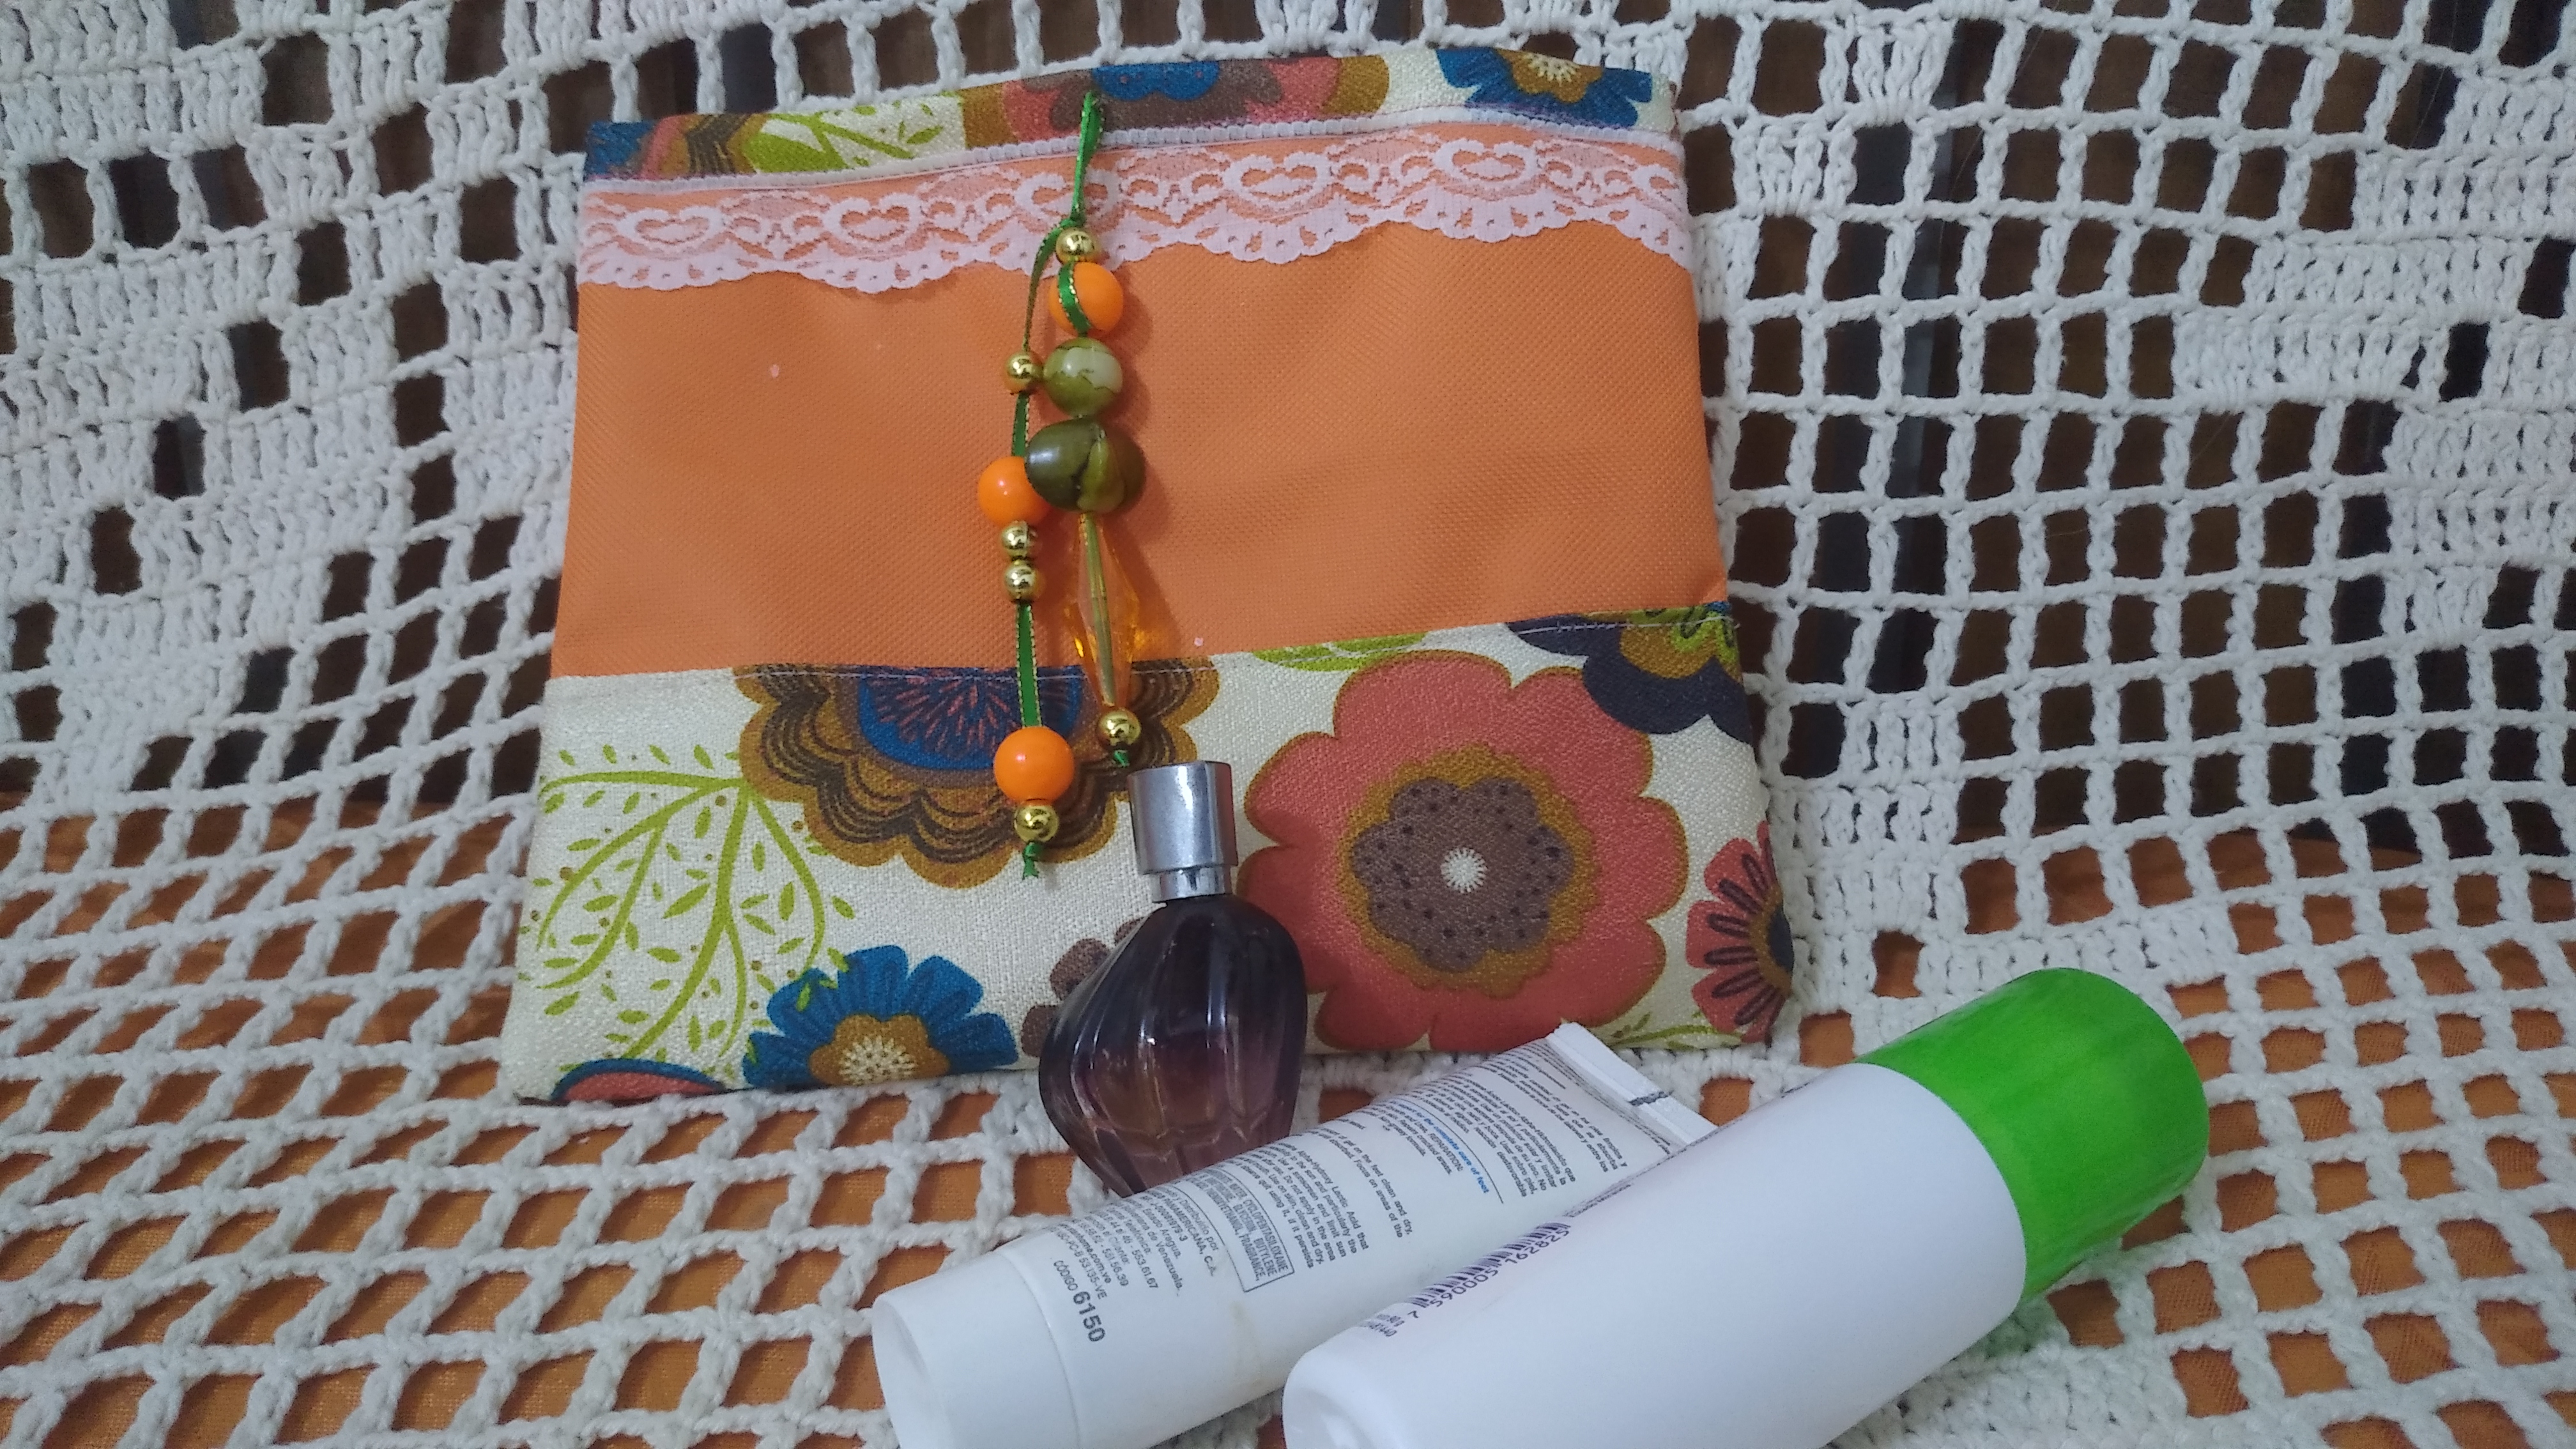
Hoy comparto con ustedes la elaboración de un portacosméticos de tela, es súper fácil de realizar, en pocos pasos podemos obtener una pieza hermosa y única realizada a gusto. Espero les guste.
Greetings Hivers friends.
Today I share with you the elaboration of a fabric cosmetic holder, it is super easy to make, in a few steps we can get a beautiful and unique piece made to taste. I hope you like it.
Materiales
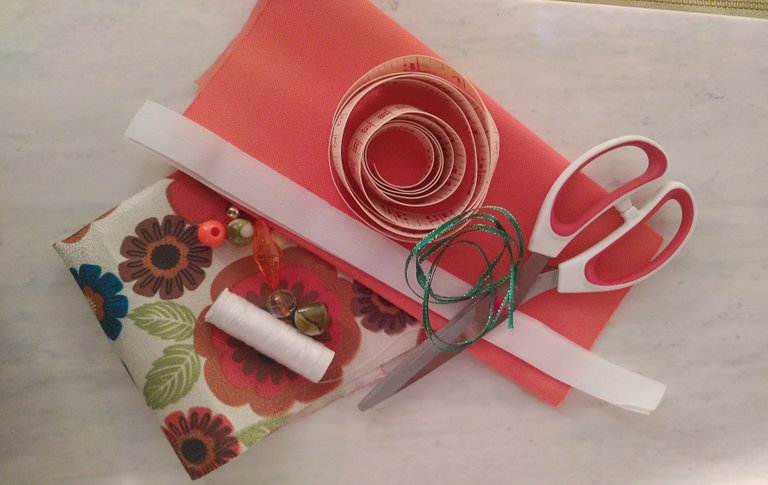
- Tela de un lona
- Tela estampada
- Cinta de raso
- hilo
- Aguja
- Cinta métrica
- Tijera
- Piedras de bisutería
- Encaje
- cierre mágico
Materials
- Canvas fabric
- Printed fabric
- Satin ribbon
- Thread
- Needle
- Tape measure
- Scissors
- Jewelry stones
- Lace
- magic lock
Elaboración Paso a Paso/Elaboration Step by Step
Paso 1/Step 1
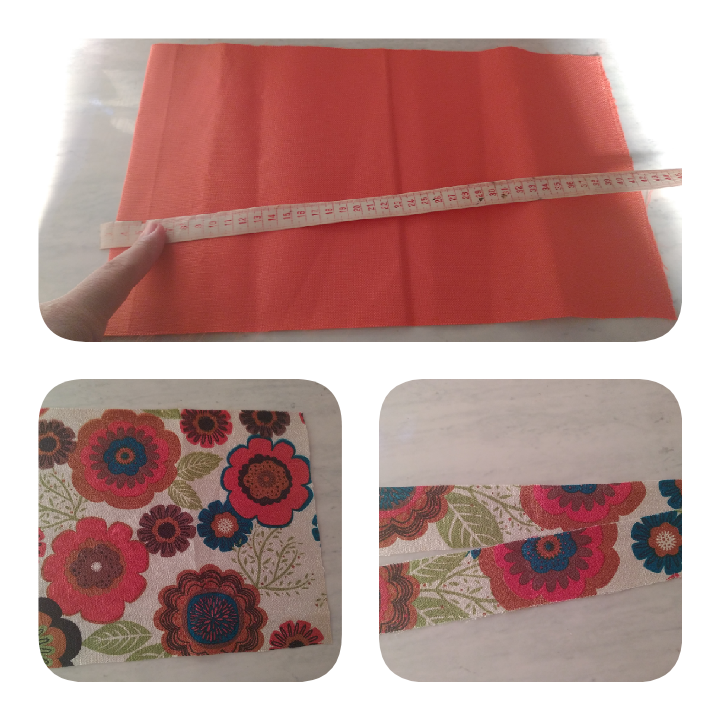
Comencé recortando un rectángulo de tela de lona de 40cms x 25cms. Además una pieza de Tela estampada de 20cms x 25cms y dos piezas de tela estampada de 5cms x 25cms.
I started by cutting out a rectangle of canvas fabric 40cms x 25cms. Also a piece of printed fabric of 20cms x 25cms and two pieces of printed fabric of 5cms x 25cms.
Paso 2/Step 2
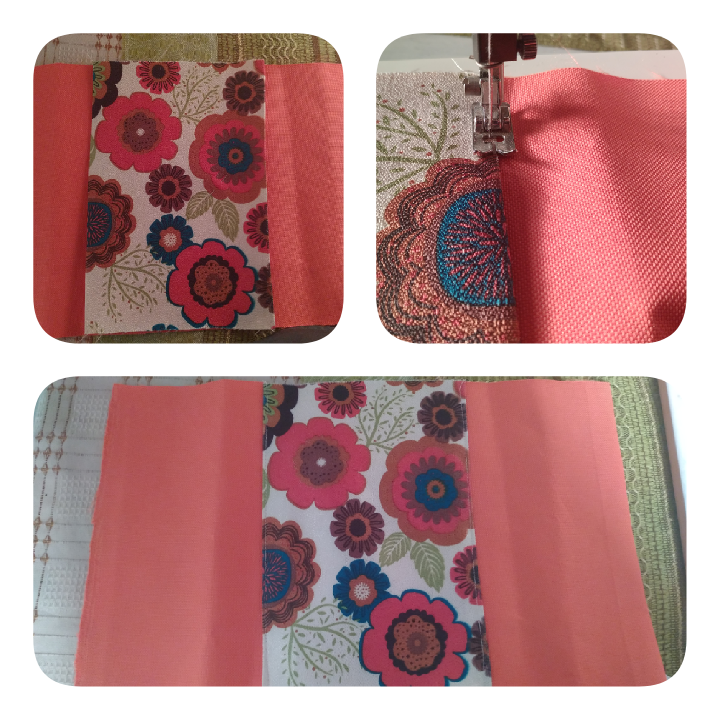
A continuación coloqué la tela estampada en el centro de la tela unicolor, y realicé una costura recta en la parte superior e inferior.
Then I placed the printed fabric in the center of the unicolor fabric, and made a straight seam at the top and bottom.
Paso 3/Step 3
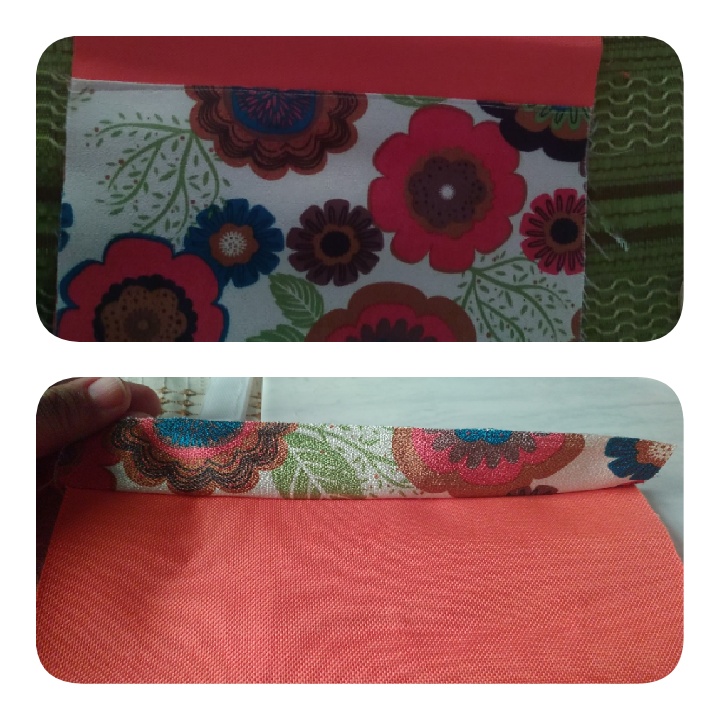
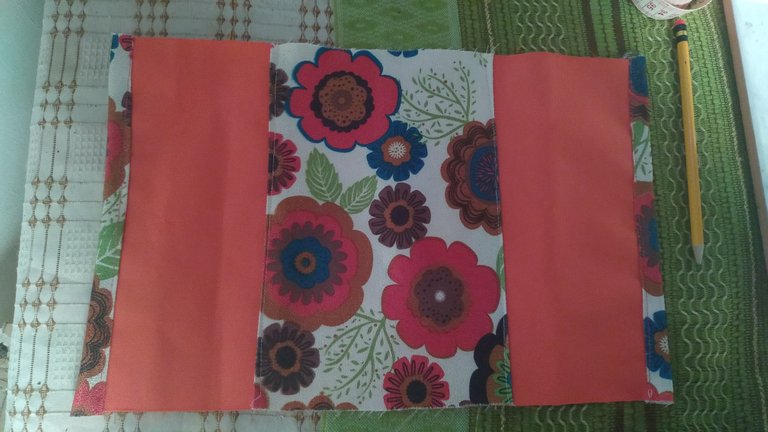
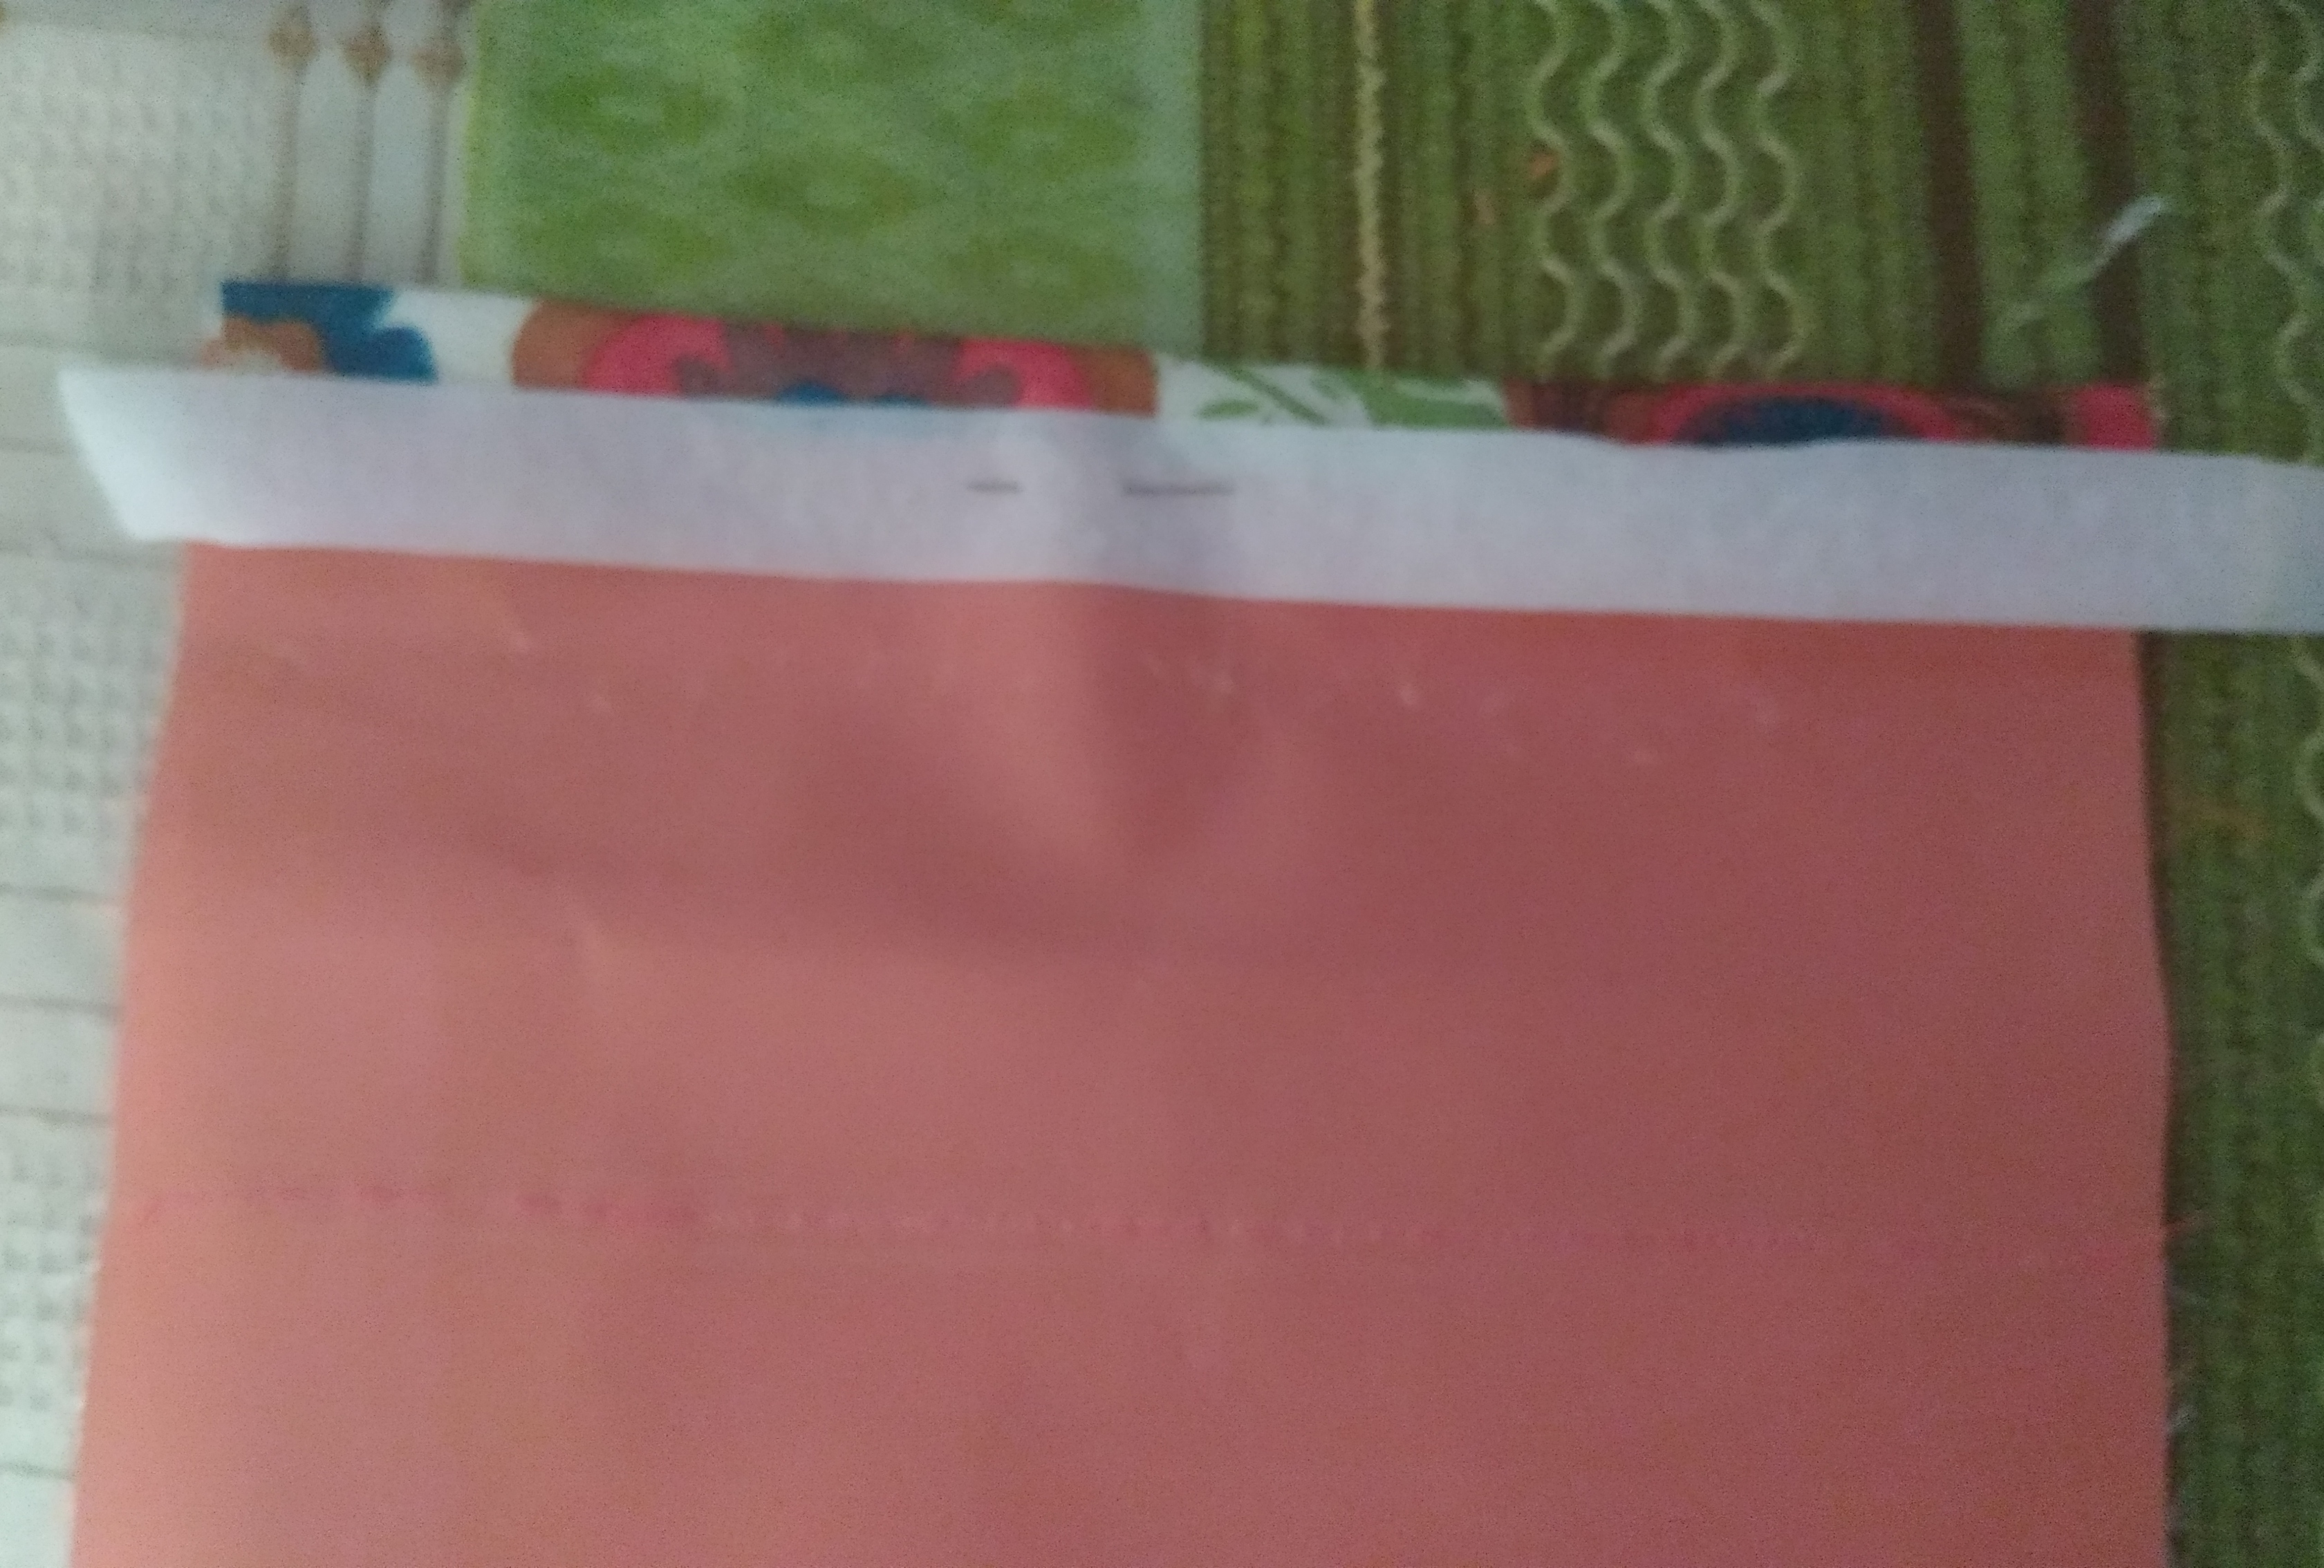
Cosí las tiras estampadas en los extremos del rectángulo unicolor. Luego le cosí encaje. Posteriormente cosí el cierre mágico en los dos extremos internos.
I sewed the patterned strips to the ends of the one-color rectangle. Then I sewed lace. I then sewed the magic clasp on the two inner ends.
Paso 4/Step 4
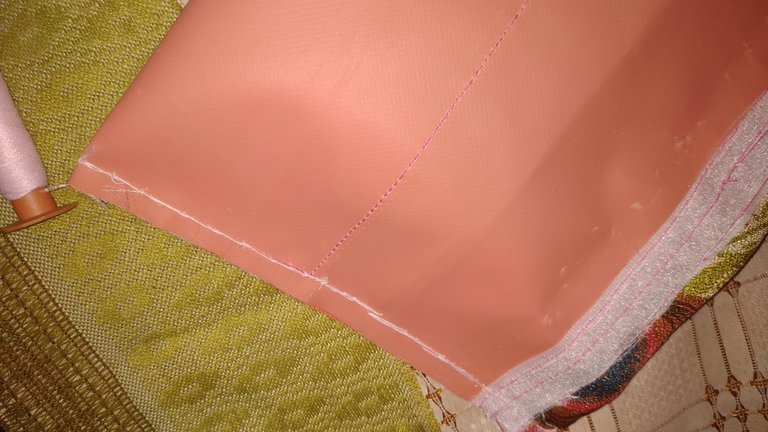
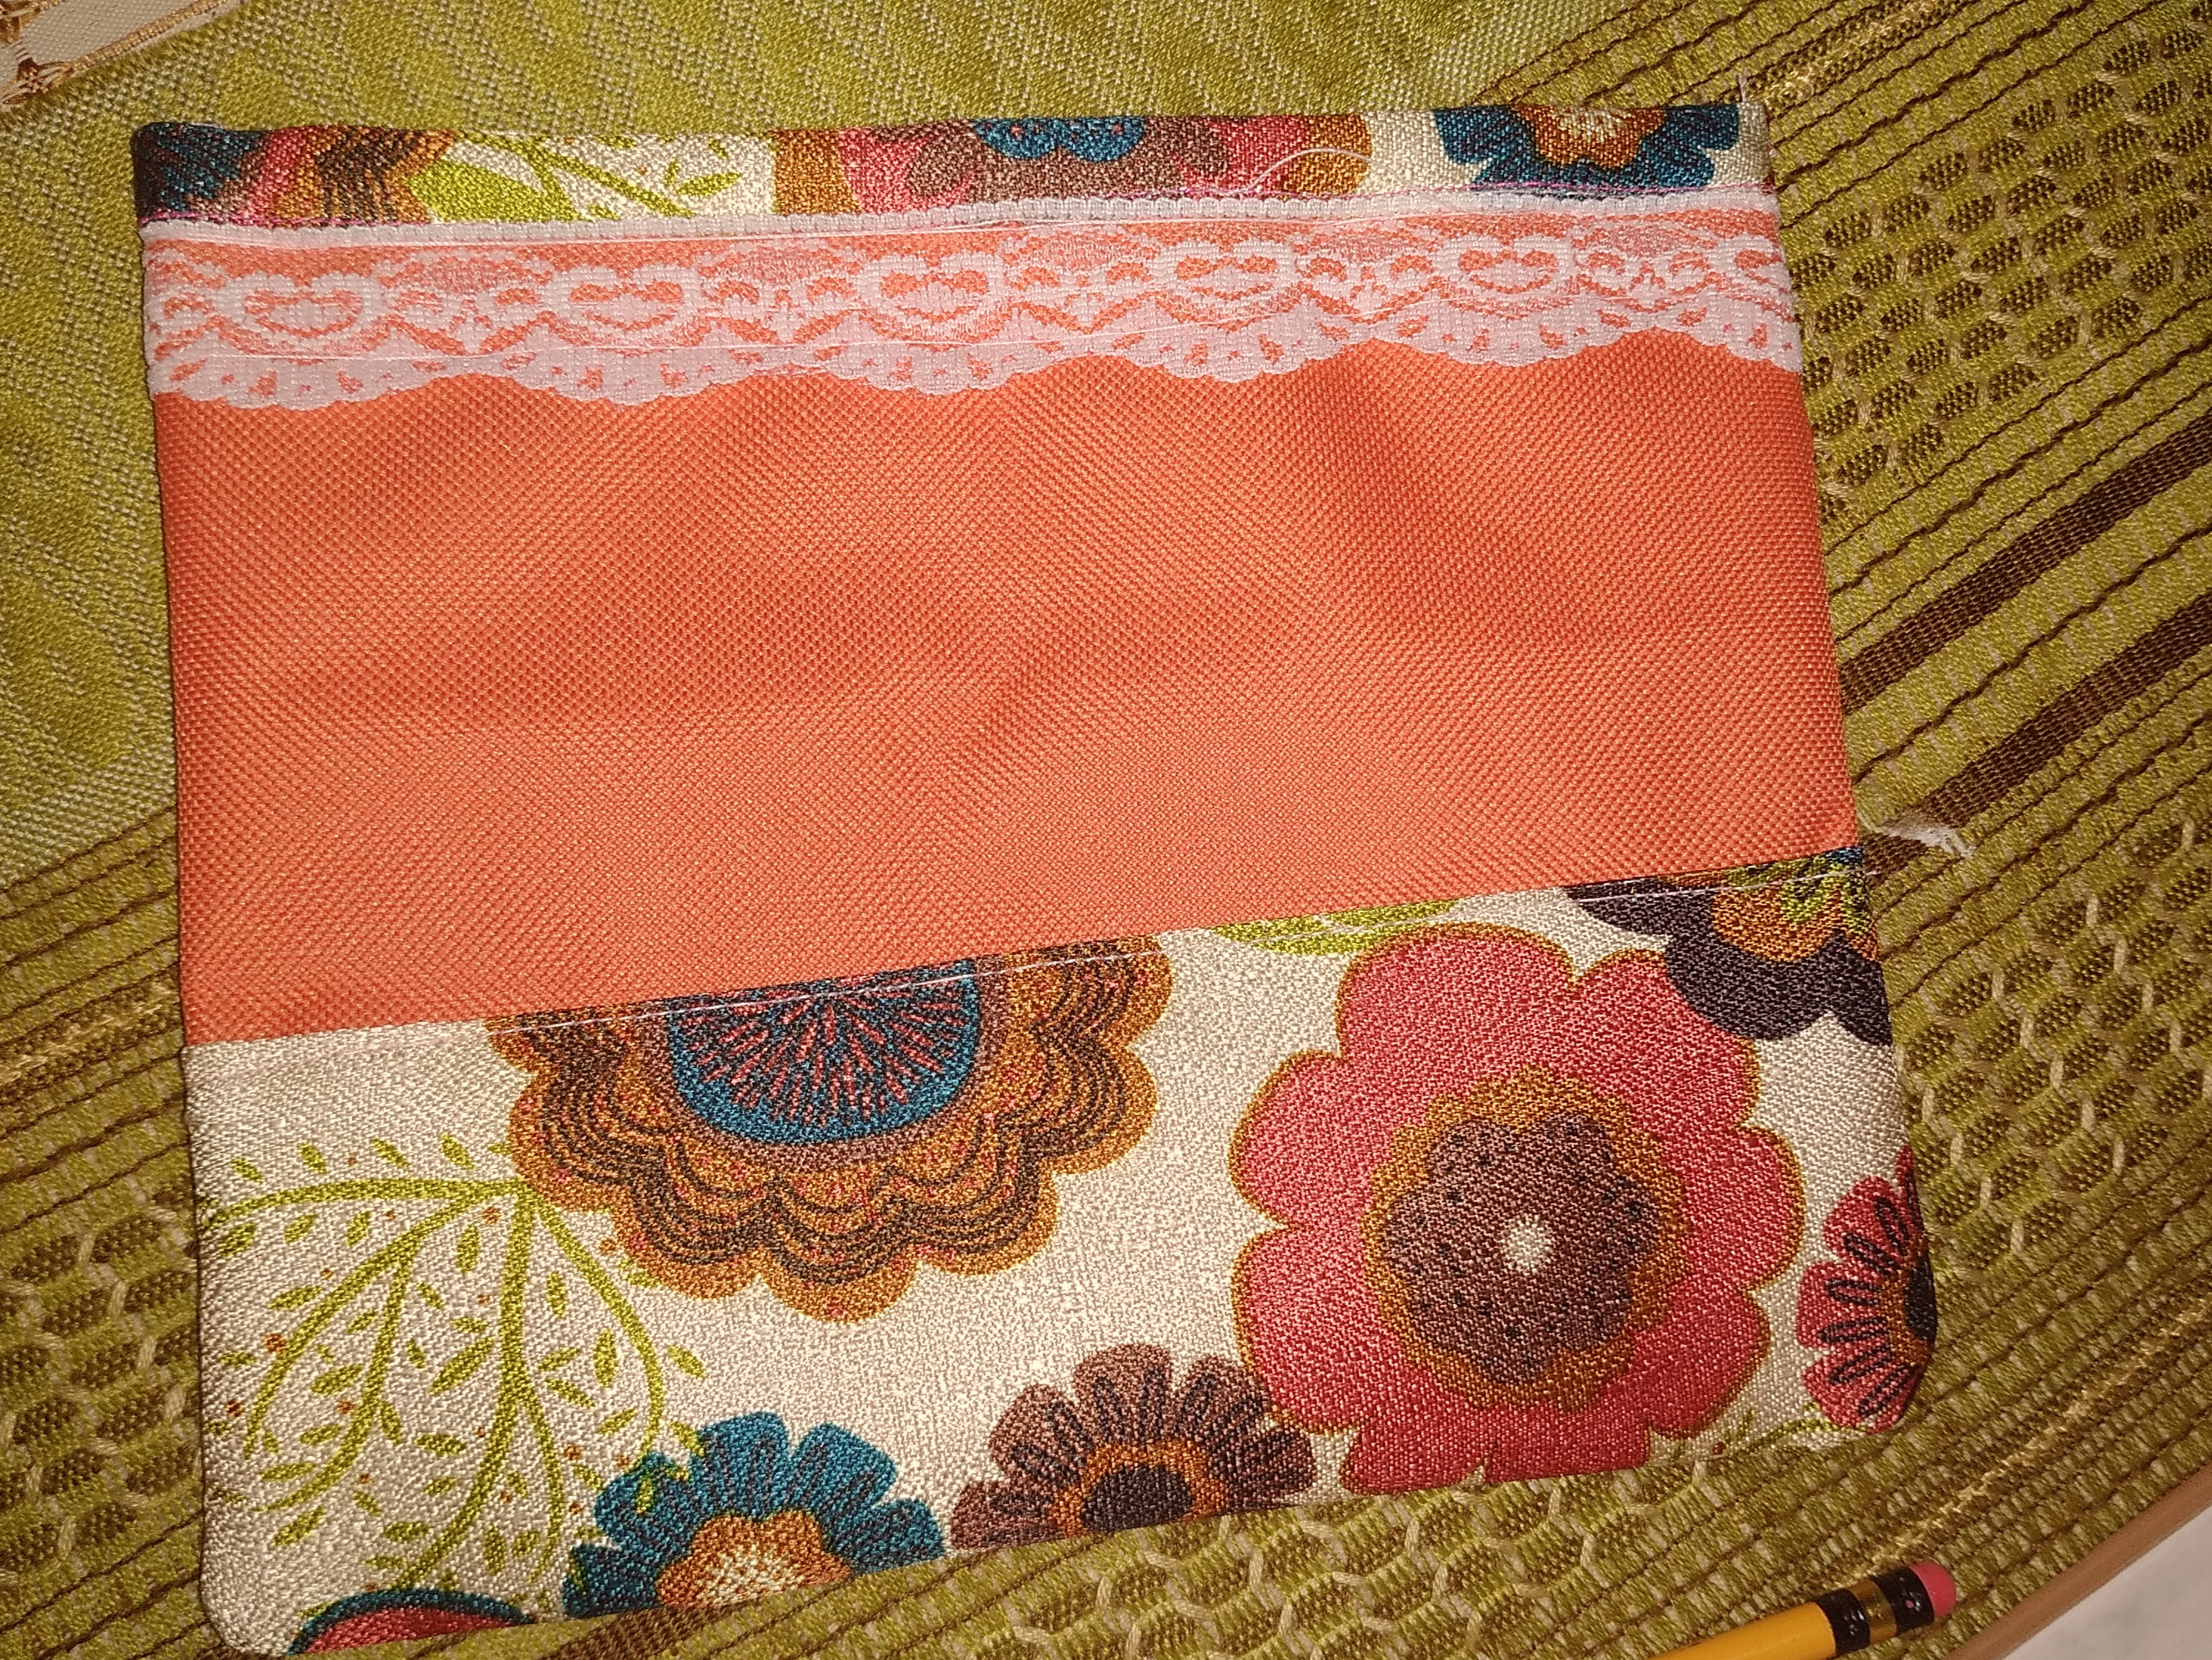
Luego doblé el rectángulo por la mitad al revés para pasar costura por los laterales y cerrar el portacosméticos, sin embargo en ese momento mi máquina de coser comenzó a fallar y terminé cosiendo a mano . Luego de coser le di la vuelta al derecho.
Then I folded the rectangle in half inside out to sew the sides and close the cosmetic holder, however at that moment my sewing machine started to fail and I ended up sewing by hand. After sewing I turned it right side out.
Paso 5/Step 5
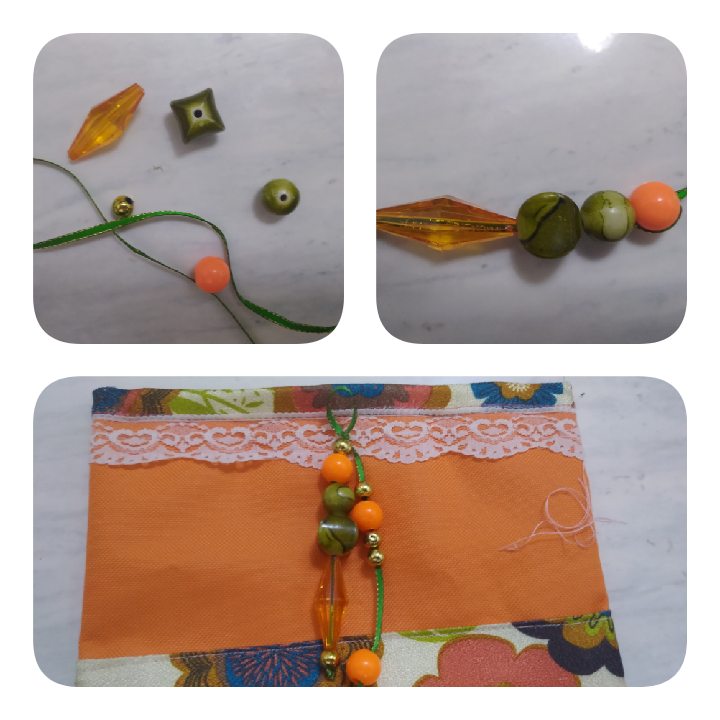
Con las piedras de bisutería y la cinta de raso realicé un detalle para decorar el portacosméticos, coloqué las piedras dentro de la cinta y luego lo uní al portacosmeticos con unos puntos de costura.
With the costume jewelry stones and the satin ribbon I made a detail to decorate the cosmetic holder, I placed the stones inside the ribbon and then attached it to the cosmetic holder with a few stitches.
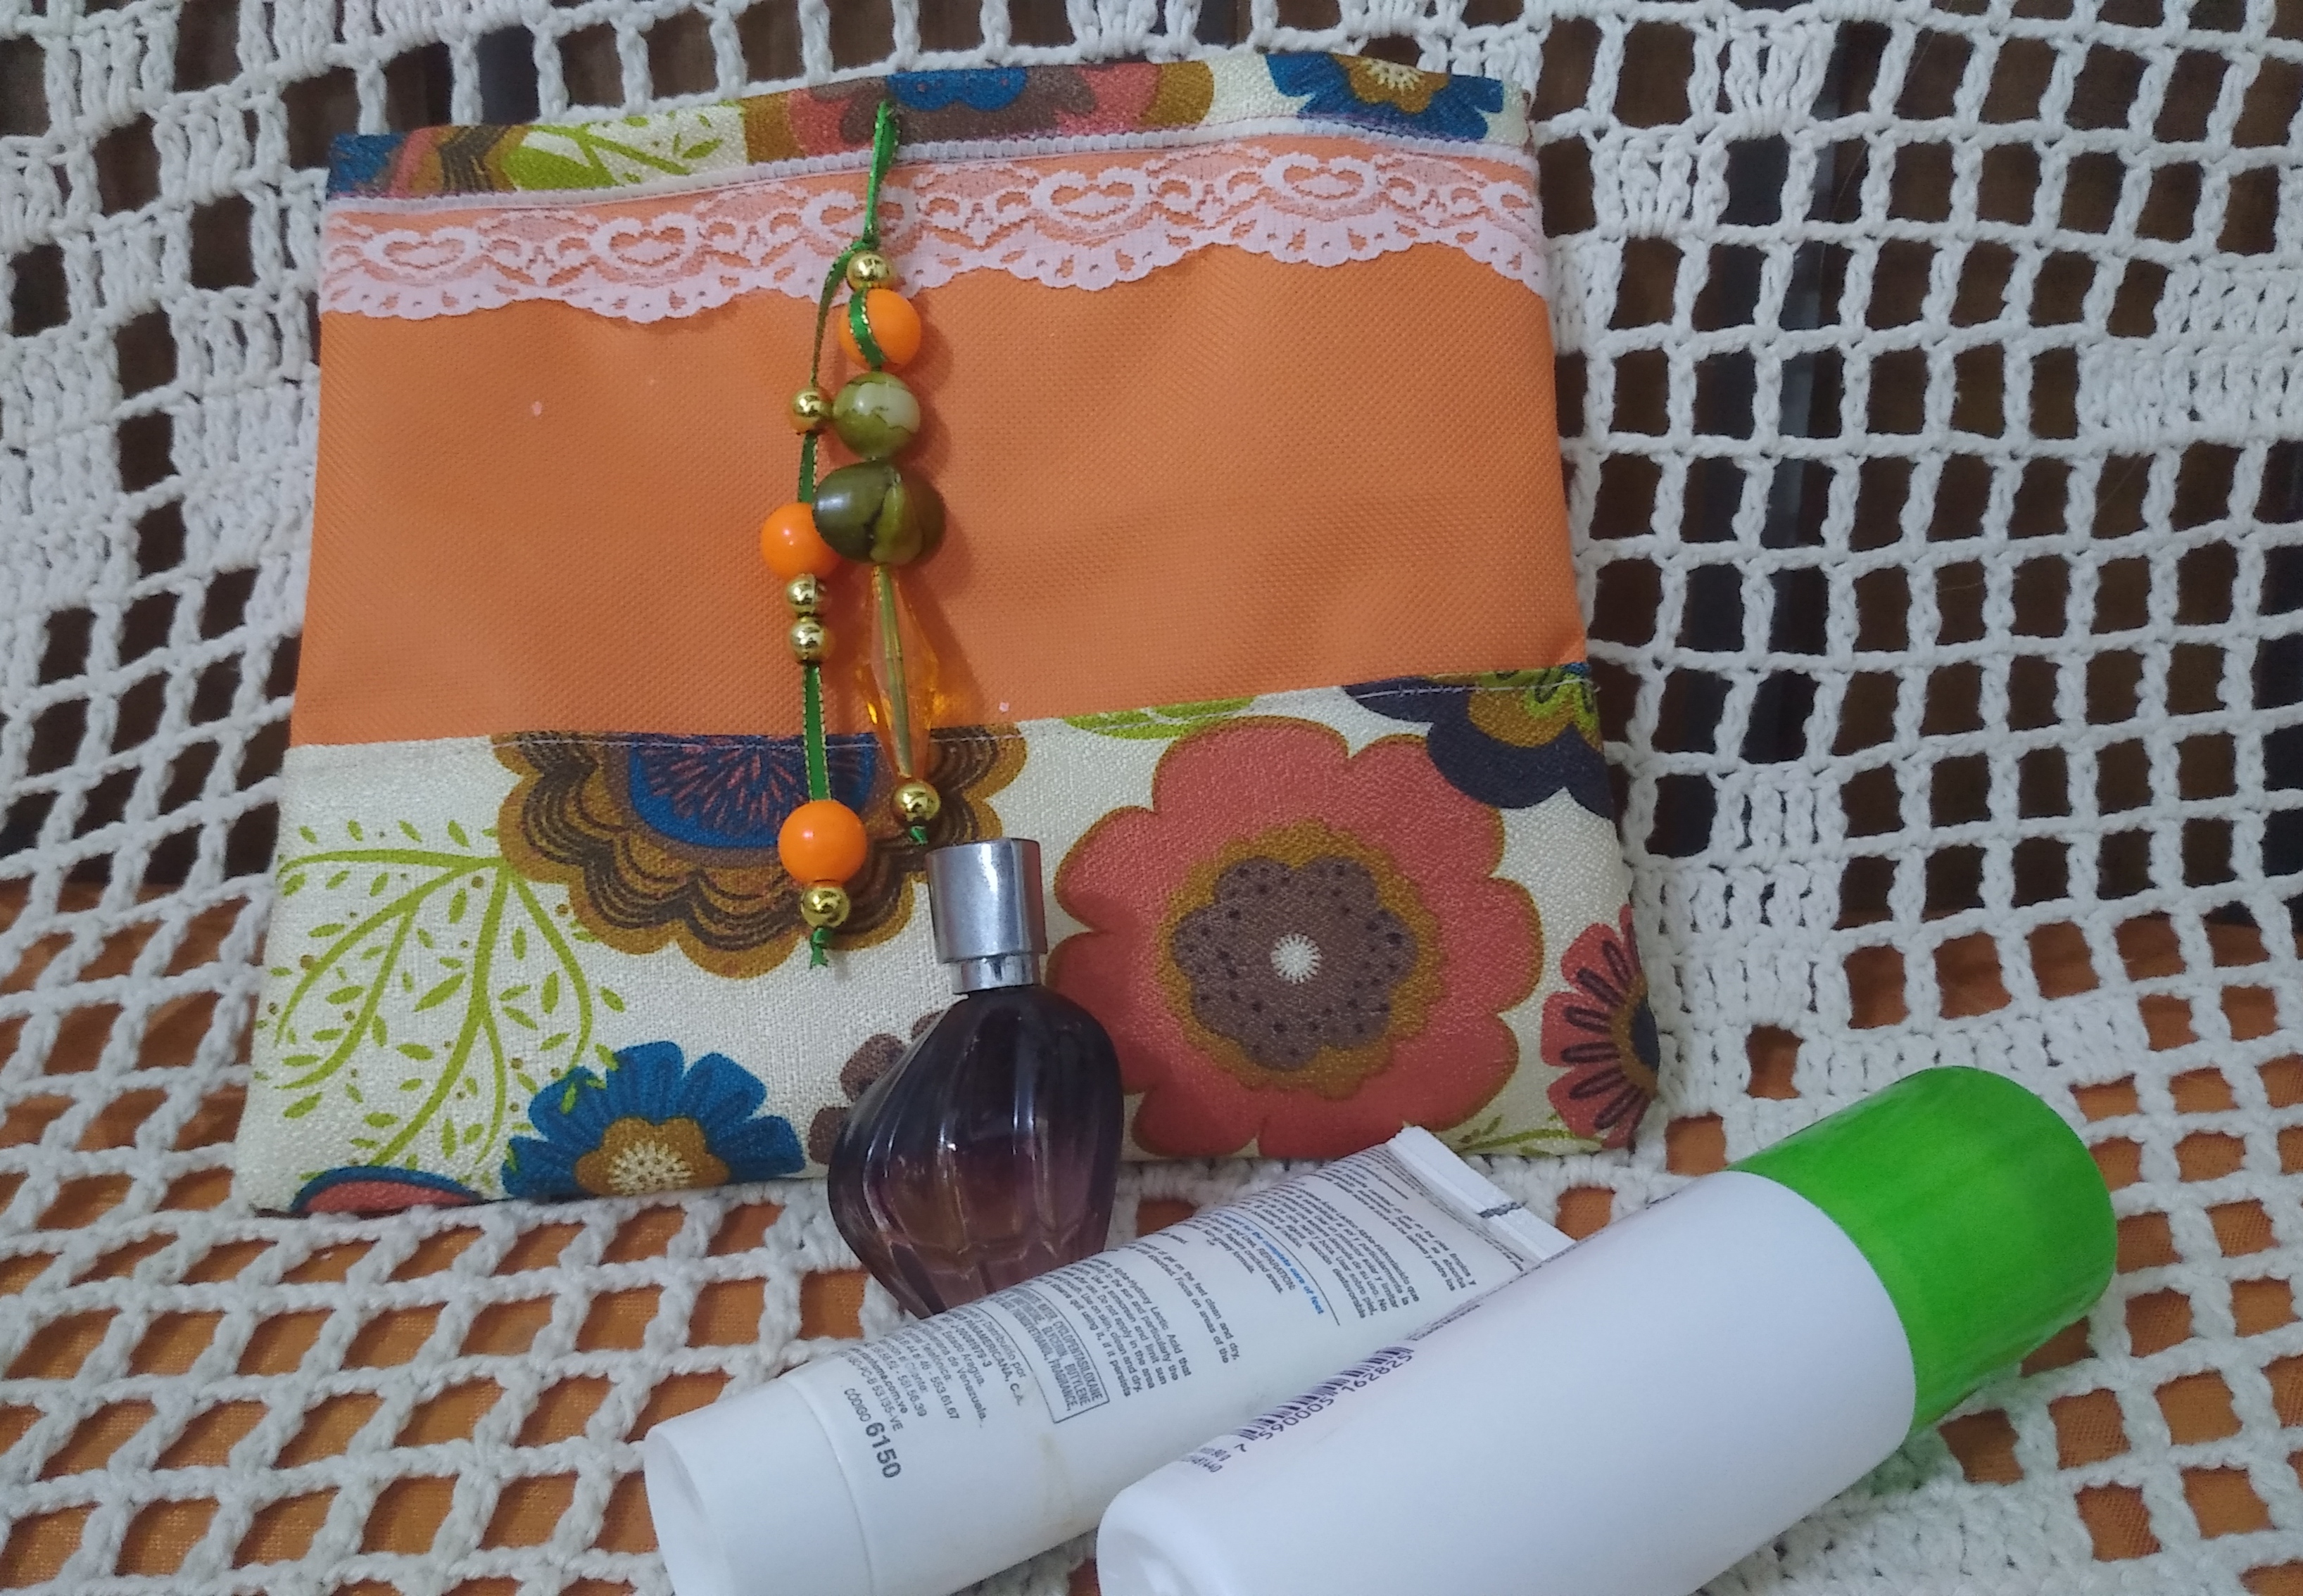
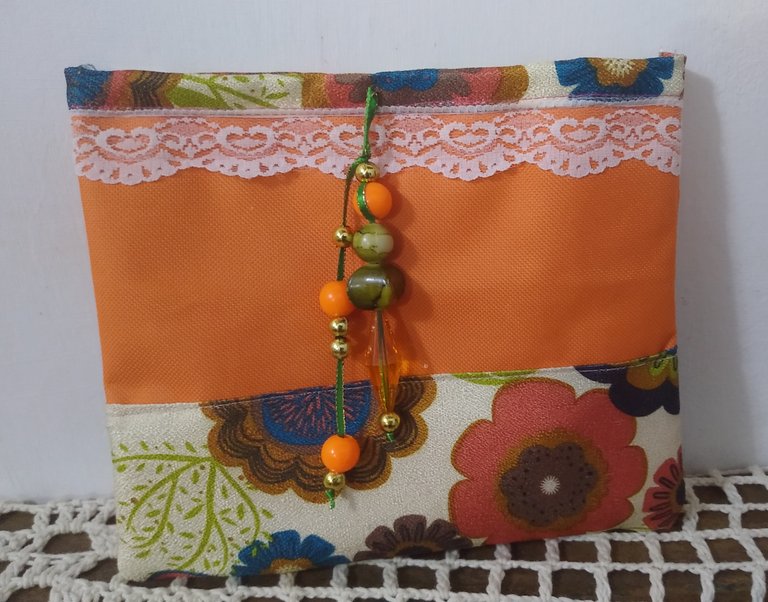
Aquí está culminado mi portacosméticos...
Gracias por leerme. Nos encontraremos en el próximo post de @dorada./Thank you for reading me. See you in the next @dorada post.
Fotos de mi autoría, capturadas con dispositivo móvil Redmi 8./ Photos of my authorship, captured with Redmi 8 mobile device

