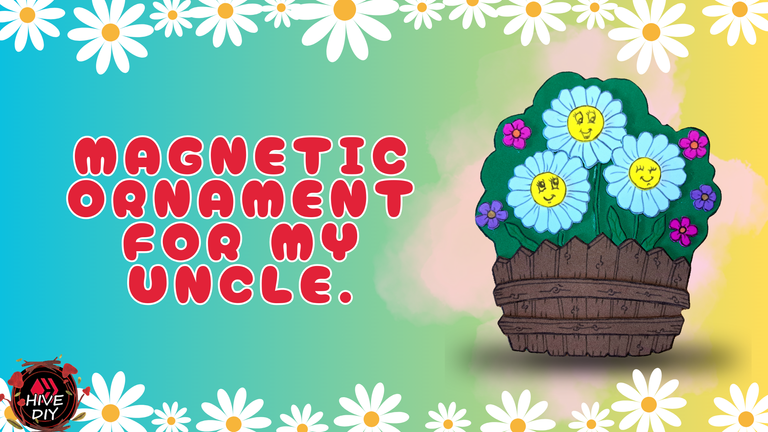
Recently, it was the birthday of one of my uncles and in commemoration of such an important date, I took the opportunity to make him a craft to add to his birthday present. Taking advantage of the fact that he had recently bought a new refrigerator, I decided that the craft would be a magnetic ornament.
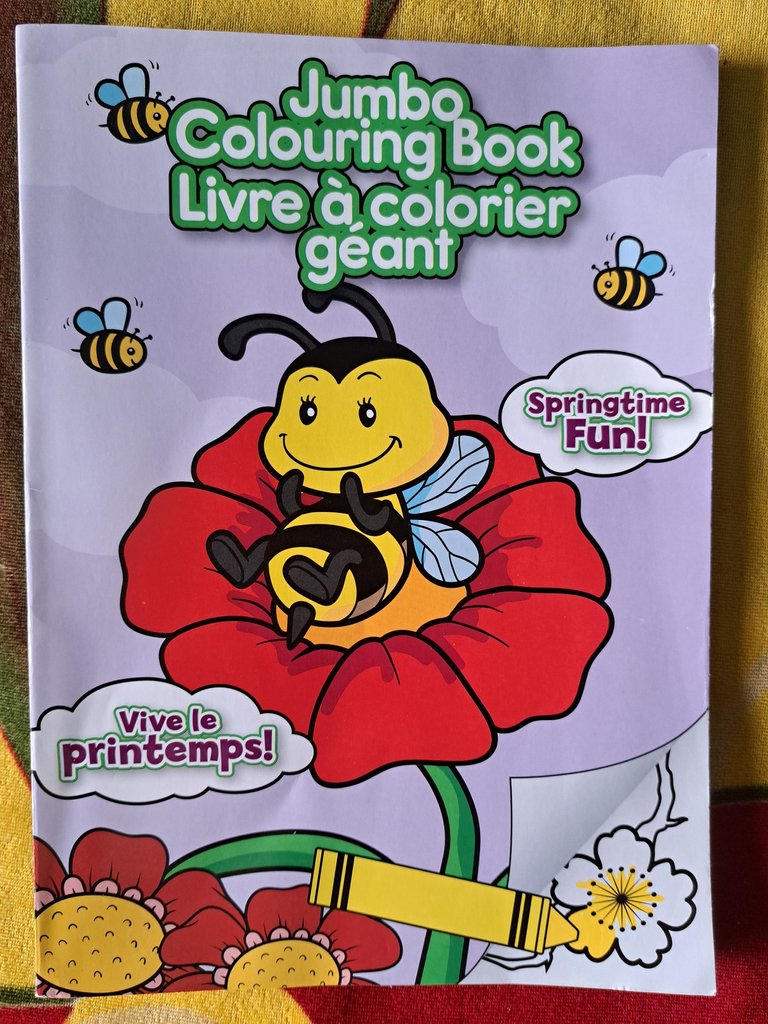
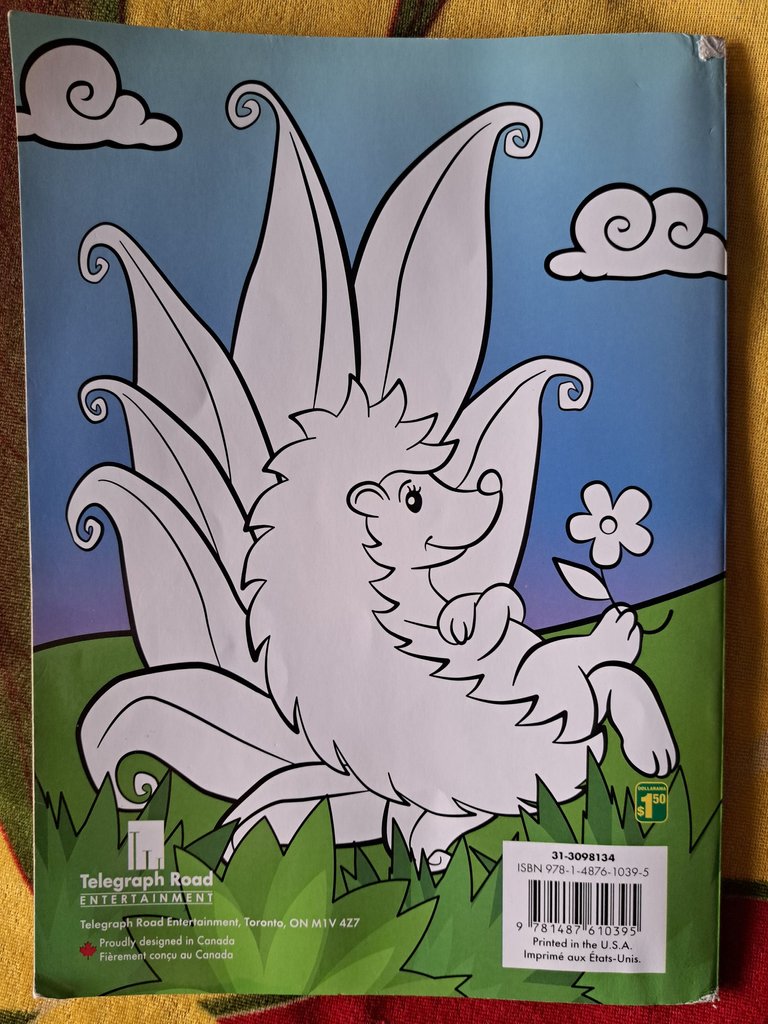
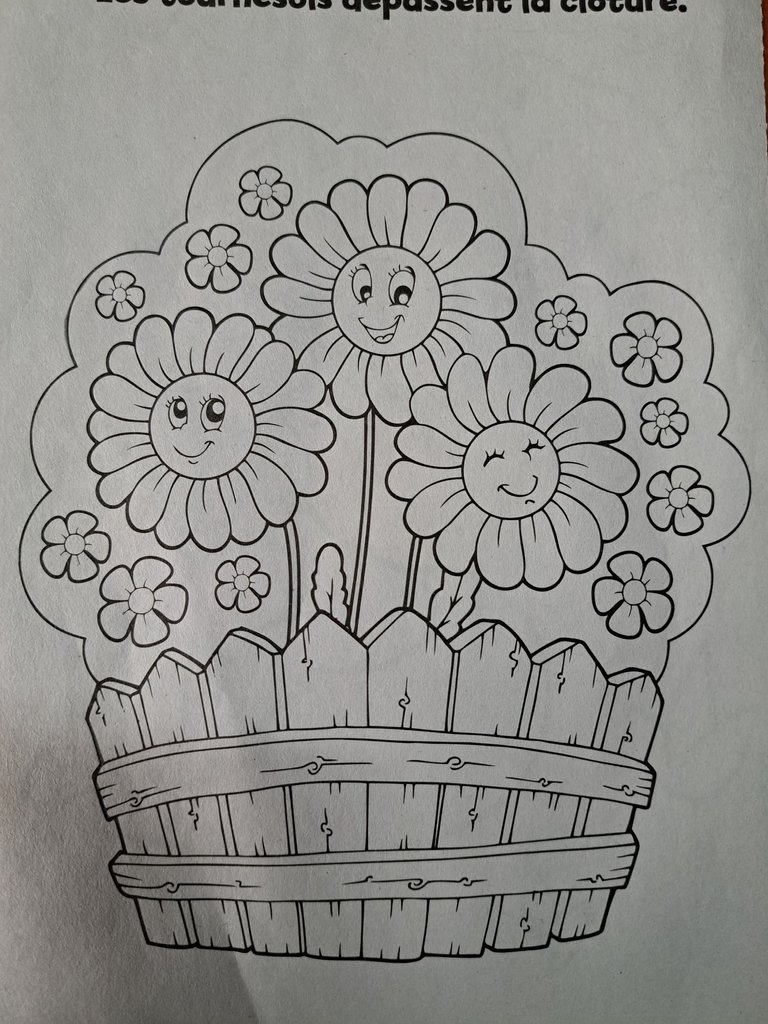
Luckily for me I have a children's coloring book, which is full of very cool drawings. Maybe a little one will see in it a toy to color and hang out, but I see a very good source of design to make molds. The book in question is called "Jumbo Colouring Book", is of Canadian origin, although it says it was printed in the U.S. Anyway, here are the images of the cover of the book where you can find all the relevant information about it.
! [Spanish Version Here]
Recientemente, fue el cumpleaños de uno de mis tíos y en conmemoración de tan importante fecha, aproveché para hacerle una manualidad para agregarla a su regalo de cumpleaños. Aprovechando el hecho de que no hace mucho se había comprado un refrigerador nuevo, decidí que la manualidad sería un adorno imantado.Por suerte para mi cuento con un libro infantil para colorear, el cual está repleto de dibujos muy chulos. Quizás un pequeño vea en él un juguete para colorear y parar el rato, pero yo veo una muy buena fuente de diseño para hacer moldes. El libro en cuestión se llama “Jumbo Colouring Book”, es de origen canadiense, aunque dice que fue impreso en EE. UU. De todas formas, a continuación les dejo las imágenes de la carátula del libro donde podrán encontrar toda la información pertinente sobre él.
|
|
🛠 Materials // Materiales 🛠
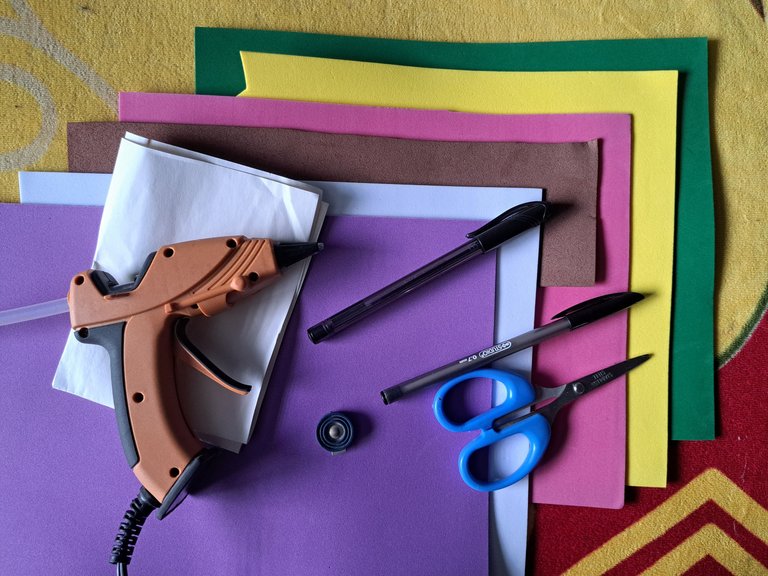
| ✅ Foam green, yellow, pink, brown, white, purple | ✅ Fomi verde, amarillo, rosa, café, blanco, violeta |
| ✅ White sheet of paper | ✅ Hoja de papel blanca |
| ✅ Scissors | ✅ Tijeras |
| ✅ Pen and black marker | ✅ Bolígrafo y marcador negro |
| ✅ Hot silicone | ✅ Silicona caliente |
| ✅ Small magnets | ✅ Imanes pequeños |
📋 Step by step // Paso a paso 📋
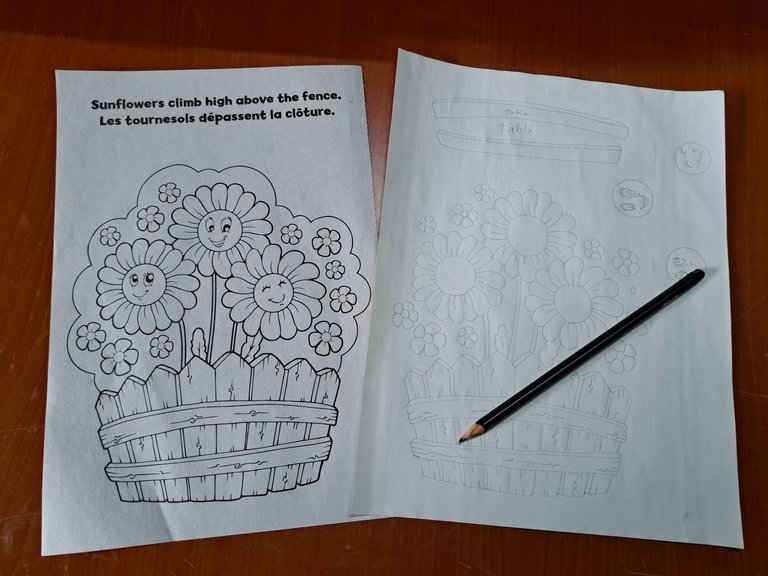
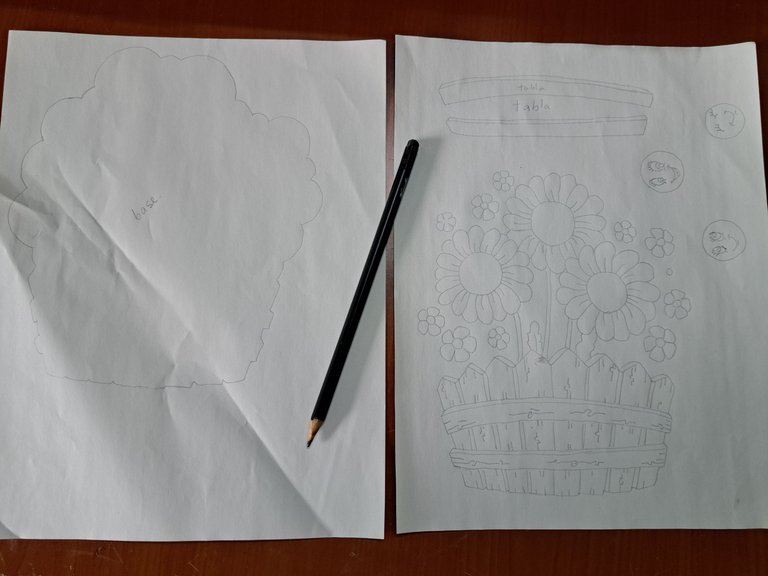
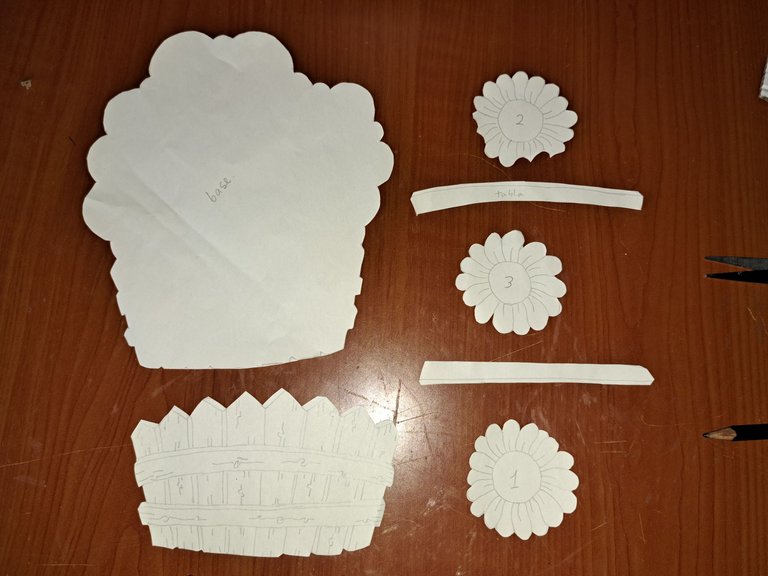
1️⃣ To begin with, the first thing to do is to mark and cut out the molds. To do this you can photocopy and print the image or simply trace it. The molds we will cut out will be the general outline of the figure, the fence, two planks of the fence, the outline of the daisies and the circumference of the face of the daisies.
! [Spanish Version Here]
1️⃣ Para empezar lo primero que haremos será marcar y recortar los moldes. Para ello pueden fotocopiar e imprimir la imagen o simplemente calcarla. Los moldes que recortaremos serán el contorno general de la figura, la valla, dos tablones de la valla, el contorno de las margaritas y la circunferencia de la cara de las margaritas.
 |
 |
 |
 |
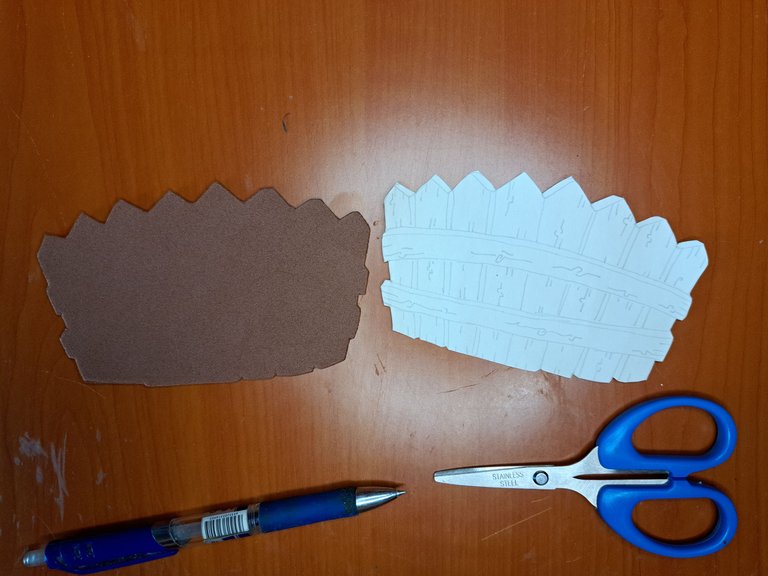
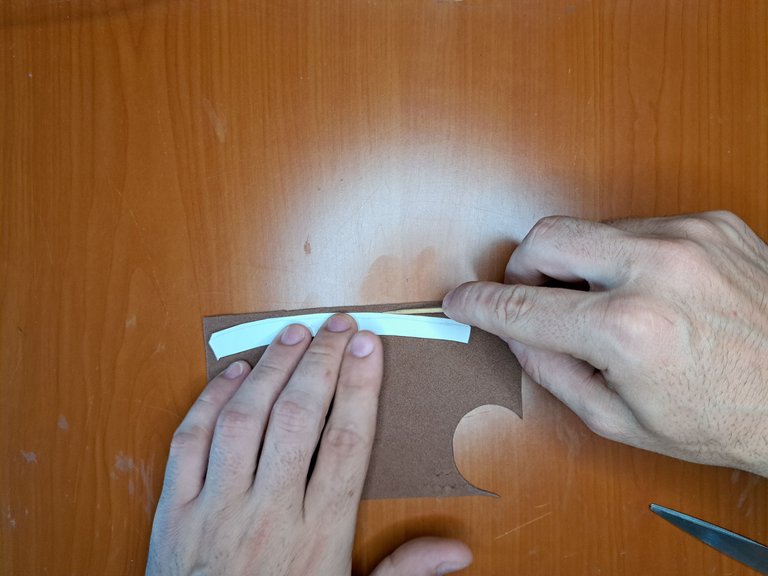
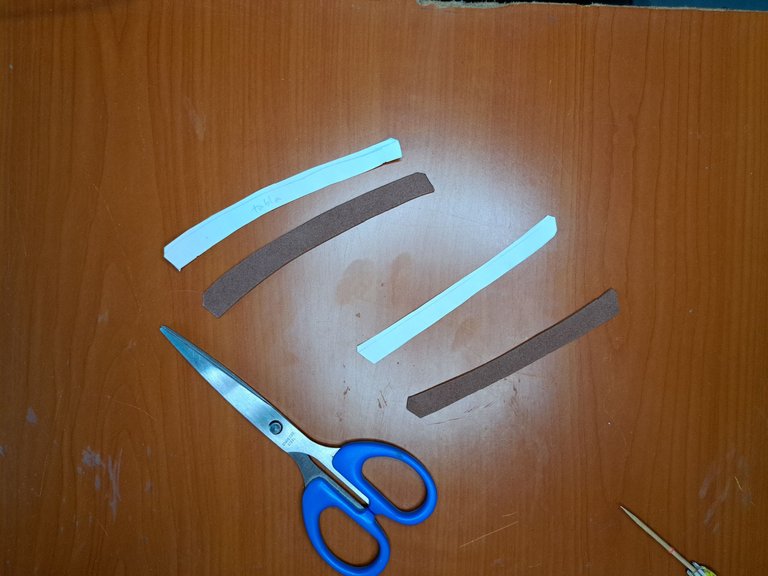
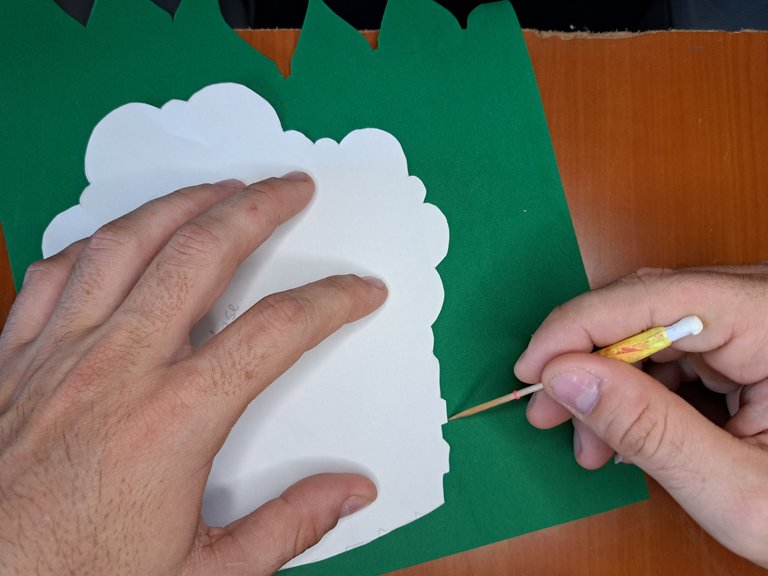
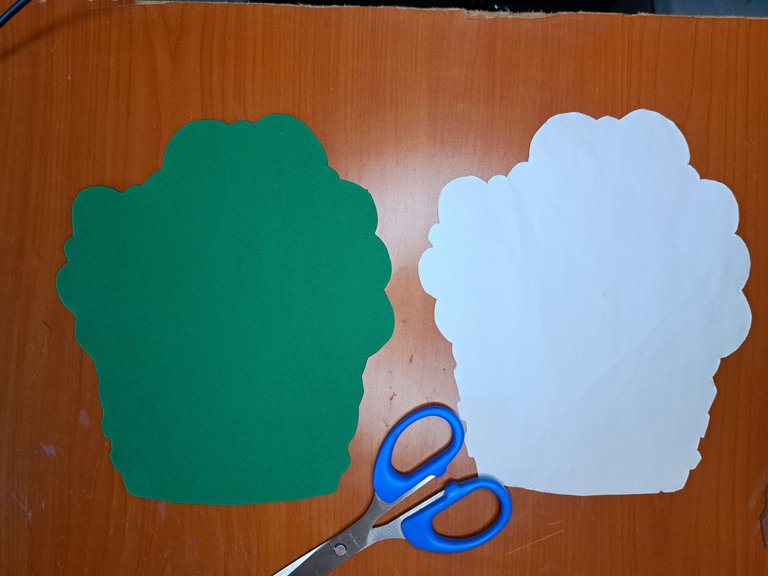
2️⃣ When the molds are ready we start marking and cutting out the fomi pieces. We will start by marking and cutting out the fence and the planks in brown fomi and then we will mark and cut out the outline mold in green fomi.
! [Spanish Version Here]
2️⃣ Cuando los moldes estén listos empezamos a marcar y recortar las piezas de fomi. Empezaremos marcando y recortando la valla y los tablones en fomi café para luego pasar a marcar y recortar el molde del contorno en fomi verde.
 |
 |
 |
 |
 |
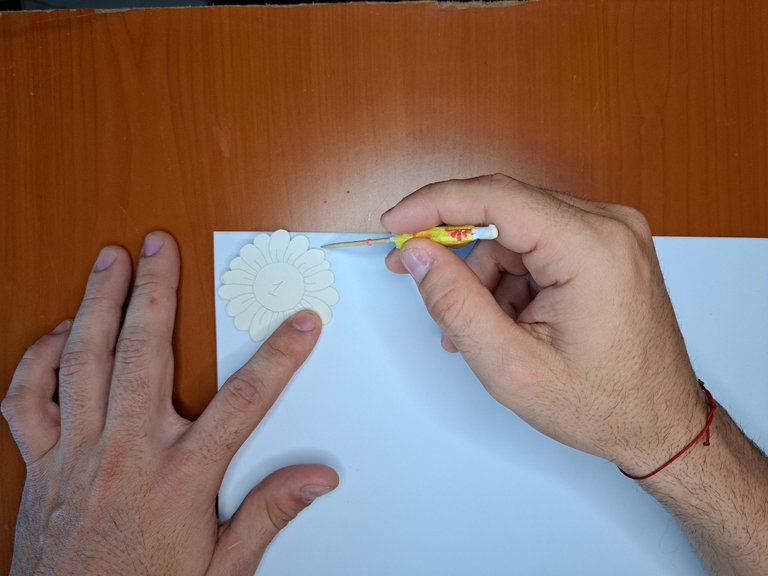
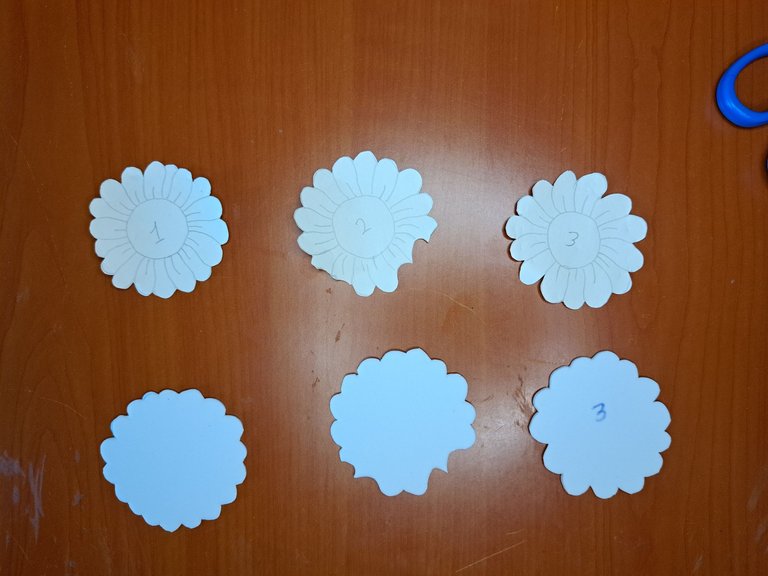
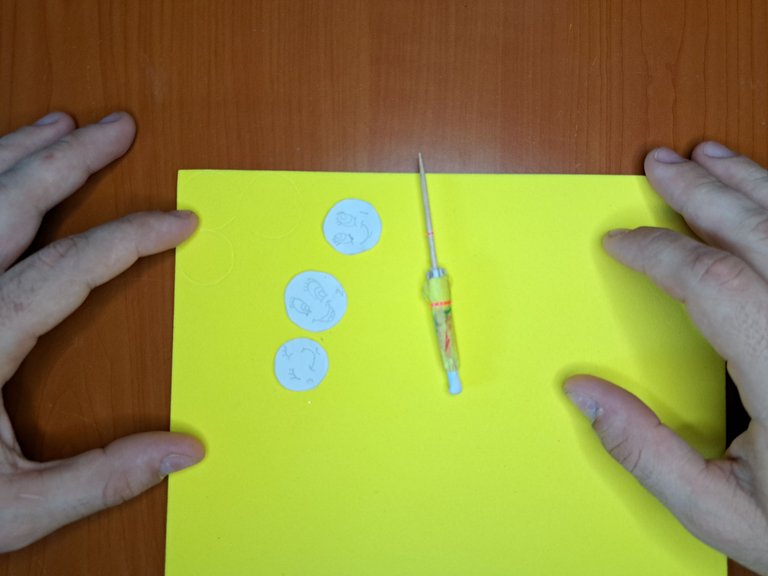
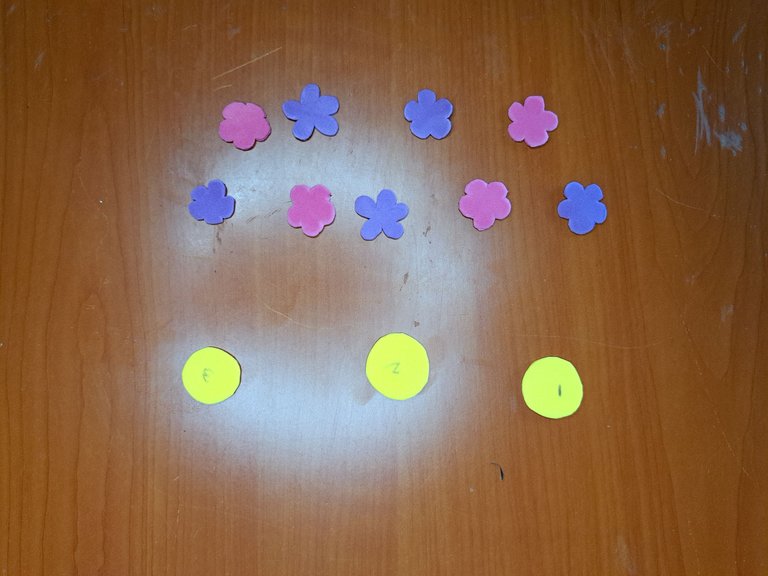
3️⃣ Then, repeat the process with the daisy molds in white fomi. We will also cut out the outline of the face of the flowers in yellow fomi. In addition, we will cut out small flowers in pink and purple fomi.
! [Spanish Version Here]
3️⃣ Luego, repetimos el proceso con los moldes de las margaritas en fomi blanco. También cortaremos el contorno de la cara de las flores en fomi amarillo. Además, recortaremos pequeñas flores en fomi rosa y violeta.
 |
 |
 |
 |
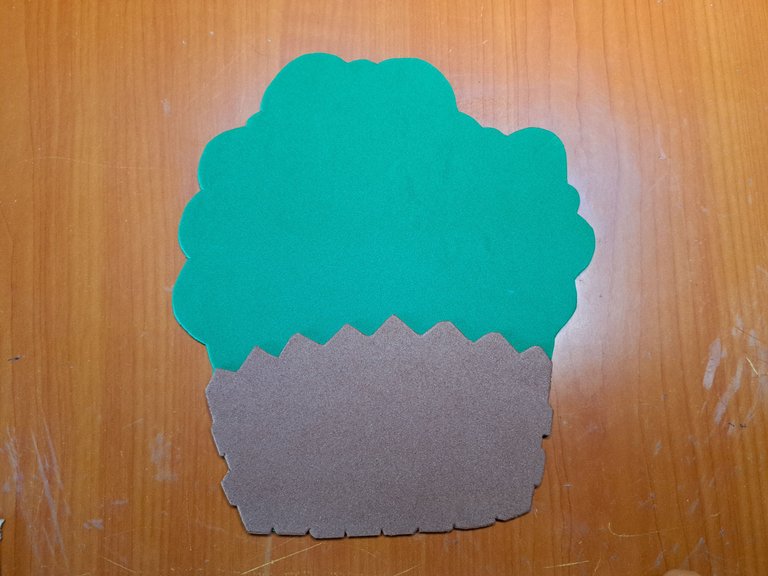
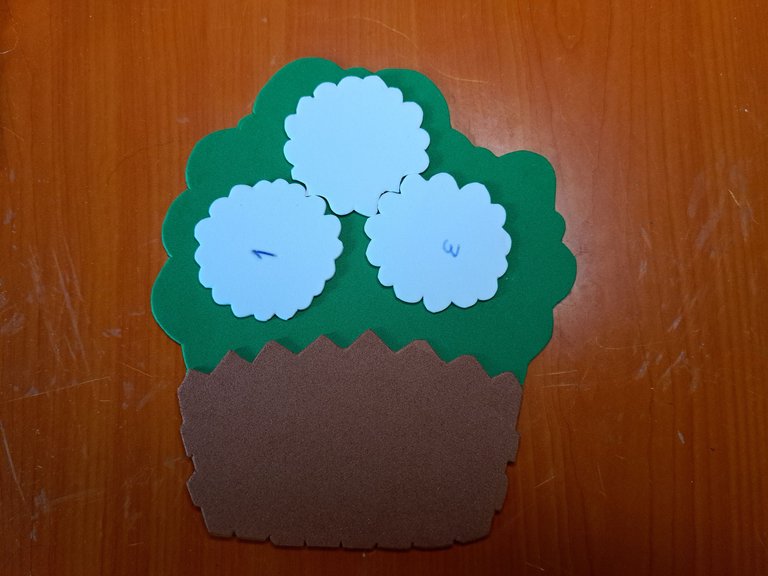
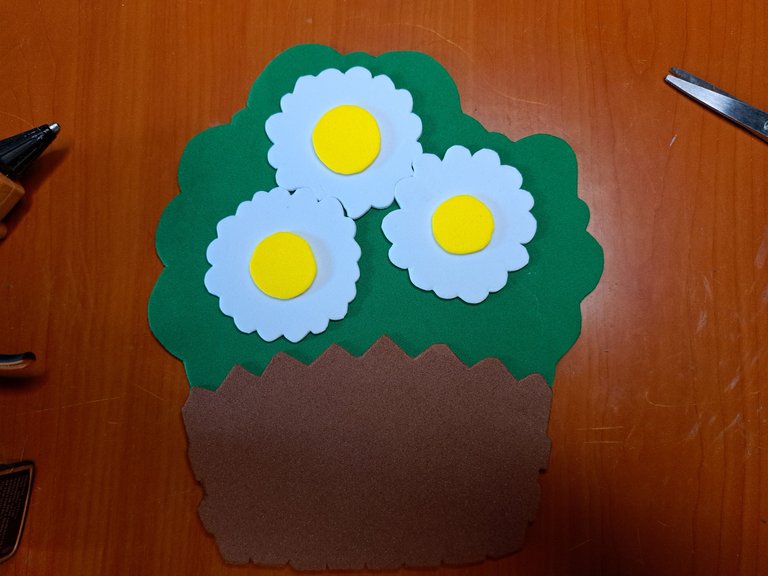
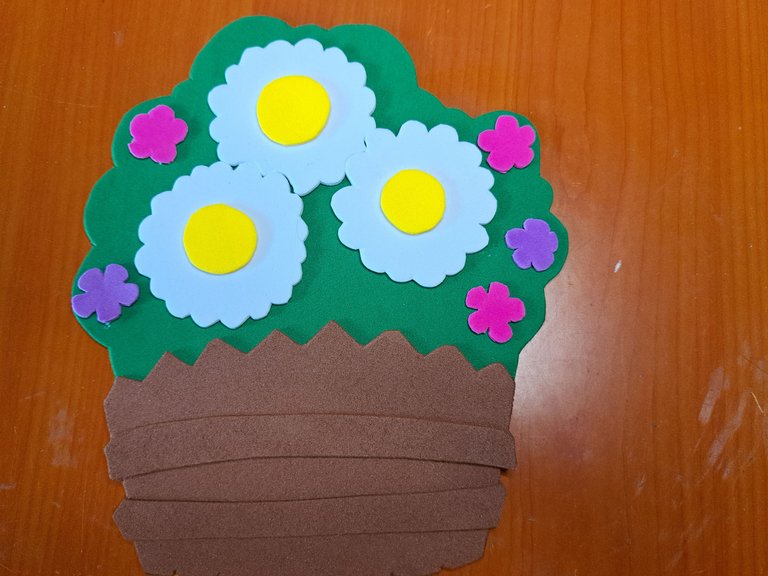
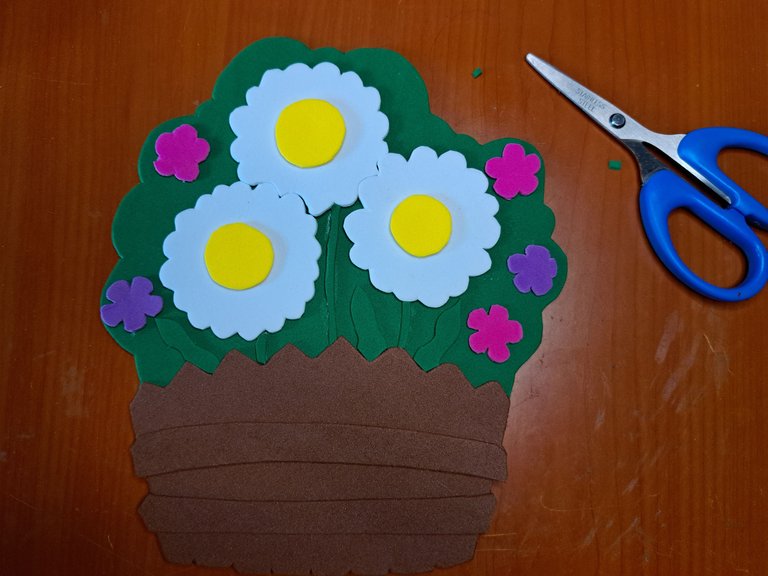
4️⃣ Cuando todas las piezas del adorno estén listas, empezaremos a pegarla. Primeramente, pegaremos la valla café sobre el contorno verde. Luego agregaremos los pétalos y los centros amarillos. Para finalizar pegaremos las florecitas de colores y los tabones.
! [Spanish Version Here]
4️⃣ Cuando todas las piezas del adorno estén listas, empezaremos a pegarla. Primeramente, pegaremos la valla café sobre el contorno verde. Luego agregaremos los pétalos y los centros amarillos. Para finalizar pegaremos las florecitas de colores y los tabones.
 |
 |
 |
 |
 |
 |
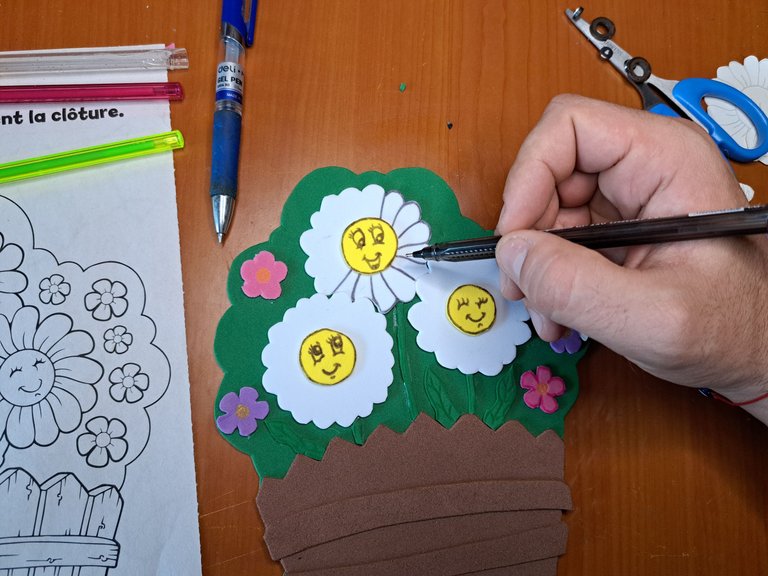
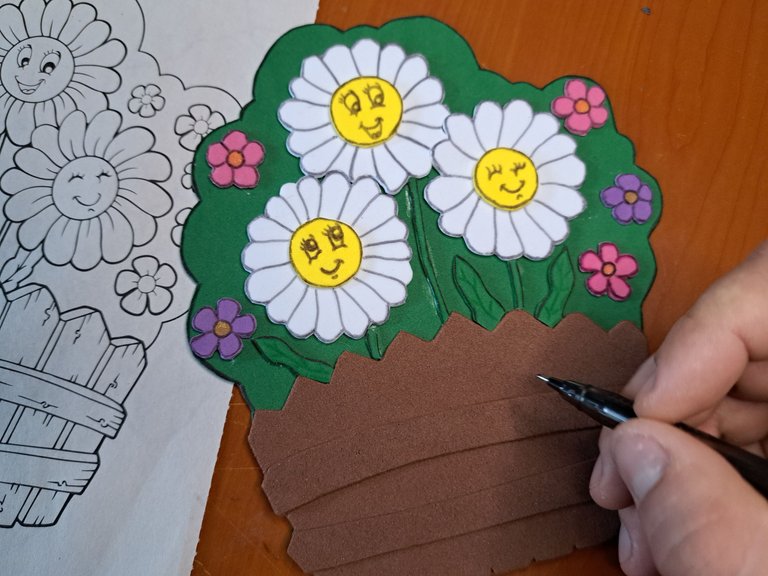
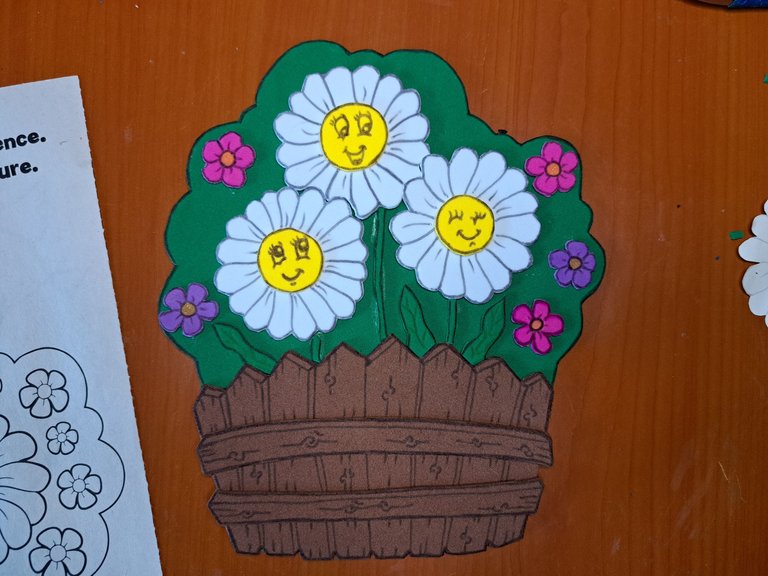
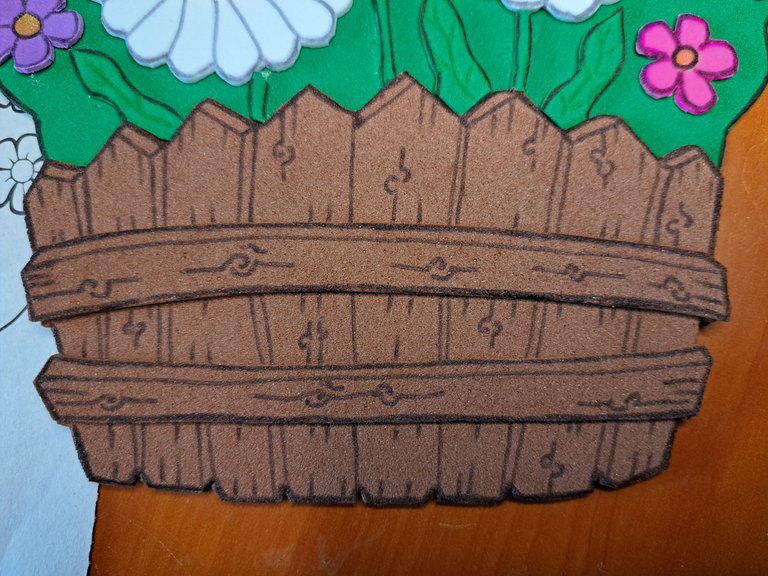
5️⃣ Now we will move on to the fun part, which consists of bringing the ornament to life, since right now it looks like a trio of fried eggs on top of a green sauce with burnt toast. To start drawing the details, we will use a black permanent marker and, guided by the original design, we will add the missing details.
In this step there is no specific order to draw, but I started with the faces and petals of the daisies, then I moved on to the stems and leaves to finish with the fence and the planks.
! [Spanish Version Here]
5️⃣ Ahora pasaremos a la parte divertida, la cual consiste en darle vida al adorno, ya que ahora mismo parece un trío de huevos fritos encima de una salsa verde con una tostada quemada. Para empezar a dibujar los detalles emplearemos un marcador permanente negro y guiándonos por el diseño original iremos agregando los detalles faltantes.En este paso no hay un orden específico para ir dibujando, pero yo empecé por las caras y pétalos de las margaritas, luego pasé a los tallos y hojas para finalizar en la cerca y los tablones.
 |
 |
 |
 |
 |
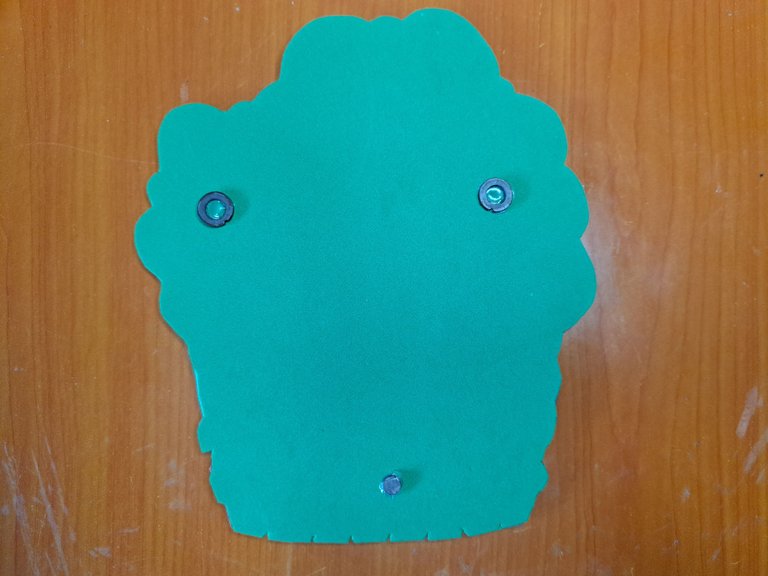
6️⃣ Last but not least, we will add three small magnets on the back. Here is a tip. In most headphones there are small magnets, in my case I usually get the magnets from there.
! [Spanish Version Here]
6️⃣ Como último paso, pero no menos importante, agregaremos tres imanes pequeños en la parte posterior. Aquí les dejo un consejo. En la mayoría de los auriculares hay pequeños imanes, en mi caso suelo obtener los imanes de ahí.
|
And that's it folks, today's was a simple tutorial to create a simple but beautiful ornament. I hope you liked it and please let me know in the comments any suggestions or questions you have about the ornament, I will be happy to answer them.
! [Spanish Version Here]
Y eso es todo amigos, el de hoy fue un tutorial sencillo para crear un adorno simple pero hermoso. Espero que les haya gustado y por favor déjenme saber en los comentarios cualquier sugerencia o duda que tengan sobre el adorno, estaré encantado de responderles.
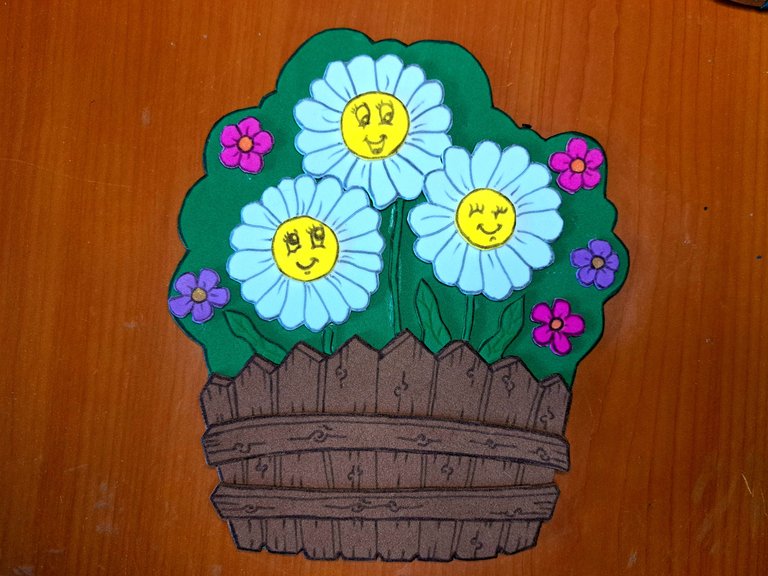
⚜️ Final Result // Resultado Final ⚜️
|

Thank you very much for reading my post. If you liked it, please leave a comment and consider following me so you don't miss my next posts. I'd love to know your opinion and your thoughts about the topic I discussed in this post, see you in the next one!
Muchas gracias por leer mi post. Si te gustó, por favor deja un comentario y considera seguirme para no perderte mis próximas publicaciones. Me encantaría saber tu opinión y tus ideas sobre el tema que traté en este post. ¡Nos vemos en el próximo!

Cover page created in Canva Pro
Translated by DeepL


