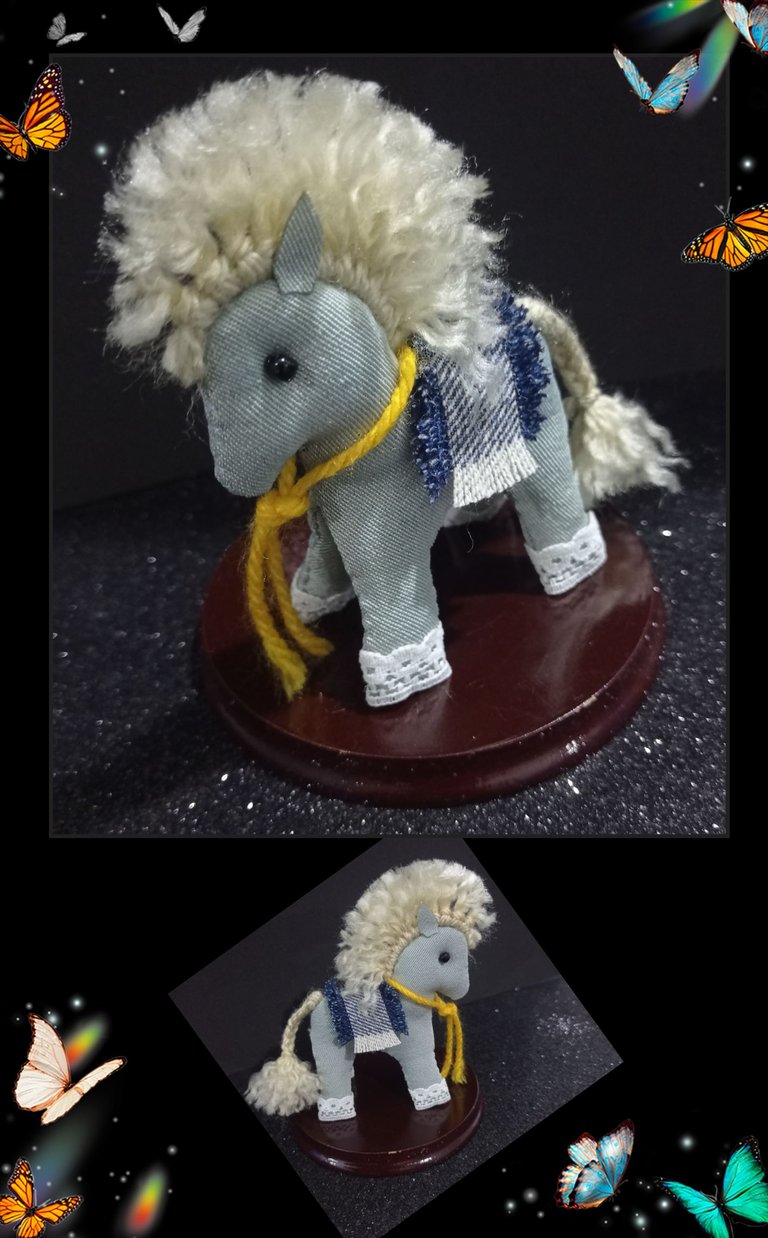
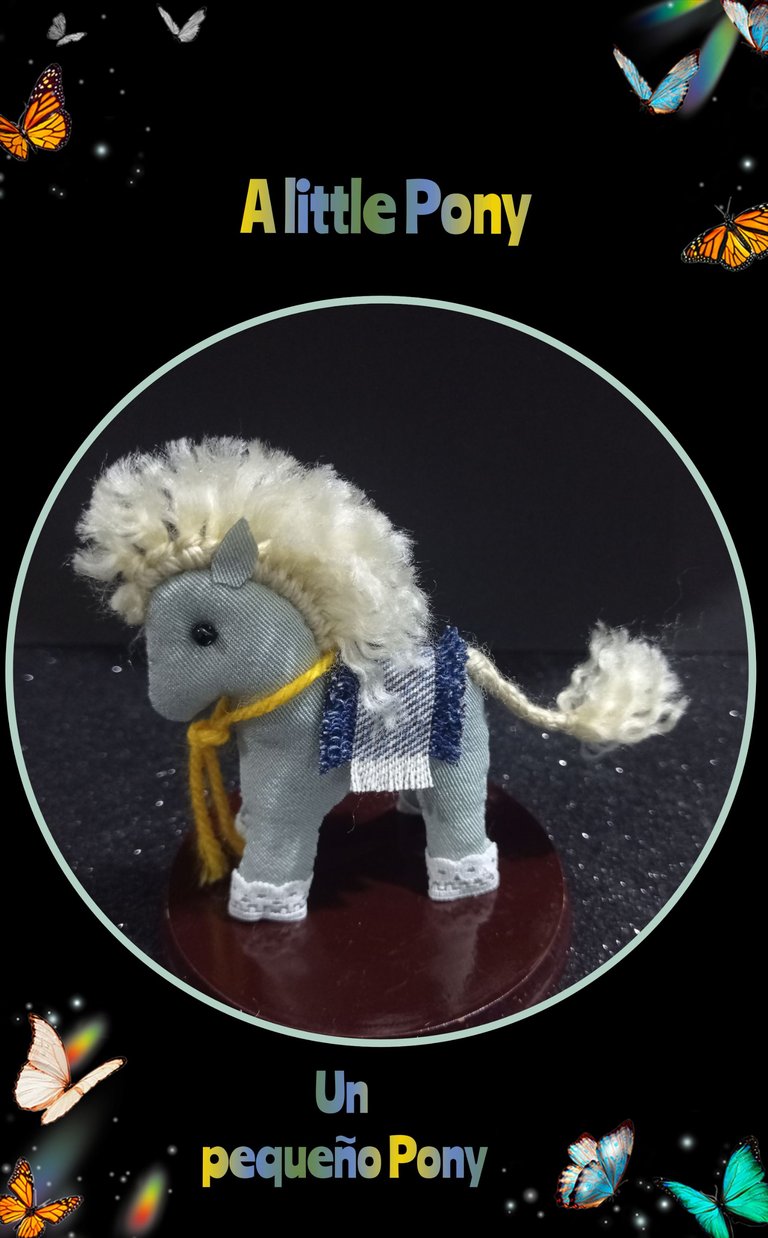
Hola a todos los amigos que hoy me visitan, hoy les traigo un fácil y sencillo tutorial de costura a mano, en el cual les muestro como hacer un Pequeño caballito (Pony) hecho con recortes de tela.
Nota: Si tienes máquina también lo puedes coser, pero a mi se me hace más fácil coserlo a mano, cuando son piezas pequeñas.
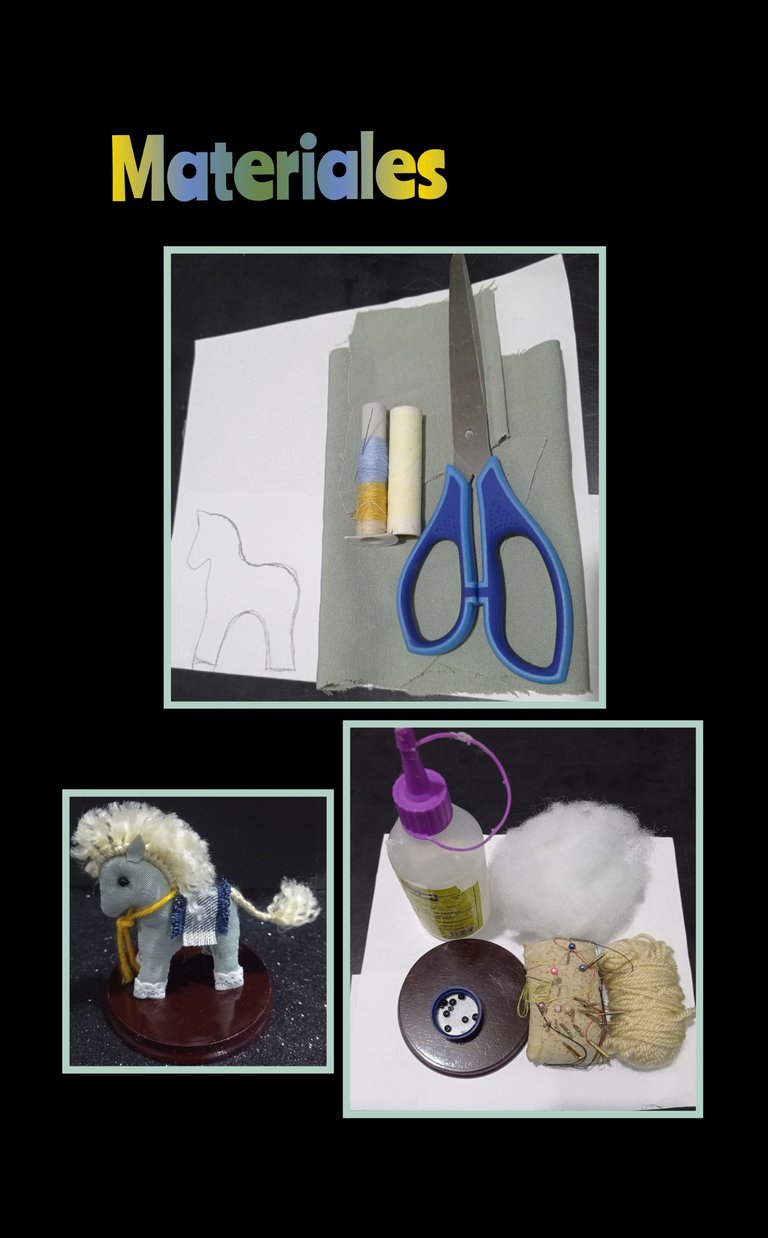
Entonces te invito a que me acompañes en el proceso y busques estos materiales:
| Molde | Tela |
|---|---|
| Hilos y aguja | Tijera |
| Algodón o relleno | Hilos estambres |
| Encaje | Mostacillas |
| Alfileres | Tabla o base |
| Silicón |
Paso 1:
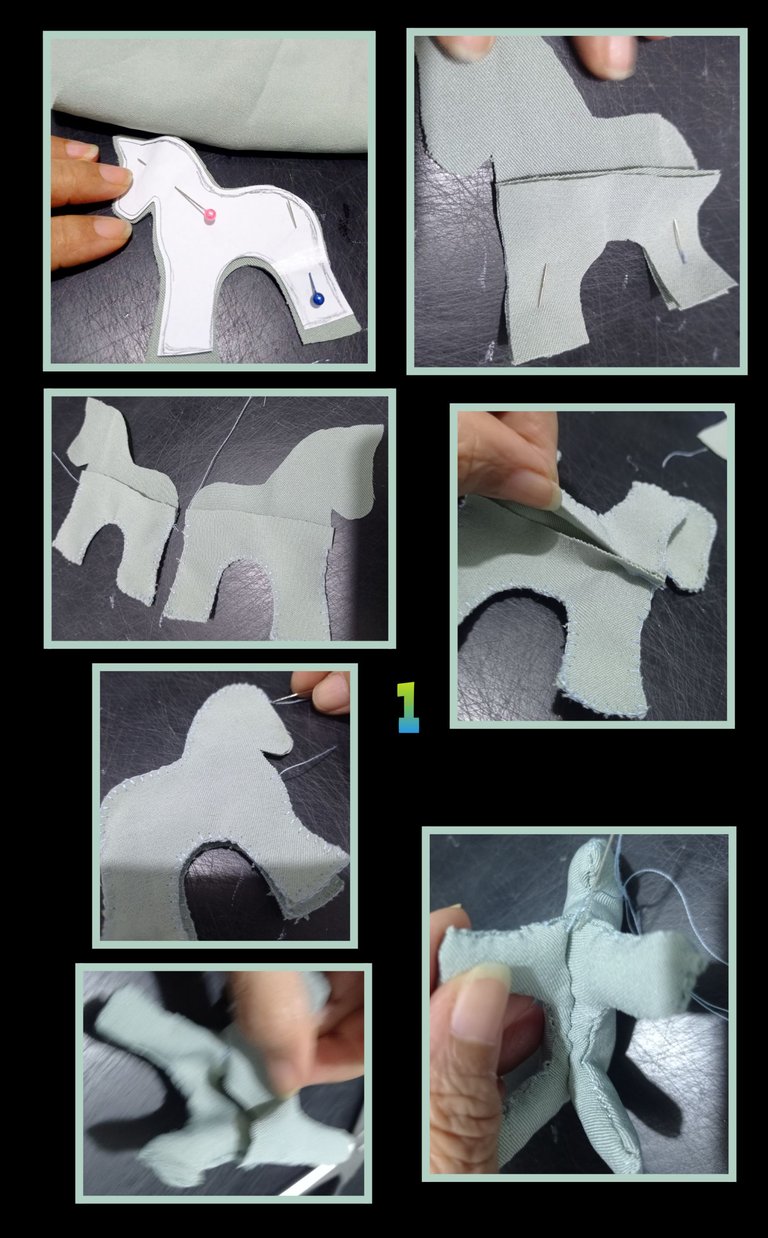
- Recorta el molde o silueta del caballito y fija con alfileres en la tela, recorta dos partes completas, a parte recorta dos (2) piezas de la mitad (parte inferior).
- Ahora coloca cada mitad a las piezas completas y comienza a coser por toda la orilla, luego coloca una pieza sobre la
otra juntando las mitades y cose por todo el contorno dejando solo en centro sin coser y por ahí voltea el caballito para luego rellenar con algodón.
-Y ahora cose y cierra en la parte de abajo como se muestra en la última foto de este paso.
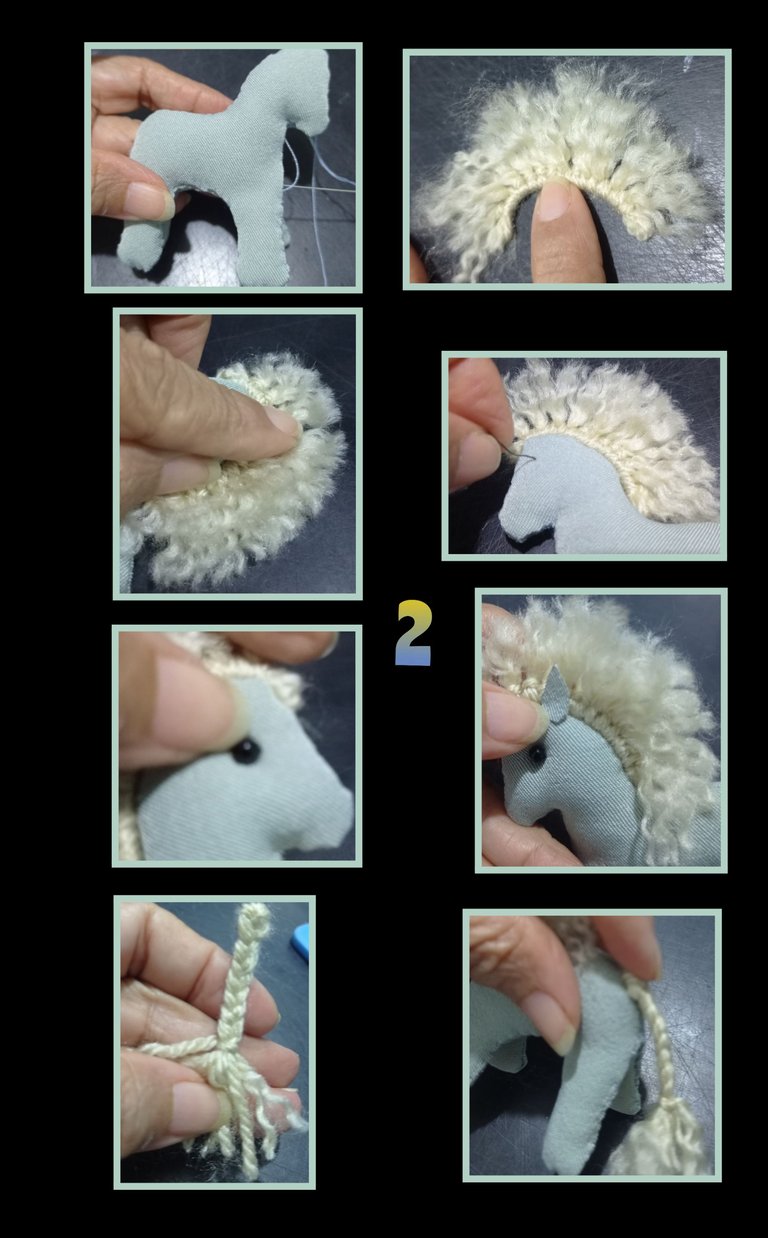
Paso 2:
 .
.
- Así quedó armado, ahora con estambre puedes hacer la crin con tela, hilos estambres o con lo que tengas a mano, este la realicé recortando trocitos de hilo de 6cms los cuales iba anudando en uno que deje a lo largo, luego con peine para soltar las tres hebras que trae el hilo y recorté por la orilla dejando bien alta y quité los sobrantes.
- Luego aplica un poquito de silicón desde la parte de arriba de la cabeza y pega la crin, aparte con una aguja con hilo negro cose los ojos (mostacillas) y fija bien.
- Recorta unas orejas y pega a los lados, después teje una crineja, esmota la punta y pega como cola.
Paso 3:
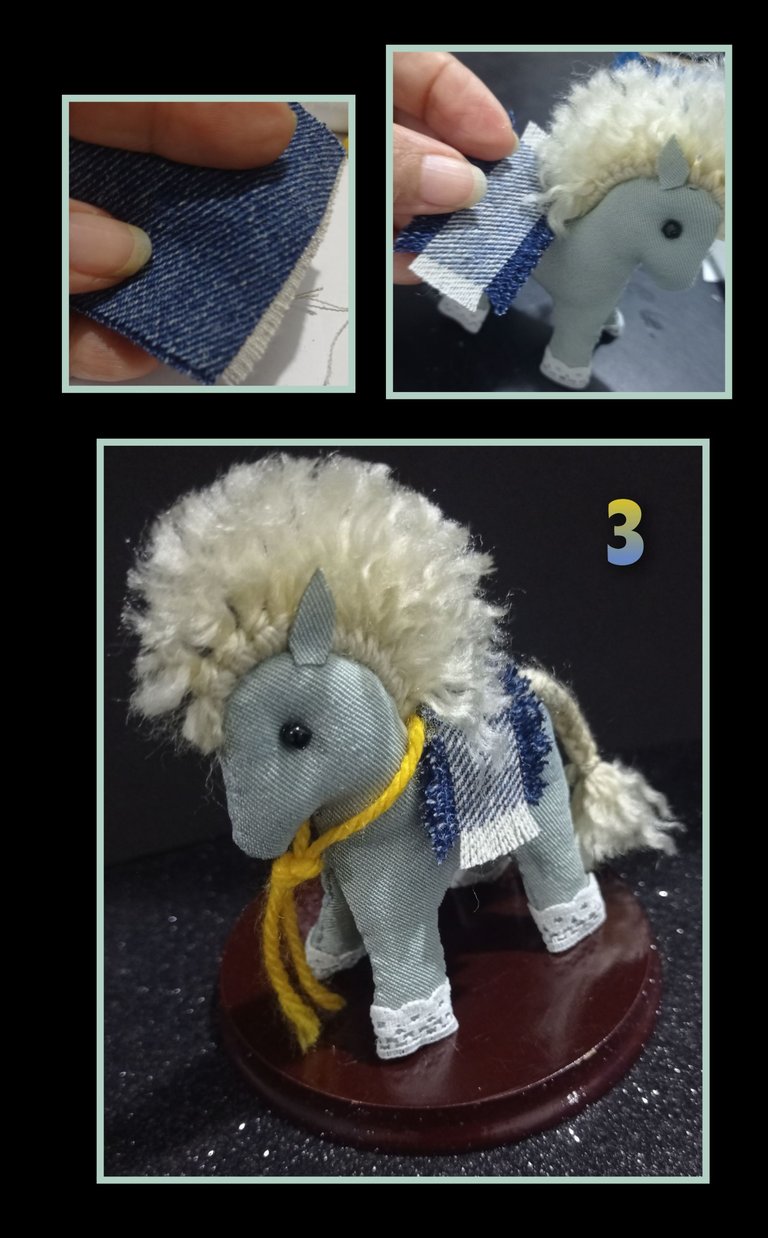
- En este último paso, recorta un trocito de tela de jeans e hilacha por los lados, pega como si fuera la silla, luego en las patas pega una orilla con encaje o cinta, después amarra un cordón o rienda y monta sobre la base, así quedará terminado este tierno caballito.
https://www.pinterest.es/pin/476255729361746806/
El traductor: DeepL
Etiquetas HTML
Teléfono Redmi Note 9
Editor de fotos: GridArt.
Ahora espero mi tutorial te sea útil y que te animes a realizarlo.
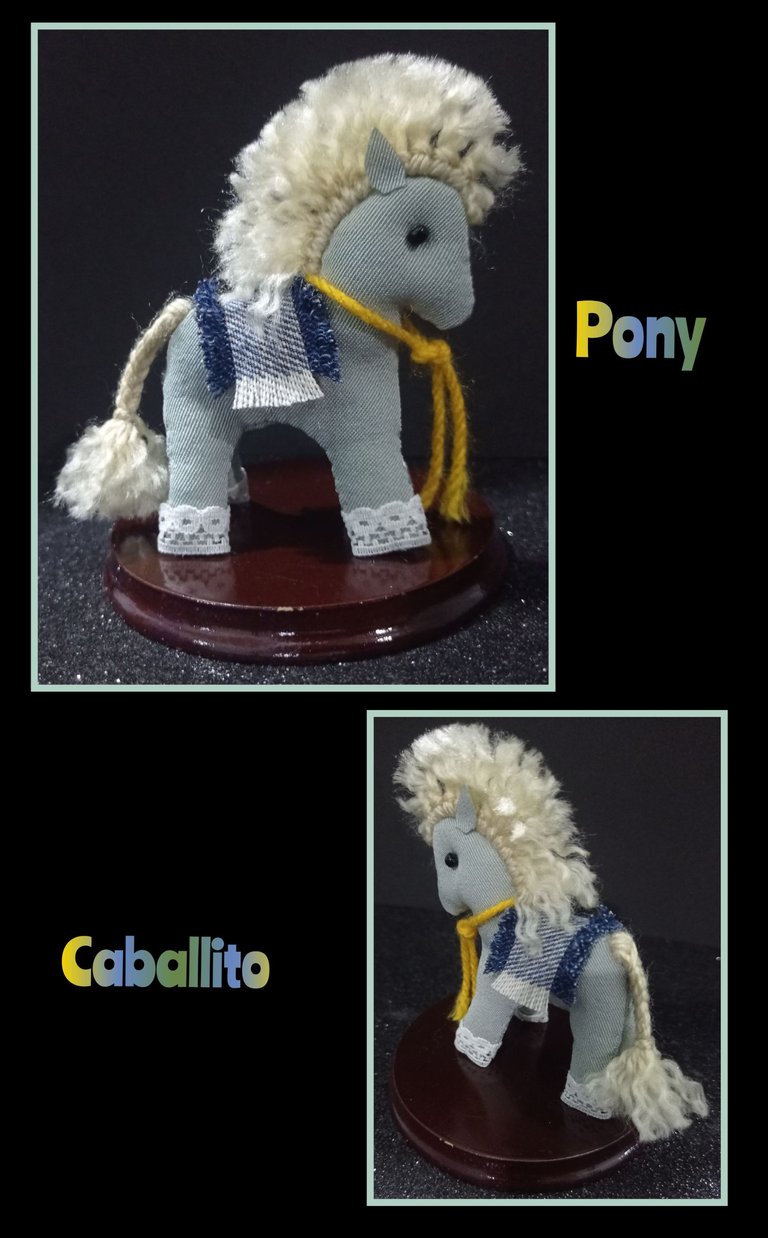
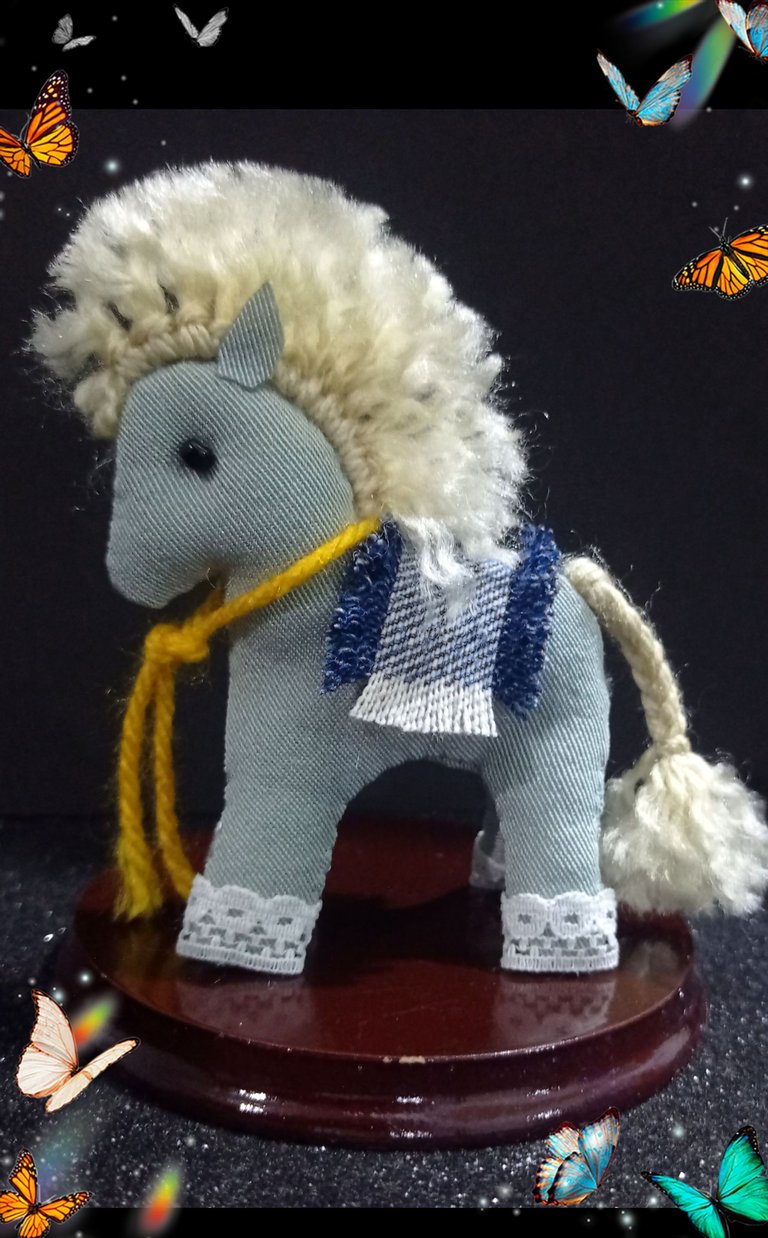
Aquí te dejo otras fotos para que veas el resultado.
Me despido feliz de compartir contigo mi paso a paso.
Gracias por tu visita y apoyo.
Y Recuerda si queremos podemos, solo hay que intentarlo!
Hazlo conmigo.
Hello to all my friends who visit me today, today I bring you an easy and simple hand sewing tutorial, in which I show you how to make a little horse (Pony) made with fabric cuttings.
Note: If you have a machine you can also sew it, but I find it easier to sew it by hand, when they are small pieces.
So I invite you to join me in the process and look for these materials:
| Mold | Fabric |
|---|---|
| Threads and needle | Scissors |
| Cotton or stuffing | Threads and stamens |
| Lace | Beads |
| Pins | Board or base |
| Silicone |
Step 1:
- Cut out the horse silhouette and pin it to the fabric, cut out two full pieces, then cut out two (2) pieces from the middle (bottom).
- Now place each half to the complete pieces and start sewing all around the edge, then place one piece on top of the other, joining the halves and sewing them together.
then place one piece on top of the other joining the halves and sew all the way around leaving only the center unsewn and then turn the pony over and fill it with cotton. - Now sew and close the bottom as shown in the last picture of this step.
Step 2:
- Now with yarn you can make the mane with fabric, yarn stamens or whatever you have at hand, this one I made it by cutting pieces of yarn 6cms which was knotting in one that I left along, then with comb to release the three strands that brings the thread and cut along the edge leaving well high and removed the leftovers.
- Then apply a little bit of silicone from the top of the head and glue the mane, apart with a needle with black thread sew the eyes (beads) and fix well.
- Cut out some ears and glue them to the sides, then weave a mane, trim the tip and glue as a tail.
Step 3:
- In this last step, cut out a small piece of jeans fabric and thread on the sides, glue as if it were the saddle, then on the legs glue a border with lace or ribbon, then tie a cord or rein and mount on the base, this way this cute little horse will be finished.
https://www.pinterest.es/pin/476255729361746806/
Translator: DeepL
HTML tags
Redmi Note 9 phone
Photo editor: GridArt.
Now I hope my tutorial is useful to you and that you are encouraged to make it.
Here I leave you other photos so you can see the result.
I am happy to share with you my step by step.
Thanks for your visit and support.
And remember if we want we can, we just have to try!
Do it with me.