
Hola mis queridos creadores y amigos que hoy me visitan.
¡Entonces acompáñame!
Necesitarás:
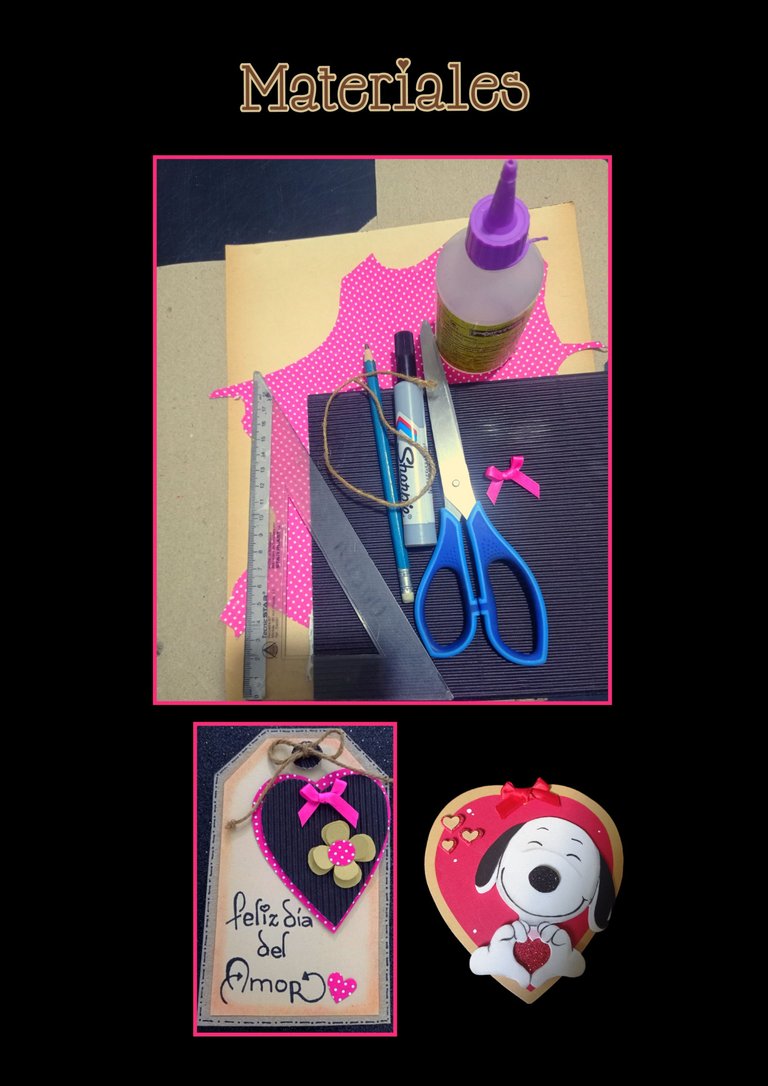
| Recortes de cartón, cartulinas y foami | Tijera |
|---|---|
| Cinta, mecatillo | Lápiz y marcador |
| Regla | Silicón |
Comencemos con el tutorial:
Paso 1:
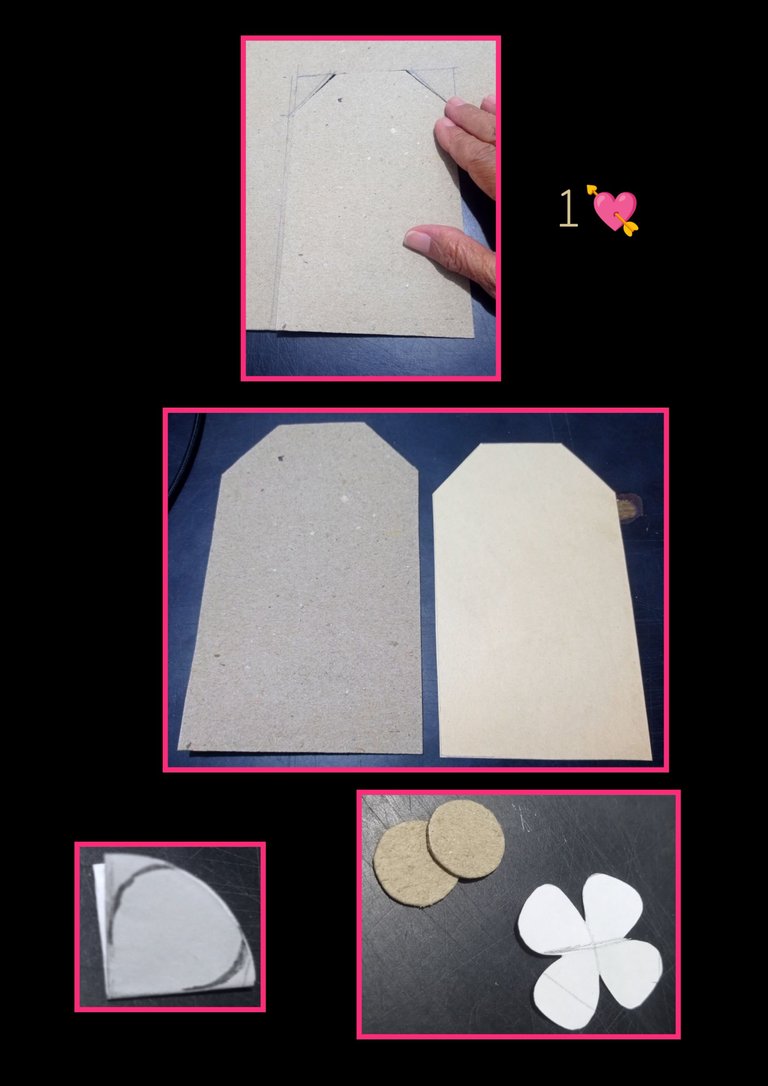
- Dibuja en el cartón la forma que quieras para tu tarjeta y recorta una (1) pieza, luego marca sobre la cartulina beige y reduce un centímetro a cada lado y recorta 2 piezas.
- Aparte recorta un (1) círculo y divide en cuatro partes iguales y dibuja la forma de un pétalo y recorta para formar la flor, también recorta dos (2) círculos de 1,5cm en cartón.
Paso 2:
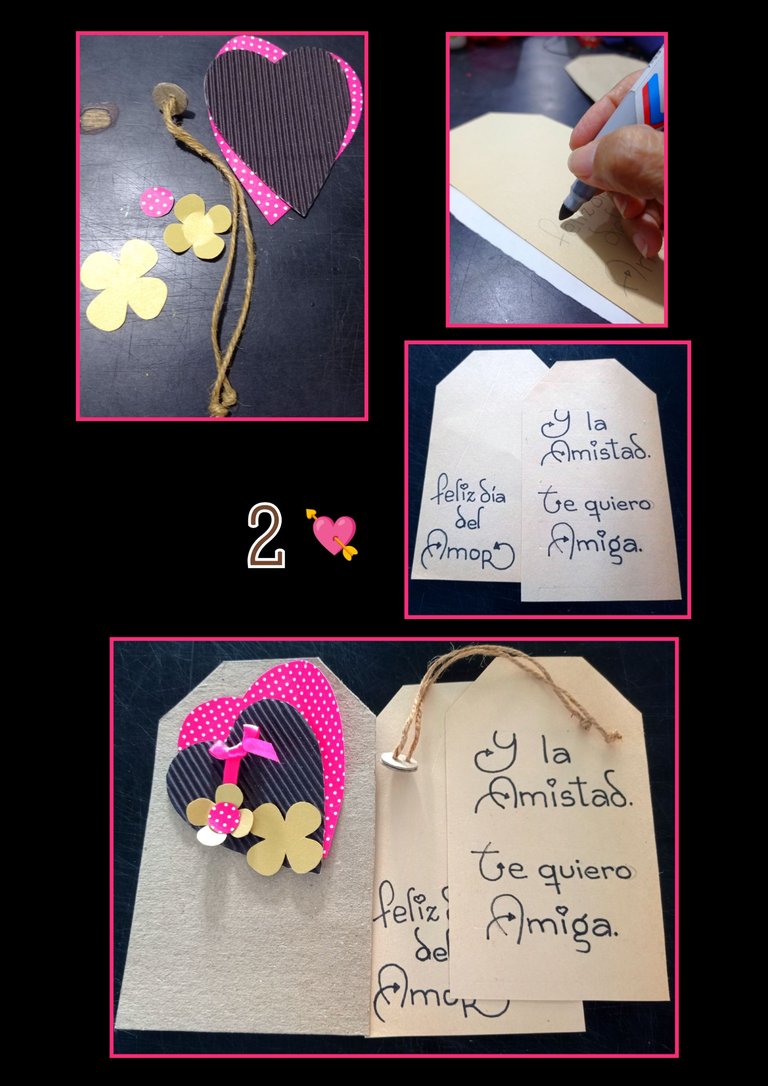
- También recortarás (2) corazones grandes en los colores de tu preferencia, a los círculos abrir dos orificios para hacer un botón e insertar el mecatillo y recorta 2 florecitas para decorar los corazones.
- Después, con un marcador escribe una frase o dedicatoria.
- Así quedarán todas las piezas listas para armar la tarjeta.
Paso 3:
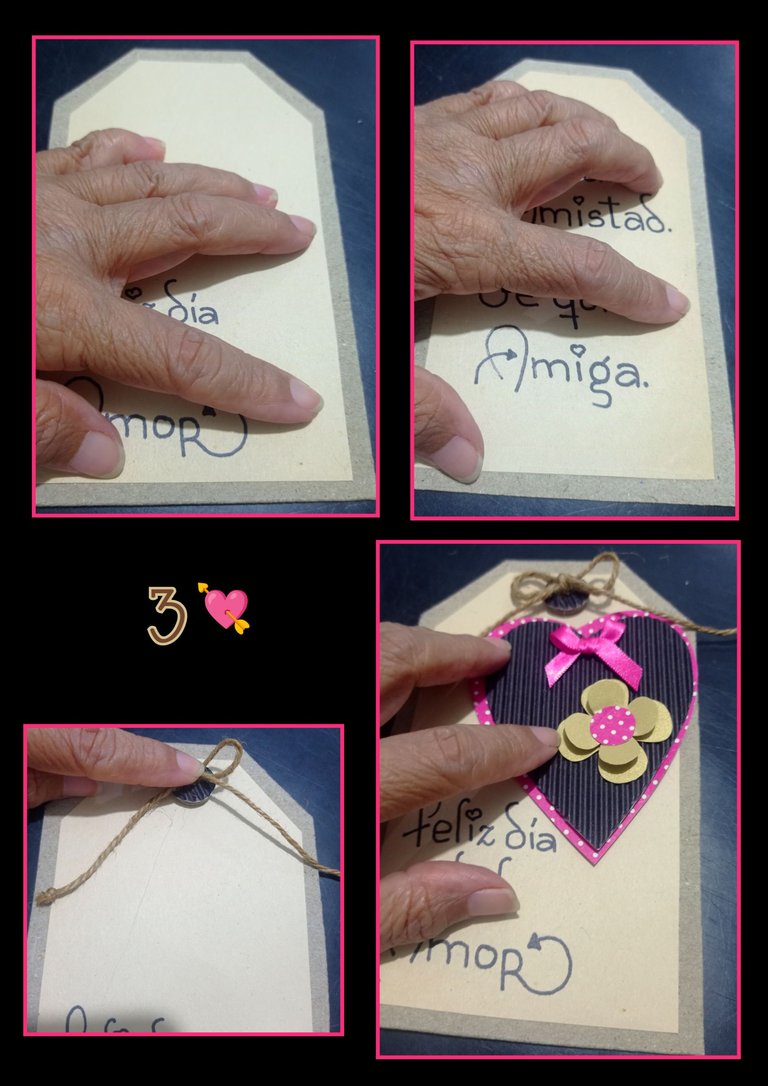
- Aplica silicón en las piezas de cartulina y pega en ambos lados del cartón y deja secar.
- Pega el botón hecho y haz un lazito con el mecatillo.
- Luego pega un corazón sobre otro y decora con la flor y el lacito de cinta.
Paso 4:
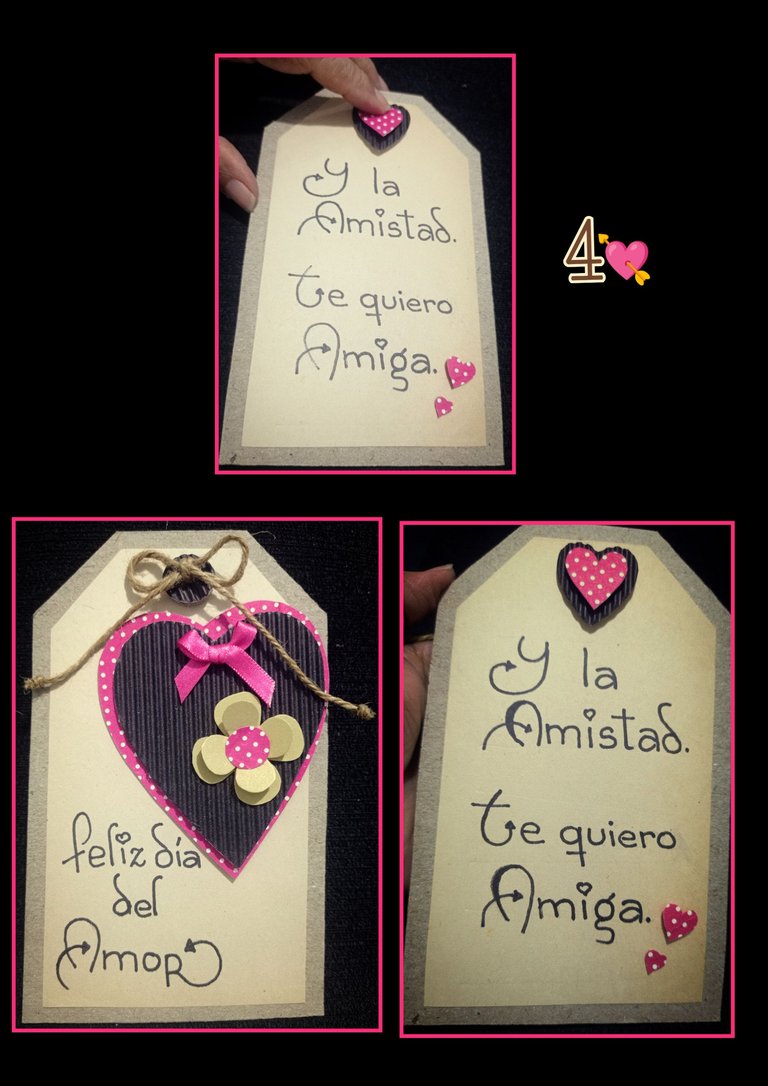
- Ahora en la parte posterior, decora con corazoncitos.
¡Así va quedando!
Paso 5:
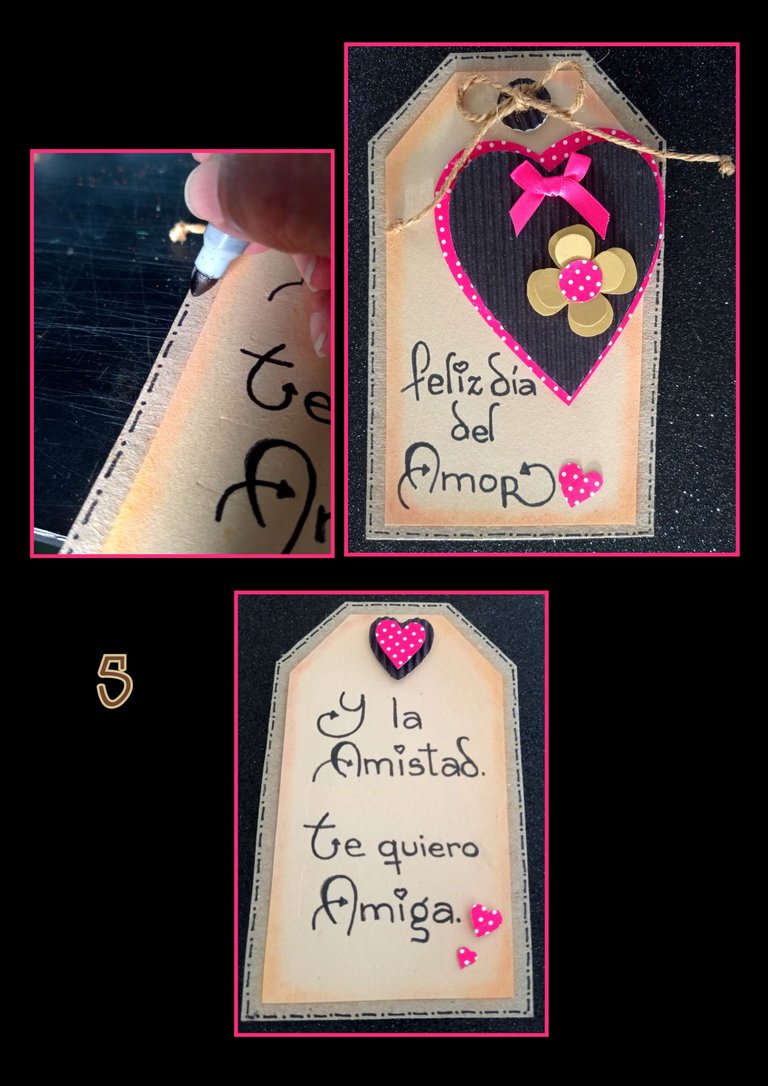
- Por último, puedes pasar tiza por las orillas y hacerle mini líneas y puntos al cartón usando marcador punta fina.
Paso 6:
Tarjeta de snoopy.

- Calca o imprime el dibujo, luego transfiere colocando el dibujo sobre el foami y frota con la tijera hasta pasar todo el dibujo.
- Recorta la figura y comienza pintando las orejas con marcador negro, recorta la nariz en foami negro.
Paso 7:
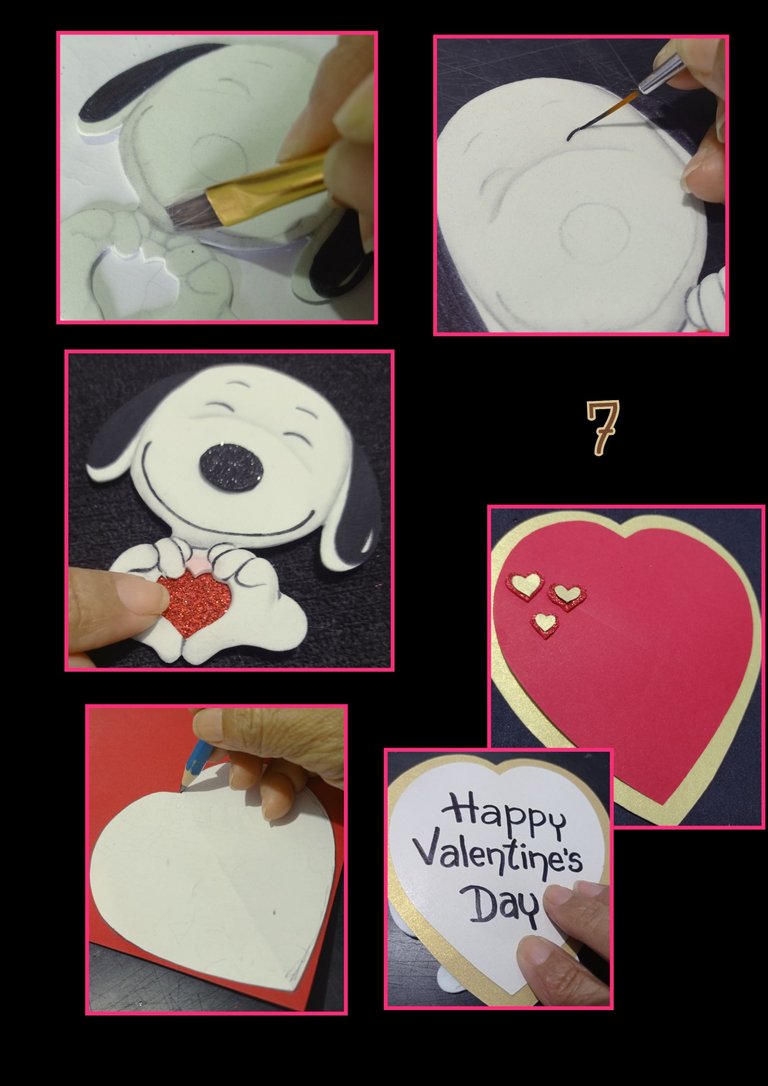
- Con pintura gris, para por el borde del snoopy, orejas y manos.
- Ahora delinea ojos, cejas, boca y manos, luego recorta un corazón en foami rojo escarchado y pega por la parte de atrás de las manitos y deja secar.
- Ahora recorta dos corazones, uno en cartulina dorada mate y otro en rojo y para decorar recorta, pega mini corazones y un lacito.
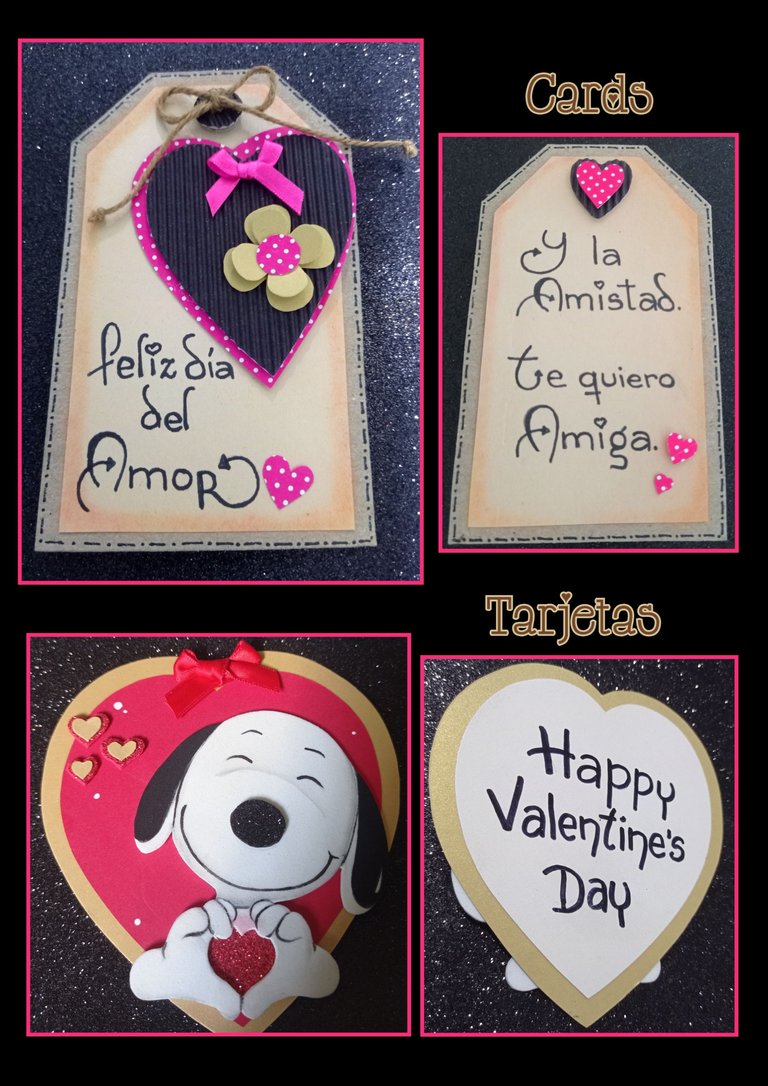
- Por último recorta un corazón en cartulina blanca y escribe una frase con marcador y pega en la parte posterior, así de fácil quedará lista.
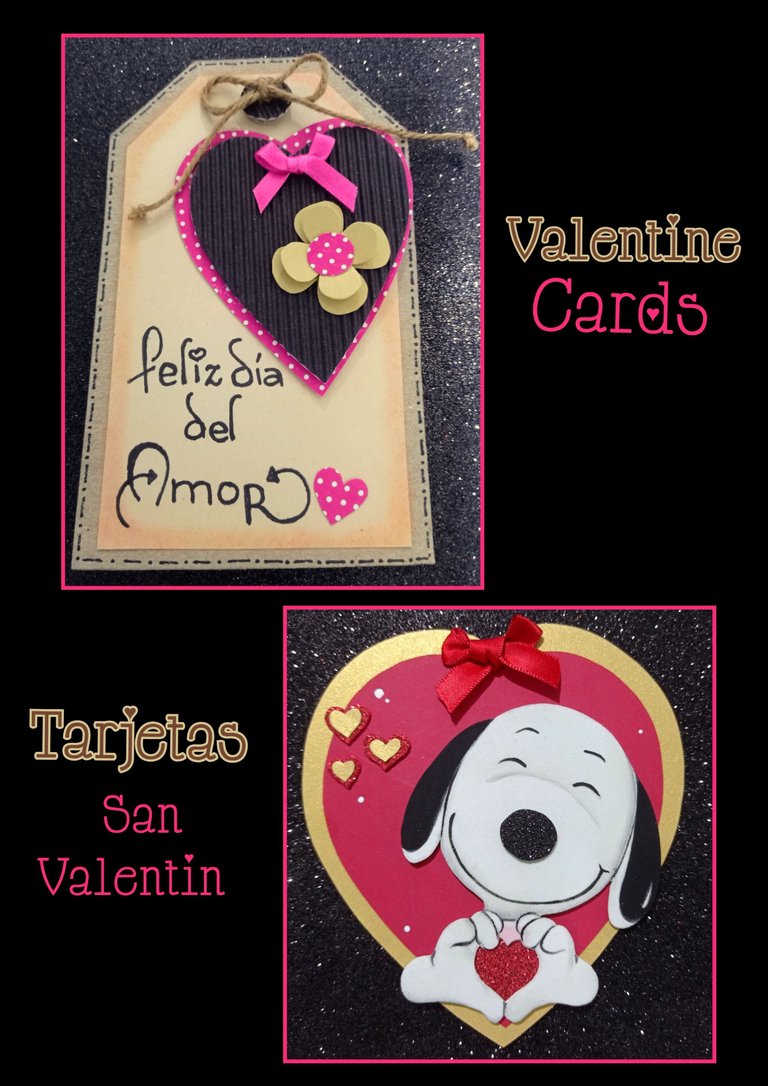
Ahora te muestro el resultado final de las dos tarjetas para obsequiar en San Valentín.
Editor de fotos: GridArt
Teléfono: Redmi Note 9.
Fuente:https://es.pinterest.com/pin/476255729363516479/
Y llegó la hora de despedirme, feliz de haber compartido mi tutorial con ustedes y deseando haya sido de su agrado y sirva de guía por si te animas a regalar un detalle bien lindo y sencillo.
Muchas gracias por tu visita y apoyo.
****************************English****************************
Hello my dear creators and friends who visit me today.
So join me!
You will need:
| Cardboard cut-outs, cardboard and foami | Scissors |
|---|---|
| Tape, string | Pencil and marker |
| Ruler | Silicone |
Let's start with the tutorial:
Step 1:
- Draw on the cardboard the shape you want for your card and cut out one (1) piece, then mark on the beige cardstock and cut out one centimeter on each side and cut out 2 pieces.
- Separately cut out one (1) circle and divide into four equal parts and draw the shape of a petal and cut out to form the flower, also cut out two (2) circles of 1.5cm on cardboard.
Step 2:
- You will also cut out (2) large hearts in the colors of your choice, cut out two holes in the circles to make a button and insert the little rocker and cut out 2 little flowers to decorate the hearts.
- Then, with a marker, write a phrase or dedication.
- All the pieces will be ready to assemble the card.
Step 3:
- Apply silicone on the cardboard pieces and glue on both sides of the cardboard and let dry.
- Glue the button on the cardboard and make a little bow with the mecatillo.
- Then glue one heart on top of the other and decorate with the flower and ribbon bow.
Step 4:
- Now on the back, decorate with little hearts.
Here's how it looks!
Step 5:
- Finally, you can chalk the edges and make mini lines and dots on the cardboard using a fine tip marker.
Step 6:
Snoopy card.
- Trace or print the drawing, then transfer by placing the drawing on the foami and rubbing with the scissors until you get all the way through the drawing.
- Cut out the figure and start by painting the ears with black marker, cut out the nose in black foami.
Step 7:
- With gray paint, stop by the edge of the snoopy, ears and hands.
- Now outline eyes, eyebrows, mouth and hands, then cut out a heart in frosted red foami and glue on the back of the little hands and let dry.
- Now cut out two hearts, one in gold matte cardboard and the other in red and to decorate cut out, glue mini hearts and a bow.
- Finally cut out a heart in white cardboard and write a phrase with a marker and glue it on the back, it will be ready just like that.
Now I show you the final result of the two Valentine's Day gift cards.
Photo editor: GridArt
Phone: Redmi Note 9.
Fuente:https://es.pinterest.com/pin/476255729363516479/
And it was time to say goodbye, happy to have shared my tutorial with you and wishing it was to your liking and serve as a guide if you dare to give a nice and simple detail.
Thank you very much for your visit and support.

