Saludos queridos amigos que hoy visitan mi Blog.
¡Así que te invito a que me acompañes y aprendas conmigo!
Materiales:
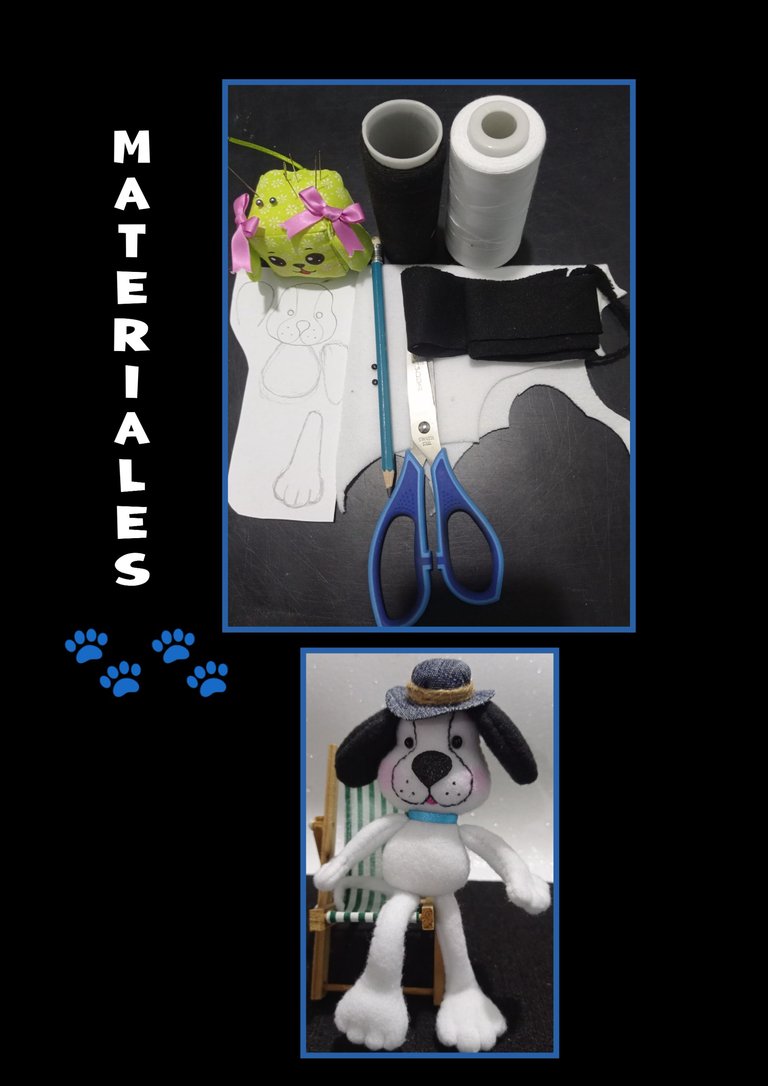
Tela polar, jean y relleno
Hilos y aguja
Tijera y lápiz
Mecatillo y cinta
Foami escarchado y mostacillas negras
Procedimiento:
PASO 1:
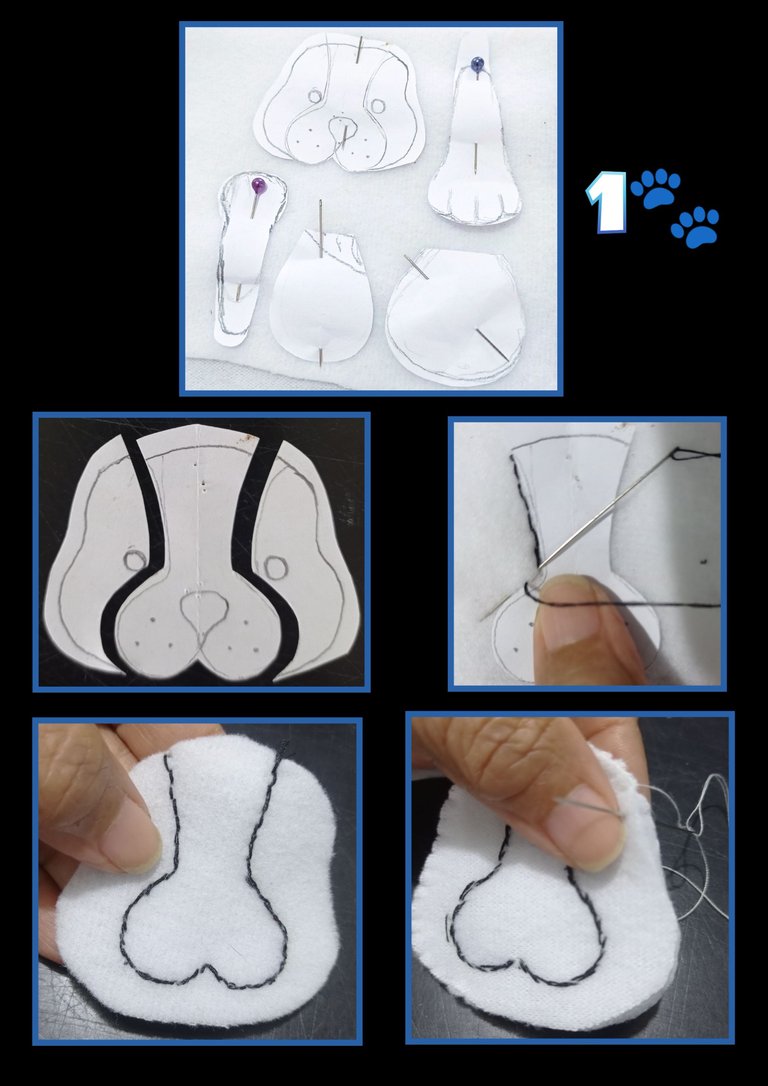
- Recorta los moldes y fija con alfileres sobre la tela doble y recorta.
- Luego desglosa la carita o cabeza, toma la pieza central y fija en el medio de la pieza delantera de la carita y comienza a coser con punto atrás por todo el contorno.
- Ahora une las dos piezas y cose por la orilla con punto ojal y deja un orificio en la parte inferior (sin costura).
Nota: los puntos (atrás y ojal) puedes encontrarlos en You Tube.
Paso 2:
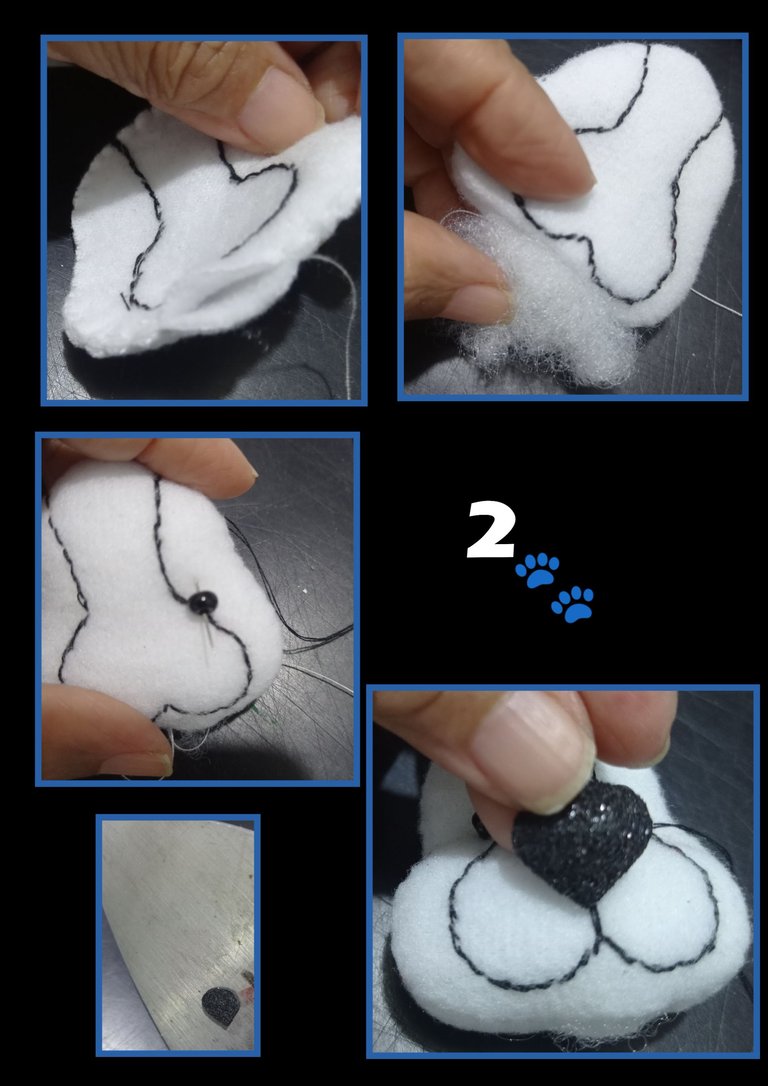
- Voltea la cabecita por el orificio y luego rellena con algodón.
- Cose los ojitos, recorta una nariz en foami escarchado negro, calienta la plancha y termoforma, luego aplica silicón y pega.
Paso 3:
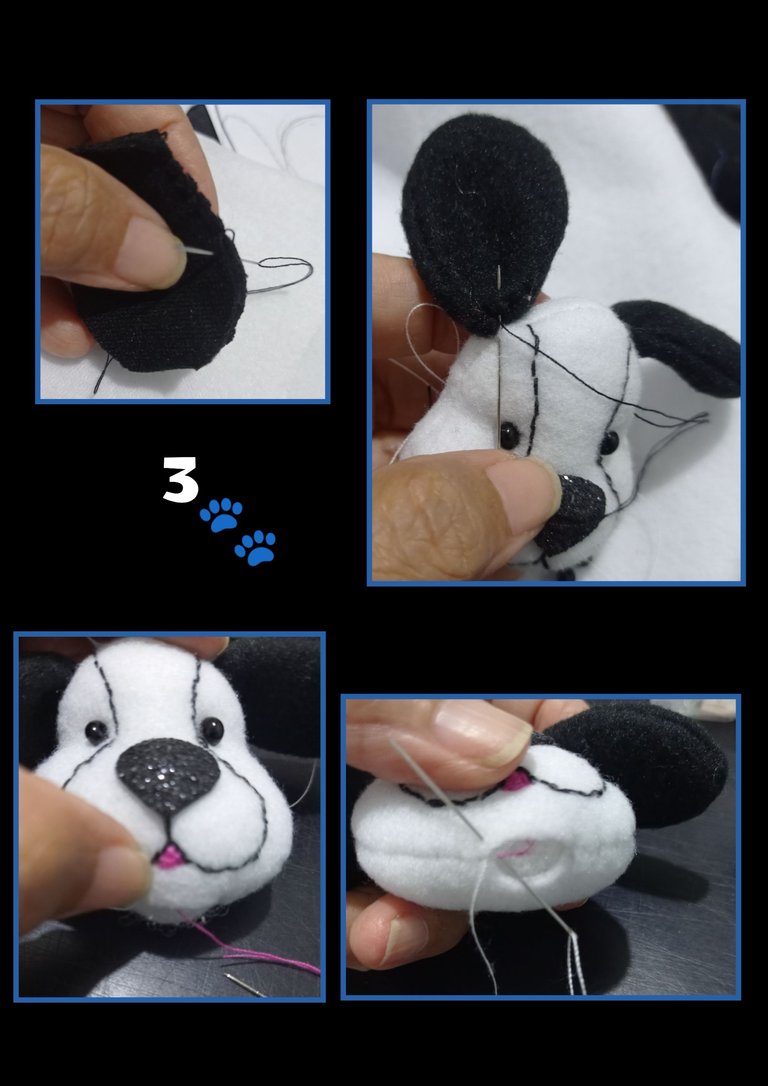
- Cose las orejas, voltea y luego cose a la cabeza.
- Borda la boca y luego cierra el orificio de la cabeza.
Paso 4:
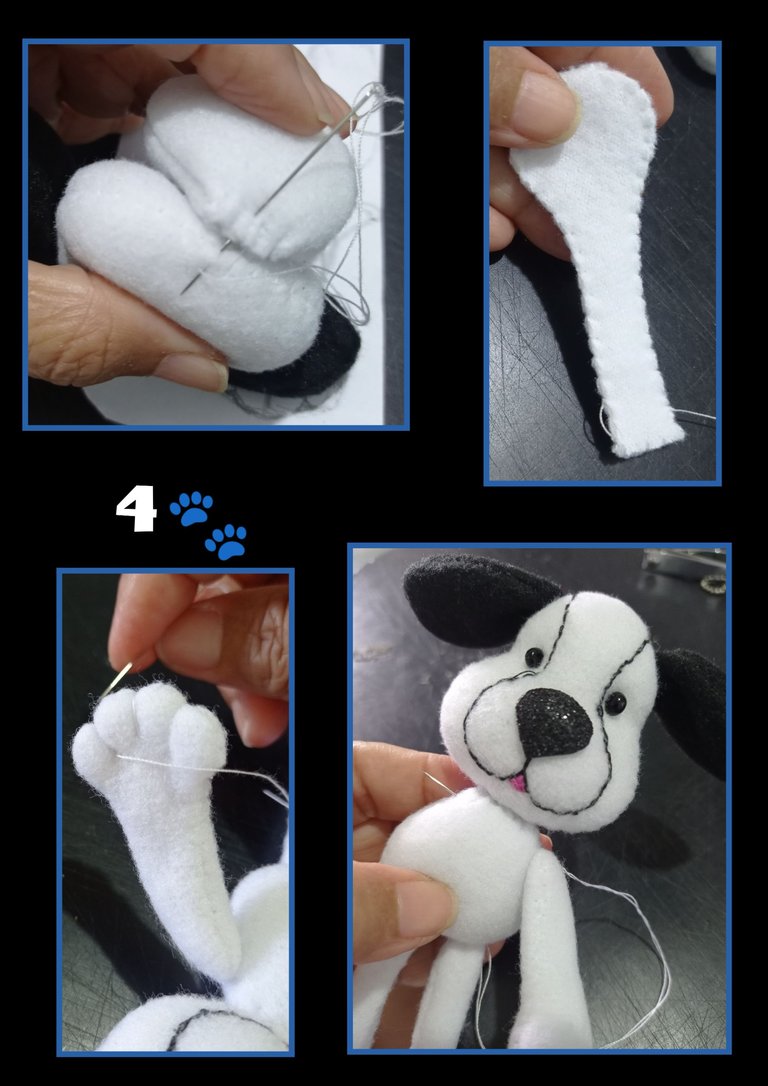
Cose el cuerpo, rellena y luego une la cabeza y cuerpo con costura.
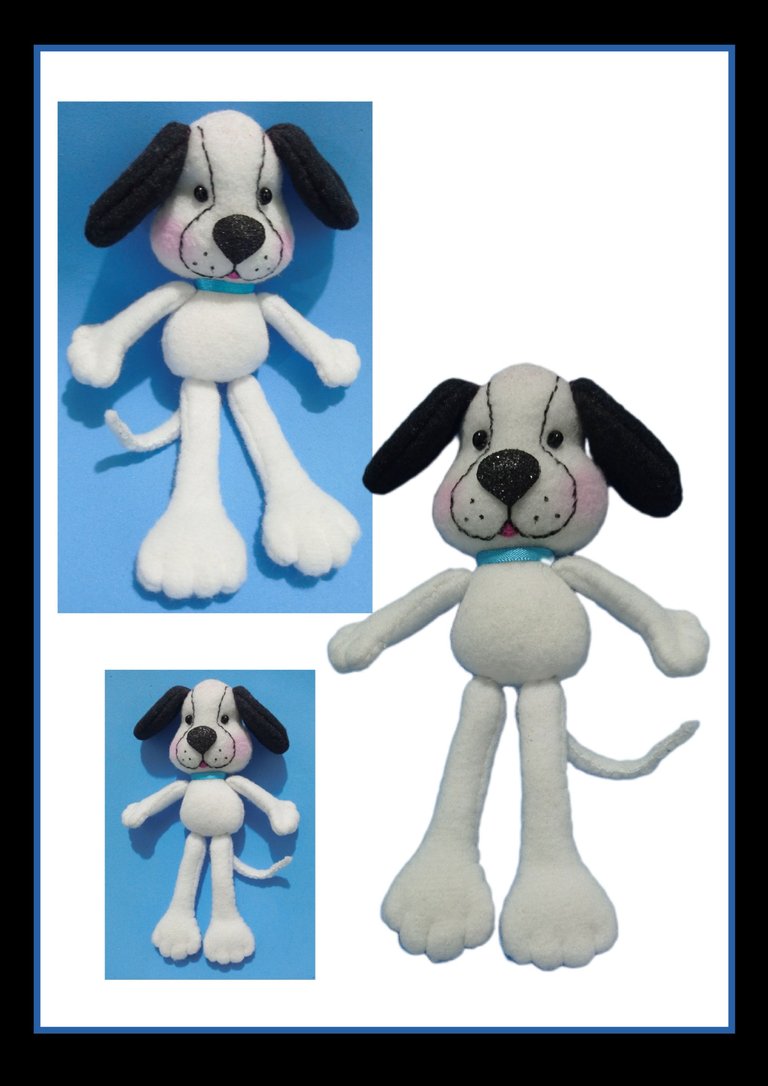
Ahora cose las patas, rellena y pega al cuerpo del perrito, luego divide las paticas en cuatro partes iguales y cose para hacer los deditos, (ver foto) y termina cosiendo las otras paticas al cuerpo, la cola y pega un collar con cinta.
Ya casi listo.
Paso 5:
Sombrero:

- Recorta 2 círculos en tela de jeans uno de 2,5 y otro de 3,5cms, luego hilvana el pequeño por la orilla y hala el hilo para reducir el tamaño y dar la forma de la copa y anuda para rematar.
- Ahora al círculo grande, haz un orificio en el centro, aplica silicón y pega la copa, puedes rellenarla con algodón para que no se unda.
- Luego puedes decorar con mecatillo o cinta de tela.
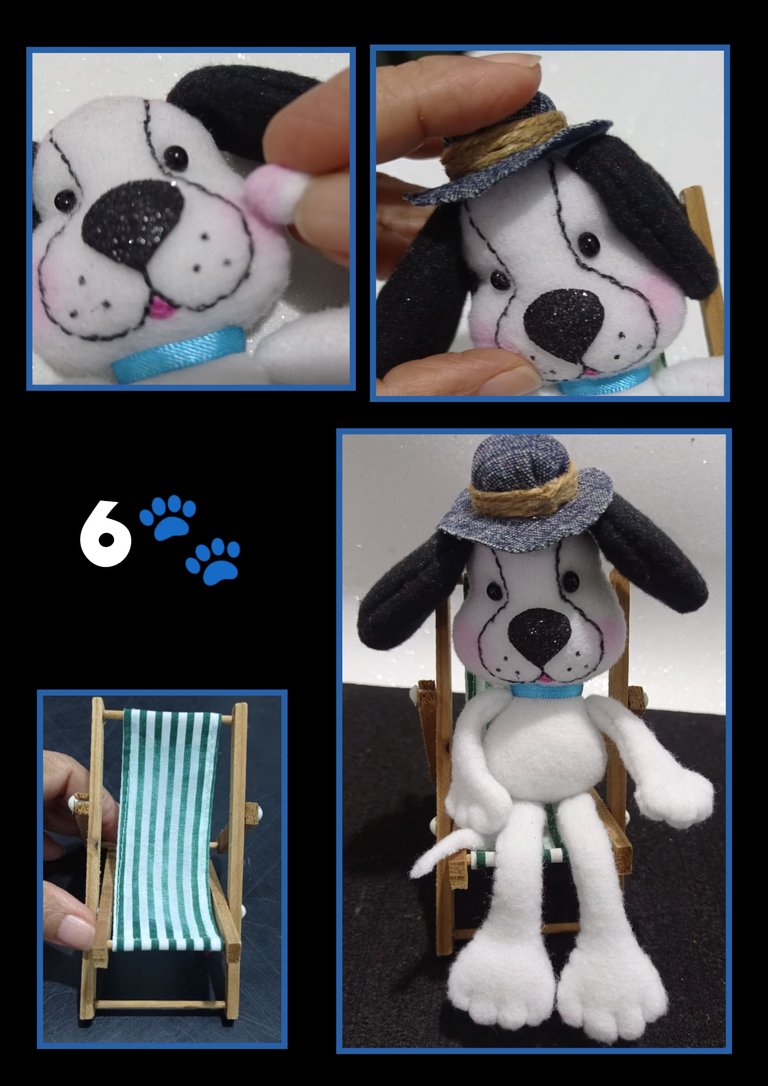
Por último aplica rubor en las mejillas y pon el sombrerito, si deseas puedes pegar o dejar suelto.
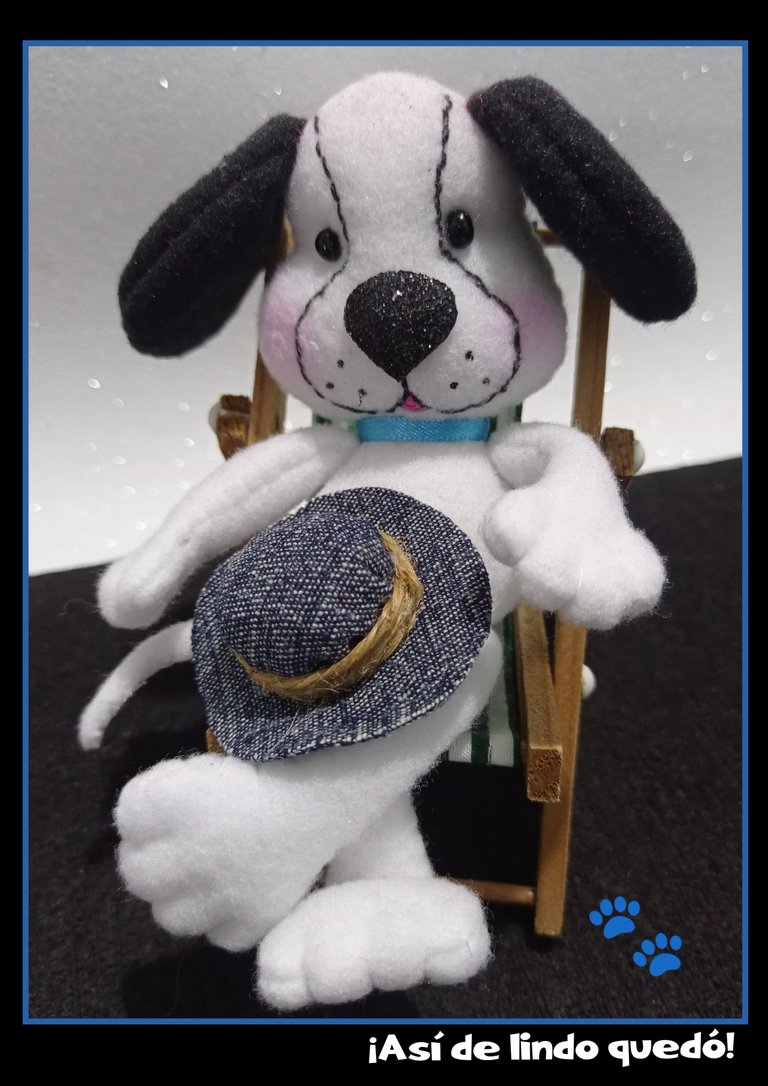
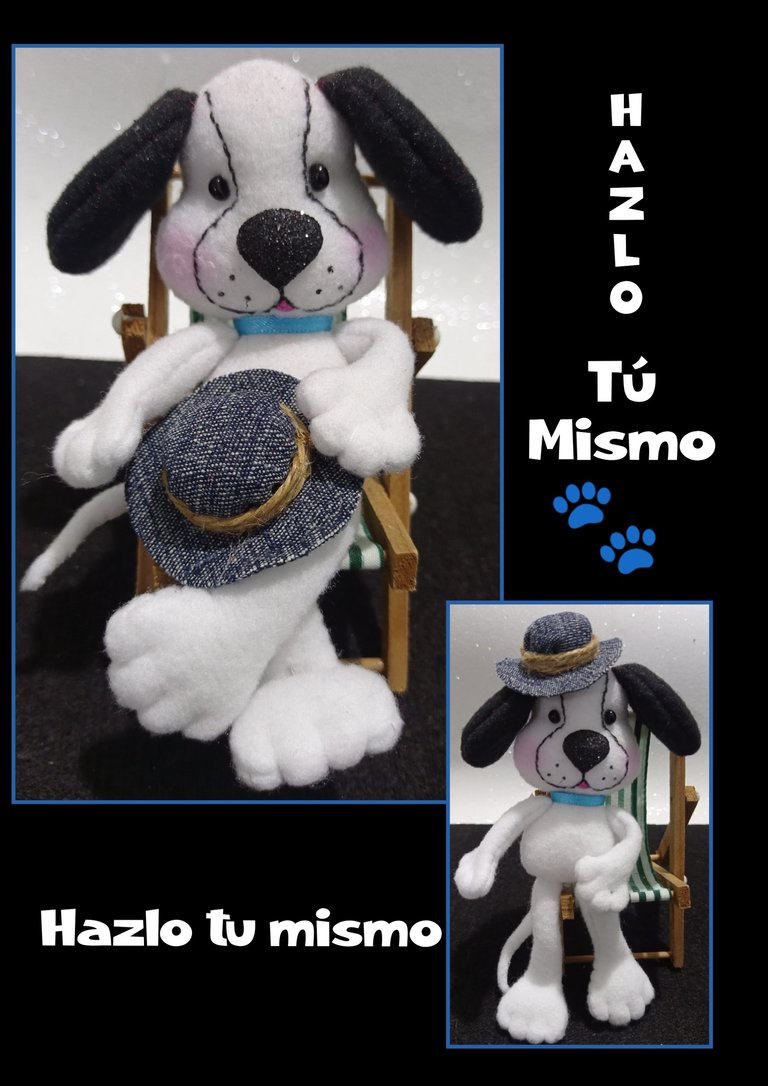
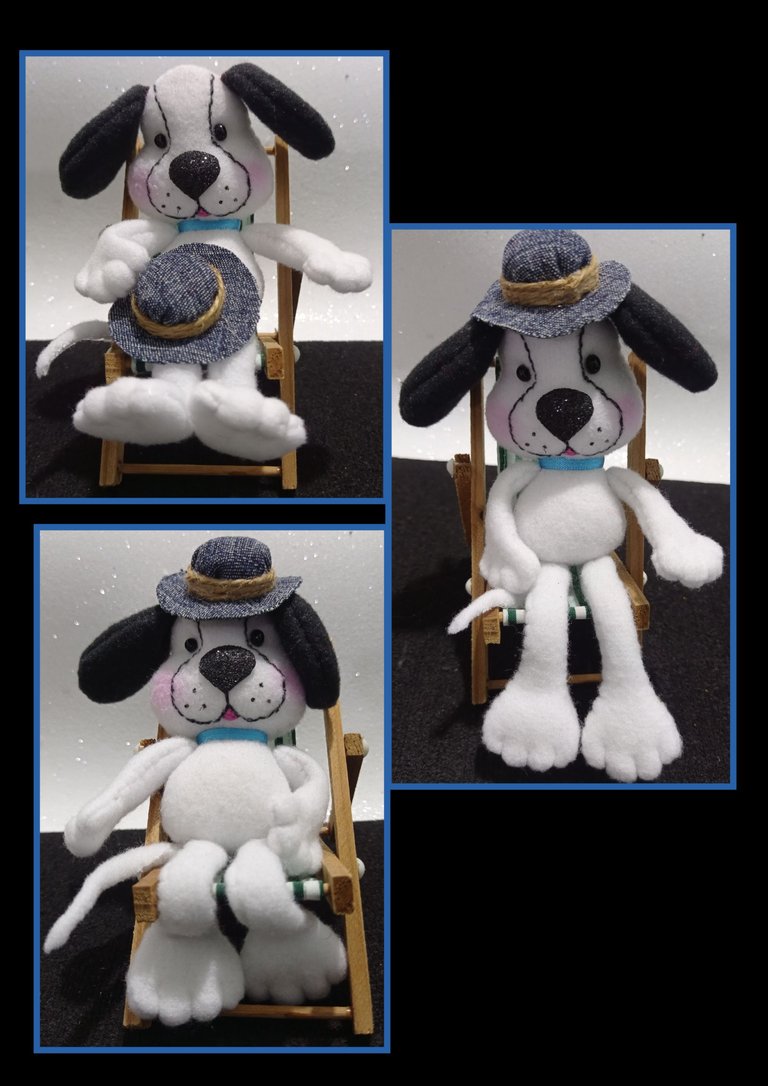
Como tenía una sillita playera, decidí sentarlo y quedó justa para el ja,ja,ja,ja,ja, y lo senté con varias poses para mostrarles unas fotos divertidas.
¡Espero sean de tu agrado!.
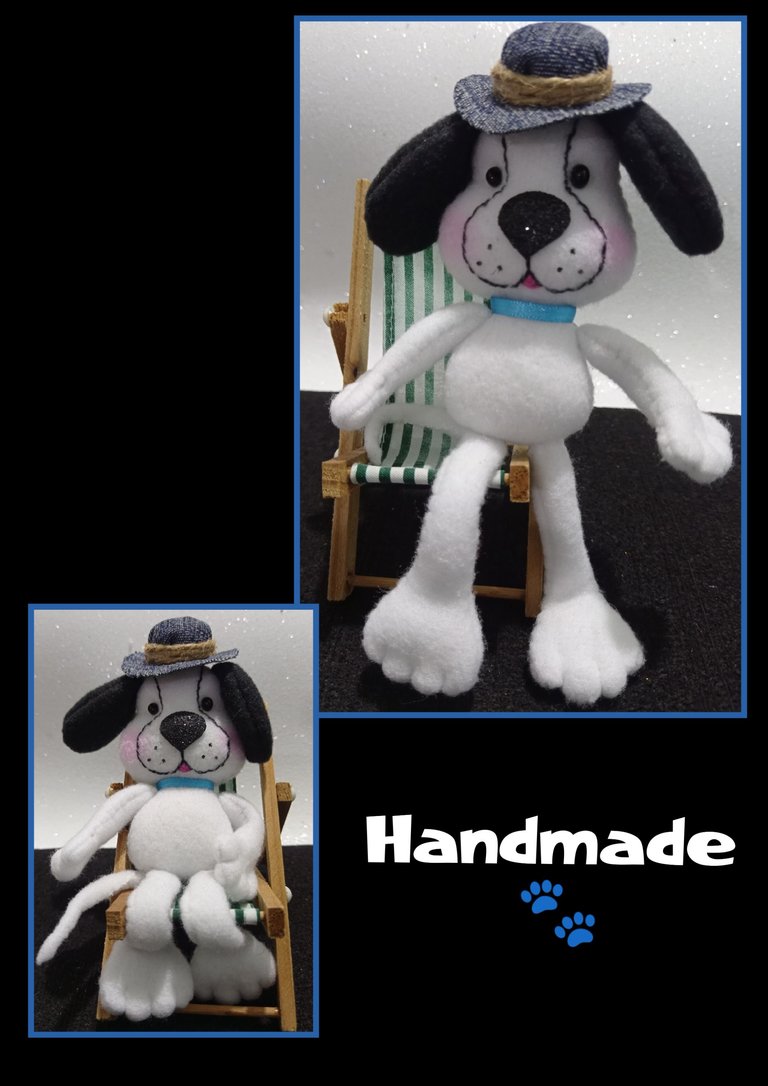
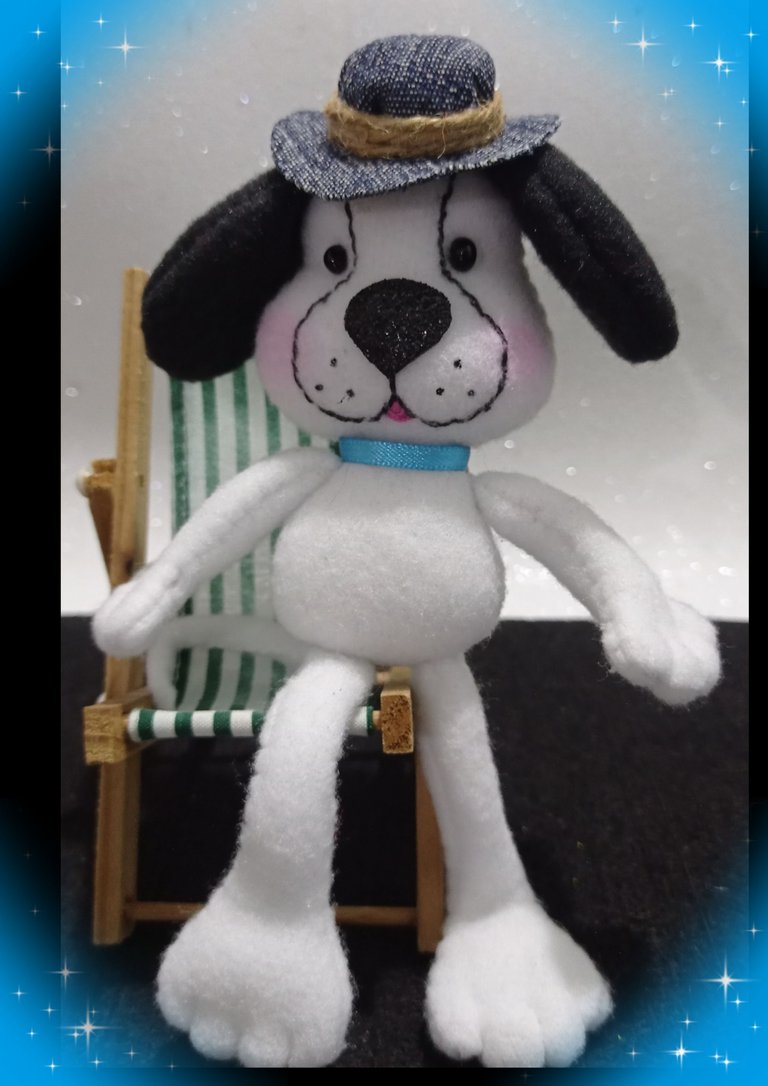
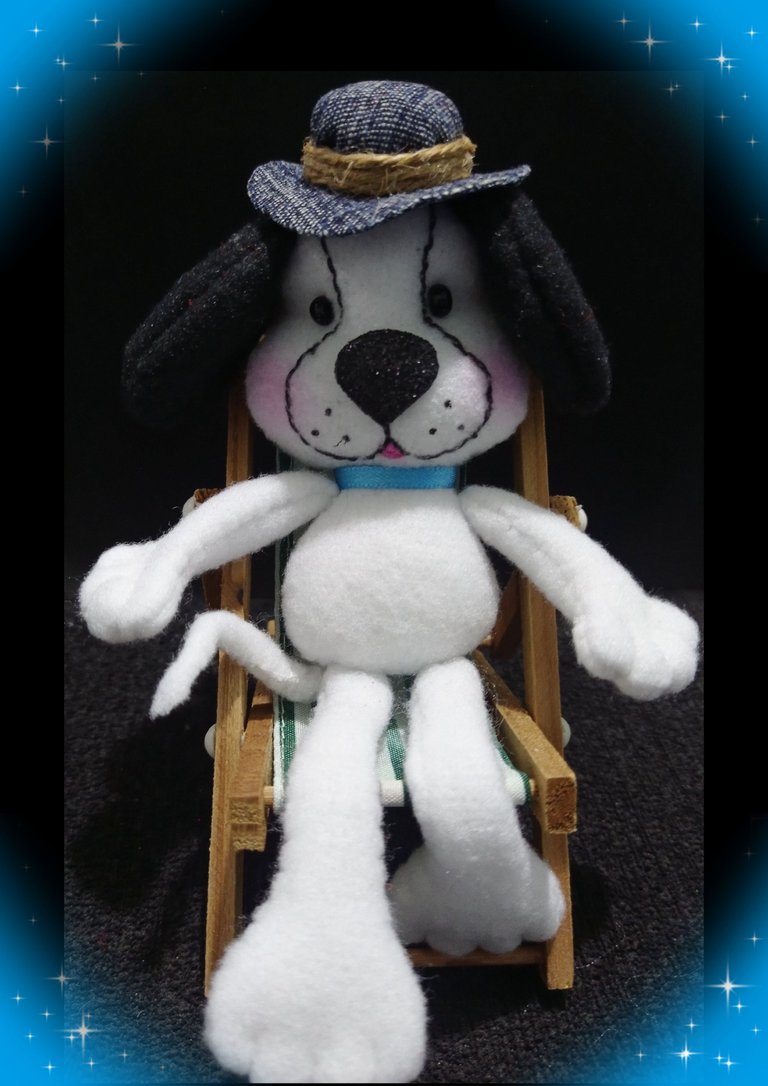
Fotos Editadas con GridArt
Teléfono: Redmi Note 9
Mis redes sociales: Xelmundodebetty
Instagram:elmundodebetty

Ahora me despido hasta mi próxima publicación, deseo y espero te haya gustado.
Muchas gracias por tu visita, apoyo y comentario.
Saludos.
English:


Greetings dear friends who are visiting my Blog today!
This beautiful doggy I sewed it completely by hand, I also made him a little hat with jeans fabric and I sat him in a little beach chair in which I think he looks very comfortable and elegant hahahahahaha, I hope you like it.
¡So I invite you to join me and learn with me!

Materials:
Polar fabric, denim and stuffing
Threads and needle
Scissors and pencil
Frosted foami and black beads *****Frosted foami and black beads
Frosted Foami and black beads
Procedure:
STEP 1:

- Cut out the molds and pin onto the double fabric and cut out.
- Next, cut out the face or head, take the center piece and pin in the middle of the front piece of the face and start sewing with backstitch all the way around.
- Now join the two pieces together and sew around the edge with buttonhole stitch and leave a hole at the bottom (no stitching).
Note: you can find the stitches (back and buttonhole) on You Tube.
Step 2:

- Flip the little head through the hole and then stuff with cotton.
- Sew the eyes, cut out a nose in black frosted foami, heat the iron and thermoform, then apply silicone and glue.
Step 3:

- Sew the ears, flip and then sew to the head.
- Embroider the mouth and then close the hole in the head.
Step 4:

Sew the body, stuff and then join the head and body with stitching.
Now sew the legs, stuff and glue to the body of the puppy, then divide the paws in four equal parts and sew to make the little fingers, (see photo) and finish by sewing the other paws to the body, the tail and glue a collar with ribbon.
Almost ready.

Step 5:
Hat:

- Cut out 2 circles in jeans fabric one of 2.5 and the other of 3.5cms, then thread the small one along the edge and pull the thread to reduce the size and give the shape of the cup and tie a knot to finish it off.
- Now make a hole in the center of the large circle, apply silicone and glue the cup, you can fill it with cotton so that it does not stick together.
- Then you can decorate it with ribbon or fabric ribbon.

Finally apply blush on the cheeks and put the hat, if you want you can glue or leave it loose.
As I had a beach chair, I decided to sit him and it was just right for him ha,ha,ha,ha,ha,ha,ha,ha, and I sat him with several poses to show you some funny pictures.
I hope you like them!


Photos Edited with GridArt
Phone: Redmi Note 9
My social networks: Xelmundodebetty
Instagram:elmundodebetty

Now I say goodbye until my next post, I wish and hope you liked it.
Thank you very much for your visit, support and comment.
Greetings.


