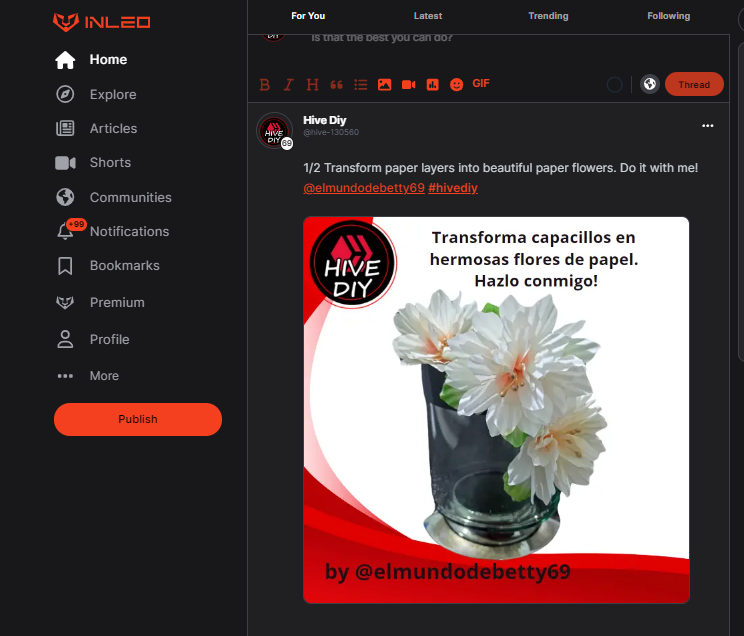
Hola queridos miembros y amigos de esta linda comunidad.
Bienvenidos sean todos.
Los materiales son:
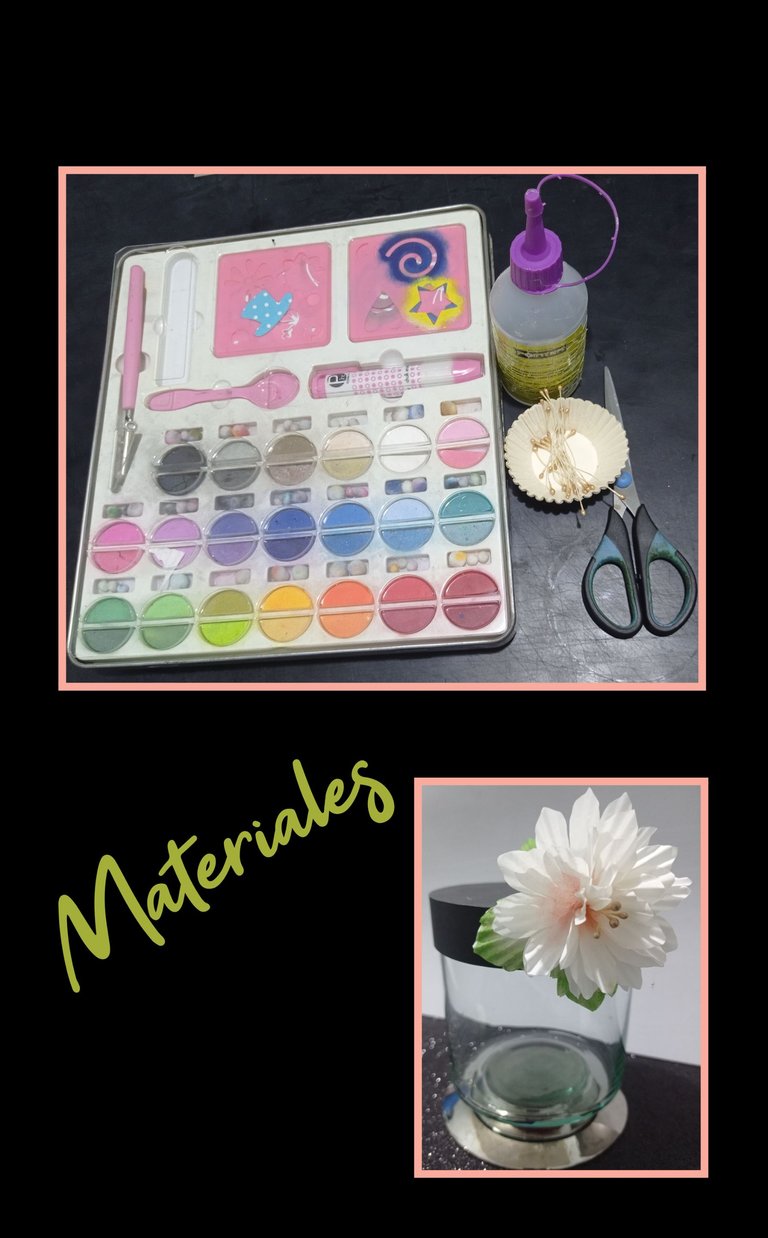
| Capacillos | Pistilos |
|---|---|
| Tijera | Tizas/sombras |
| Silicón |
Comencemos:
Paso 1:
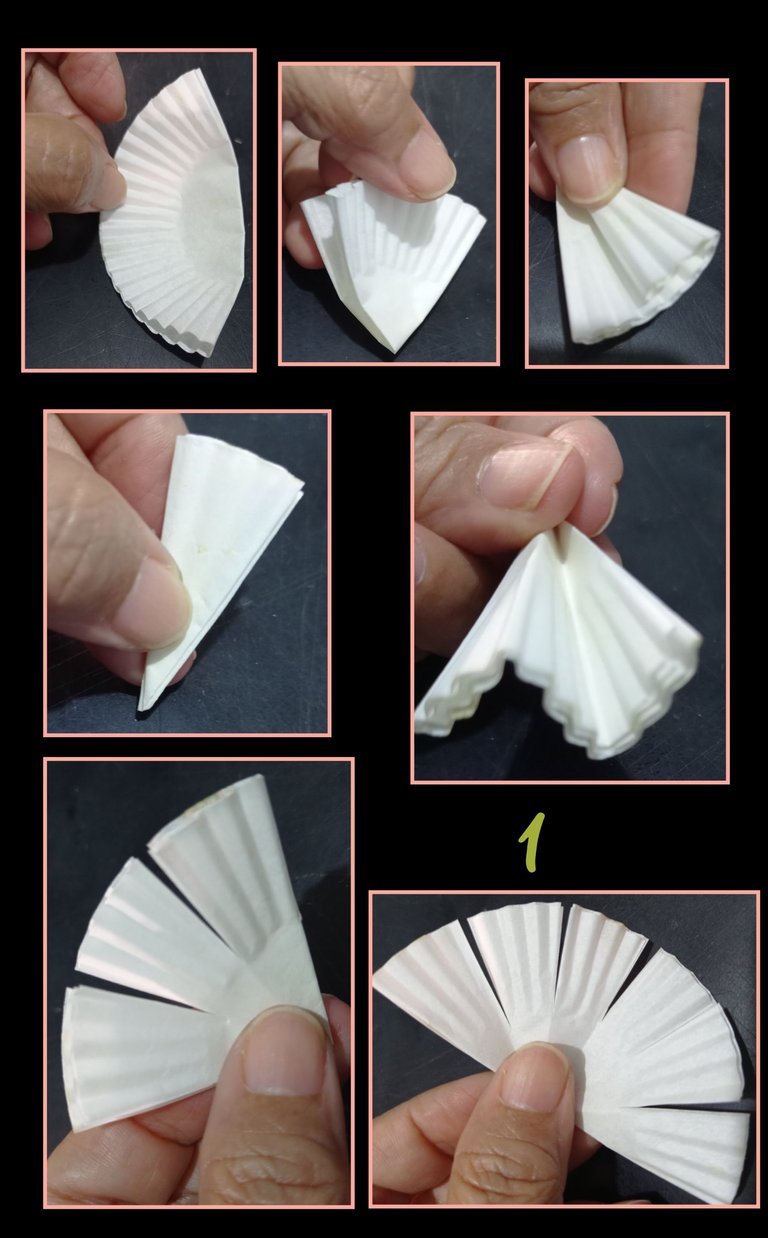
- Dobla a la mitad el capacillo, luego dobla nuevamente a la mitad que serán 4 partes.
- Ahora ese cuarto lo divides en 3 partes como se muestra en la foto, luego haz un corte en cada división y obtendrás en cada capacillo 12 pétalos.
Paso 2
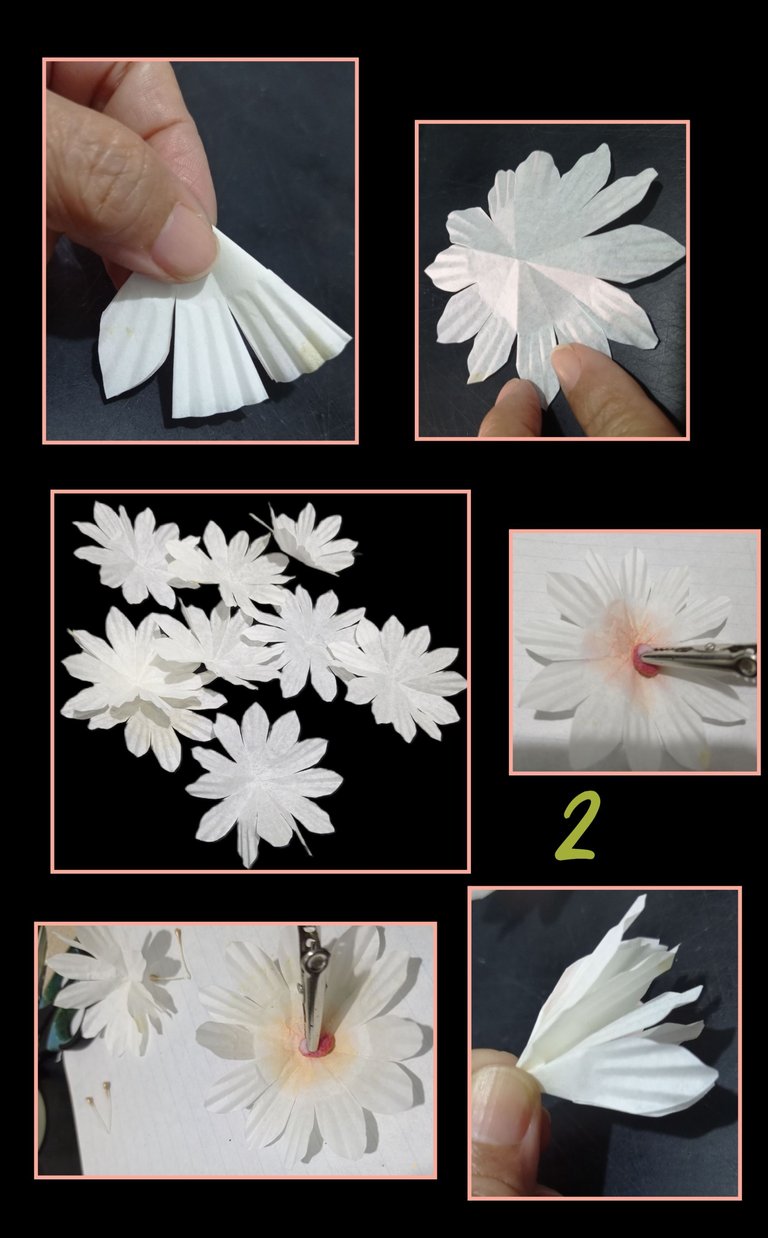
- Ahora recorta dando forma de pétalos a las divisiones y abre, así harás con todos, para realizar estas flores solo recorté 3 capacillos para cada una.
- Hecho esto, con un algodón con tiza o sombra, pasa en el centro de cada capa de pétalos el color que desees.
- Después arrucha en el centro haciendo pliegues.
Paso 3

- Luego aplica silicón a dos pistilos y pega en el centro de la flor, aprieta y haz presión hasta que seque.
Este proceso lo repetirás para cada flor y deja secar.
Paso 4:
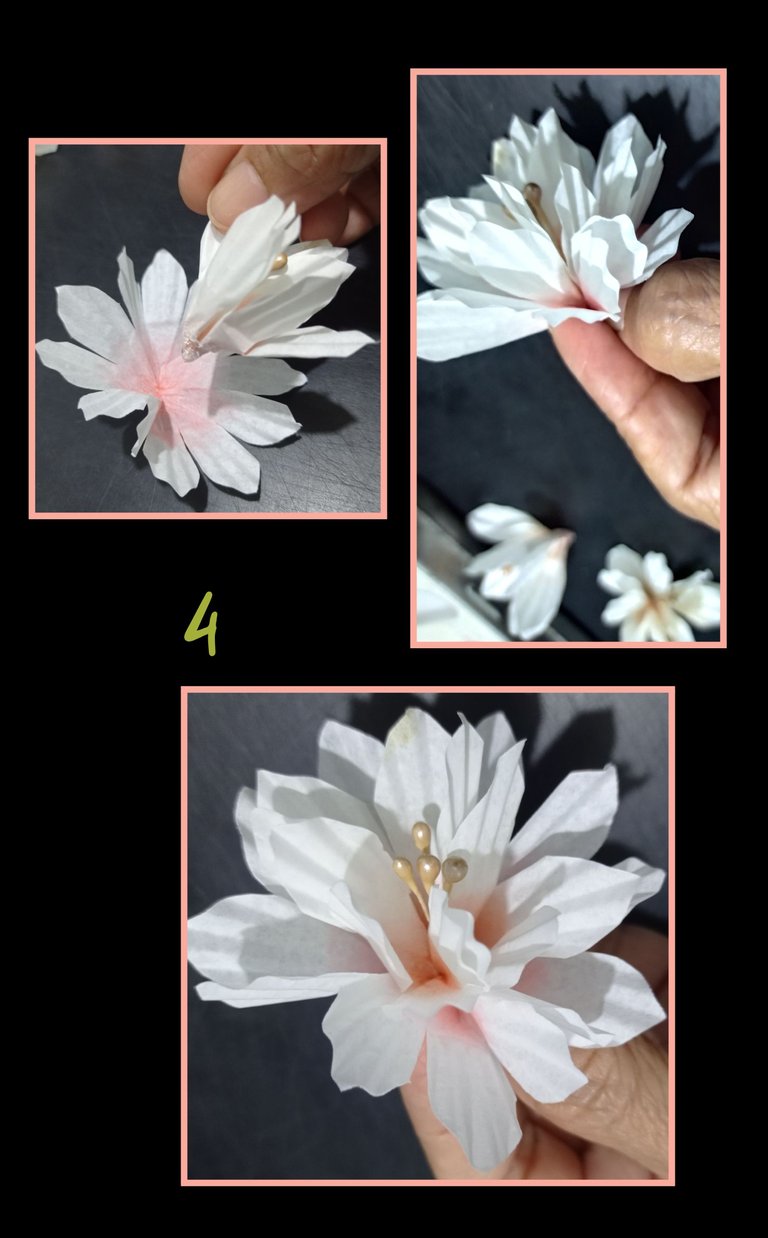
Aplica silicón a la segunda capa de pétalos y pega igualmente arruchando para que quede tipo clavel y deja secar.
Igualmente repite la misma operación para pegar la tercera capa de pétalos, puedes recortar las capas que quieras y pegarlas.
Paso 5:
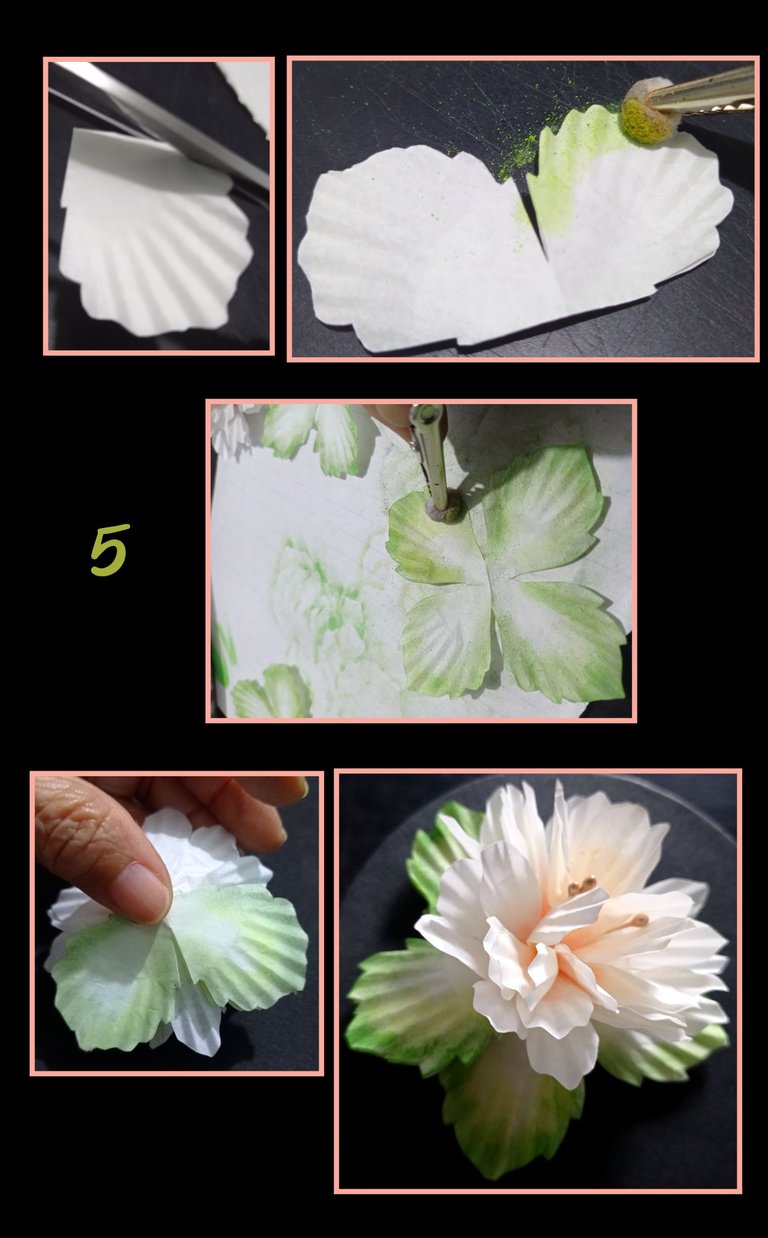
- Para realizar las hojas, dobla en cuatro el capacillo y recorta, dando forma de hojar, luego abre y pinta con la tiza verde hasta colorear todo el contorno.
- Por último aplica silicón y pega en la parte inferior de la flor.
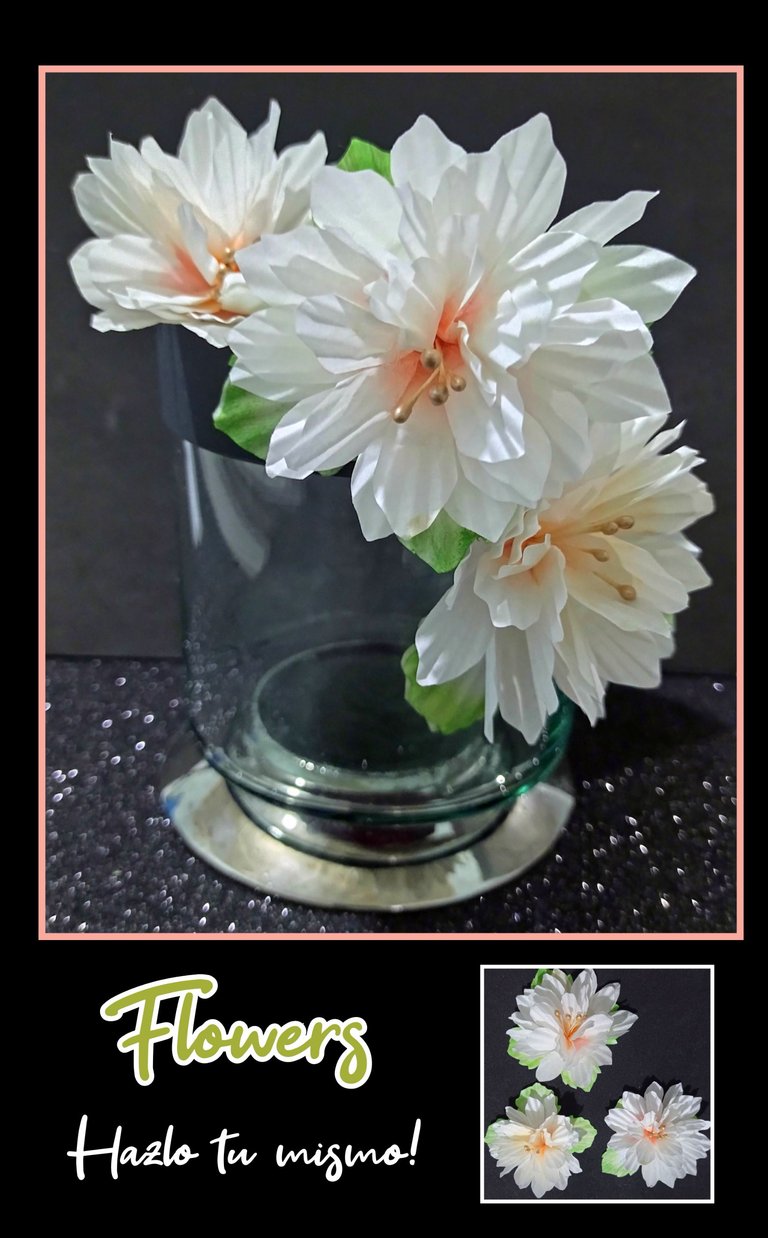
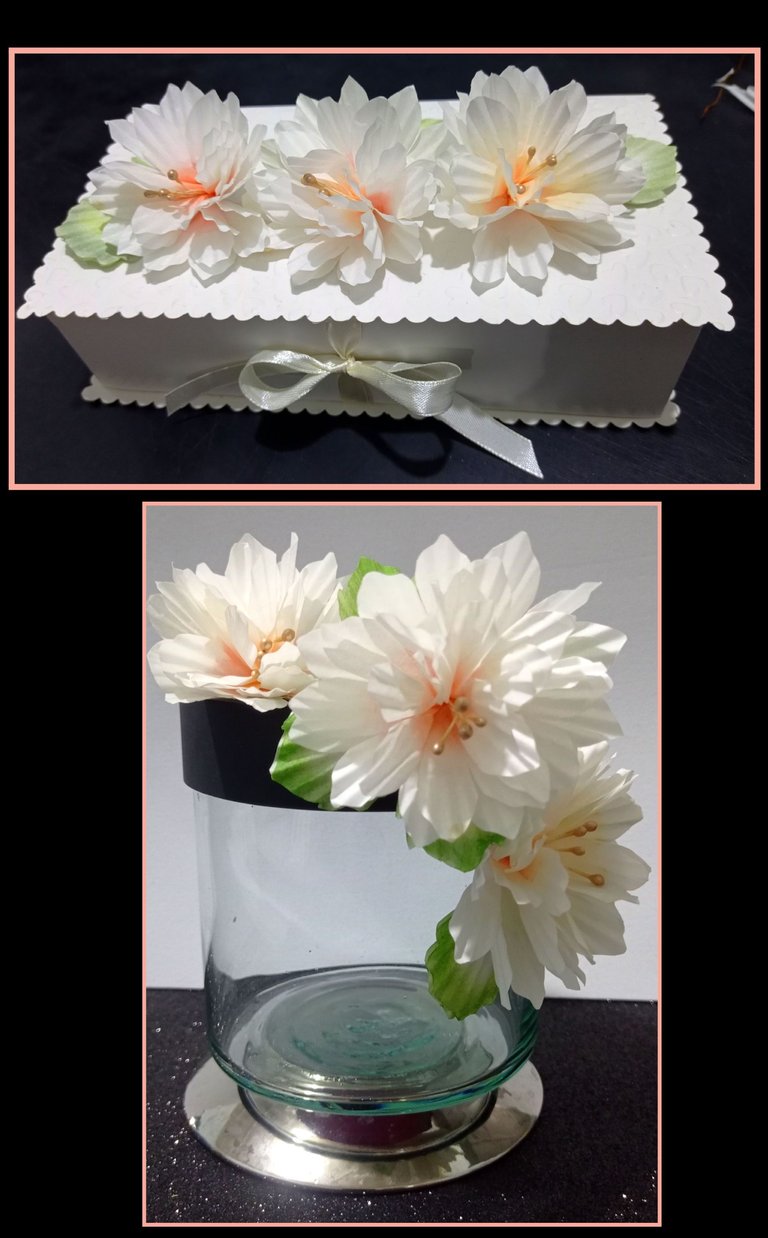
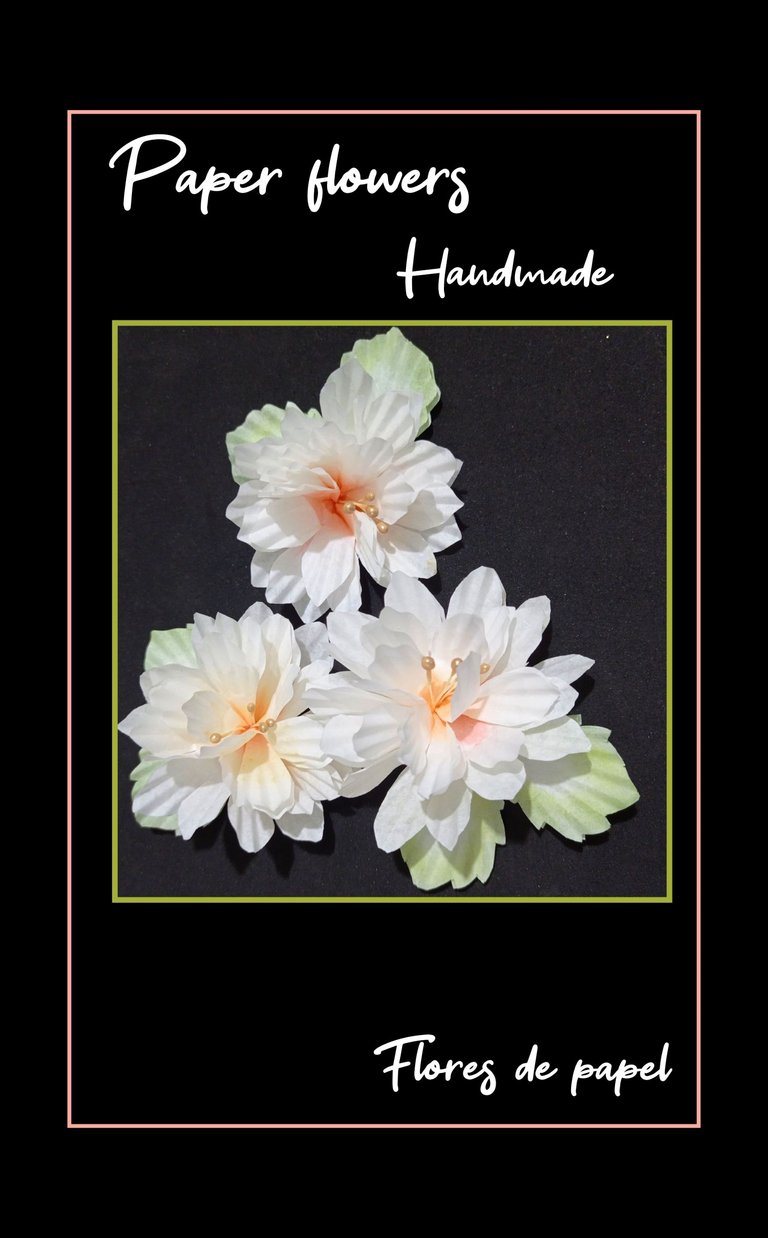
Así de fácil se hacen y el resultado es muy bonito.
Usé el traductor DeepL
Y las fotos las capturé con mi Redmi Note 9 y el editor de fotos usado es GridArt

Fuente:
https://es.pinterest.com/pin/751397519104572790/
Espero mi tutorial les sirva de guía para realizar estas hermosas flores.
Muchas gracias por tu apoyo y por acompañarme hasta aquí, deseo les guste y comenten.
English:
Hello dear members and friends of this beautiful community.
Welcome to all of you.
The materials are:
| Capacillos | Pistils |
|---|---|
| Scissors | Chalk/shadow |
| Silicon |
Let's get started:
Step 1:
- Fold the layer in half, then fold it in half again which will be 4 parts.
- Now divide that quarter into 3 parts as shown in the photo, then make a cut in each division and you will get 12 petals in each layer.
Step 2
- Now cut out the petals in the shape of petals and open, so you will do with all of them, to make these flowers I only cut out 3 layers for each one.
- Once this is done, with a cotton ball with chalk or shadow, pass in the center of each layer of petals the color you want.
- Then crumple in the center making folds.
Step 3
- Then apply silicone to two pistils and glue in the center of the flower, squeeze and press until dry.
Repeat this process for each flower and let dry.
Step 4
Apply silicone to the second layer of petals and glue them in the same way, pressing them together so that they look like carnations and let them dry.
Repeat the same operation to glue the third layer of petals, you can cut the layers you want and glue them.
Step 5
- To make the leaves, fold in four the layer and cut out, giving a leaf shape, then open and paint with the green chalk until coloring the entire outline.
- Finally, apply silicone and glue on the bottom of the flower.
They are so easy to make and the result is very beautiful.
I used the translator DeepL
And I captured the photos with my Redmi Note 9 and the photo editor used is GridArt
Source:
https://es.pinterest.com/pin/751397519104572790/
I hope my tutorial will guide you to make these beautiful flowers.
Thank you very much for your support and for joining me here, I wish you like it and comment.