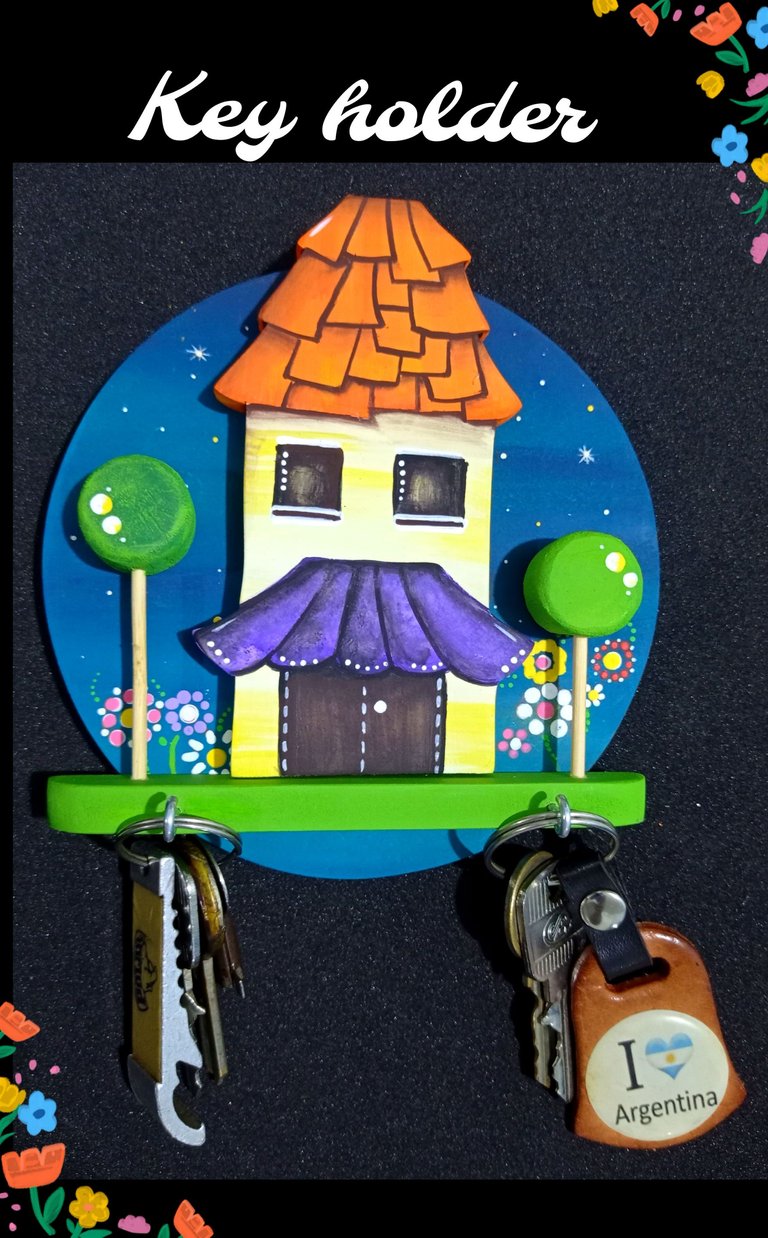
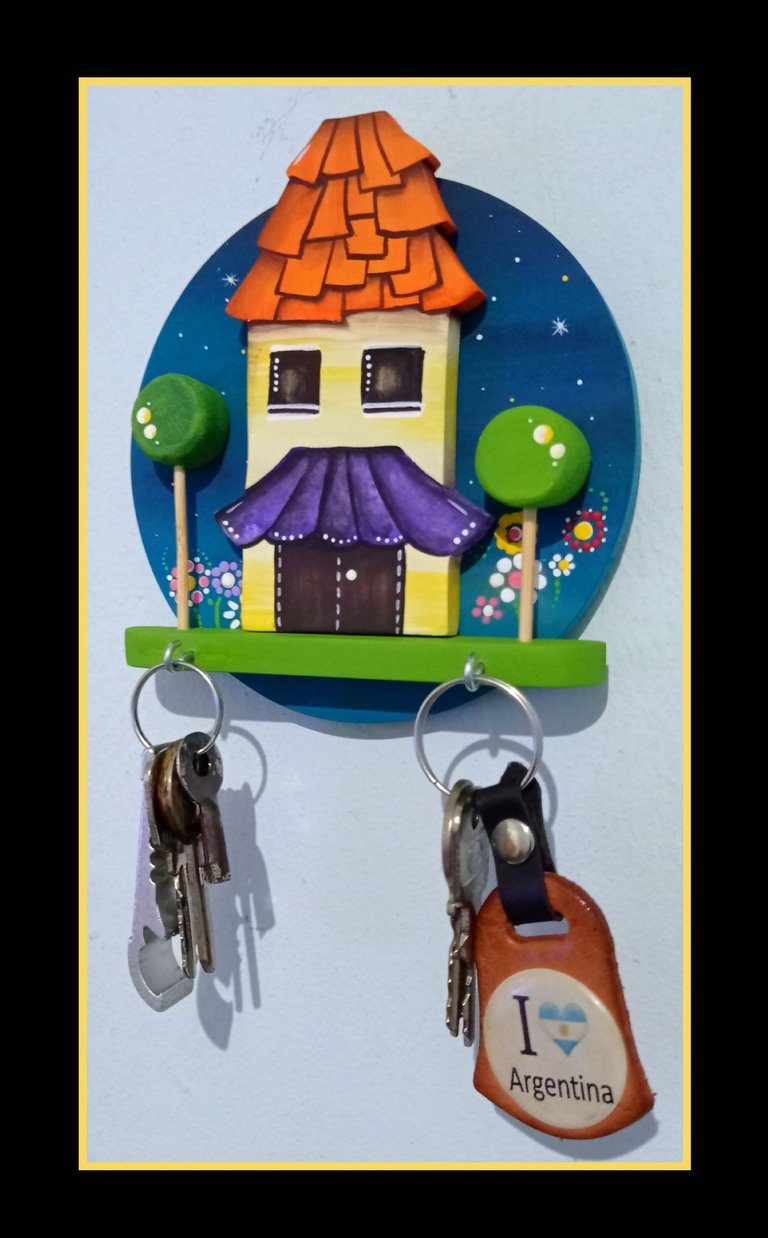
Hola queridos amigos y creadores que hoy me visitan, espero se encuentren bien, muy buenas noches y bienvenidos sean todos a mi Blog.
Hoy les compartiré un tutorial donde les mostraré como con sobrantes de mdf que tenía guardados me dispuse a realizar un porta llaves, ya que lo necesito porque se me extravían a cada rato, entonces quiero invitarte a que me acompañes y veas como lo hice y si tienes un caso parecido al mío aquí está la oportunidad de resolver jajajaja..
Vas a necesitar:
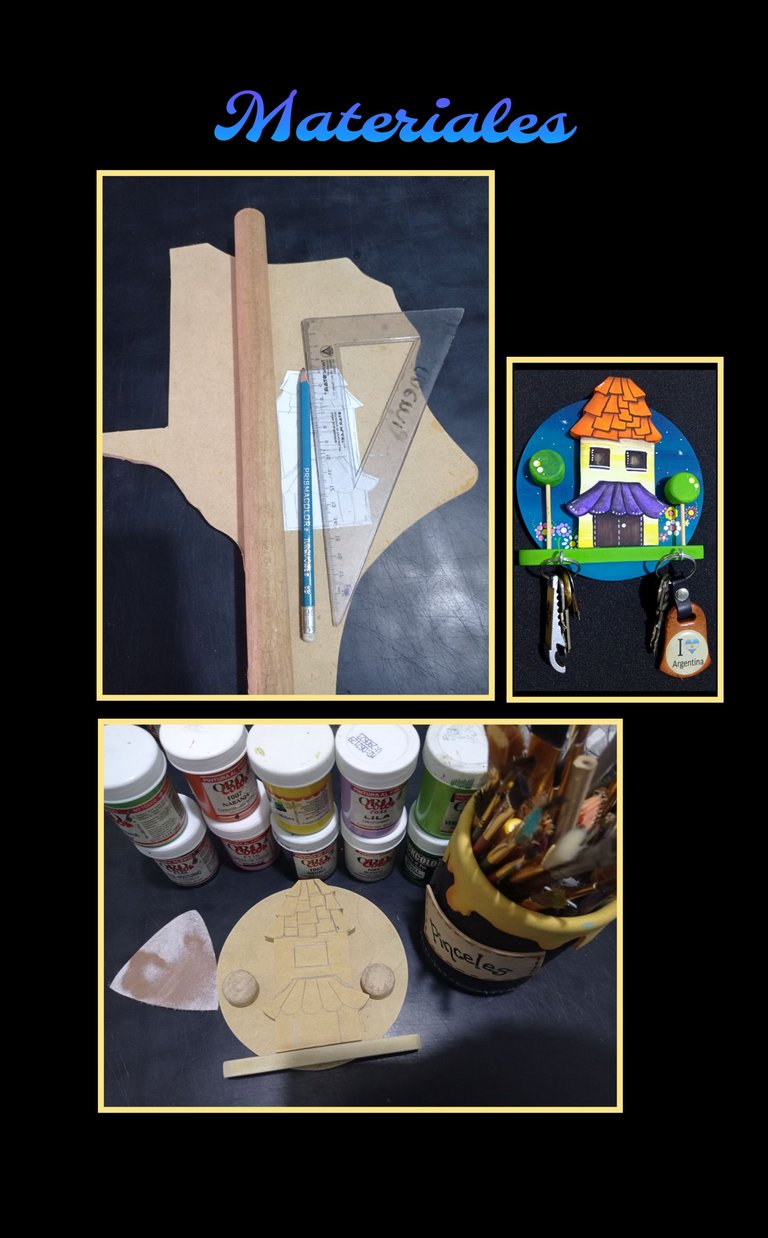
Sobrante de mdf.
Palo de madera (cepillo)
Molde o dibujo
Regla y lápiz
Pinturas y pinceles
Lija y ganchos roscados para madera.
Silicon líquido
Cinta y cartulina.
Caladora.
Ahora comencemos:
Paso 1:
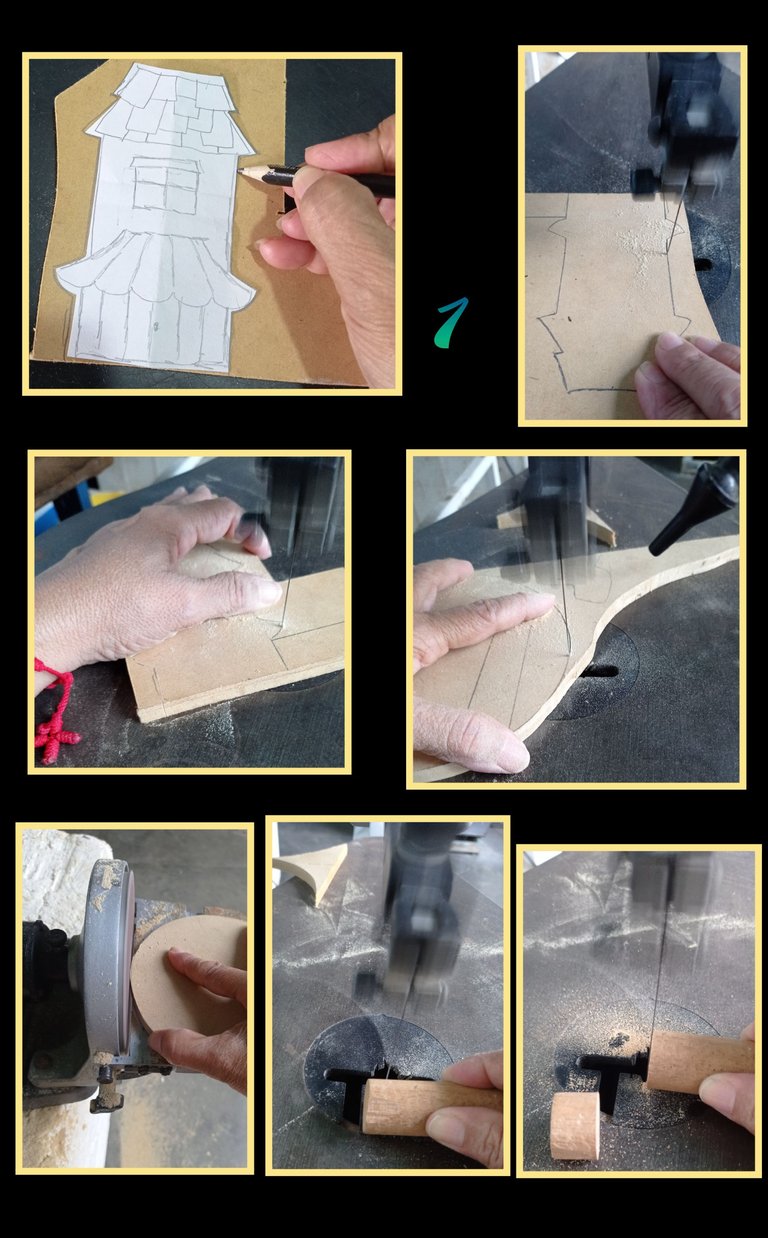
- Primero, recorta el dibujo y marca con un lápiz, la silueta por todo el contorno y recorta, luego marca una circunferencia, recorta y luego pasa por la lijadora.
- Despues recorta 2 pedacitos del palo redondo aproximadamente de 1,3cm c/u y lija todas las orillas con lija 360.
Paso 2:
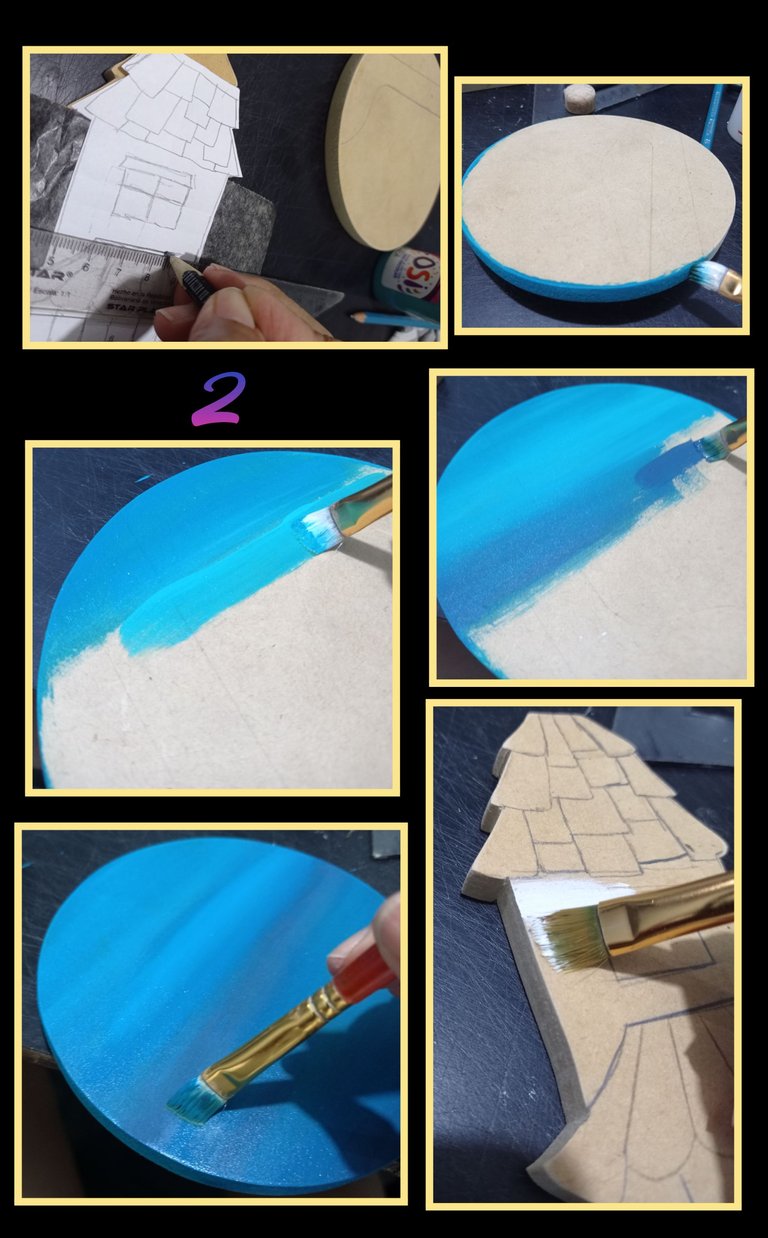
- Coloca papel carbón sobre el mdf y encima le colocas el dibujo y comienza a trazar las líneas con la ayuda de una regla.
- Aparte aplica pintura azul cielo hasta cubrir aproximadamente 3cm luego aplica azul turquesa y une ambas y cubre la misma medida, ahora aplica turquesa intenso y por último azul nocturno y deja secar.
- Ahora comienza a aplicar una capa de pintura blanca sobre la pared de la casita y amarillo sobre el techo y deja secar.
Paso 3:
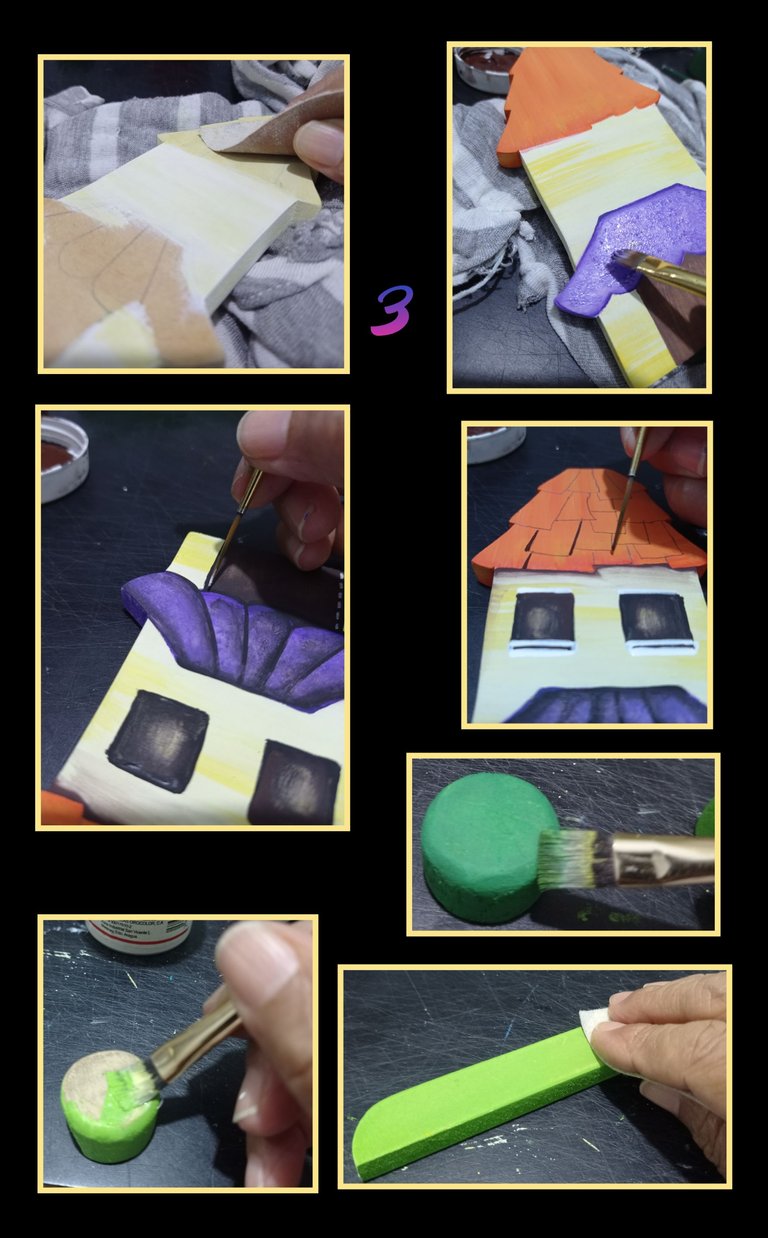
Ahora lija suavemente la pintura para quitar grumos y porosidad y aplica nuevamente otra capa de pintura y deja secar.
Para el techo de abajo, aplica pintura lila y por las orillas pasa morado intenso y deja secar, luego comienza a delinear todas las líneas y pinta a tu gusto.
Aplica a los círculos pintura verde manzana y al otro verde navidad, deja secar, lija y da otra capa de pintura, igual harás con las piezas restantes.
Paso 4:
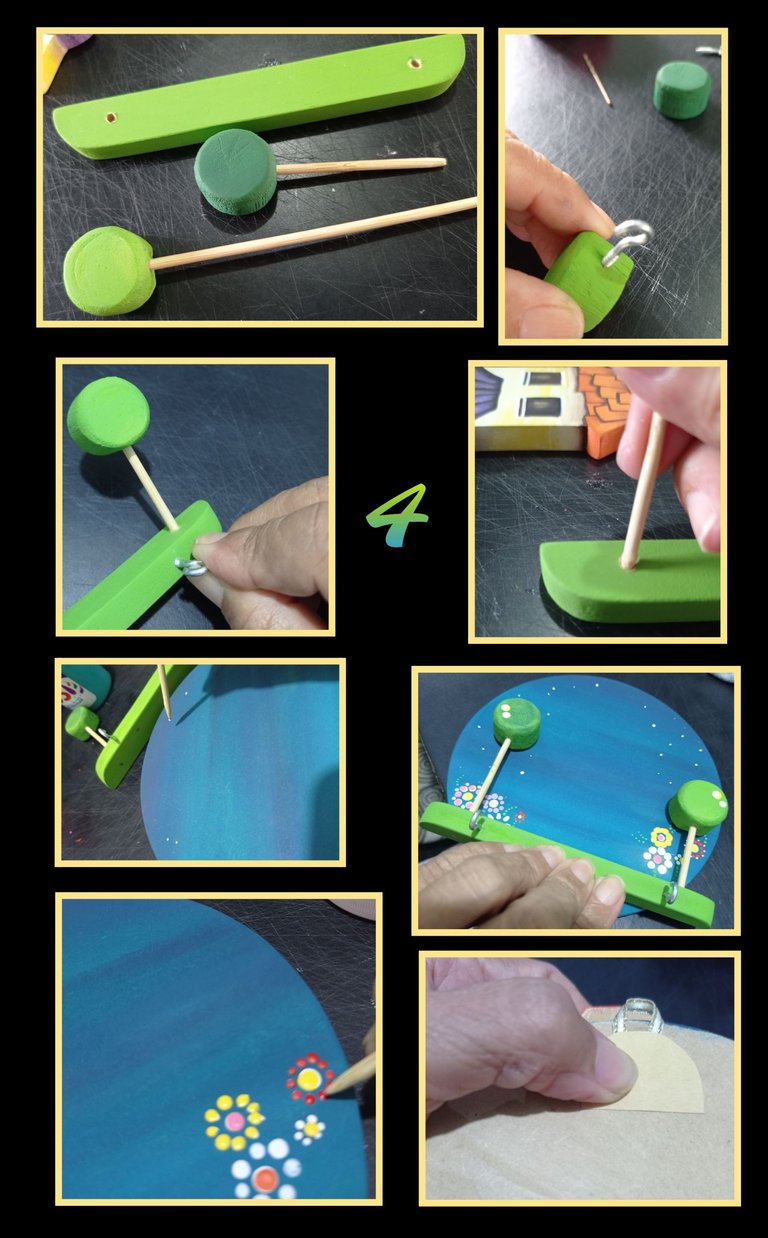
Con los ganchos de metal, abre los orificios y a los círculos que serán los árboles, aparte recorta dos palitos de madera y lija los extremos, aplica silicón e inserta en cada orificio(ver foto).
Ahora con un palito de madera has puntos y dibuja flores en la parte baja de la base y deja secar.
Para guindar haz una lazada y pega con cartulina en la parte trasera del círculo.
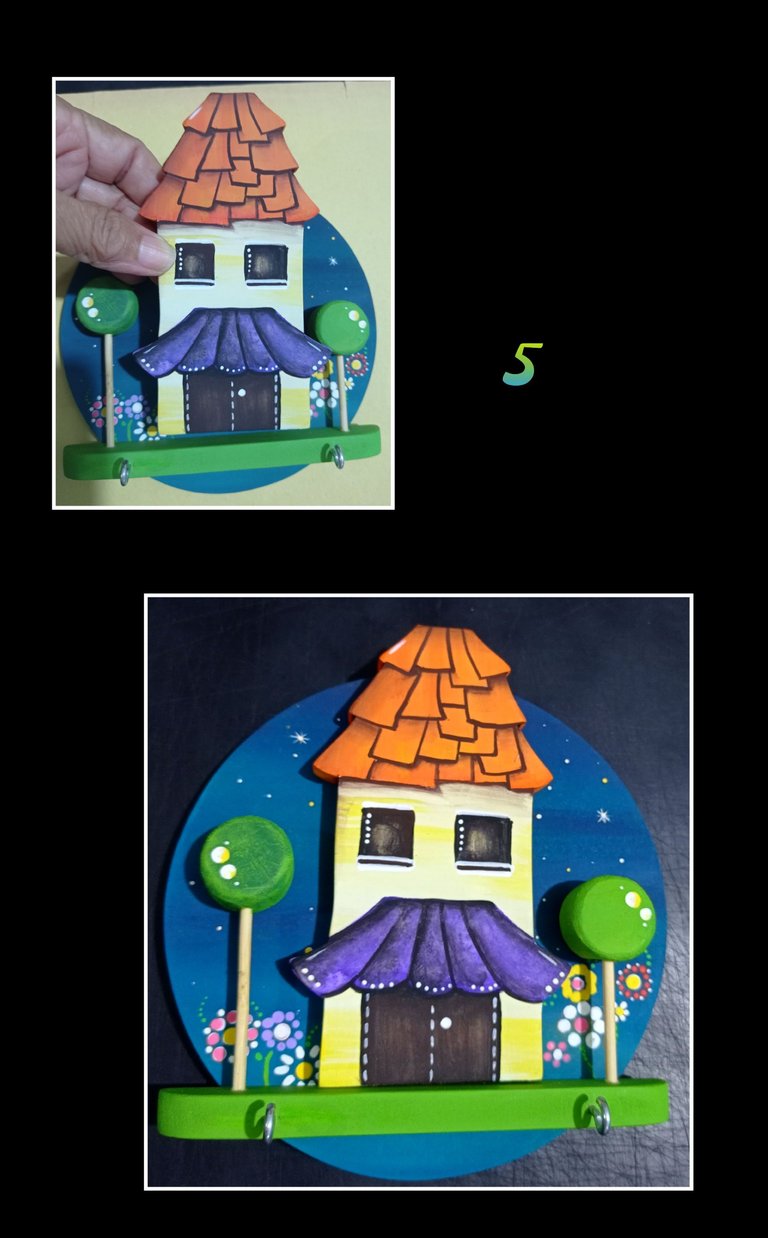
- Por último pega la casita en el centro y deja secar.
Así quedará listo este sencillo y decorativo porta llaves.
- Ahora te muestro unas fotos para que veas el resultado final.
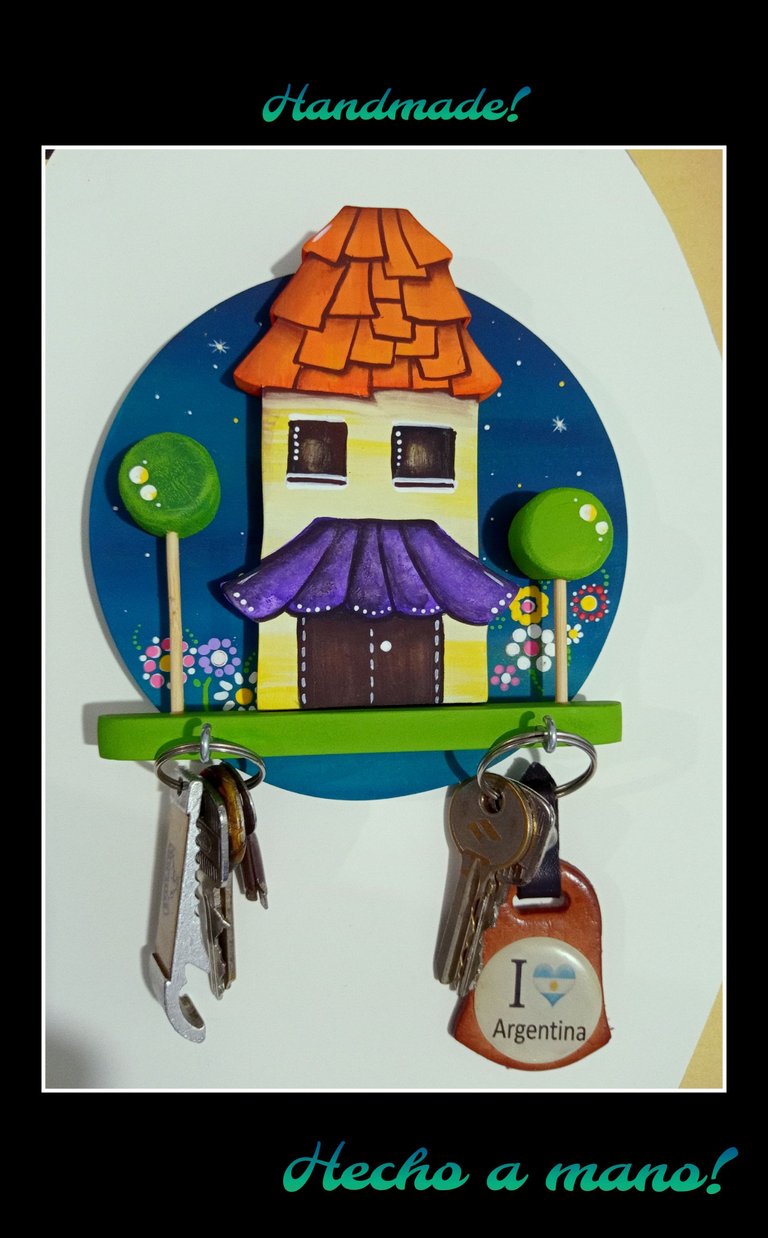
Espero haya sido de tu agrado y si te animas puedes crear uno a tu gusto, también puedes mandarlo a recortar y luego lo pintas y armas.
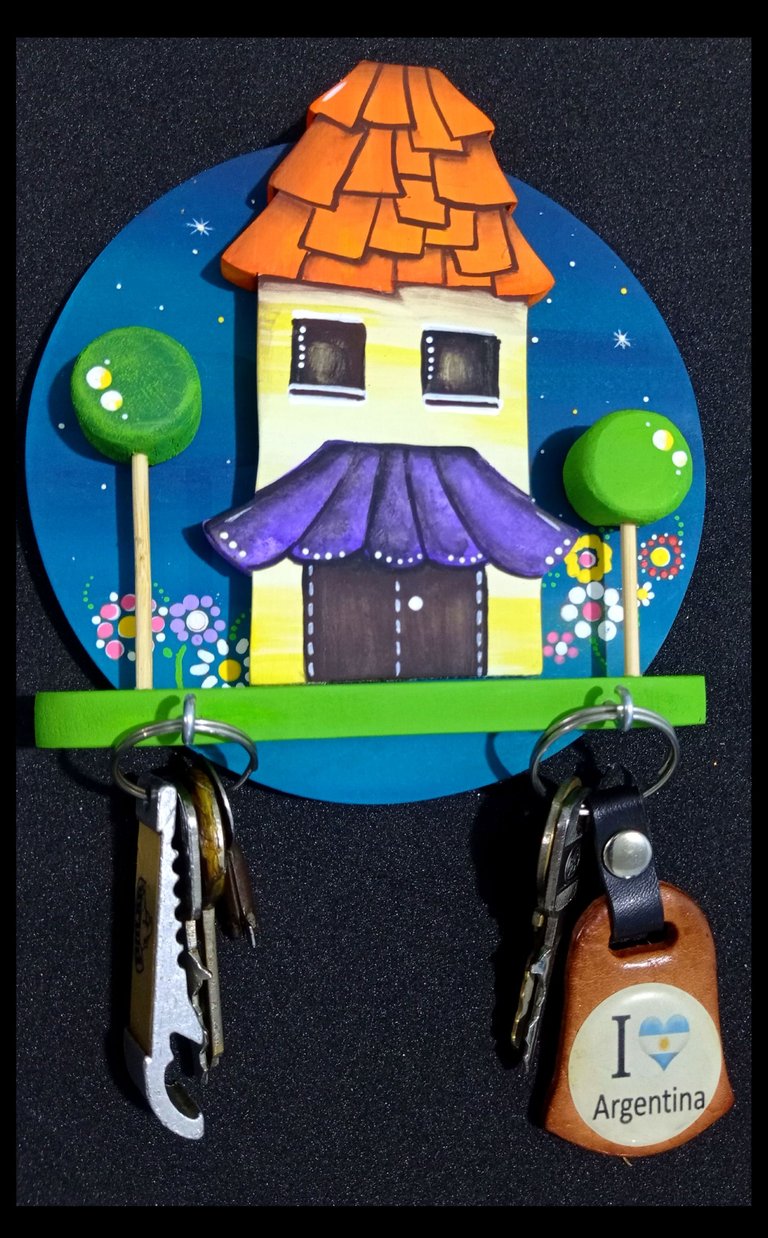
Etiquetas: HTML
Teléfono: Redmi Note 9
Editor de fotos: GridArt.
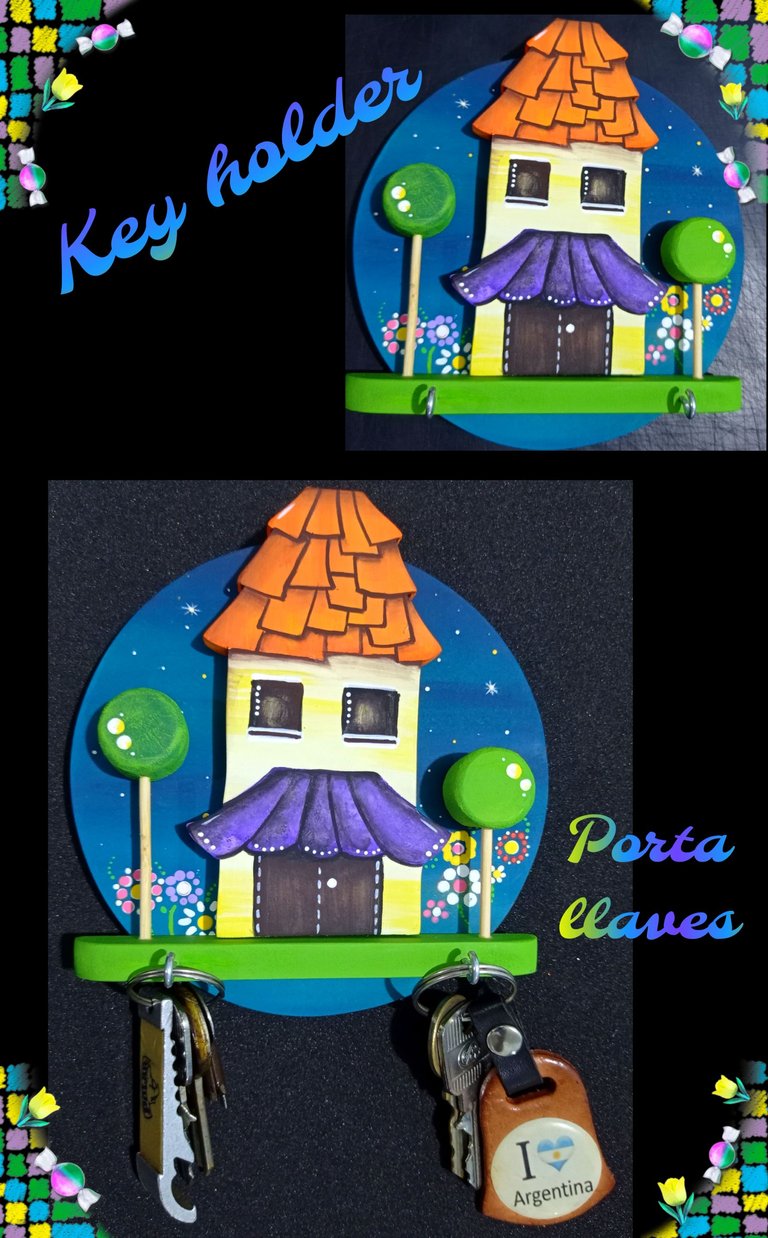
Y ahora llegó la hora de despedirme, agradecida por tu apoyo y visita, si tienes alguna duda, escríbeme y con gusto te ayudaré.
Ingles:


Hello dear friends and creators who visit me today, I hope you are well, good evening and welcome to my Blog.
You will need:

Mdf stencil.
Wooden stick (brush)
Mold or drawing
Ruler and pencil
Paints and brushes
Sandpaper and threaded hooks for wood.
Liquid silicon
Tape and cardboard.
Jig saw.
Now let's get started:
Step 1:

- First, cut out the drawing and mark with a pencil the outline all around and cut it out, then mark a circle, cut it out and then run it through the sander.
- Then cut out 2 pieces of the round stick about 1.3cm each and sand all the edges with 360 grit sandpaper.
Step 2:

- Place carbon paper on the mdf and place the drawing on top of it and start drawing the lines with the help of a ruler.
- Then apply sky blue paint to cover approximately 3cm then apply turquoise blue and join both and cover the same measure, now apply intense turquoise and finally night blue and let dry.
- Now begin to apply a coat of white paint on the wall of the house and yellow on the ceiling and let it dry.
Step 3:

Now gently sand the paint to remove lumps and porosity and again apply another coat of paint and let dry.
For the ceiling below, apply lilac paint and along the edges pass deep purple and let dry, then start to outline all the lines and paint to your liking.
Apply apple green paint to the circles and Christmas green to the other, let dry, sand and give another coat of paint, the same you will do with the remaining pieces.
Step 4:

With the metal hooks, open the holes and the circles that will be the trees, apart cut two wooden sticks and sand the ends, apply silicone and insert into each hole (see photo).
Now with a wooden stick make dots and draw flowers on the lower part of the base and let dry.
To attach, make a loop and glue with cardboard on the back of the circle.

- Finally glue the little house in the center and let it dry.
This is how this simple and decorative key holder will be ready.
- Now I show you some pictures so you can see the final result.

I hope you liked it and if you want you can create one to your liking, you can also send it to cut and then paint it and weapons.

Tags: HTML
Phone: Redmi Note 9
Photo Editor: GridArt.

And now it's time to say goodbye, thank you for your support and visit, if you have any questions, write me and I'll be glad to help you.
