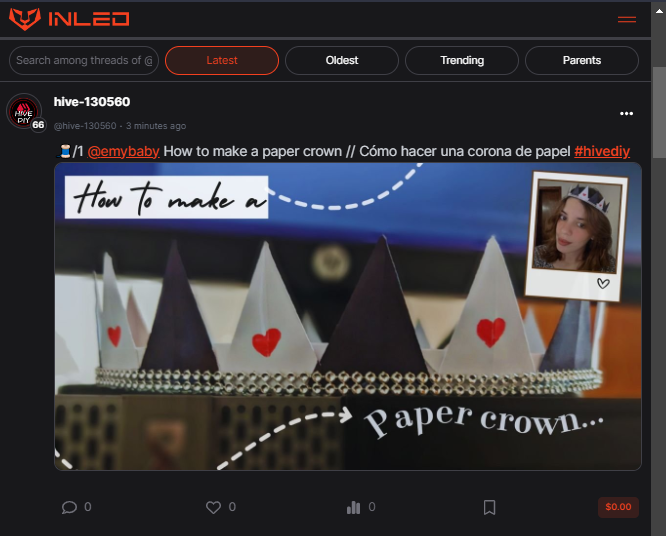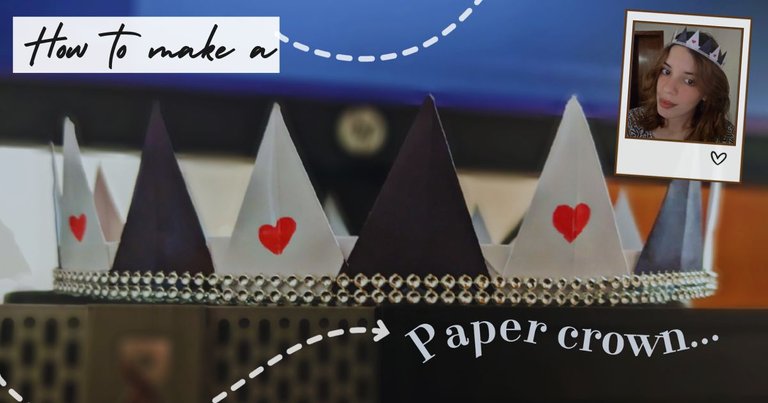
Portada elaborada con Canva App
💜¡Hola amigos de esta creativa y hermosa comunidad!💜
En mis pensamientos ha estado últimamente crear un maquillaje para participar en un concurso de Halloween en la ciudad donde habrá premios en dólares físicos y no sabía qué hacerme, así que buscando ideas y recordando películas y temáticas que me gustan, pensé en elaborar algo fácil y creativo y para ello necesitaba una corona, busqué tutoriales y creé esta que les traigo hoy, que viene siendo un accesorio para mi próxima creación de maquillaje artística.
Esta corona está inspirada en una reina de póker, como las películas de Tim Burton, Alicia en el país de las maravillas, pero no en una en especifico, sino una personalizada usando todo lo que me gusta de esa temática de fantasía.
💜Hello friends of this creative and beautiful community!💜
In my thoughts lately has been to create a makeup to participate in a Halloween contest in town where there will be prizes in physical dollars and I didn't know what to do, so looking for ideas and remembering movies and themes that I like, I thought of elaborating something easy and creative and for that I needed a crown, I looked for tutorials and created this one that I bring you today, which comes to be an accessory for my next makeup art creation.
This crown is inspired by a poker queen, like Tim Burton's Alice in Wonderland movies, but not a specific one, but a personalized one using everything I like about that fantasy theme.
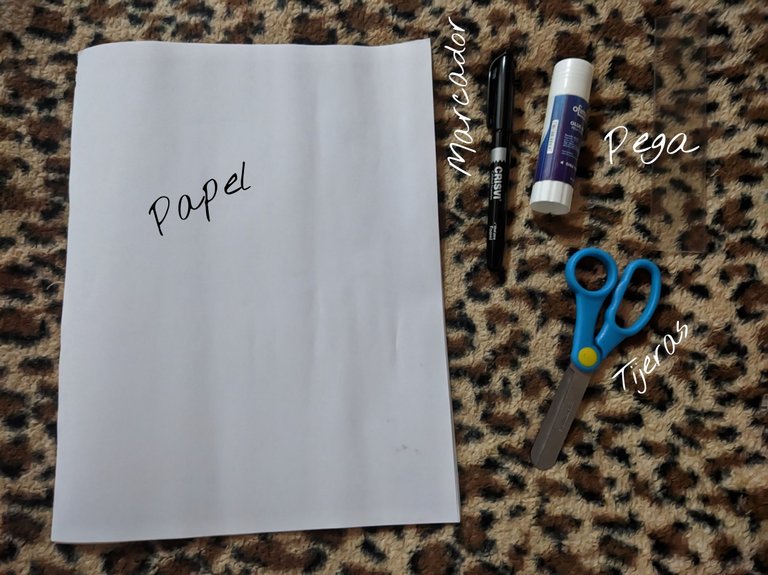
Primeros materiales a utilizar - First materials to be used
Para crear esta corona de papel empecé utilizando estos materiales:
- 2 hojas de papel blancas, o si quieren, usen cartulina y les quedará más firme.
- 1 marcador negro
- Pega en barra
- Tijeras
Mencioné primeros materiales, ya que después le agregué más detalles a mi corona, usando:
- Brillantes
- Silicón en barra
- Lápiz rojo
To create this paper wreath I started by using these materials:
- 2 sheets of white paper, or if you want, use cardboard and it will be firmer.
- 1 black marker
- Glue stick
- Scissors
I mentioned first materials, because later I added more details to my wreath, using:
- Glitter
- Silicone glue stick
- Red pencil
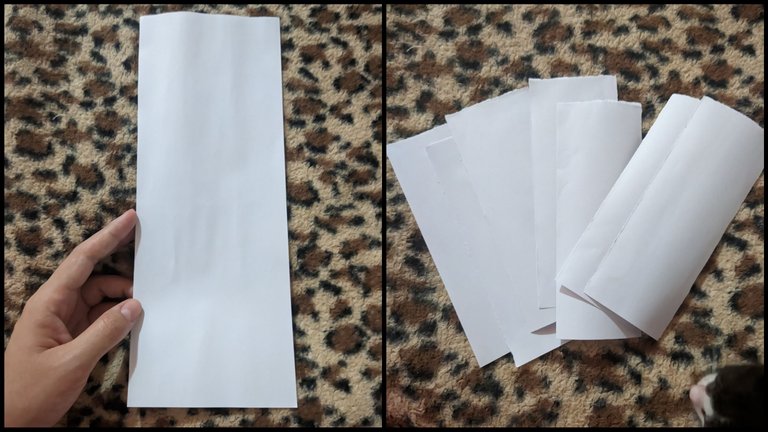
Lo primero que debemos hacer es recortar las hojas de papel (o cartulina) a lo largo, yo utilicé alrededor de 17 rectángulos, pero eso dependerá de la circunferencia de tu cráneo.
The first thing to do is to cut the sheets of paper (or cardboard) lengthwise, I used about 17 rectangles, but it will depend on the circumference of your skull.
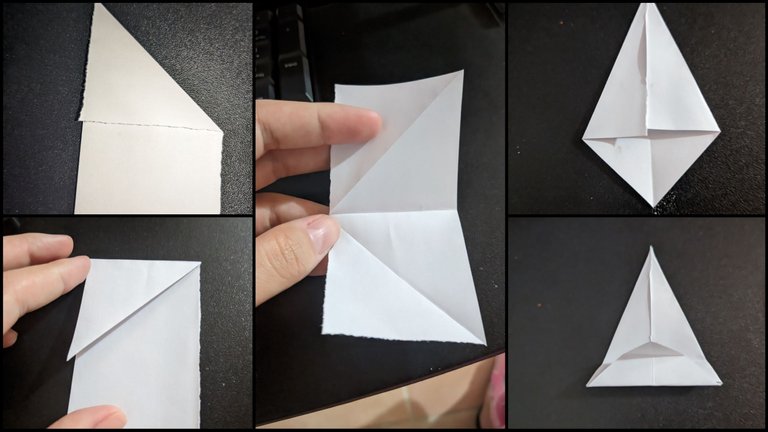
Para empezar a crear los picos de la corona debemos doblar la hoja como se muestra en la imagen acá, pegando las puntas y siguiendo el patrón, hasta alcanzar el límite del rectángulo y luego recortar los excesos con ayuda de nuestras tijeras.
Luego, doblaremos hacía adentro de cada cuadrado siguiendo la marca del doblez anterior, y doblaremos dos veces hacía arriba para elaborar cada triángulo o pico de nuestra corona de papel.
To start creating the peaks of the wreath we must fold the sheet as shown in the image here, gluing the ends and following the pattern, until we reach the limit of the rectangle and then trim the excess with the help of our scissors.
Then, we will fold inside each square following the mark of the previous fold, and we will fold twice upwards to make each triangle or peak of our paper wreath.
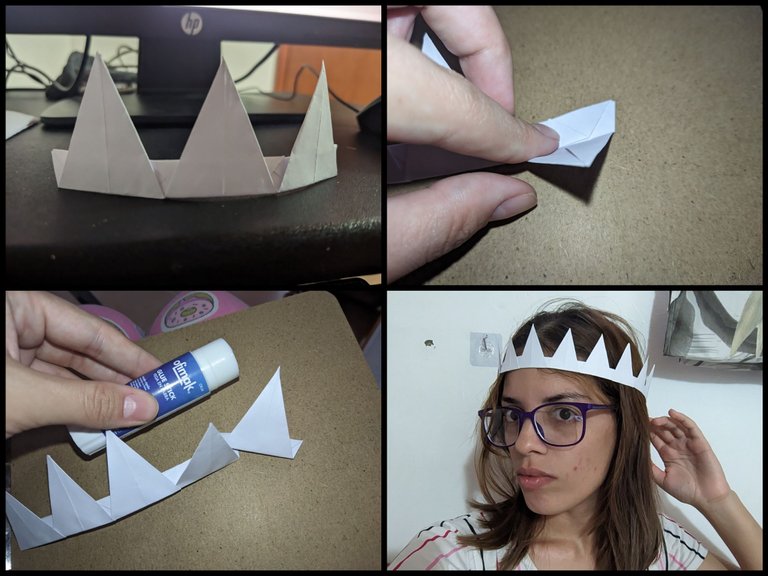
Teniendo ya todos los triángulos o picos listos, vamos a usar nuestra pega en barra para unirlos a través de los dobleces que hicimos anteriormente. Haremos esto hasta obtener la circunferencia de nuestro cráneo, y así tener una corona a la medida.
Having all the triangles or peaks ready, we are going to use our glue stick to join them through the folds we made earlier. We will do this until we get the circumference of our skull, and thus have a custom crown.
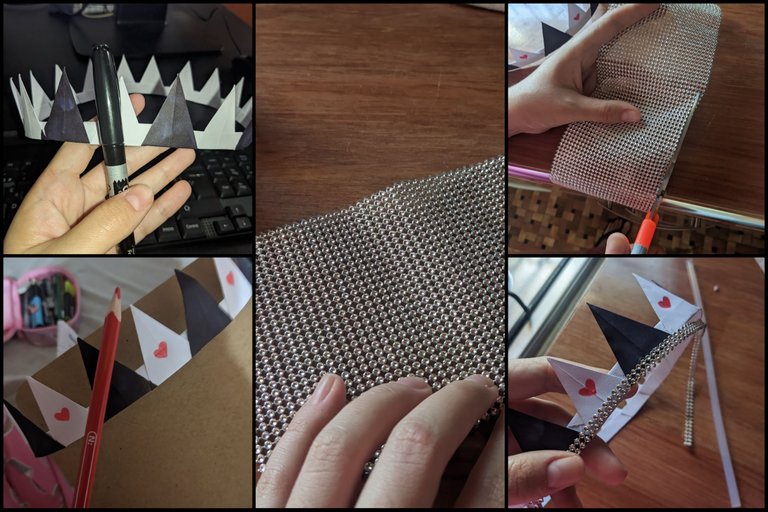
Después de tener la corona lista y seca, pinté triángulos intermedios en negro para personalizarla aún mas.
Sin embargo, no quedé totalmente conforme con el resultado, y se me ocurrió la idea de hacerle pequeños de talles más glam como agregarle símbolos de póker en rojo y brillantes alrededor de la base de la corona.
Estos brillantes los conseguí en una tienda de costura, es cómo una tela con pequeñas incrustaciones de diamantes artificiales, y me cayó como anillo al dedo para mi manualidad en curso, así que lo que hice fue recortar tiras de 2 diamantes falsos de grosor e irlos pegando en la base con silicona caliente para darle el toque final.
After the wreath was ready and dry, I painted intermediate triangles in black to personalize it even more.
However, I was not totally satisfied with the result, and I came up with the idea of making small glamorous details like adding poker symbols in red and rhinestones around the base of the wreath.
I got these rhinestones in a sewing store, it's like a fabric with small artificial diamond inlays, and it fit like a glove for my current craft, so what I did was to cut strips of 2 fake diamonds thick and glue them on the base with hot silicone to give it the final touch.
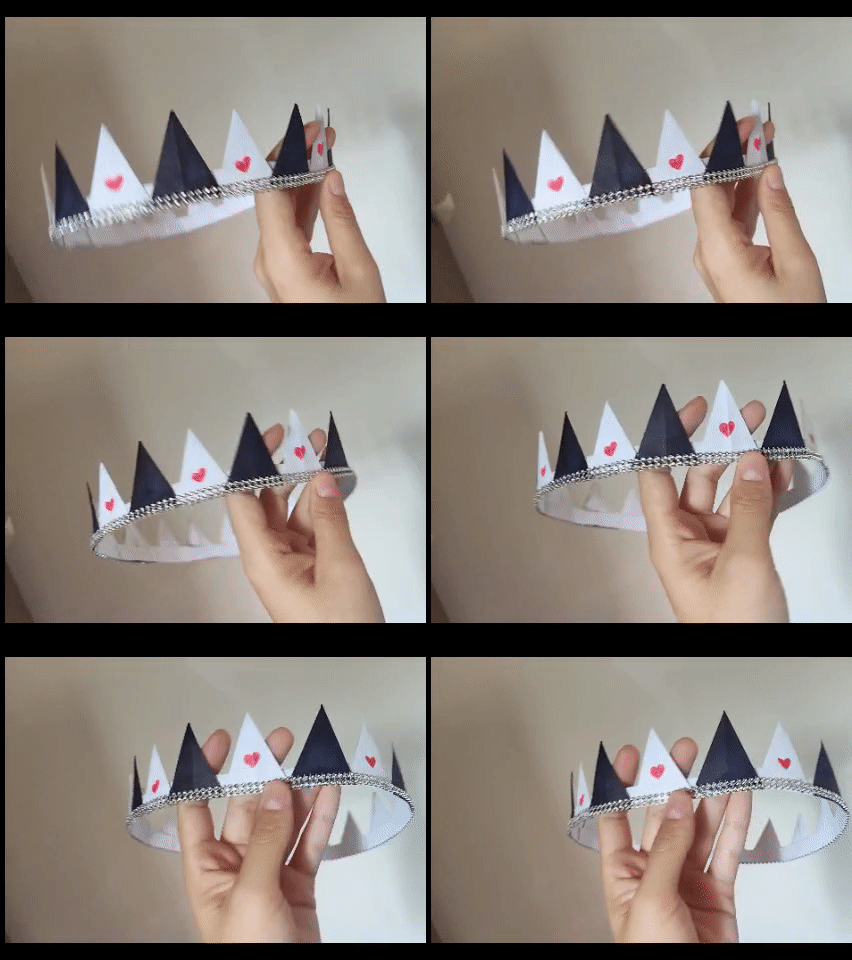
Este ha sido el resultado final de mi manualidad para el día de hoy, me gustó mucho la personalización final ya que le agrega un toque más glamuroso que sé que irá a juego perfecto en mi próximo maquillaje.
This has been the final result of my craft for today, I really liked the final customization as it adds a more glamorous touch that I know will go perfectly with my next makeup.
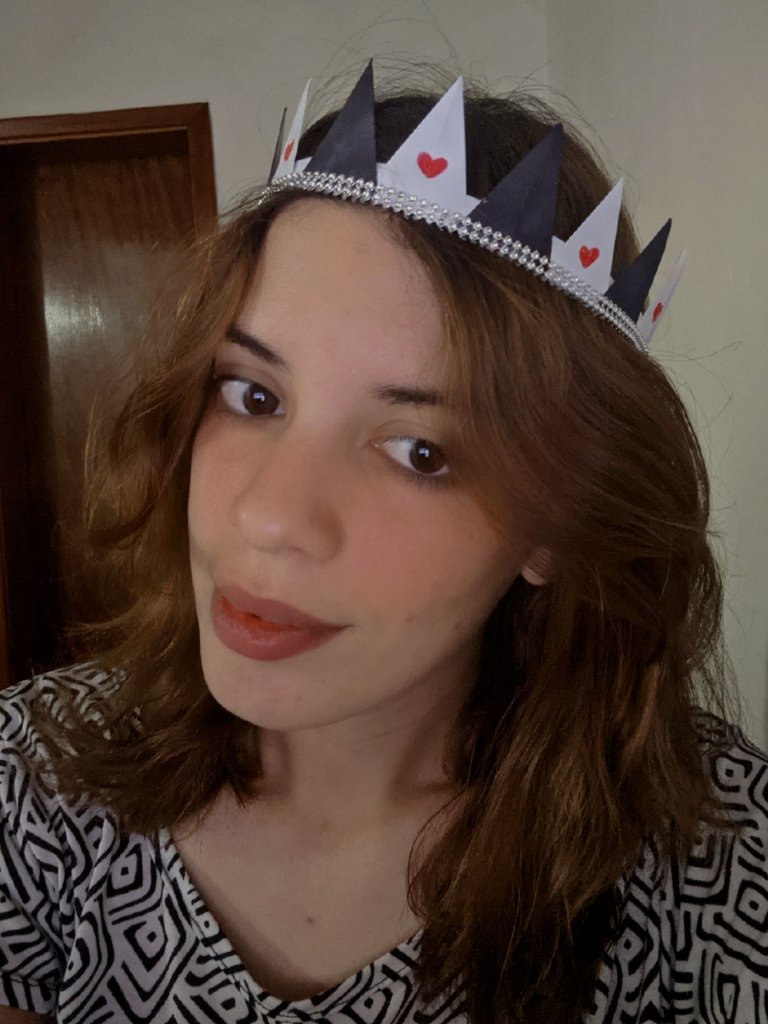
Y así luce una vez puesta ¿qué les parece?
Pueden dejarme alguna sugerencia en el buzón de comentarios al final de esta publicación, les mando un abrazo grande.
And this is how it looks once it is on what do you think?
You can leave me any suggestions in the comments box at the end of this post, I send you a big hug.

Fotografía: Poco X3 Pro
Ediciones: Canva (Portada principal), PicsArt App (Collages) y Cap Cut App (Gifs)
Traducción: DeepL App
Photography: Poco X3 Pro
Editing: Canva (Main Cover), PicsArt App (Collages) and Cap Cut App (Gifs)
Translation: DeepL App
