

[Esp]
¡Saludos desde mi taller creativo!
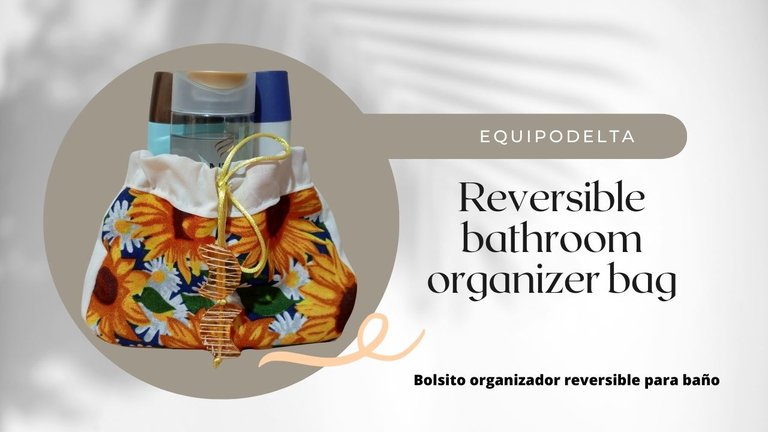
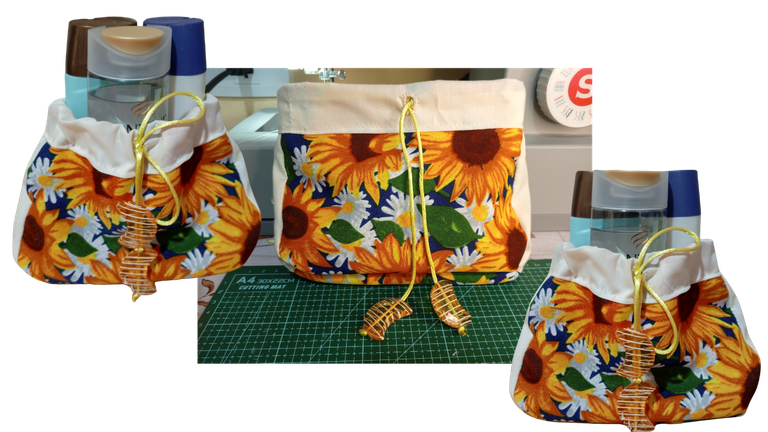
Hoy fue uno de esos días en los que comienzas con una idea y terminas con otra, quería hacer un bolso con cierre y luego de terminarlo pensé que mejor lo convertía en algo lindo para organizar los artículos de higiene para el cabello en mi baño y que de paso quedara como elemento de decoración y me animé tras ver una linda publicación de @josehany donde le había aplicado una hermosa mejora a su sala de baño,puedes ver su publicación aquí.
Un pequeño detalle realmente puede cambiar hasta las energías de un lugar porque lo hicimos con mucho amor. Espero les guste.
! [English version]
Greetings from my creative workshop!
Today was one of those days when you start with one idea and end up with another, I wanted to make a zippered bag and after finishing it I thought I better turn it into something nice to organize my hair hygiene items in my bathroom and that it would be a decorative element and I was encouraged after seeing a nice post from @josehany where she had applied a beautiful improvement to her bathroom, you can see her post here.
A small detail can really change even the energies of a place because we did it with a lot of love. Hope you like it.

Materiales / Materials

| Spanish | English | |
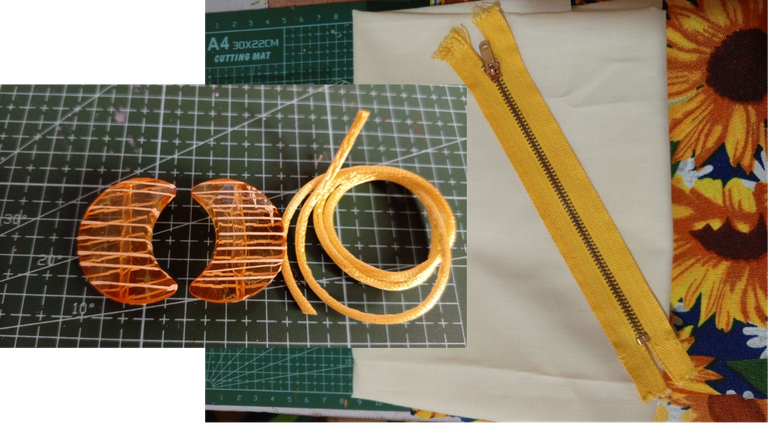
| Tela floreada y tela unicolor | Flowered and unicolor fabrics | |
| Máquina de coser, hilo acorde al color de la tela. | Sewing machine, thread according to the color of the fabric. | |
| Tijera | Scissors | |
| Apliques de decoración | Decorative appliques | |
| Cordón | Lanyard | |
| Aguja de coser a mano | Hand sewing needle |


Paso a paso / Step by Step


Step 1️⃣/ Paso 1️⃣
 |  |
[Esp]
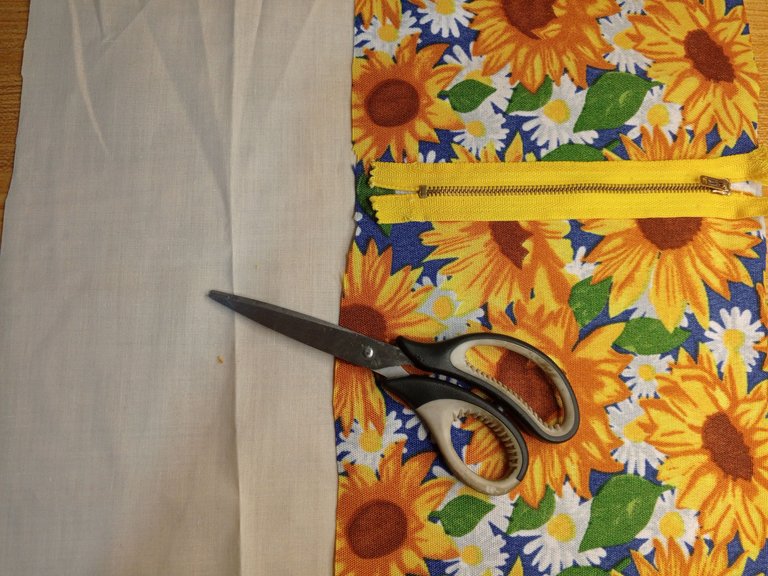
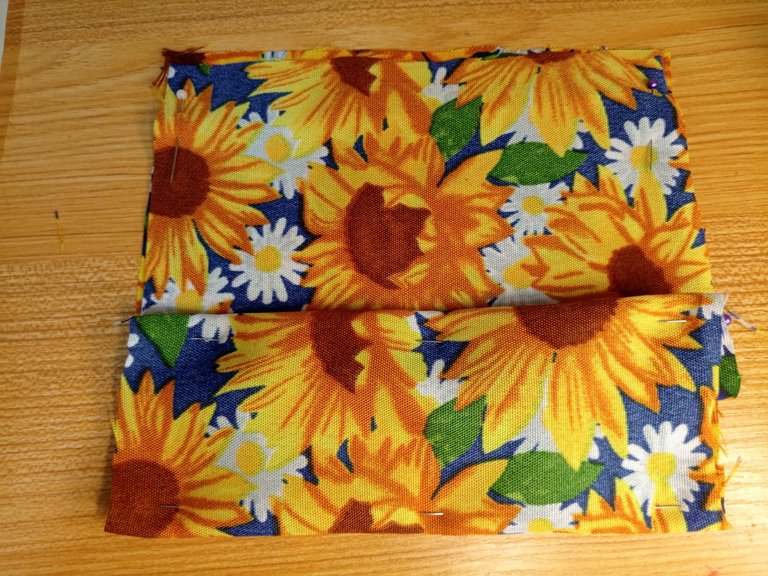
Como comencé con la idea del cierre, corté la tela del ancho del cierre y de largo aumenté 4 centímetros.
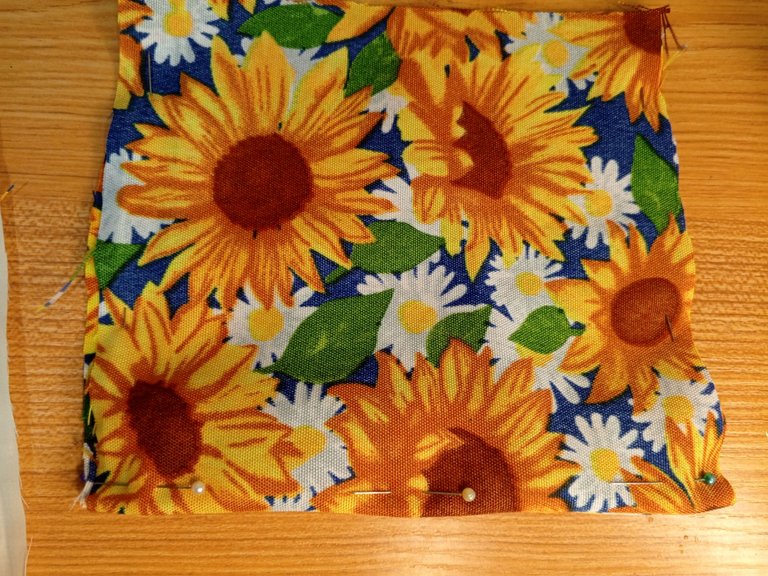
Con las agujas hice el boceto de dónde iba a pasar la costura, esto puede ser de buena ayuda, ya que no estoy viendo tutorial alguno de cómo hacerlo, coloco las agujas para poder coser después lo que sería el piso de la bolsita.
! [English version]
As I started with the idea of the zipper, I cut the fabric to the width of the zipper and increased the length by 4 centimeters.
With the needles I made the sketch of where I was going to pass the seam, this can be of good help, since I am not seeing any tutorial on how to do it, I place the needles to be able to sew later what would be the floor of the bag.

Step 2️⃣/ paso 2️⃣

 |  |
[Esp]
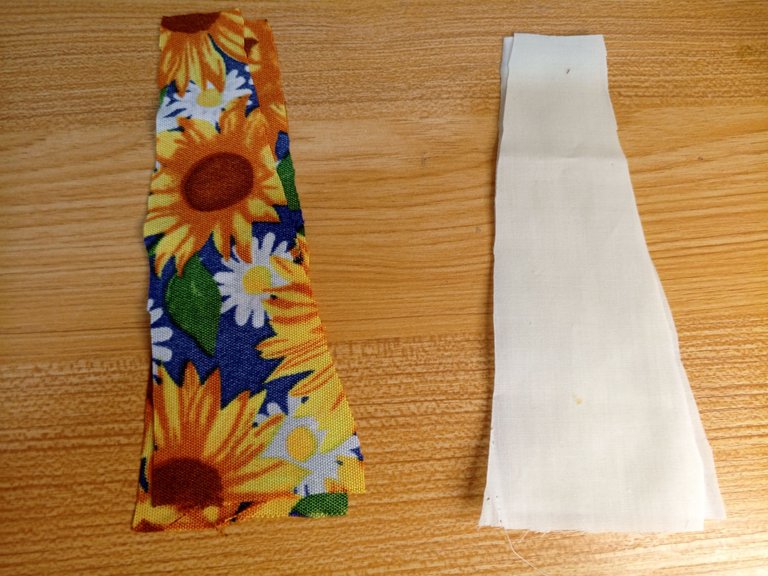
Para los laterales recorté cuatro trozos de tela unicolor en forma de triángulo de la medida del largo de la bolsita y la base.
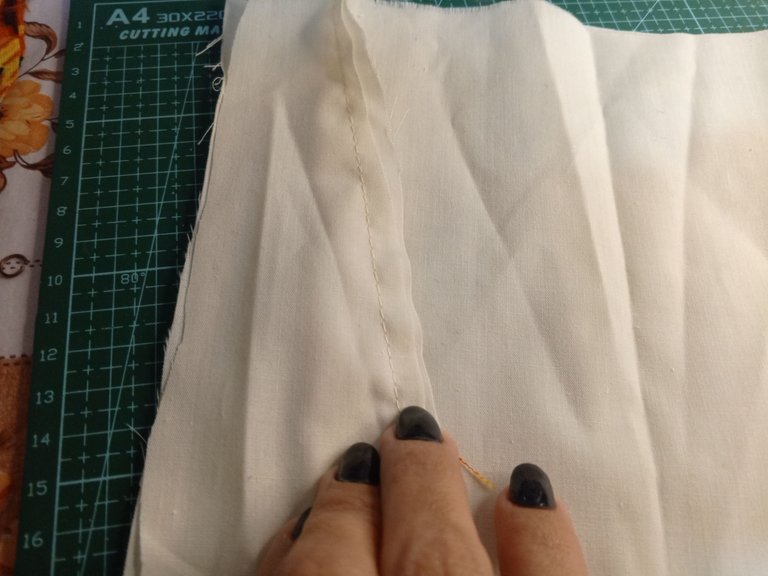
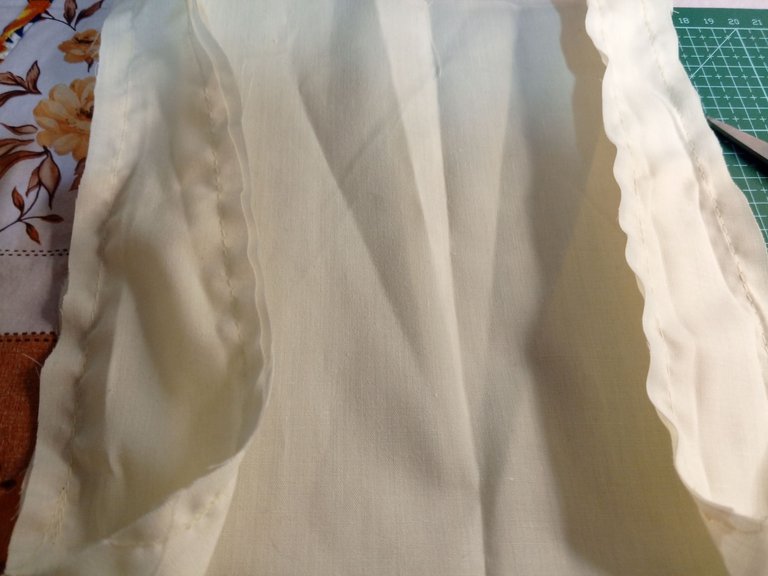
Comencé cociendo el forro, uní con costura cada lateral como puedes ver en las imágenes.
! [English version]
For the sides I cut four pieces of unicolor fabric in the shape of a triangle of the length of the bag and the base.
I started by sewing the lining, I sewed each side together as you can see in the pictures.

Step 3️⃣/ paso 3️⃣

 |  | |
 |  |
[Esp]
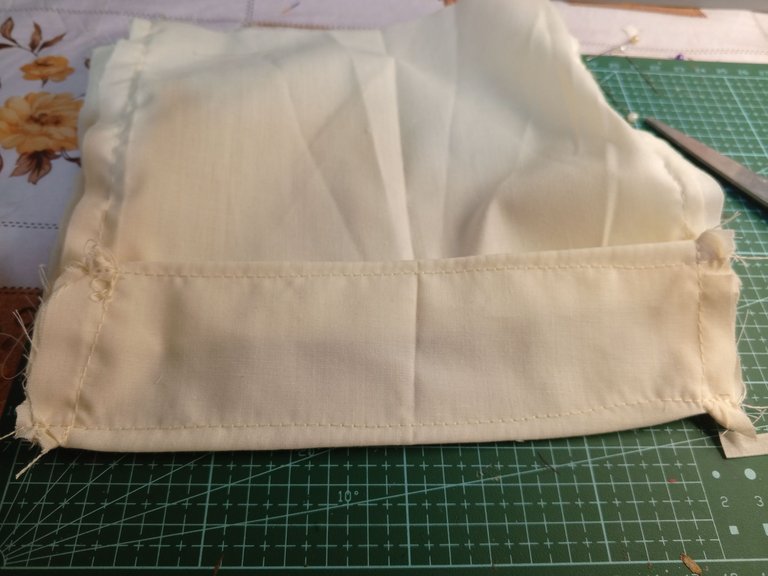
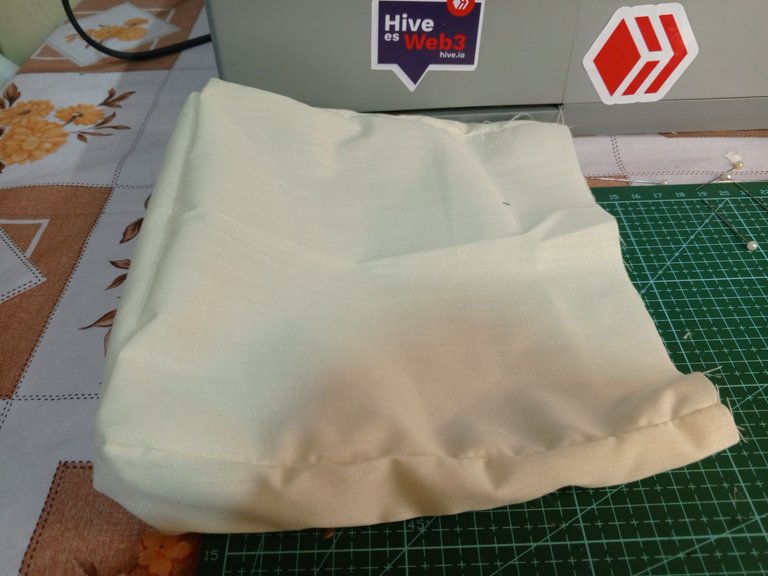
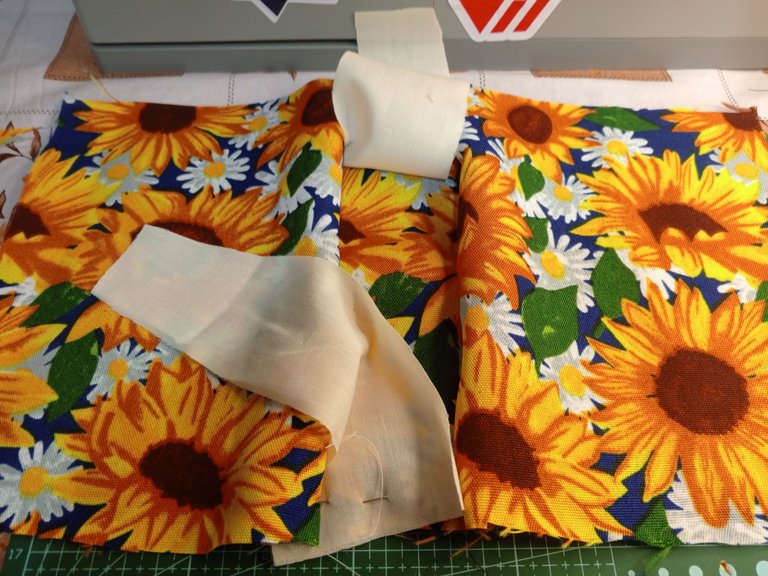
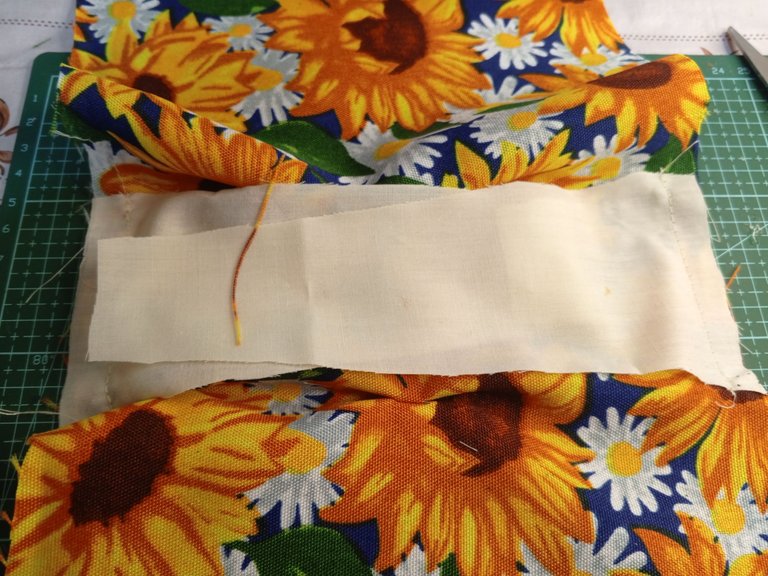
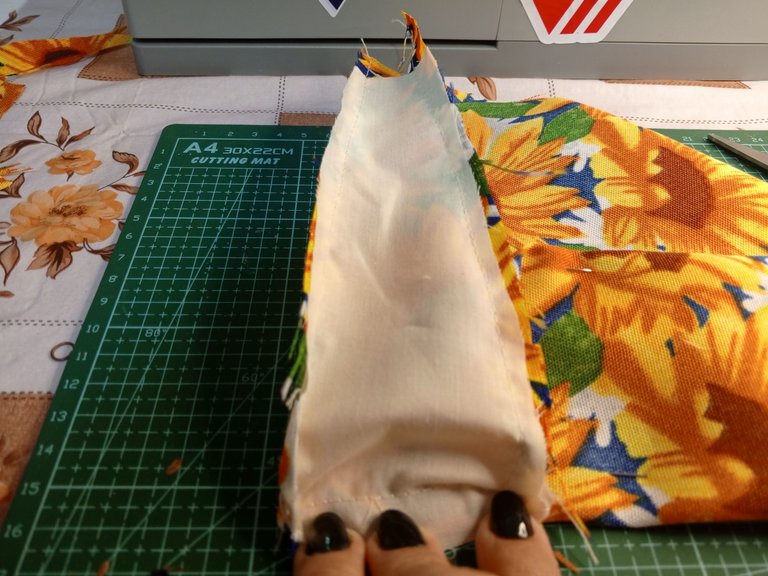
Después de coser los laterales, se cose la base. He volteado el bolsito para confirmar que esté bien cosido. Luego lo volví a voltear, ya que es la parte interna, el forro, sin embargo, el bolsito podría ser reversible.
Coloco agujas para saber dónde ubicaré cada pieza para coserla. Lo primero que hice fue unir la base. Luego cosí los laterales, en ambos lados.
! [English version]
After sewing the sides, the base is sewn. I flipped the bag over to confirm that it is sewn properly. Then I flipped it over again, since it is the inner part, the lining, however, the bag could be reversible.
I place needles to know where I will place each piece to sew it. The first thing I did was to join the base. Then I sewed the sides, on both sides.

Step 4️⃣/ paso 4️⃣

 |  | |
 |  |
[Esp]
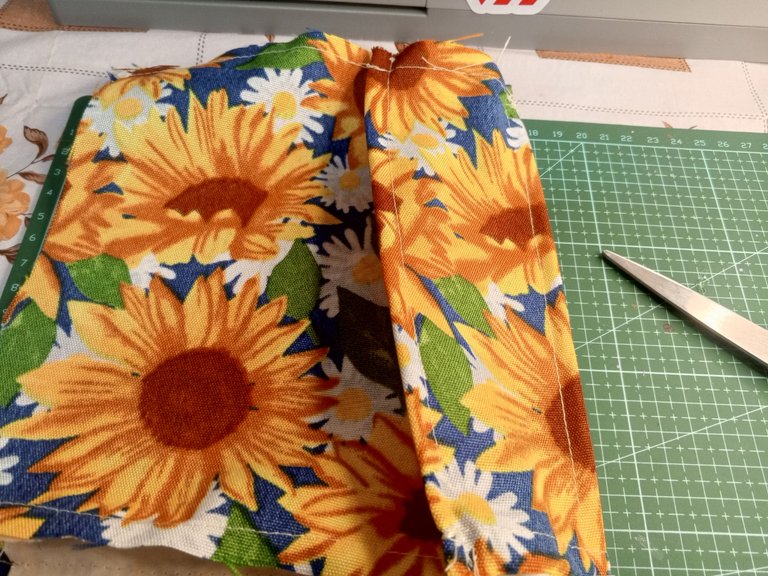
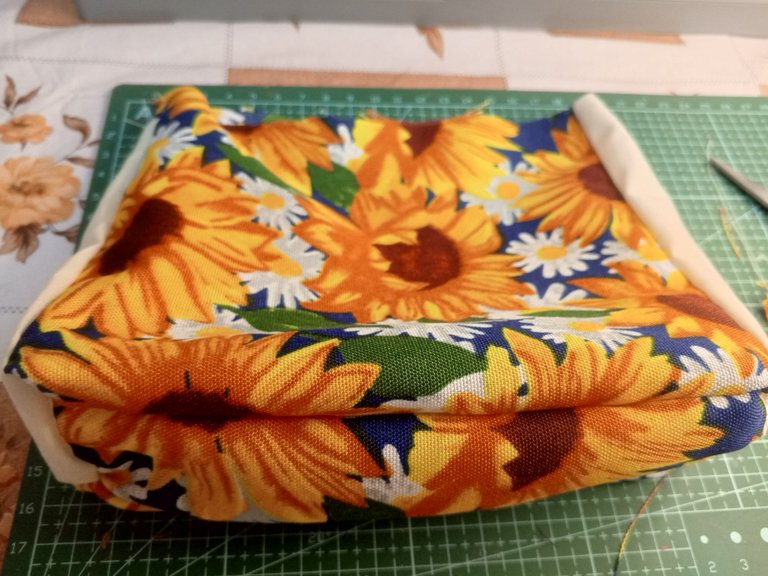
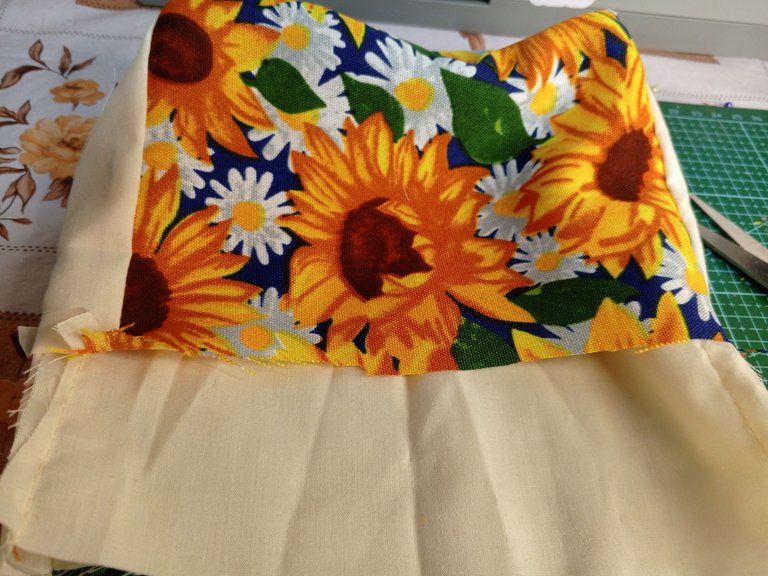
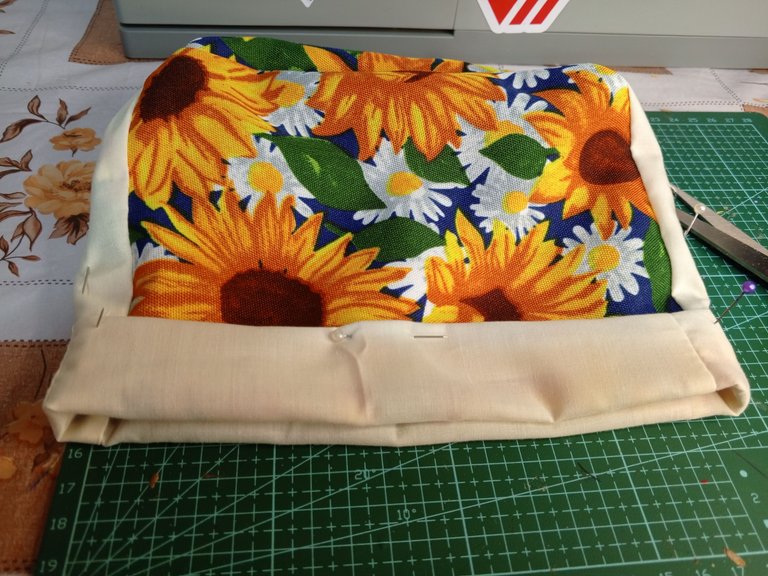
Termino la base y volteo el bolsito, ya va teniendo forma.
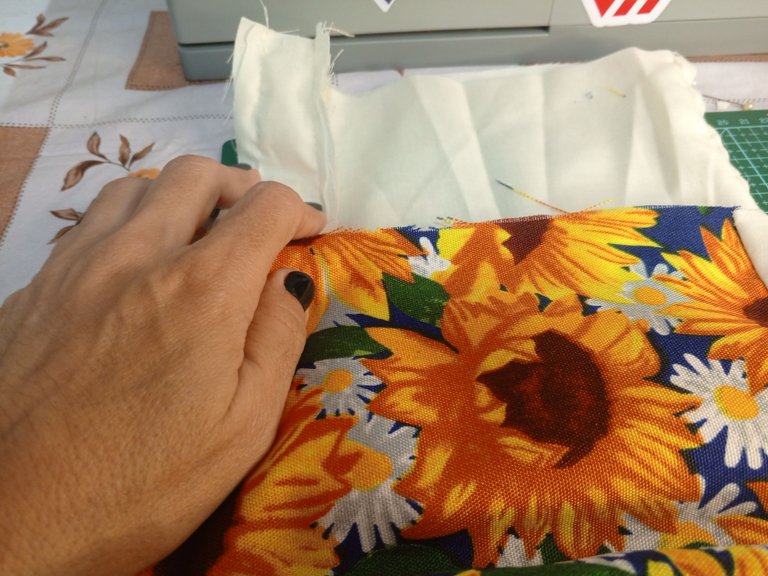
Introduje el forro y procedí a acomodarlo.
Con ayuda de las agujas fui ajustando hasta poder hacer un dobladillo, las agujas me ayudarán a que la tela no se mueva y quede prolijo.
! [English version]
I finish the base and turn the bag over, it is already taking shape.
I inserted the lining and proceeded to adjust it.
With the help of the needles I was adjusting until I could make a hem, the needles will help me to keep the fabric from moving and it will be neat.

Step 5️⃣/ paso 5️⃣

 |  | |
 |  |
[Esp]
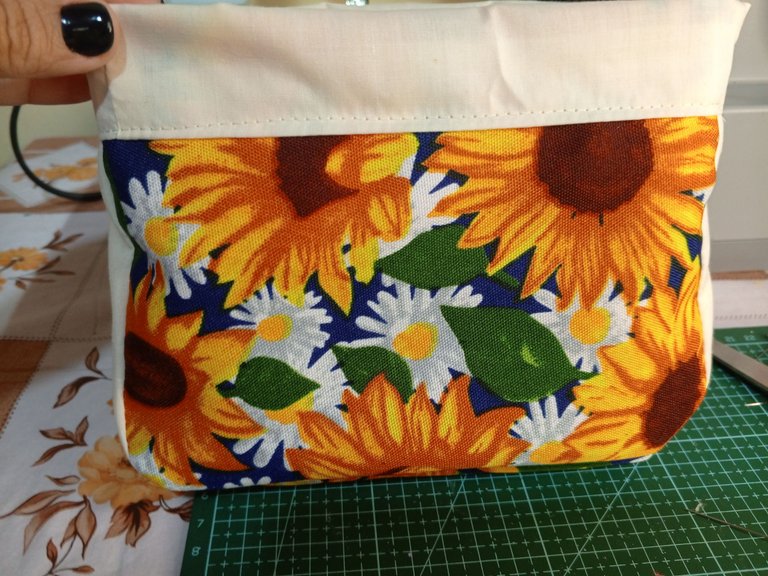
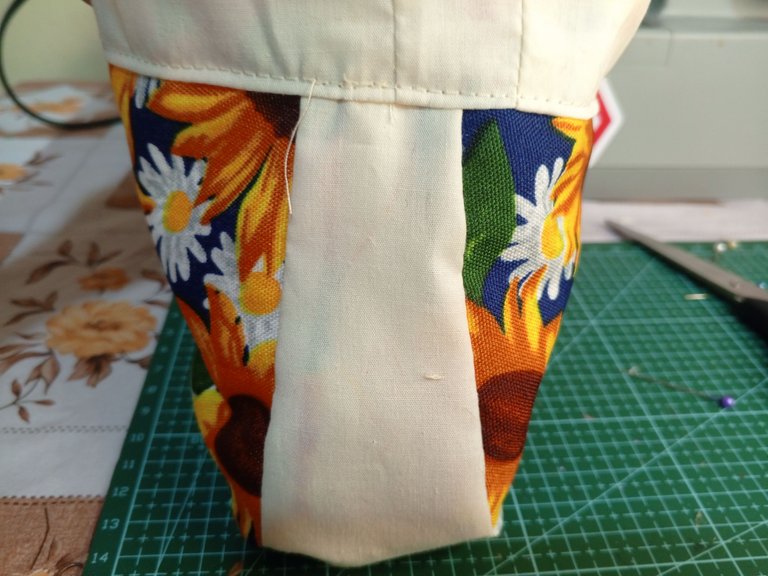
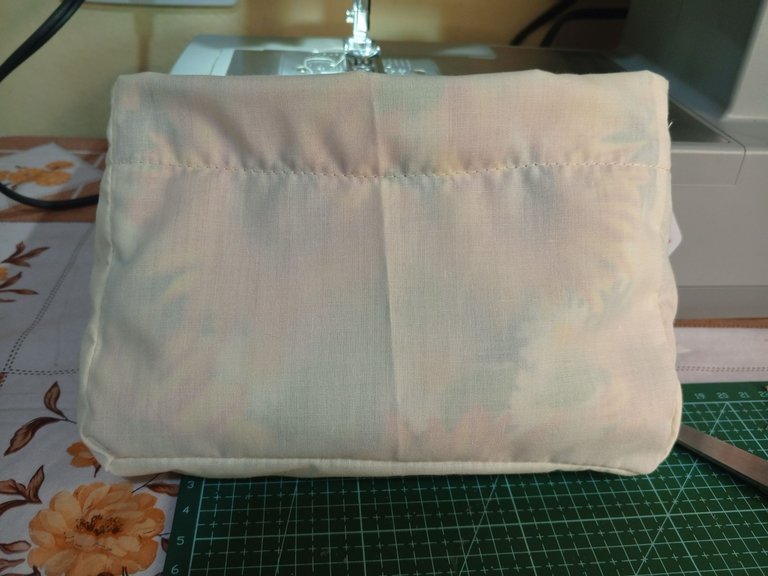
Pasamos la costura sellando el borde el bolso. El ruedo hacia afuera le da mucha personalidad.
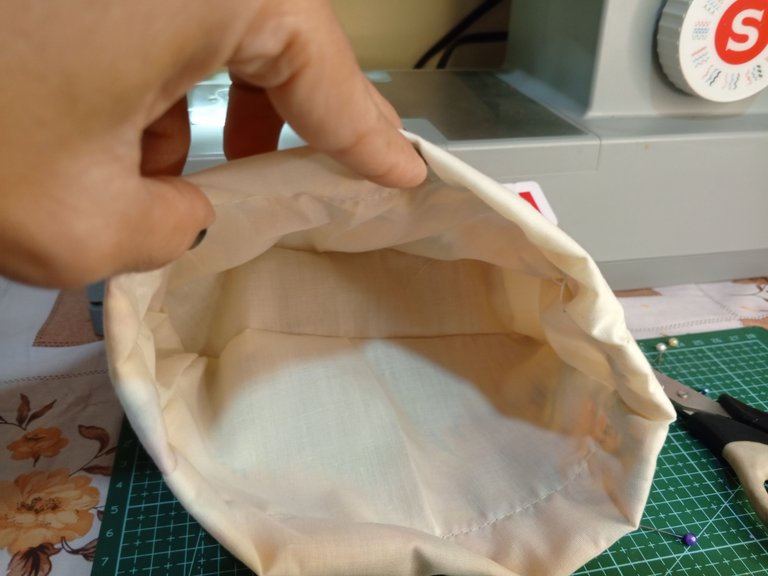
Volteo la bolsita para verificar que todo esté perfecto, me encantó el resultado. Vuelvo a voltear la bolsita con las flores hacia a fuera.
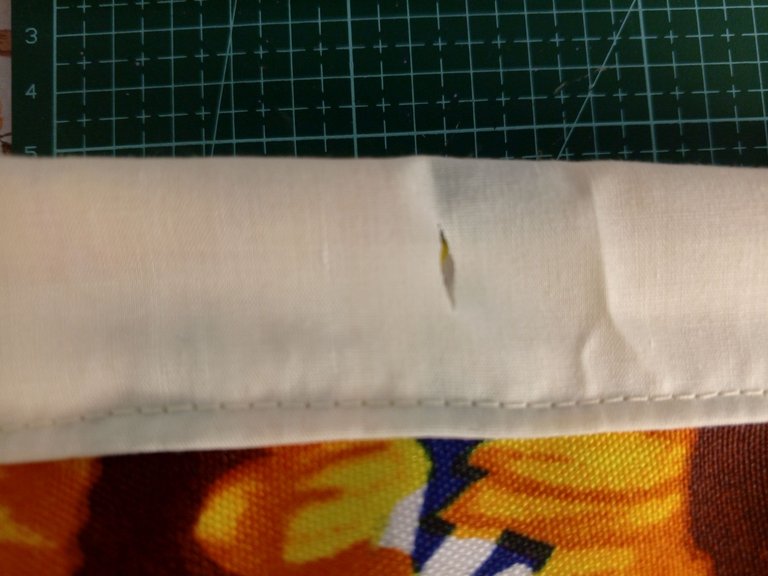
En el centro de la bolsita abrí un pequeño agujero con la tijera, este pequeño agujero será para pasar el cordón. He elaborado un ojal a mano para evitar que se deshilache y quede prolijo.
! [English version]
We pass the seam sealing the edge of the bag. The roll outward gives it a lot of personality.
I turn the bag over to check that everything is perfect, I love the result. I turn the bag again with the flowers facing out.
In the center of the bag I opened a small hole with the scissors, this small hole will be to pass the cord. I have made a buttonhole by hand to prevent fraying and to keep it neat.

Step 6️⃣/ paso 6️⃣

 |  | |
 |  |
[Esp]
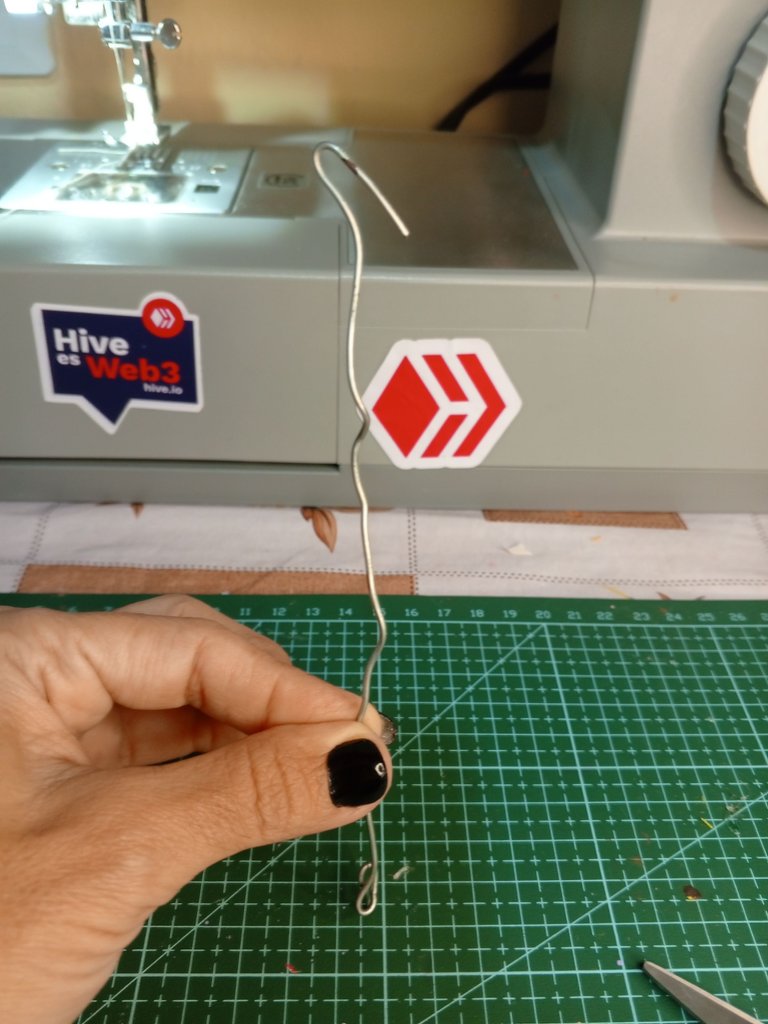
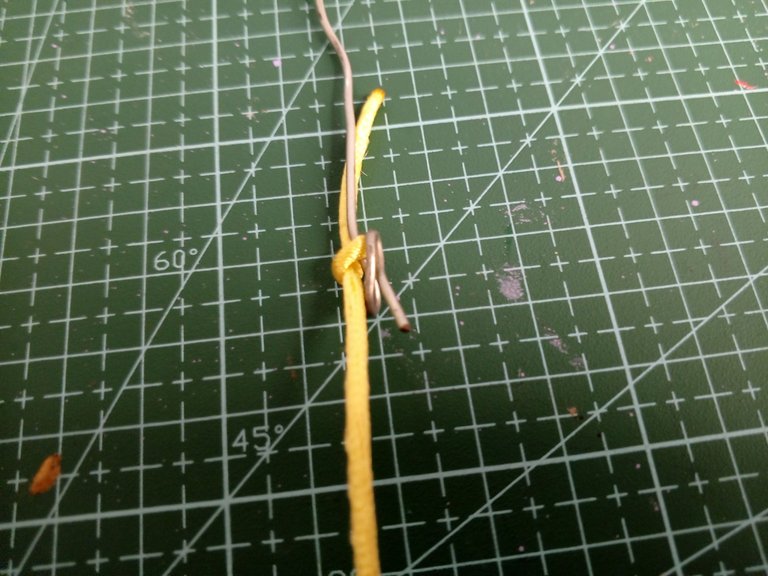
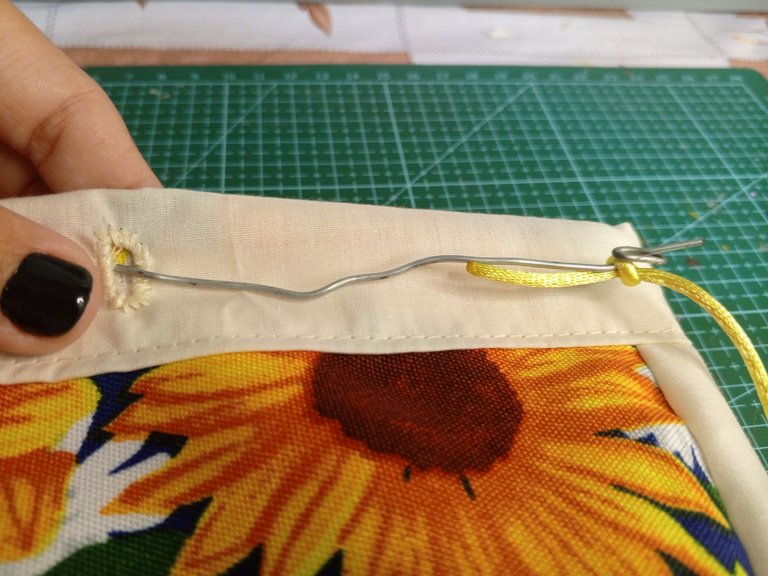
Les presento mi instrumento extraño, es tradición de la familia, es un instrumento de alambre que me enseñó hacer mi madre para cuando tenemos que pasar alguna goma, cordón o listones en el dobladillo de alguna ropa. En los años 80 y 90 pude usarlas mucho, ya que mi madre cosía para una fábrica y pues, teníamos mucho trabajo, este instrumento así como lo vez, ahorra mucho tiempo de trabajo.
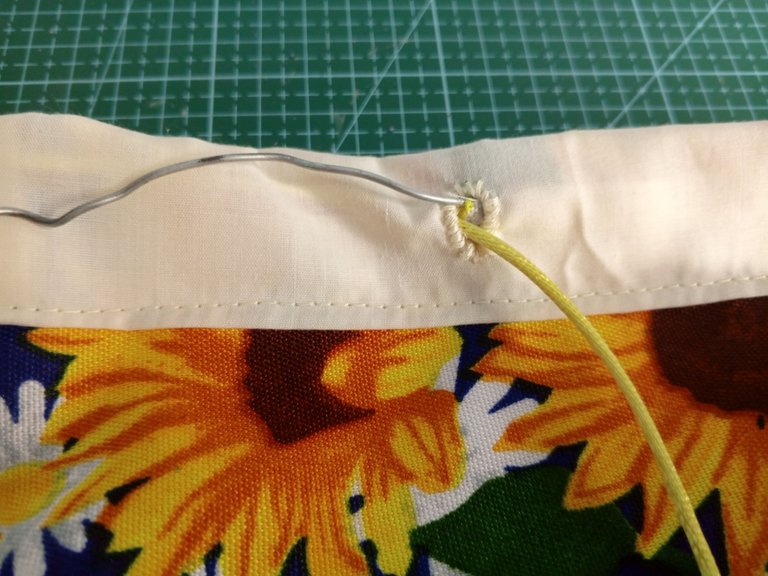
Con esa herramienta o instrumento extraño pasé el cordón dentro del dobladillo muy rápido. No hace falta que lo hagas, también puedes usar un alfiler, solo que te llevará más tiempo.
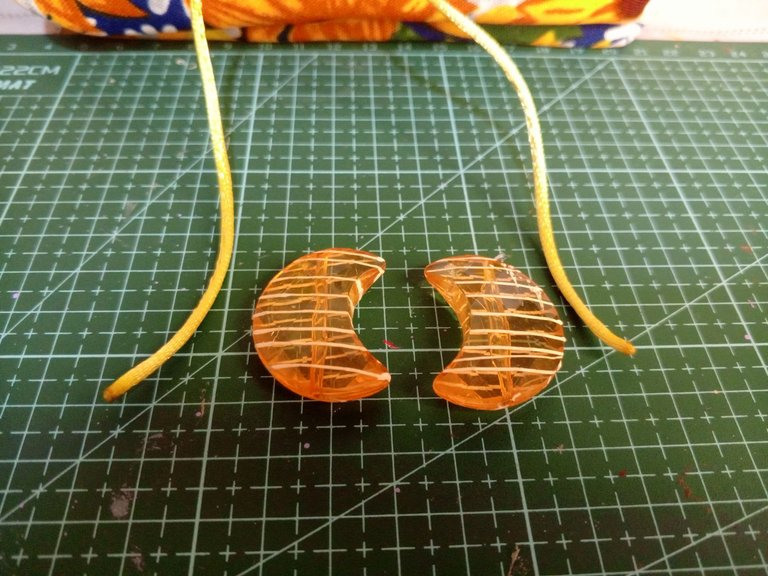
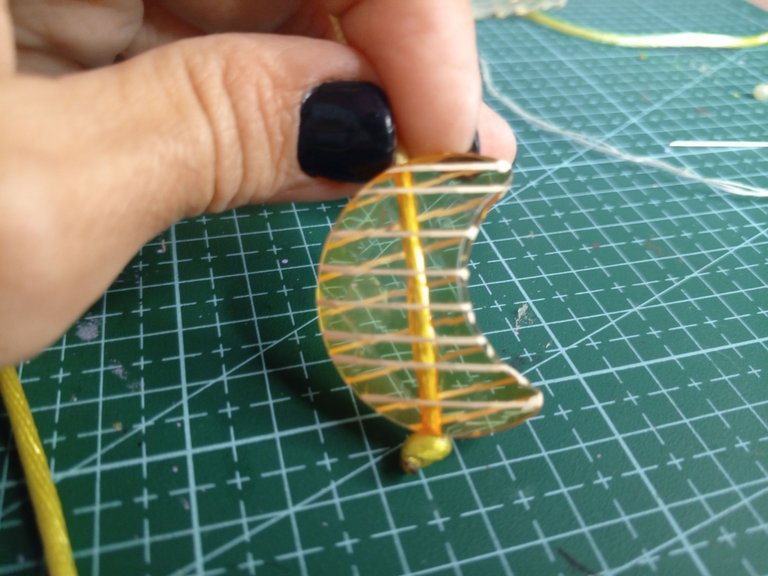
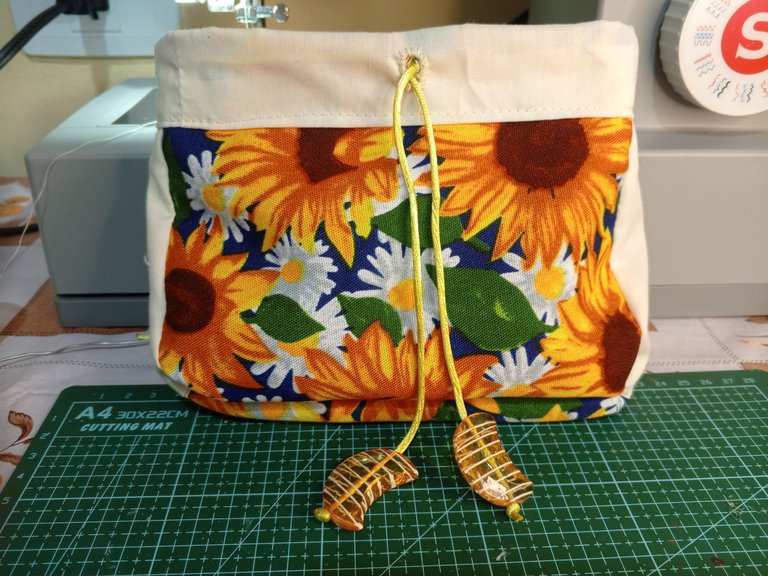
Ahora solo queda, pasar el cordón por los apliques de decoración y hacemos un nudo.
Espero que les guste, ahora decora y ordena mi sala de baño.
Una
! [English version]
I present you my strange instrument, it is a family tradition, it is a wire instrument that my mother taught me to make for when we have to pass some elastic, cord or ribbons in the hem of some clothes. In the 80's and 90's I was able to use them a lot, since my mother sewed for a factory and we had a lot of work, this instrument as you see it, saves a lot of work time.
With that strange tool or instrument I passed the cord inside the hem very fast. You don't have to do that, you can also use a pin, it will just take longer.
Now all that's left is to thread the cord through the decorative appliques and tie a knot.
I hope you like it, now decorate and tidy up my bathroom room.




Créditos / Credits




💜💜💜


![]() 👉
👉  👉
👉  👉
👉  👉
👉 
Here / Bríndame un café


