💜💜💜
💜💜💜
[Esp]
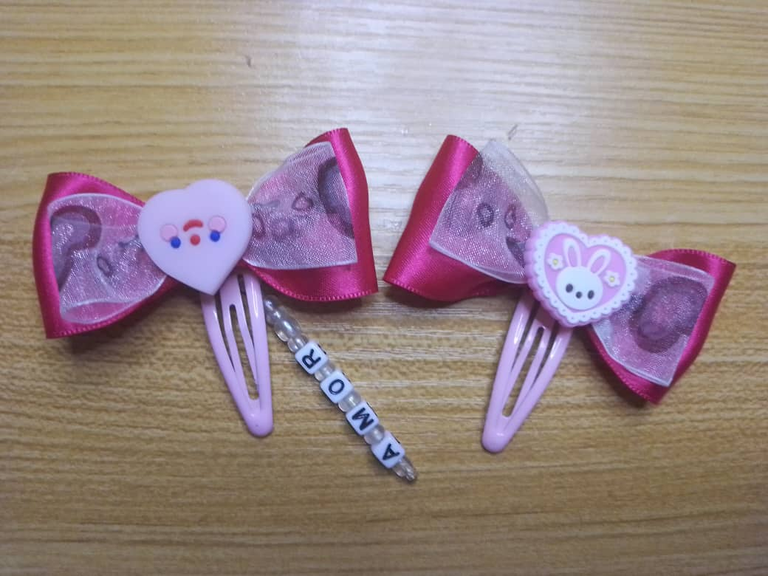
Saludos querida comunidad, hoy les muestro cómo convertir unos viejos ganchos de cabello que ya no eran nada bonitos, en unos lindos lacitos para el cabello de las niñas
Tengo muchos ganchitos de los que han ido perdiendo vida, color, piezas con el tiempo, eran ganchitos que yo usaba cuando tenía el cabello largo, ahora comienzo a usarlos nuevamente en casa para recoger mi cabello pues ha crecido mucho. Tengo materiales de provecho que me han quedado de otras manualidades y muchas cosas que puedo reciclar, por lo que te animo a darle vida nuevamente a esos viejos ganchos que terminan por allí sin su par o que perdieron la gracia, es una excelente idea de emprendimiento ya que están muy de moda.
Tengo una cinta de corazones que es transparente, muy delicada, pensé que quedaría hermosa si la usaba para los lazos y esta vez, no usé colores pasteles para la cinta, usé un fucsia bastante fuerte y queda bien con la cinta transparente. Acompáñame y te cuento cómo se hace o cómo lo hice.
! [English version]
[Eng]
Greetings dear community, today I show you how to turn some old hair clips that were not pretty anymore, into cute little hair bows for girls' hair.
I have many hair clips that have been losing life, color, pieces over time, they were clips that I used when I had long hair, now I start to use them again at home to collect my hair because it has grown a lot. I have useful materials that I have left from other crafts and many things that I can recycle, so I encourage you to give life again to those old hooks that end up there without their pair or that lost their grace, it is an excellent idea of entrepreneurship as they are very fashionable.
I have a heart ribbon that is transparent, very delicate, I thought it would look beautiful if I used it for the bows and this time, I didn't use pastel colors for the ribbon, I used a pretty strong fuchsia and it looks good with the transparent ribbon. Join me and I'll tell you how it's done or how I did it.
💜💜💜
Materiales / Materials
[Esp]
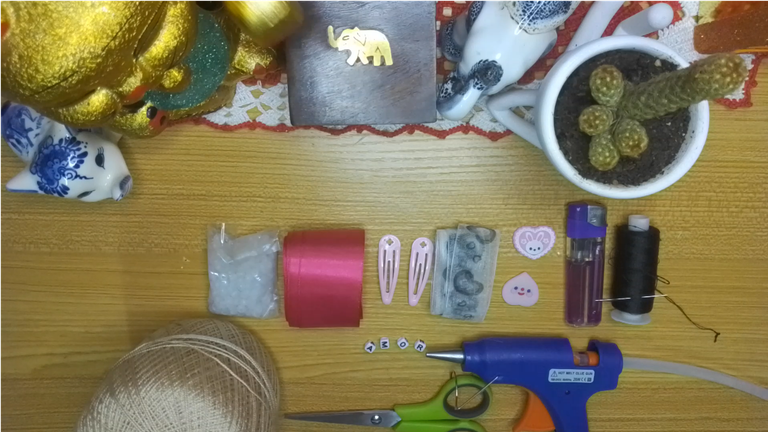
💜 Cinta de raso N°9 y una cinta transparente N°6
💜 Tijera y pistola de silicón.
💜 Ganchos para el cabello
💜 Apliques para decorar, letras para decorar, cuentas de plástico
💜 Hilo de coser, hilo de tejer.
💜 Yesquero.
! [English version]
[Eng]
💜 Satin ribbon N°9 and a transparent ribbon N°6.
💜 Scissors and silicone gun.
💜 Hair clips
💜 Appliques to decorate, letters to decorate, plastic beads.
💜 Sewing thread, knitting thread.
💜 Tinder.
Step by Step / Paso a Paso
Step 1️⃣/ Paso 1️⃣
 |  |  |
 |  |  |
[Esp]
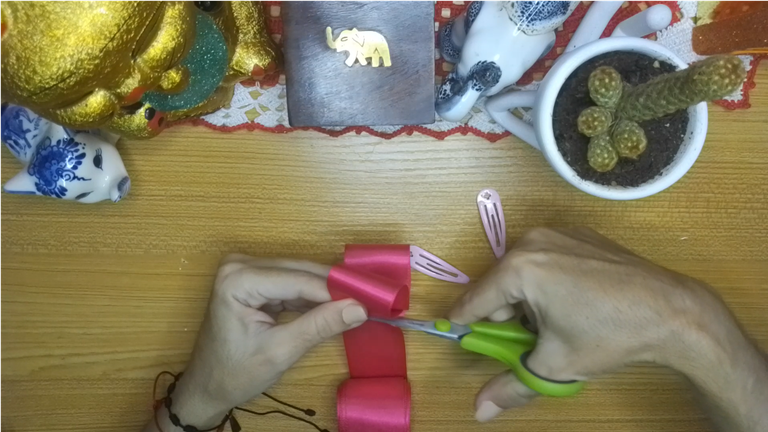
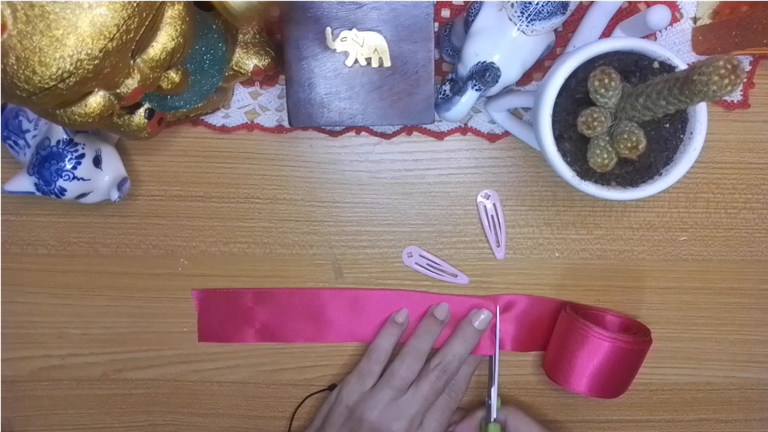
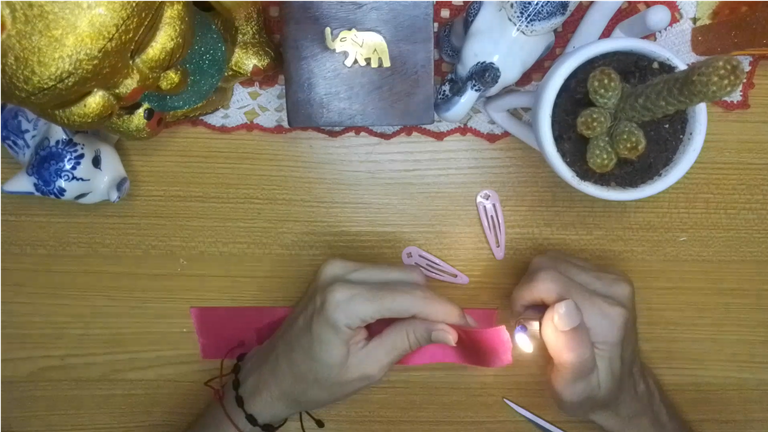
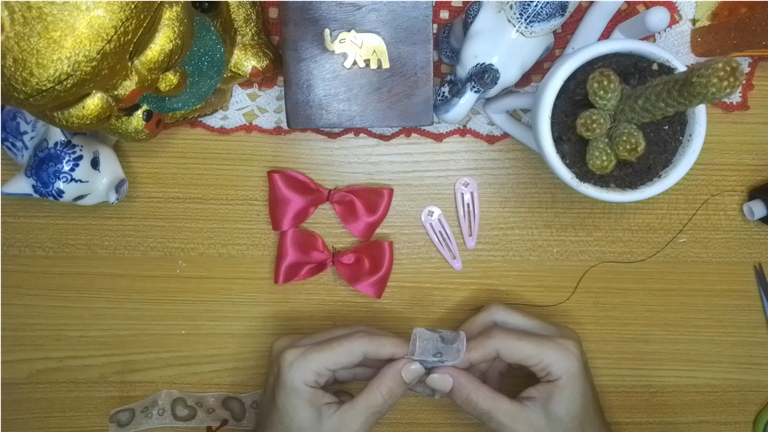
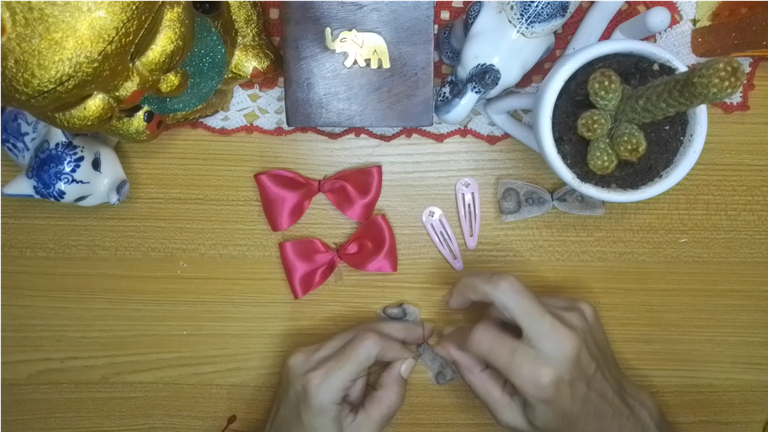
Toma la medida de la cinta de raso que cortarás de acuerdo al tamaño del gancho para el cabello. Recorta un listó y repite este procedimiento usando la cinta recortada como molde para cortar la siguiente.
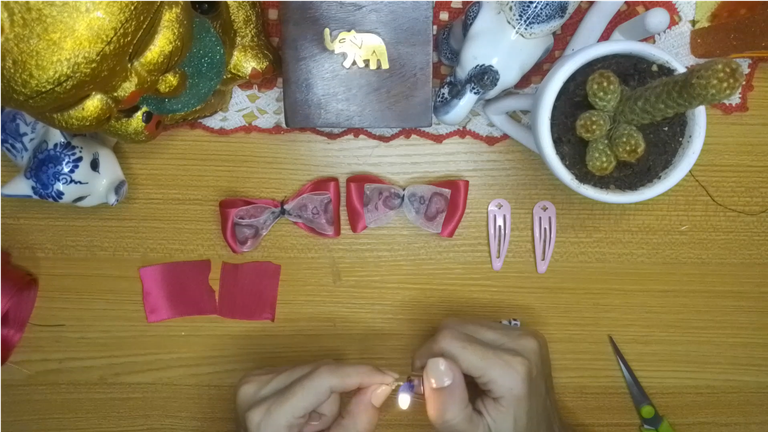
Con el Yesquero, quema ambos extremos de la cinta que acabas de cortar.
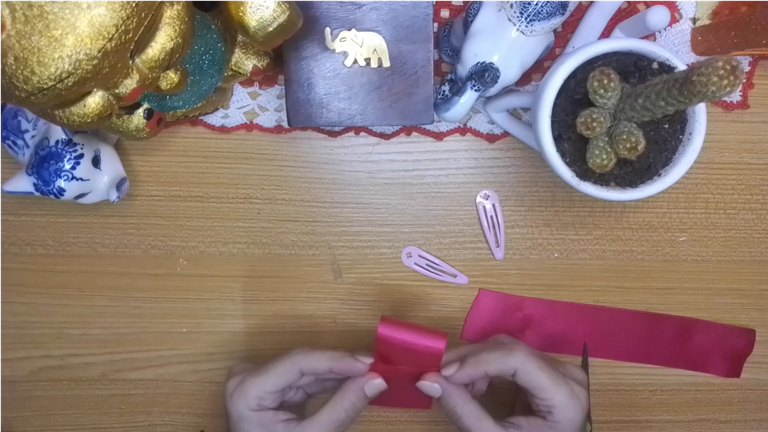
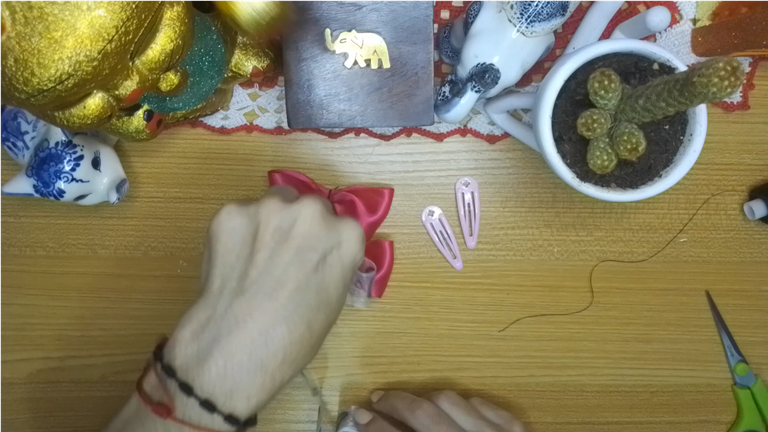
Une las puntas para crear un ovalo y ajusta el centro, con el hilo realiza varias vueltas y ata con un nudo, de esta manera creaste el primer lazo
! [English version]
[Eng]
Measure the satin ribbon to be cut according to the size of the hair clip. Cut out a ribbon and repeat this procedure using the cut ribbon as a template to cut the next one.
With the tinder, burn both ends of the ribbon you just cut.
Join the ends to create an oval and adjust the center, with the thread make several turns and tie with a knot, in this way you created the first ribbon.
Step 2️⃣/ paso 2️⃣
 |  |  |
 |  |  |
[Esp]
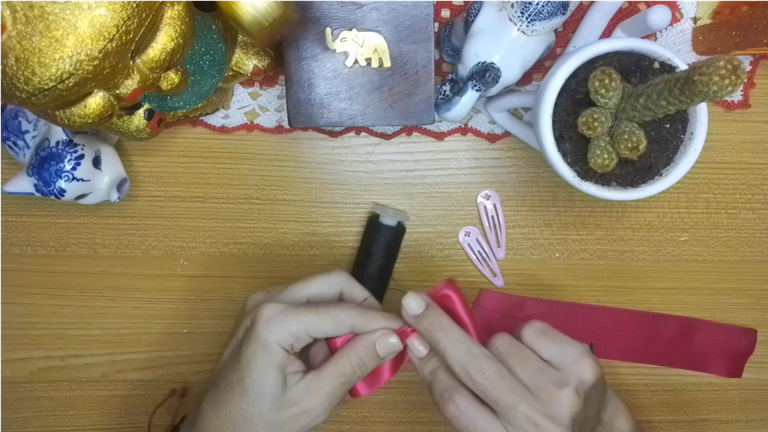
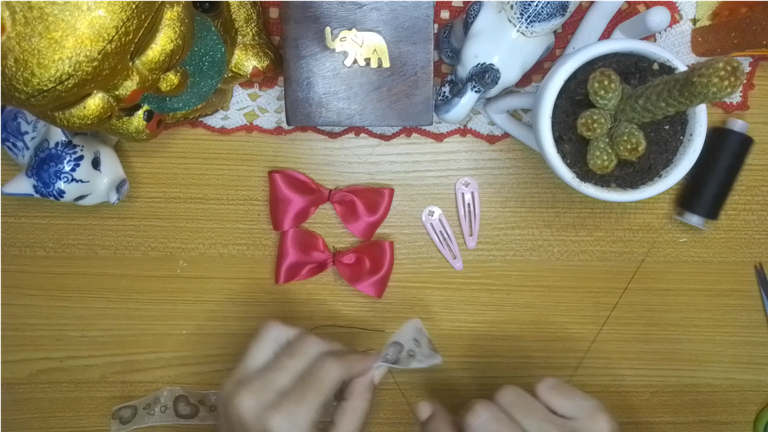
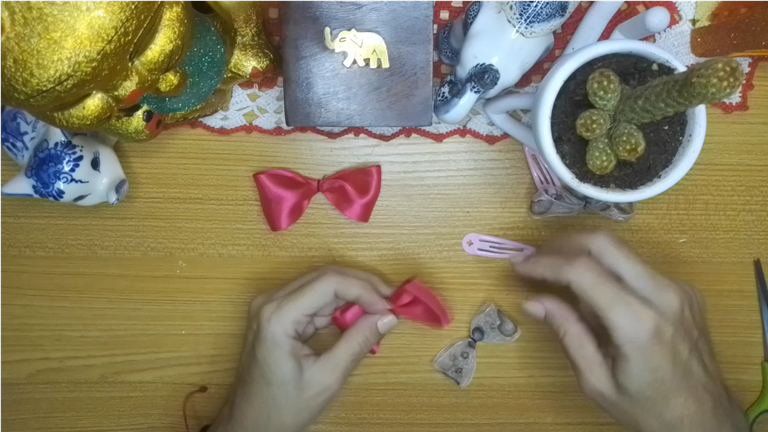
Realizamos el otro lazo, repitiendo los pasos anteriores.
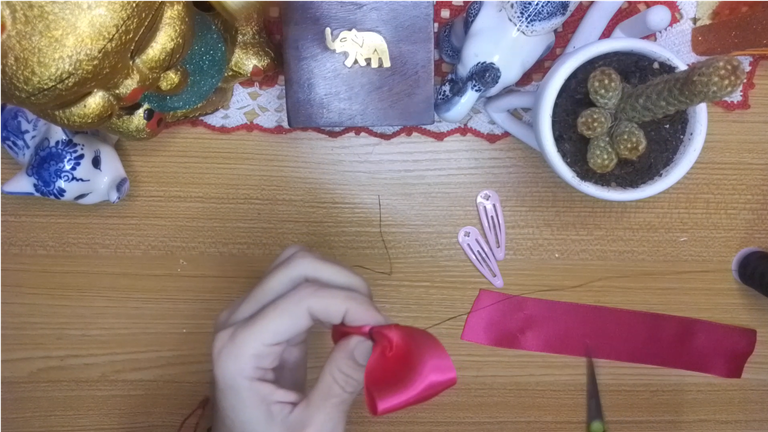
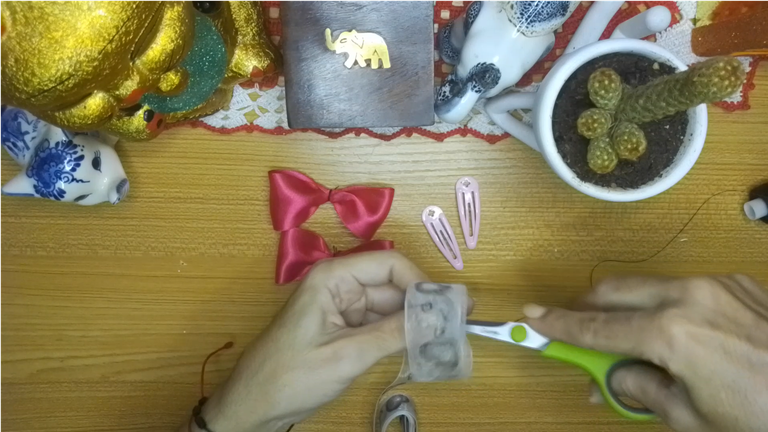
Toma el trozo de cinta, unimos en el centro formando un círculo, apretamos con el hilo y hacemos un nudo.
Toma la medida del lazo par acortar el otro trozo de cinta transparente, este debe ser un poco más pequeño. Luego de cortar uno, úsalo como molde para cortar el otro.
Con el yesquero quema las puntas, esto es para evitar que se deshilache.
repetimos los pasos anteriores para hacer el lazo.
! [English version]
[Eng]
We perform the other loop, repeating the previous steps.
Take the piece of ribbon, we join in the center forming a circle, tighten with the thread and tie a knot.
Take the measurement of the loop to shorten the other piece of transparent ribbon, this should be a little smaller. After cutting one, use it as a mold to cut the other.
With the tinder burn the ends, this is to avoid fraying.
Repeat the previous steps to make the ribbon.
Step 3️⃣/ paso 3️⃣
 |  |  |
 |  |  |
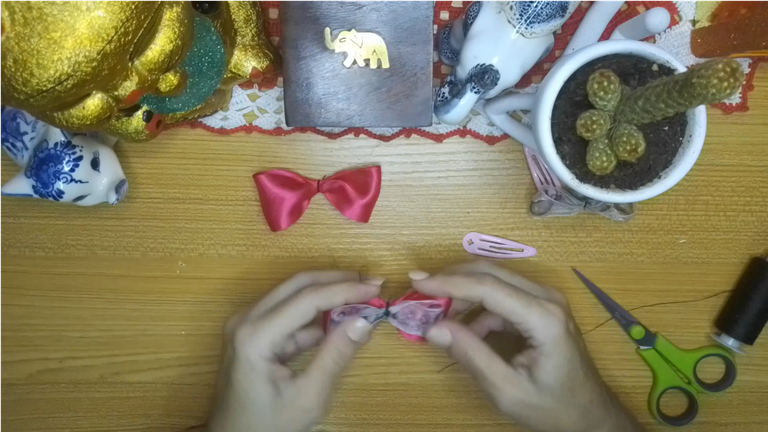
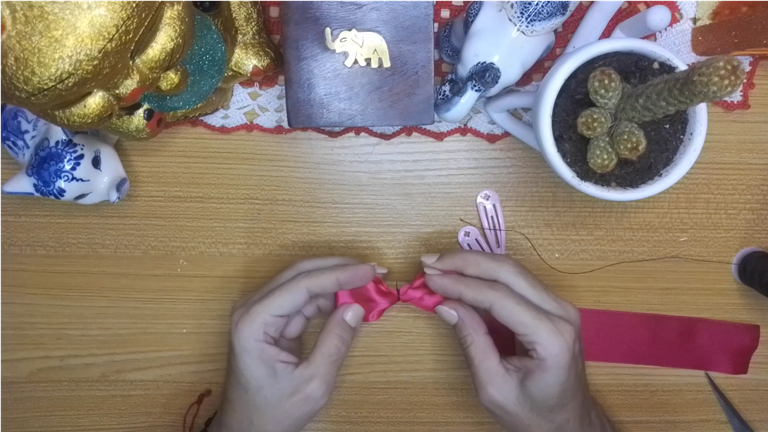
[Esp]
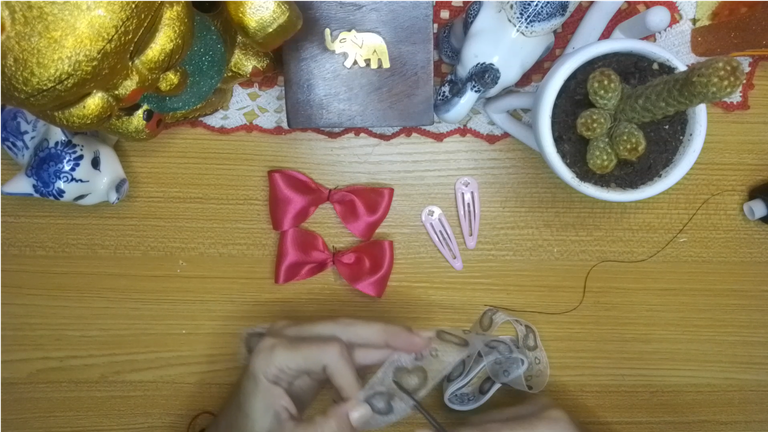
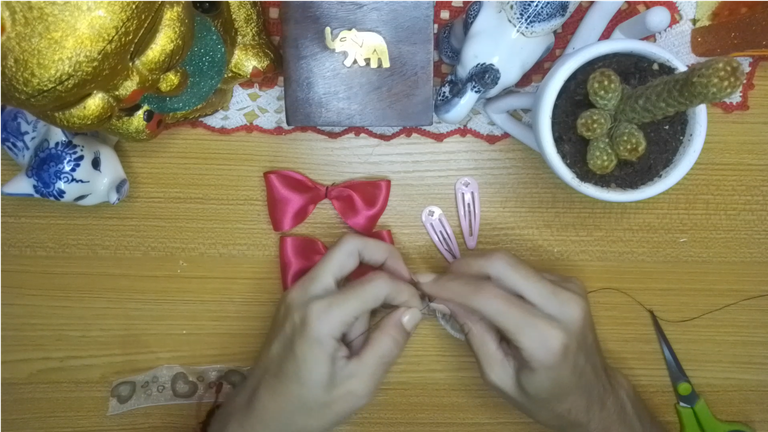
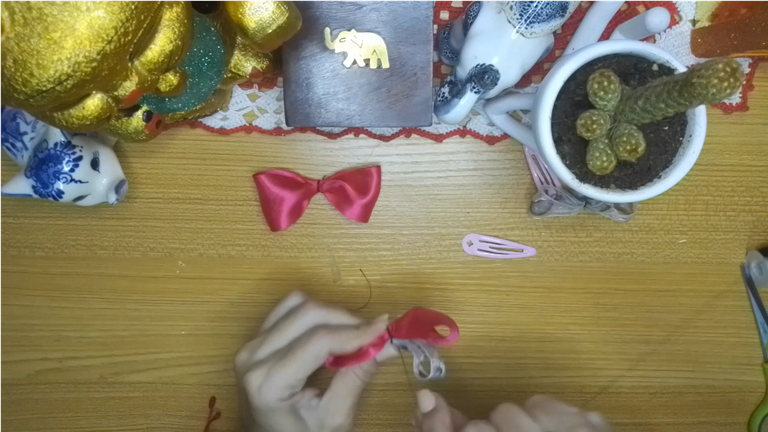
Con el hilo, realiza unas cuantas vueltas en el lazo y luego asegura un nudo. repite los pasos anteriores para hacer el lazo siguiente.
Toma un lazo fucsia y uno transparente, puedes unirlos con pegamento, yo preferí seguir usando el hilo ya que lo veo más resistente, he colocado ambos, di un par de vueltas con el hilo y luego até un nudo, quedando el lazo ya armado.
! [English version]
[Eng]
With the yarn, make a few turns in the loop and then secure a knot. repeat the previous steps to make the next loop.
Take a fuchsia ribbon and a transparent one, you can join them with glue, I preferred to continue using the thread as I see it more resistant, I placed both, made a couple of turns with the thread and then tied a knot, leaving the ribbon already assembled.
Step 4️⃣/ paso 4️⃣

 |  |  |
 |  |  |
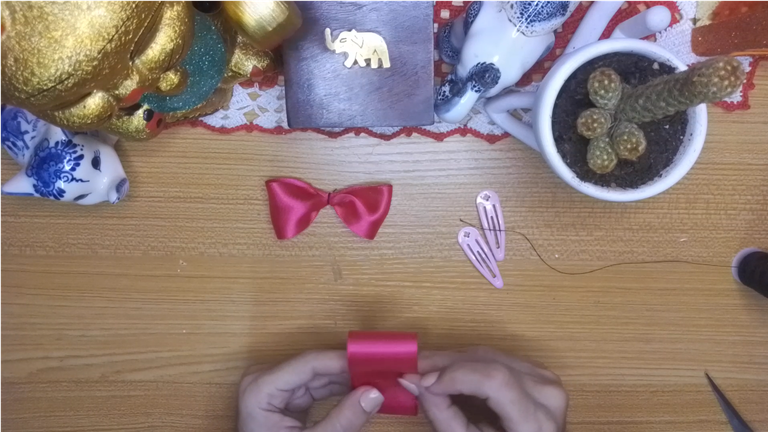
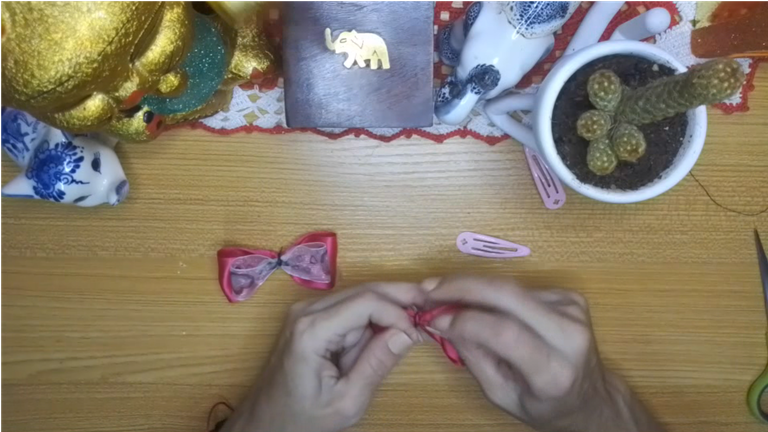
[Esp]
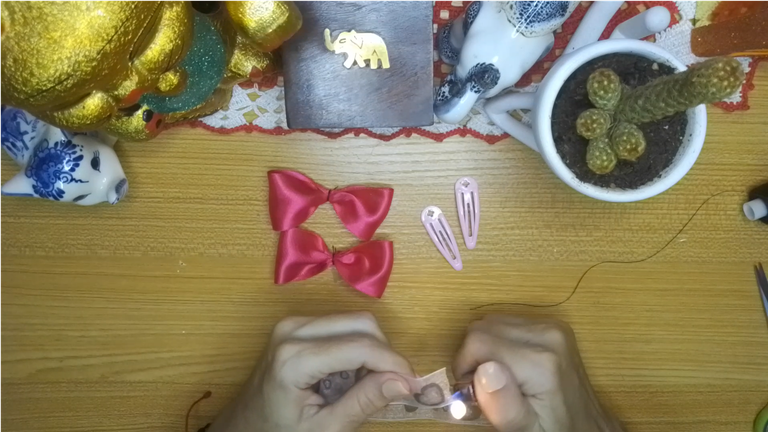
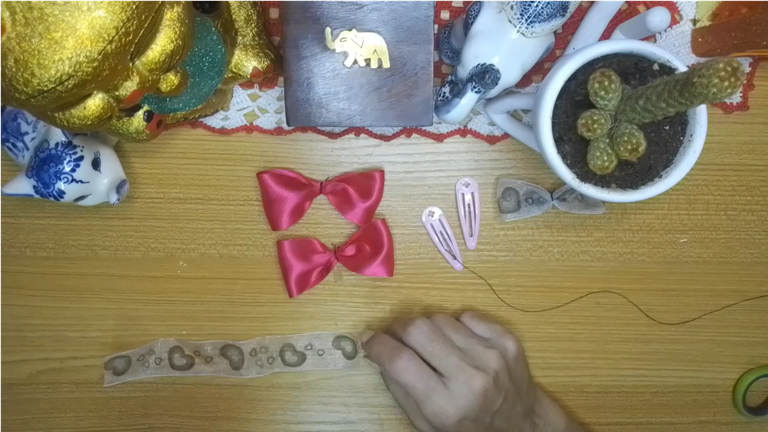
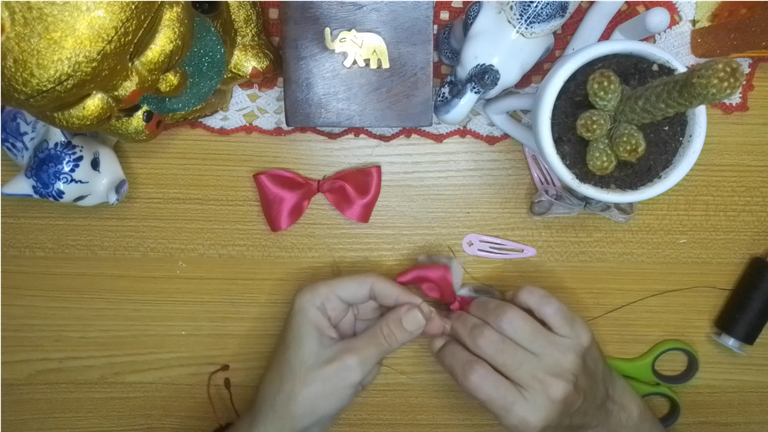
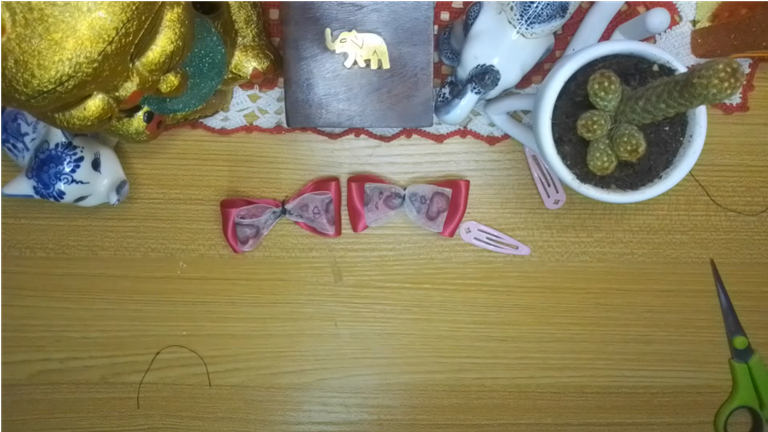
Repetimos el paso anterior con el segundo lazo, puedes pegar con pega el lazo de raso fucsia con el lazo de raso transparente o hacerlo como yo, usé hilo di un par de vueltas y até con un nudo.
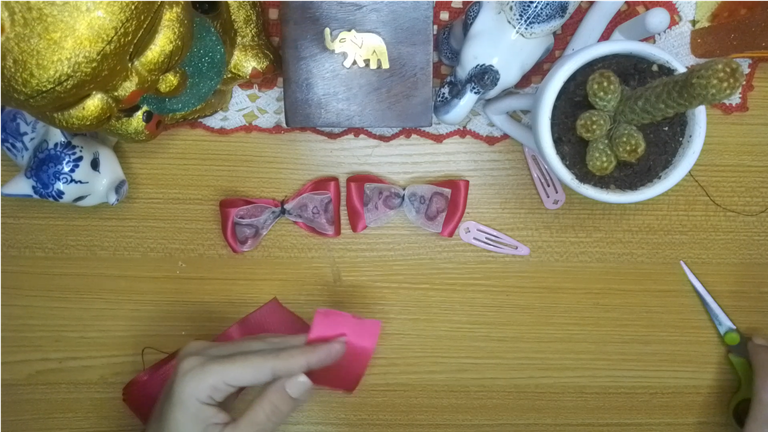
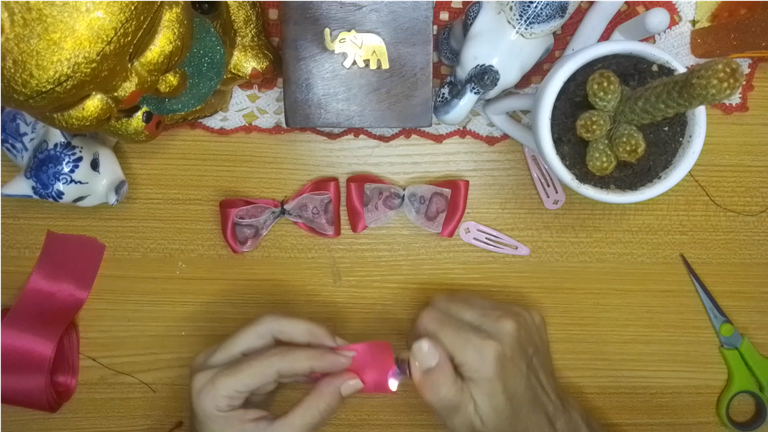
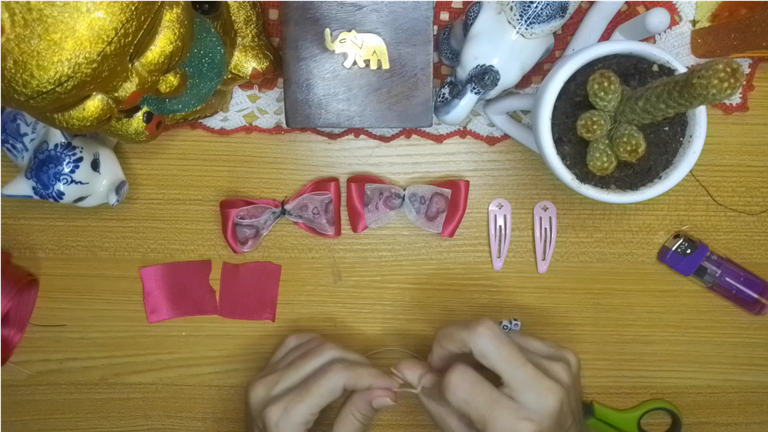
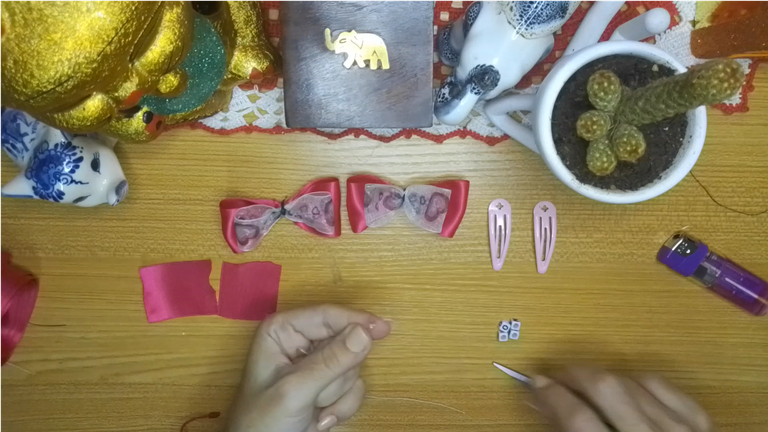
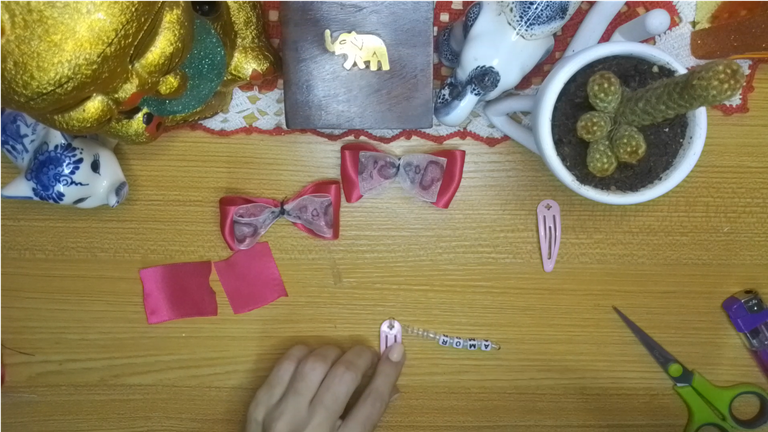
Toma dos trozos de cinta de 6 centímetros de largo cada uno y corta, quema cada uno de los extremos con el yesquero.
Toma el hilo de tejer y corta un trozo mas o menos largo de 25 centímetros.
! [English version]
[Eng]
Repeat the previous step with the second ribbon, you can glue the fuchsia satin ribbon with the transparent satin ribbon or do it as I did, I used thread, gave a couple of turns and tied with a knot.
Take two pieces of ribbon 6 centimeters long each and cut, burn each end with the tinder.
Take the knitting yarn and cut a piece more or less 25 centimeters long.
Step 5️⃣/ paso 5️⃣
 |  |  |
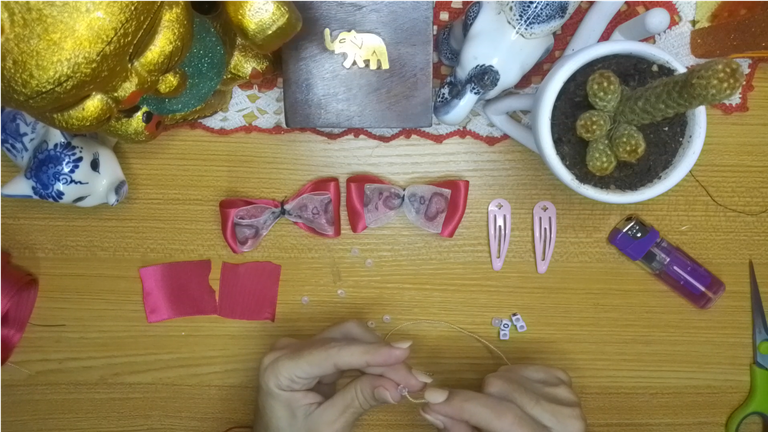 | 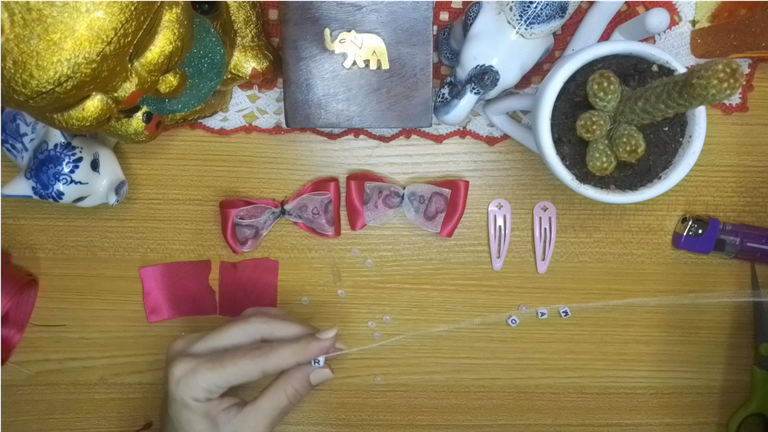 |  |
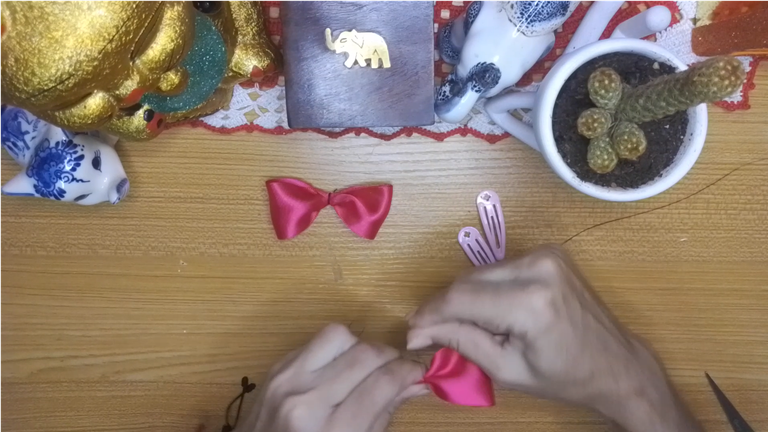
[Esp]
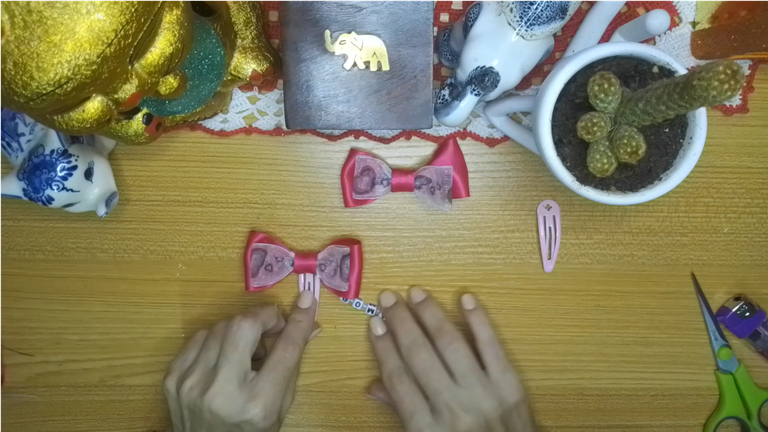
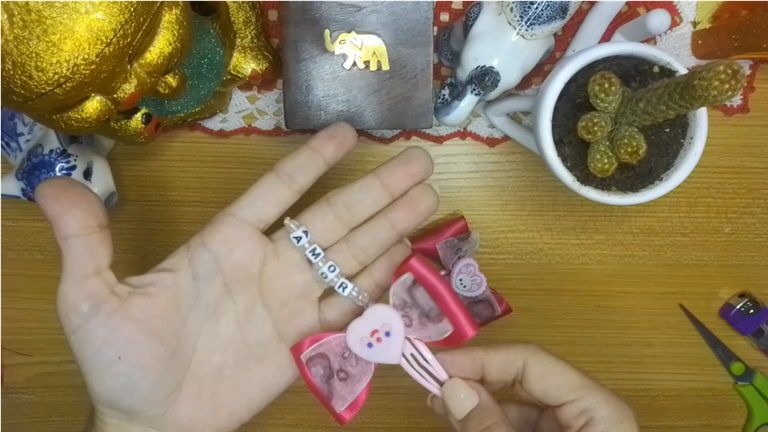
Armaremos la palabra amor...
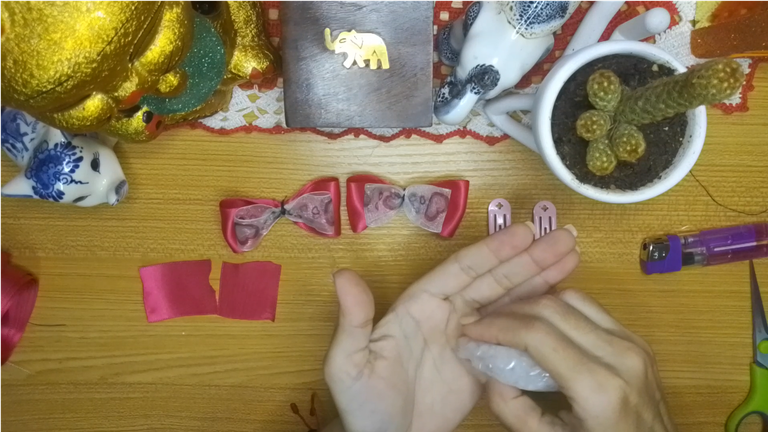
Realiza un nudo en una punta del hilo, comienza por poner una cuenta de plástico, luego una letra, y vas intercalando entre una cuenta y una letra hasta formar la palabra.
Luego colocas 5 cuentas de plástico más y realiza otro nudo para que no se suelten.
! [English version]
[Eng]
We will make the word love...
Tie a knot at one end of the thread, start by placing a plastic bead, then a letter, and go back and forth between one bead and one letter until you form the word.
Then place 5 more plastic beads and tie another knot so that they don't come loose.
Step 6️⃣/ paso 6️⃣
 |  |  |
 |  |  |
 |  | 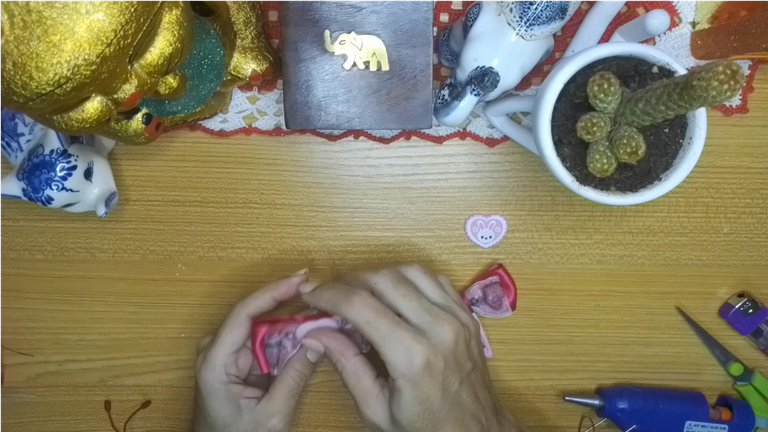 |
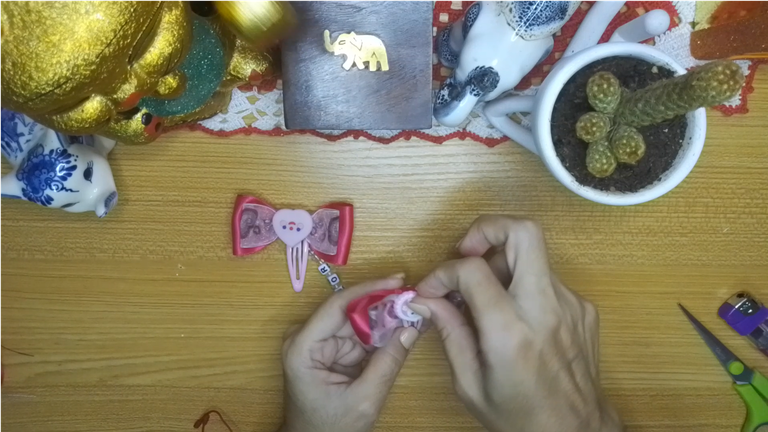
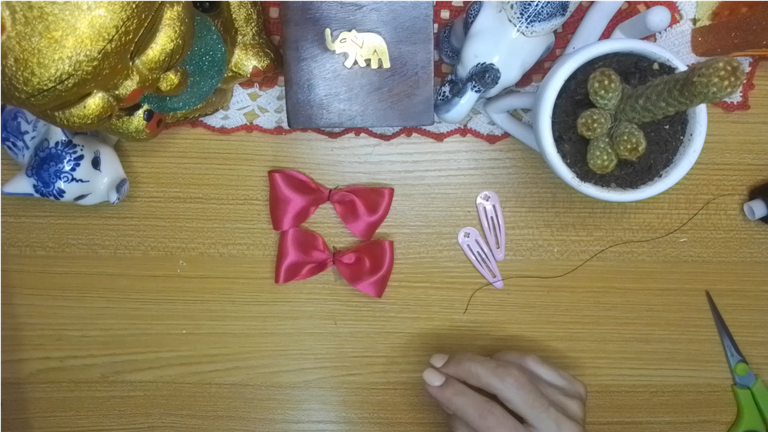
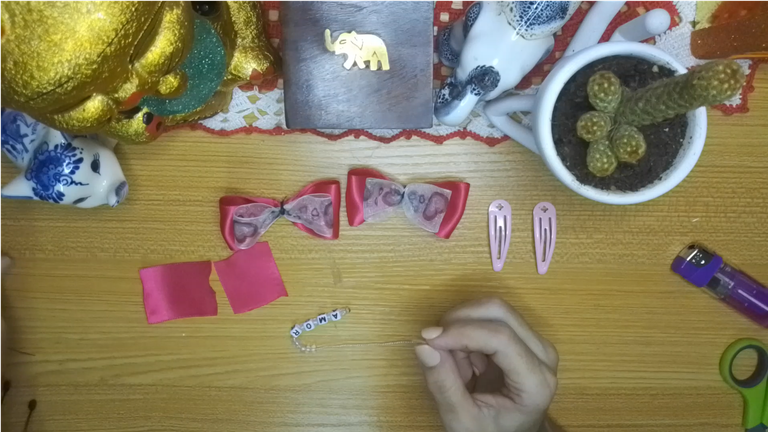
[Esp]
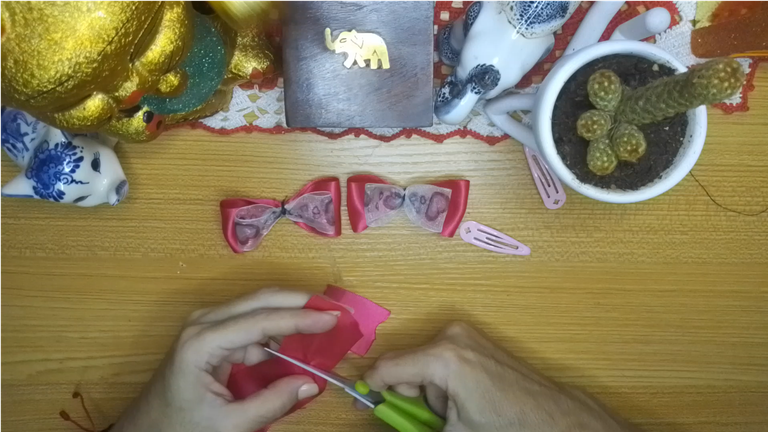
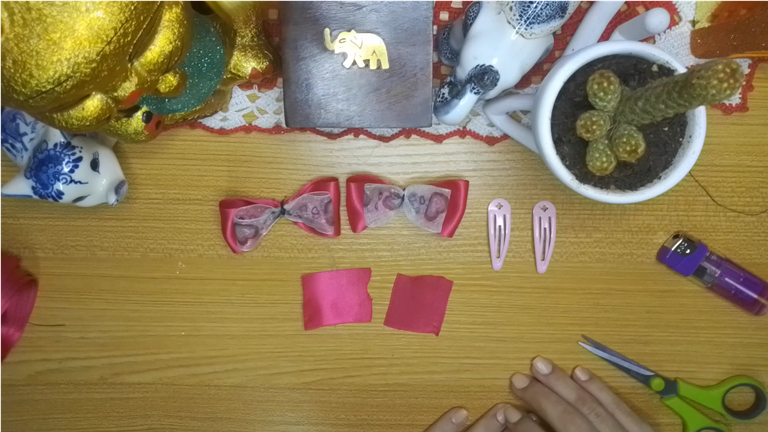
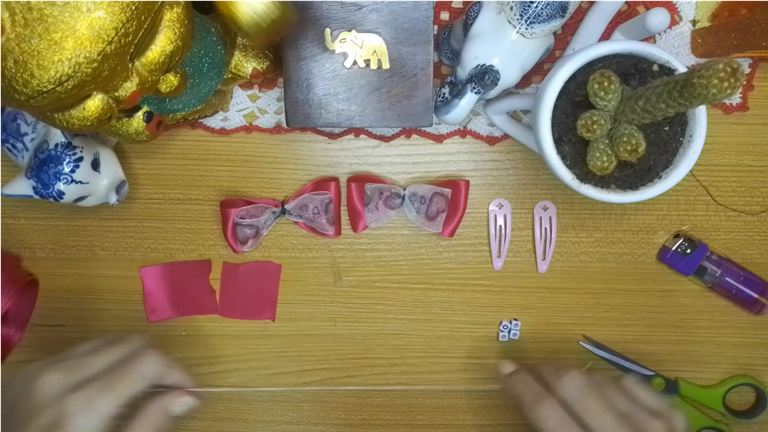
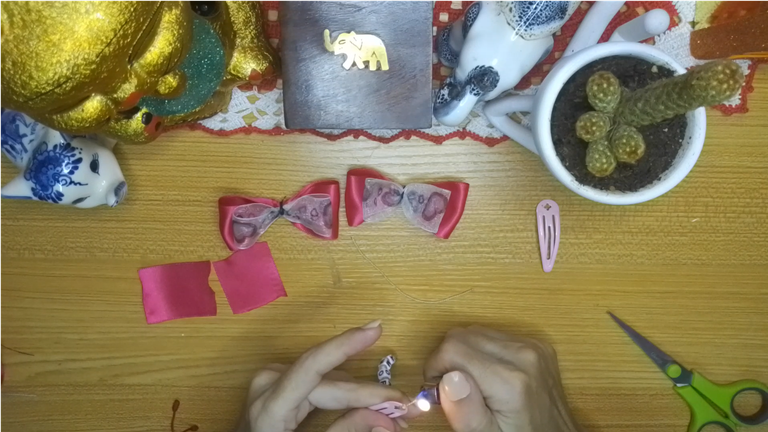
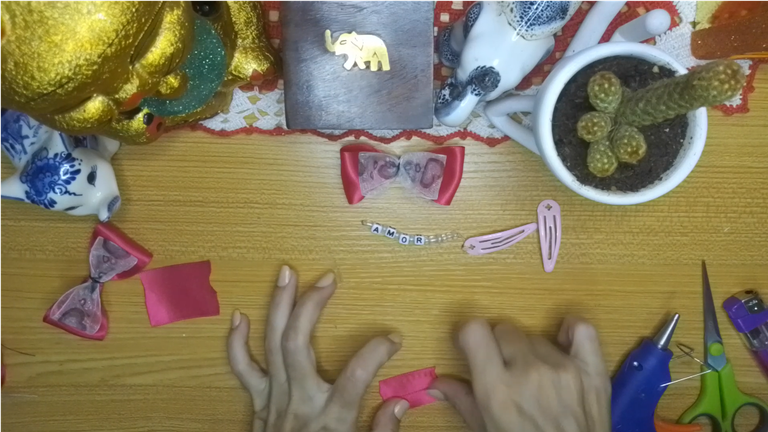
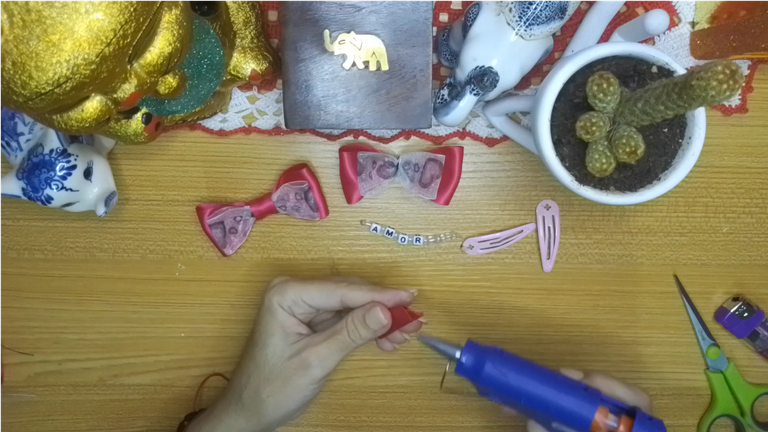
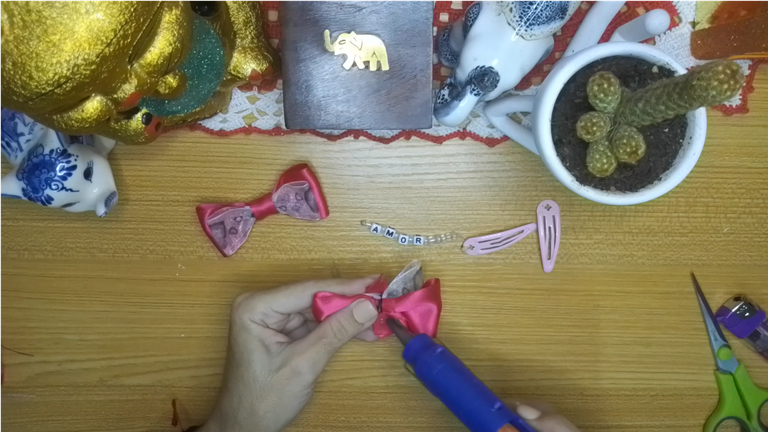
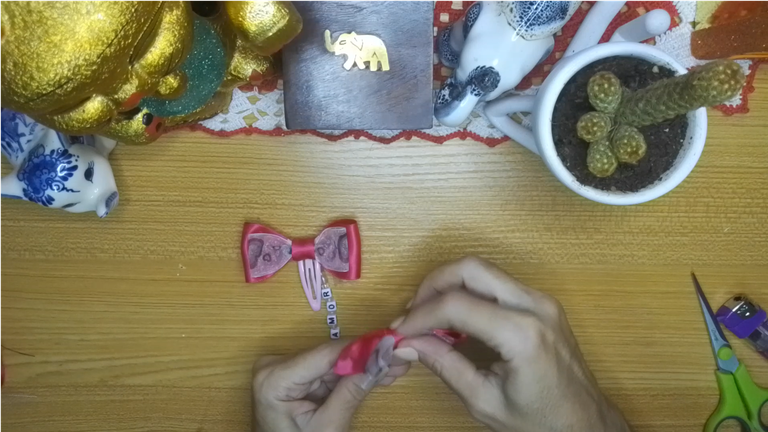
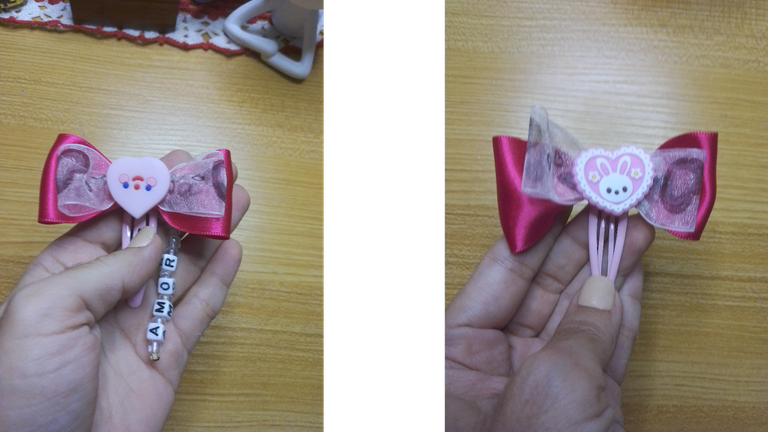
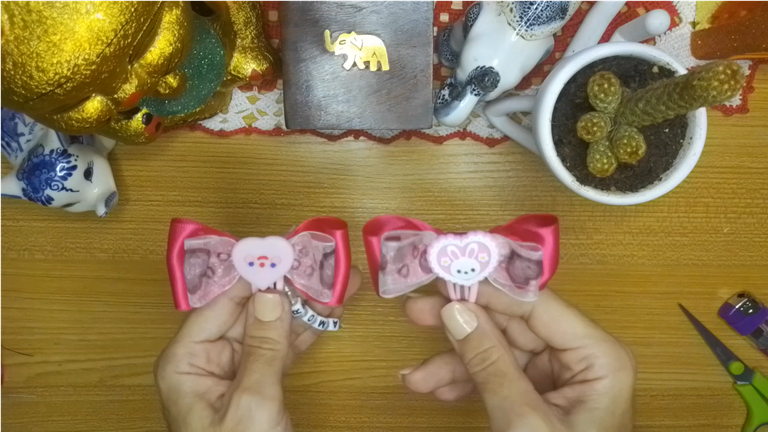
Coloca las letras que has armado en el gancho, puedes sujetar haciendo un nudo o pegando.
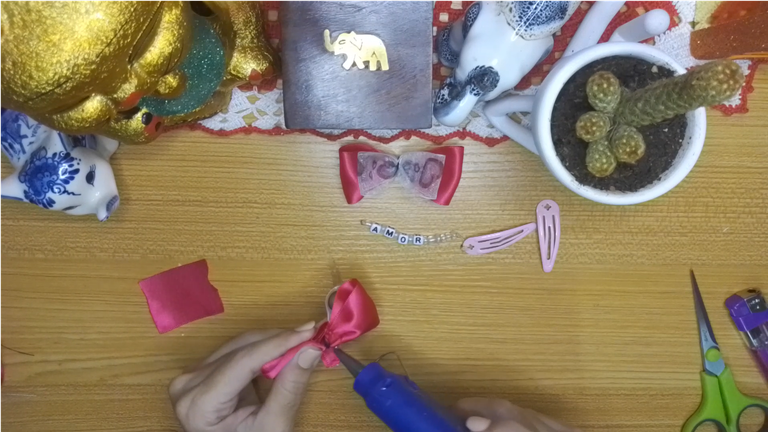
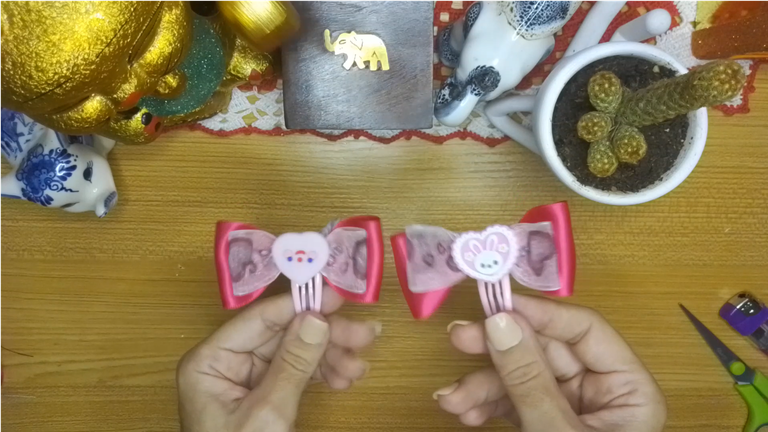
Toma los trozos de cinta que cortaste anteriormente, coloca un poco de pegamento en cada orilla y dobla, usa la cinta para cubrir el centro del lazo. Repite este procedimiento con el otro lazo.
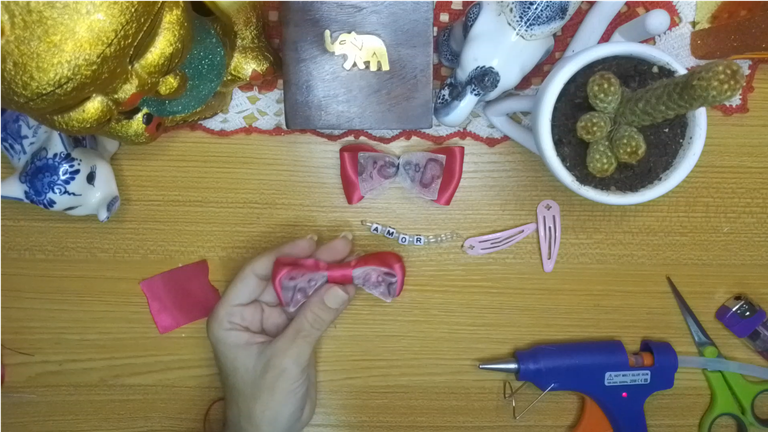
Pega los adornos que escogiste para el centro y con ellos hemos terminado
Fácil y económico.
Espero les sea de su agrado.
! [English version]
[Eng]
Place the letters you have assembled on the hook, you can attach by tying a knot or gluing.
Take the pieces of ribbon you cut earlier, place a little glue on each edge and fold, use the ribbon to cover the center of the bow. Repeat this procedure with the other ribbon.
Glue the ornaments you chose for the center and with them we are done.
Easy and economical.
I hope you like it.
 |  |
Credits / Créditos.
💜💜💜
💜💜💜
![]() 👉
👉 ![]() 👉
👉 ![]() 👉
👉 
Here / Bríndame un café