


[Esp]
¡Feliz día del amor y la amistad!
Hoy comparto un lindo arreglo inspirado en este día tan hermoso, es muy sencillo de hacer y podrás sorprender a tu personita especial.
El uso de materiales reciclados protagoniza este arreglo, puedes personalizarlo a tu gusto, llenarlo de chocolates y bombones, colocarle una tarjetita dedicatoria o bien una excelente idea de emprendimiento.
Espero te guste.
! [English version]
Happy love and friendship day!
Today I share a nice arrangement inspired by this beautiful day, it is very easy to make and you can surprise your special someone.
The use of recycled materials is the main feature of this arrangement, you can personalise it as you like, fill it with chocolates and chocolates, add a little dedication card or an excellent idea for a new project.
I hope you like it.
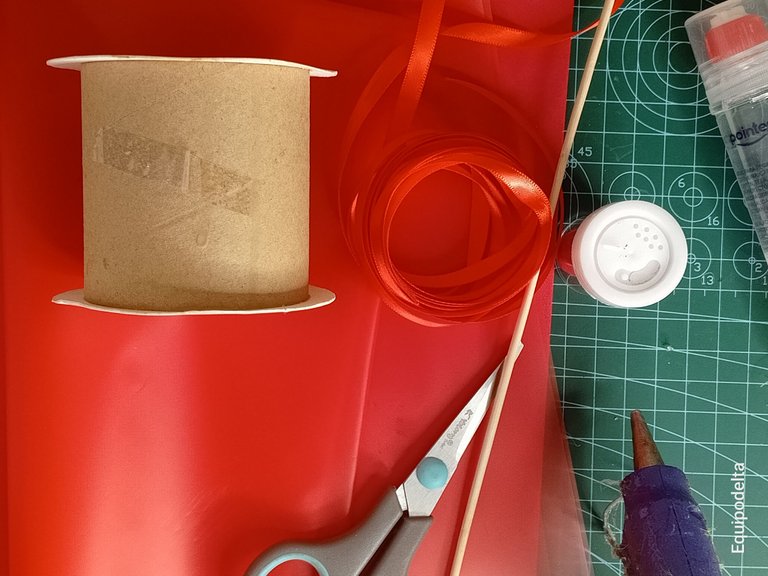
Contenido del kit / Contents of the kit
| Spanish | English | |
| Papel coreano | Korean paper | |
| Cinta de raso N°1 | Satin ribbon N°1 | |
| Escarcha y pegamento | Frost and glue | |
| Palito de altura, cilindro | Height stick, cylinder | |
| Pistola de silicón, tijera | Silicone gun, scissors | |
| Anime en forma de corazón | Heart-shaped anime | |
| Foami | Foam |
Paso a paso / Step by Step
Step 1️⃣/ Paso 1️⃣
 |  | |
 |  |
[Esp]
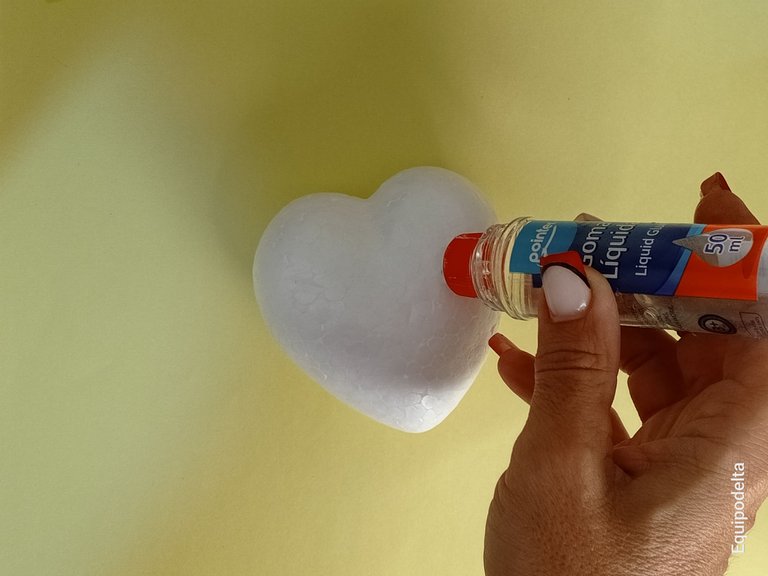
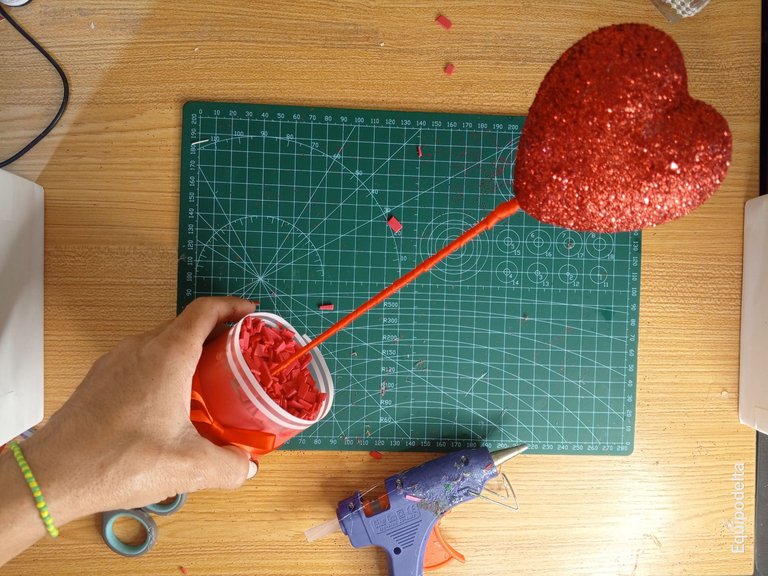
Inserta el palito de altura por el centro del corazón.
Usé pegamento transparente para que secara más rápido y no se vieran imperfecciones, también porque la escarcha con el pegamento blanco tiende a ponerse feo con el tiempo. Cubre de pegamento toda la forma de corazón.
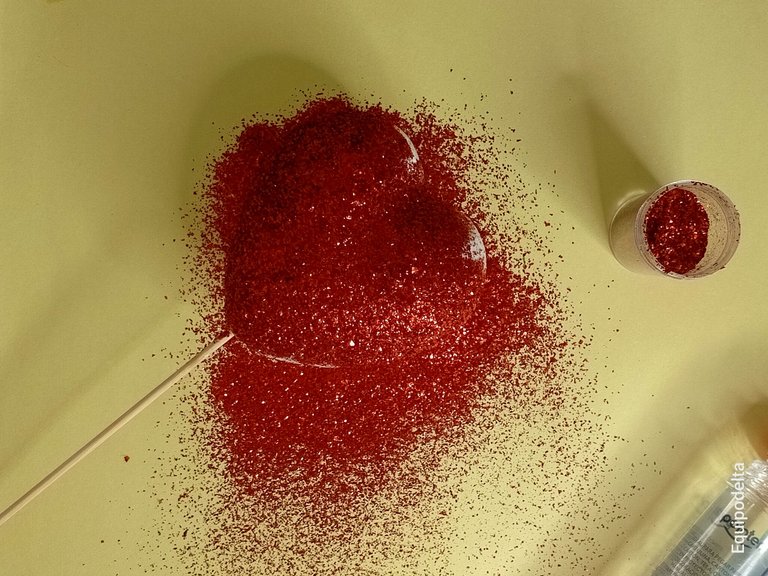
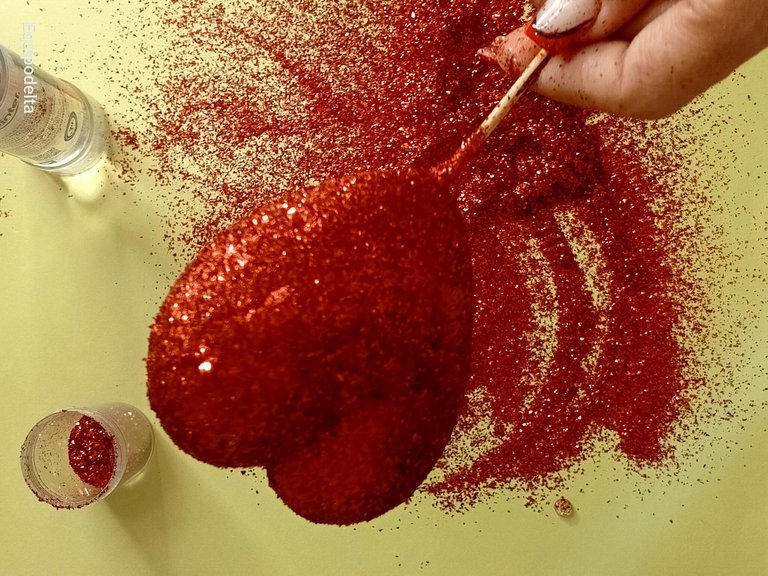
Recomiendo colocar una hoja para recoger la escarcha, así evitas hacer tanto desastre y puedes recoger la escarcha sobrante. Cubre toda la pieza con la escarcha y deja secar bien.
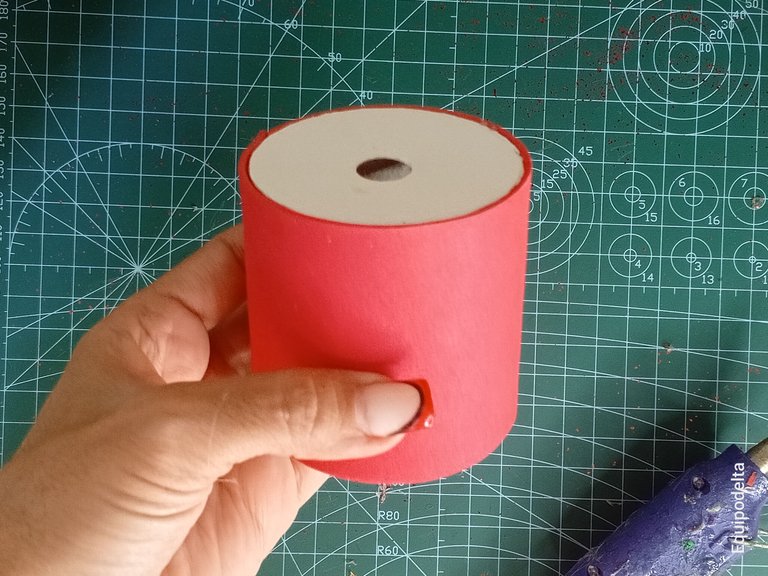
Si tu recipiente necesita ser forrado es el momento, yo usé foami rojo ya que el papel coreano que compré es algo transparente.
! [English version]
Insert the height stick through the centre of the heart.
I used transparent glue so that it would dry faster and no imperfections would show, also because frosting with white glue tends to get ugly over time. Cover the whole heart shape with glue.
I recommend using a frosting sheet to collect the frosting, this way you avoid making a mess and you can collect the excess frosting. Cover the whole piece with the frosting and let it dry well.
If your bowl needs to be lined now is the time, I used red foami as the Korean paper I bought is a bit transparent.
Step 2️⃣/ paso 2️⃣
 |  |
[Esp]
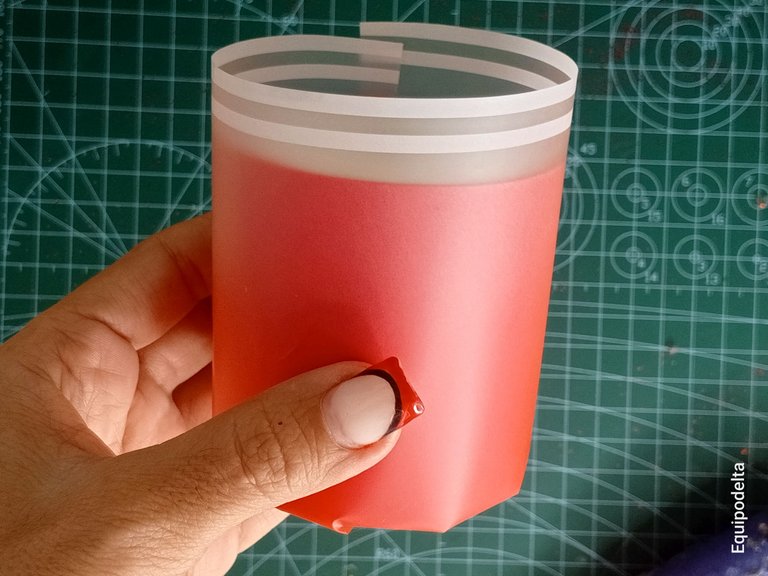
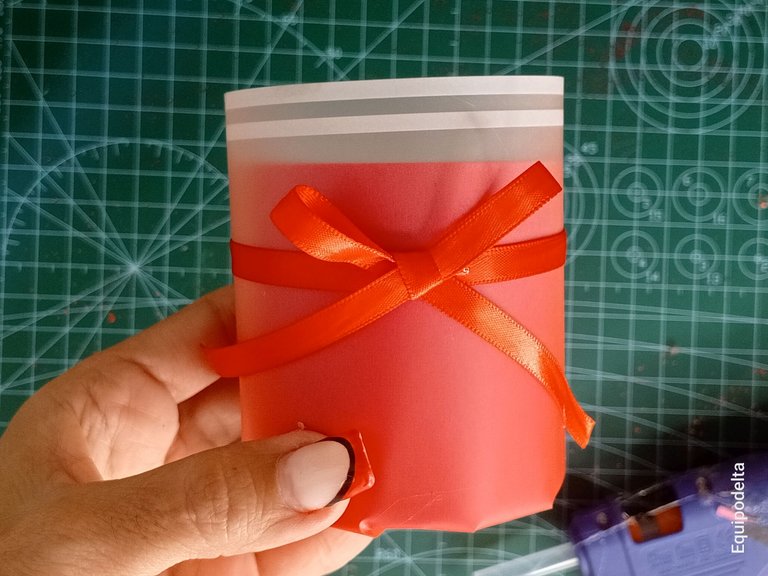
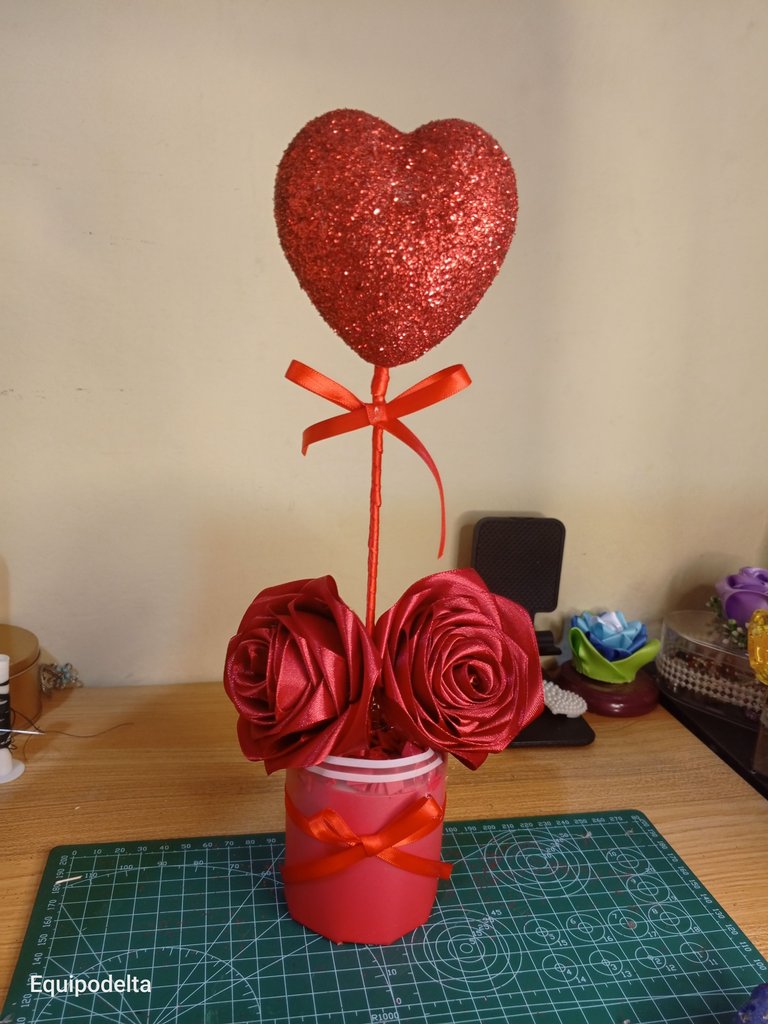
Es mi primera vez usando papel coreano y me enamoré, le da estilo a la decoración, simplemente volví a forrar la base del arreglo, para la base como dije anteriormente, puedes usar cualquier recipiente reciclado y forrarlo o puedes usar cerámicas o rollos de papel reciclado, lo que tengas a tu alcance.
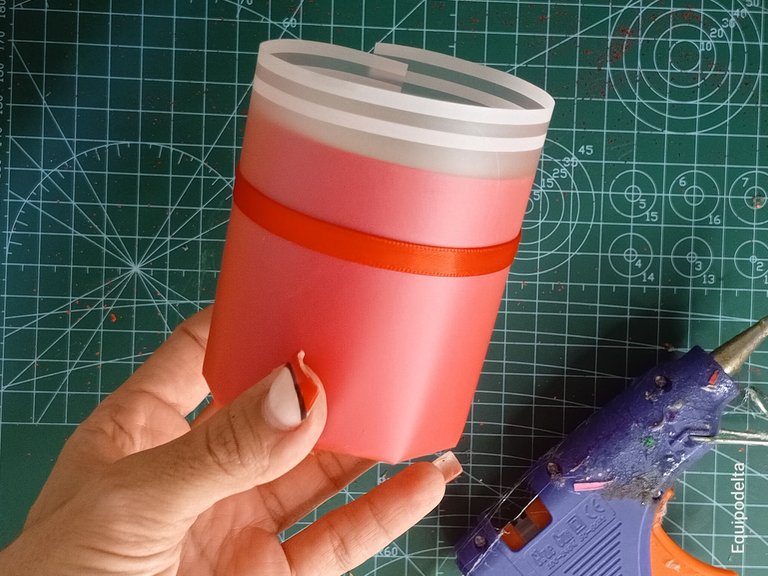
A veces menos es mas, para dejar que el papel protagonizara, tan solo coloqué cinta de raso al rededor de la base.
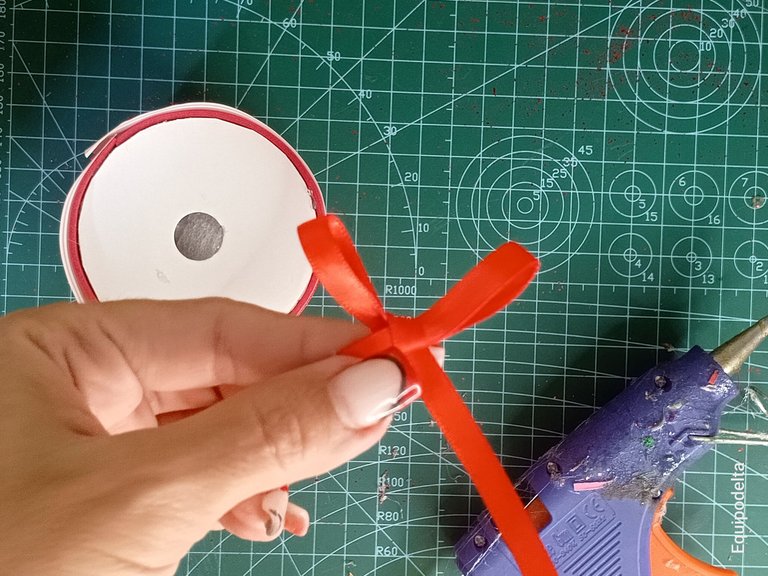
Realiza un pequeño lazo simple con la cinta de raso.
! [English version]
This is my first time using Korean paper and I fell in love, it gives style to the decoration, I simply re-lined the base of the arrangement, for the base as I said before, you can use any recycled container and line it or you can use ceramics or recycled paper rolls, whatever you have at your fingertips.
Sometimes less is more, to let the paper take center stage, I just placed satin ribbon around the base.
Make a small simple bow with the satin ribbon.
Step 3️⃣/ paso 3️⃣
 |  | |
 |  |
[Esp]
Pega el lacito a la base, justo donde está la otra cinta.
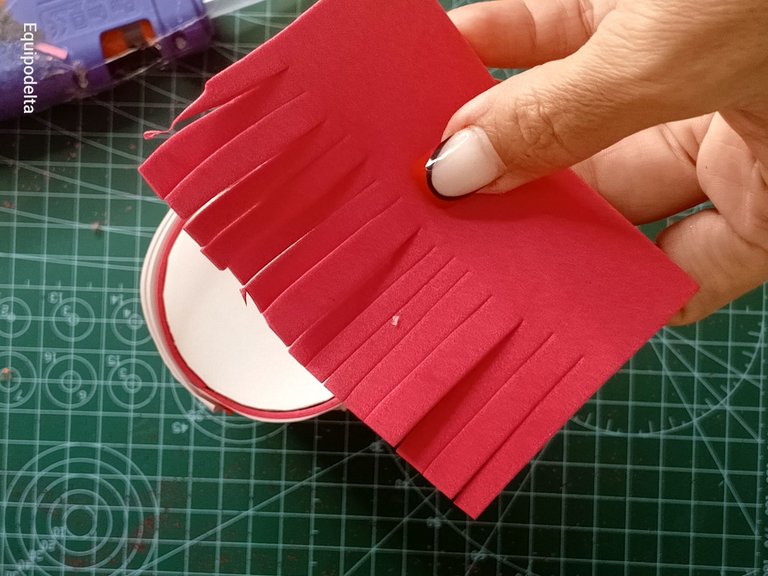
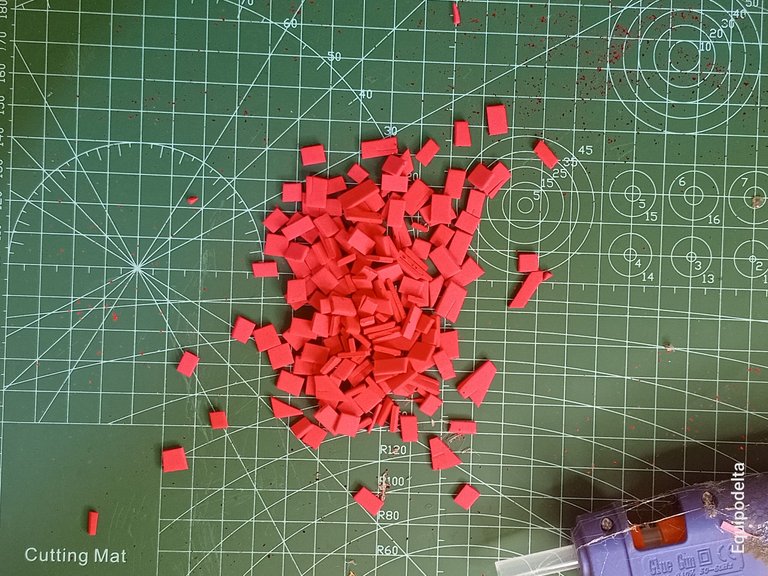
Podemos hacer viruta con el foami. Recorta varias tiras delgadas de foami a lo largo y luego corta a lo ancho para formar pequeños cuadrados.
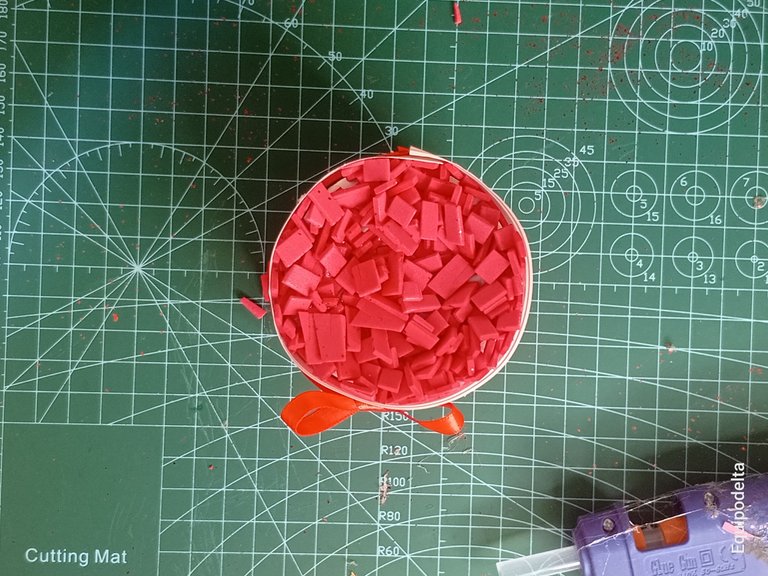
Aplica pegamento en la parte superior de la base y coloca la viruta que has hecho. Deja secar.
! [English version]
Glue the ribbon to the base, just where the other ribbon is.
You can make shavings out of the foami. Cut several thin strips of foami lengthwise and then cut across the width to form small squares.
Apply glue to the top of the base and place the shavings you have made. Leave to dry.
Step 4️⃣/ paso 4️⃣
 |  | |
 |  |
[Esp]
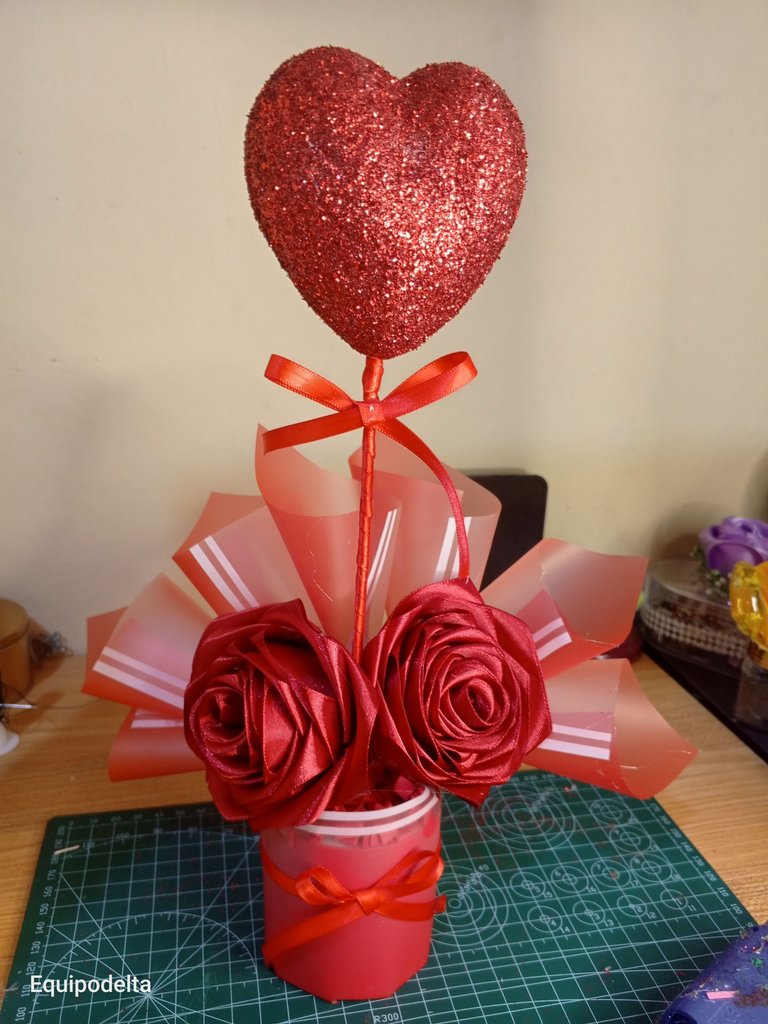
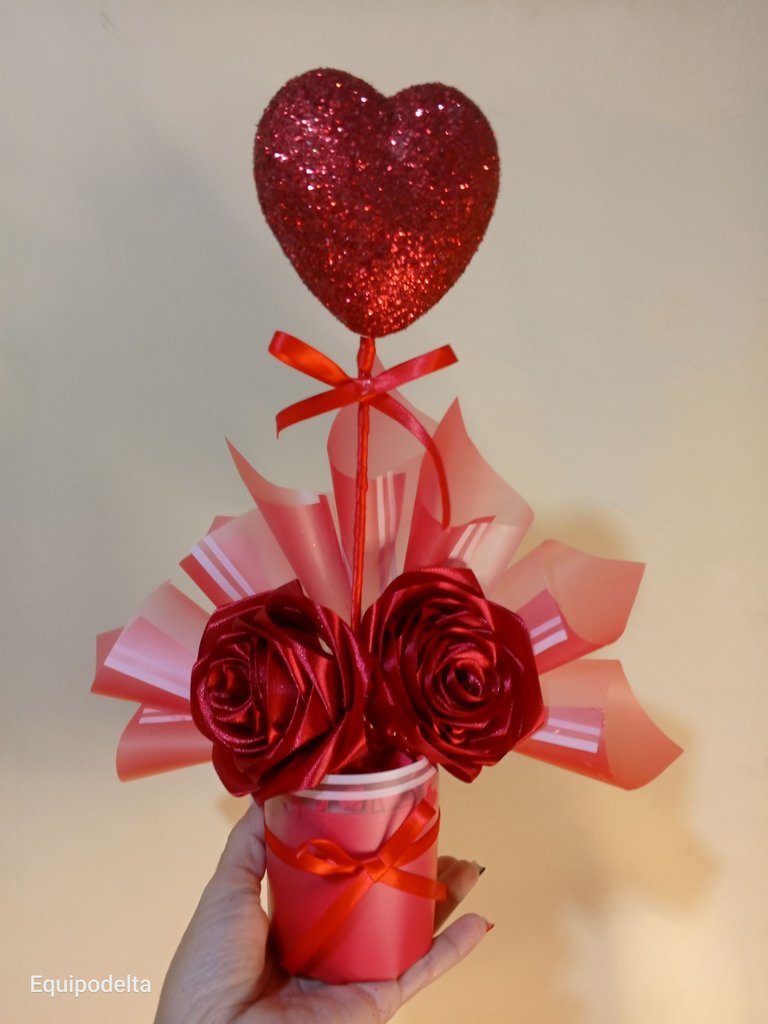
Forra el palito de altura con la cinta de raso, luego la insertas en la base.
Me quedaron dos rosas eternas que elaboré de más y me pareció bueno darle uso en este momento, por lo cual coloqué una a cada lado.
Realiza un lazo simple con la cinta de raso y pégala en el palito de altura.
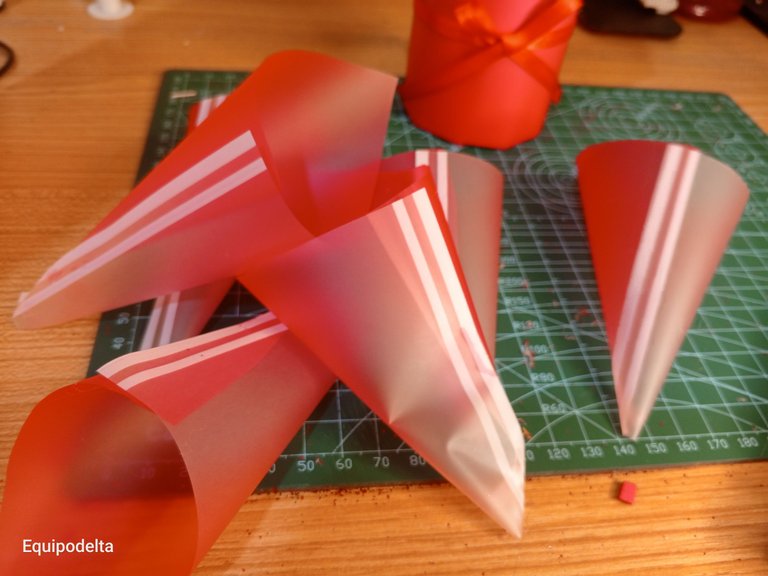
Recorta varios cuadrados del papel coreano y dobla en forma de cono, pégalos en la parte de atrás de las rosas para darle altura y se vea super lindo.
Ahora lo personalizas a tu gusto para tu ser amado.
Espero te guste.
¡Feliz día de San Valentín!
! [English version]
Line the tall stick with the satin ribbon, then insert it into the base.
I had two eternal roses left over and I thought it would be a good idea to use them at this time, so I placed one on each side.
Make a simple bow with the satin ribbon and glue it to the tall stick.
Cut out several squares from the Korean paper and fold into a cone shape, glue them to the back of the roses to give it height and look super cute.
Now personalize it as you like for your loved one.
Hope you like it.
Happy Valentine's Day!


Créditos / Credits

💜💜💜
![]() 👉
👉  👉
👉 ![]() 👉
👉 ![]() 👉
👉 
Here / Bríndame un café

