✨Hello community! Welcome| ¡Hola comunidad, bienvenido/a!✨
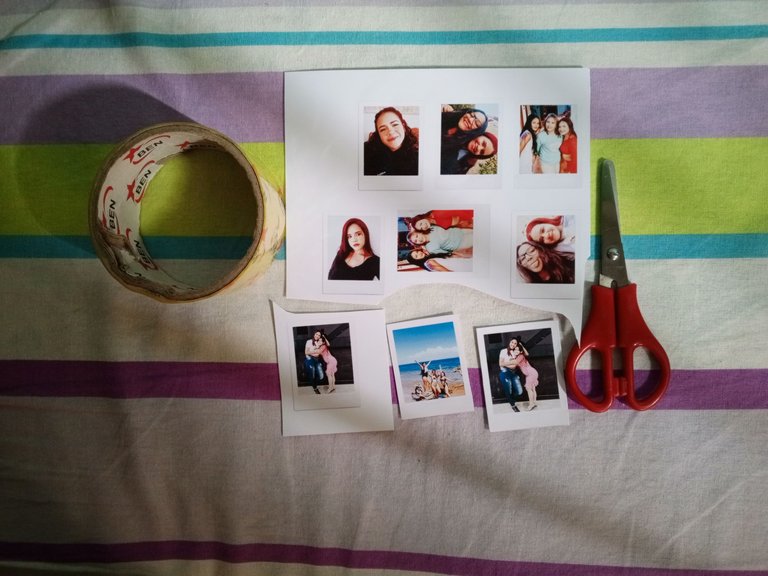
In the previous post I showed you how to make a keychain with a polaroid photo, however, I missed the tutorial on how to make your own polaroids from scratch. It is still very easy and simple to make😊. Here are the materials:
`✨Materials to be used✨`
| - Scissor | - Tijera | |
|---|---|---|
| - Adhesive tape | - Cinta adhesiva | |
| - Prints on photographic paper | - Impresiones en papel de fotografía | |
| - Phone for polaroid editing | - Teléfono para realizar la edición de polaroids |
•STEP BY STEP•
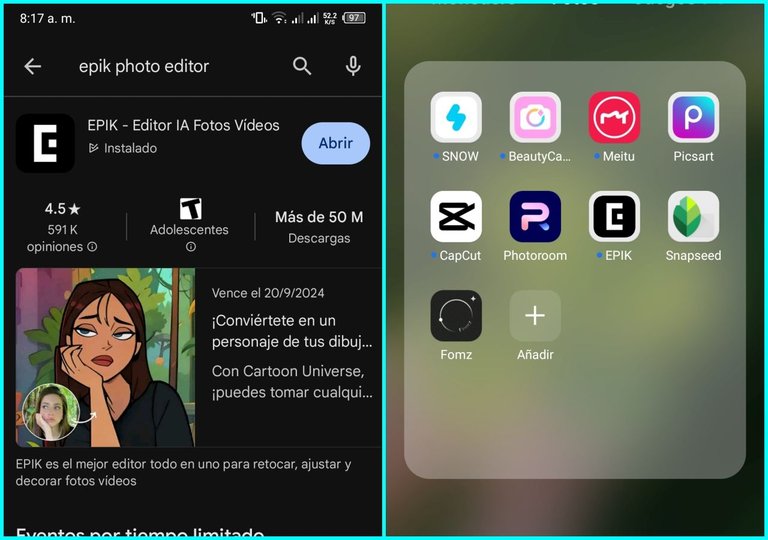
•STEP BY STEP• Vamos a agarrar nuestro teléfono e irnos a la playstore y escribir en el buscador “EPIK”. Le damos descargar y esperamos a que se descargue. Ya lista la descarga la abrimos. Se darán cuenta que les saldrá en inicio, abajo en esa casita que dice “inicio”, al lado, sale un opción que dice “plantilla” que tiene un rayito le apretamos y le saldrán las opciones de la imagen a continuación.
We are going to take our phone and go to the playstore and write in the search engine “EPIK”. We give download and wait for it to download. Once the download is ready we open it. You will notice that it will appear in the home page, below in the little box that says “home”, next to it, there is an option that says “template” that has a little line, press it and you will see the options shown in the image below.
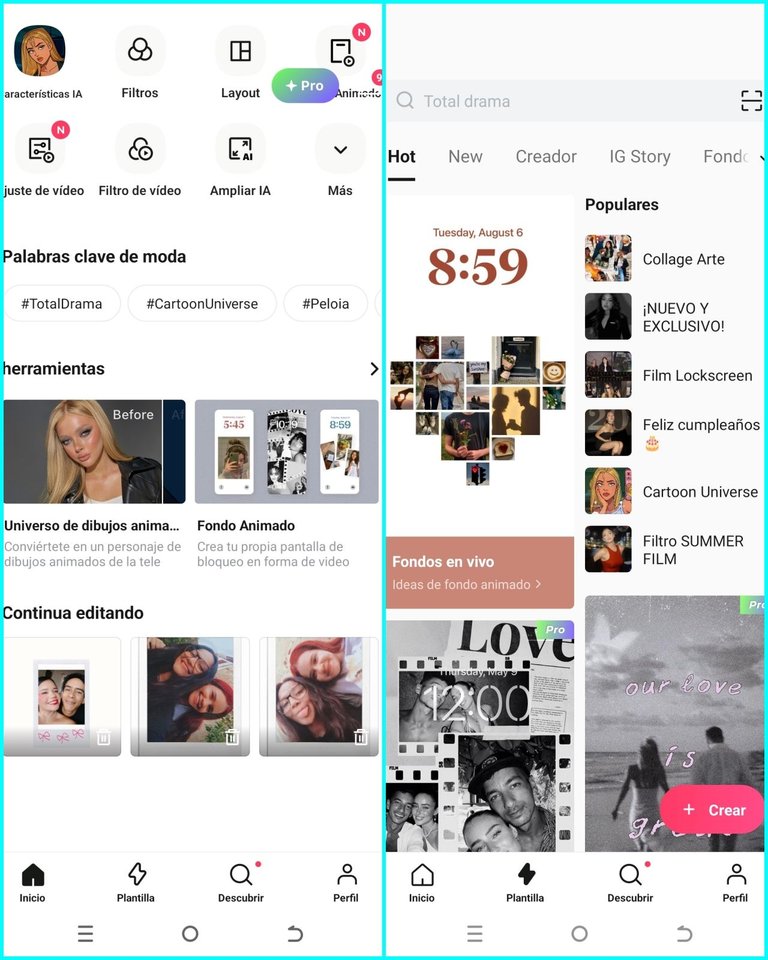
Van a deslizar a la izquierda hasta ver una opción que diga “Polaroid”, le dan clic. Le van a dar clic en Simple foto, tienen que buscar esa plantilla con ese nombre y siguen como en el ejemplo del gif de abajo para que entiendan mejor.
They will scroll to the left until they see an option that says “Polaroid”, click on it. Click on Simple photo, look for the template with that name and follow the example in the gif below for a better understanding.
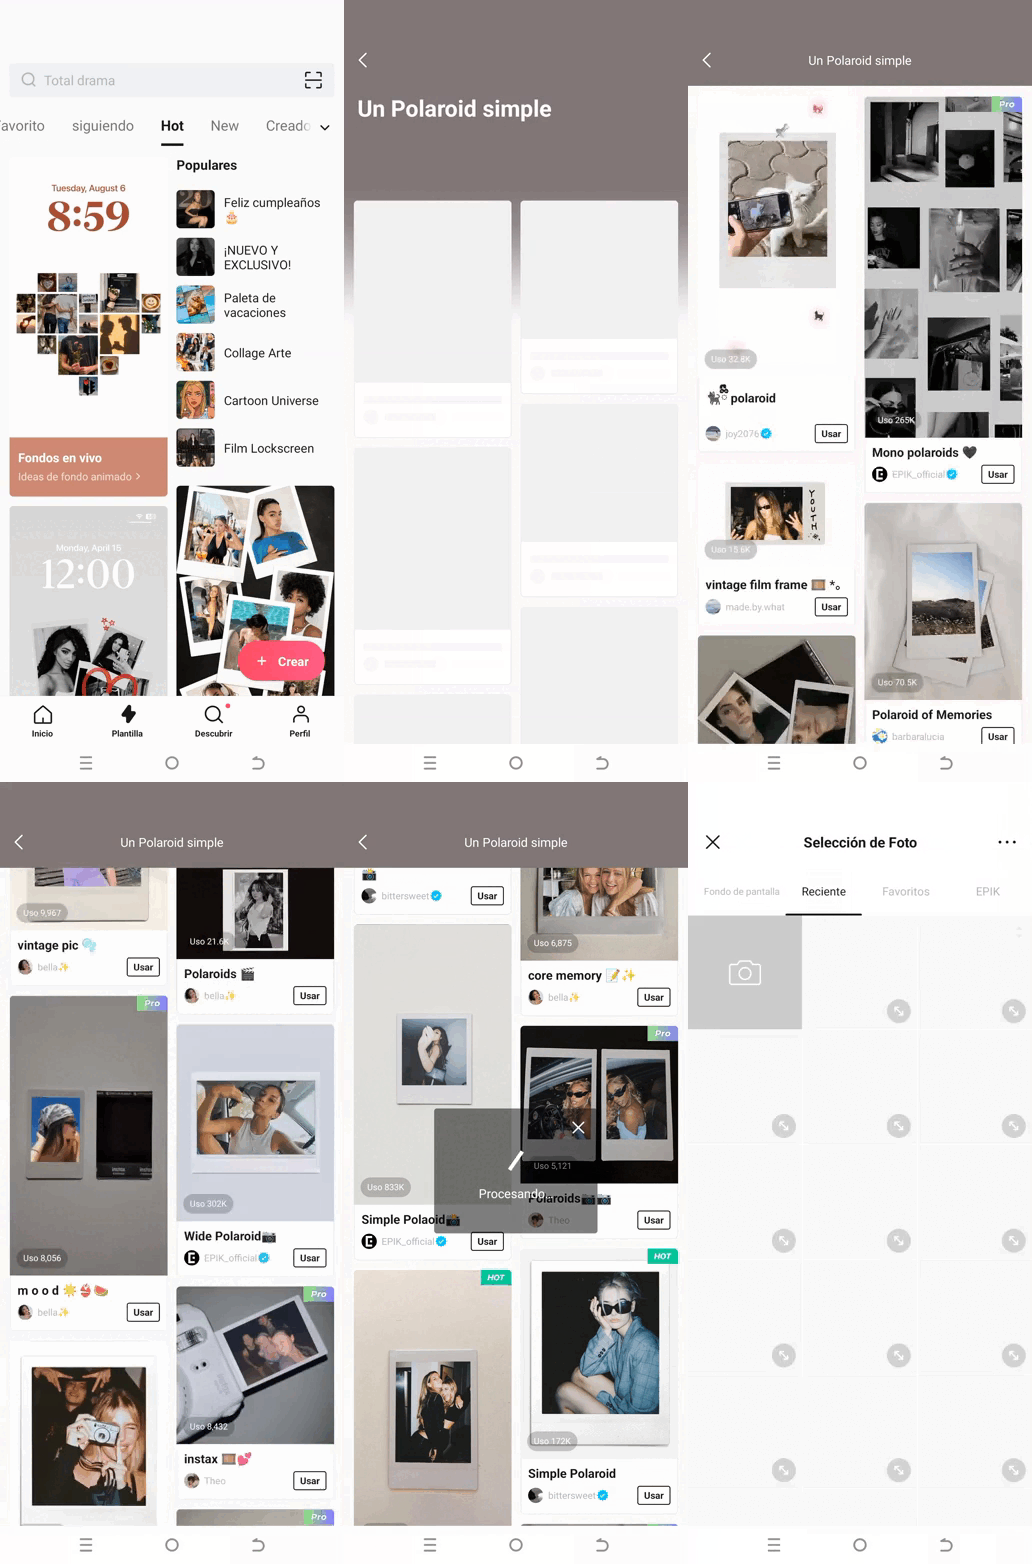
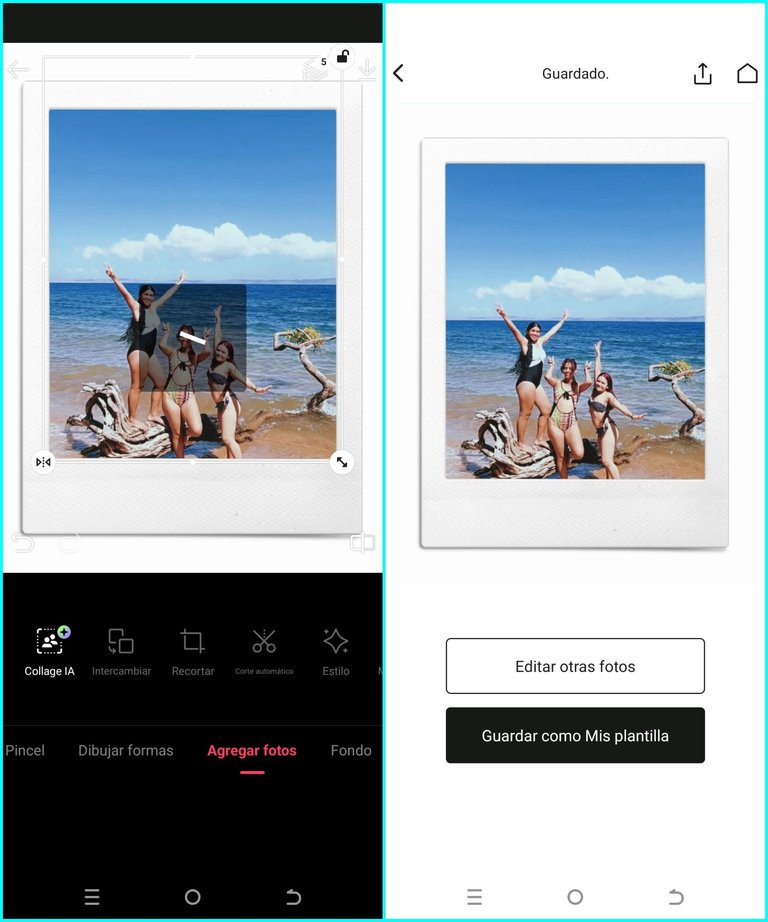
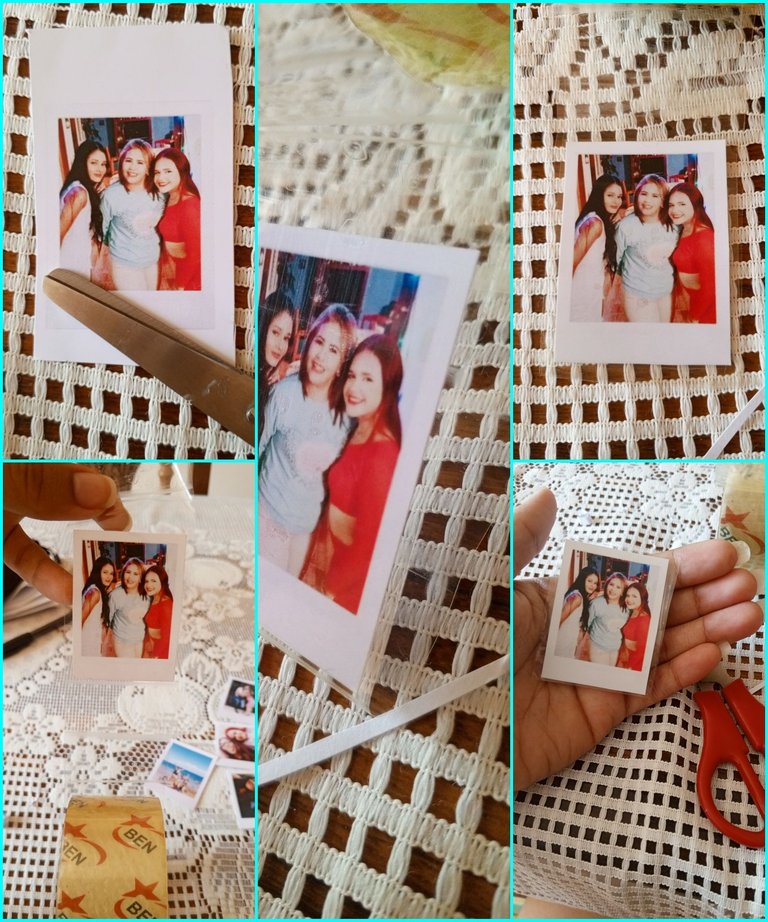
Les va a salir una opción para que elijan la foto que quieren convertir en polaroid, la seleccionan y esperan a que la app haga todo. Si les sale una parte para que la recorten, la ajustan y la recortan con las medidas que pide ahí, de igual forma en la misma app la pueden ajustar. Ya listo, arriban le dan a guardar y ya tendrían su polaroid lista. Después de ello lo que hacen es copiarla, pegarla y ajustarla a un documento Word y realizan los pasos que les deje en mi post anterior con la tijera, cinta adhesiva y las polaroids impresas en papel fotográfico.
You will see an option to choose the photo you want to convert into polaroid, select it and wait for the app to do everything. If you get a part to crop it, adjust it and crop it with the measures requested there, you can also adjust it in the same app. Once ready, click on save and you will have your polaroid ready. After that what they do is copy, paste and adjust it to a Word document and perform the steps that I left in my previous post with the scissors, tape and polaroids printed on photo paper.
•💖RESULT💖•
•💖RESULT💖•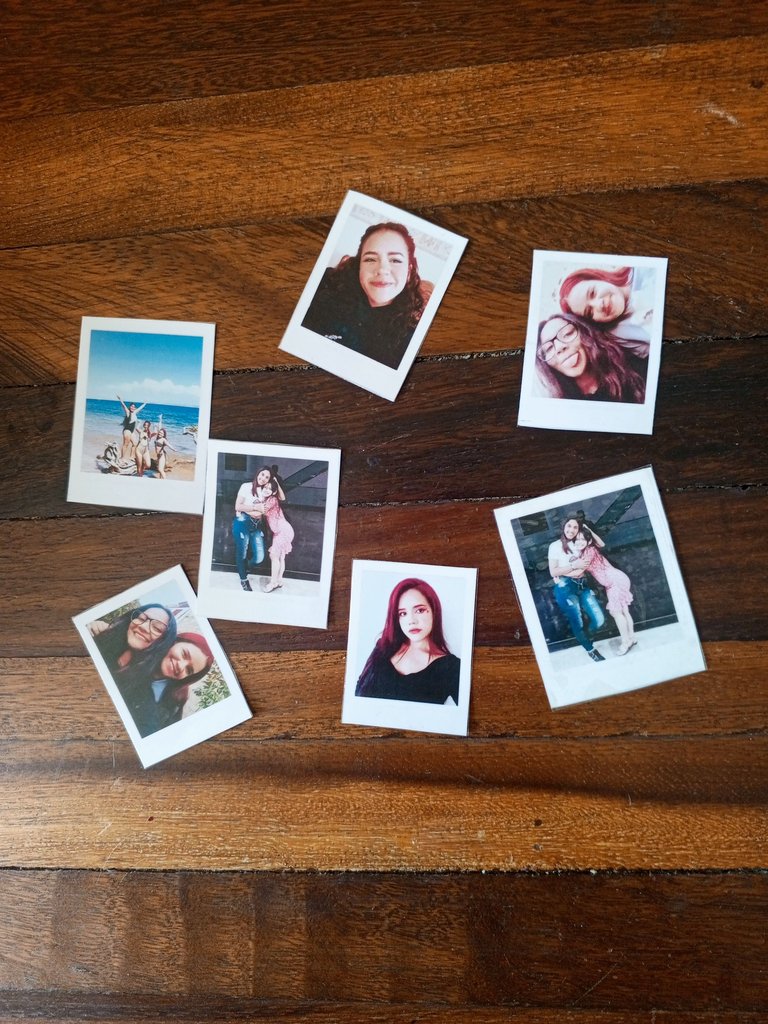
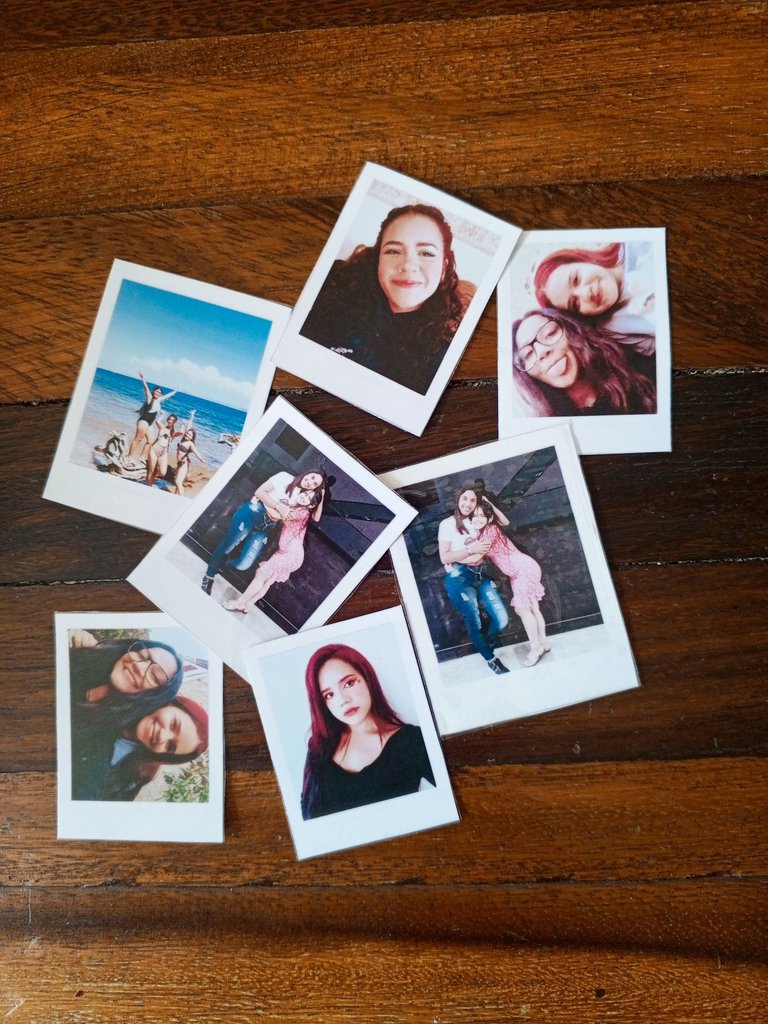
💖Y este es el resultado💖
Espero que te haya gustado este tutorial como a mí a realizarlo, ahora puedes hacer las polaroids que quieras y transfórmalas en llaveros para un recuerdo y regalo que perdurará para siempre😊.
I hope you enjoyed this tutorial as much as I enjoyed making it, now you can make the polaroids you want and transform them into keychains for a souvenir and gift that will last forever😊.
💞Thank you so much for making it this far! I hope you liked my post, I'll see you next time!💞
💞¡Muchas gracias por llegar hasta aquí! Espero que te haya gustado mi post. ¡Nos vemos en una próxima oportunidad!💞

📲 Todas las fotografías fueron tomadas con un teléfono Tecno Spark 10 pro
📷 TODAS LAS FOTOS SON DE MI PROPIEDAD


