Mis amigos de #HiveDiy, espero estén pasando un Feliz día, rodeado de todos sus seres queridos, esperando con ansias la llegada de nuestro niño Jesús.❤️
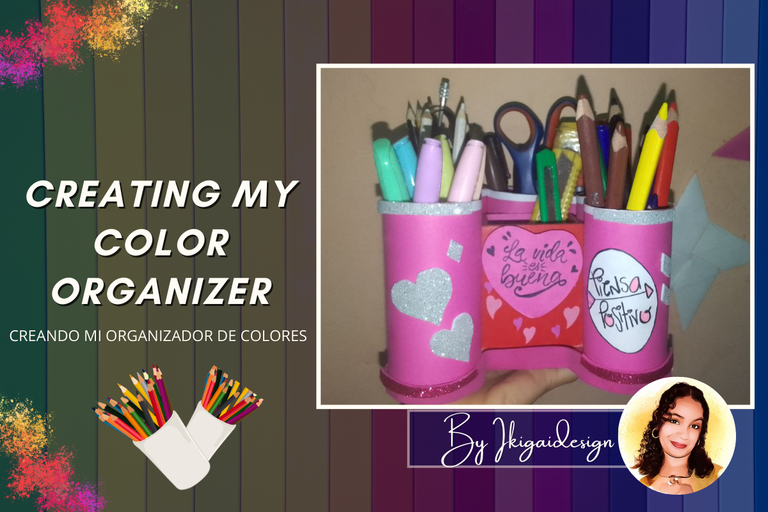
Desde hace unos días que he estado trabajando en este proyecto, tenía ganas de crear mi propio organizador de colores, y quería hacerlo antes de que terminara el año, y bueno así fue, ahora les muestro como lo hice.
Me tomo tiempo, conseguir los materiales, ya que quería hacerlo con los rollos de papel, y bueno tenía que completarlos. 😄, ya con esto, empecé a buscar ideas, y bueno terminé haciéndolo como me salió, con los materiales que tenía a la mano.
Materiales:
💟 7 rollos de Papel de cartón
💟 Cartulina rosada
💟 Un cartón mediano
💟 Silicon
💟 Tijera
💟 Retazos de Foami
Estos fueron los materiales que utilice, lo bueno de guardar cosas, tener reciclado, para cuando queramos crear algo, sencillo y practico.
Como lo hice:
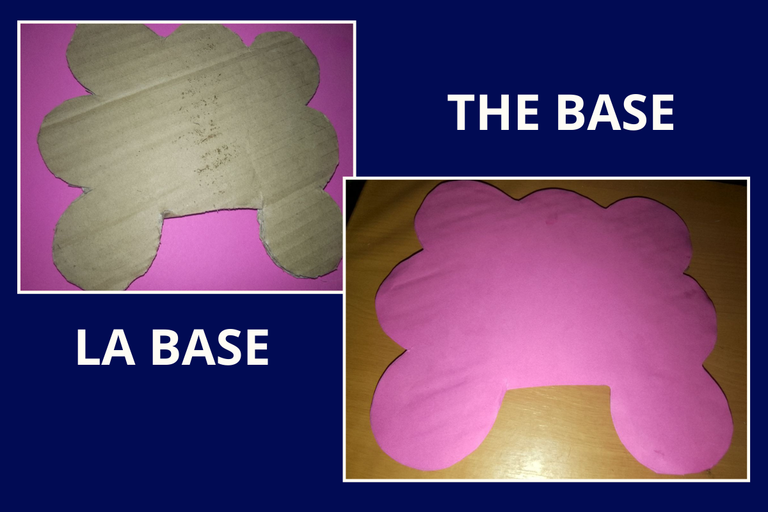
Bien para iniciar, primero cree la base del organizador, para ello use un pedazo de cartón, le di algo de forma, de acuerdo al orden en que iba a pegar cada rollo en el mismo, luego, lo forre con la cartulina rosada, quedando de esta forma.
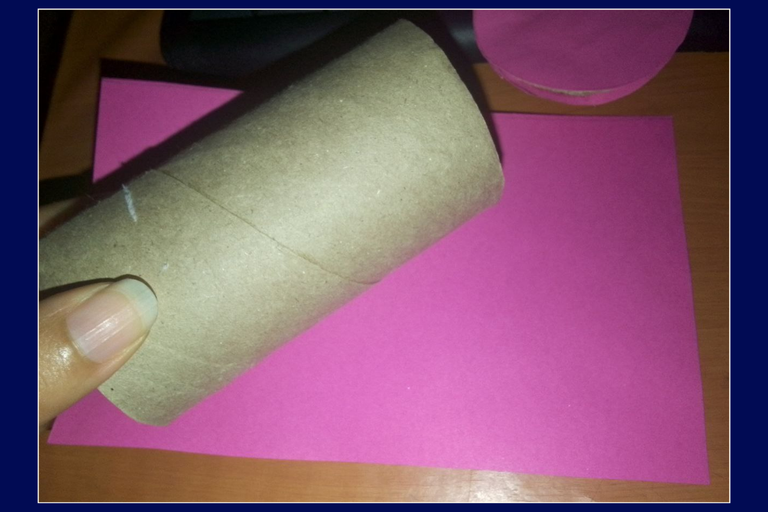
Ya con mi base armada, procedí a forrar los rollos de papel, para ello usé también la cartulina rosada, y con un pequeño rectángulo, lo fui pegando alrededor del mismo.
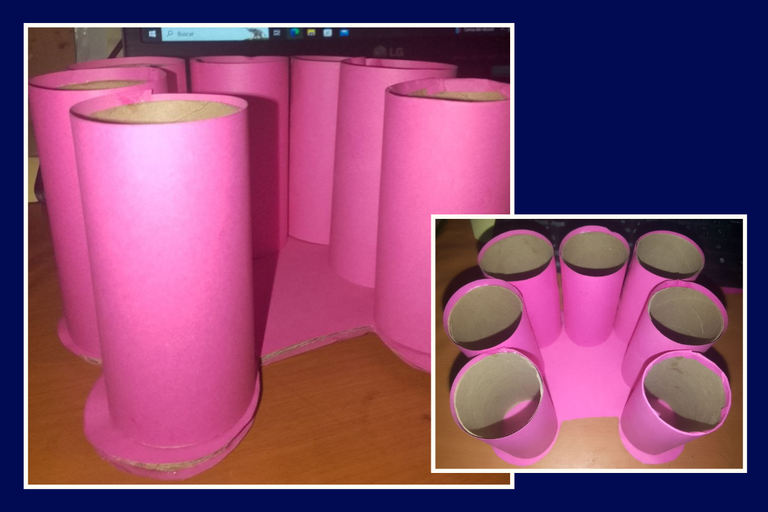
Una vez forrado los rollos de papel, ya solo me quedaba pegarlo encima de la base, me di cuenta de que la base se le veía un poco el cartón, no me gustó mucho eso, así que le puse alrededor una tira de foami rosado, para que combinara con el color de los rollos., son esos pequeños detalles que uno ve, y bueno busca arreglarlo, para que quede bien presentable.😃
Lo último que me faltaba era terminar de decorar los rollos...ahh pero se preguntaran, que es eso que le puse en el medio; bueno esta fue una pequeña cajita de madera que tenía por allí, sin darle uso, lo que hice fue como ven, ponerla en el medio, para tener otro espacio, y colocar mis otros instrumentos.
Y como me gusta dibujar estas frases, bueno, se me ocurrió ponérselas, ya que lo tendré cerca, en mi escritorio, que mejor forma de tener estas frases que te animan, y te hacen sentir activa y con energía. 😍
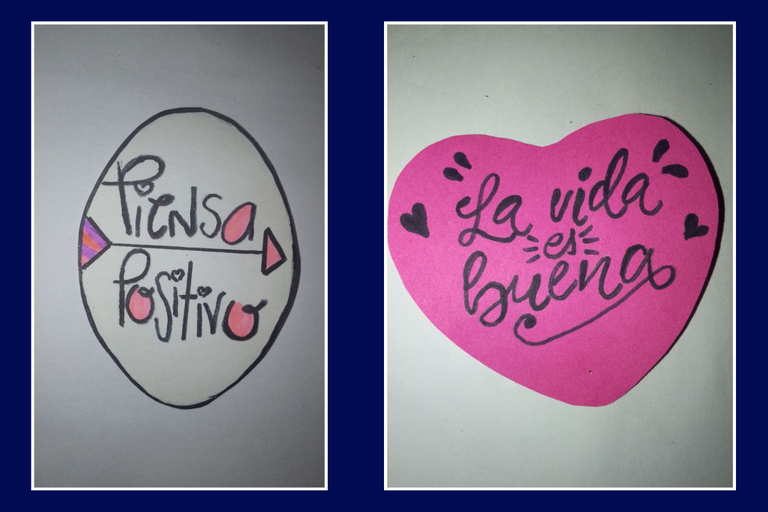
Fue lo que se me ocurrió, para terminar de decorar mi organizador, me gustó mucho, ya solo me quedo agregar mis colores, y tengo unos pendientes, que me están faltando, porque vienen en camino...después les echo el cuento jajaja...
Como lo he dicho antes, me gusta esta nueva etapa en mi vida, de dibujar, crear, diseñar, algo que estoy experimentando, se vienen cositas mi gente, espero pronto poder compartir con ustedes y mostrarles.
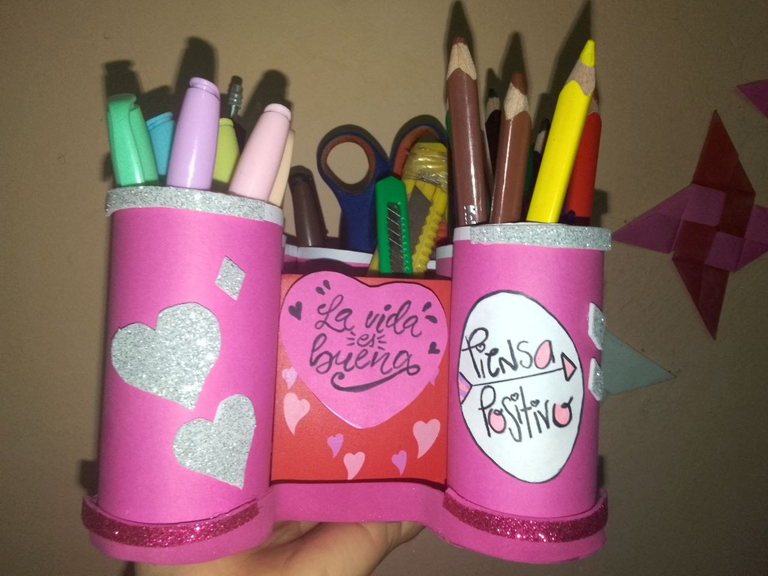
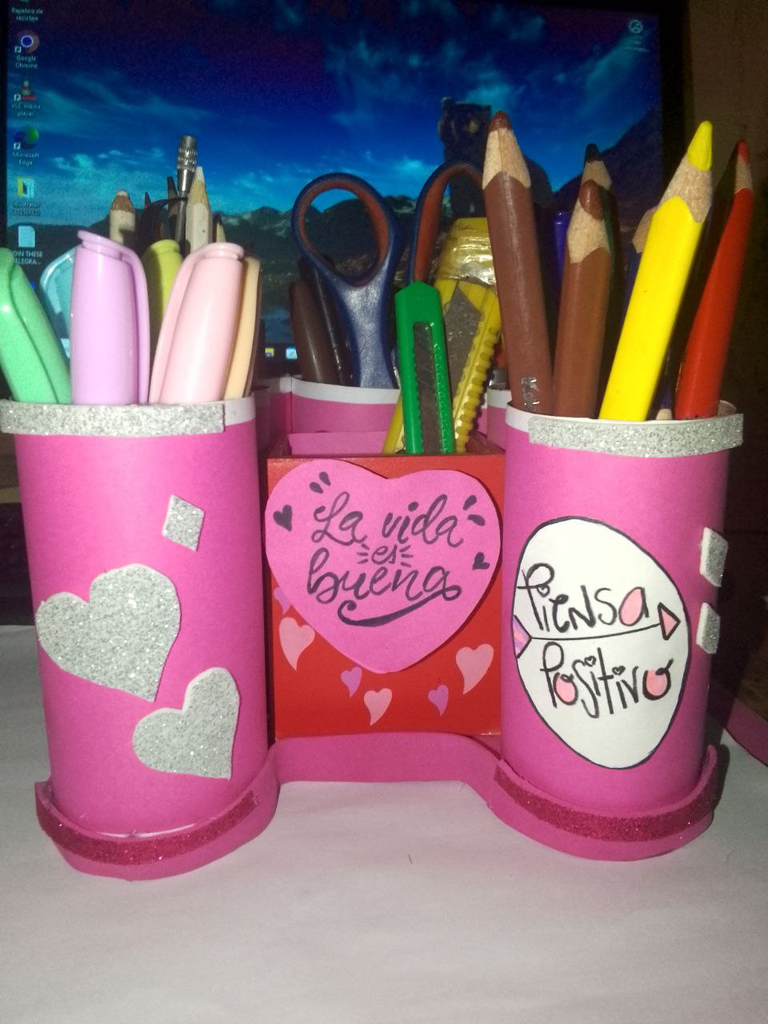
Me gusta la idea de hacer las cosas por mí misma, por mi cuenta, así voy aprendiendo, mejorando, confiando en mí, en lo que se, en mis habilidades, es lo más importante.
💖Espero pasen una Feliz Navidad mi gente creativa💖
¡Gracias por leerme hasta aquí, nos vemos en la próxima!
ENGLISH VERSION
My #HiveDiy friends, I hope you are having a Happy day, surrounded by all your loved ones, looking forward to the arrival of our baby Jesus.❤️
I have been working on this project for a few days now, I wanted to create my own colorful organizer, and I wanted to do it before the end of the year, and well I did, now I show you how I did it.
It took me time, to get the materials, since I wanted to do it with the paper rolls, and well I had to complete them. 😄, already with this, I started looking for ideas, and well I ended up doing it as it came out, with the materials I had on hand.
Materials:
💟 7 rolls of cardboard paper.
💟 Pink cardboard
💟 One medium cardboard.
💟 Silicon
💟 Scissors
💟 Foami scraps
These were the materials I used, the good thing about saving things, having recycled, for when we want to create something, simple and practical.
How I did it:
Well to start, first create the base of the organizer, for this I used a piece of cardboard, I gave it some shape, according to the order in which I was going to glue each roll on it, then, I lined it with the pink cardboard, looking like this.

Once my base was ready, I proceeded to line the paper rolls, for this I also used the pink cardboard, and with a small rectangle, I glued it around it.


Once the paper rolls were lined, I only had to glue it on top of the base, I realized that the cardboard of the base was showing a little bit, I didn't like that, so I put a strip of pink foami around it, to match the color of the rolls, it's those little details that you see, and you try to fix it, to make it look nice 😃.
The last thing I needed was to finish decorating the rolls...ahh but you may wonder, what is that I put in the middle; well this was a small wooden box that I had around, without giving it use, what I did was as you see, put it in the middle, to have another space, and place my other instruments.
And as I like to draw these phrases, well, it occurred to me to put them, since I will have it close, on my desk, what better way to have these phrases that encourage you, and make you feel active and energetic. 😍
It was what I came up with, to finish decorating my organizer, I liked it a lot, now I just have to add my colors, and I have some earrings, that I am missing, because they are on their way...later I'll tell you the story hahaha....
As I have said before, I like this new stage in my life, to draw, create, design, something I am experimenting, there are things coming my people, I hope soon to be able to share with you and show you.

I like the idea of doing things by myself, on my own, this way I'm learning, improving, trusting in myself, in what I know, in my abilities, that's the most important thing.
💖I hope you have a Merry Christmas my creative people💖
Pictures: Photos Phone Tecno Pop 7
Translation/Traducción:👉 DeepL Traductor
Edition/Edición:Cover and banner with Canva /Portada y banner con Canva
Edition/Edición :Canva Separator/Separador Canva

Posted Using InLeo Alpha


