Hello friends, my name is Jamin and I'm a cobbler. Today i want to show you all how i make my slippers patterns. It's a long process and also full with geometry.
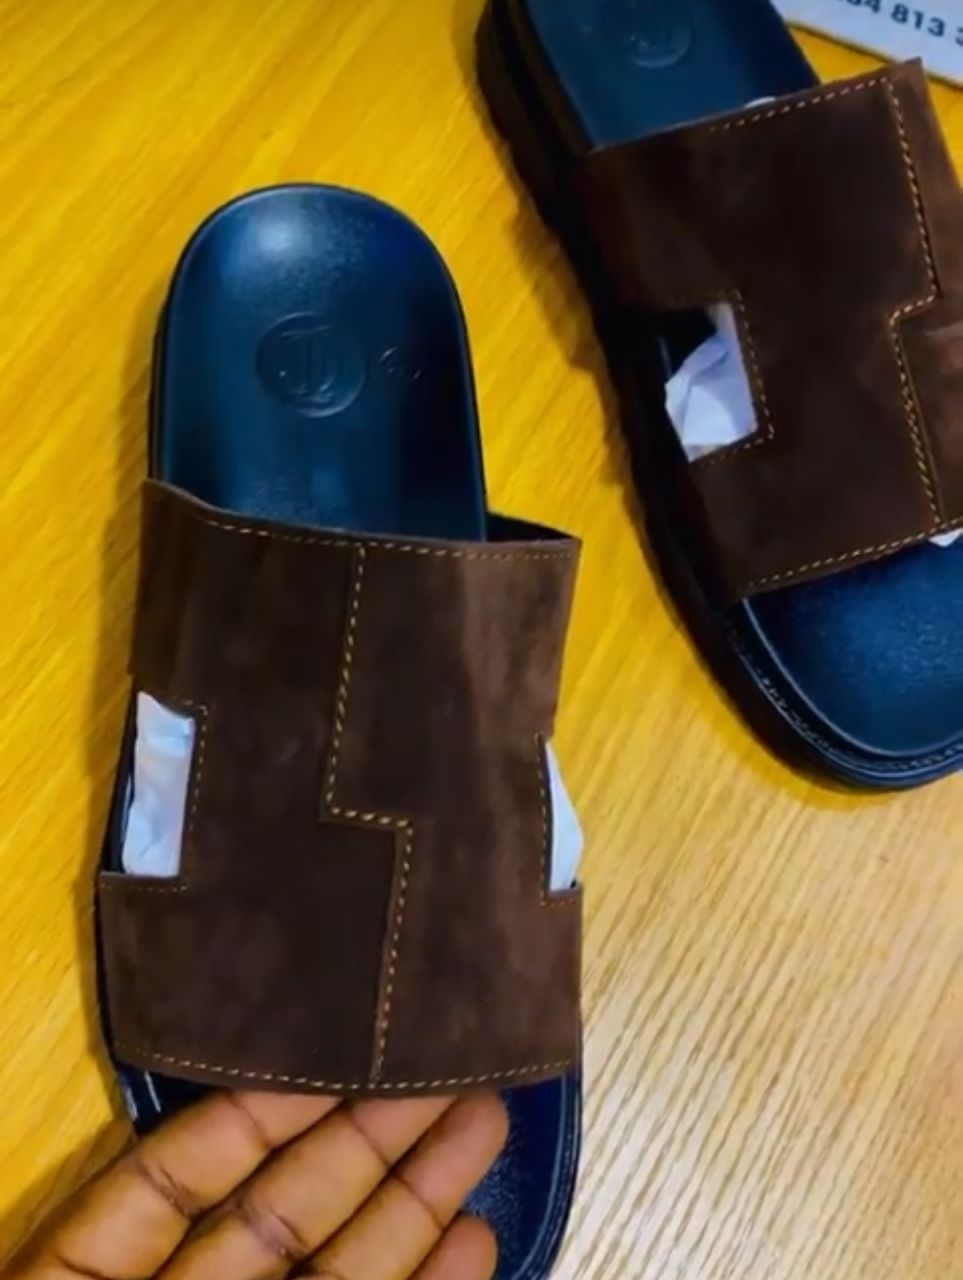
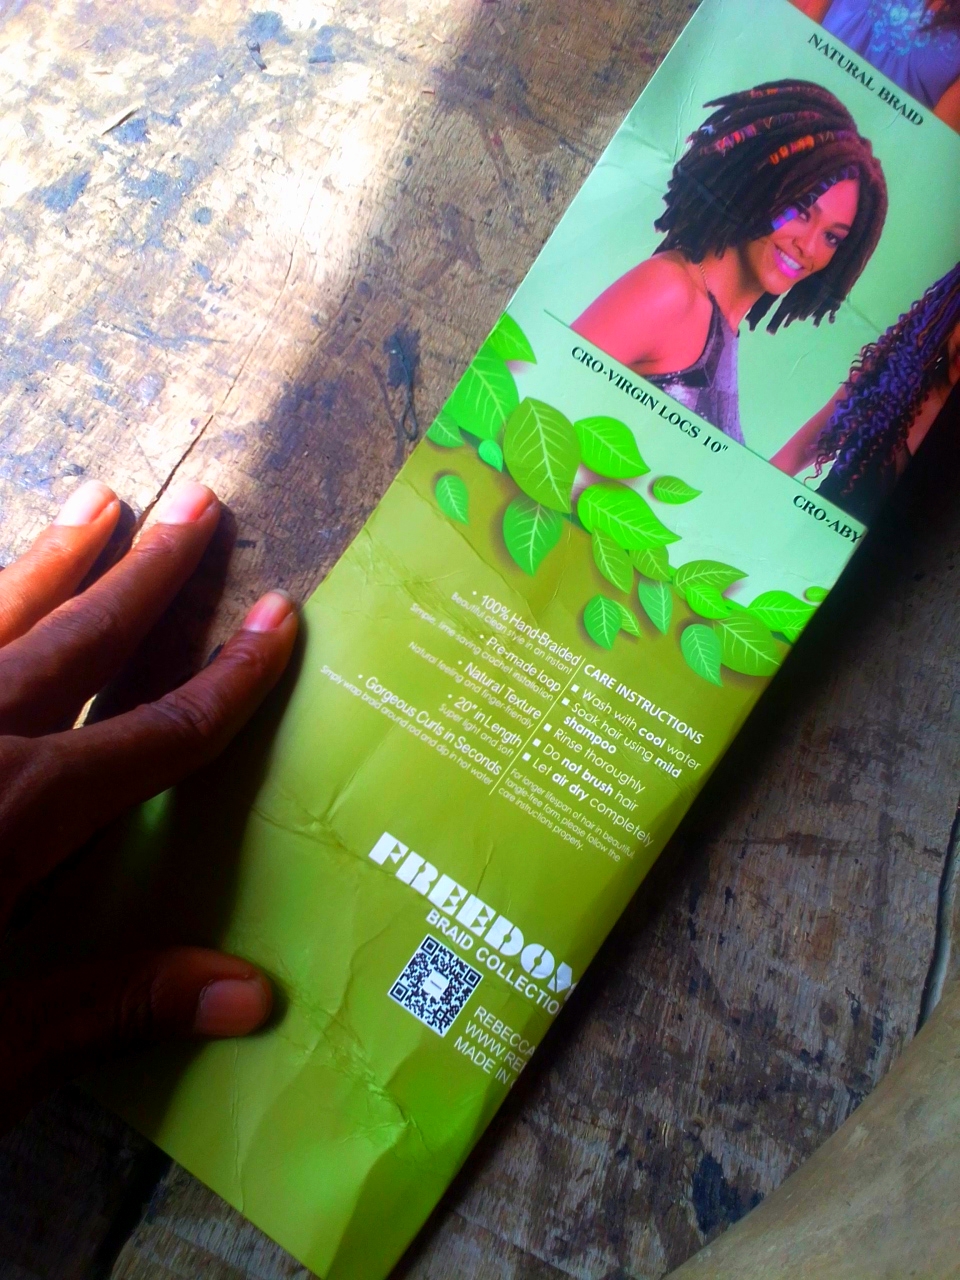
Below is the slippers i will be replicating it's pattern
My tools
- pen
- measuring Tape
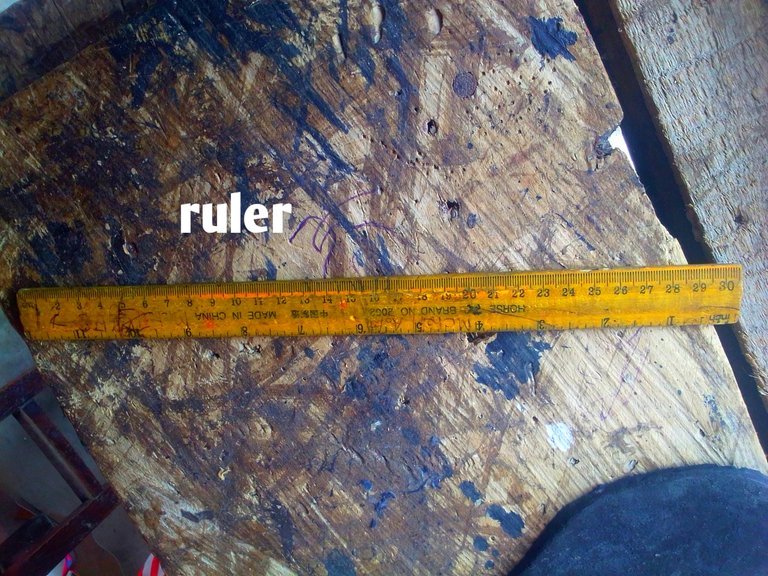
- Ruler( a measuring ruler)
- A scissors
- Carbon paper
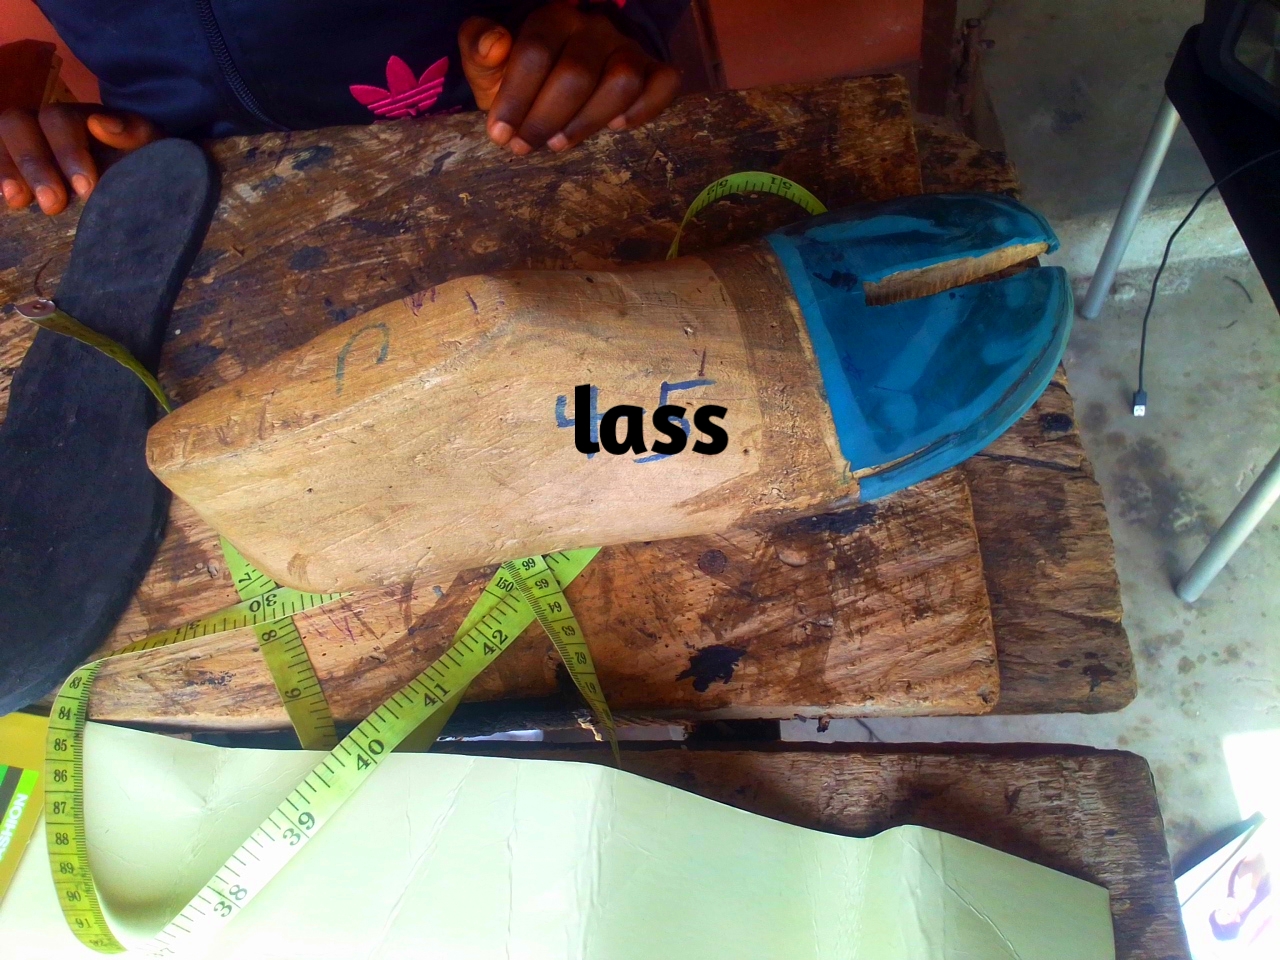
*Lass
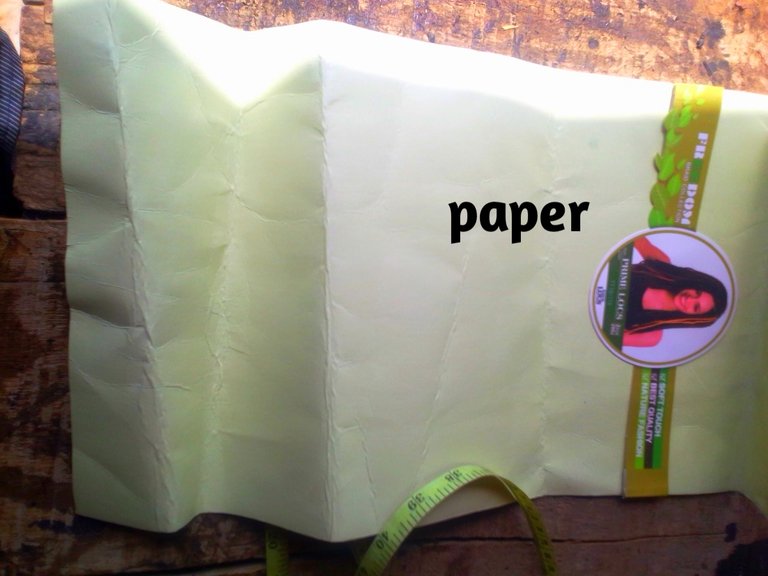
| Paper | lass | ruler |
|---|---|---|
 |  |  |
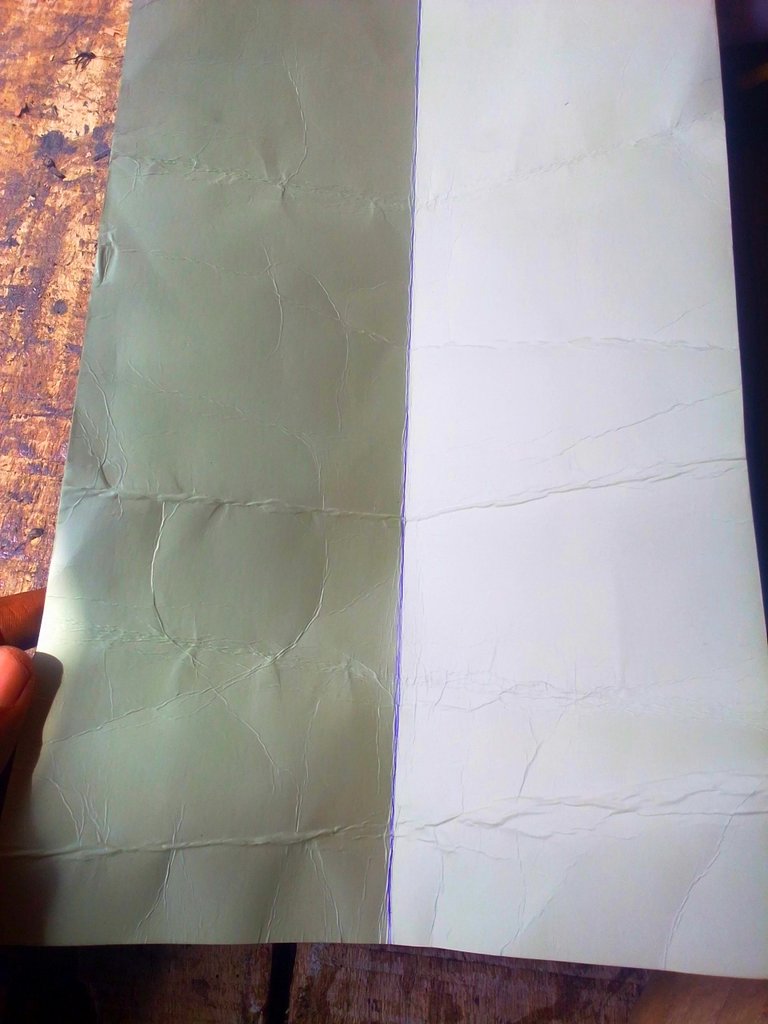
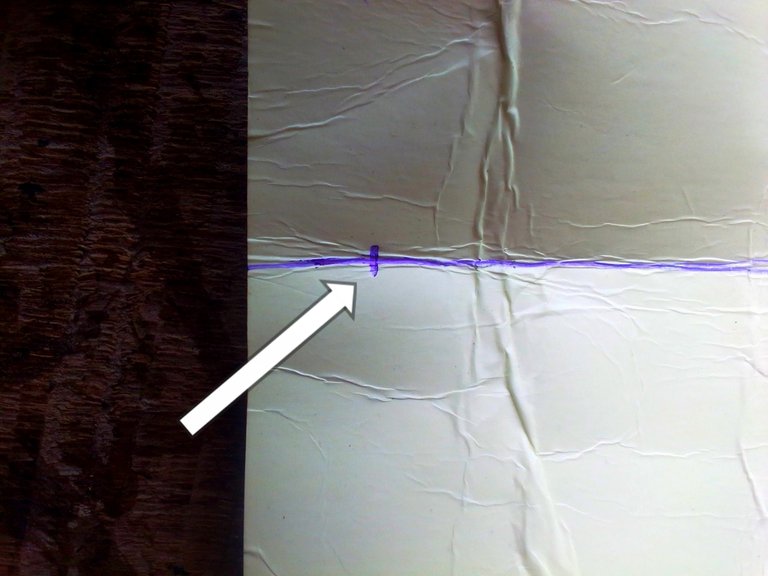
- First get the center of the paper by folding it in two
 |  |
|---|
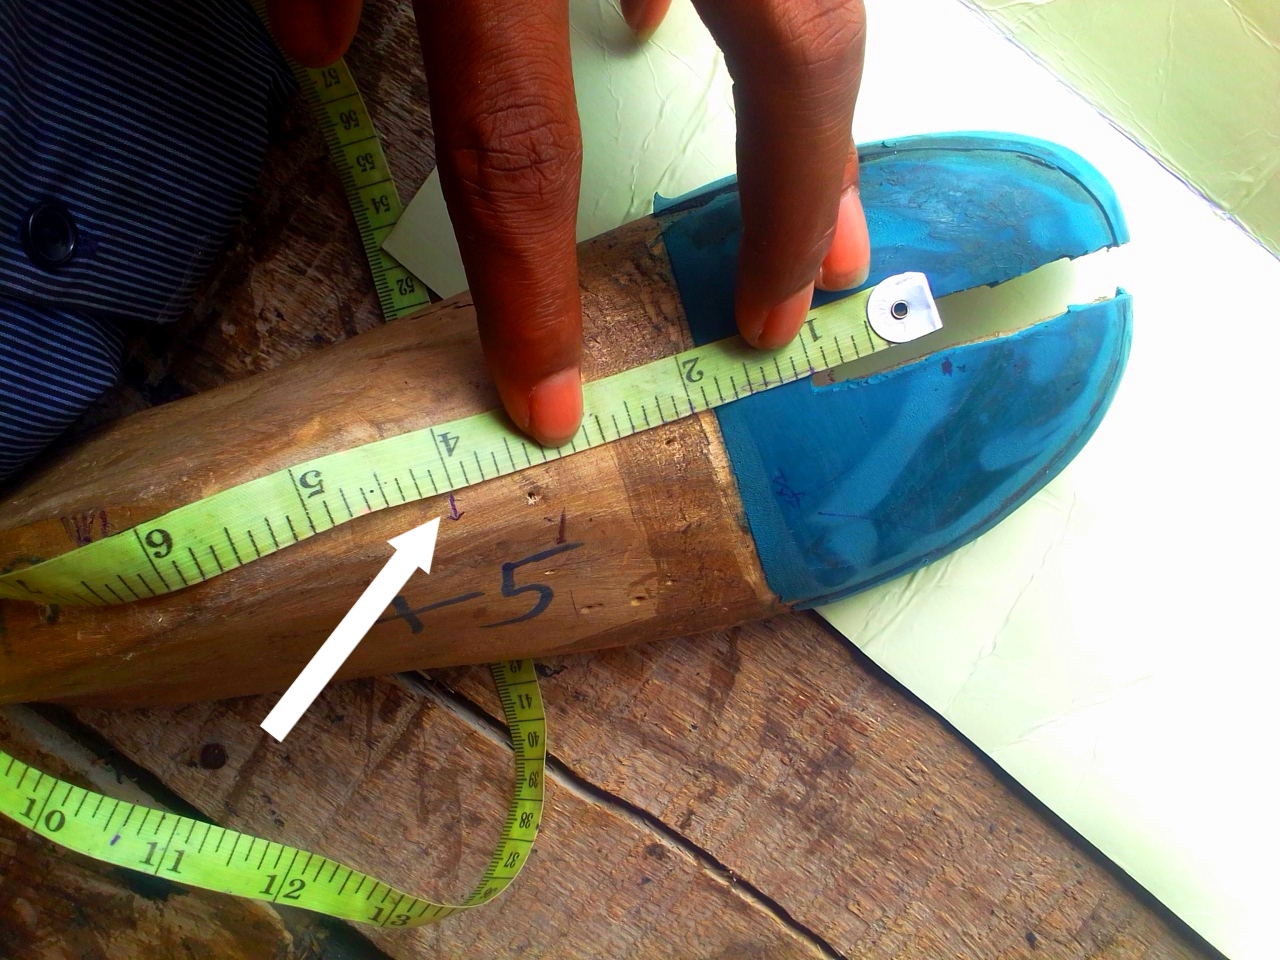
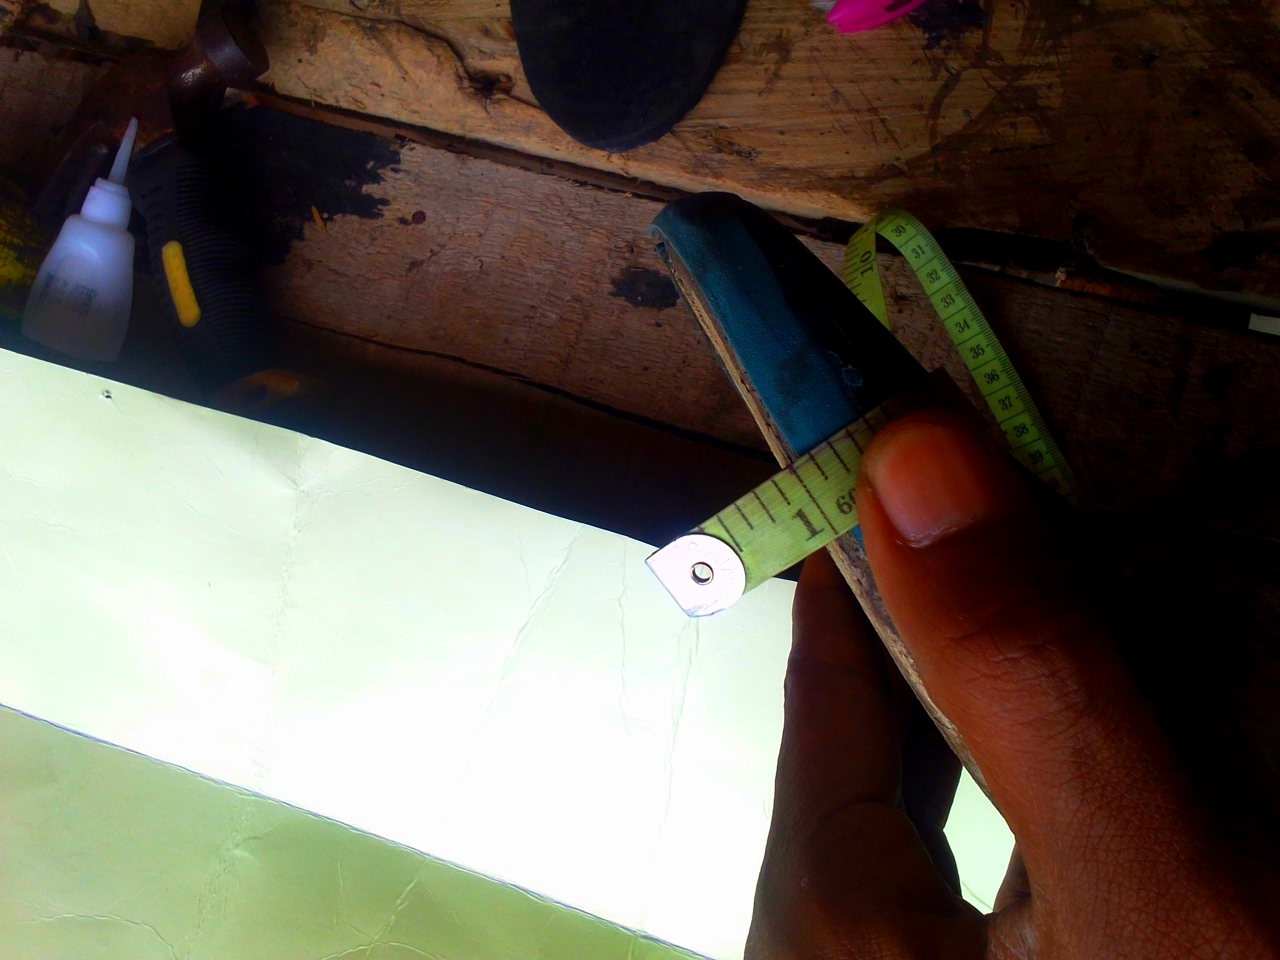
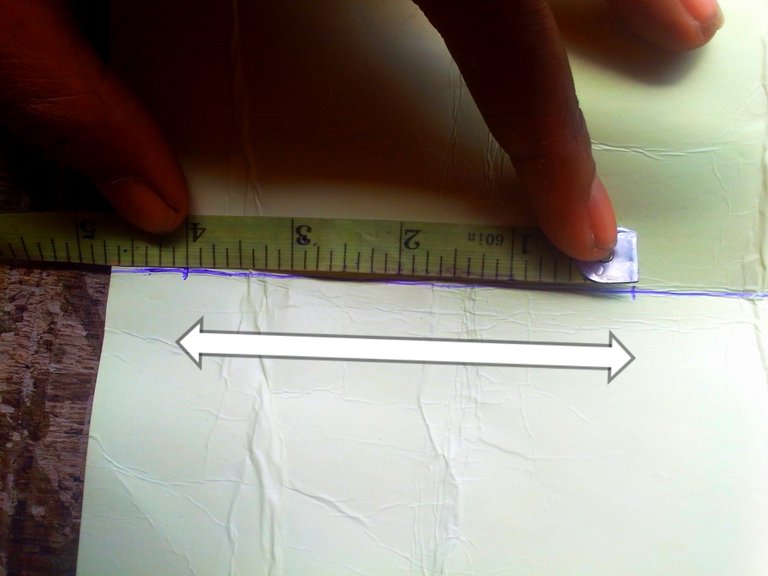
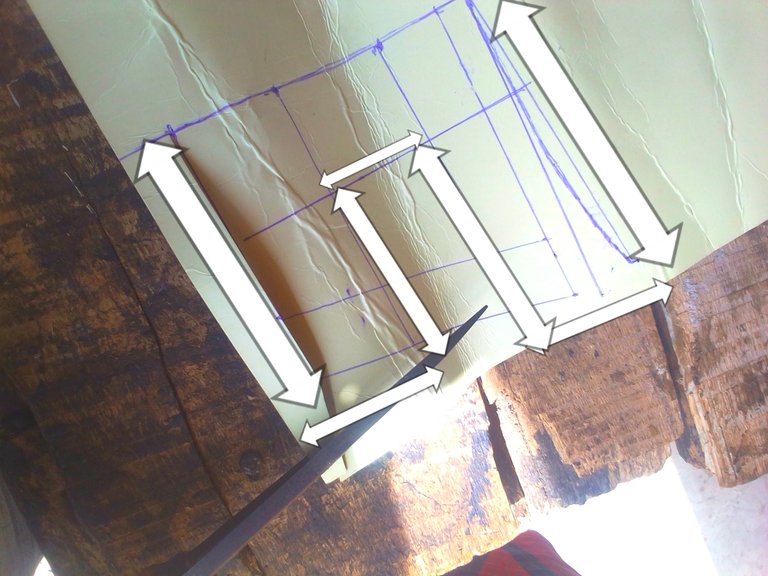
- Next you measure the a bit toes, the center and The top part of your foot( sorry just trying to make it easy for everyone to understand) but check the diagram below.
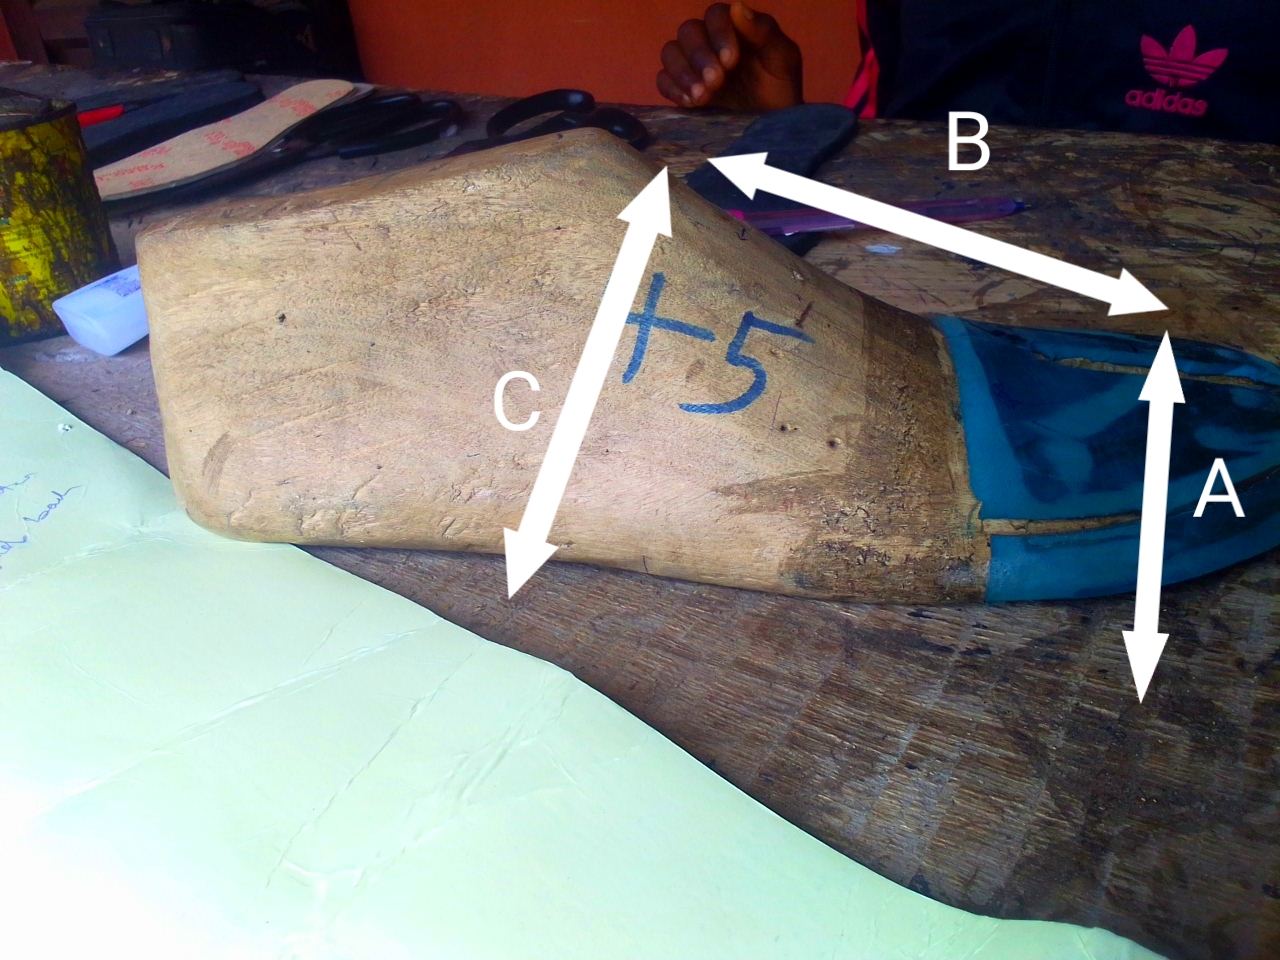
So this is how the measurements go,
 |  |  |
|---|
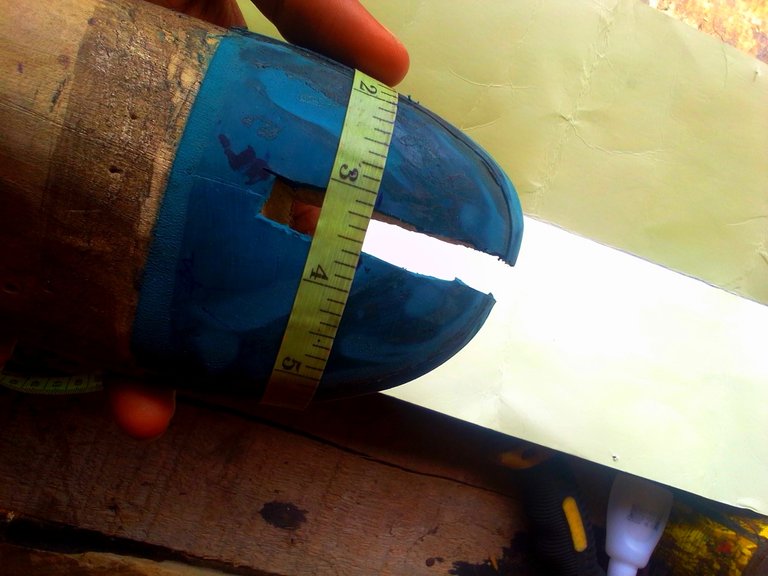
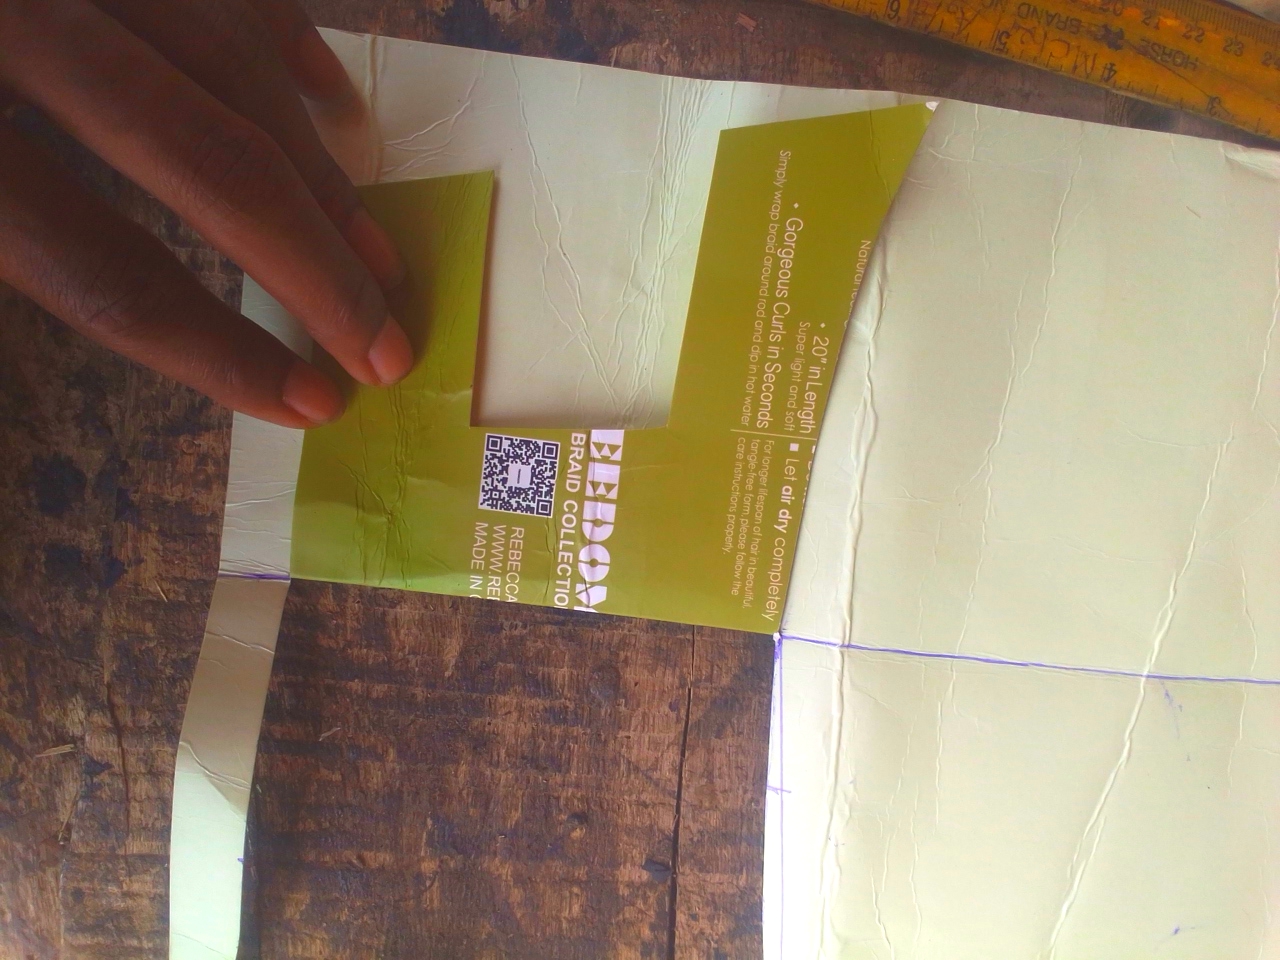
While measuring the toe and and the top of the foot, add 1 inchon both sides as allowance for lasting, like one the next picture
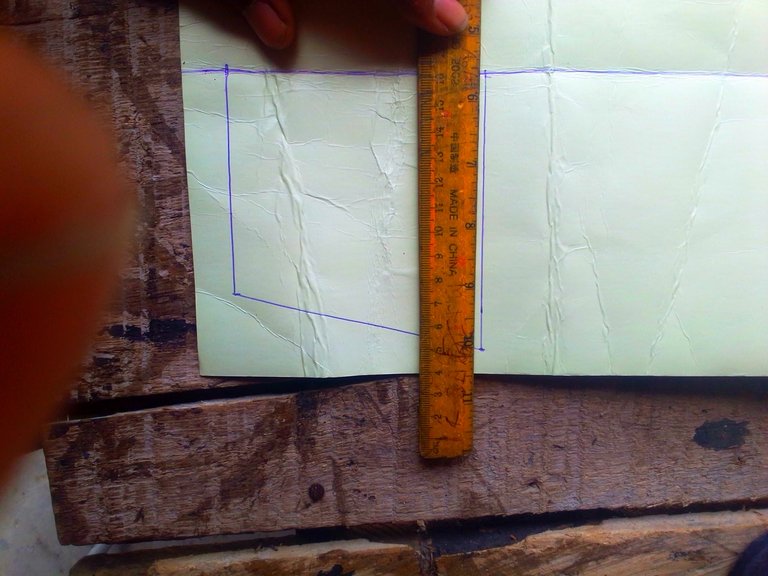
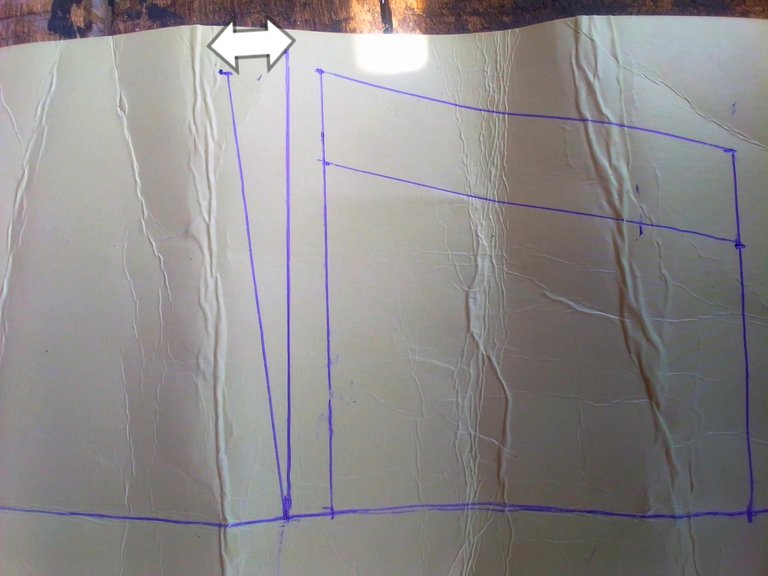
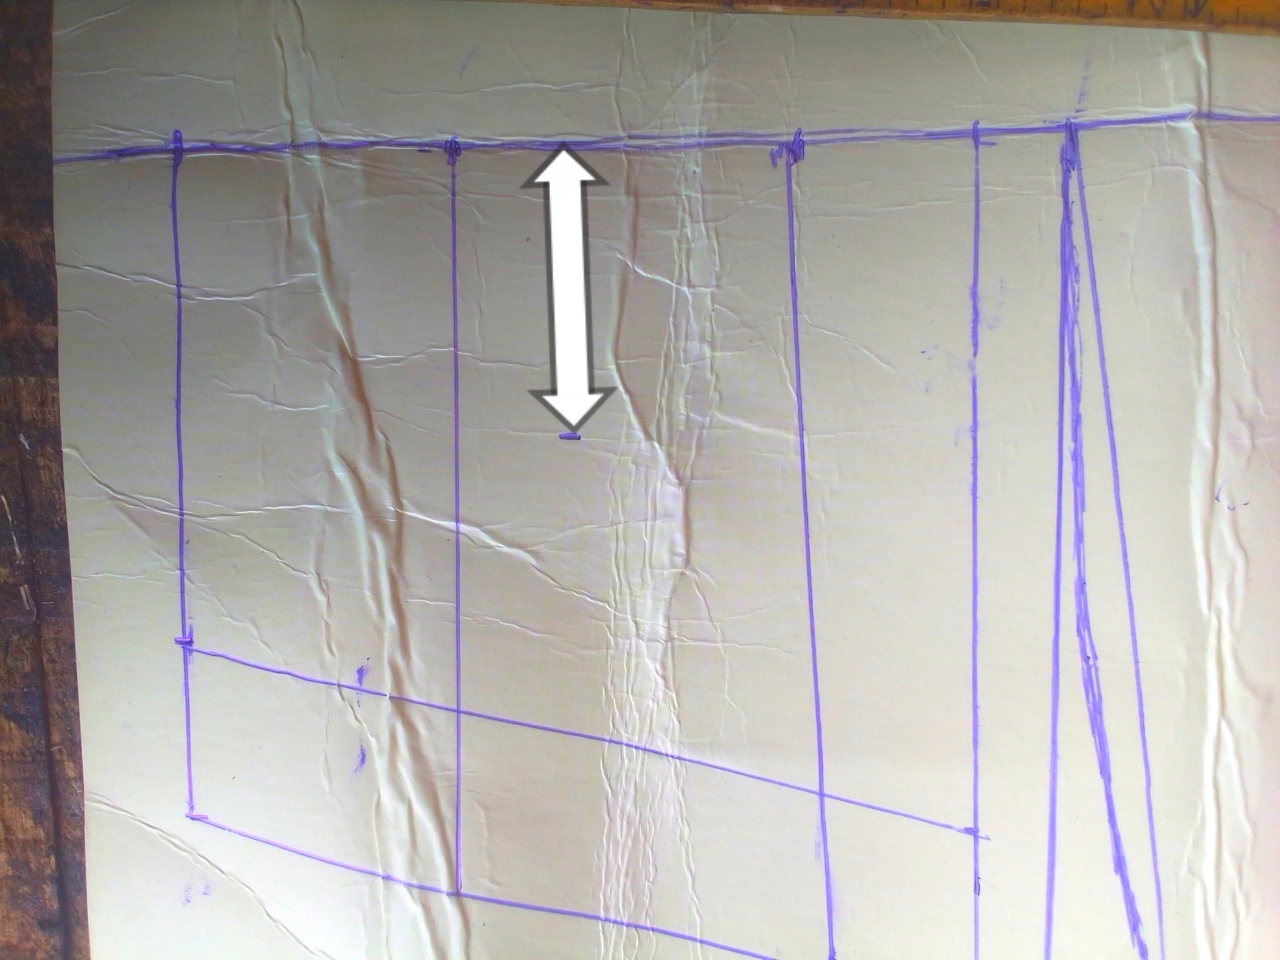
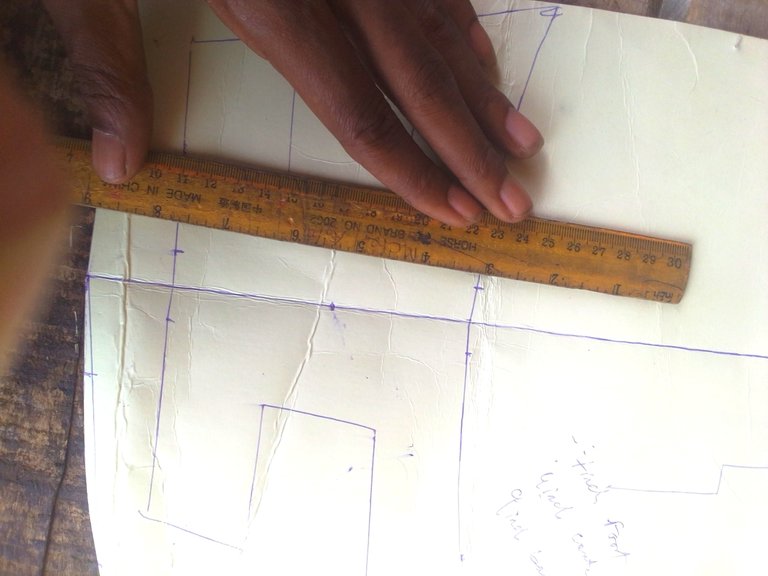
Now we go back to out paper and start with making a first dot below the center line
Then add the measurement of the toe but not the full measure but half of it, meaning if the toe was 6 inches it will be 3 inches that will be placed on the paper
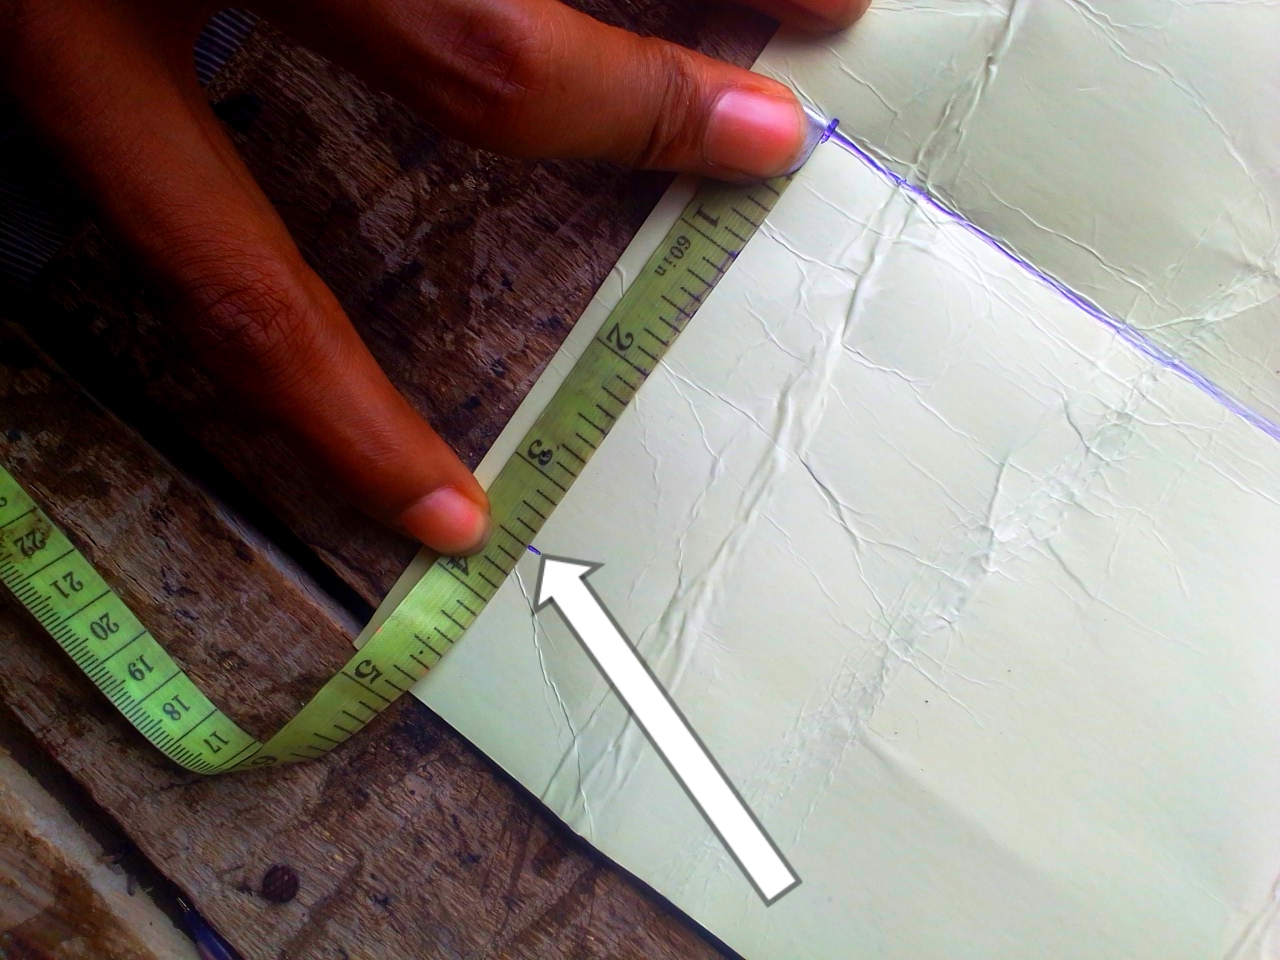
Then the center , this one will have it's full measure
Then you do also mark out the top foot the same way you did the toes

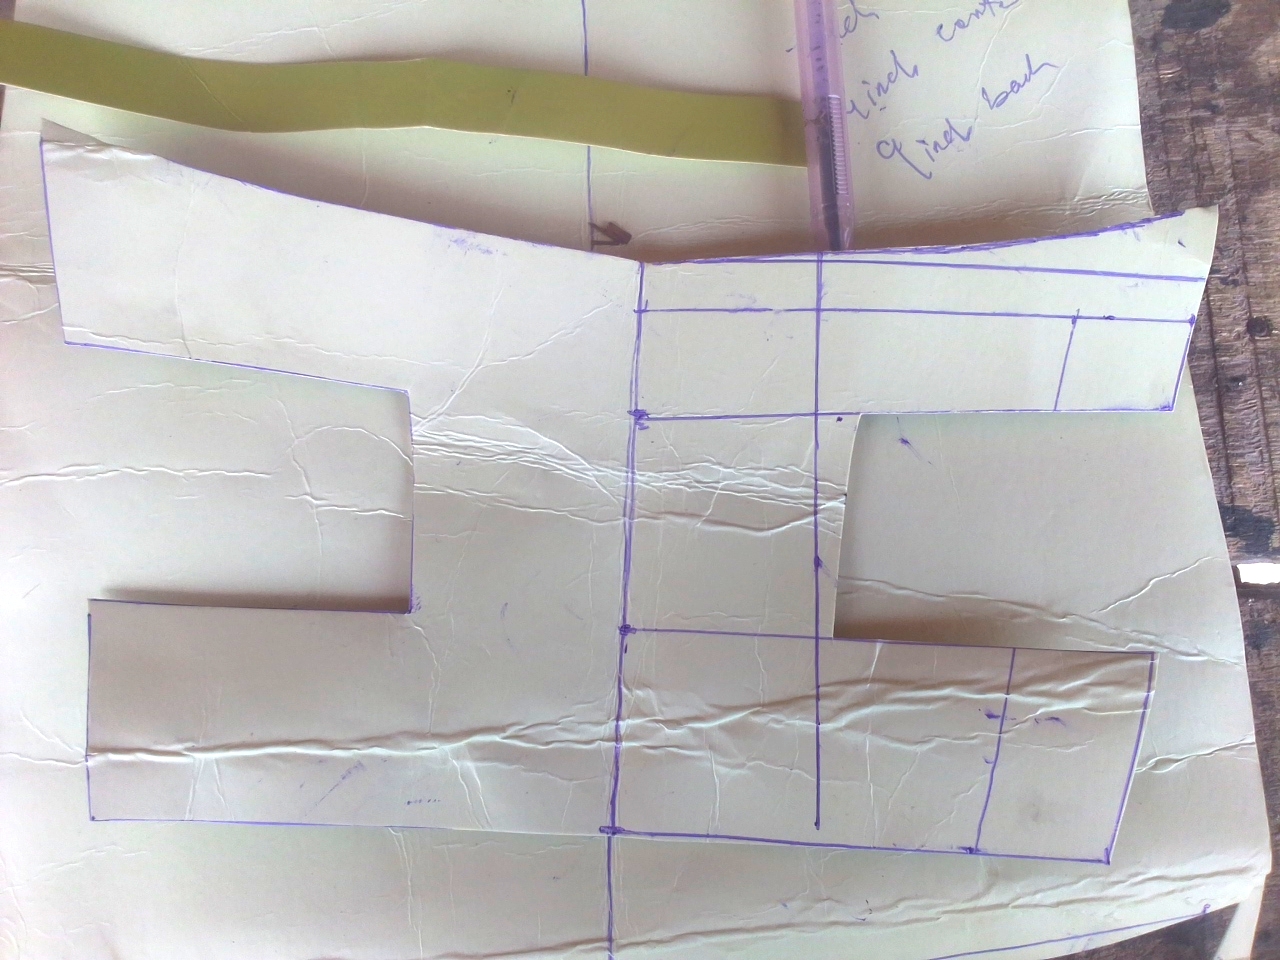
- Now you join the dots with your rule
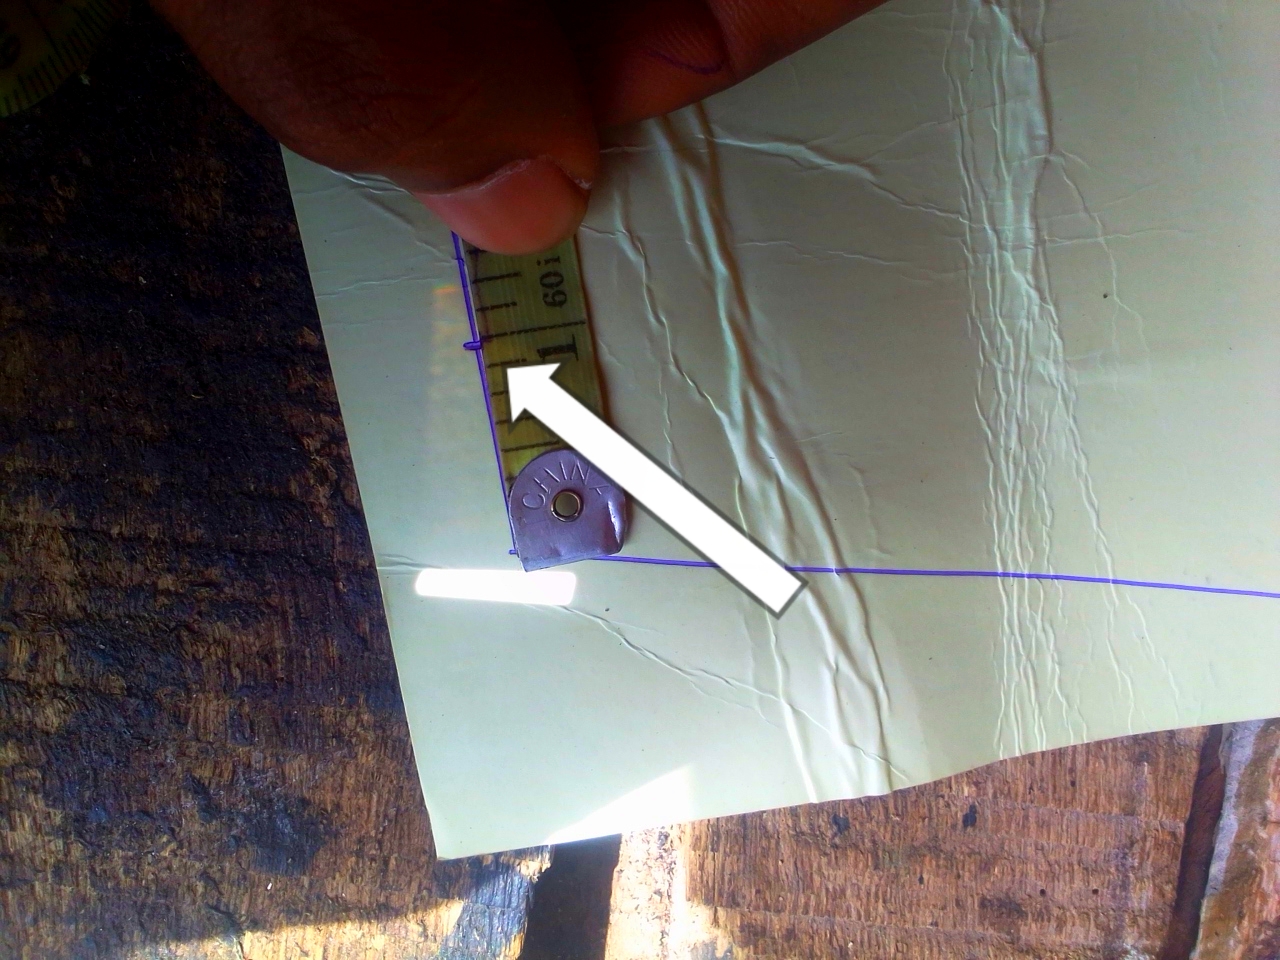
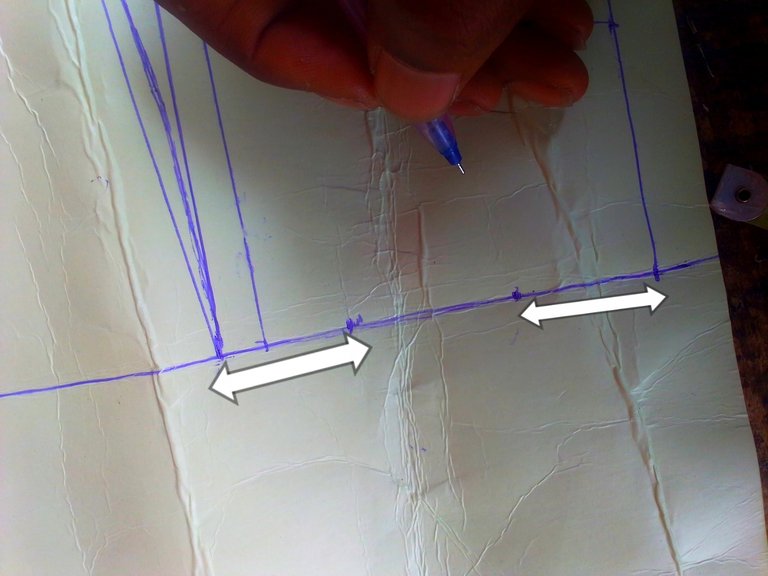
- Next mark out the 1 inch allowance with your tape and ruler
 |  |  |
|---|
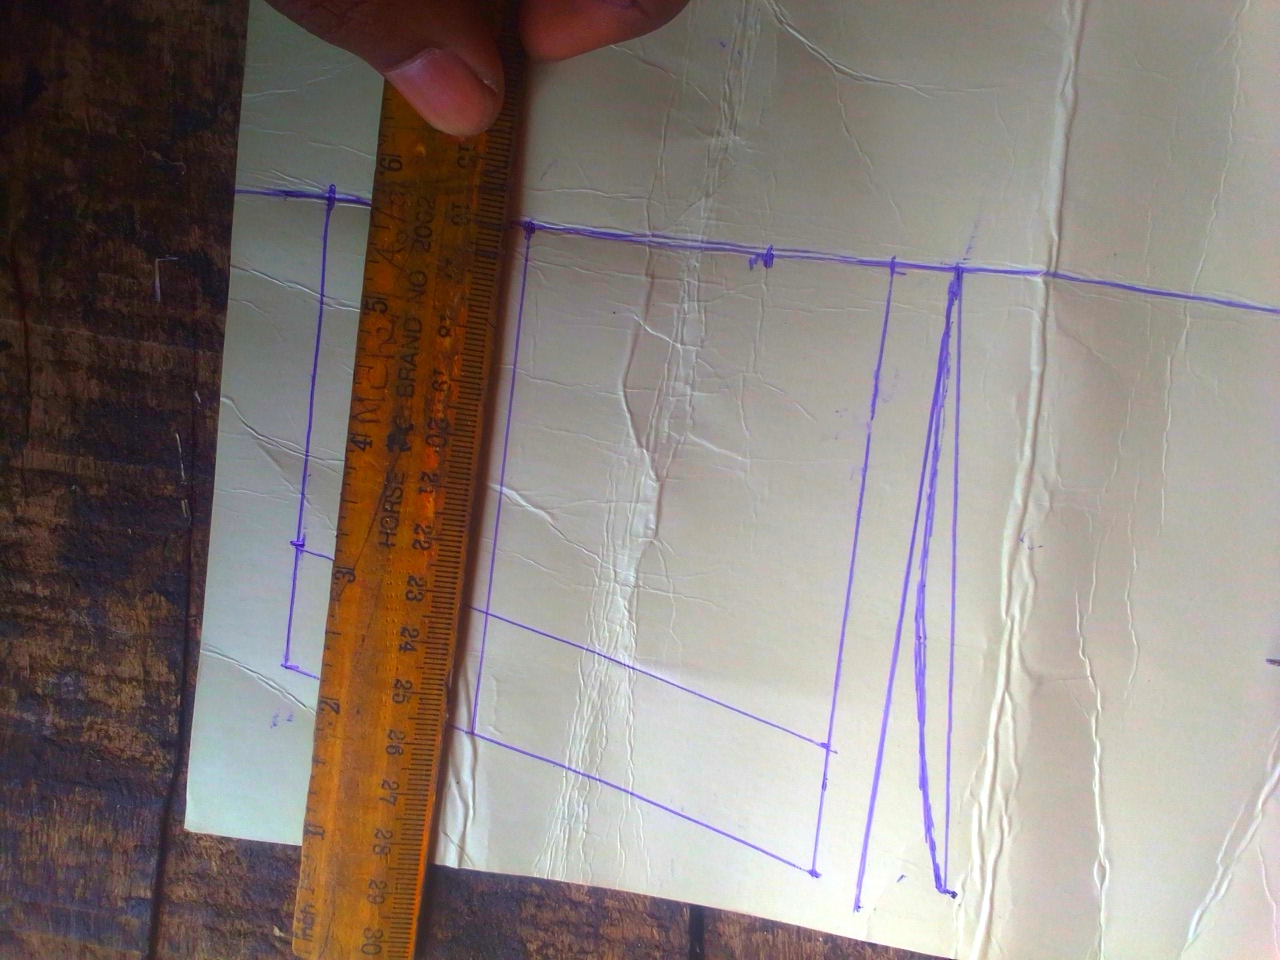
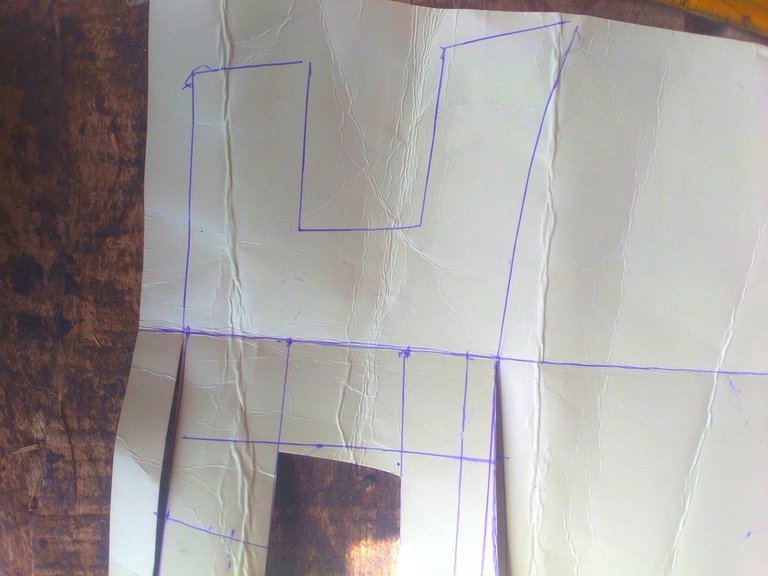
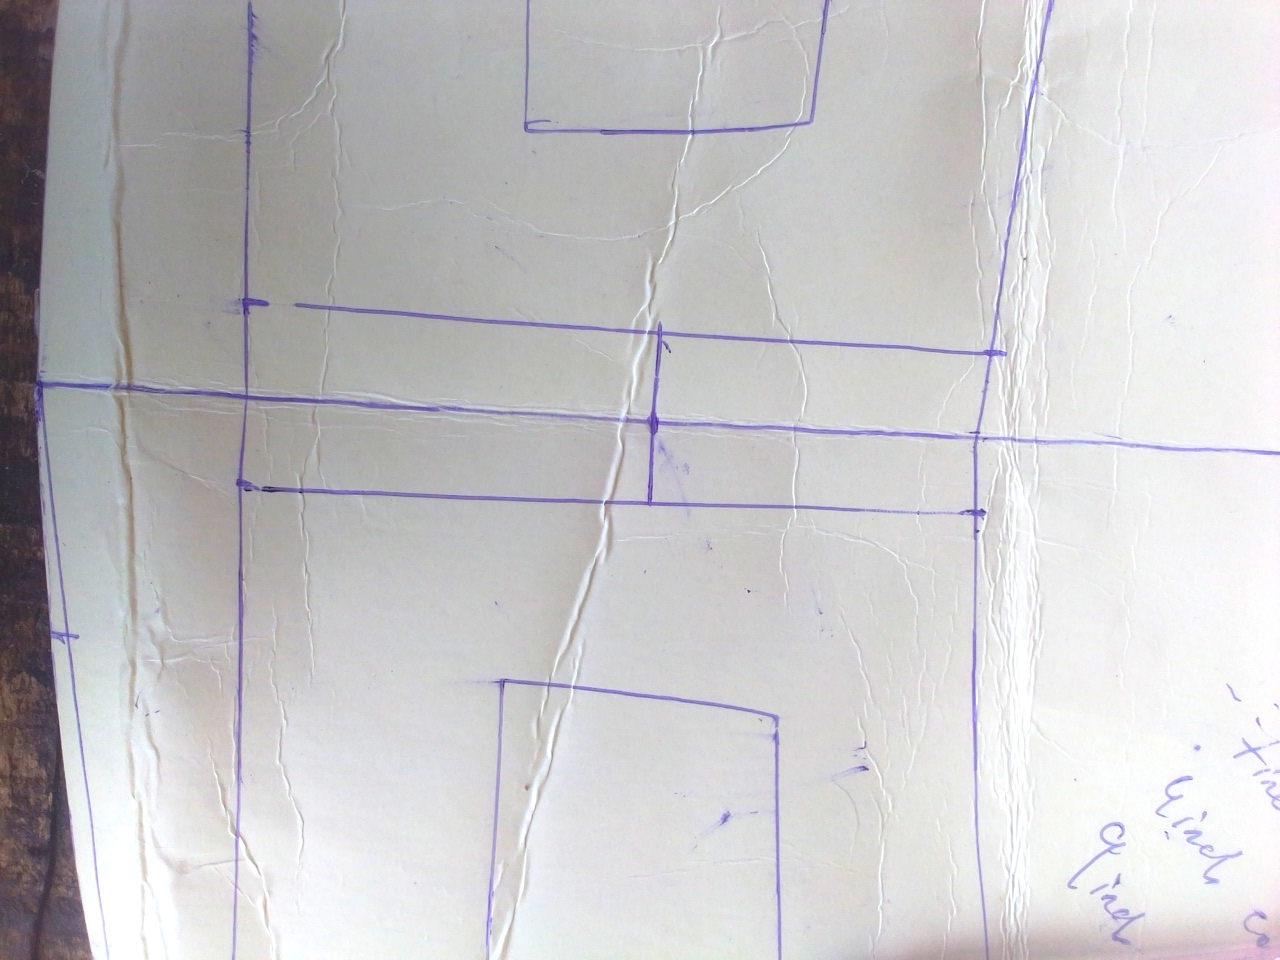
- Next add half inch at the rear end of your top foot measurement, trace a line to link it the the top of the center line, and draw in curve on the middle linking them.
 |  |
|---|
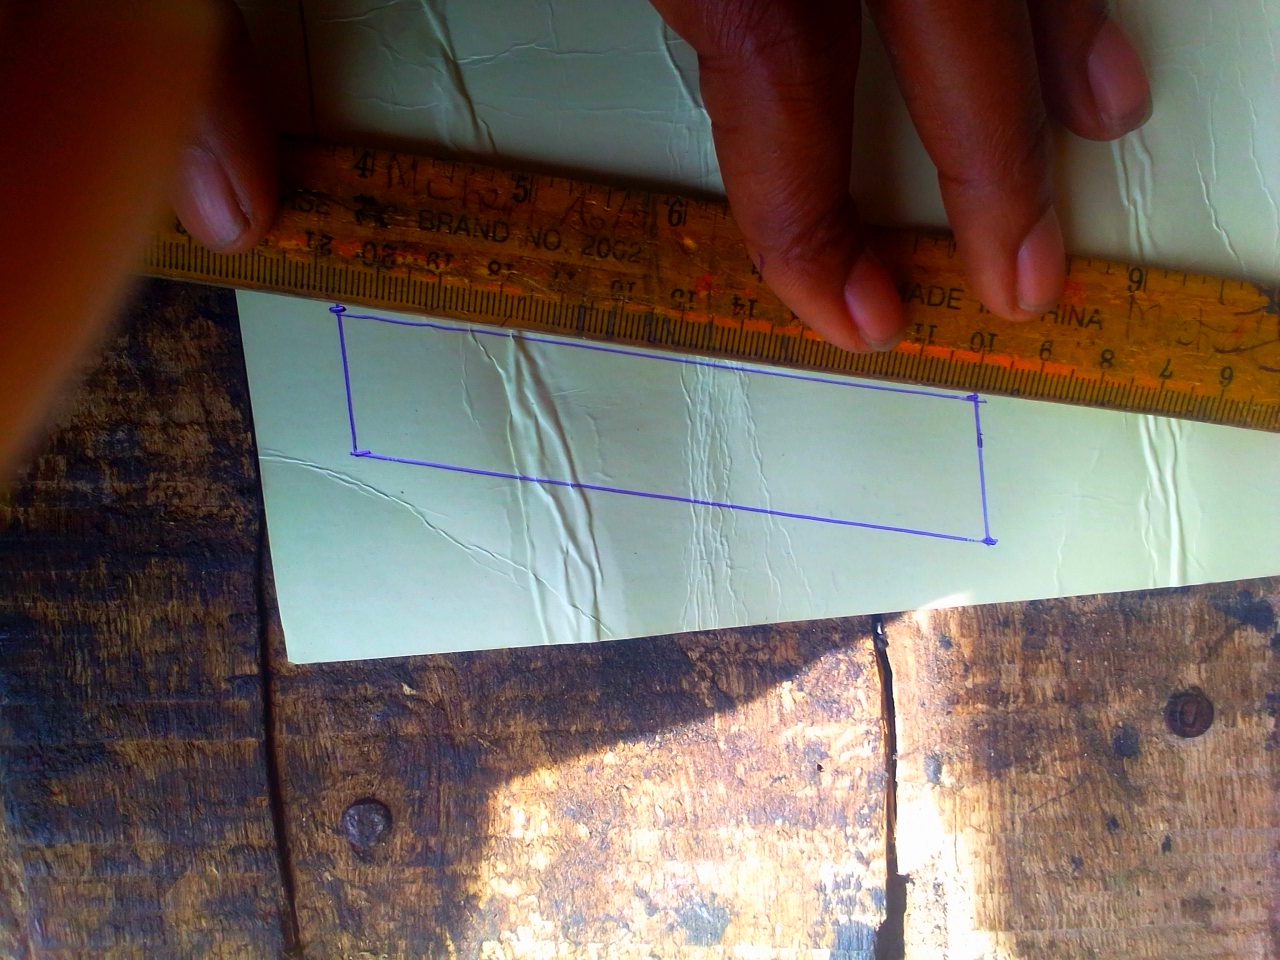
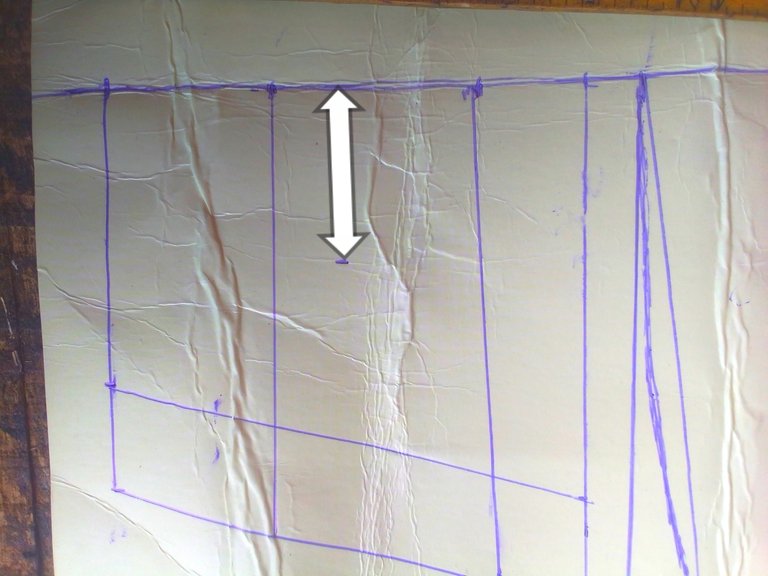
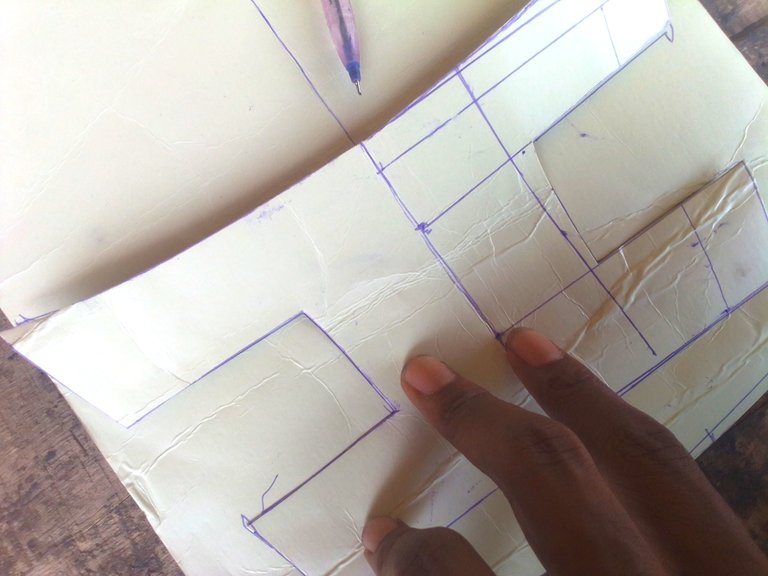
- Now we just add 1 and half inches on both the toe and the top foot, like this
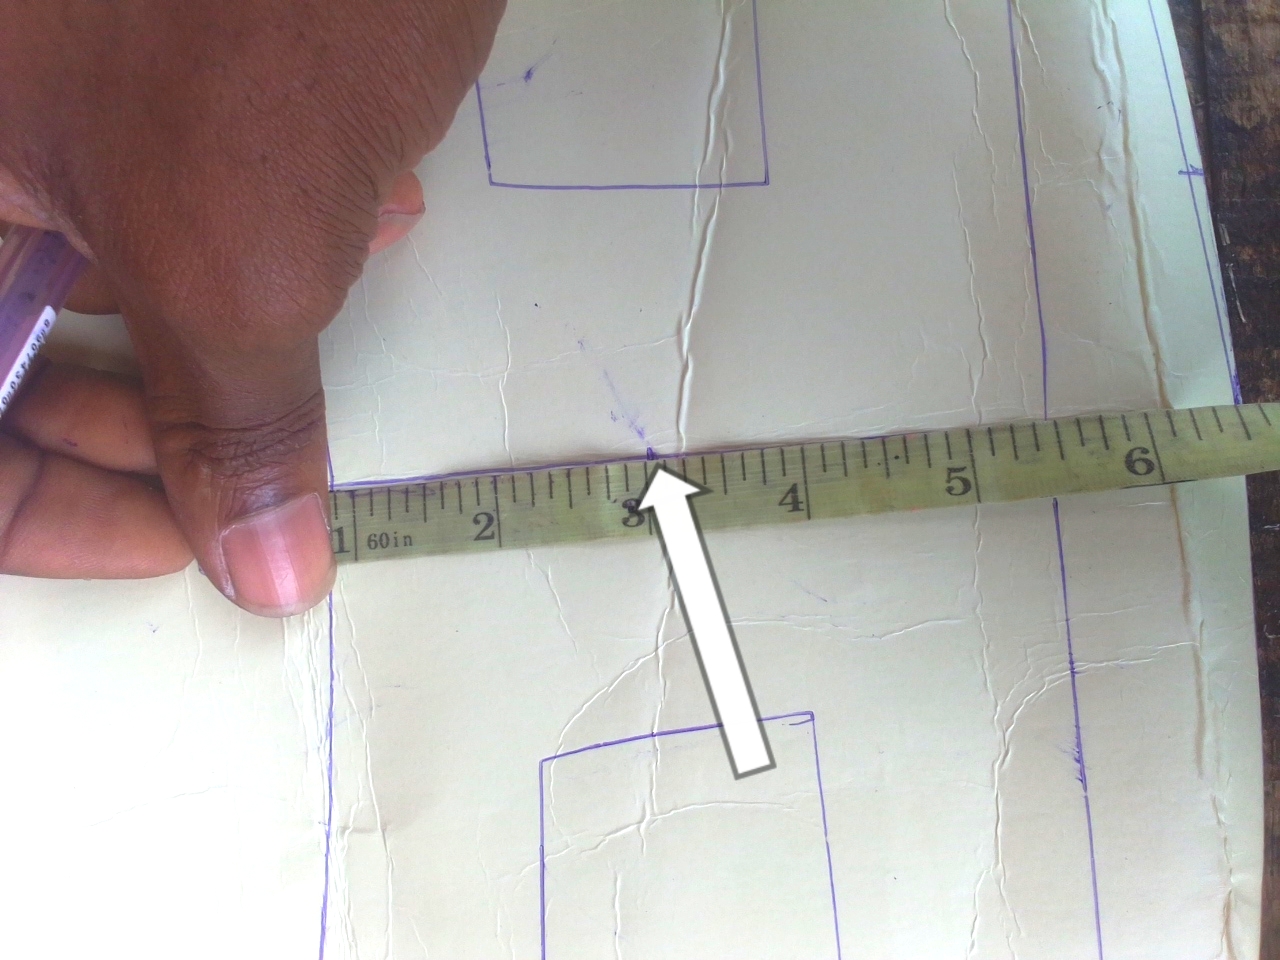
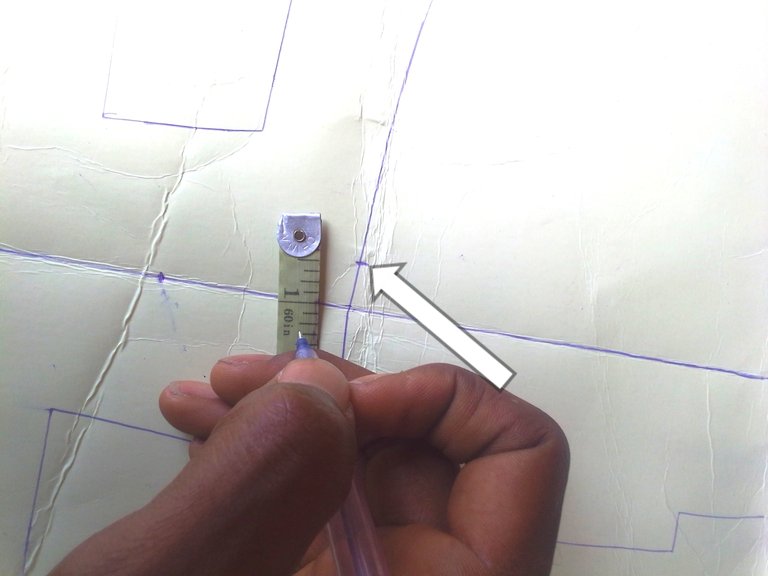
- Join them to the center line too and get the center of the center line and measure 1 and half inches out.
 |  |  |
|---|
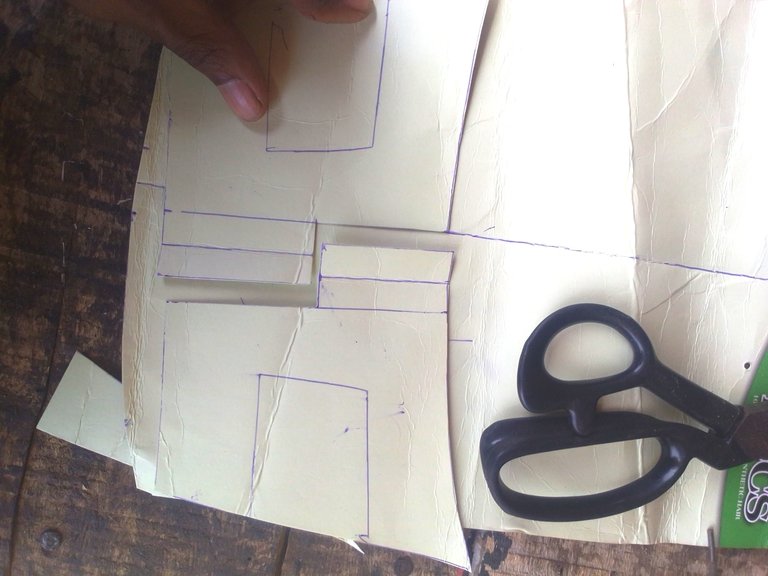
- Next cut out the main lines
But don't cut the center line
- Then fold it to the other side and mark it out.
 |  |
|---|
- When you cut it out the first part is completed
Now we have gone to the next stage
- Now we trace the first pattern on our paper again on the center
- We just have to get the center, then add half inch on both the top and the toe and join them
 |  |
|---|---|
 |  |
- We just have to cut the needed
 |  |
|---|
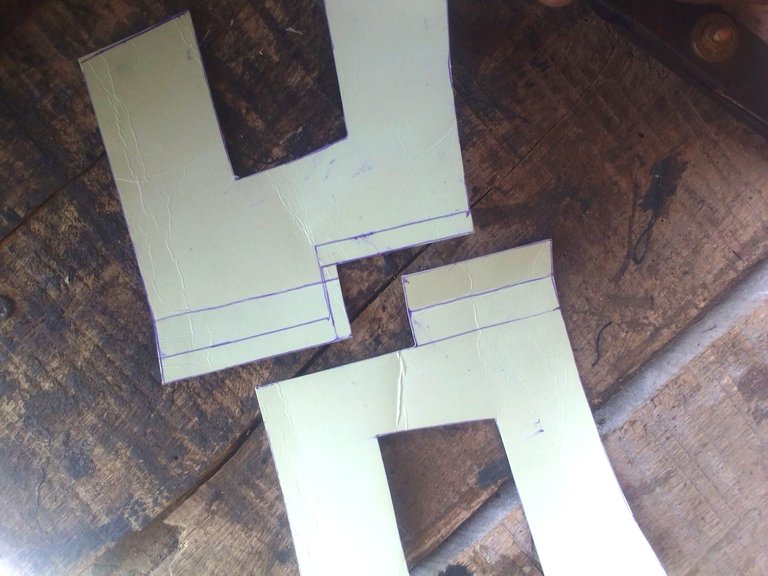
- Lastly you add an allowance on one of the two patterns, so as to get a chance to fix it.
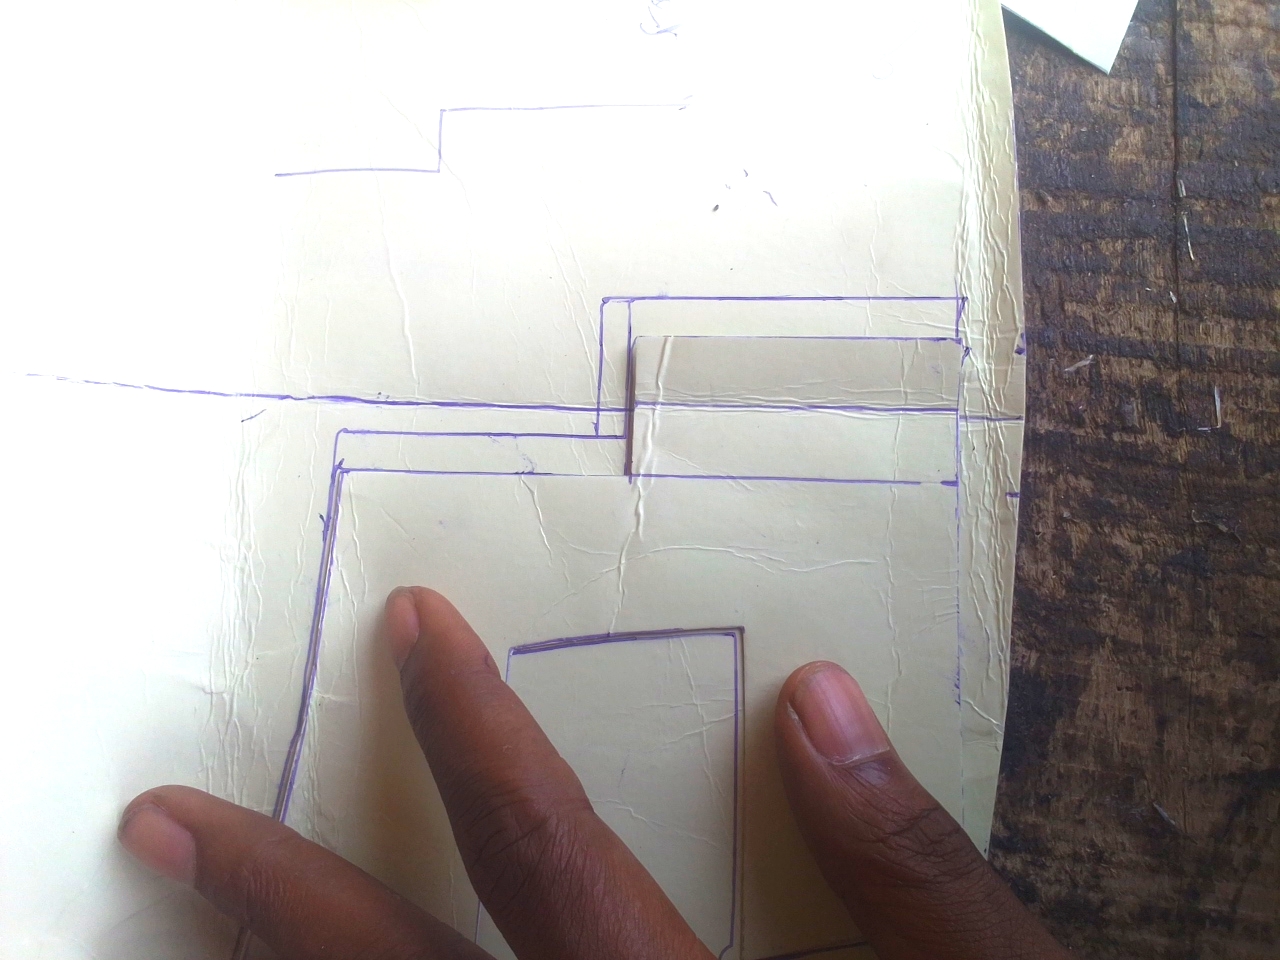
And there you have your pattern
On my next post i will write about the process of producing footwears
I really appreciate the opportunity to share my hobby, it may be a bit complicated, but drop your questions, i will be more then happy to answer your questions. Thank you.