Hello Hive friends. I hope you are all well and in good health. That is the most important thing.
Today I bring you a beautiful bracelet, and taking advantage of the approaching Valentine's Day. To give to that love or friendship that we have. Something simple, easy, economical and with few materials.
Vamos con los materiales a necesitar:
Let's go to the materials you will need:
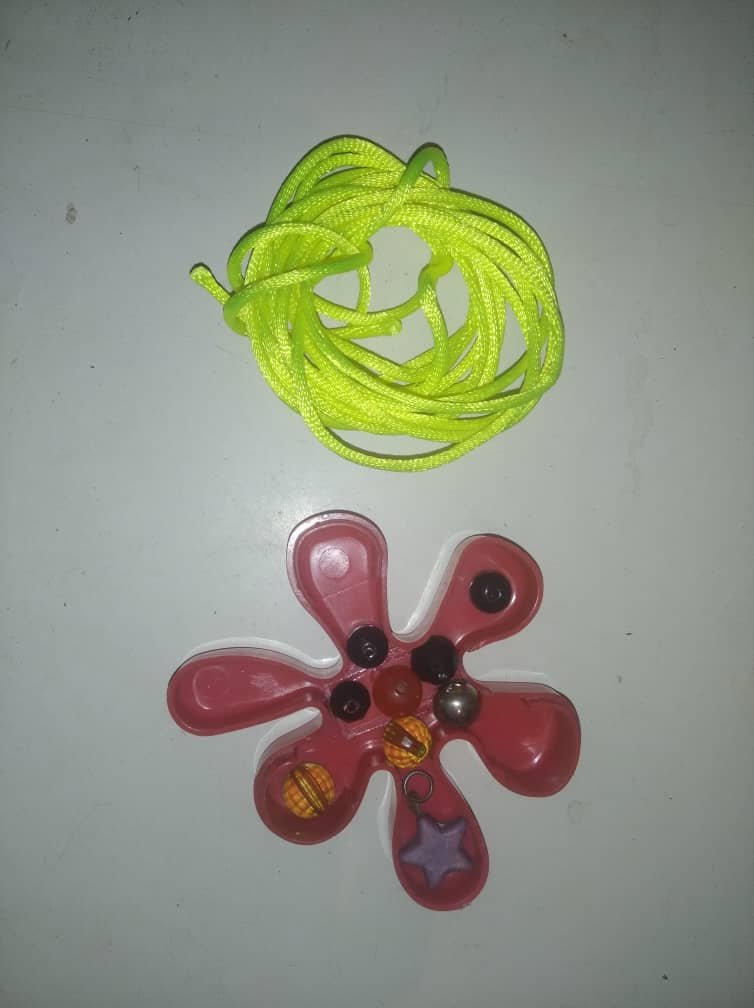
- 2 metros de cinta cola de ratón color
verde. - piedritas para decorar de tu preferencia.
- 1 Tijera.
- 1 Yesquero.
- Dije de su preferencia.
- Cinta adhesiva.
- 2 meters of green mouse tail tape
green.- pebbles to decorate of your choice.
- 1 scissors.
- 1 tinder.
- Charm of your preference.
- Adhesive tape.
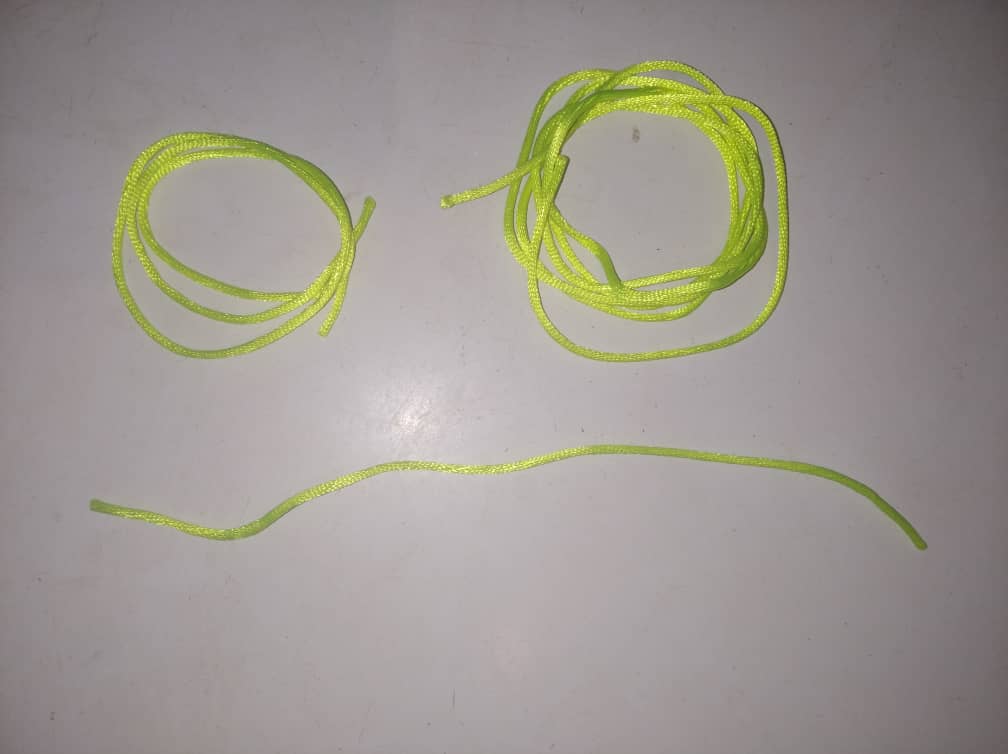
Paso 1:
Se cortan los 2 metros de cola de ratón con la tijera, en 3 pedazos de diferentes medidas. Uno de 120 Centímetros, 50 Centímetros y el otro de 30 centímetros.
Step 1:
Cut the 2 meters of mouse tail with the scissors into 3 pieces of different sizes. One of 120 centimeters, 50 centimeters and the other of 30 centimeters.
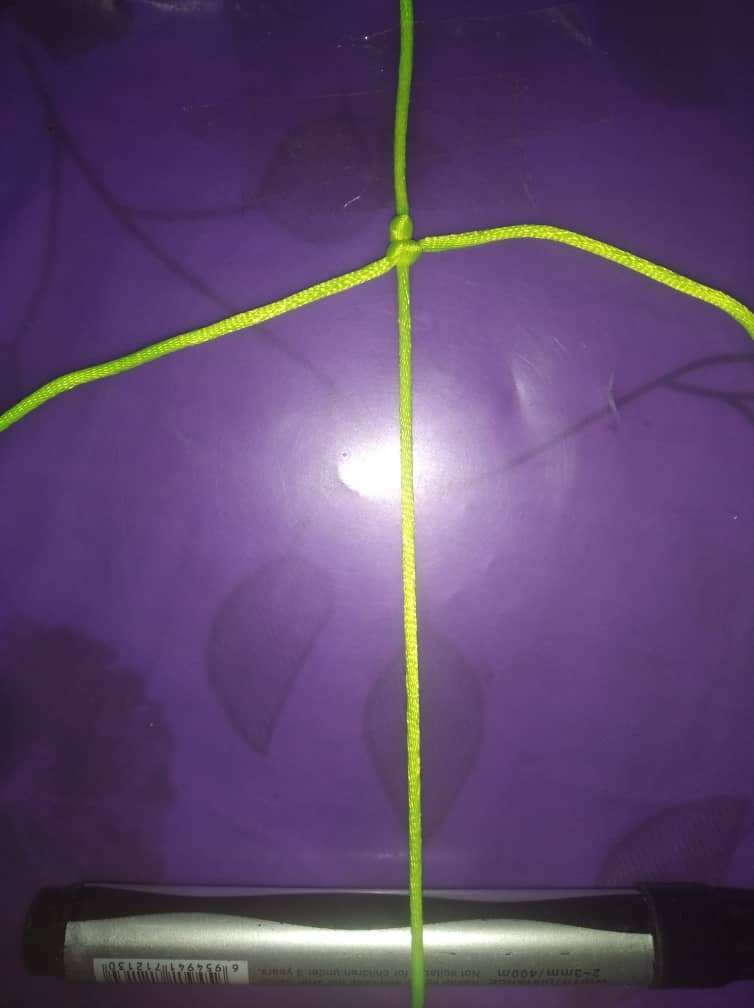
Paso 2:
Se hace un nudo a los 12 centímetros y se pega el hilo de ambos lados con cinta adhesiva, se coloca un objeto que sirva de base para colocar la base. En este caso un marcador.
Step 2:
Tie a knot at 12 centimeters and stick the thread on both sides with adhesive tape, place an object that serves as a base to place the base. In this case a marker.

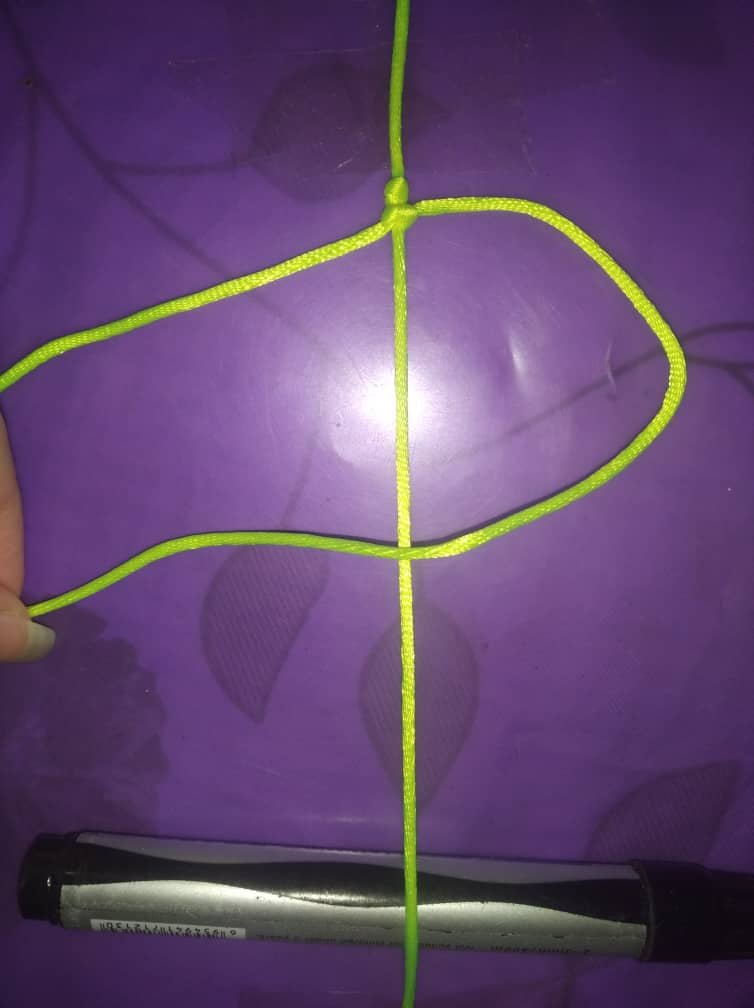
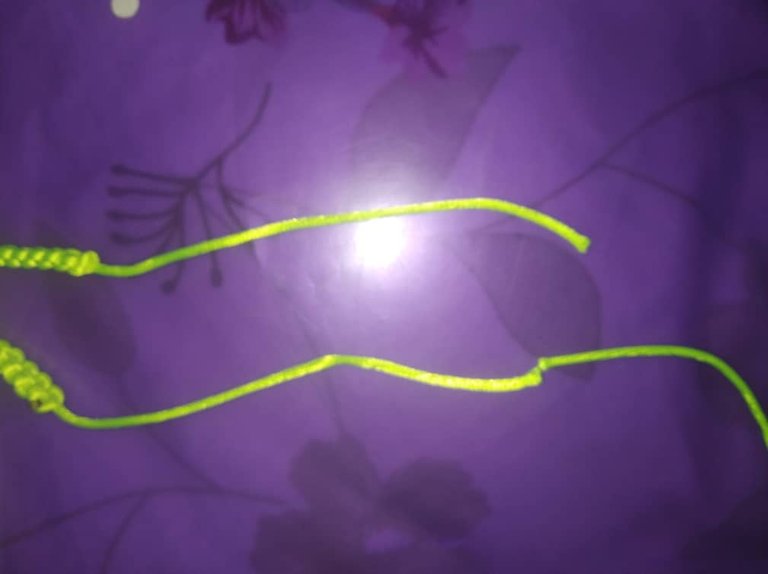
Paso 3:
Se toma el hilo de 120 centímetros y se coloca debajo del hilo y se realiza un nudo. Como se muestra en la imagen.
Step 3:
Take the 120 centimeter thread and place it under the yarn and tie a knot. As shown in the picture.
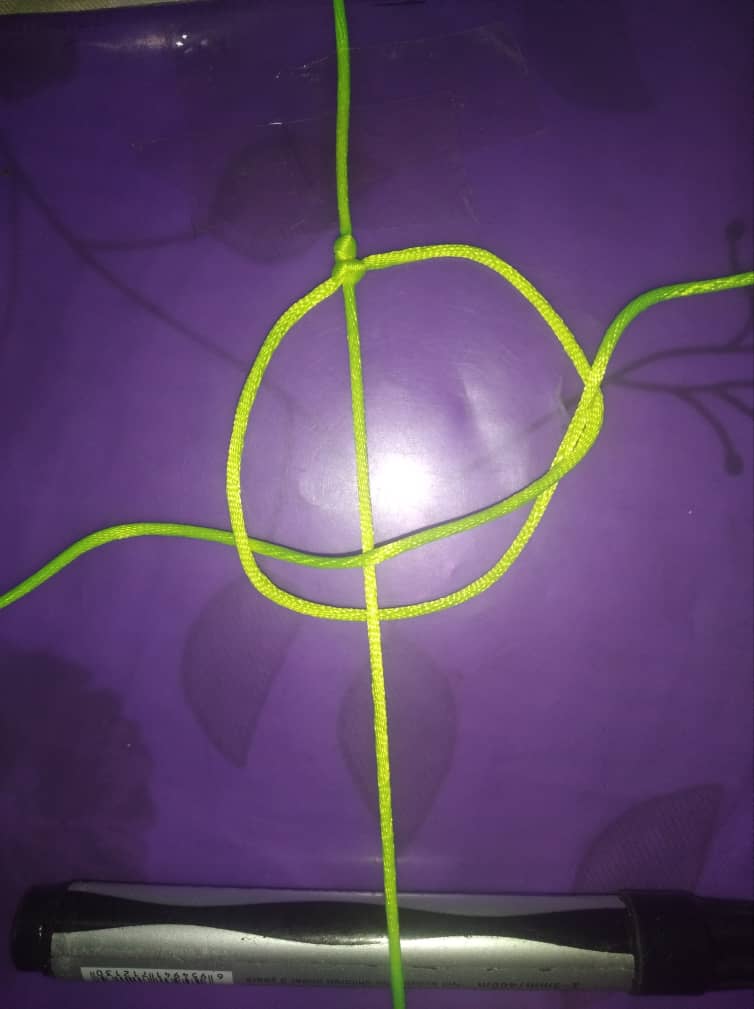
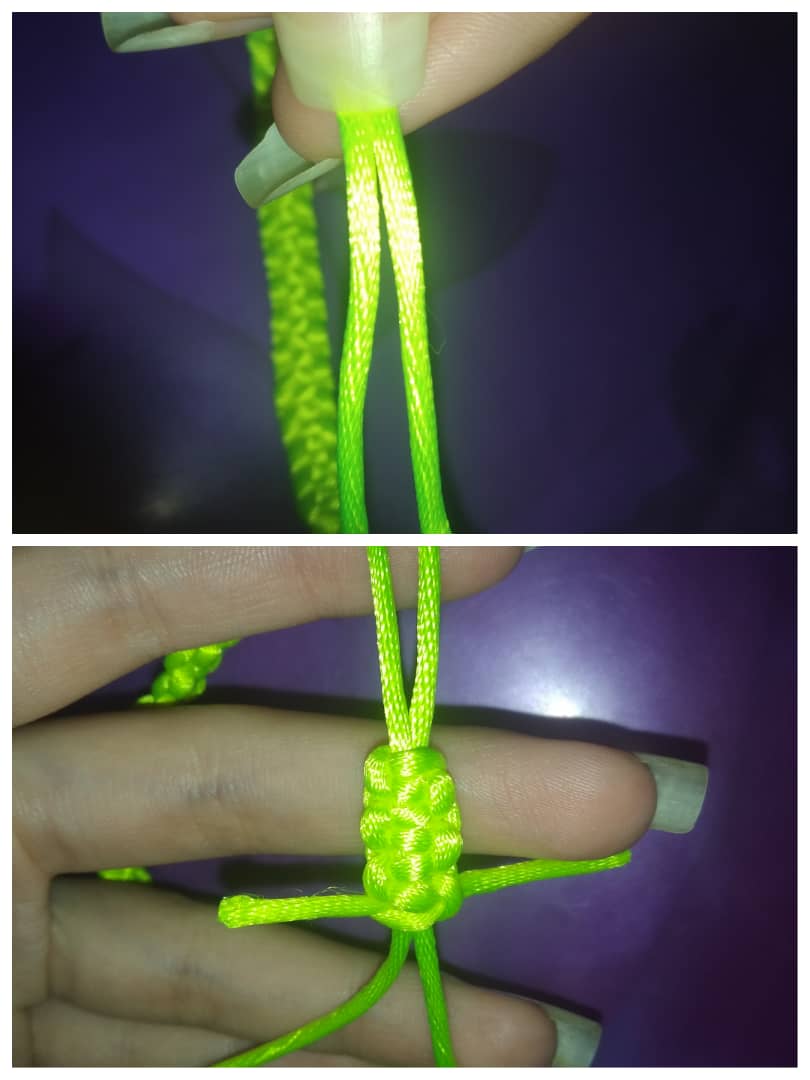
Paso 4:
Con uno de los extremo del hilo se pasa por encima del que está en el medio formando una P. Como se visualiza en la imagen.
Step 4:
With one of the ends of the thread is passed over the one in the middle forming a P. As shown in the picture.
Paso 5:
Con el extremo del hilo del otro lado, se pasa por debajo del hilo metiéndole por el hueco de la P. Se procede a apretar el nudo haciendo que este quede firme.
Step 5:
With the end of the thread on the other side, pass it under the thread by inserting it through the hole in the P. Proceed to tighten the knot making it firm.
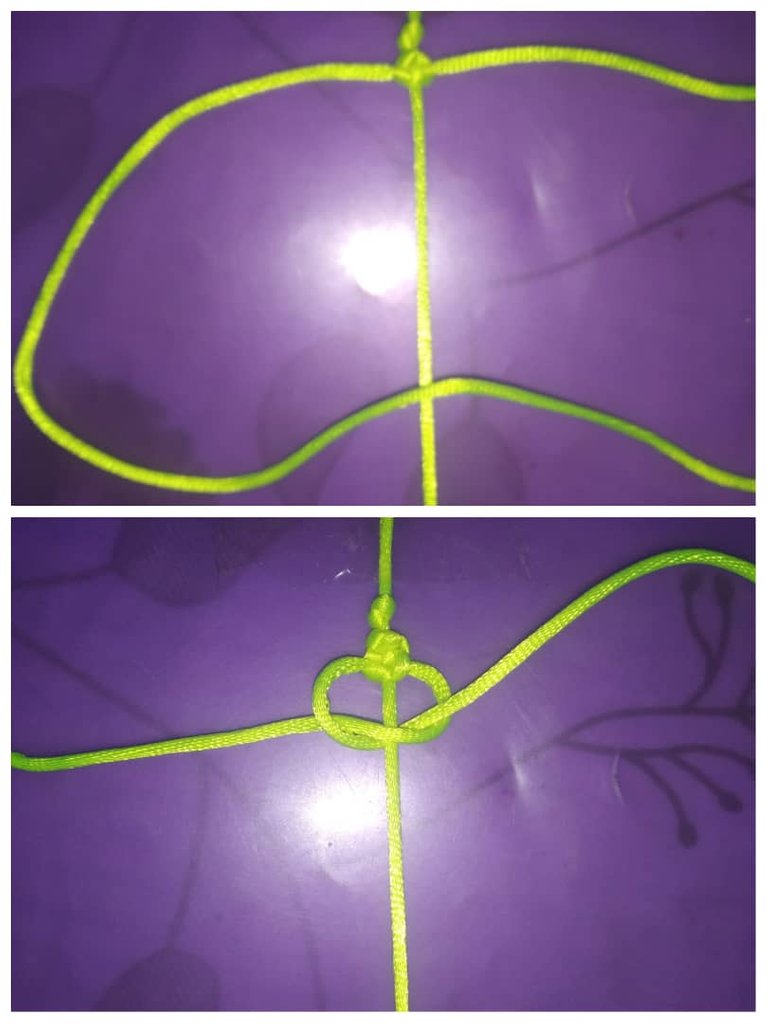
Paso 6:
Se hace el mismo proceso pero del otro lado, es decir de forma invertida.
Step 6:
The same process is done on the other side, i.e. in reverse.
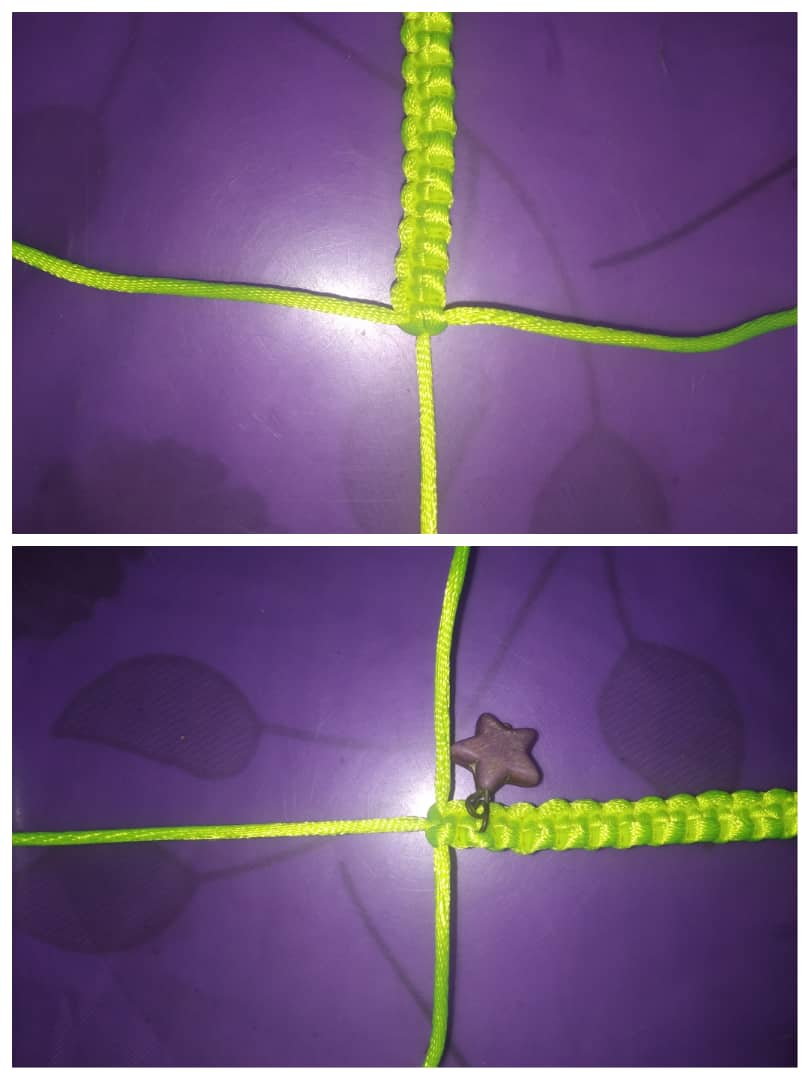
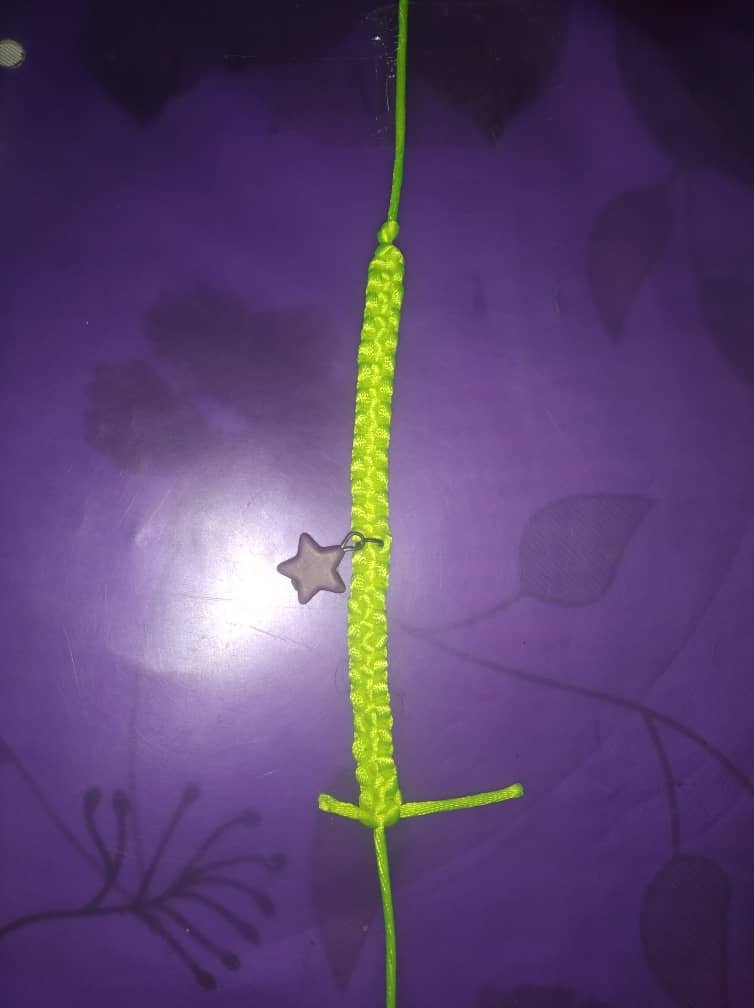
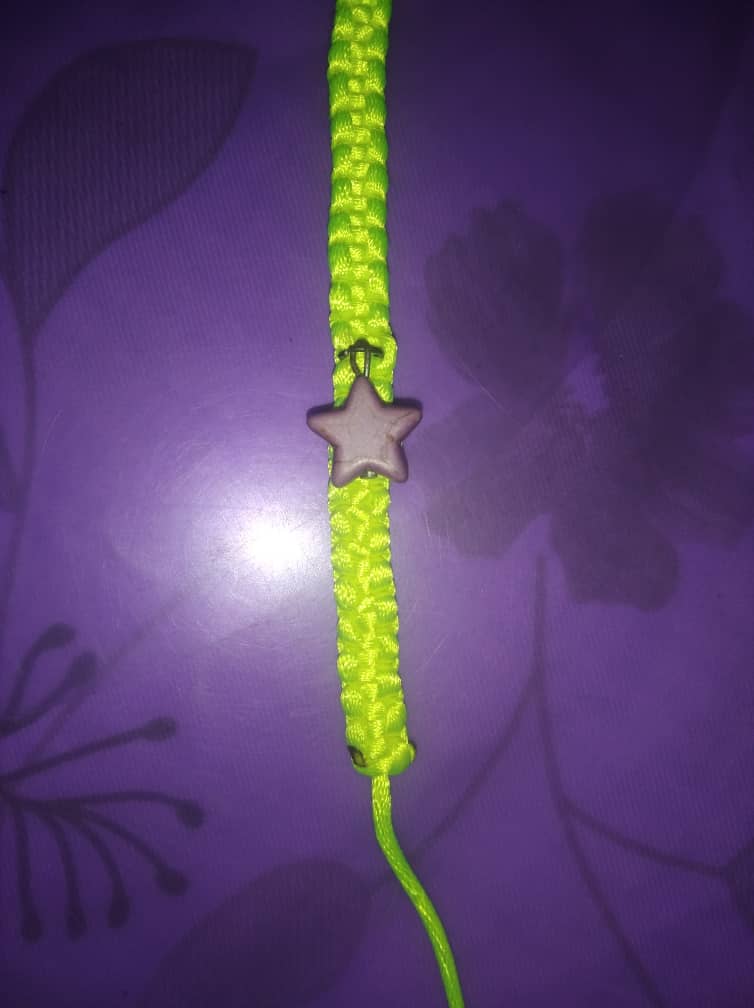
Paso 7:
Se sigue tejiendo de la misma manera intercalando los lados hasta llegar a la mitad, donde le colocaremos el dije de nuestra preferencia.
Step 7:
Continue weaving in the same way, alternating the sides until you reach the middle, where we will place the pendant of our preference.
Paso 8:
Se sigue tejiendo de la misma manera, hasta llegar al final.
Step 8:
Continue weaving in the same way, until you reach the end.
Paso 9:
Se queman las puentas con la ayuda del yesquero.
Step 9:
Burn the puentas with the help of the tinderbox.
Paso 10:
Se miden los extremos y se cortan los excedentes.
Step 10:
Measure the ends and cut off the excess.
Paso 11:
Se une el hilo de la parte de abajo y se realiza un nudo empezando hacer el mismo tejido, con el pedazo del hilo que habíamos cortado antes.
Step 11:
Join the thread of the bottom part and tie a knot starting to make the same weaving, with the piece of thread that we had cut before.

Paso 12:
Se finaliza quemando los bordes igual que en el tejido anterior, y en las puntas del hilo se hace un nudo y se quema de igual manera. Y ya estaría lista para usar.
Step 12:
Finish by burning the edges as in the previous weaving, and at the ends of the thread make a knot and burn it in the same way. And it would be ready to use
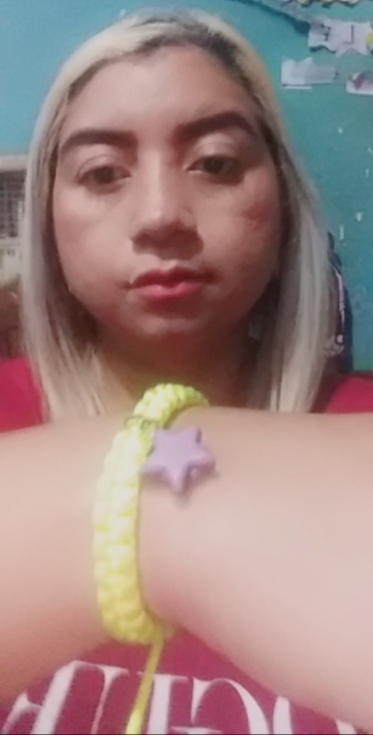
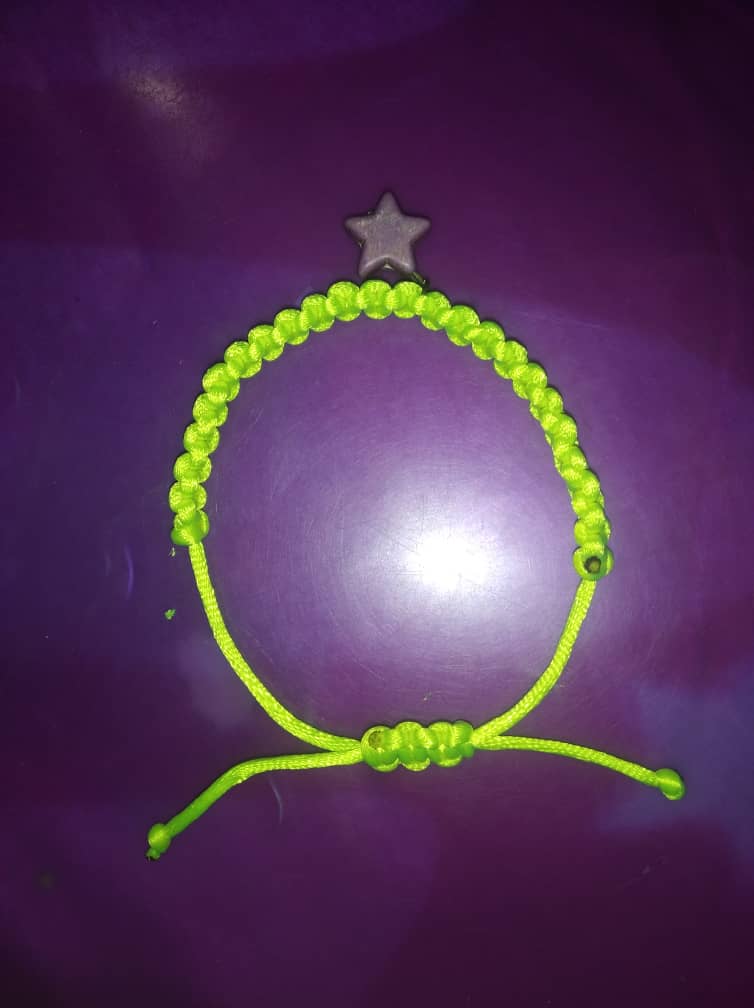
Paso 13:
Así queda nuestra bella y fácil pulsera amigos.
**Step 13.
Here is our beautiful and easy bracelet friends.


