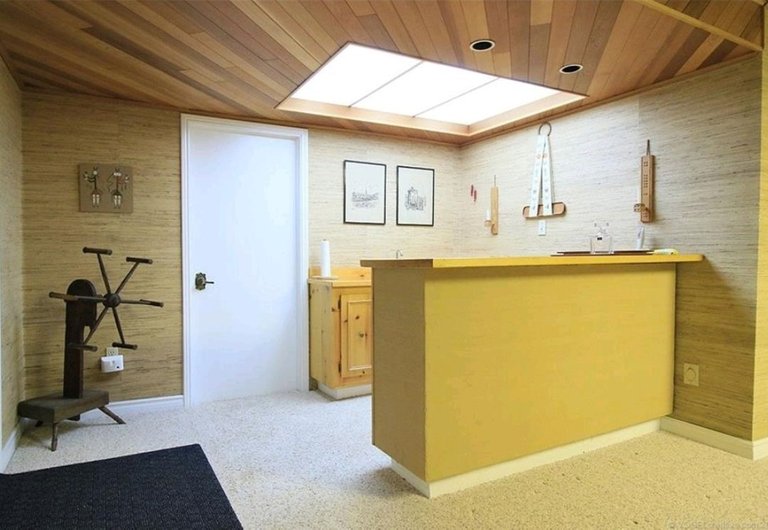
Time for a quick update on my mudroom project. I've been making some progress at it though its a little slow going since I'm only really working on it on weekends and maybe a little bit after work some days. Still, its something. Progress is progress I suppose.
Demo the Sink
The first thing that I had to do was demo a sink and cabinet and then cut the plumbing to the sink. I capped the lines using shut off valves.
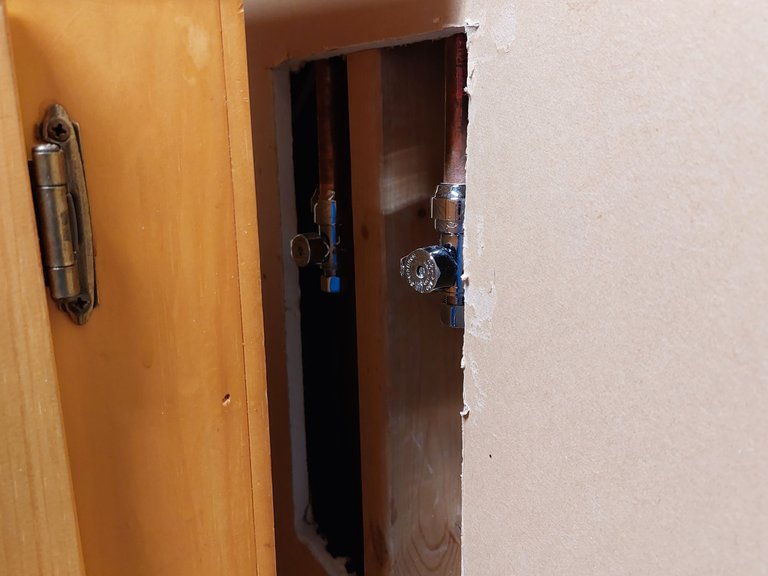
The plumbing was pretty easy actually. I just turned off the water to the house, cut the copper pipe with pipe cutters and then put a shut off valve on the hot and cold water lines.
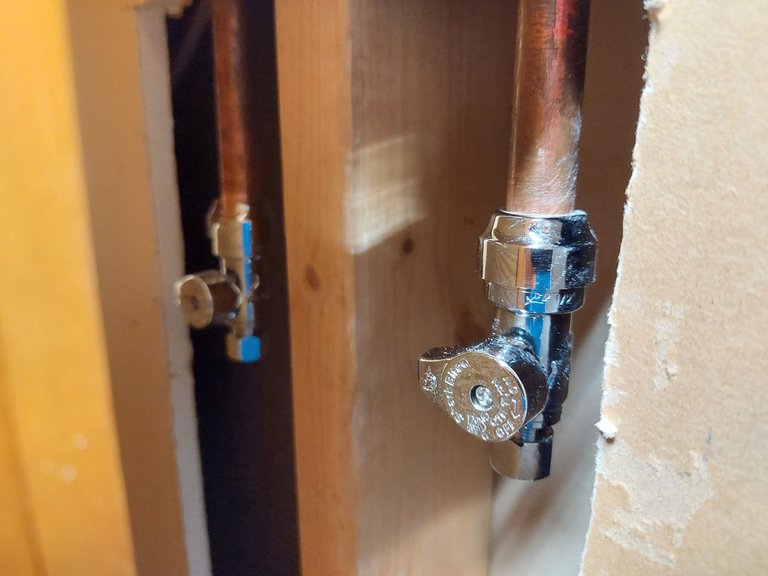
I used these mechanical fixtures called "Shark Bite." They just slide onto the pipe and seal them. No solder required. Done and done.
Scrape Wall Paper
Next I scraped off that grassy paper from the walls, just those that would be exposed when the room was complete.
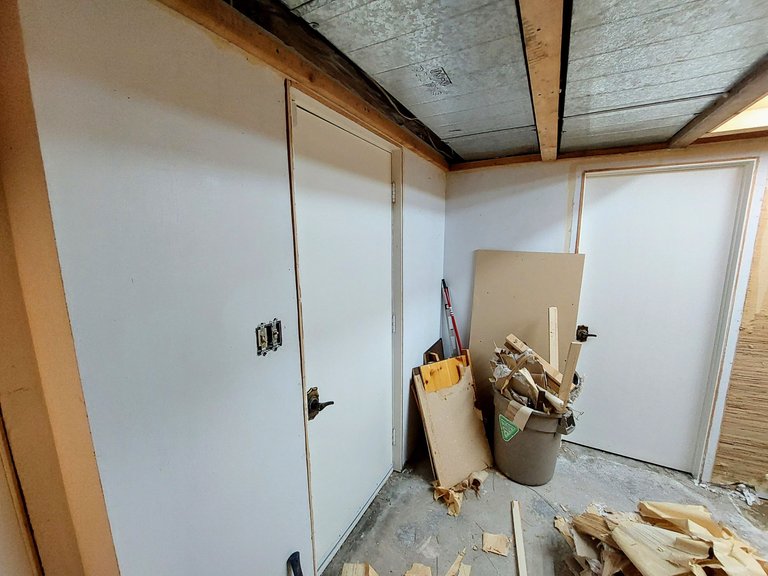
Taking down the paper was just a matter of spraying the paper with water and scraping it off with a plastic scraper.
Dump Run
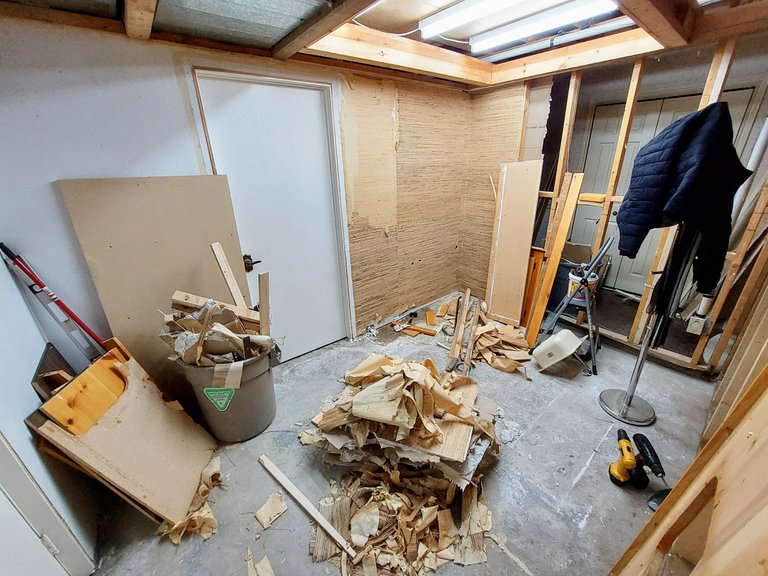
I created a ton of garbage doing all of this and had to take a trip to the dump. My wife and I borrowed a truck and did it after work. It wasn't as bad as I thought it would be.
Dry Wall
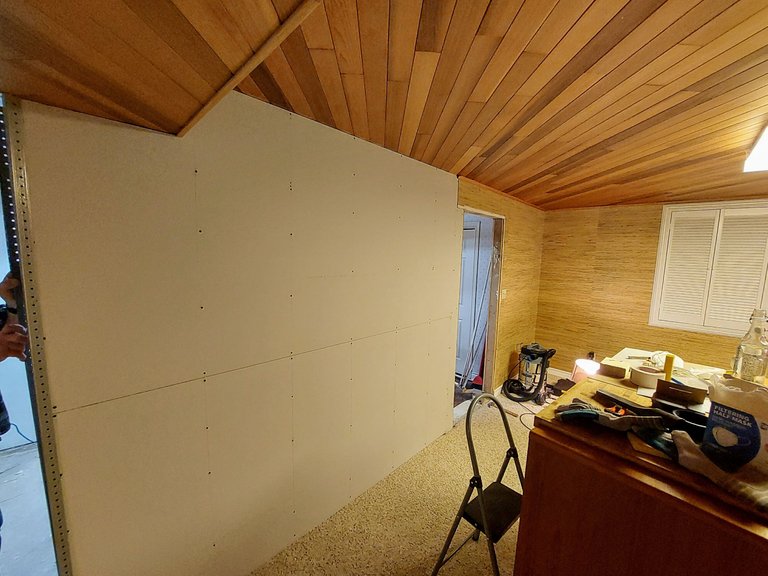
My Dad and I put up the drywall to close in the room. That part was pretty easy really. We didn't run into any snags or unforseen events. It all went smoothly.
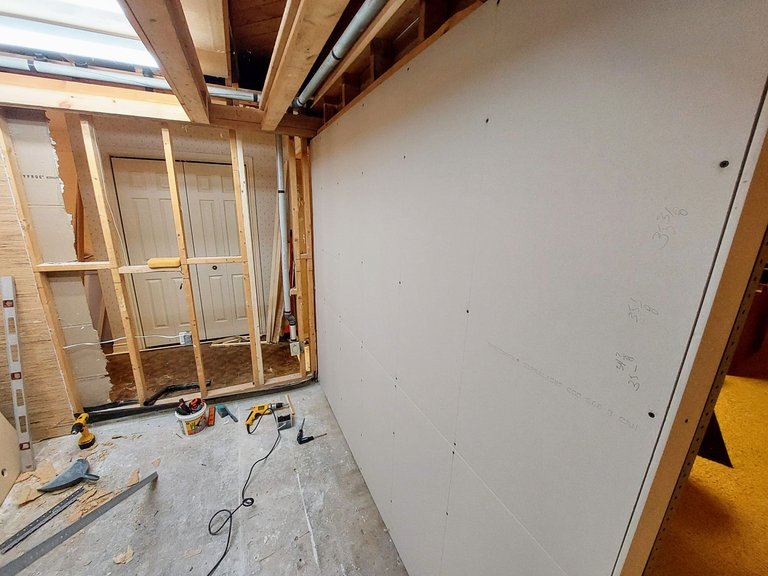
Most of the walls will be covered by closets and shelving so it really didn't need to be precise anyway.
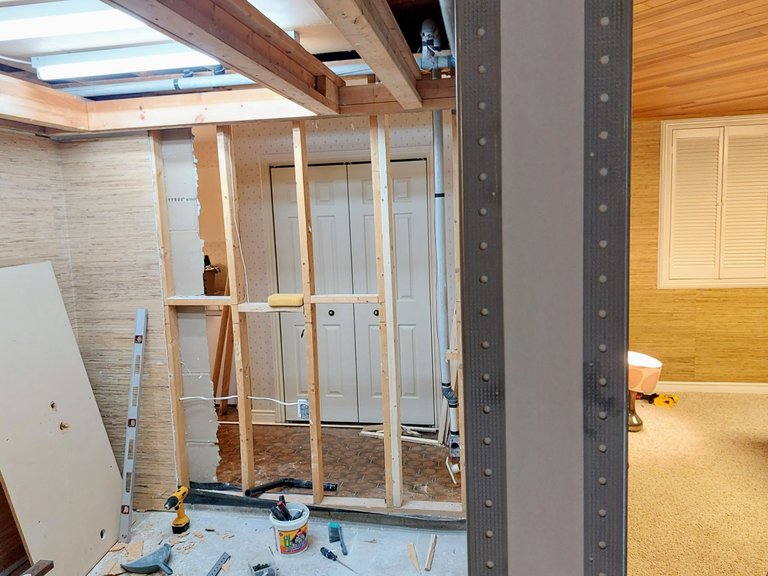
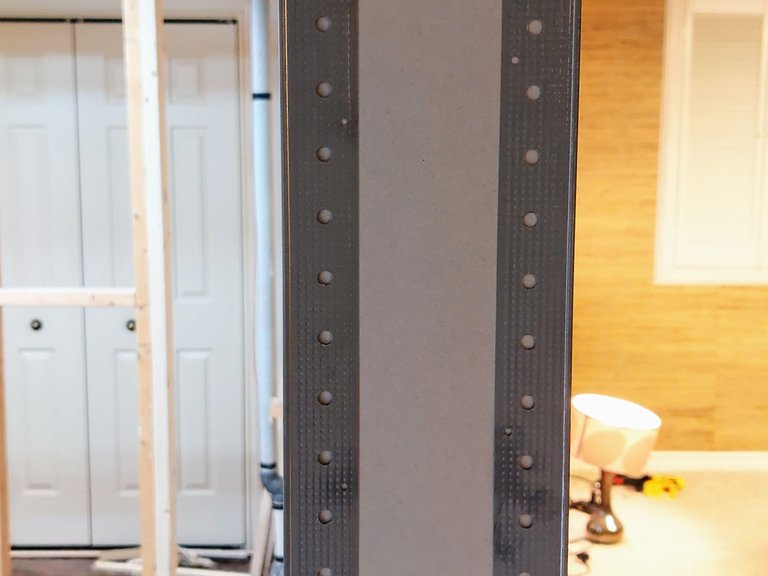
We installed the corner bead as you can see.
Mud and Tape
I've always heard that putting up drywall is easy but taping and mudding is much more difficult.
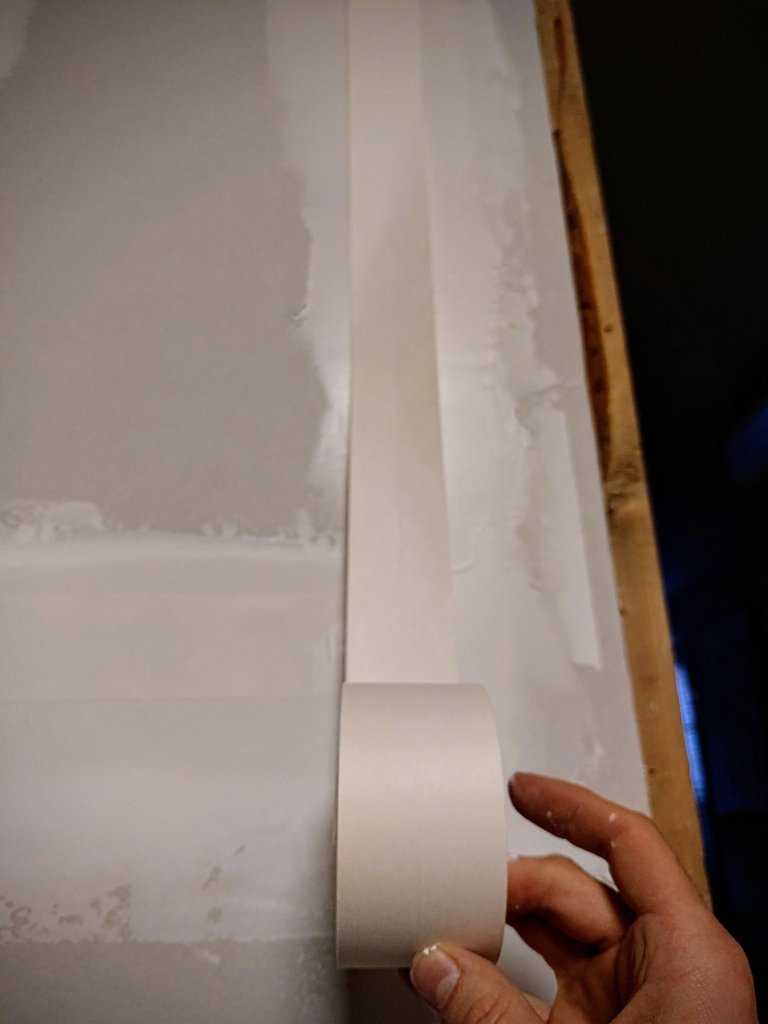
People call it more of an "art than a science" and usually hire the job out. The room is so small that I doubt anyone would take the job without charging significantly extra to make it worth their while though.
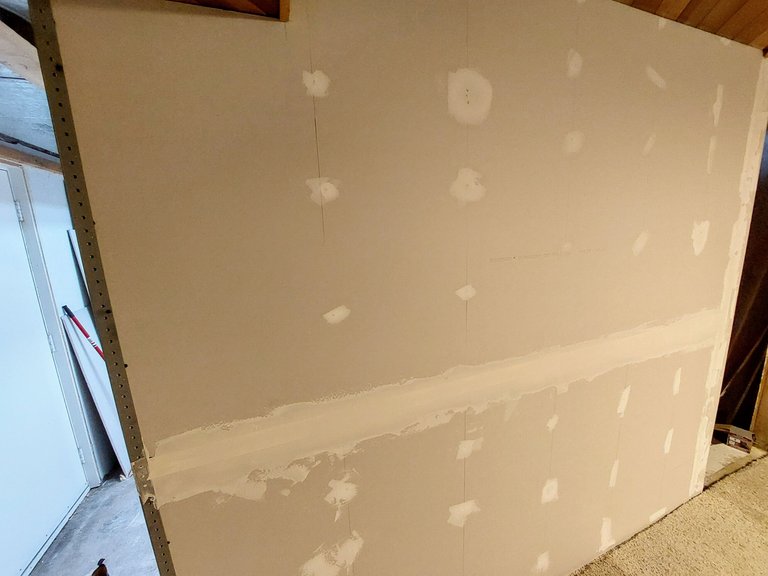
Its only a few seams so I figured I may as well give it a try.
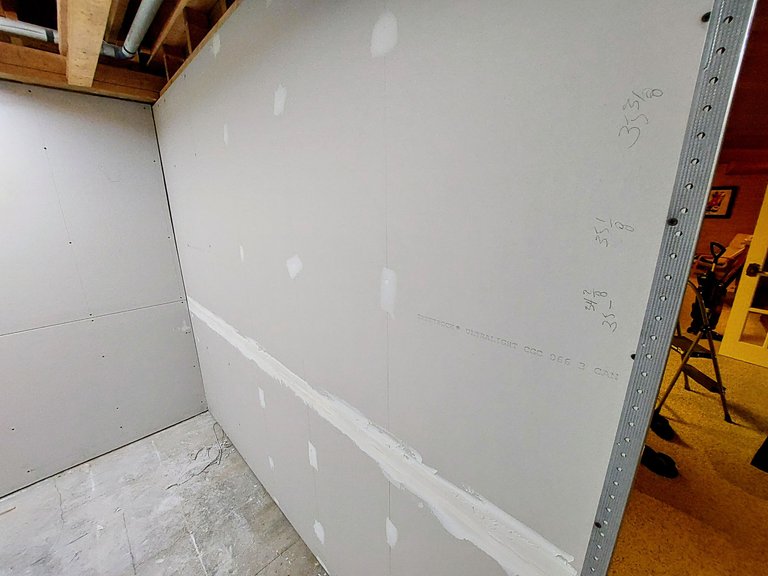
Covering the screws was simple but mudding and taping the seams was a real challenge for me.
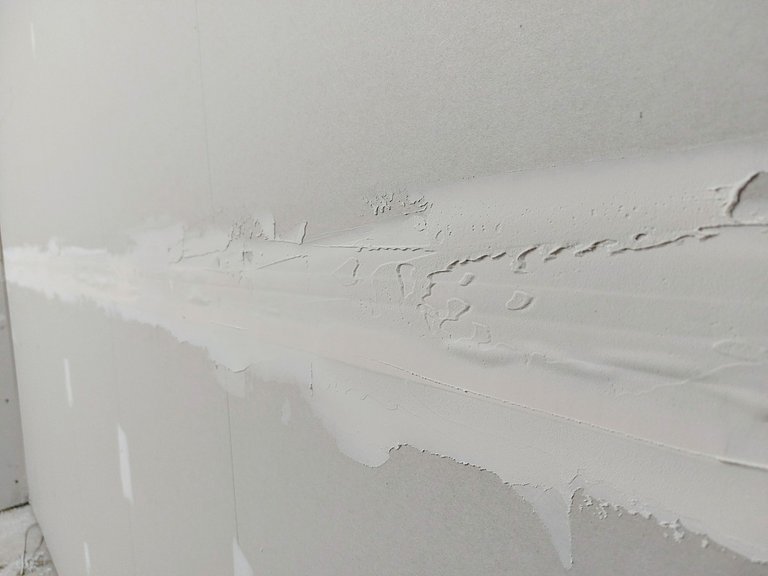
The first coat looks dreadful right now. I'll have to sand the crap out of it and hope and pray that I do an alright job on the next coat.
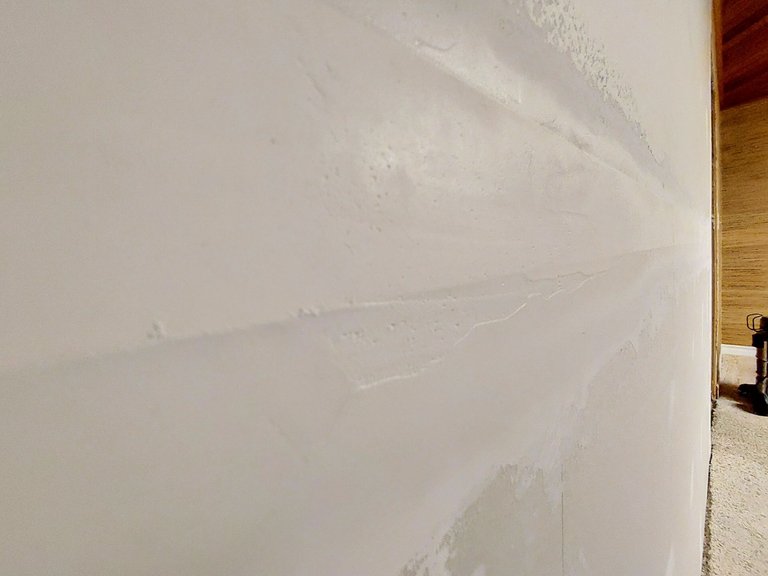
I did slightly better on the opposite side of the wall after I tweaked my method a little and learned from my previous mistakes. Its still not great but it was the best I could do. I'll still have to do a lot of sanding to make it smooth.
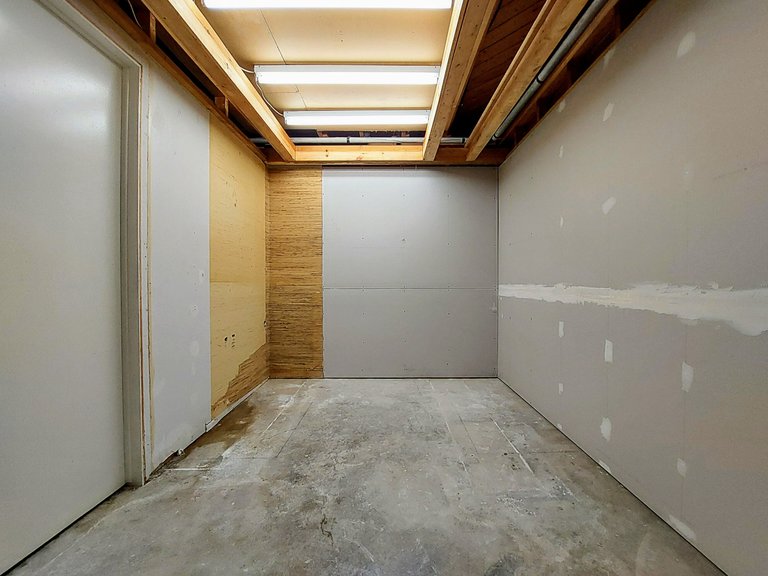
Luckily I don't have to tape the back wall where the closets will go, less chance of screwing it up and making everything look worse.
Lastly, I'll re-post what the room originally looked like to give you an idea of the progress and difference - a before and after if you will.
