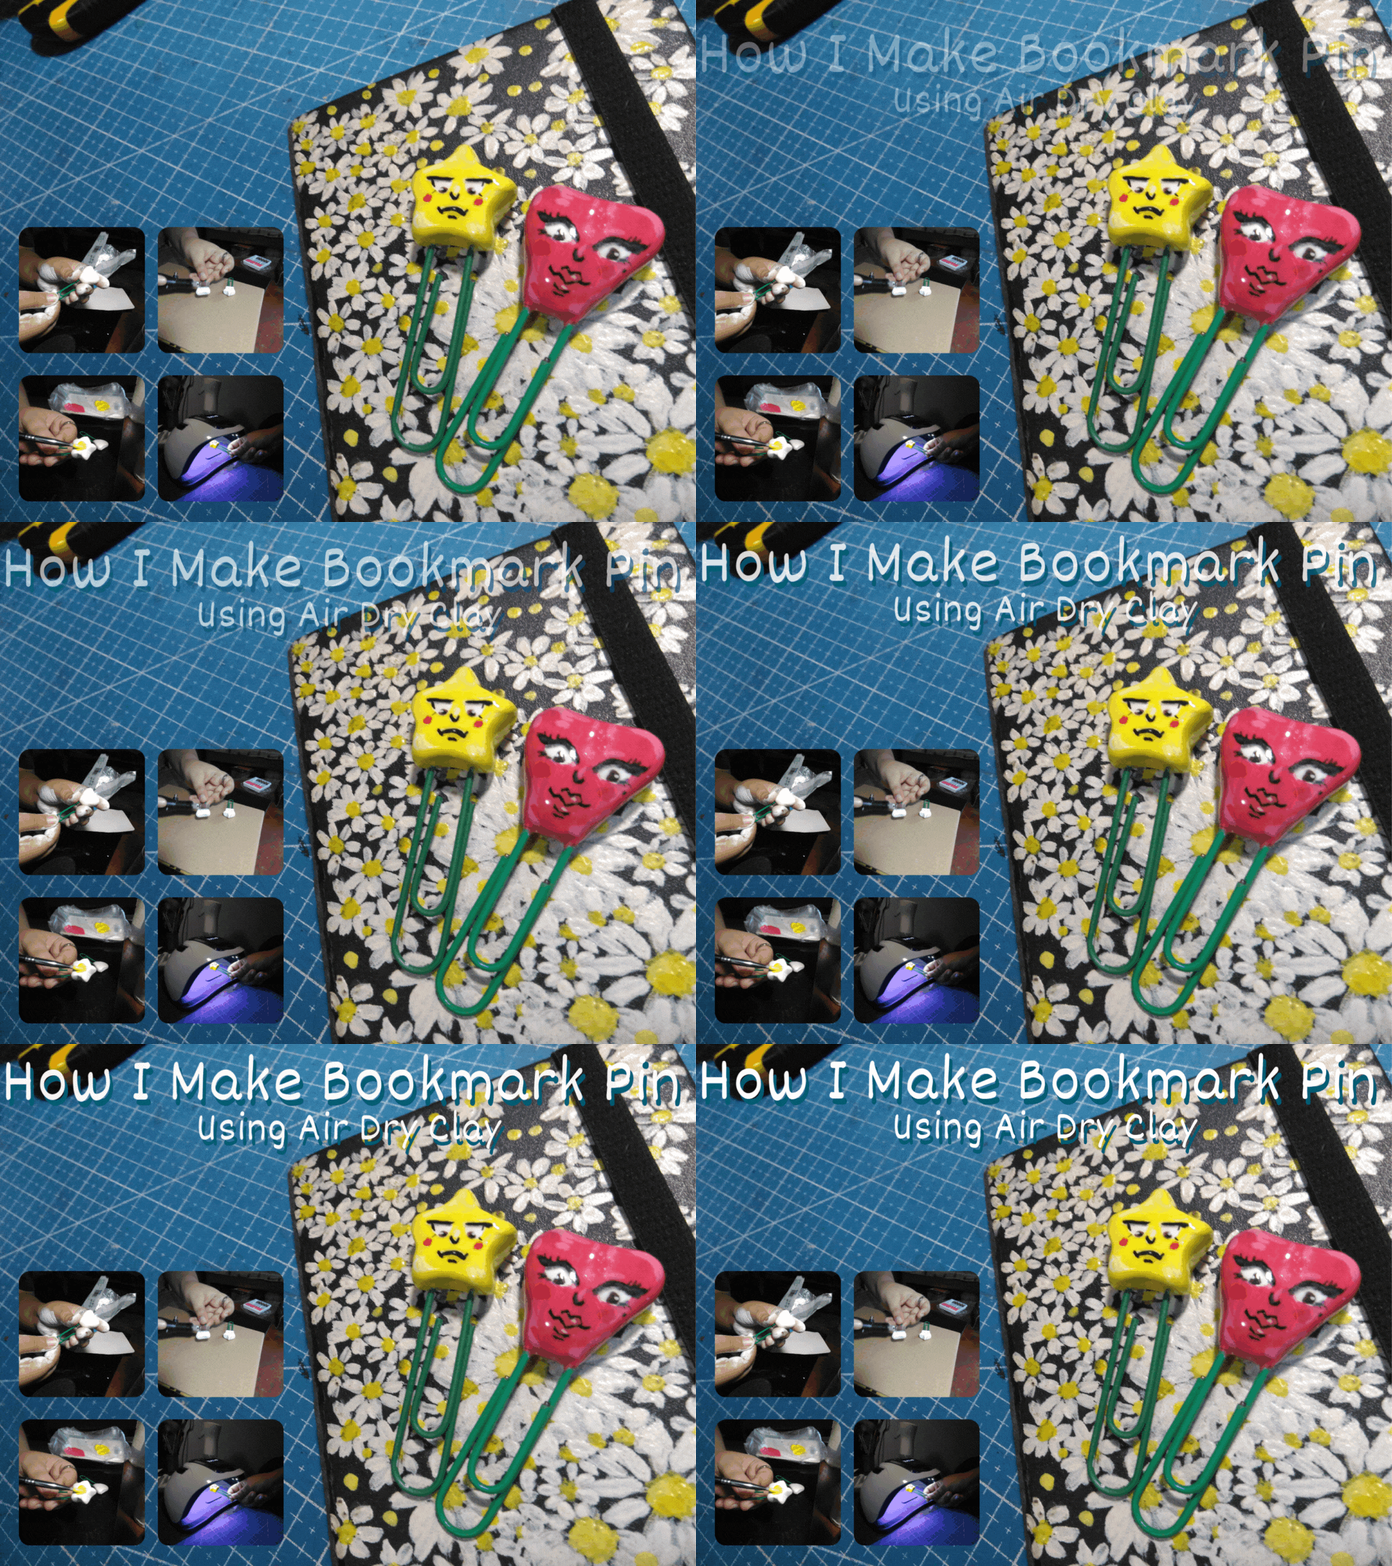
Hello! How are you? It has been a while since I used the Air-Dry Clay I purchased. I decided to buy a new one because the one I had before was little and it was not enough for the next craft I am going to make, so I decided to use that to make bookmark pins. The process of making them is a bit messy but worth it, but just the start.
I've been thinking of what design I will make out of it, so I decided to make a shape out of their face with their eyes looking below, like pointing to the place where the bookmark is, if I make sense LOL. I know the reason why I stopped working with air-dry clay for a while. The drying time will take a day, so patience is the number one key for this craft.
I did my best for this one, but I did miss playing with Air Dry Clay.
So, I hope you like it. :D
Materials I Used:
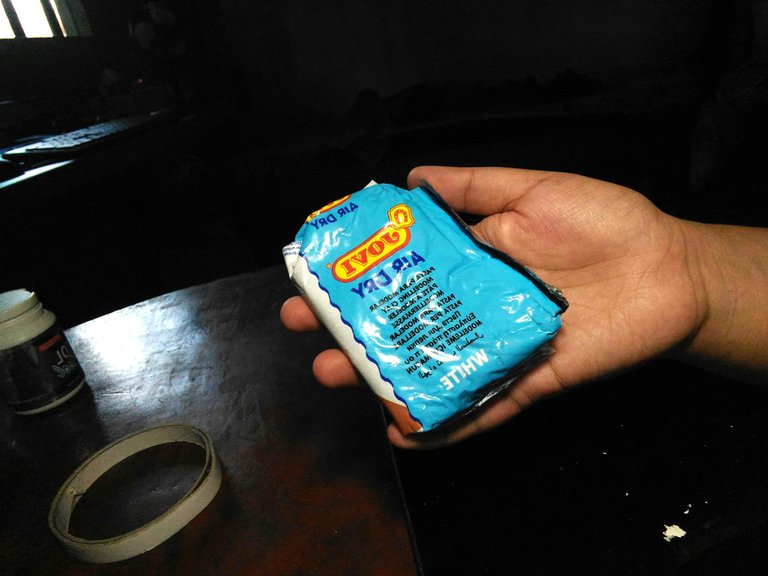
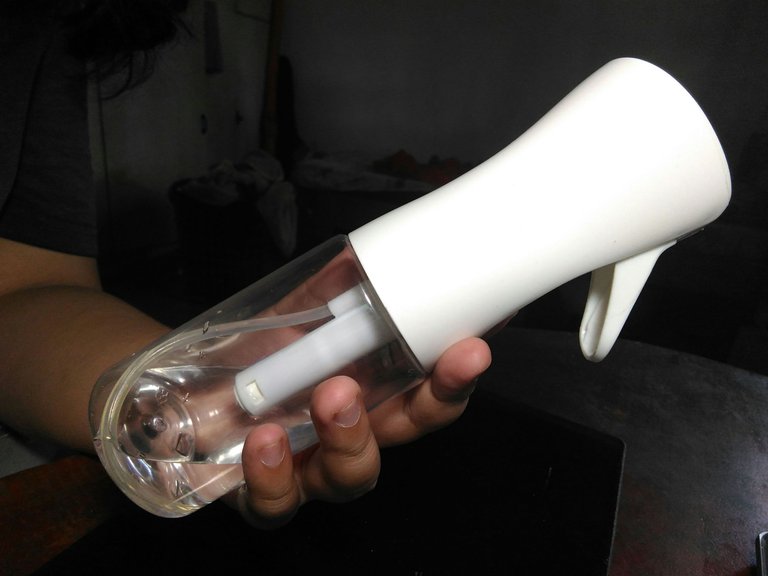
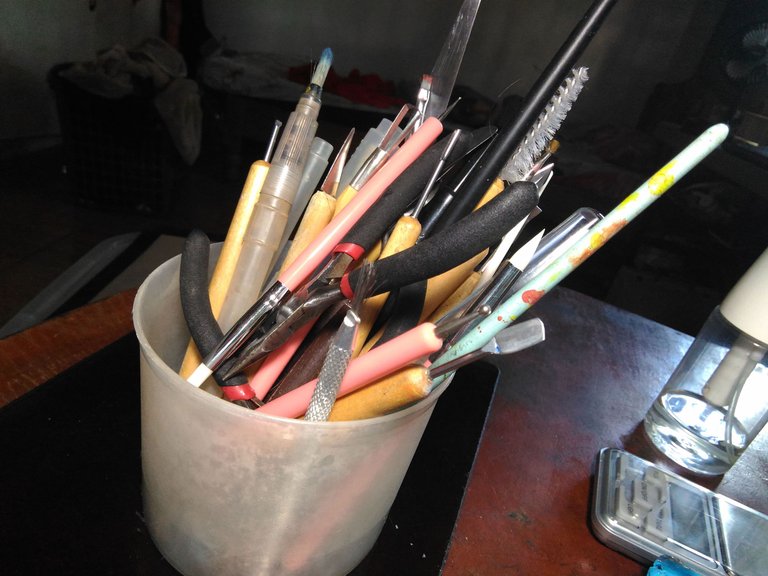
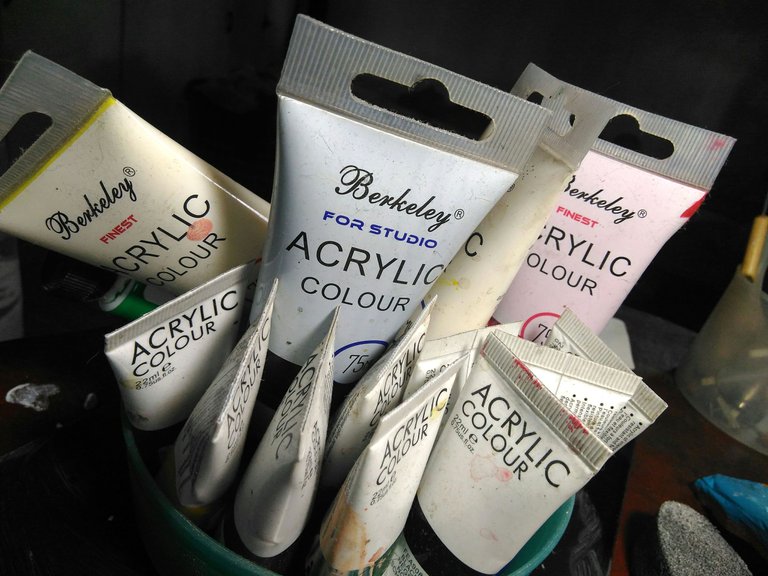
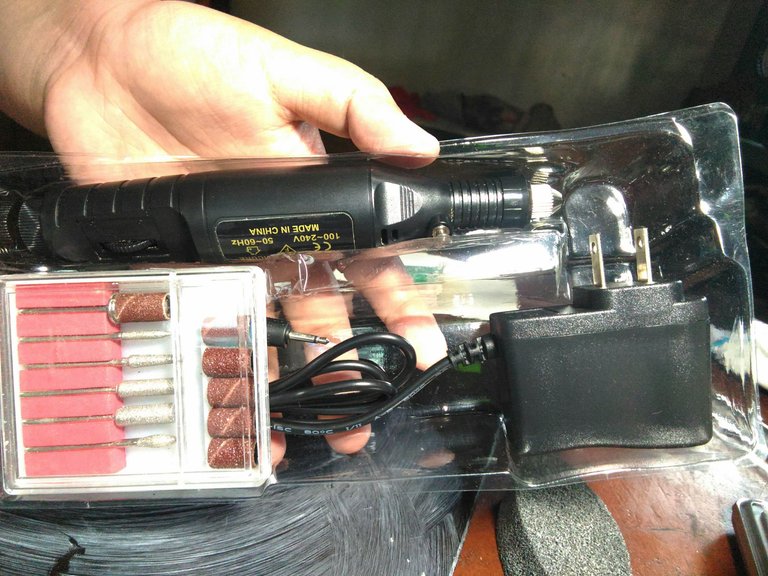
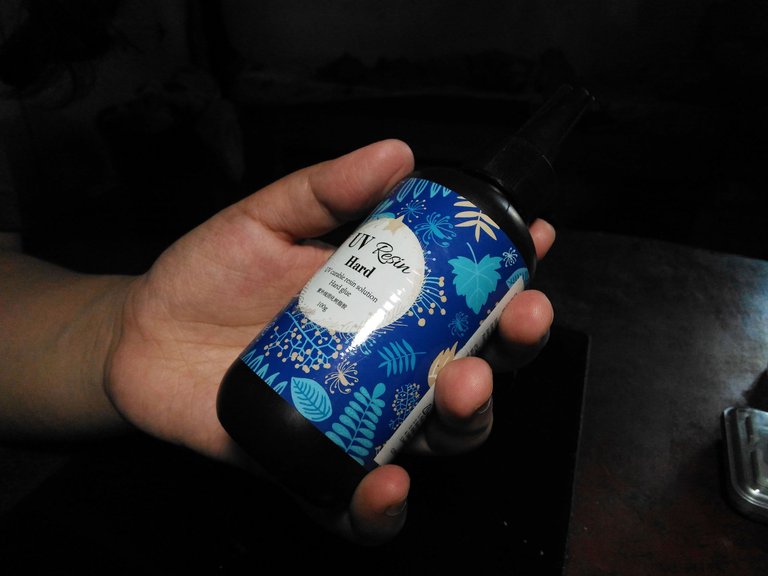
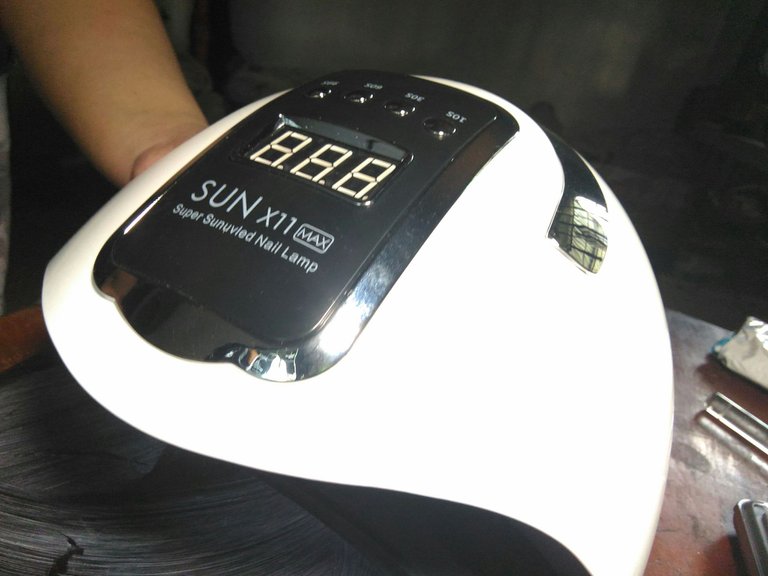
- Air Dry Clay
- Water
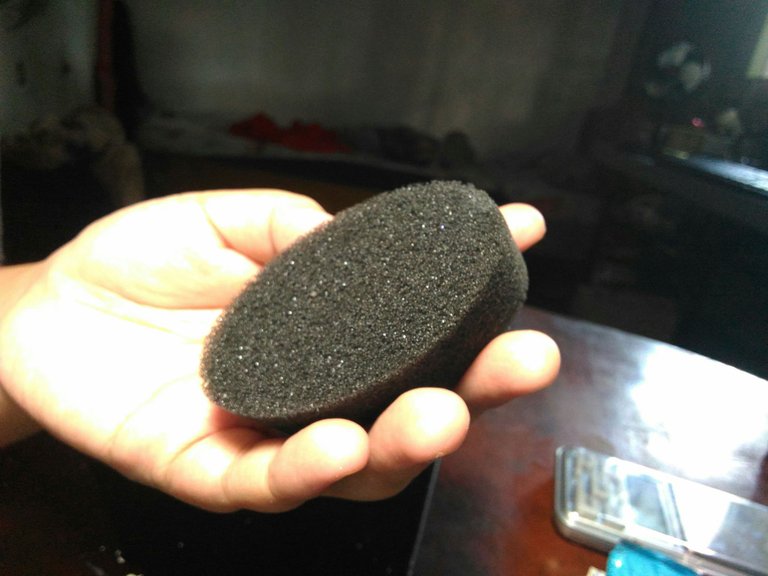
- Sponge
- Electric File
- Acrylic Paint
- UV Resin
- UV Lamp
- Paint Brush
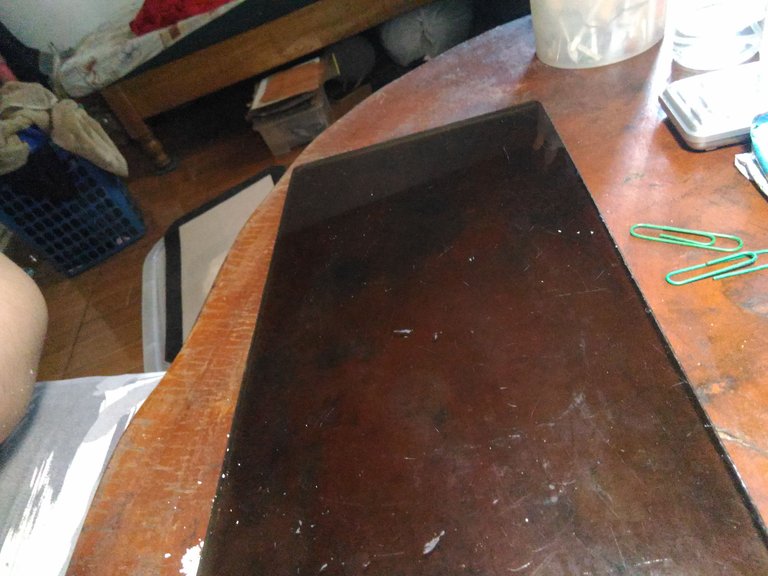
- Glass Sheet
- Pin
- Clay Tools
- Acrylic Rolling Pin
Clay Time:
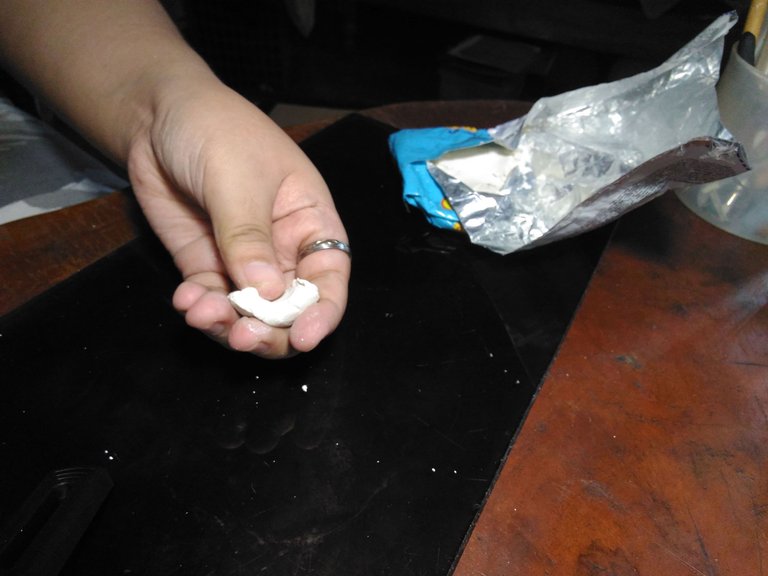
I first condition the Air-Dry Clay by kneading it in my hand.
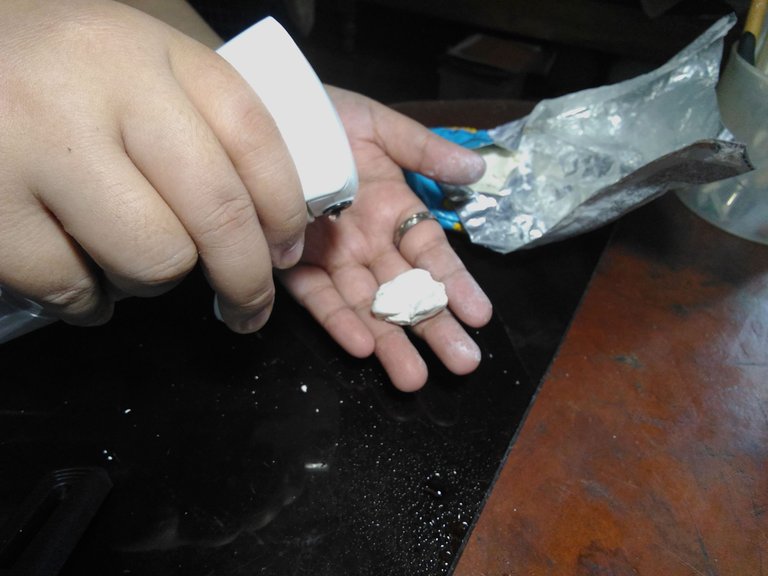
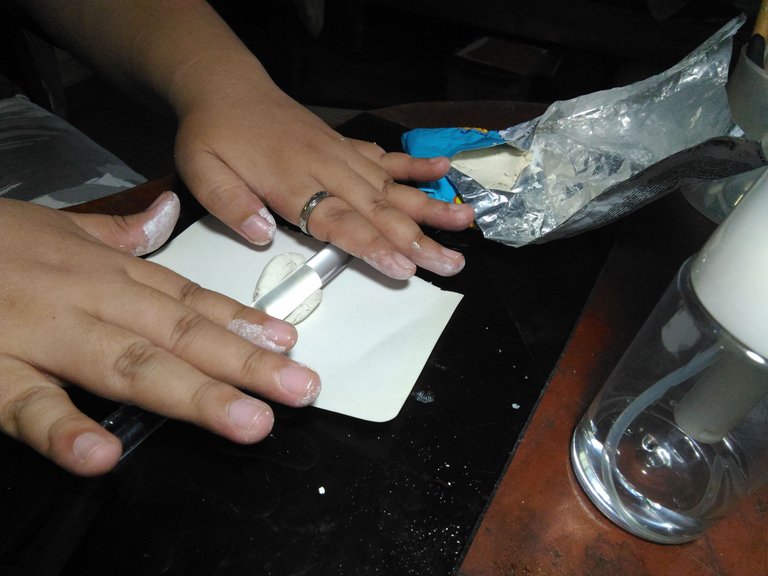
After kneading it by hand I then spray a little bit of water on the Air-Dry Clay because the clay dries easily and then I knead it with an acrylic rolling pin until soft.
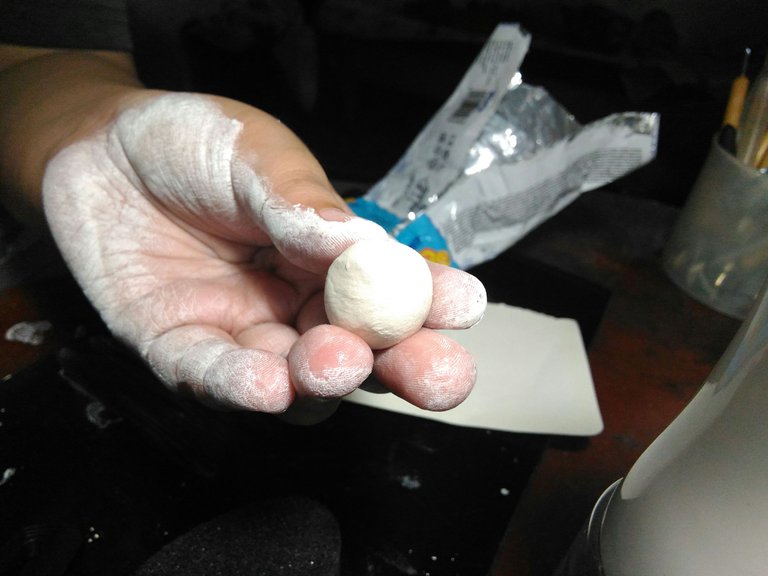
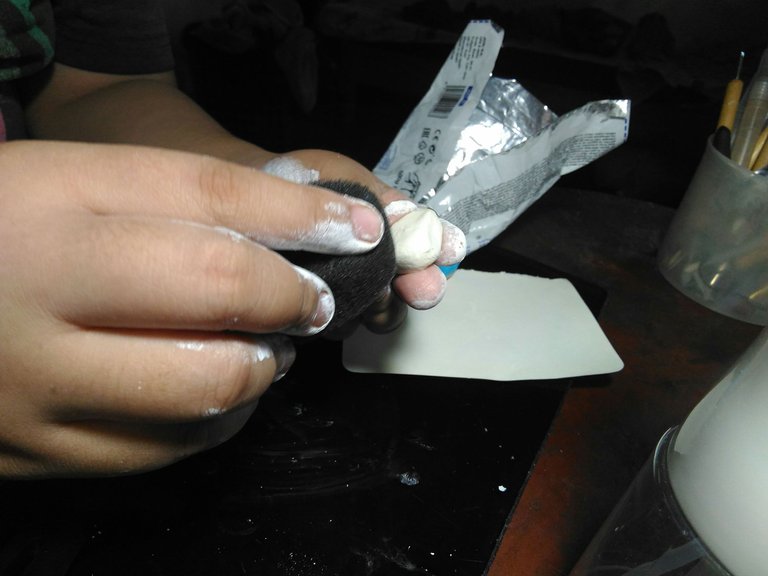
After that, I sculpted the clay to the shape of a heart and because air dry clay tends to have uneven parts it will need to smoothen it with a wet sponge.
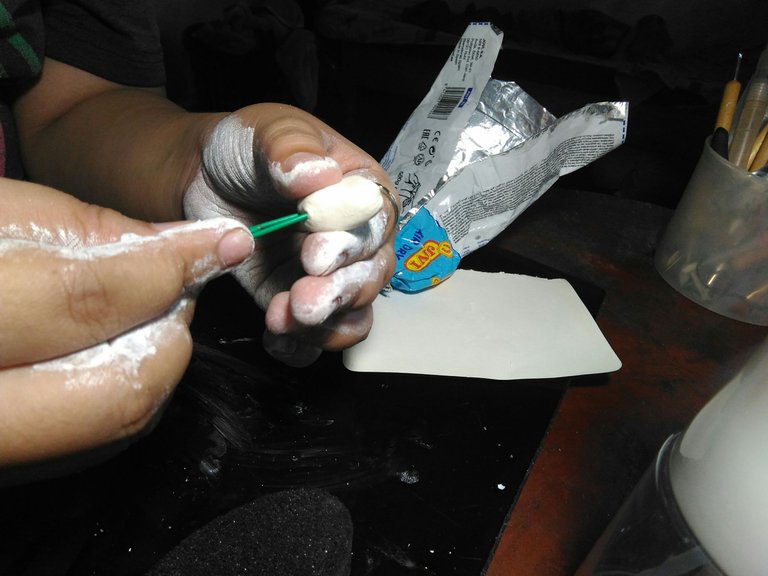
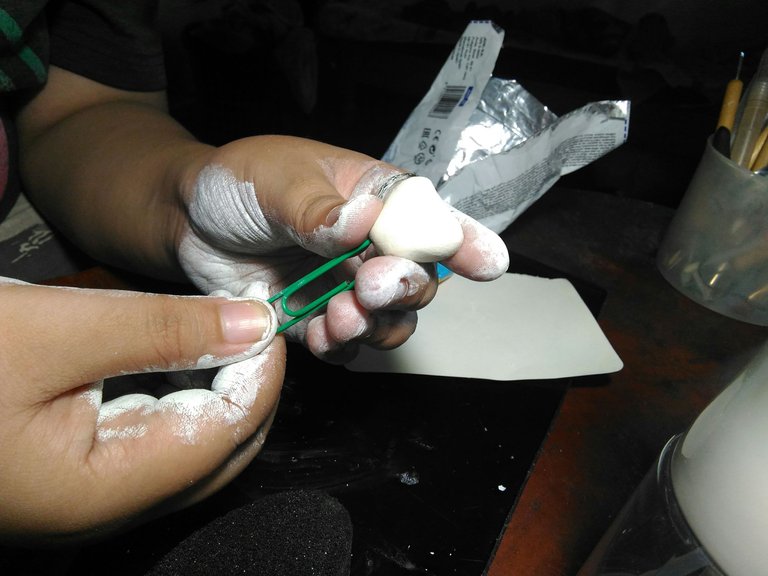
After I smoothen the clay I then next put in the pin in the clay.
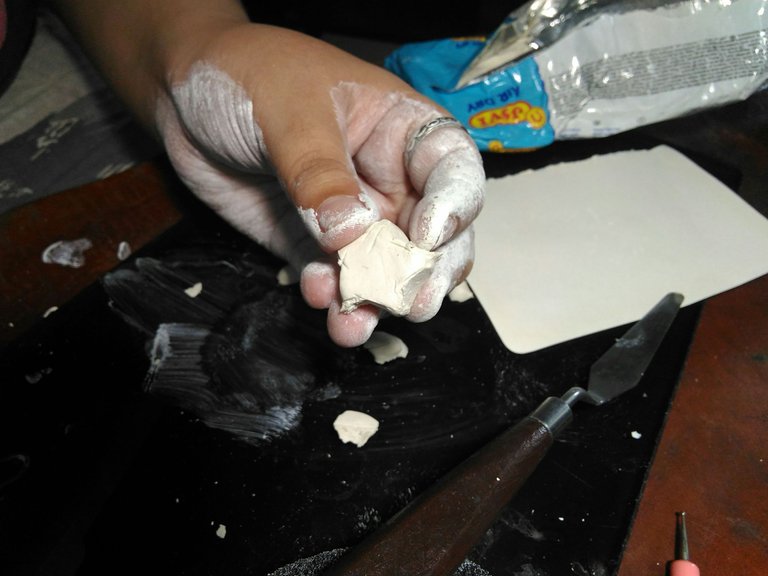
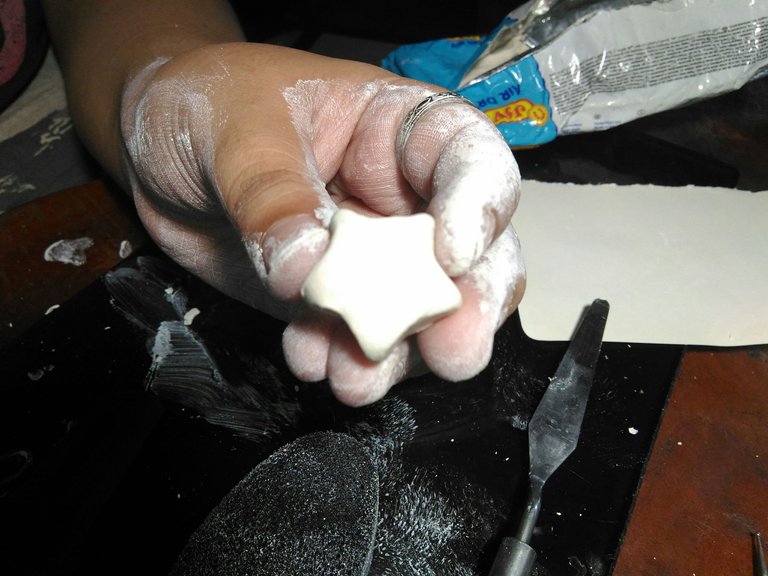
And I made another bookmark pin with the shape of a star.
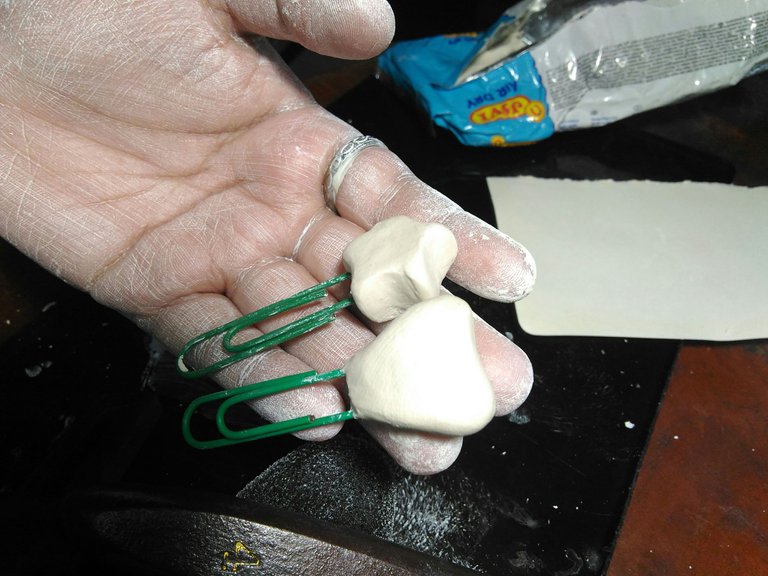
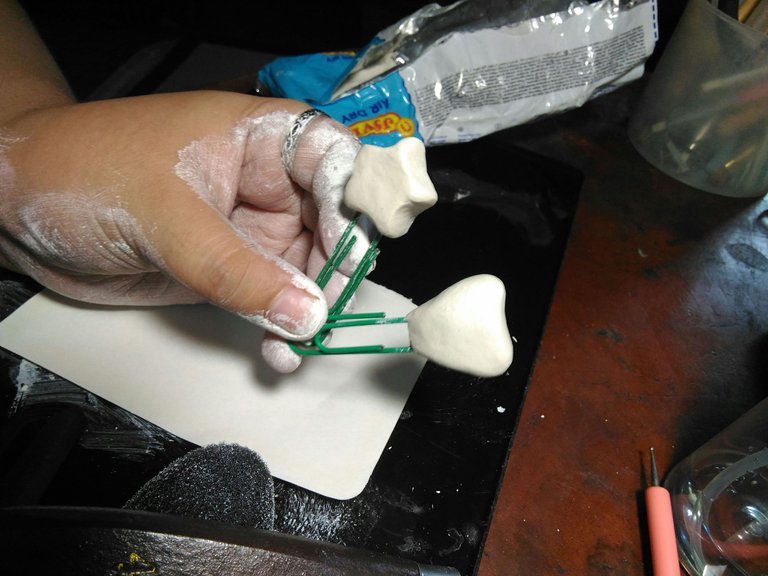
After that, It needs to be dry for 24 hours or more depending on what weather are you in.
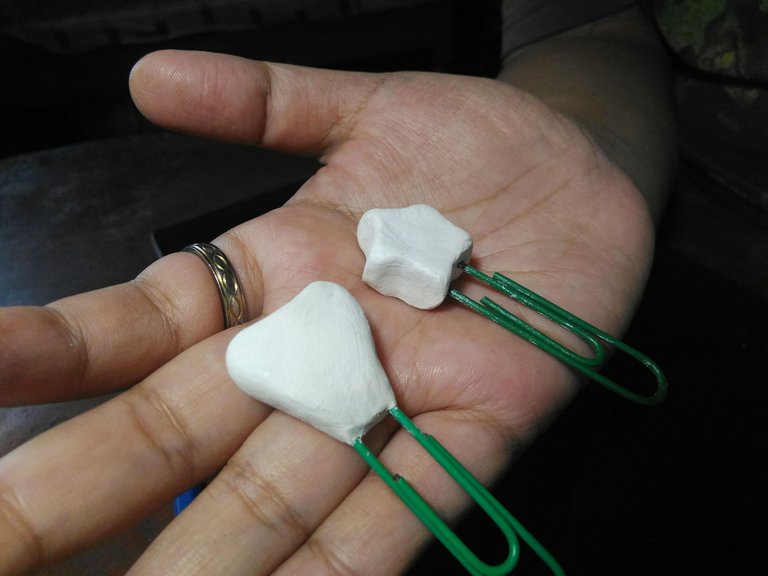
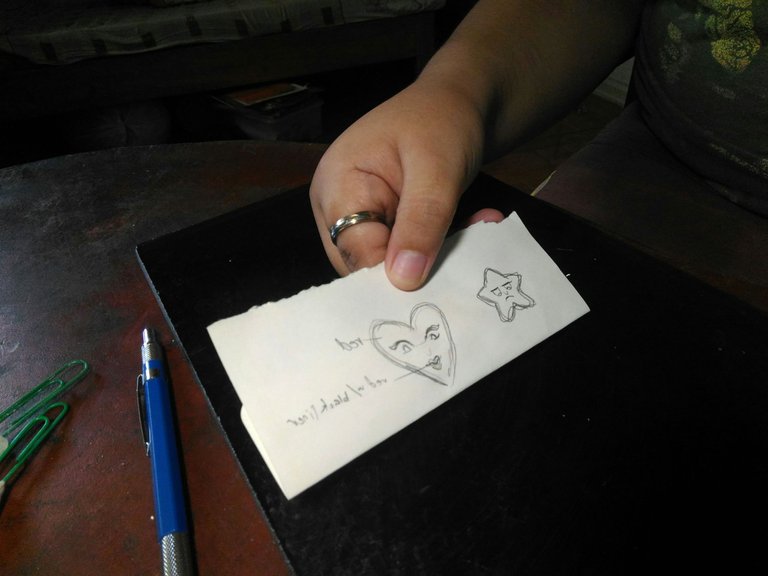
Now they are dried because they have a little bit of imperfection I will file and smoothen that later and by the way this is the design I wanted to paint.
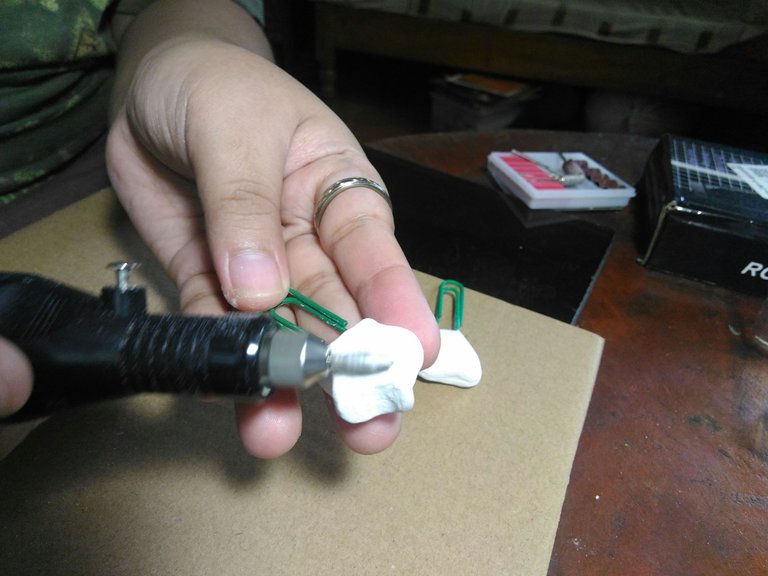
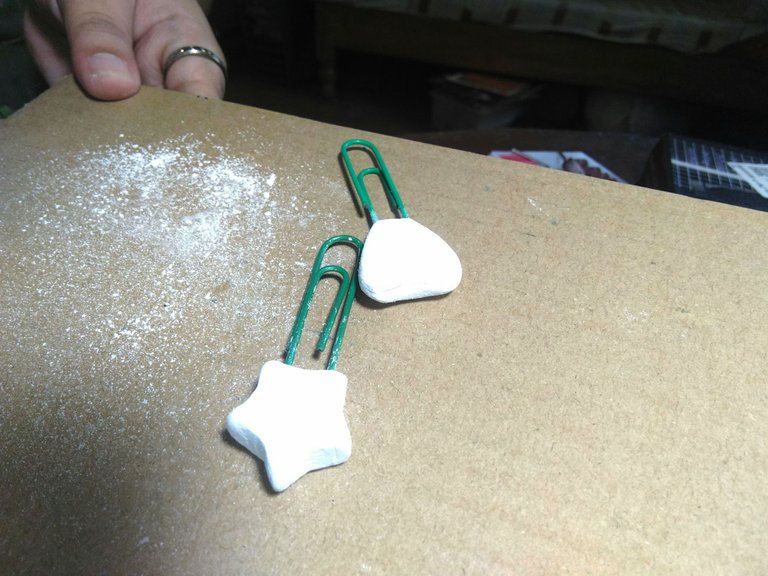
Using an electric file I smoothen the air-dry clay.
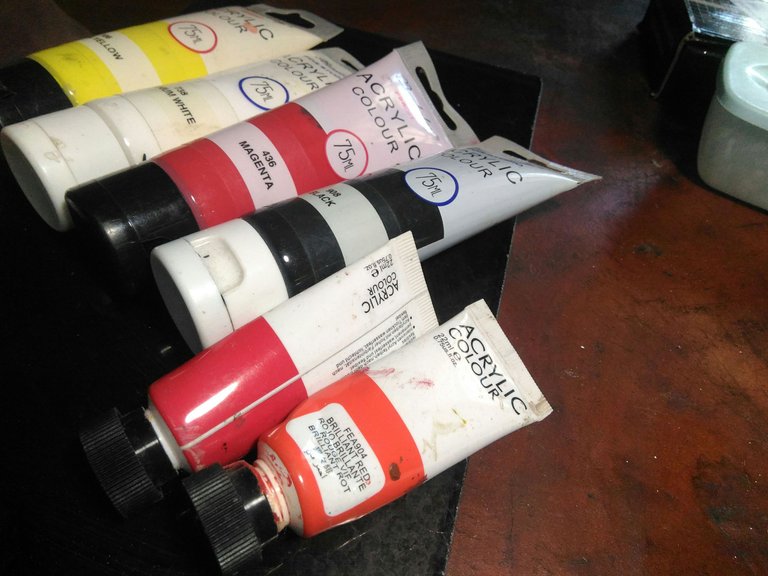
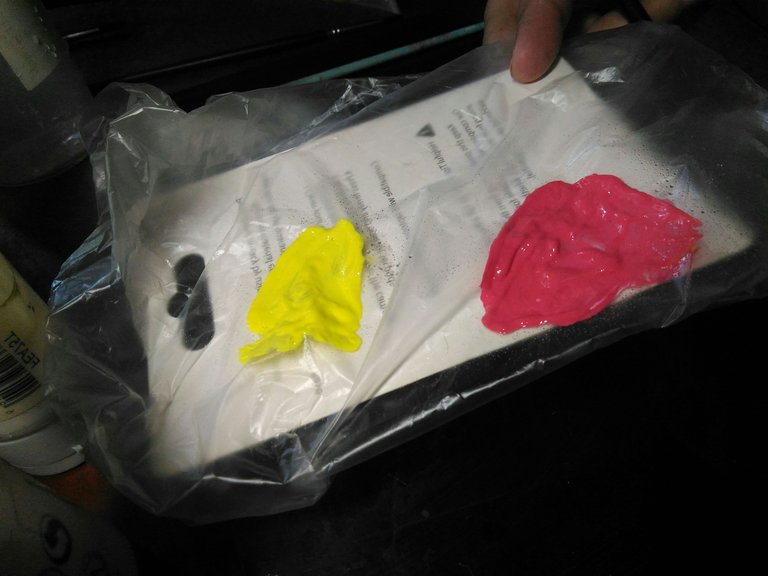
And then I prepare the acrylic paint I am going to use and then mix the paint on disposable plastic.
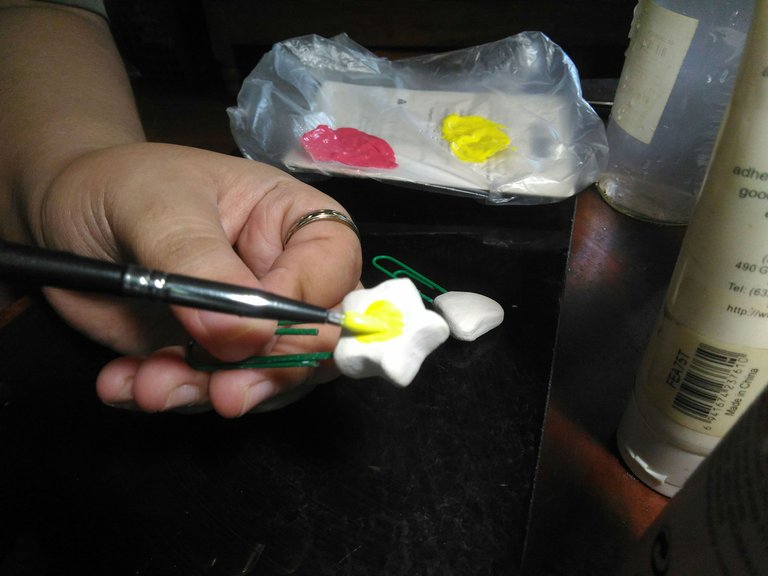
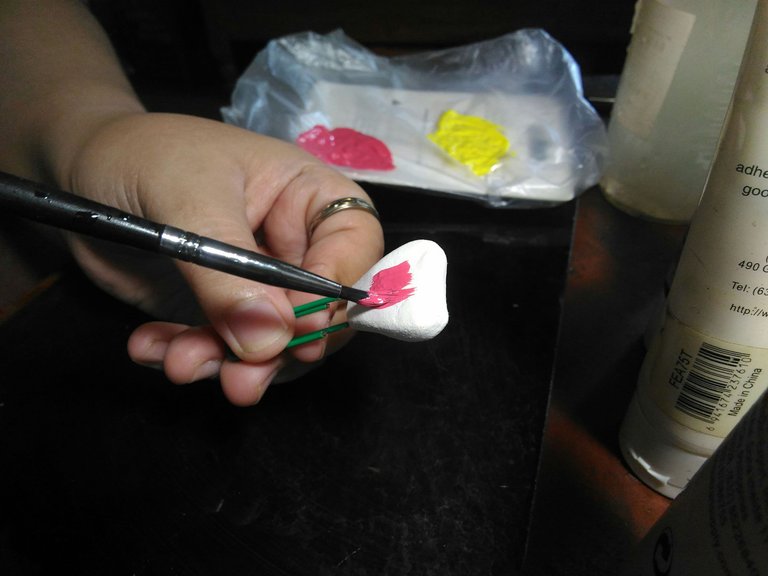
And then I painted the air-dry clay first layer first and let it dry first before painting the next layer.
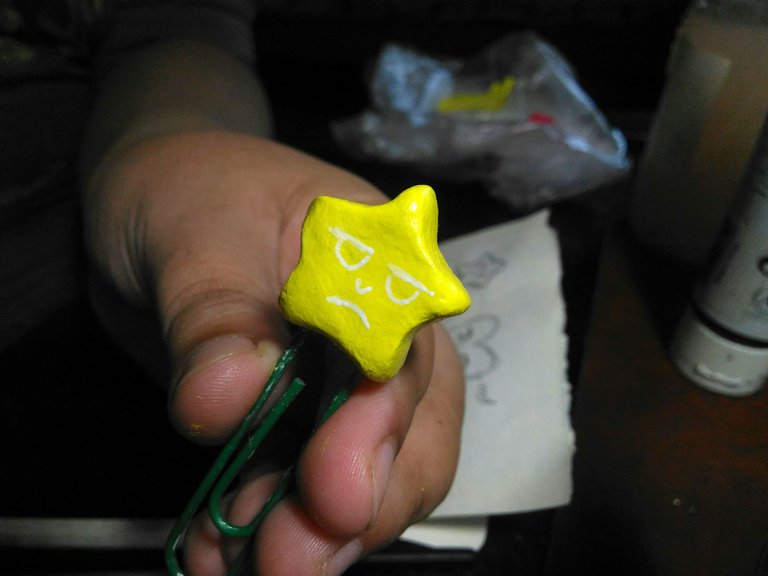
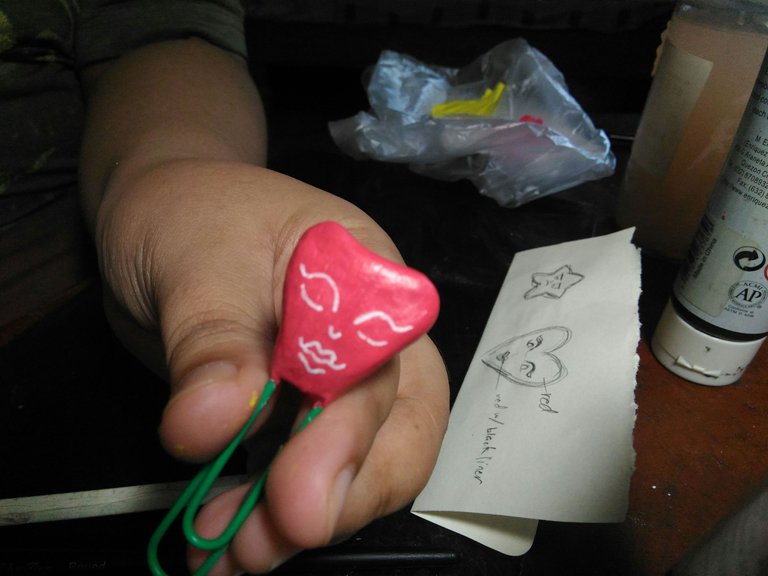
And then I painted the line art of the face, and I let it dry again.
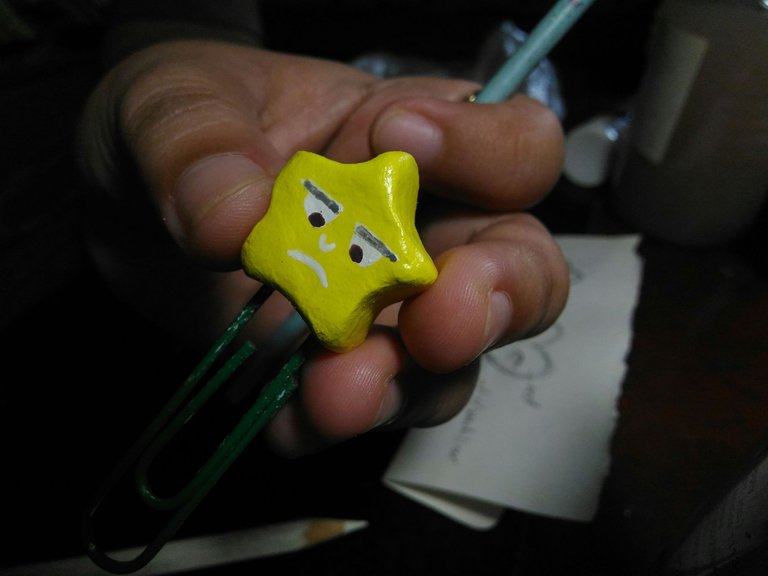
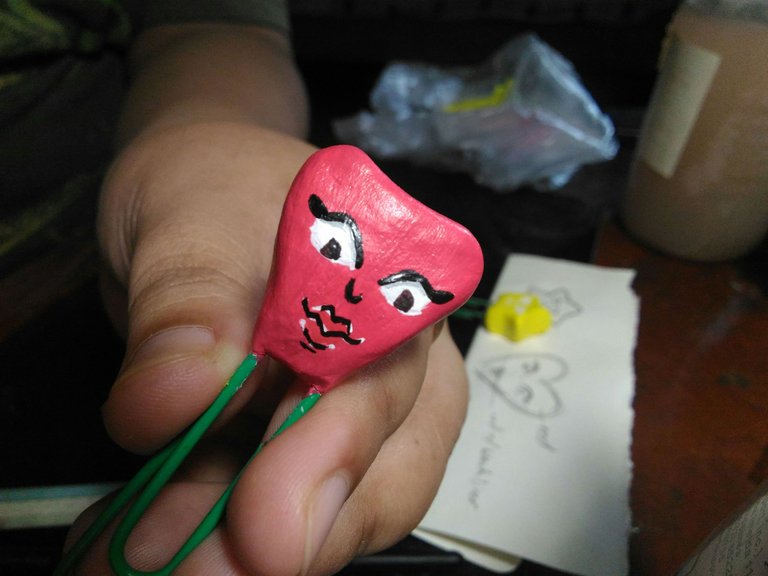
And then I painted the eyes.
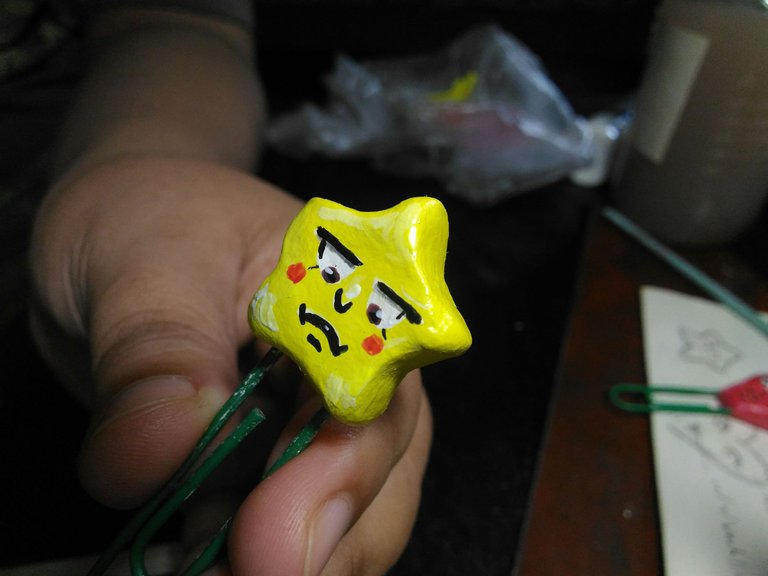
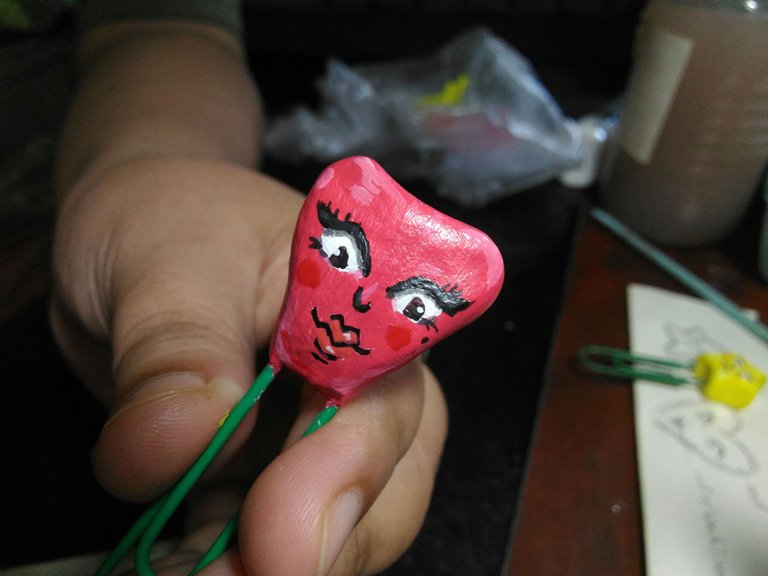
After that, I added more details on the face.
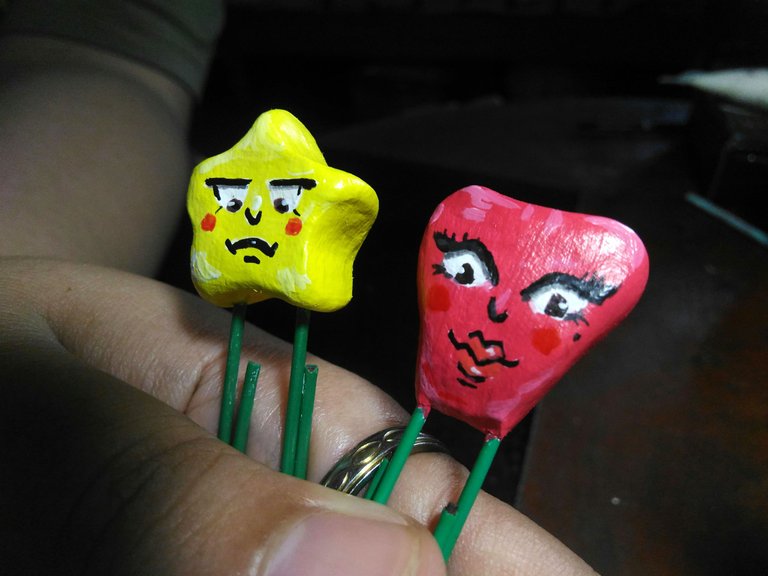
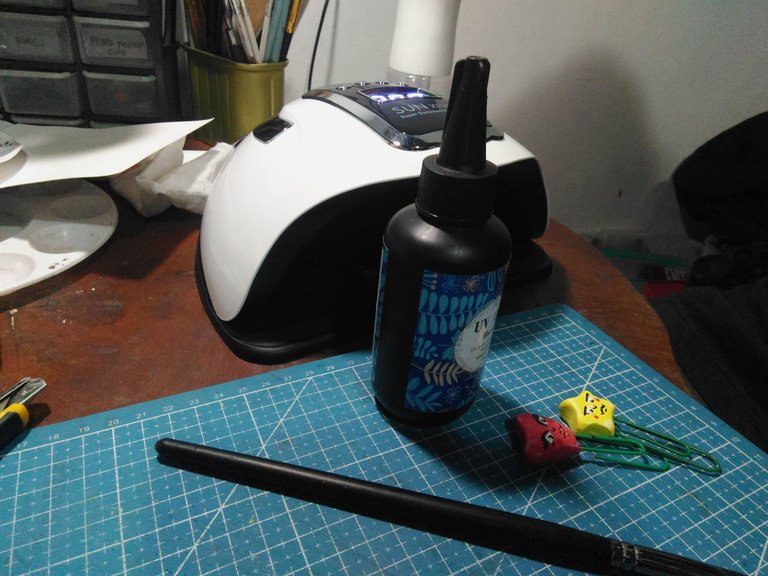
Now I am ready to apply the UV Resin.
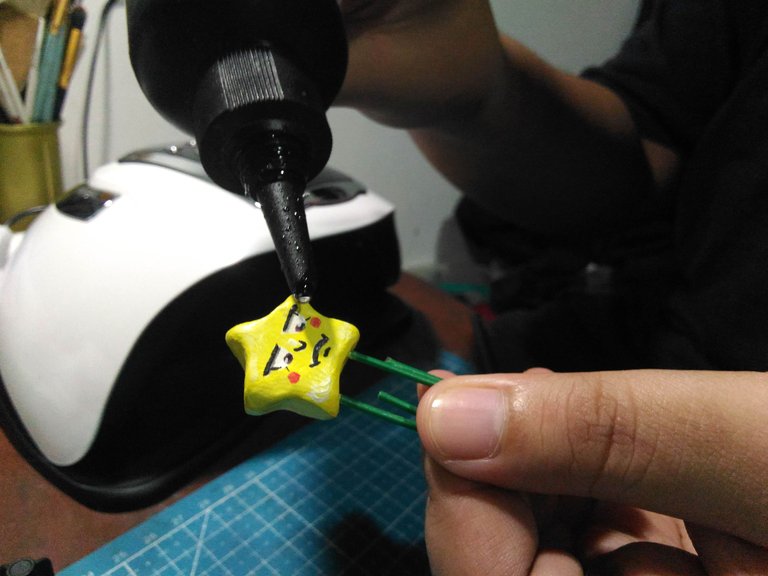
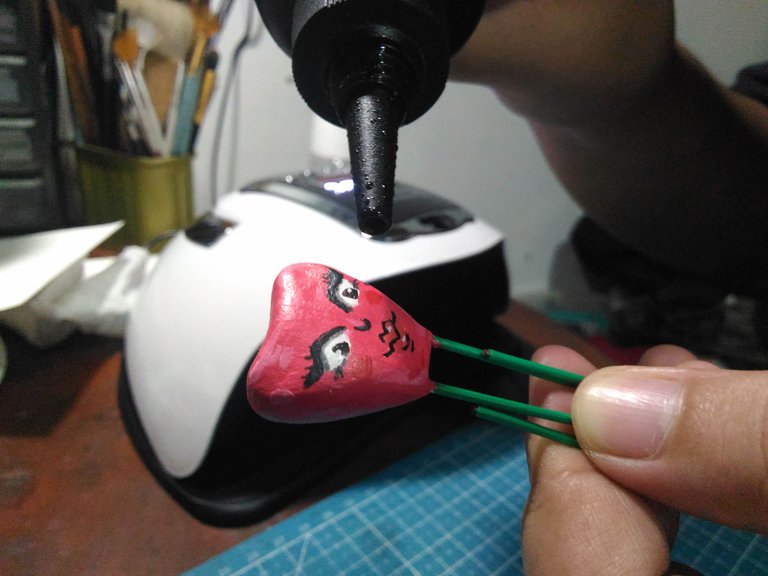
First I put enough UV Resin on the Bookmark Pins.
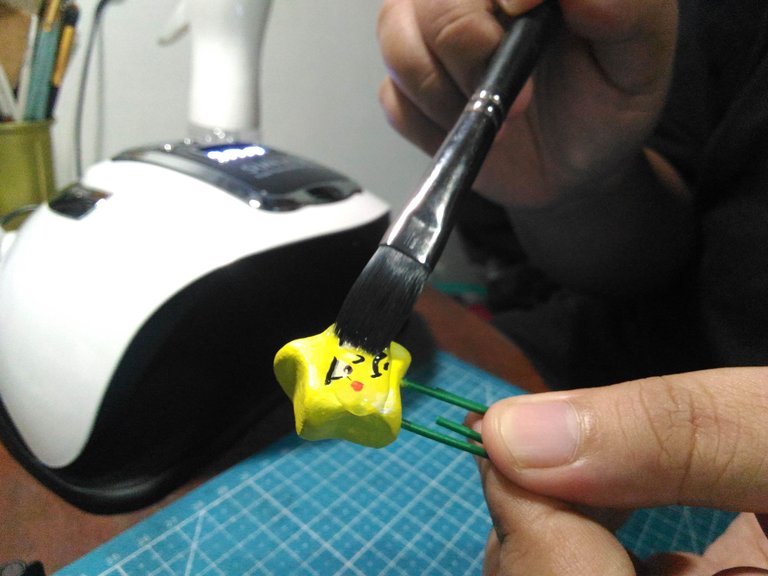
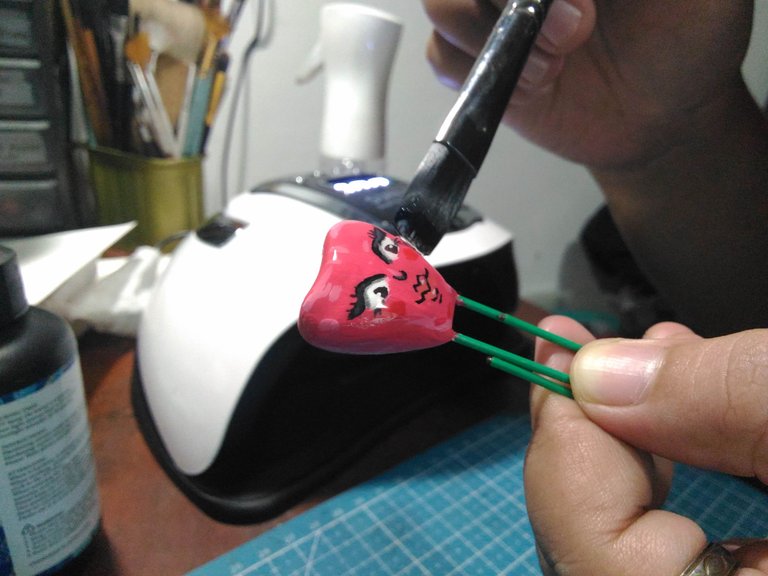
After that, I carefully apply UV Resin using a flat paintbrush. I make sure I use a clean paintbrush.
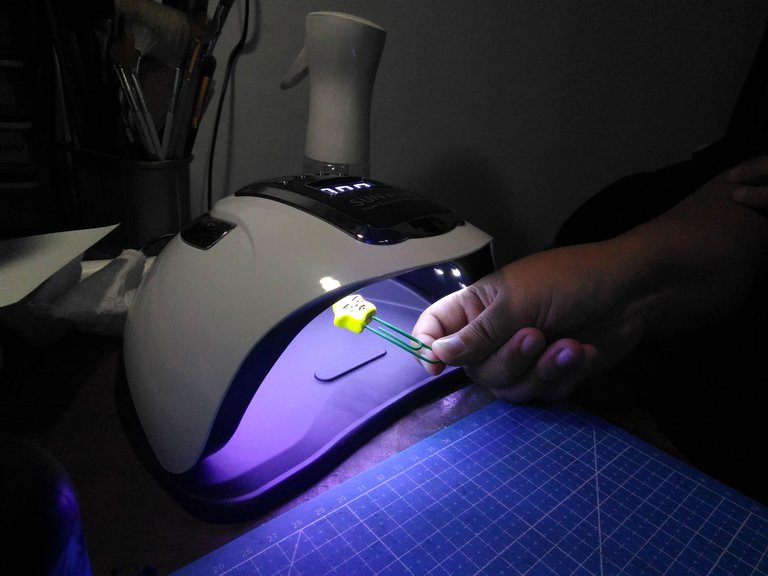
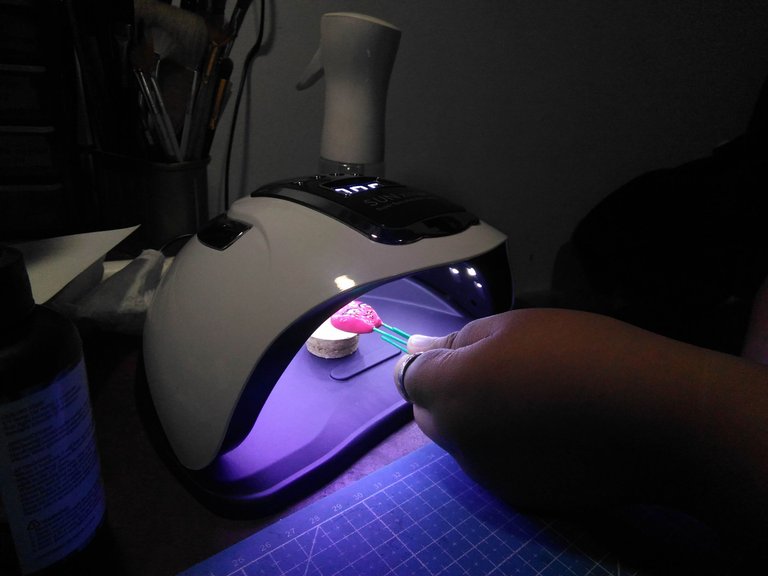
Next, I cure it under a UV Lamp many times until the UV Resin on the clay is not sticky anymore.
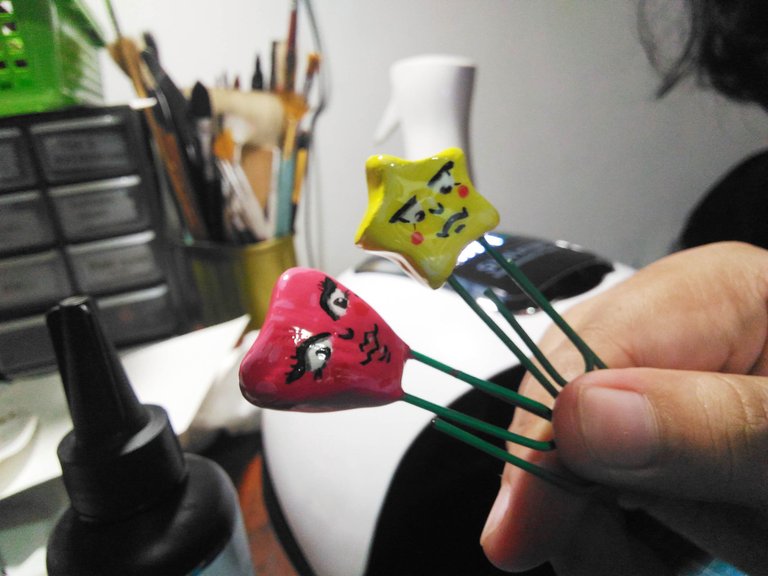
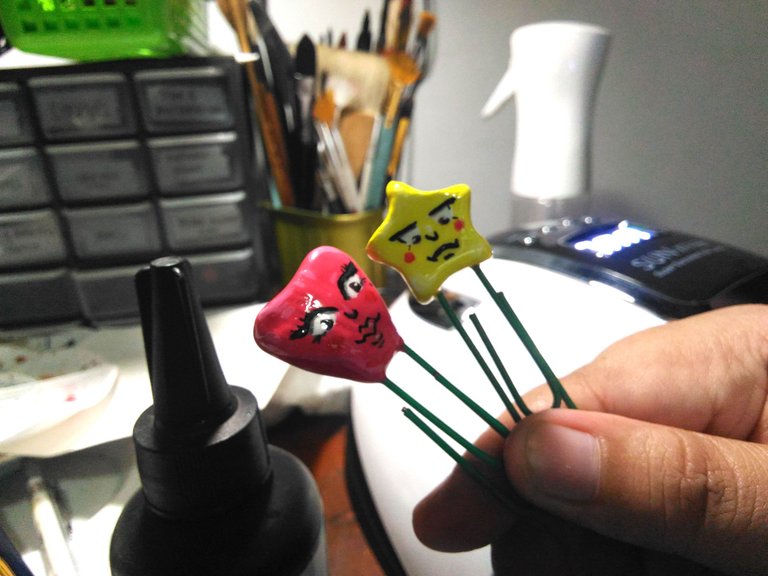
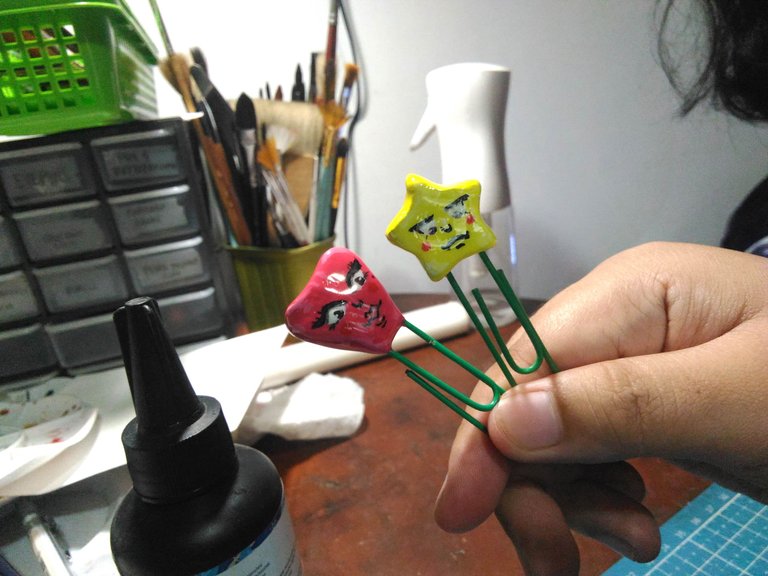
Now that the Bookmark Pins, are ready to be used.
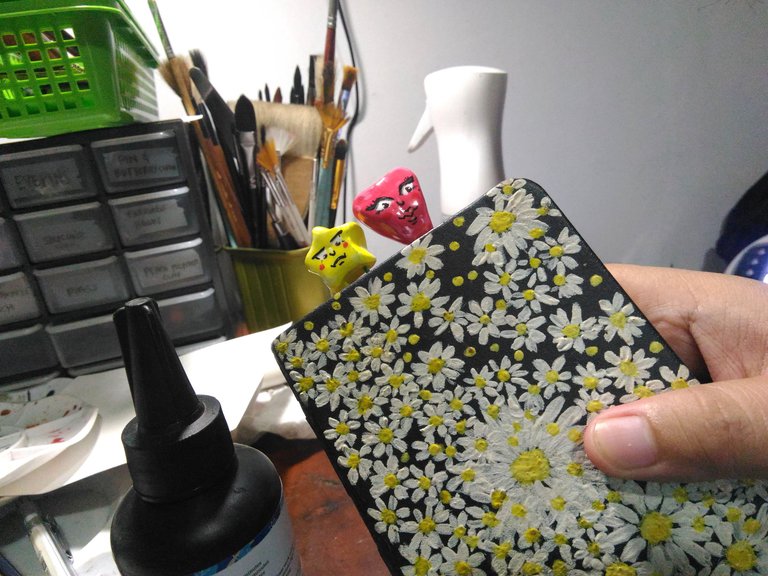
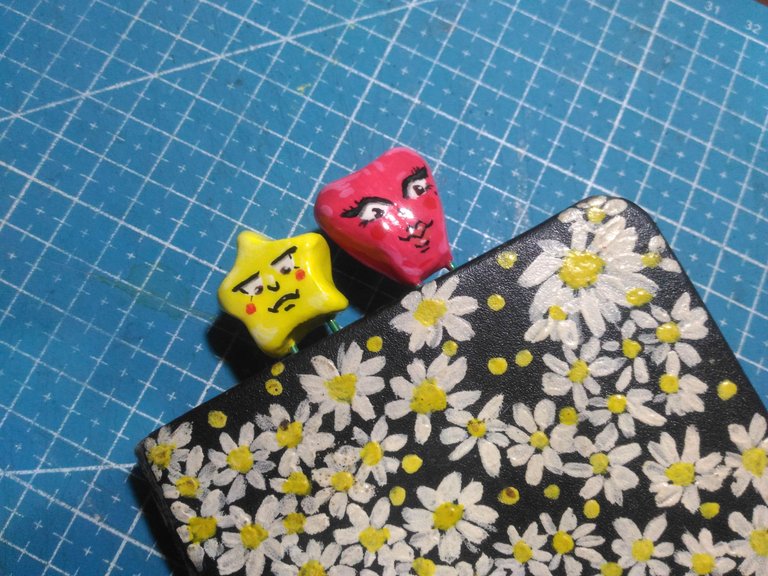
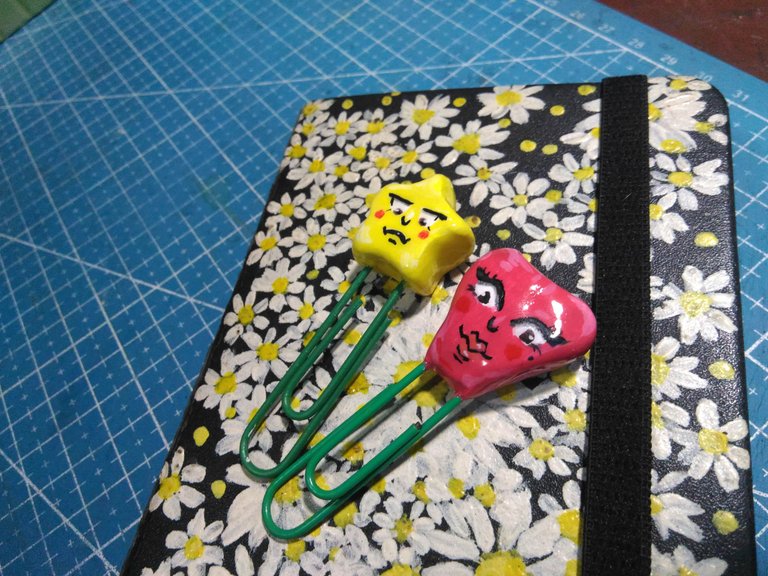
I use it as a Bookmark for my notebook.
Thank you for visiting, see you on my next blog. :D
Please take care of your mental health as well.
I hope you are okay today :))
Please take care of your mental health as well.
I hope you are okay today :))

