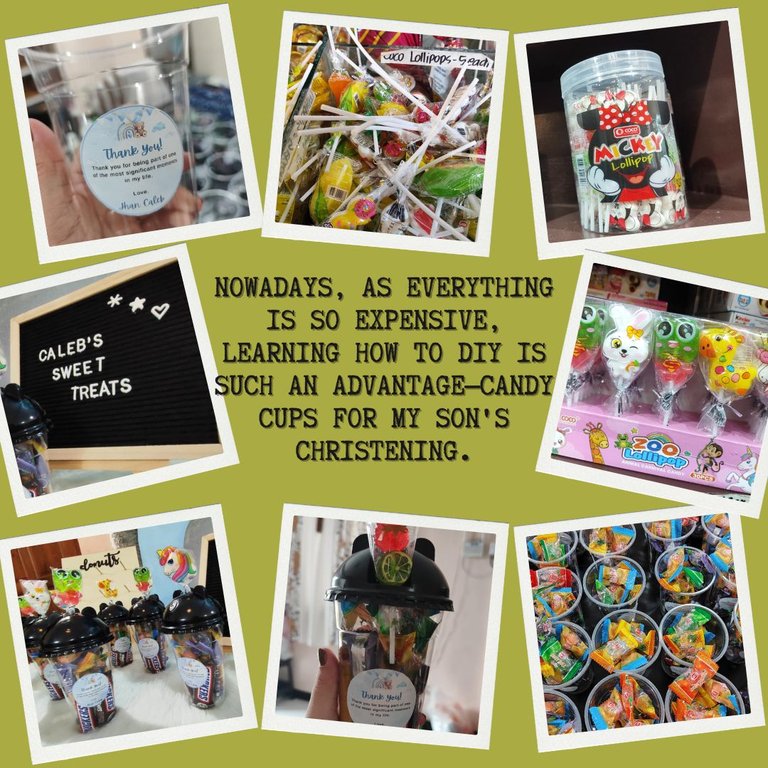
Nowadays, as everything is so expensive, learning how to DIY is such an advantage. Last January 3, we successfully celebrated our son's christening, and I shared it here the souvenir.
Aside from that, I also personally made the loot bags, yet I made candy cups instead. This is for a twist, and I saw online that it was in trend. I was browsing online and saw someone selling. After doing some computation, I found it too expensive, so I decided not to do it myself.
Here are the steps:

I bought this cup with a Panda lid online. It costs $3.25 for 50 pieces, including the shipping fee.
Next was the logo. I only used it in souvenirs, printed it larger, and edited it using Canva. It was so convenient, as there are a lot of templates. I use the one appropriate for the occasion and theme.
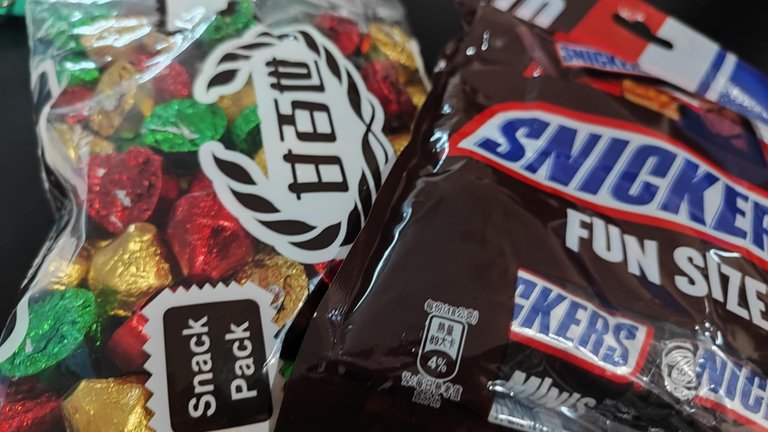
- Of course, the candies. My husband bought home a lot of chocolates, but I only added Snickers and this colourful one.
It won't fill the 16-oz cup, so I went out to buy more candies, which are cheaper but of good quality. There is no way I would risk any kid.
 )
)
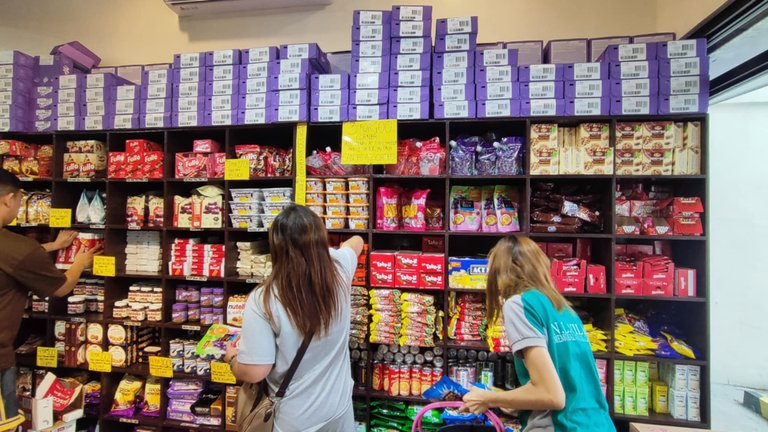 )
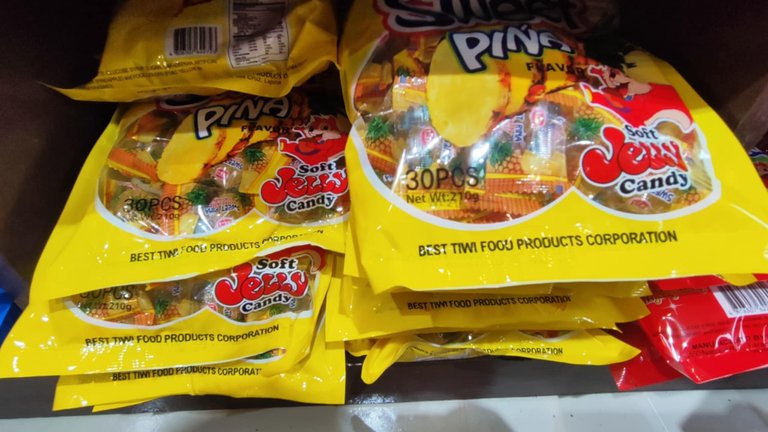
)Luck was on my side, as there was a newly opened candy store where you could buy three packs of candy for $2, 30 pieces each. This is one of the pineapple flavours, but there are a lot of choices.
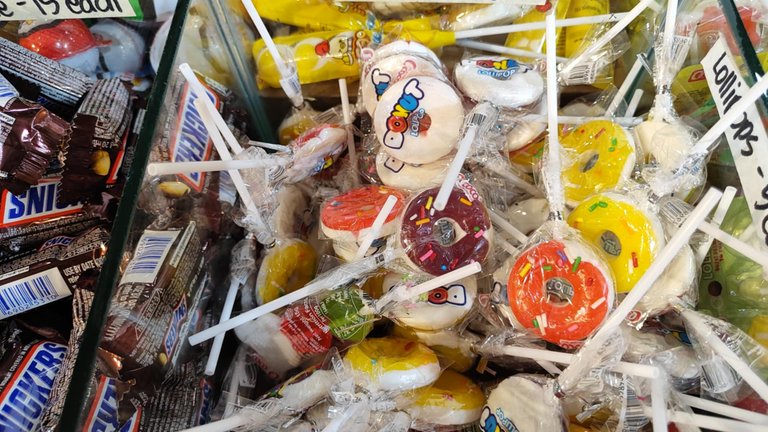
Now, I need lollipops to put on the lid—additional decorations, I must say.
 )
)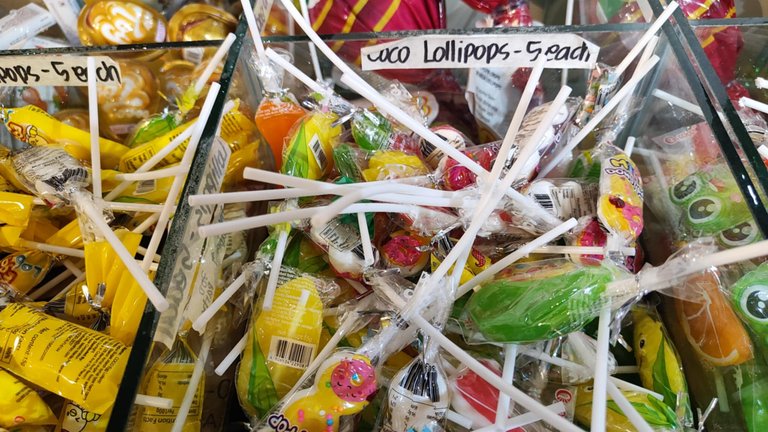 )
)How nice it was to see these colourful lollies! They sell per piece if you only need a few, but you can save a penny by purchasing in a pack!
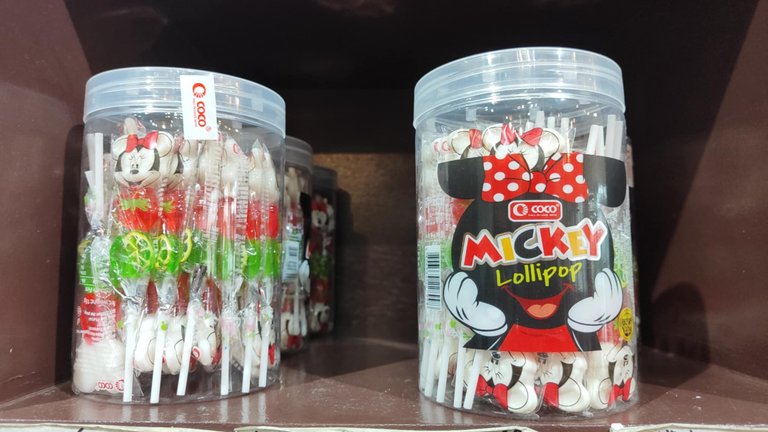
My eyes twinkled after I saw the Mickey Mouse design. I was about to pick it, but then I realized it's not the theme. Also, not all kids are fans of it.
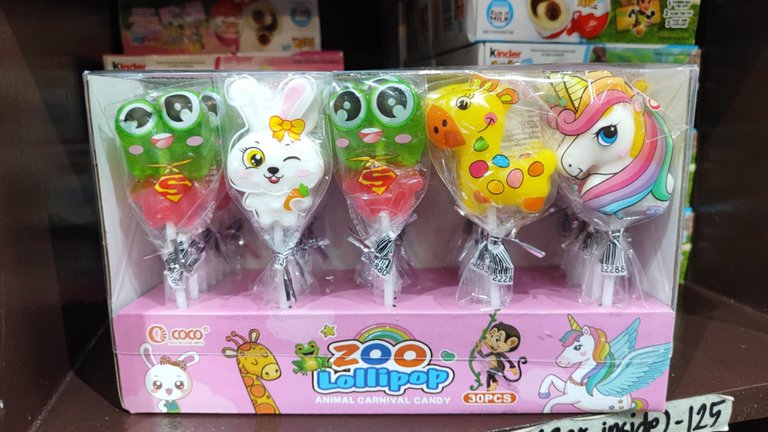
As much as I wanted to heal my inner child, I needed to consider the kids' happiness. I picked the zoo lollipop design instead. However, I also wanted to satisfy myself, so I bought two pieces of Mickey Mouse. They were sold in pieces, remember? Two of my husband's nieces were also fans.
As mentioned before, I wasn't a fan of being in a rush. Two days before the christening, I started preparing the cups.
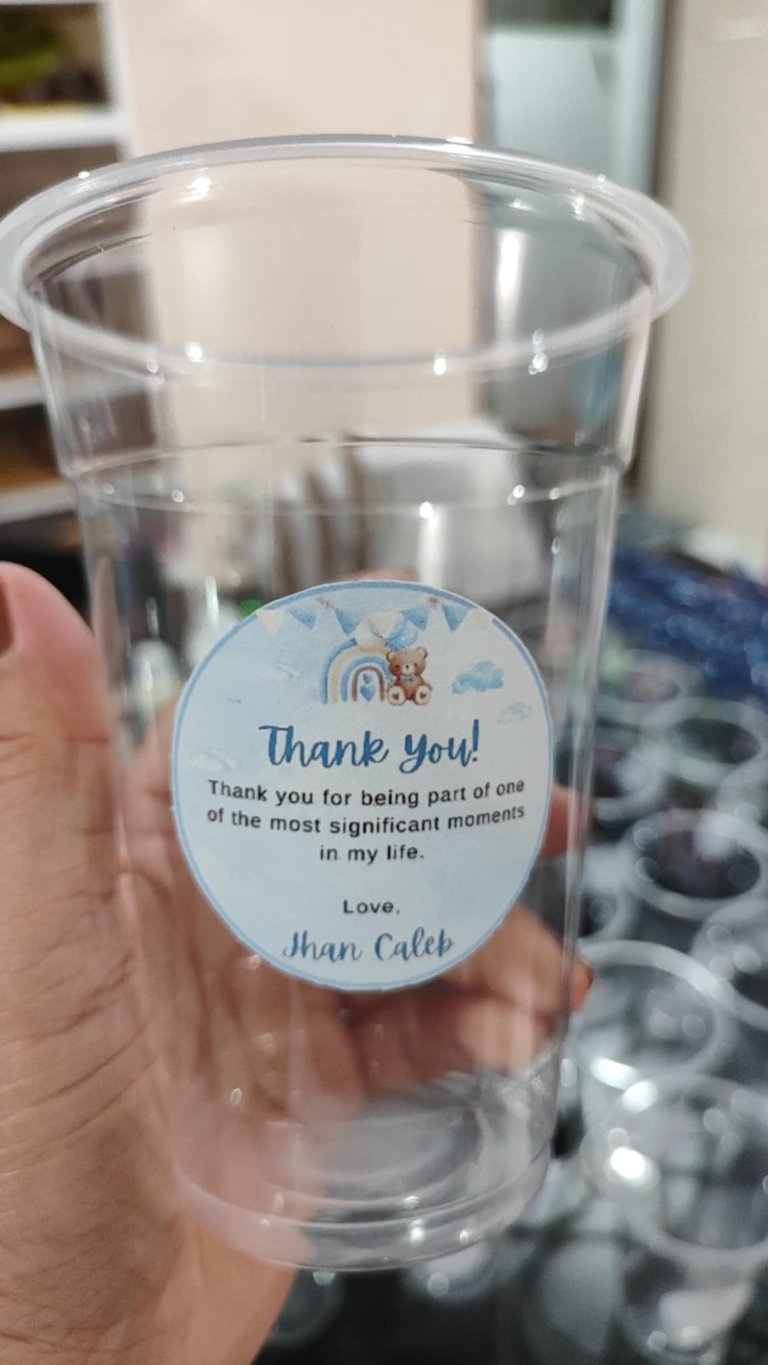
Empty candy cup, I am about to fill in.
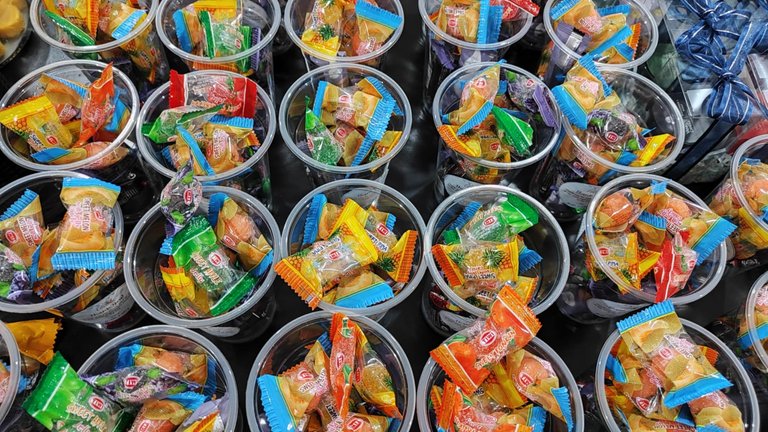
After putting in the candies, I was almost done.
Now, the last part: I covered it with a lid. Since it's not yet the party, I didn't put the lollies in, but I tried one to see how it looked.
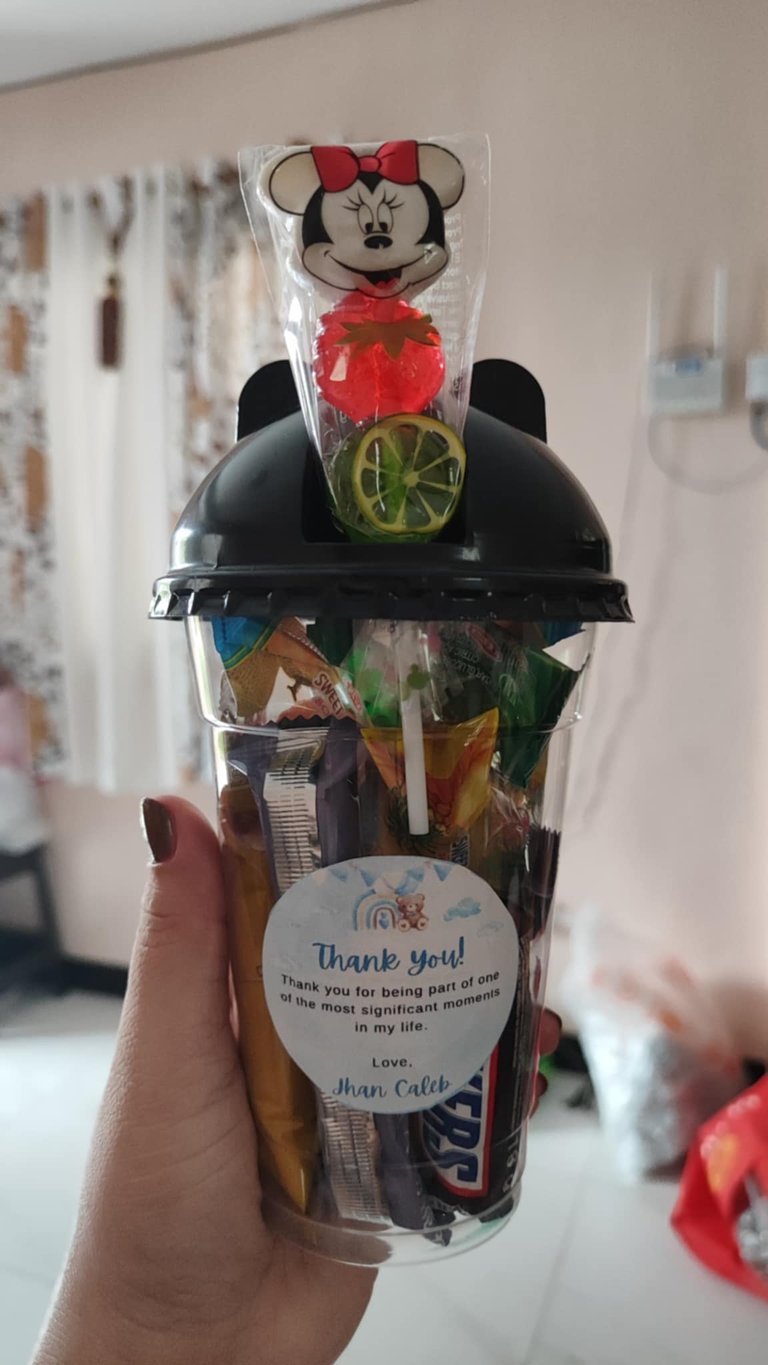
No, this is not what I had in mind. The only time I noticed that the open space for the straw where I would place the lollipop was at the front, bottom part. I suppose it should be at the centre.
It's a good thing the husband was here, so my problem was solved!
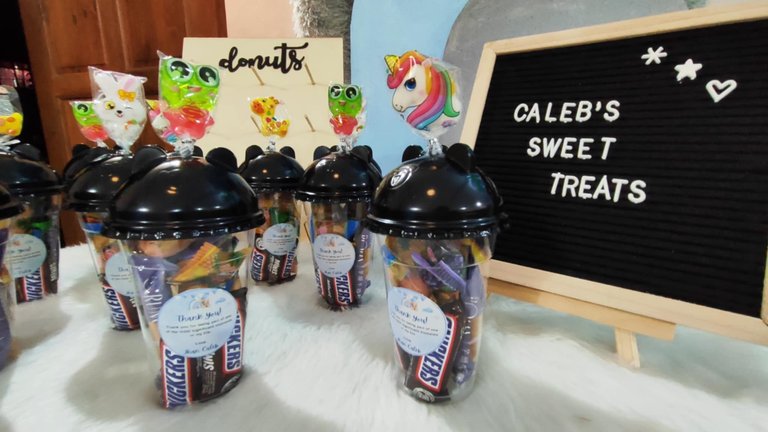
- The finished product! Doesn't it look cute, as opposed to using loot bags?
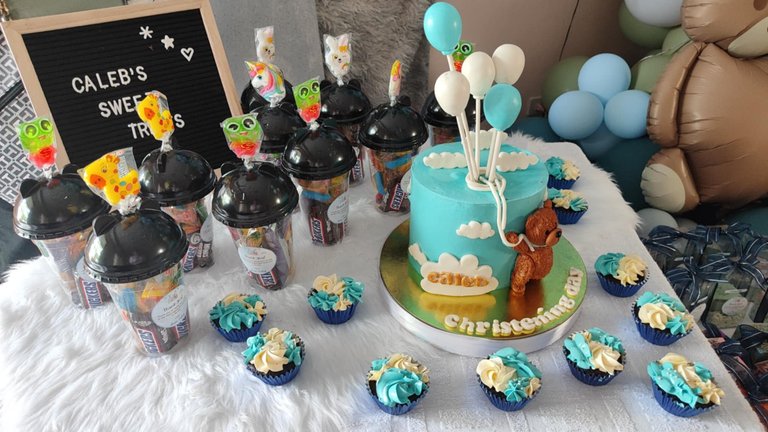
The cake—nope, my talent doesn't extend to baking, but hopefully, it will in the future. I only ordered it, but I love supporting local businesses. The person who baked it was a nursing student, and it would help with her expenses.
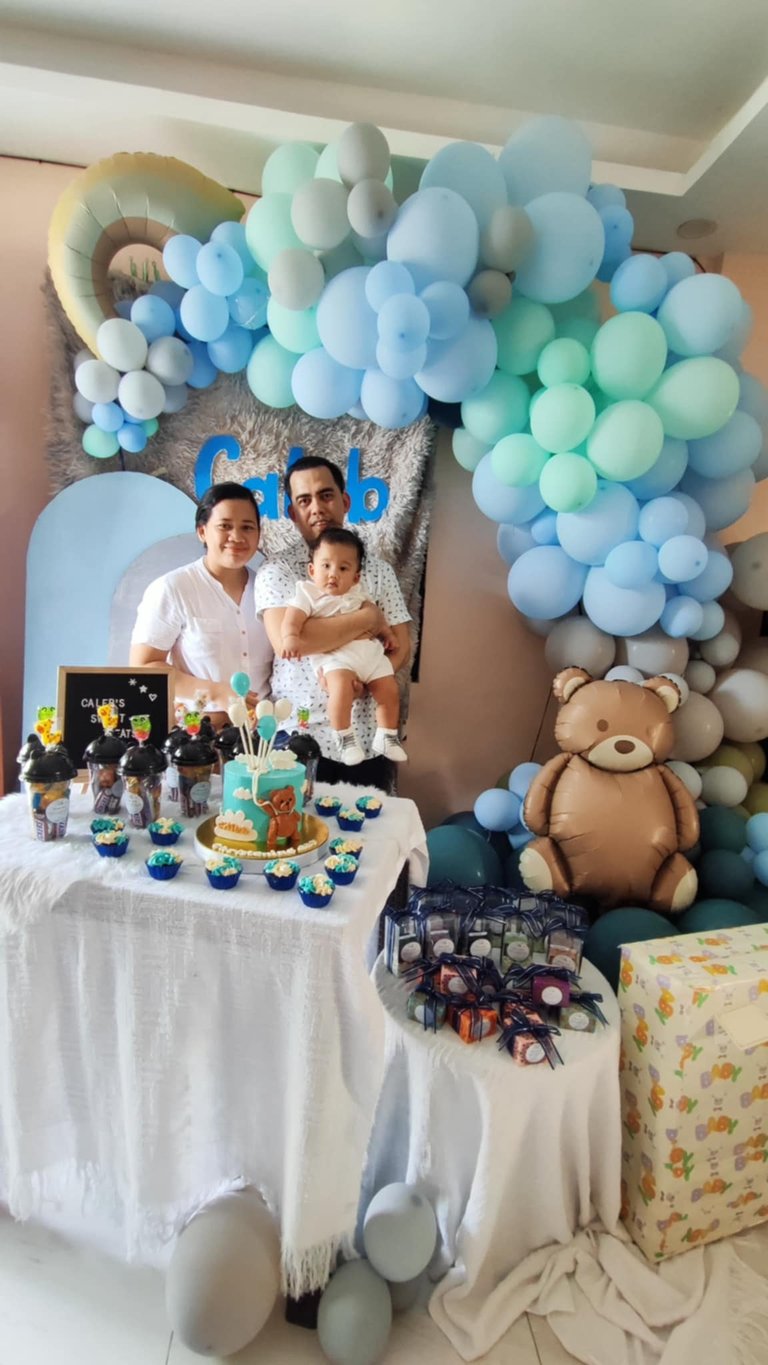
By the way, I also didn't hire an artist for the backdrop. It was also a DIY, but I didn't do it myself. It was through the help of sister-in-law and one of his nephews.
 )
)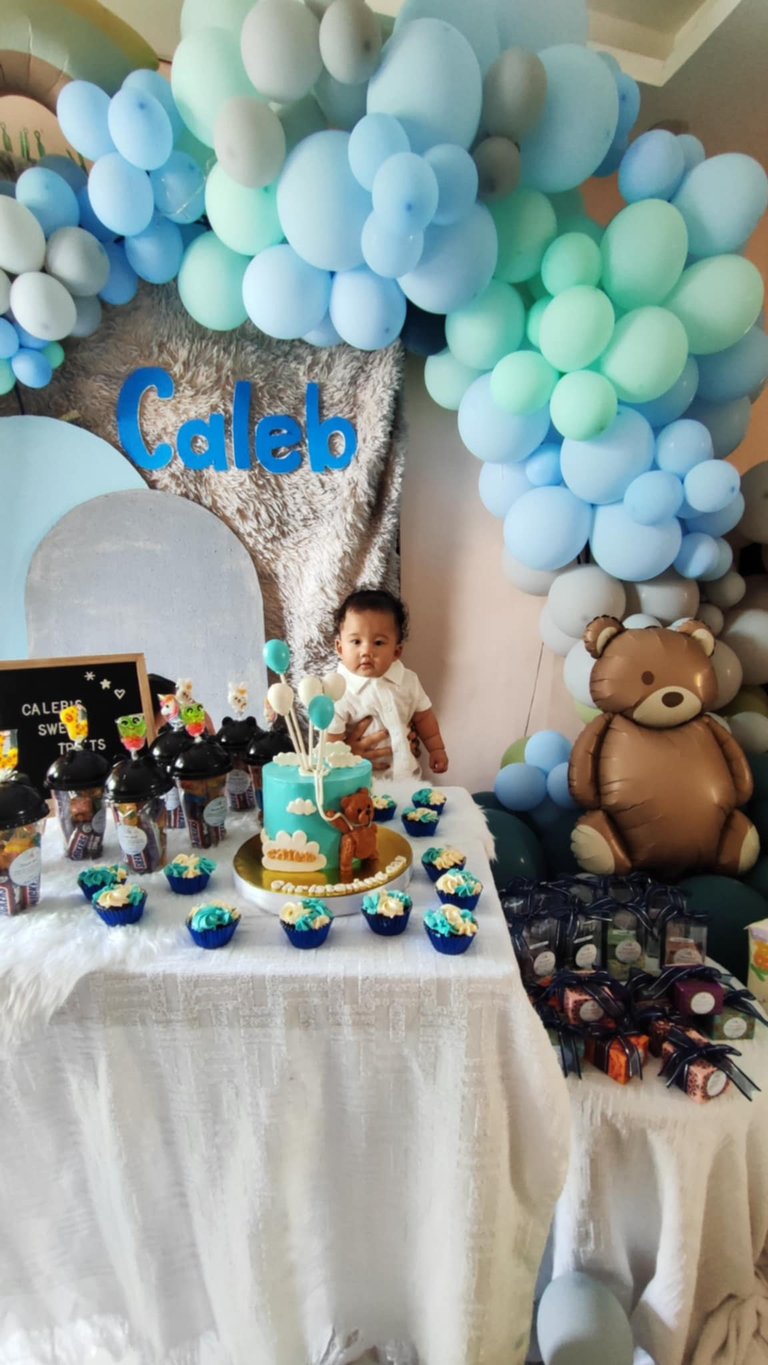 )
)I would love to share it here, but unfortunately, I didn't document the process. Thus, it was all ordered online, with the materials and a little brainstorming.
Thankful, my inlaws were all supportive.
Is there anyone here, too, who prefers DIY?

Lead image was edited using Canva
Photos are mine
Footer credit to Sensiblecast.
