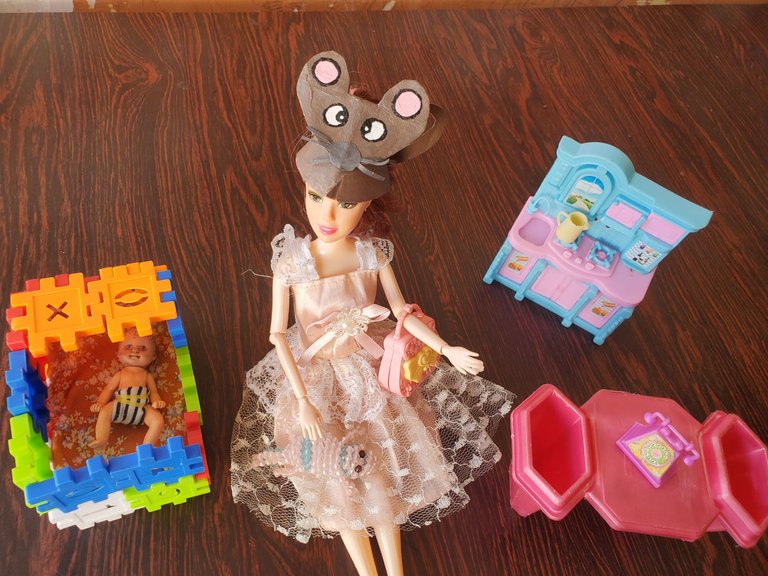
Saludos comunidad, hoy vengo a compartir cómo se hace un lindo ratón, ese roedor que a más de una ha hecho gritar y que nos ha ocasionado problemas en el hogar. Este ratón que voy a elaborar es fácil de realizar y es bueno que sepamos cómo hacerlo, ya sea para colocarlo como gorra a algún juguete, entretener a un niño pequeño o porque mandaron una actividad escolar, en fin la utilidad se la da cada quién.
Se elabora con material de reciclaje que en la mayoría de la veces uno tiene en casa y de necesitar otros recursos el gasto es poco.
Materiales:
- Tubo de papel higiénico.
- Regla.
- Tijera.
- Pintura al frío marrón.
- Pintura al frío blanco.
- Pintura al frío roja.
- Pintura al frío negra.
- Pega.
- Tapas.
- Hoja de reciclaje.
- Pincel fino.
- Pincel grueso
- Envase con agua.
- Lápiz de grafito.
- Cartulina negra.
- Sacapuntas.
- Borra.
- Palillo de madera.
Procedimiento:
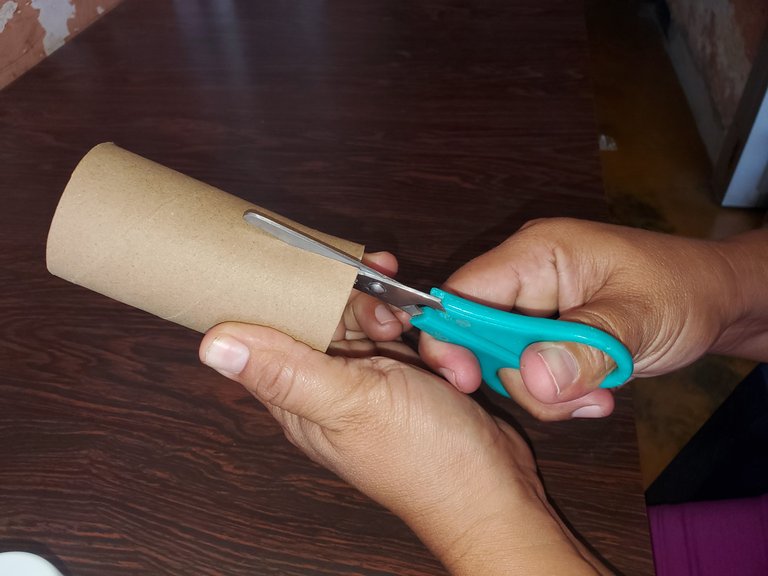
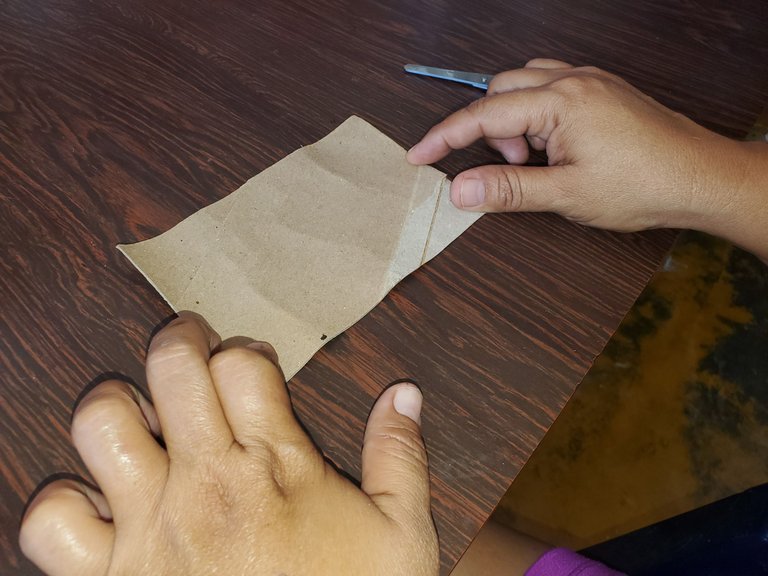
Se agarra el tubo de papel higiénico y se corta con la tijera para que esté abierto completamente.
 |  |
|---|
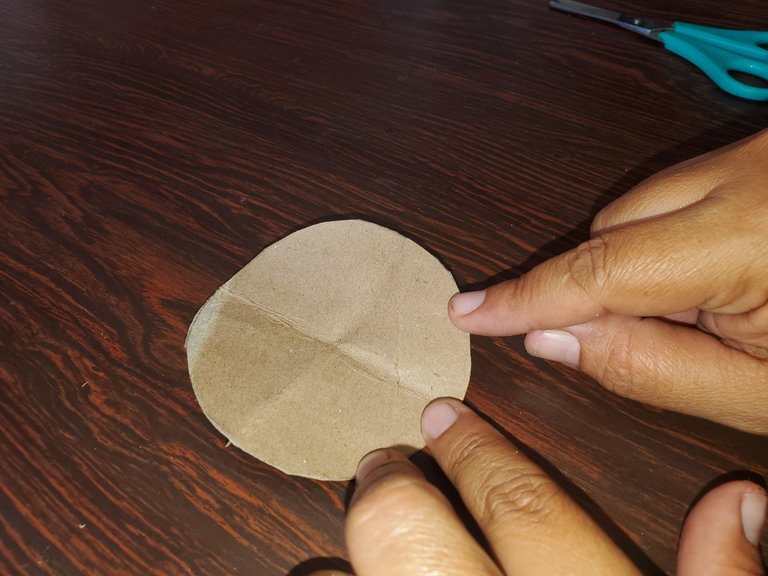
Se coloca la tapa en el cartón y se marca con el lápiz y se recorta. Luego ese círculo se dobla en cuatro partes iguales para que se vean las divisiones al abrir.
 |  |
|---|
 |  |
|---|
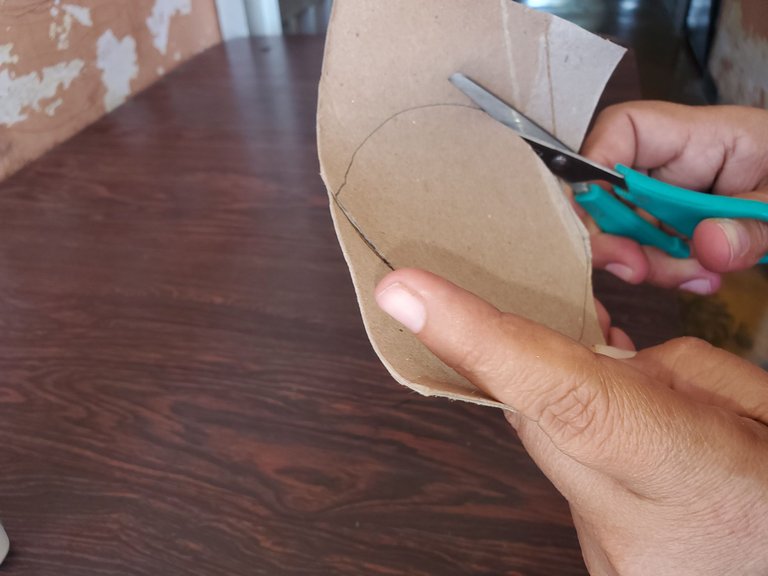
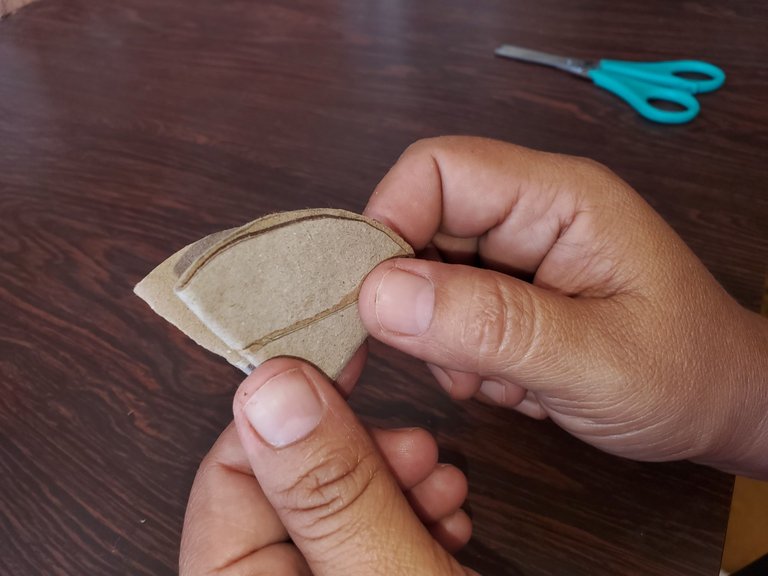
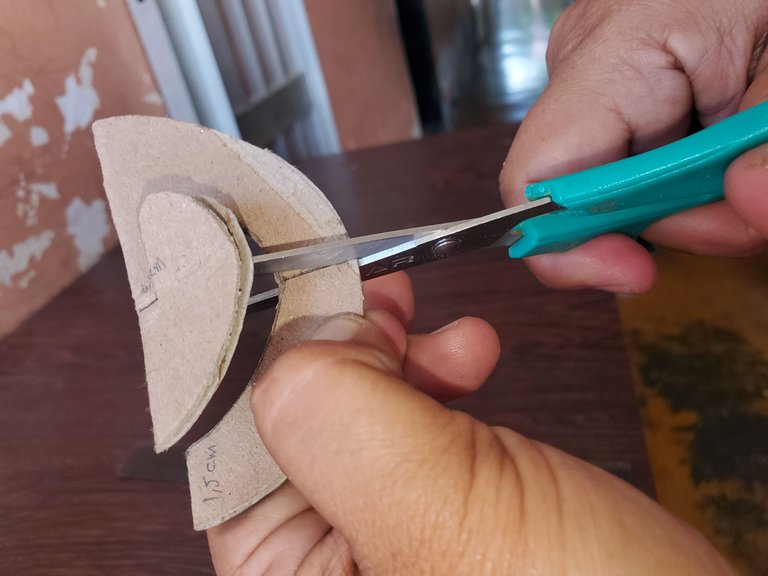
Se toma la circunferencia y se une la mitad con el otro extremo, se mide 0,5 centímetros desde el centro de la circunferencia, 1,5 cm desde afuera hacia adentro y unos 1,5 cm en la parte inferior desde afuera hacia adentro como se ve en la imágen.

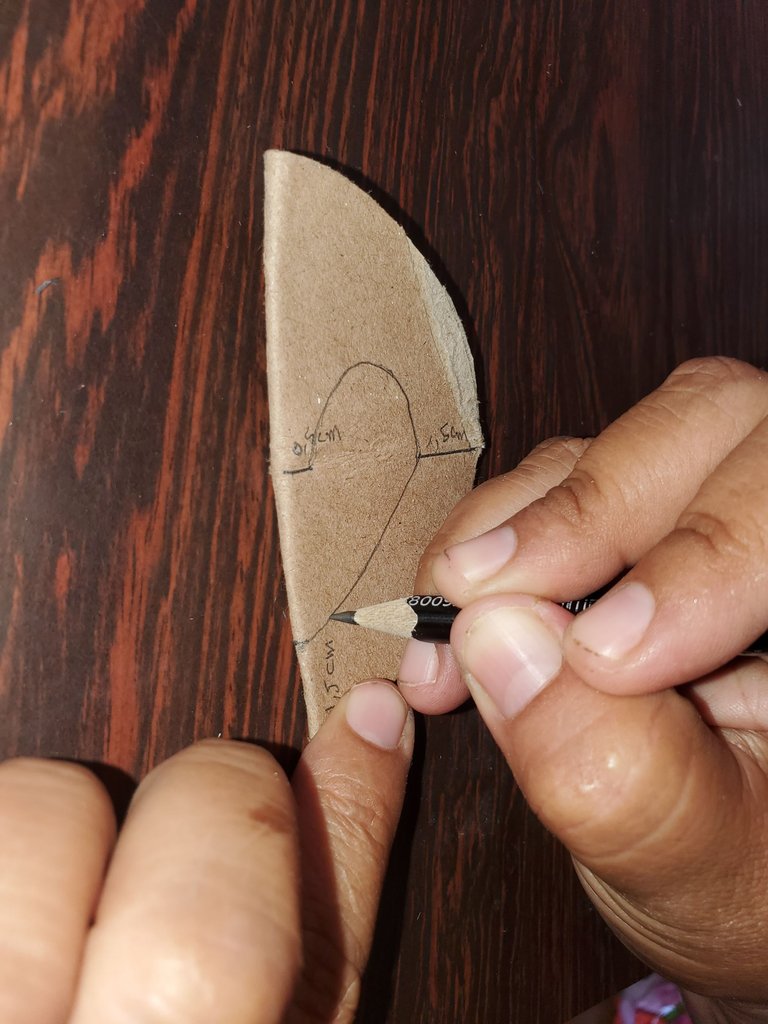
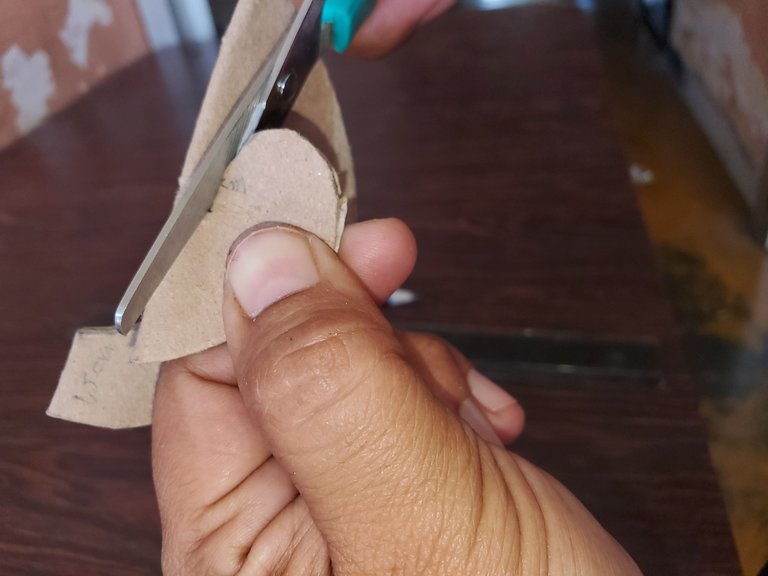
Se dibuja la mitad de un corazón, desde donde terminó de marcar los 0,5 cm. Sigue y toca un extremo de lo marcado y finaliza el dibujo al llegar a la parte inferior de lo marcado, como se muestra en la imágen.
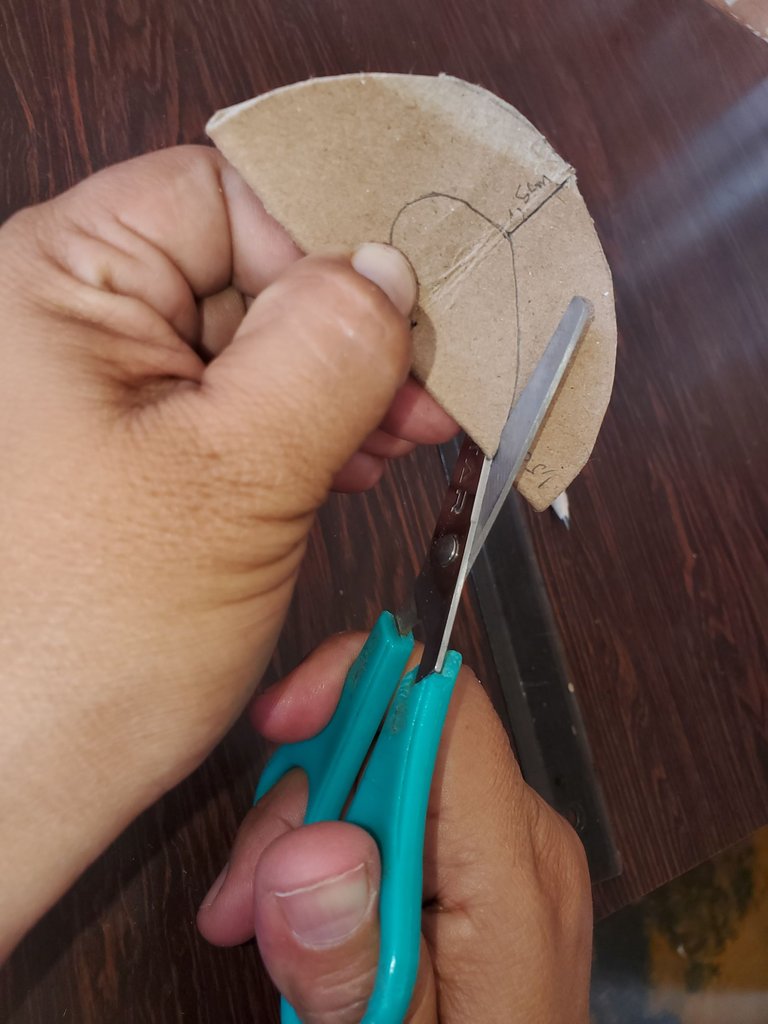
Se corta la mitad de forma de corazón desde la parte inferior, donde está marcado los 1,5 cm, dejando los 0,5 sin cortar , ver la imágen, por último, se cortan los 1,5 cm del otro lado.
 |  |  |
|---|
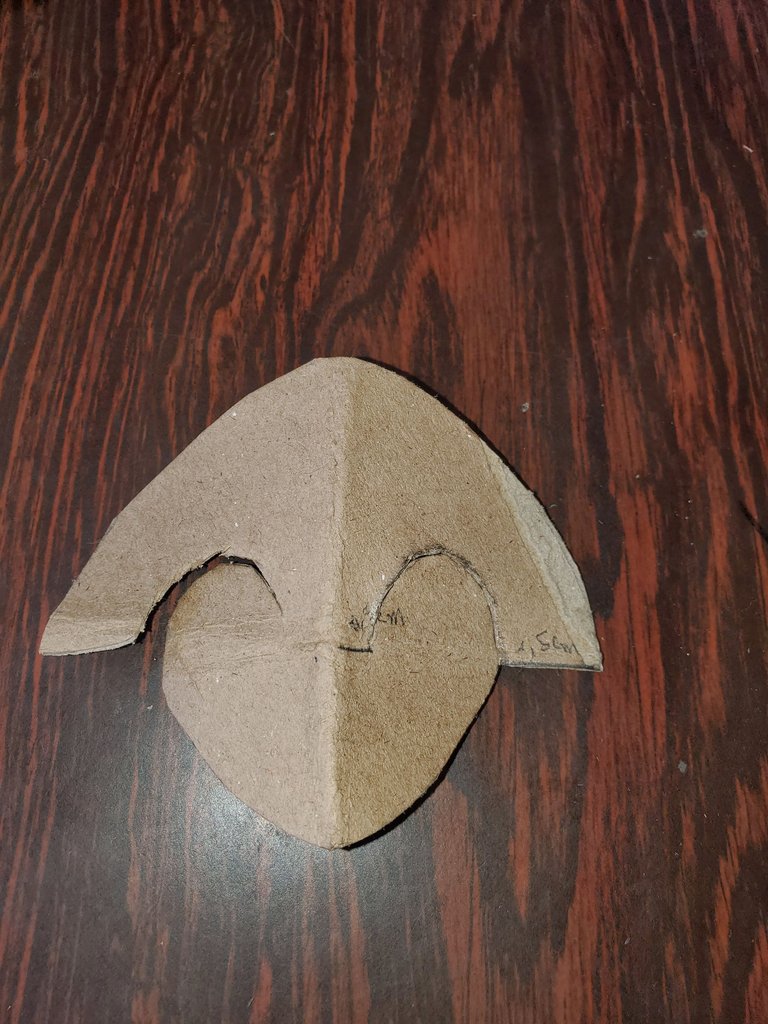
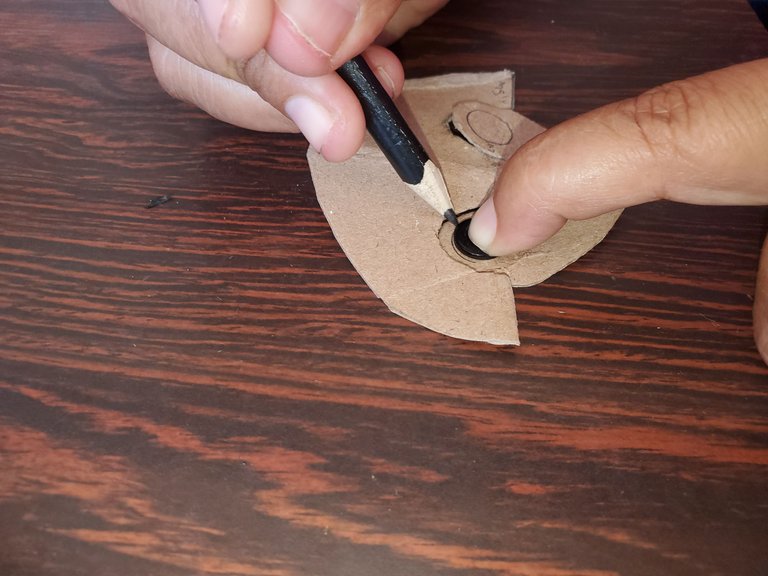
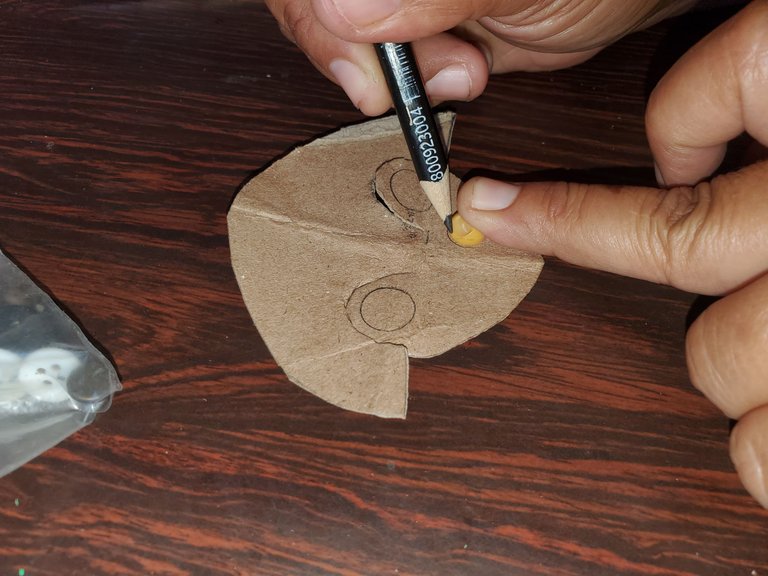
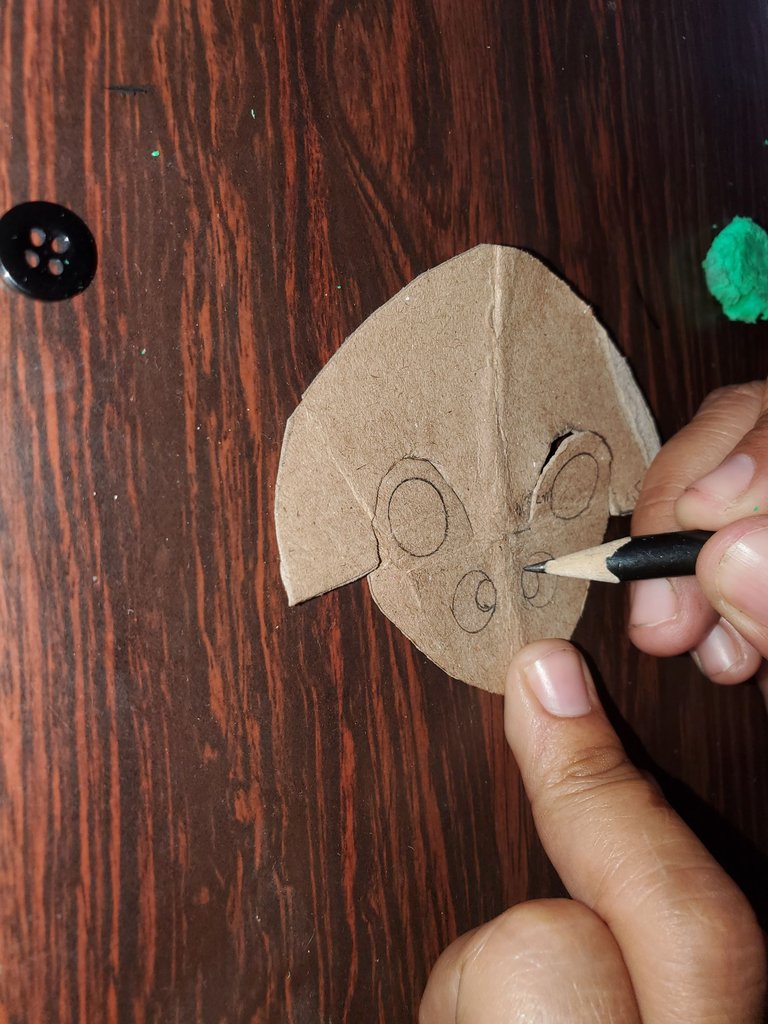
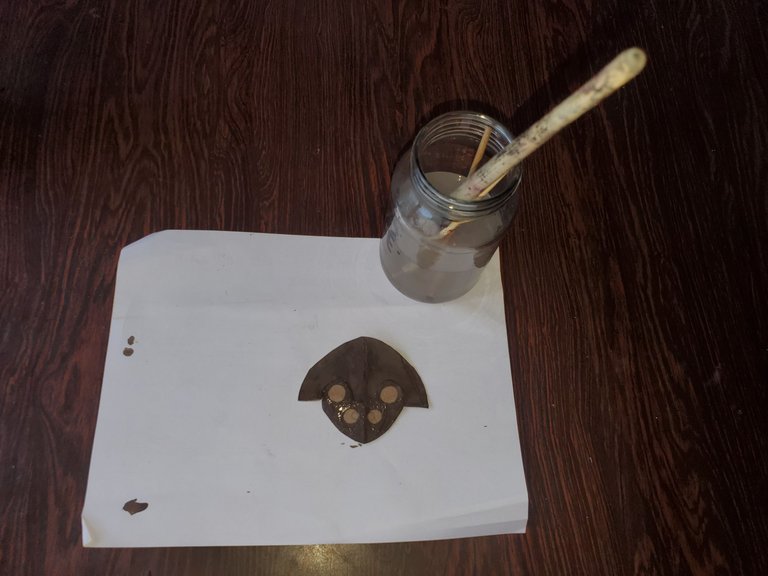
Se podrá ver el corazón completo que será la cabeza del ratón y lo demás será el cuerpo que representa la parte superior encima del corazón, a partir de allí, comienzo a marcarle las orejitas con un botón pequeño, sus ojos se los dibujé con otro botón más pequeño, lo de adentro del ojo se lo hice a pulso.
 |  |  |  |
|---|
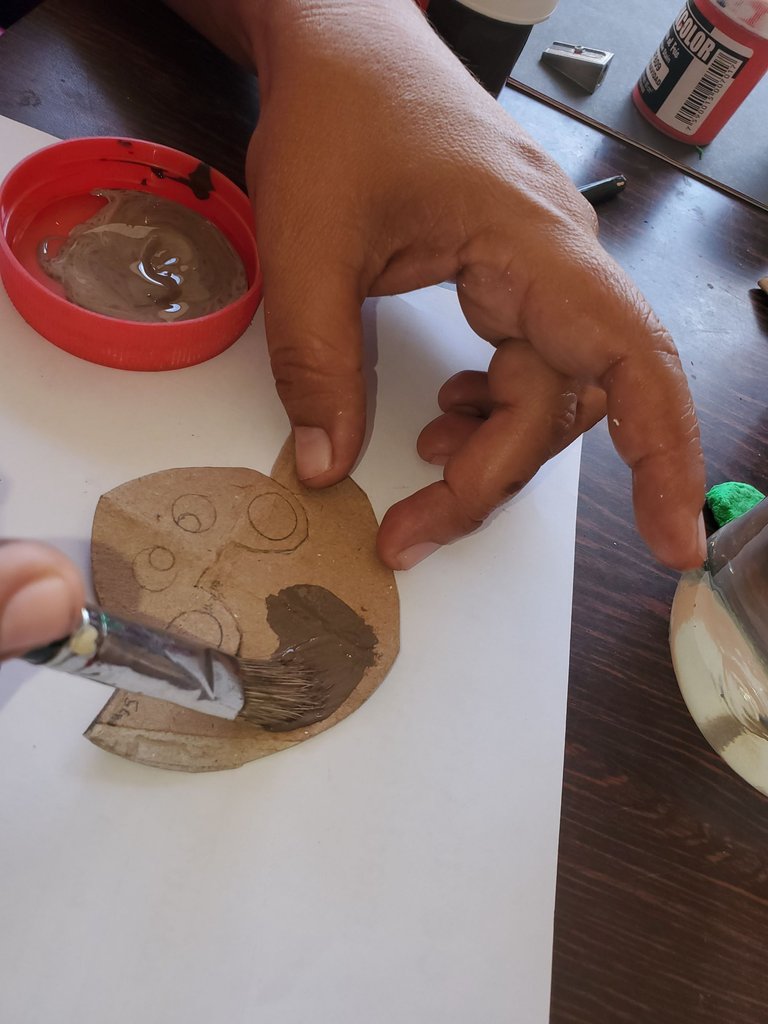
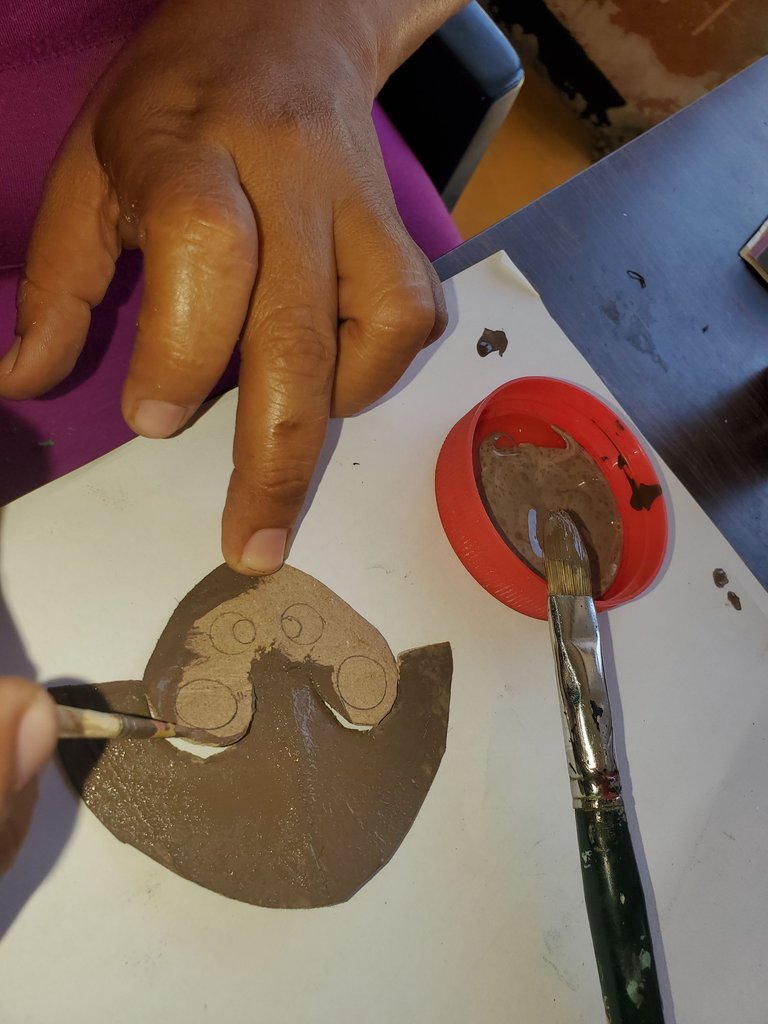
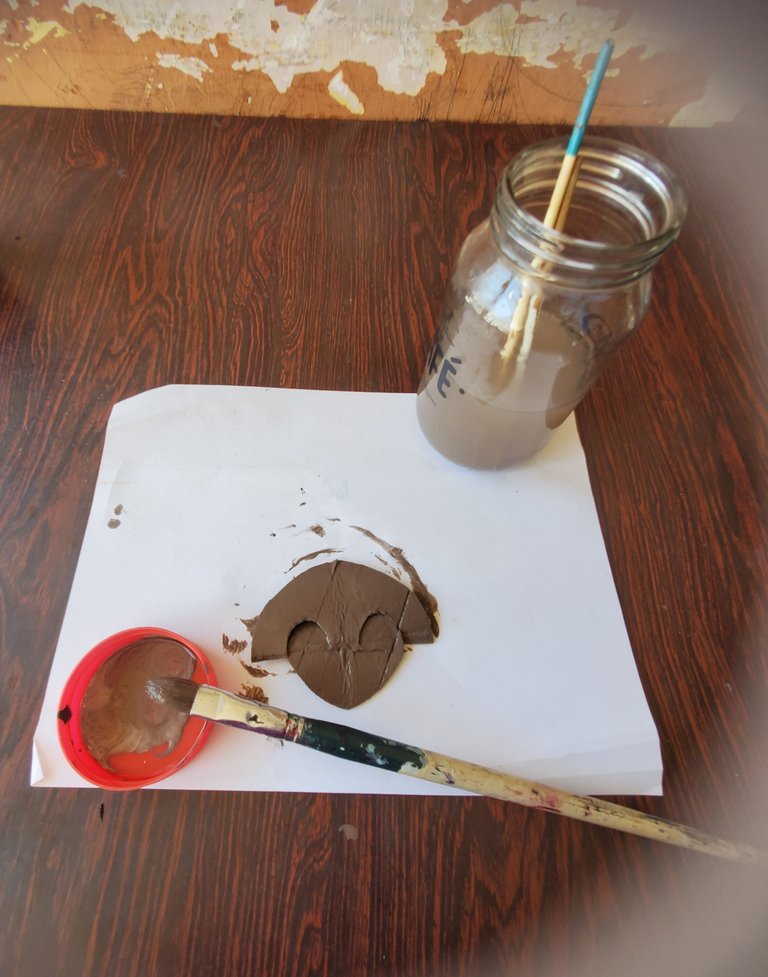
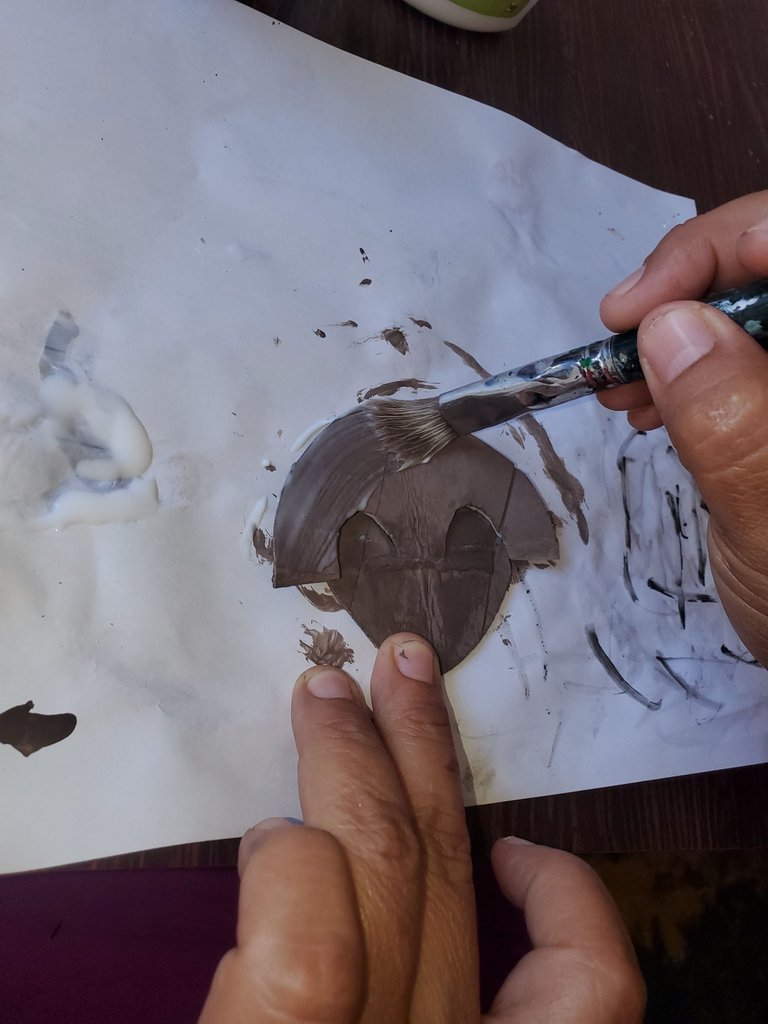
El ratón lo colocó encima de la hoja blanca para pintar. Hago la mezcla de la pintura de color marrón oscuro y blanco, buscando un color más claro. Inicié pintando con el pincel grueso toda la figura, e hice el delineado con el pincel fino para el área de ojos y orejas; dejé secar.
 |  |  |
|---|
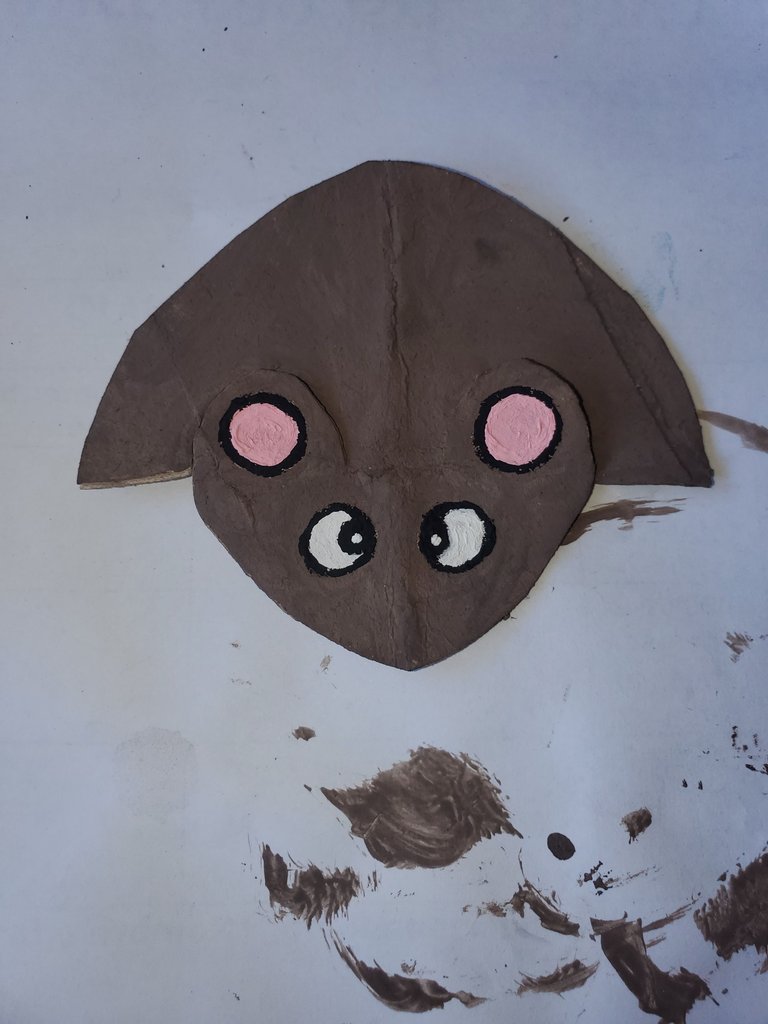
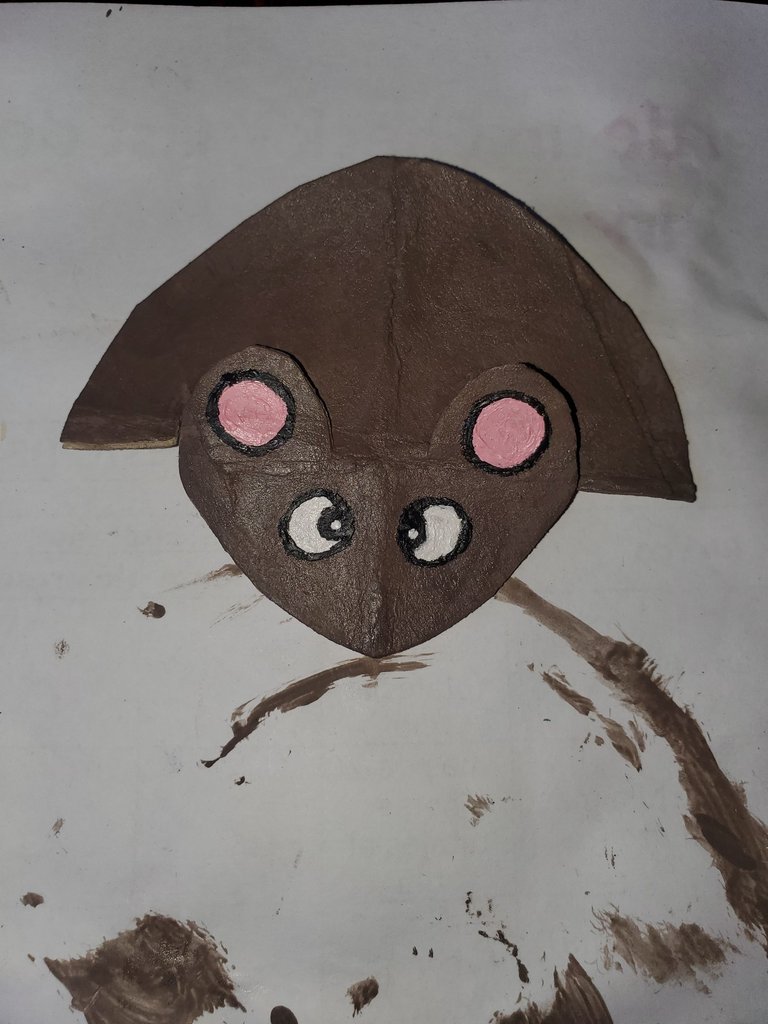
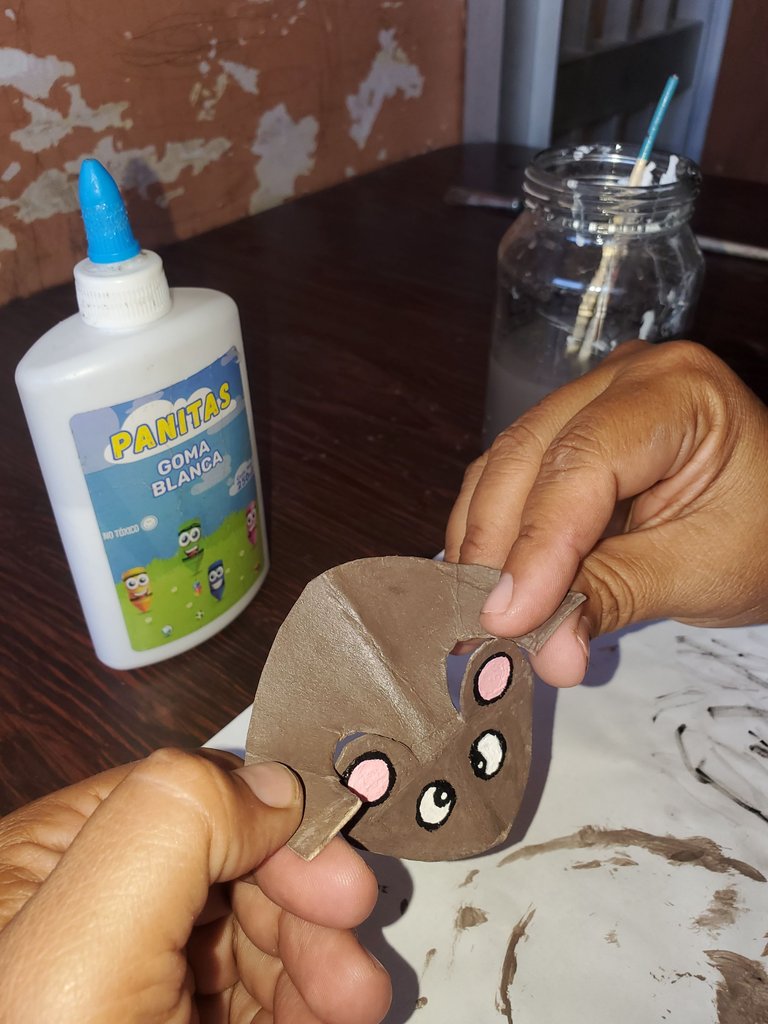
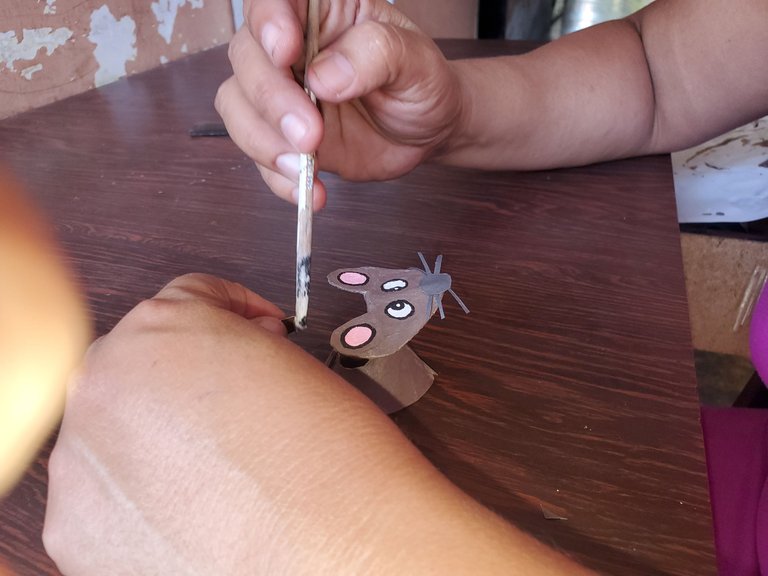
Secada la figura, se voltea y se pinta el otro lado con la mezcla, se deja secar también, se procede a pintar las orejas con la mezcla que hice de pintura roja y blanca para que me diera el color rosado. Los ojos se los pinté con la pintura blanca y utilicé el color negro para el delineado respectivo.
 |  |  |  |
|---|
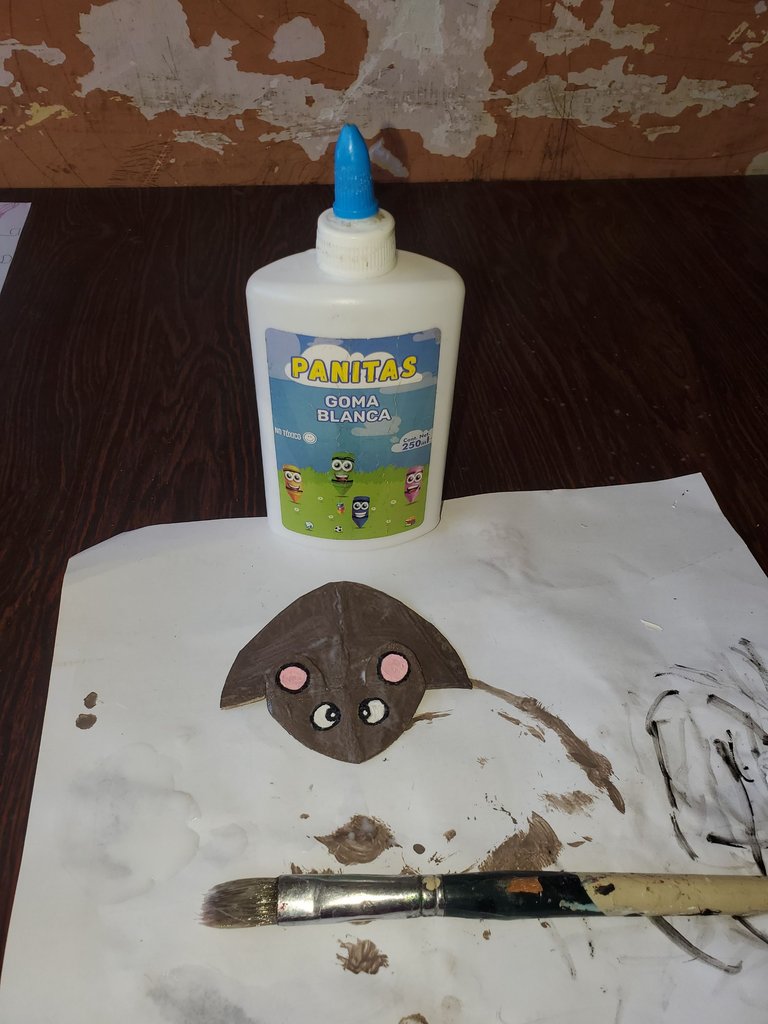
Con el pincel le agregué pega a toda la figura para darle brillo y dejé secar, lo mismo hice por el otro lado.
 |  |  |
|---|
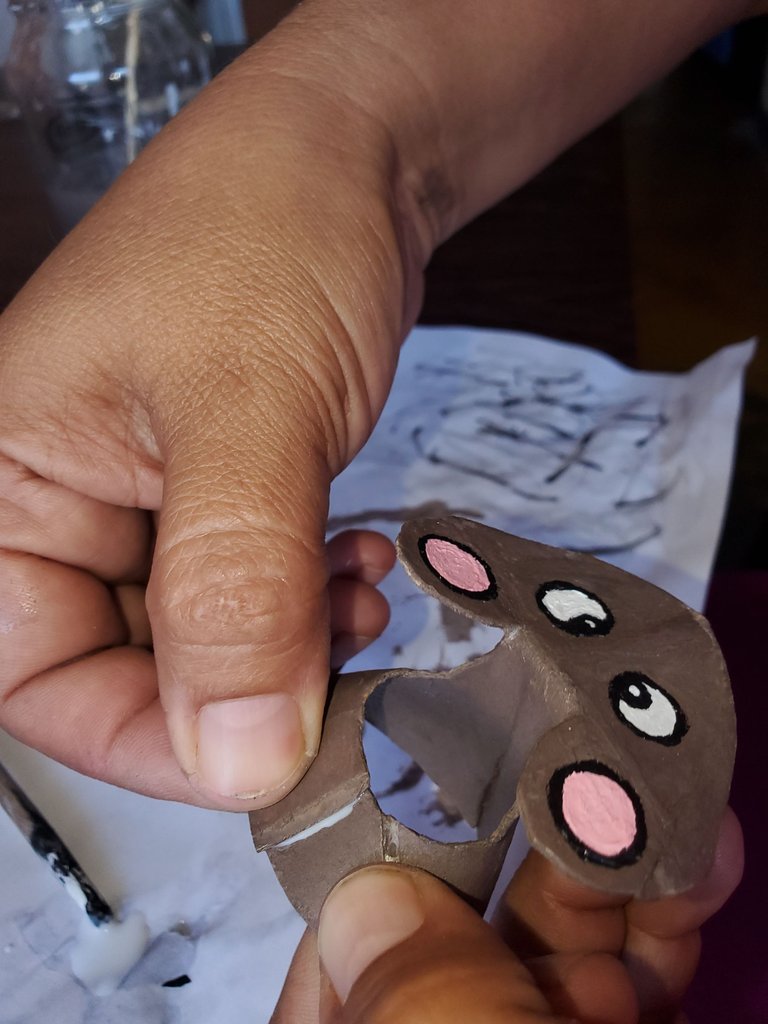
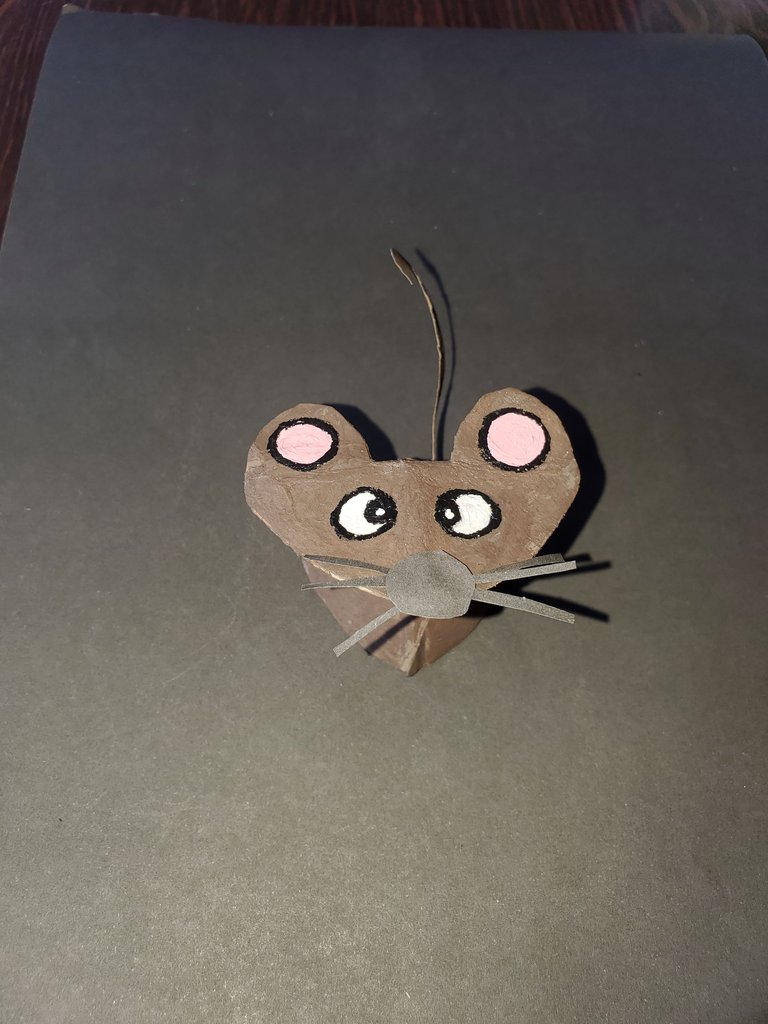
Agarre con la mano ambos extremos del cuerpo y los llevé hacia atrás para pegar con pega.Por último, hice la nariz de forma circular,pelos en la cartulina negra y se pegó la cola para terminar.
 |  |  |
|---|
Este es el resultado final, anímense a realizarlo es fácil...
 |  |
|---|
Sugerencias:
Pueden dejar el ratón sin pintar, tendrán el color del cartón si lo desean.
Las orejas las pueden hacer con cartulina oel material que deseen.
Los ojos los pueden comprar o pegar granos u otro objeto que haga la forma del ojo.
El tamaño del ratón dependerá del cartón y de la circunferencia que realicen con la tapa que tengan, pueden utilizar compás para ello también.
Con agua tibia le quita el exceso de pega al pincel, quedando listo para usar nuevamente.
Tu creatividad juega una función importante acá, ya que el diseño que hagas, lleva detalles que lo hacen únicos.
Me despido de ustedes, hasta un próximo encuentro.

- Todas las fotografías me pertenecen son sacadas del celular Samsung Galaxy S10+.
- Edición, banner y separador realizado con Canva.
- Traducción con DeepL.com (versión gratuita).
ENGLISH (click AQUI!)
A cute mouse to create.

Greetings community, today I come to share how to make a cute mouse, that rodent that has made more than one of us scream and has caused us problems at home. This mouse that I am going to elaborate is easy to make and it is good that we know how to do it, either to place it as a cap on a toy, to entertain a small child or because they sent a school activity, in short the utility is given by each one.
It is made with recycled material that most of the time you have at home and if you need other resources the cost is little.
Materials:
- Toilet paper tube.
- Ruler.
- Scissors.
- Brown cold paint.
- White cold paint.
- Red cold paint.
- Black cold paint.
- Glue.
- Covers.
- Recycling sheet.
- Fine brush.
- Thick brush
- Container with water.
- Graphite pencil.
- Black cardboard.
- Pencil sharpener.
- Eraser.
- Wooden stick.
Procedure:
Take the toilet paper tube and cut it with the scissors so that it is completely open.
| |
|---|
Place the lid on the cardboard and mark it with a pencil and cut it out. Then that circle is folded in four equal parts so that the divisions are visible when opened.
| |
|---|
| |
|---|
Take the circumference and join half of it to the other end, measure 0.5 cm from the center of the circumference, 1.5 cm from the outside in and about 1.5 cm at the bottom from the outside in as shown in the picture.
Draw the middle of a heart, from where you finished marking the 0.5 cm. Follow and touch one end of the marking and finish the drawing when you reach the bottom of the marking, as shown in the image.
Cut the heart-shaped half from the bottom, where the 1.5 cm is marked, leaving the 0.5 cm uncut, see image. Finally, cut the 1.5 cm on the other side.
| | |
|---|
You will be able to see the complete heart that will be the head of the mouse and the rest will be the body that represents the upper part above the heart, from there, I begin to mark the ears with a small button, its eyes I drew them with another smaller button, the inside of the eye I did it by hand.
| | | |
|---|
The mouse placed it on top of the white sheet to paint. I make the mixture of the dark brown and white paint, looking for a lighter color. I started painting with the thick brush the whole figure, and made the outline with the thin brush for the eyes and ears area; I let it dry.
| | |
|---|
Once the figure is dry, turn it over and paint the other side with the mixture, let it dry as well, proceed to paint the ears with the mixture I made of red and white paint to give me the pink color. The eyes I painted with the white paint and I used the black color for the respective outline.
| | | |
|---|
With the brush I added glue to the whole figure to give it shine and let it dry, the same thing I did on the other side.
| | |
|---|
I grabbed both ends of the body with my hand and pulled them back and glued them together with glue, finally, I made the nose in a circular shape, hairs on the black cardboard and glued the glue to finish.
| | |
|---|
This is the final result, take a look, it's easy...
| |
|---|
Suggestions:
You can leave the mouse unpainted, you will have the color of the cardboard if you wish.
The ears can be made with cardboard or any other material you wish.
The eyes you can buy or glue beads or other object that makes the shape of the eye.
The size of the mouse will depend on the cardboard and the circumference they make with the lid they have, they can also use a compass.
With warm water, remove the excess glue from the brush and it will be ready to use again.
Your creativity plays an important role here, since the design you make has details that make it unique.
I bid you farewell, until next time.
- All the pictures belong to me are taken from the Samsung Galaxy S10+ cell phone.
- Editing, banner and separator made with Canva.
- Translation with DeepL.com (free version).
Posted Using InLeo Alpha


