Greetings great people of @hivediy community,
how are you all doing? I hope you all are doing good. Today i am here again with another amazing diy post of how to change an old leather of a car dashboard. This is very interesting post and at the end of this post you should learn new things.
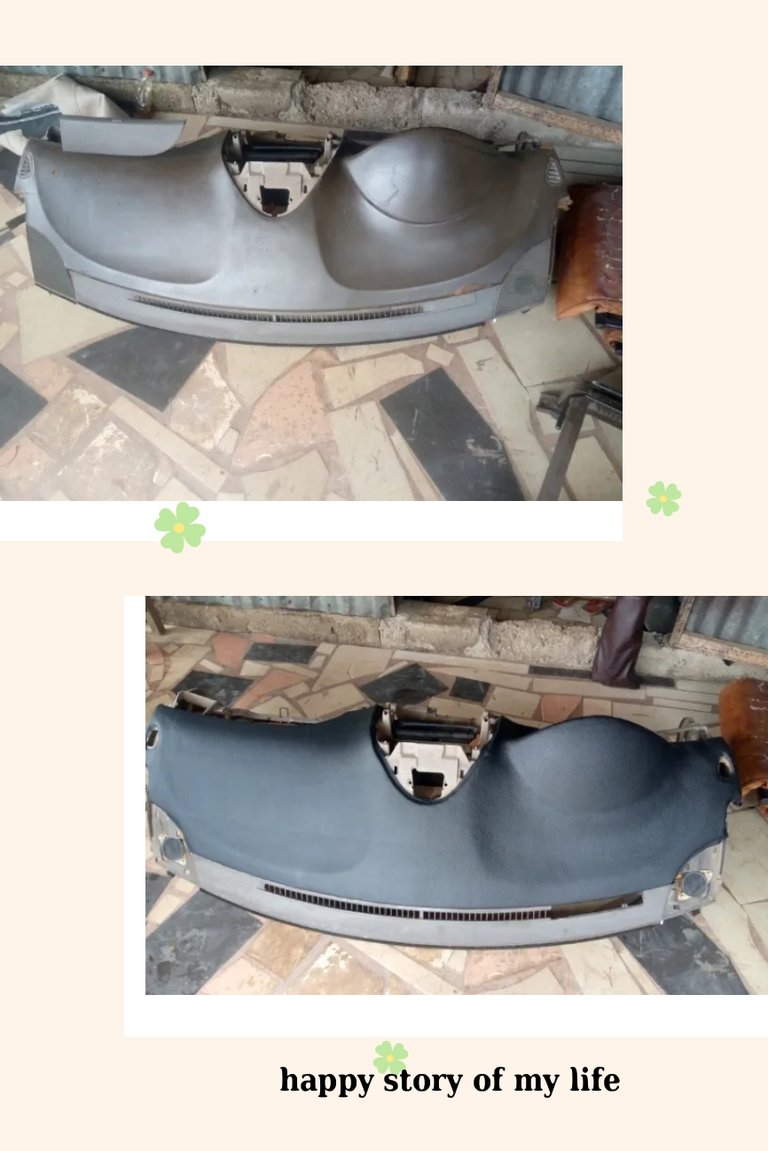
Dashboard is on of the car interior that is located at the front of the car where the speedometer is located.
Most people don't believe this car be work, some if the dashboard spoil the will buy another leather and place on the front just to cover it not know the can repair it to turn new.
In this post i will share with you all how to work on a old car dashboard to new.
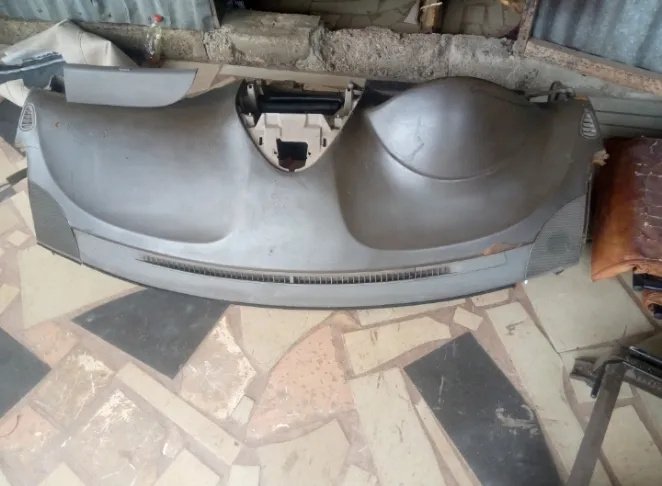
Before
After
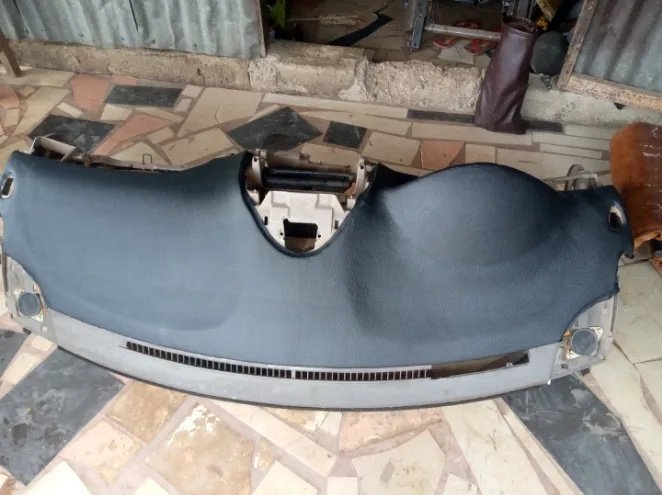
Comparing the two you can see the dashboard has turn new after working it.
To remove the dashboard from the car you need to pay electricians to loose it, to loss the dashboard from the car really need experience electrician, after loosing it, you can now work it freely.
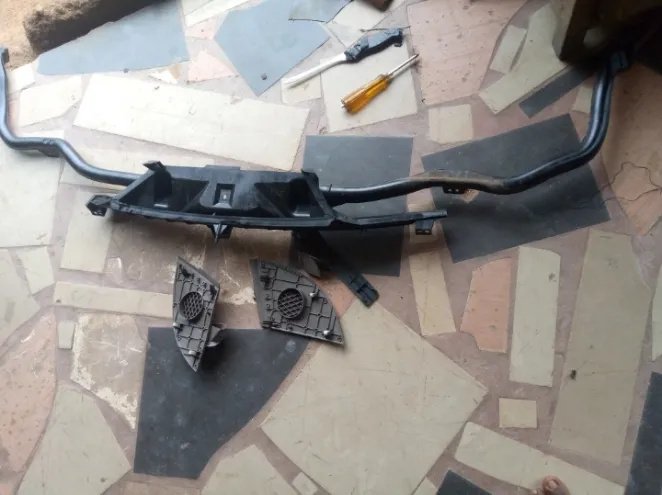
I lose the AC pipe and the speaker covers.
The old leather has expired and has start pilling off, so i used my hand and knife to remove the old leather.
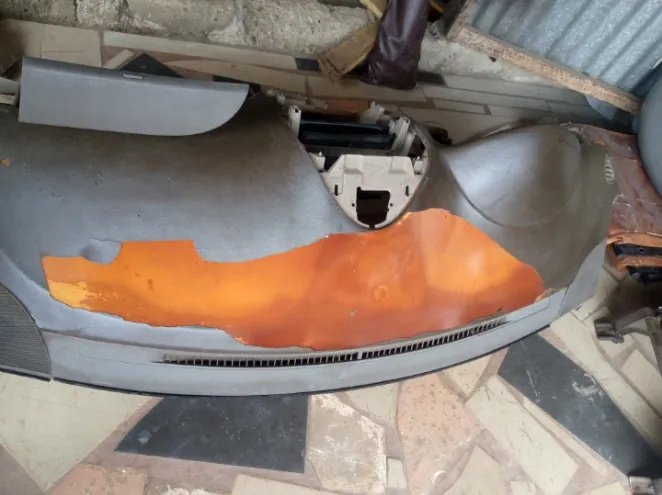
I then try my bess to remove it completely and it is left with the board only.
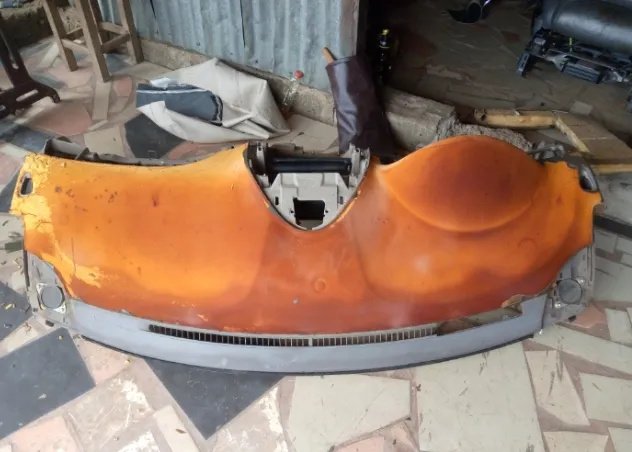
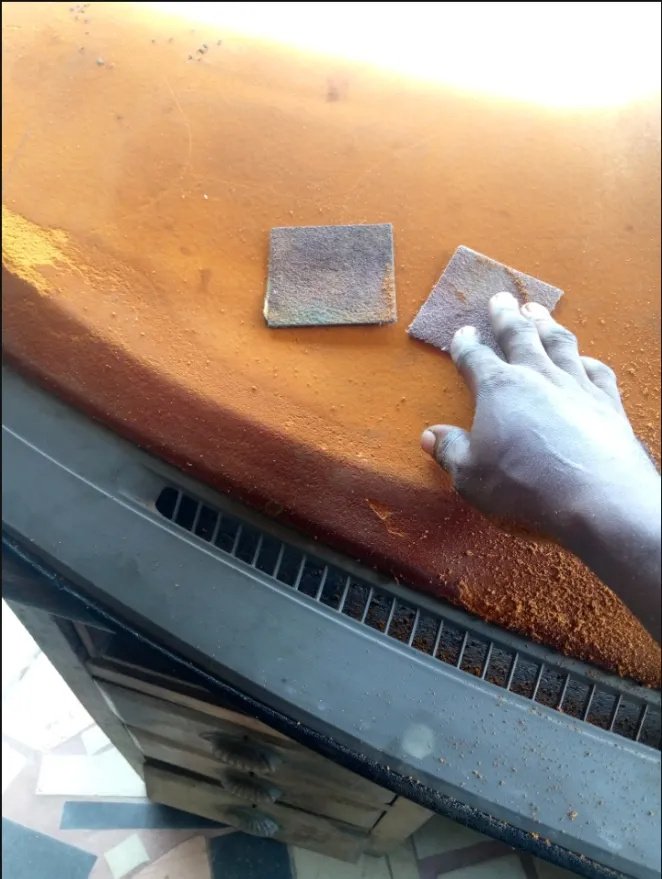
Since i am making use of gum, i have to make the surface rough so that the gum can gum the two object strong. So i then use sand paper to sand the entire board.
I then use broom to sweep out the sand material.
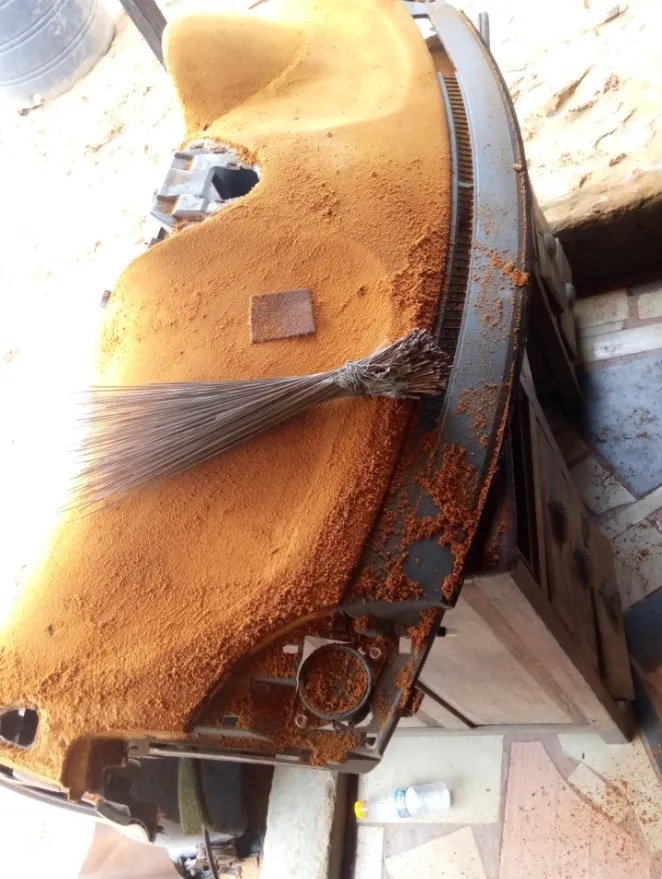
Don't sweeping it, the board is ready to work on.
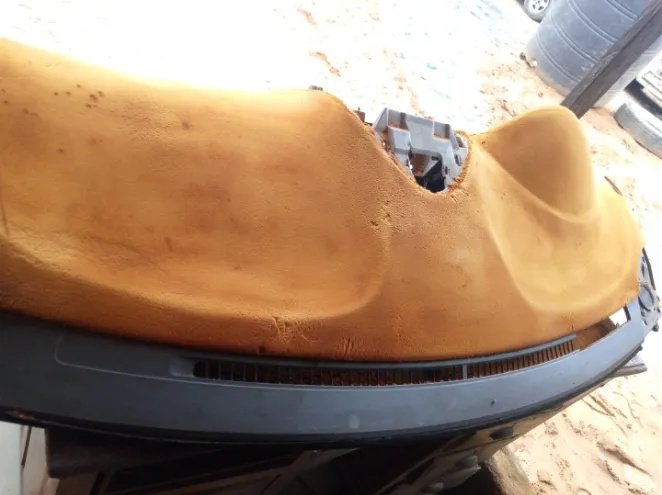
I then used tape to measure the vertical and the horizontal length of the board considering the longest side.
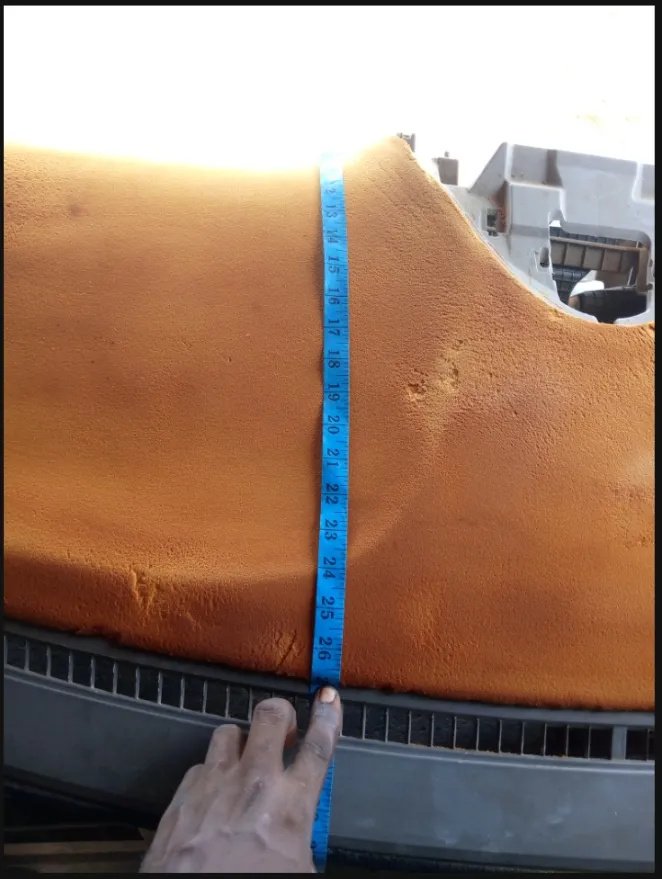
I then transfer the measurements to the new leather and mark it out.
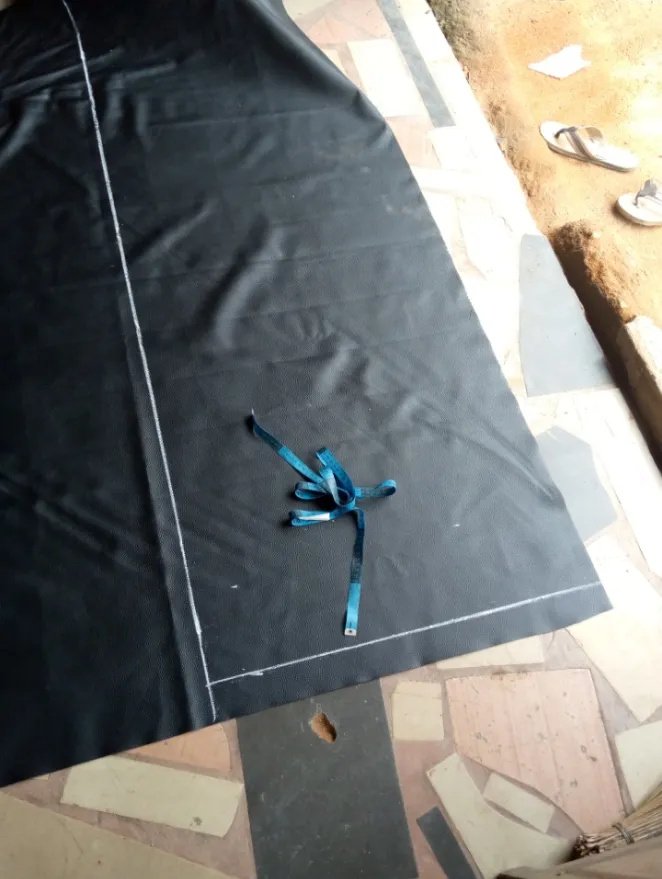
I then use scissors to cut it out following the line i draw.
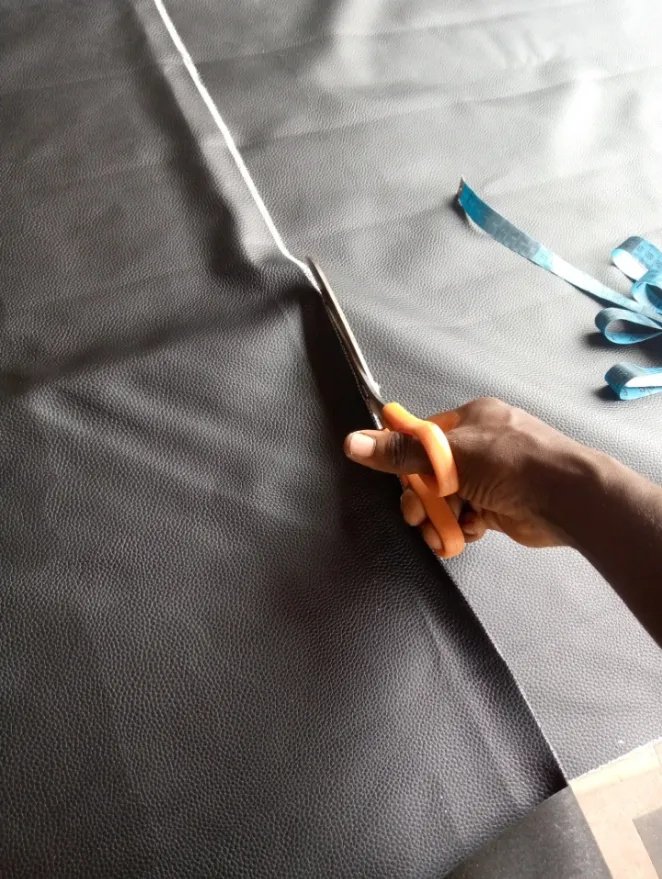
I then place the new leather on the board.
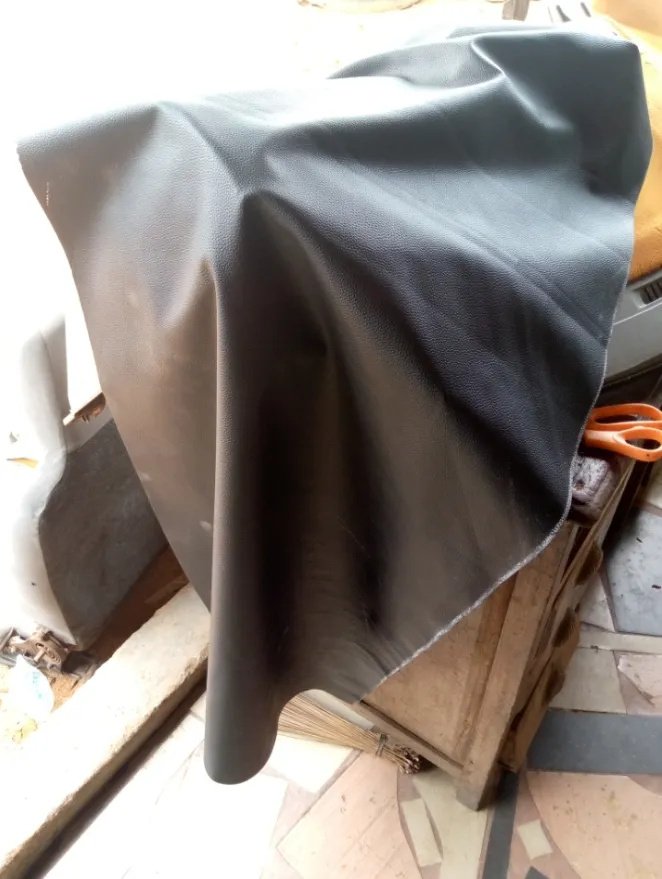
I then get a all purpose gum from the market.

I then pull the leather to one side and then apply gum on both the leather and the board, then allow it to dry.
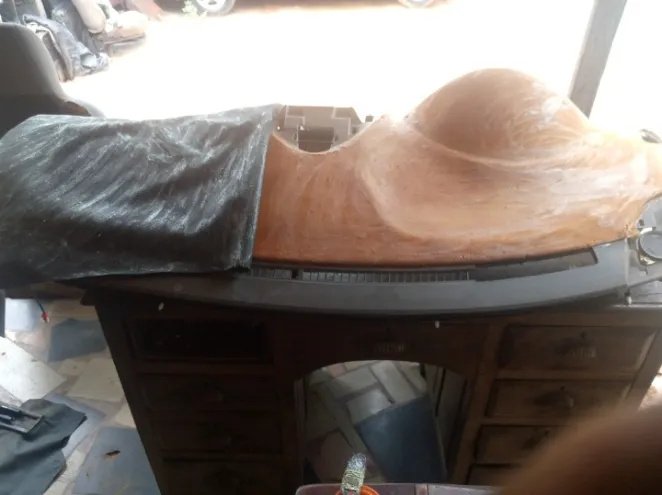
Then gum them together and here is the outcome.
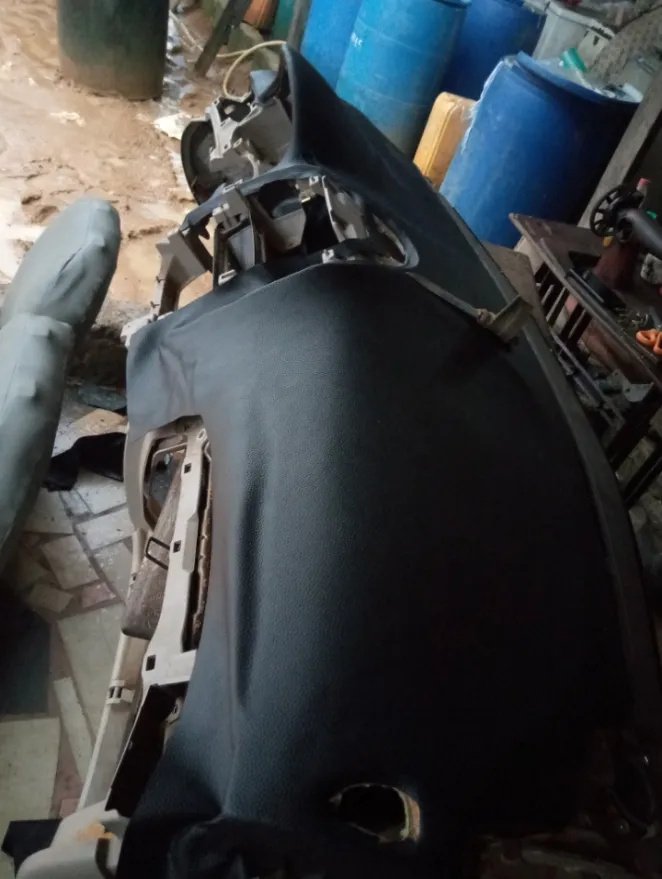
I then pull it to the opposite side, then apply the gum again and allow it to dry. Then gum them together, cut out the access and finally the board has turn new.

I then fix back what i loose and give it to electrician to tight it back.
Hope this was very simple process and i believe you have learn from this post.
Thanks everyone for stopping by i really appreciate you all and i am happy to share this wonderful tutorial with you guys for free. You guys are really lucky because this is something you pay big Amount of money to learn, you are lucky
Please i want you to support me and reblog my post, thanks once again, buy.
Posted Using InLeo Alpha