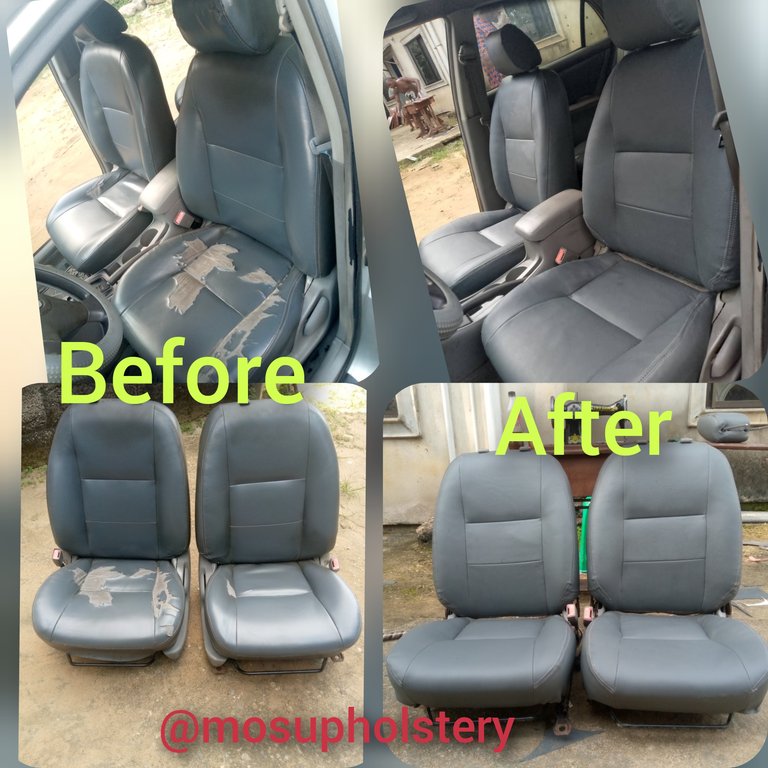
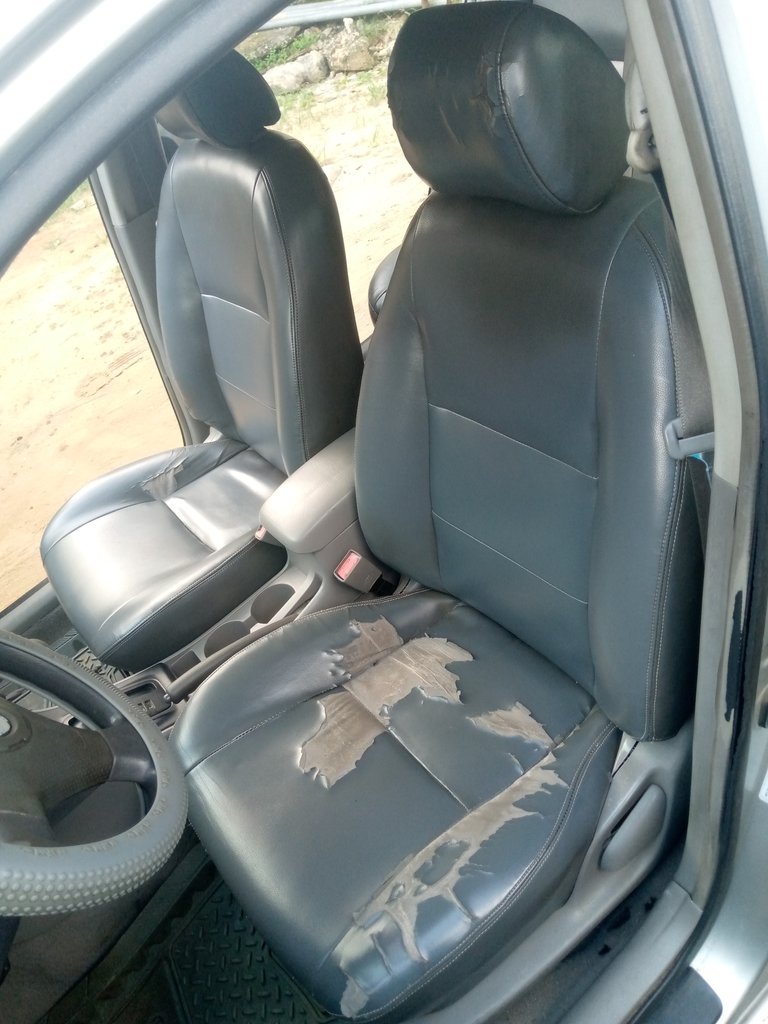
He asked you to change the two fronseatsat of his car last year but he didn't have money to change them then. His brother is doing a wedding with the car so he has no option but to put the car in another so that the interior looks nice.
Since this week I have not opened my shop because someone stole and the police are disturbing me and they ask everyone to be on break until the issue is solved.
Since the work is important and I have another sewing machine at home I ask him to bring the car.
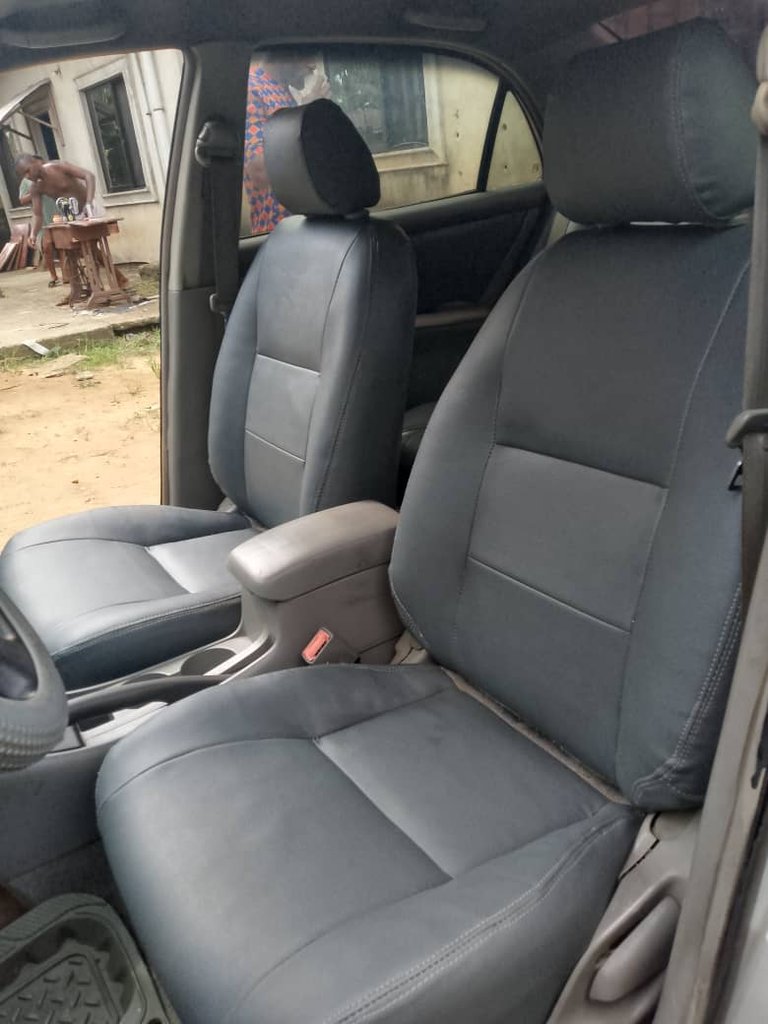
And here is the seat after working on it.
In this post I will be sharing a step-by-step I follow to achieve the finished work, believe it's simple to do it if you follow me up. I will use images to describe each of my steps for simple understanding.
First of all, go to the market to pay for some necessary material needed to get the work done
Material used
- Upholstery gum
- New leather
- car roof
- sewing machine
- plier
- scissors
- spanners
- star and flat srew driver etc
I lost the car from the car.
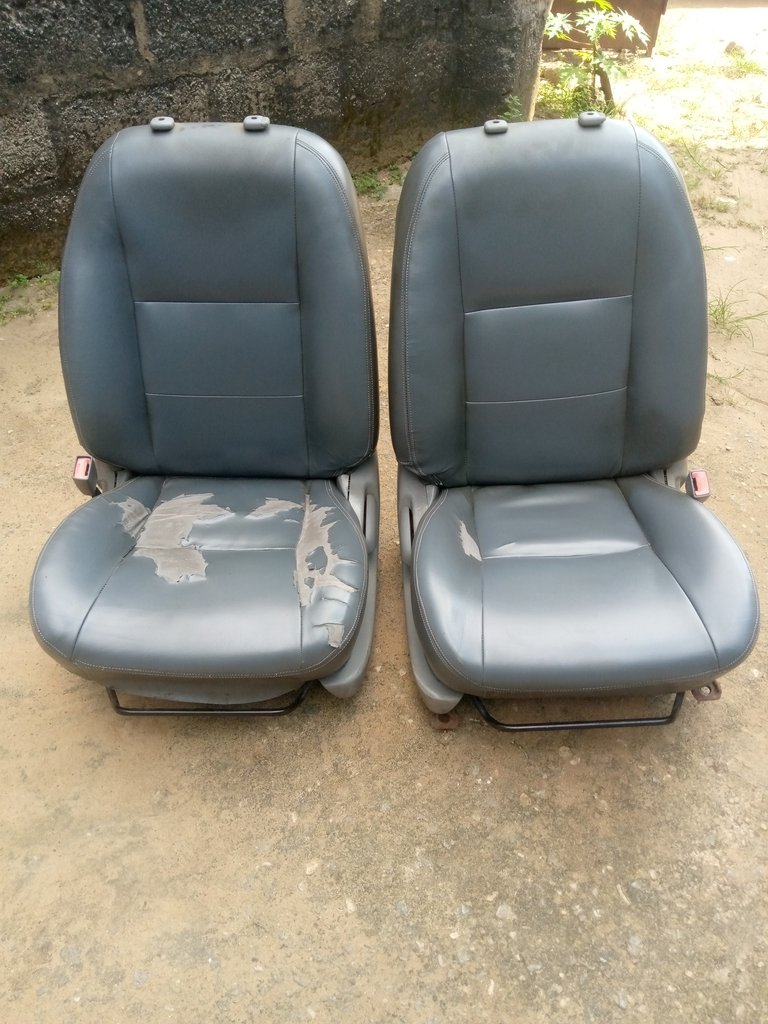
I then loose the side cover and then separate the main seat from the back.
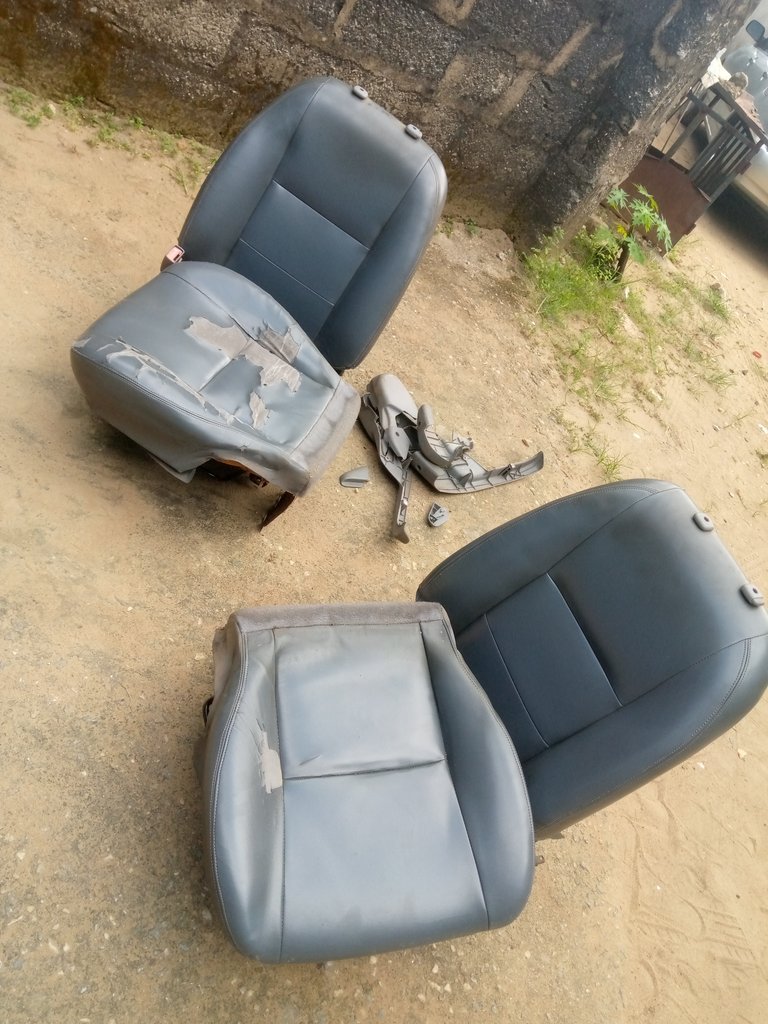
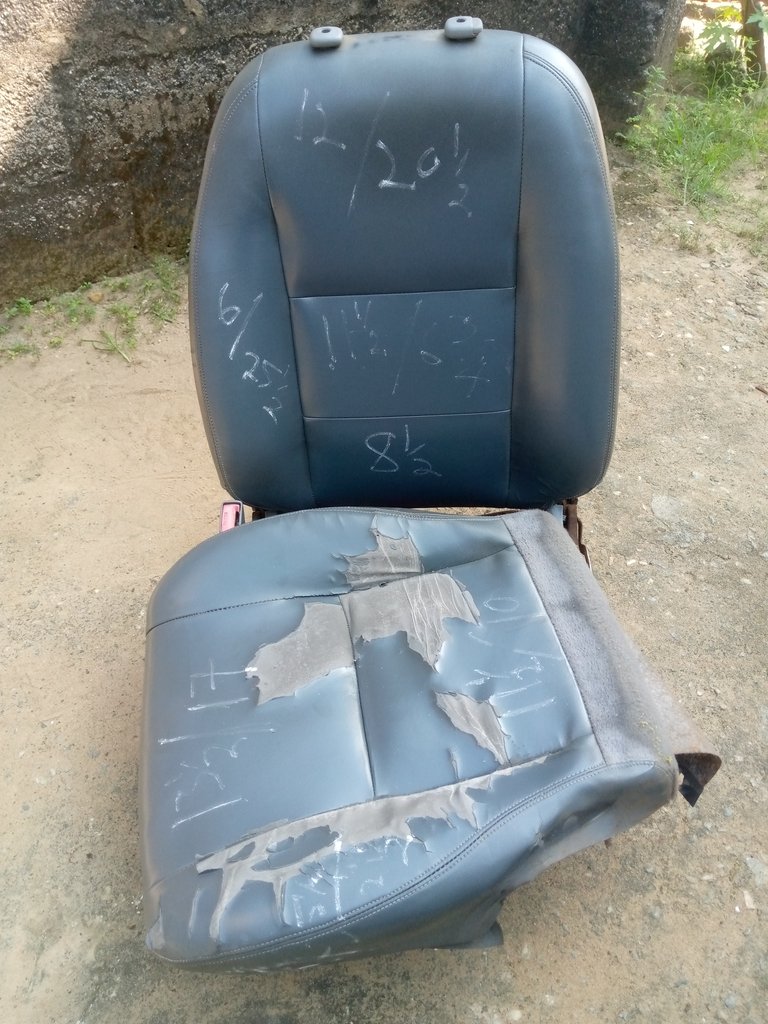
I then use a sewing tape to measure the length of each pattern of the seat and then pain it down.
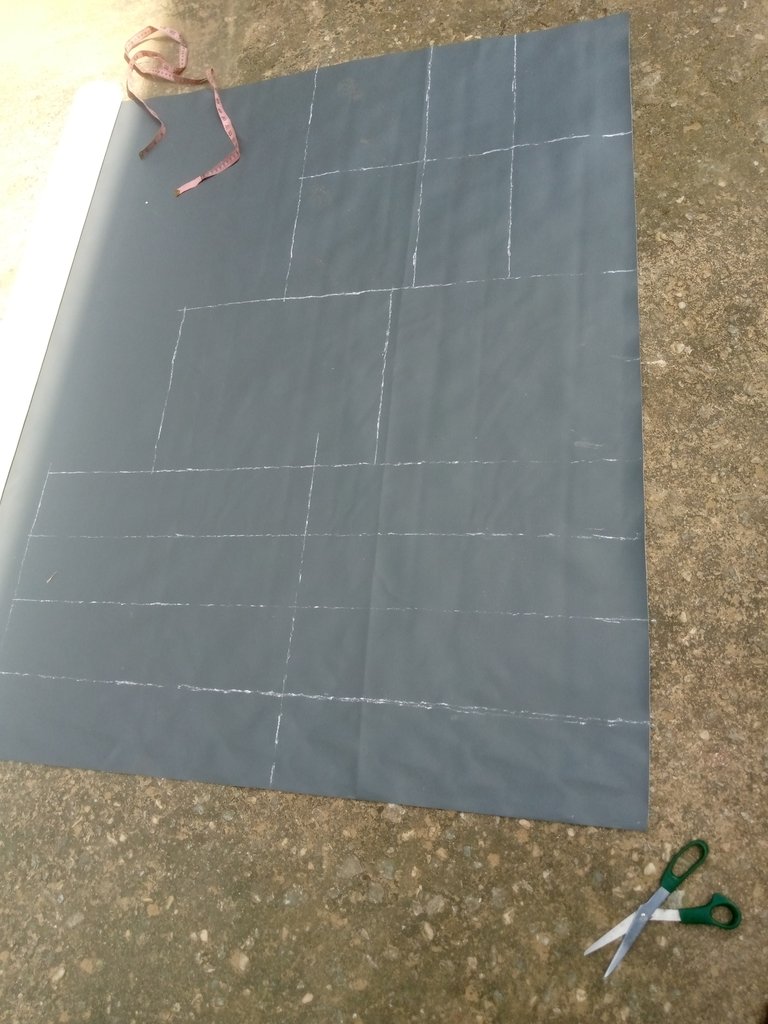
I then transfer the measurements to the new leather and mark it out.
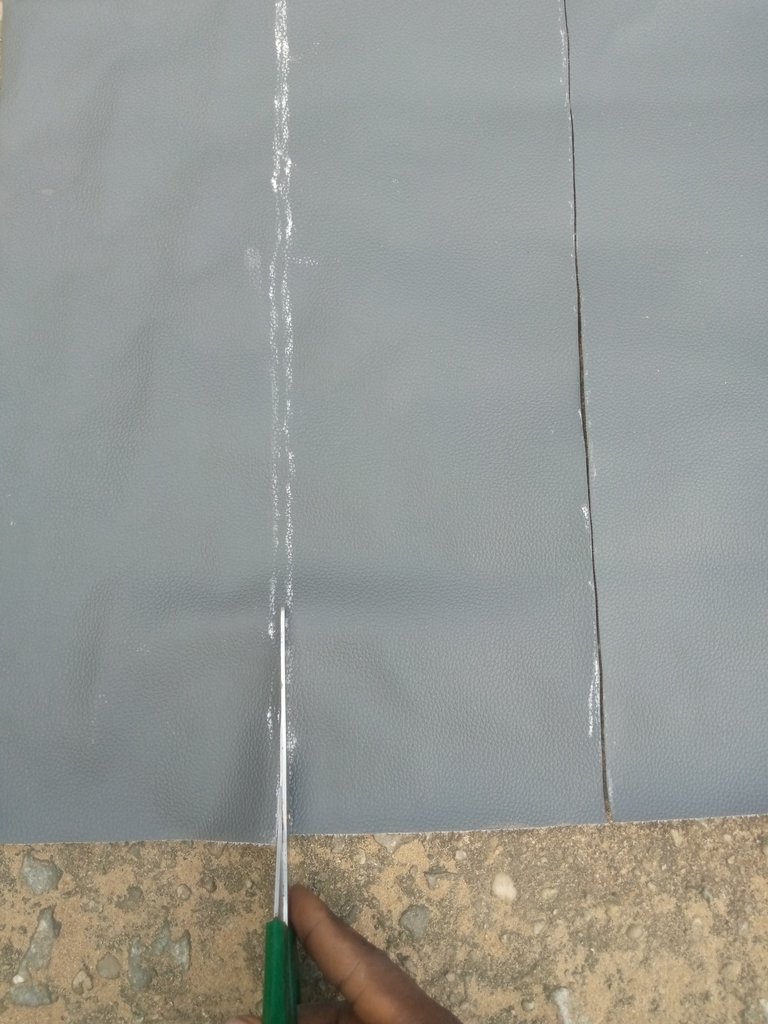
I then use scissors to cut it out following the line I draw.
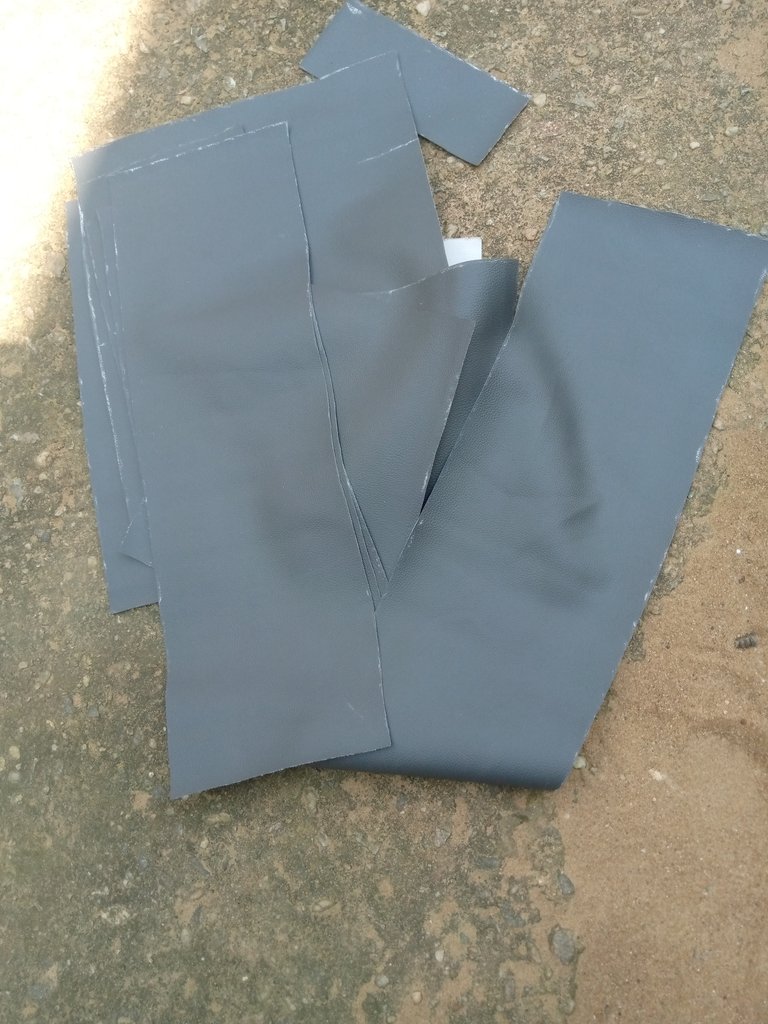
The next thing to do is to draft out the pattern from the cut material.
I place the cut material on its position and then draw the shape out as seen below.
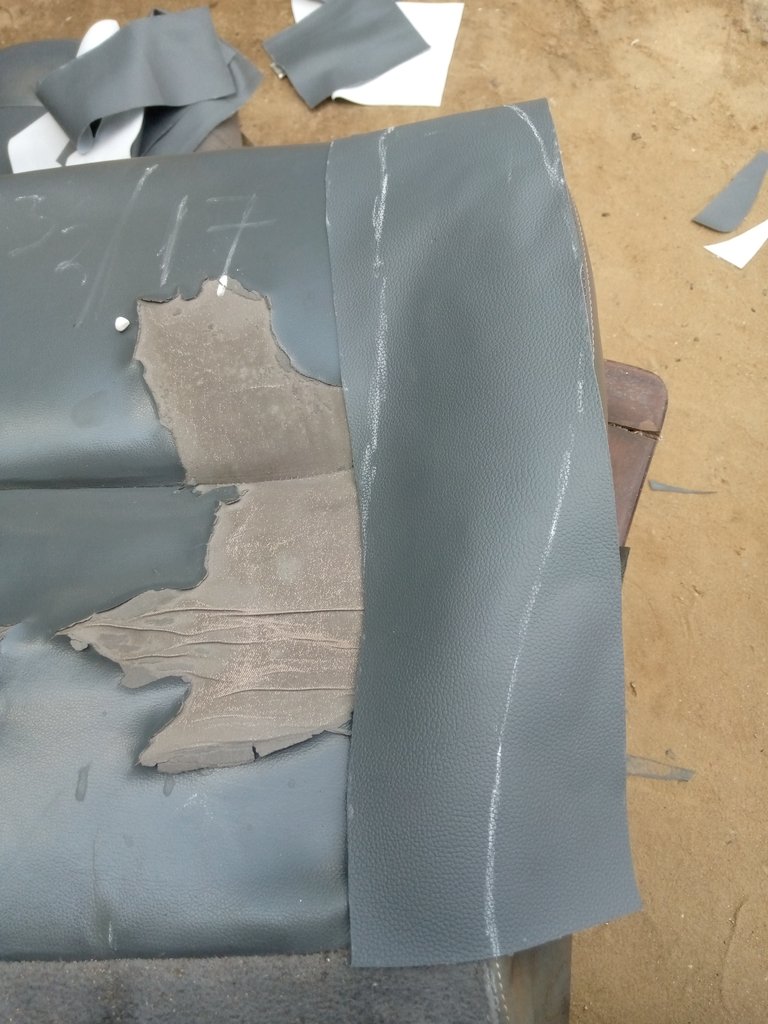
I then cut it out. Since the seats are the same I then place them at others and shape them out.
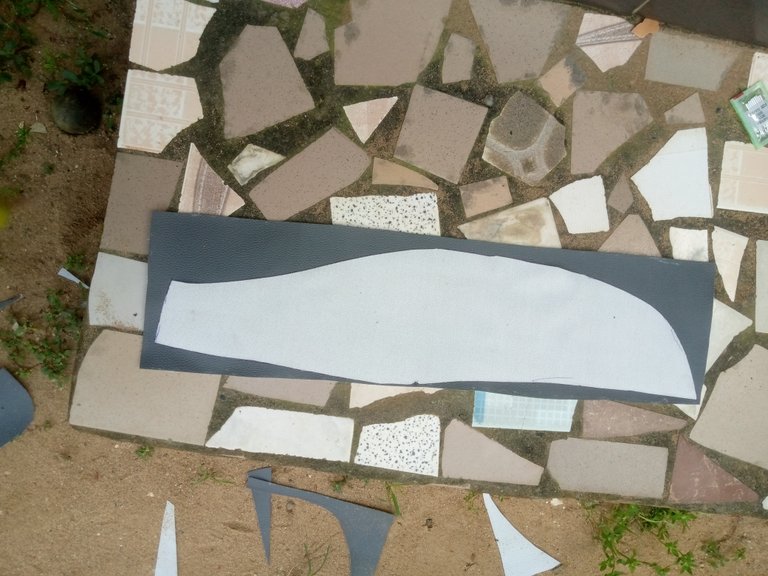
To make it smooth, I then place it on a roof material and then gum together.
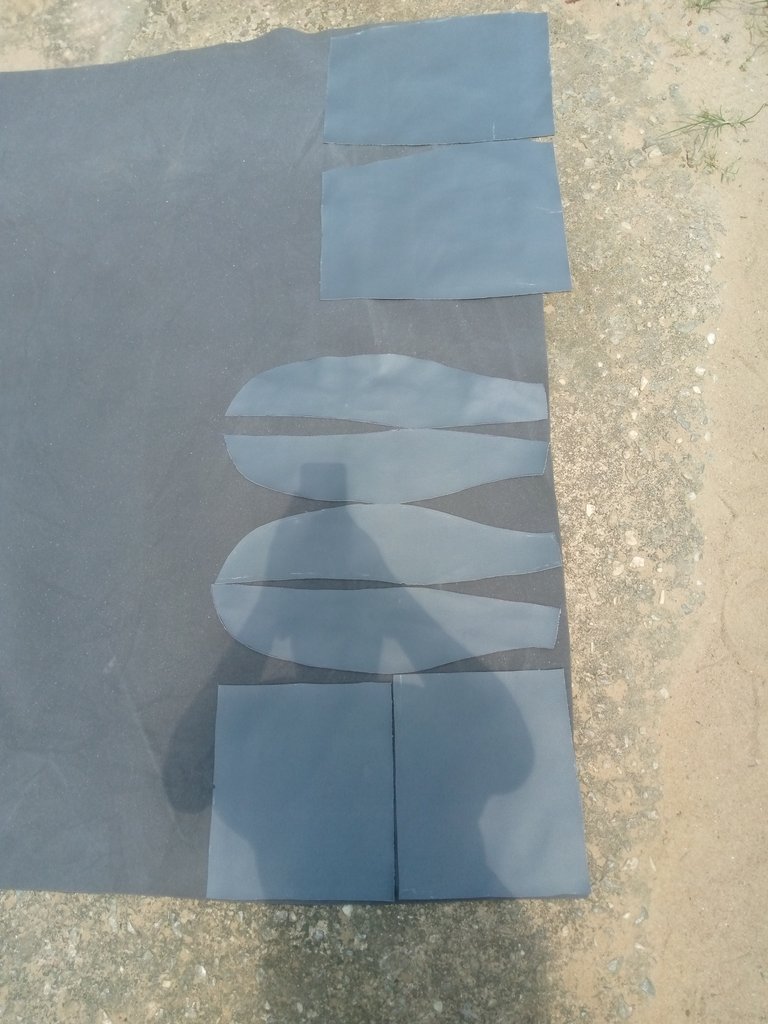
I then cut them out with the help of scissors.
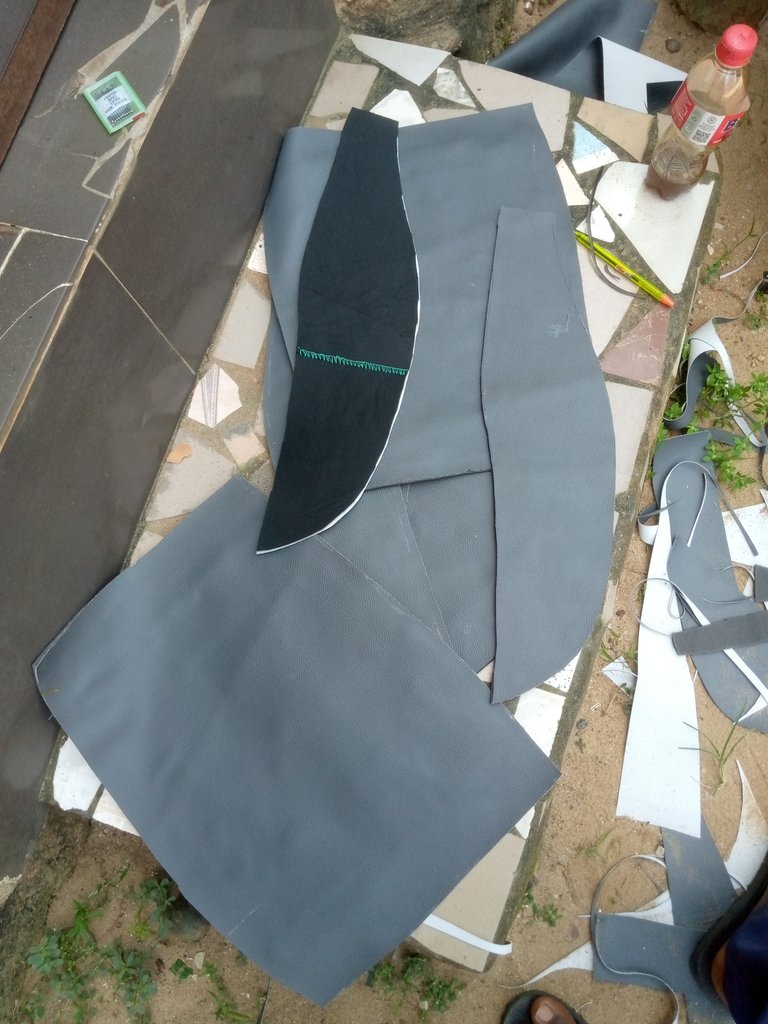
At this stage, I use my sewing machine to join all those patterns together for my new seat cover to be ready.
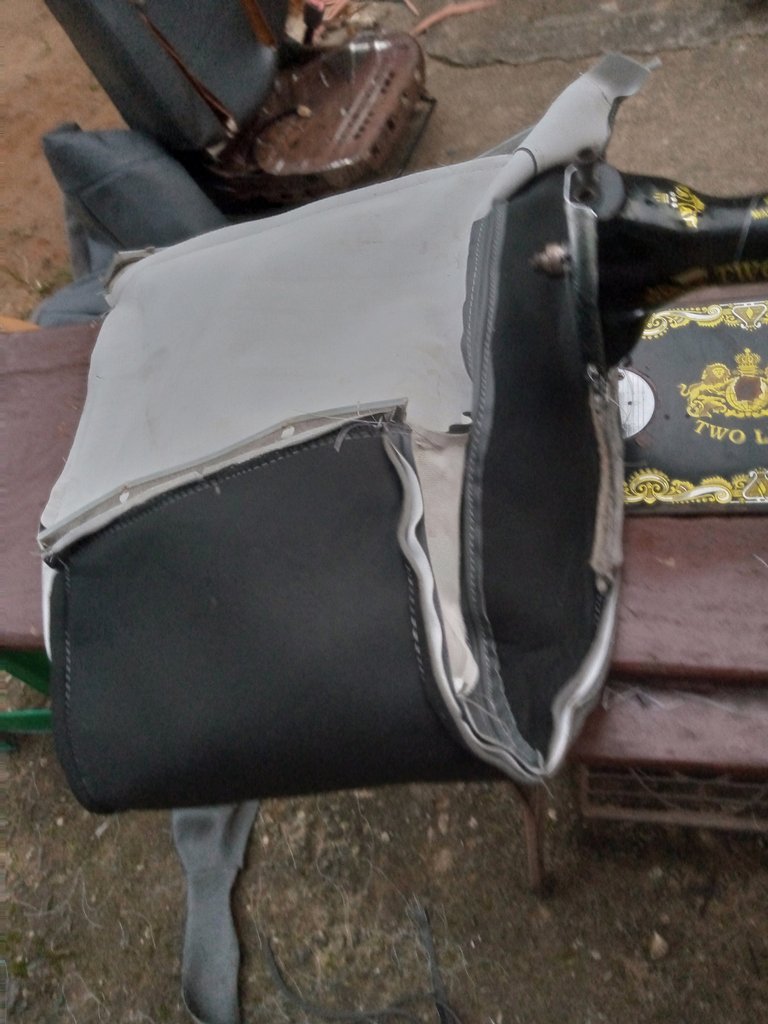
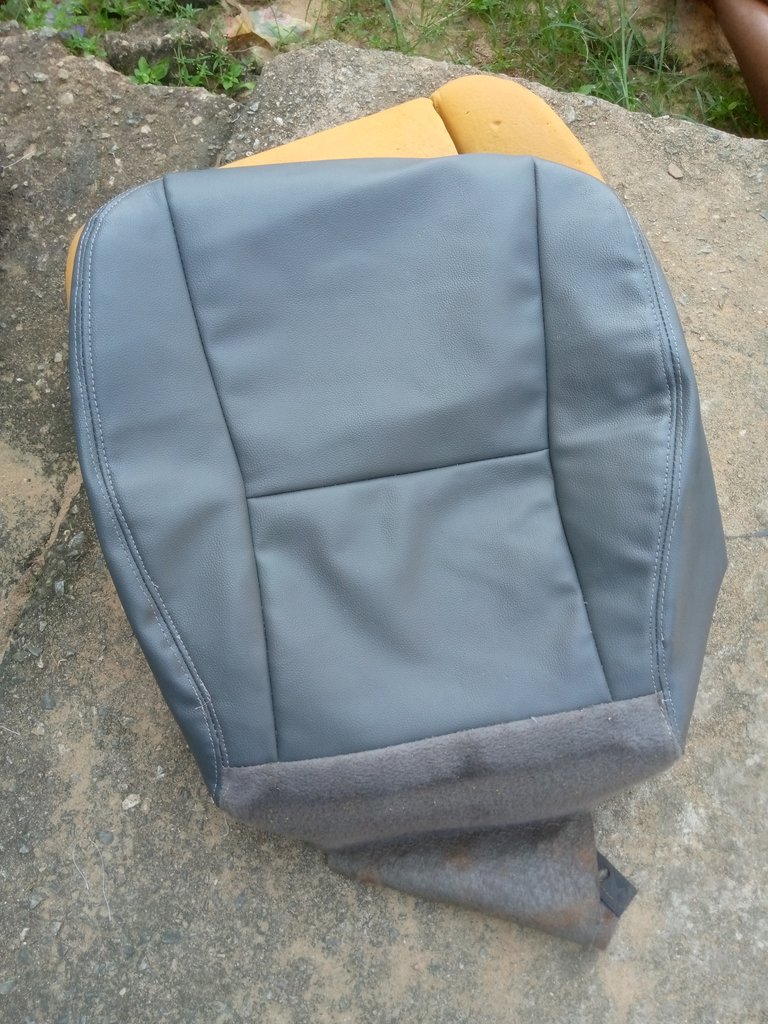
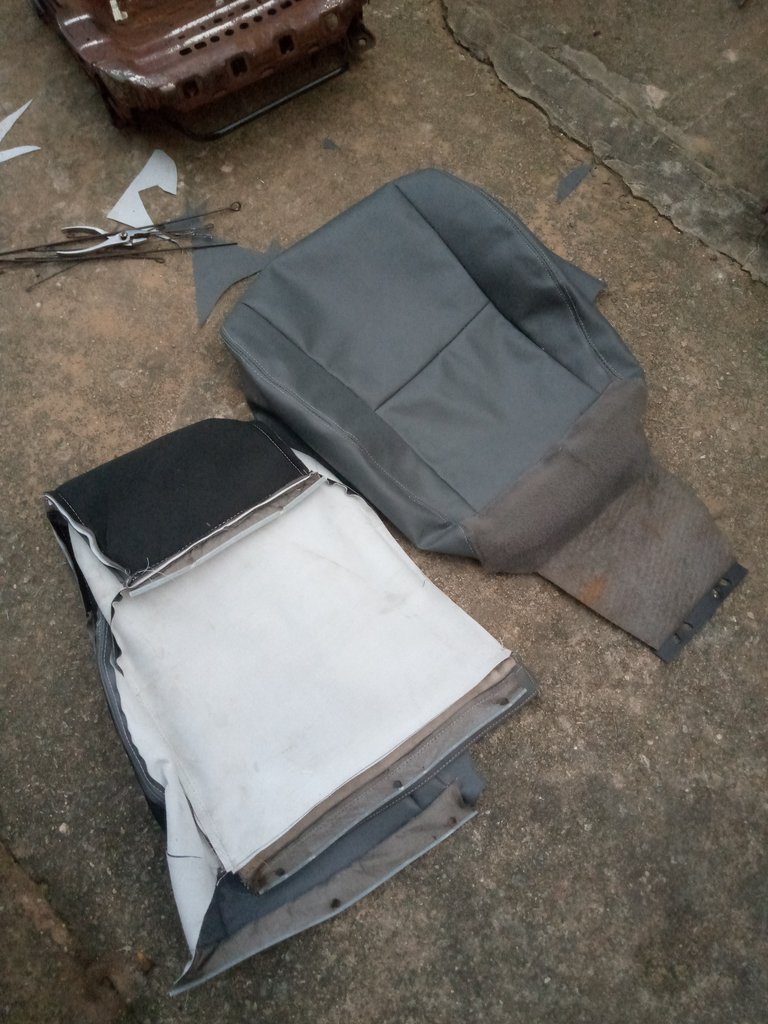
I then clip the new seat covers to the seat frame with the help of a plier.
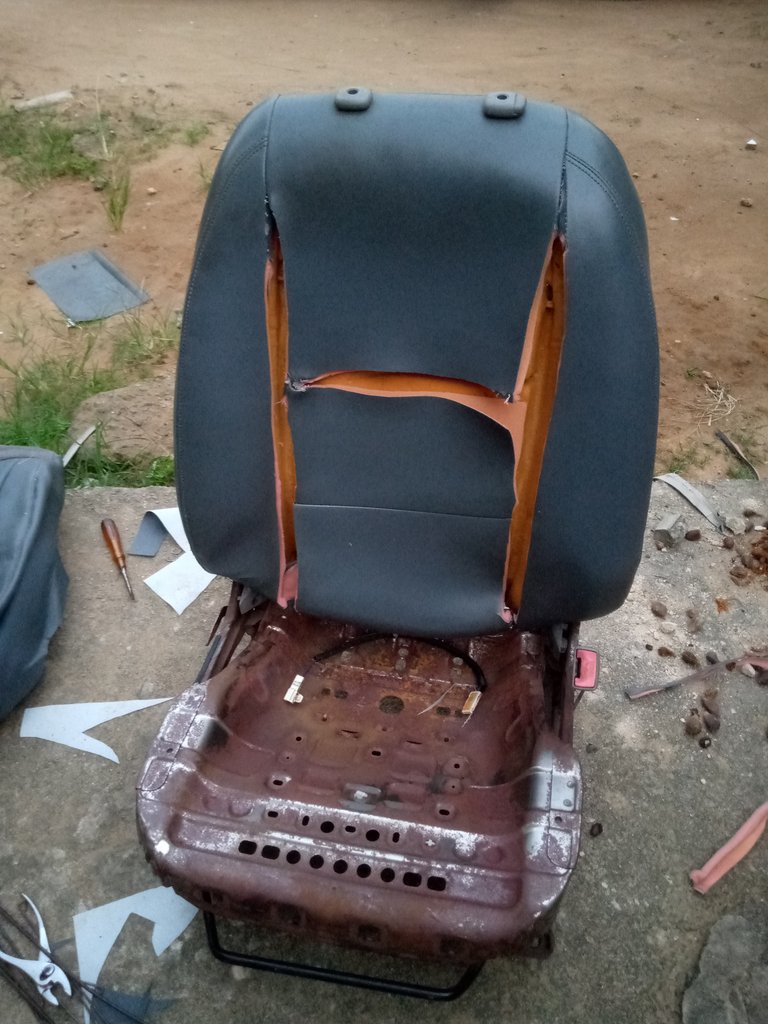
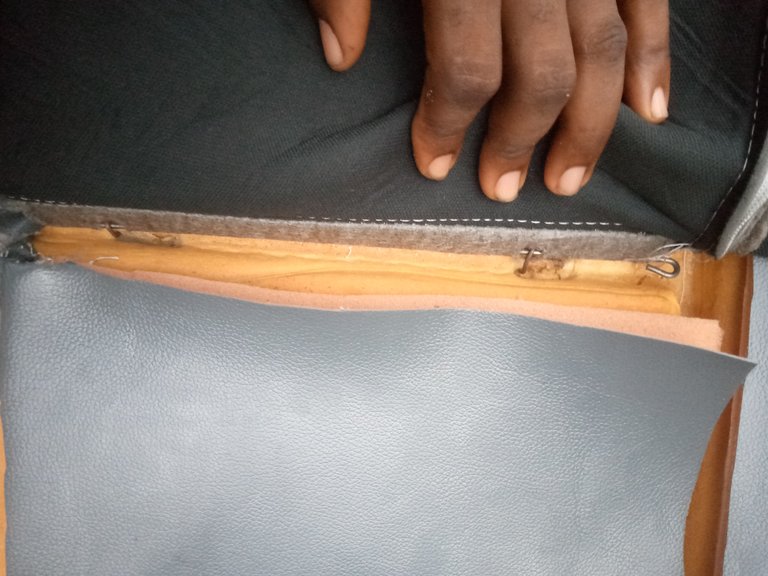
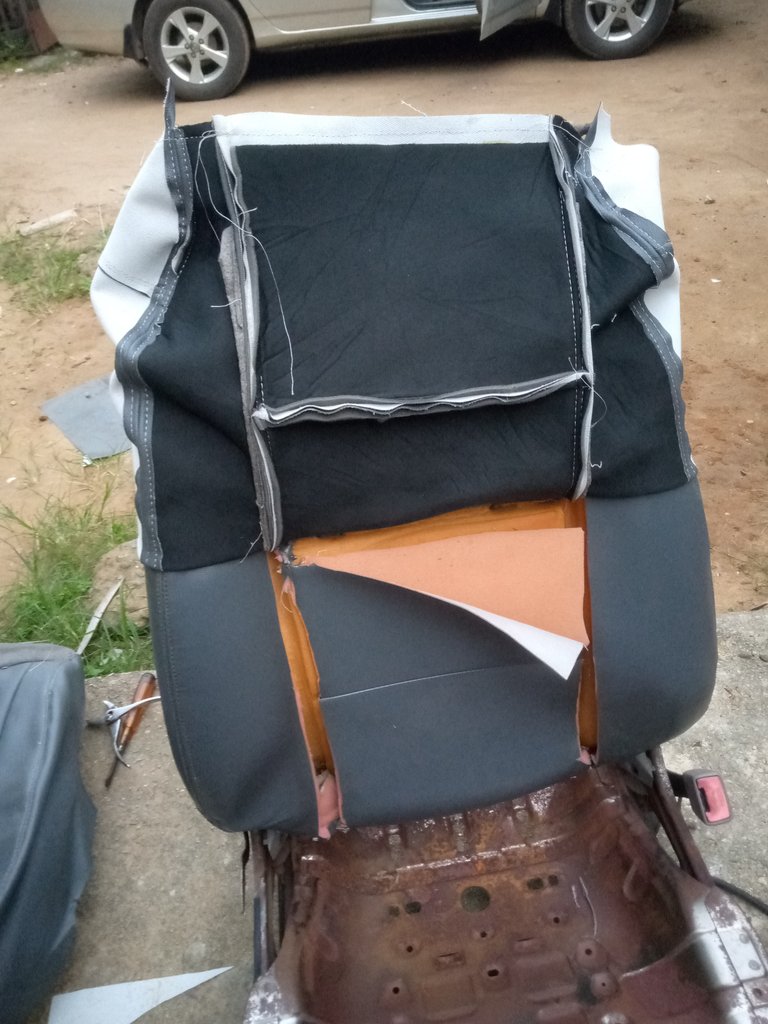
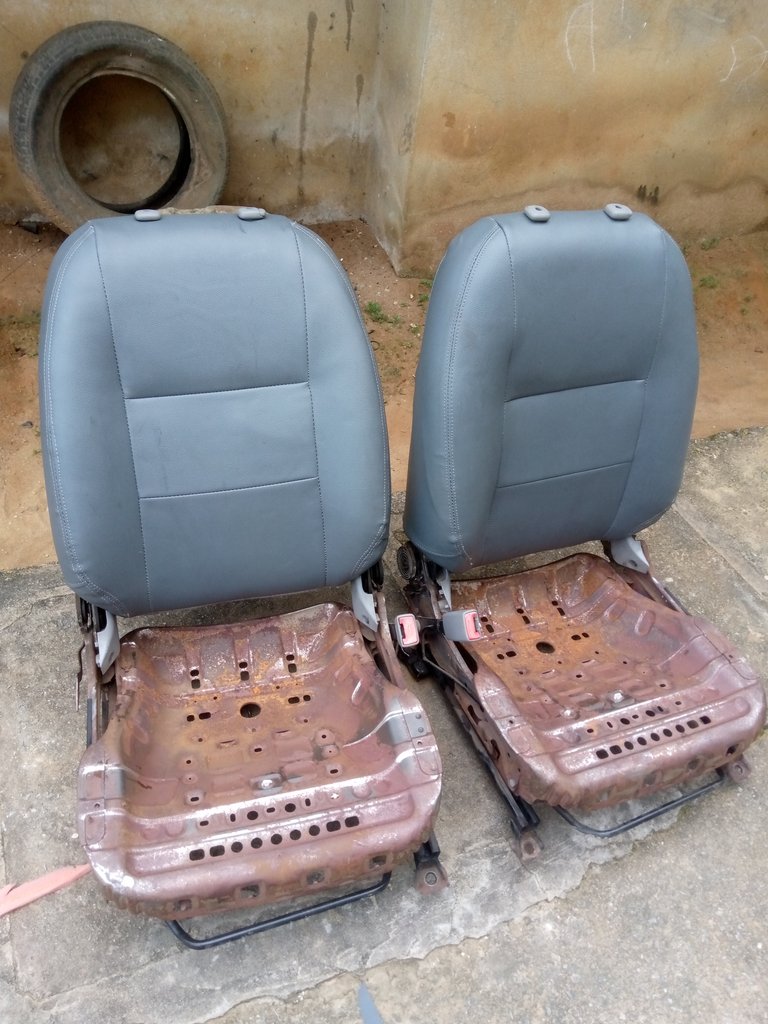
I then do the same to the man's seat.
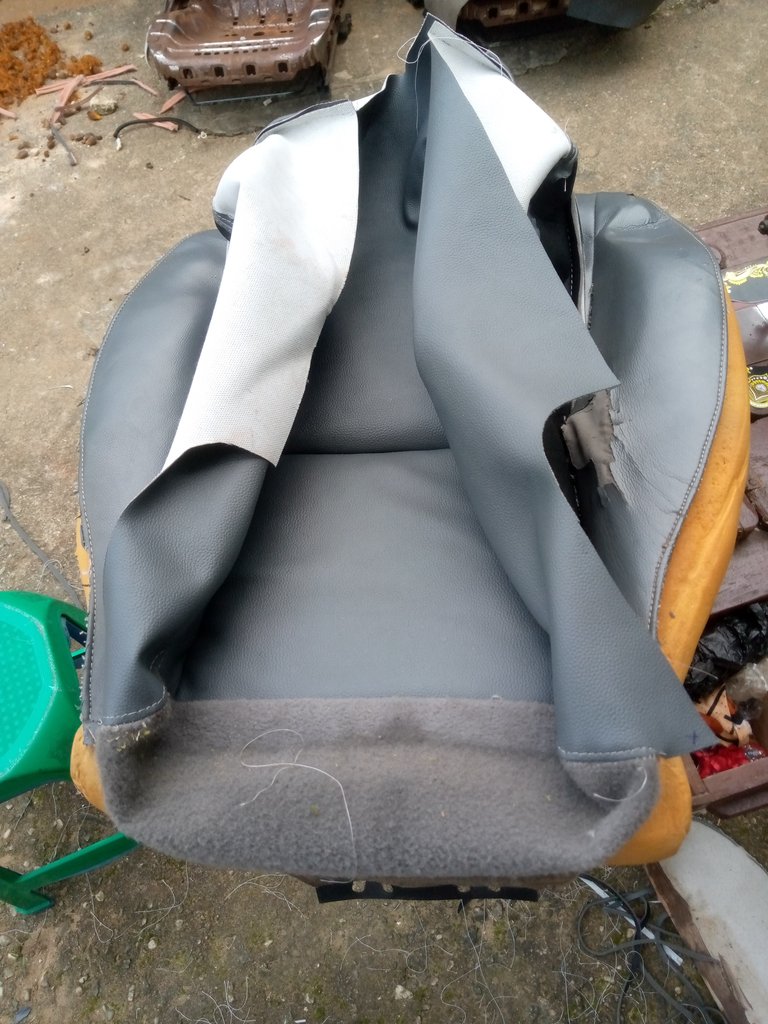
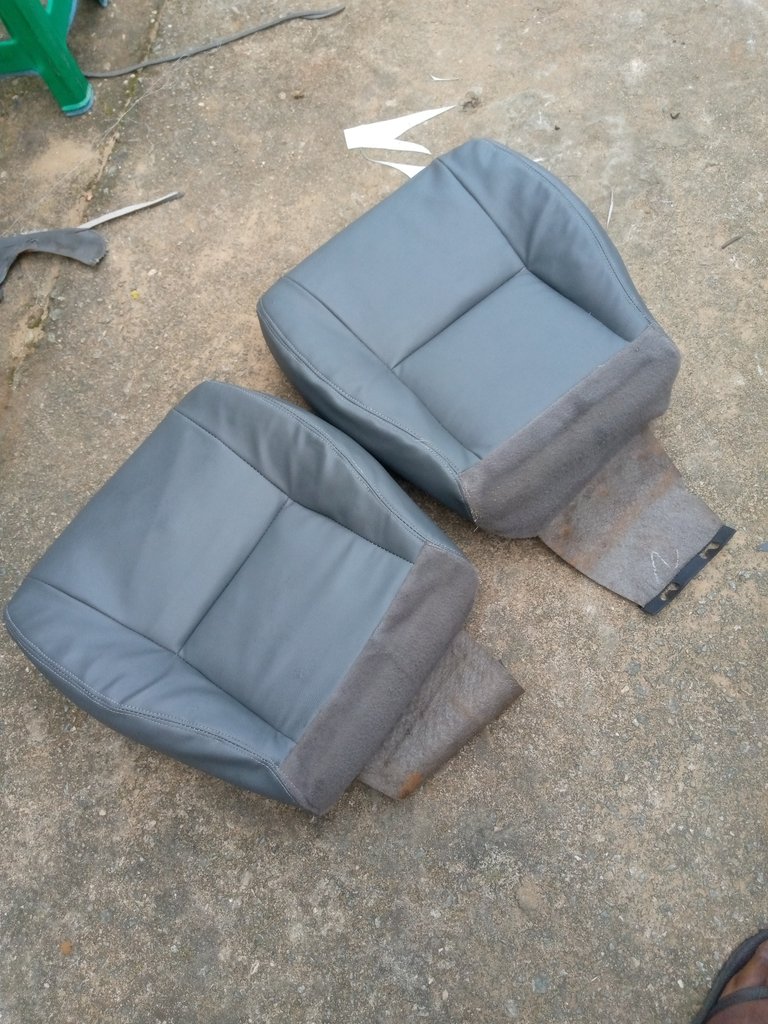
I then bring them together and then tighten them back as before.
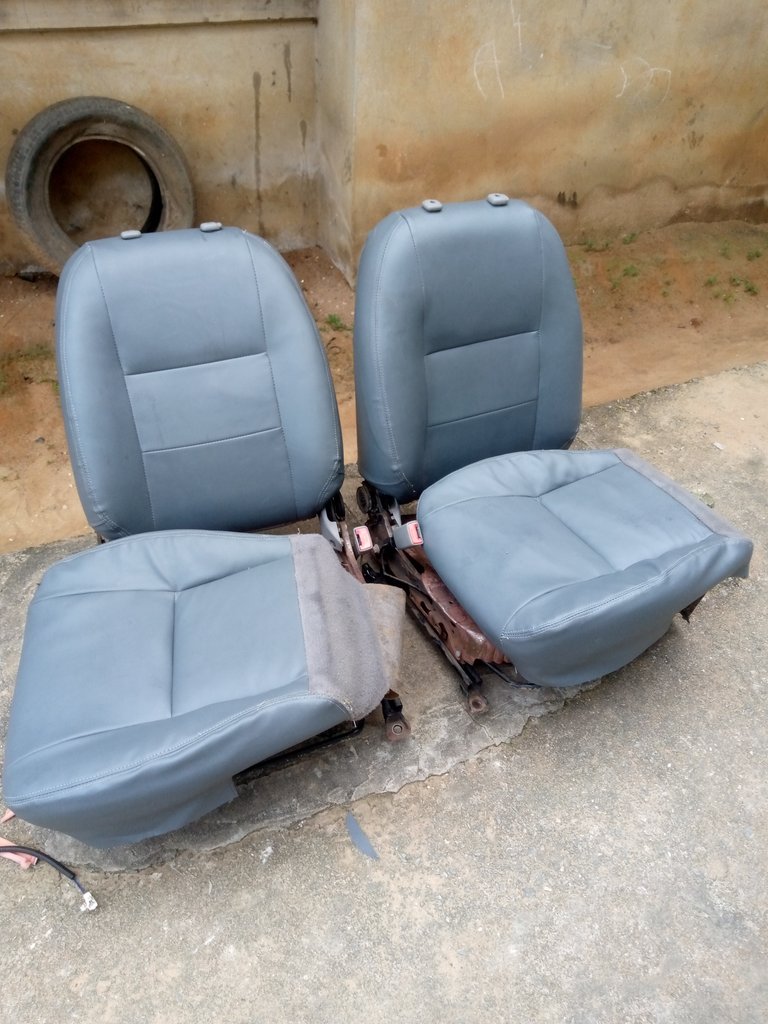
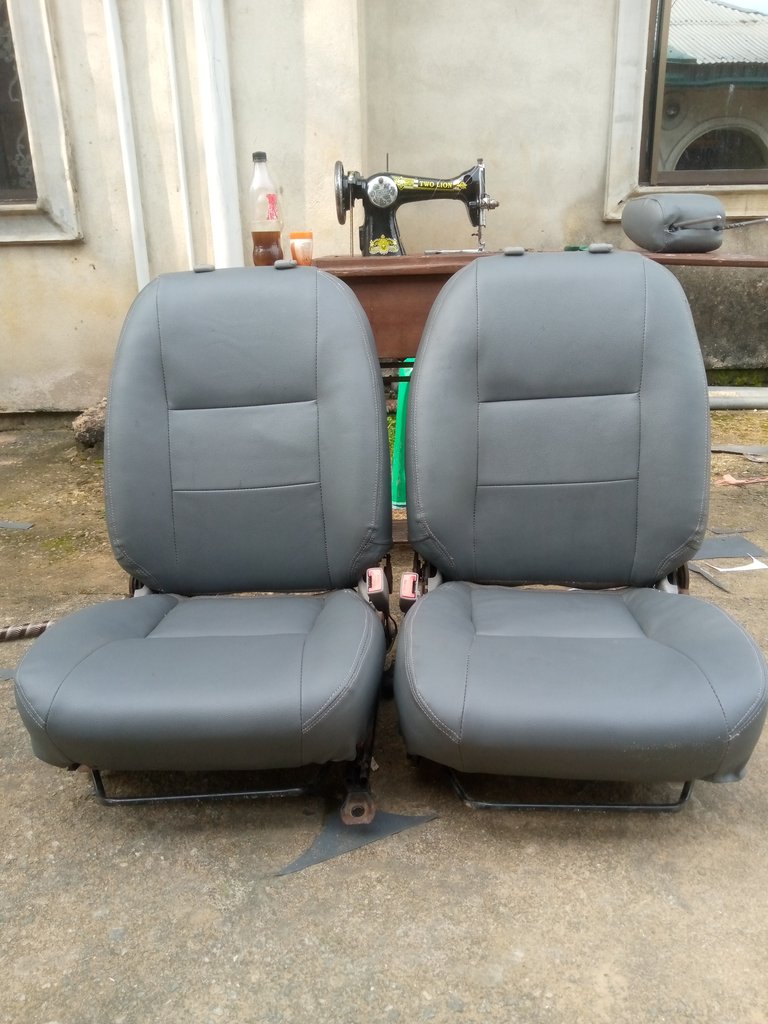
I then sew the headdress and then tight back the seat to the car.

That is how I achieved it. Hope it was simple to follow up and please if the is anything you don't understand you can drop a comment and I will do it for you. Thanks, everyone i appreciate your time
God bless you and please your support is needed.
Posted Using InLeo Alpha