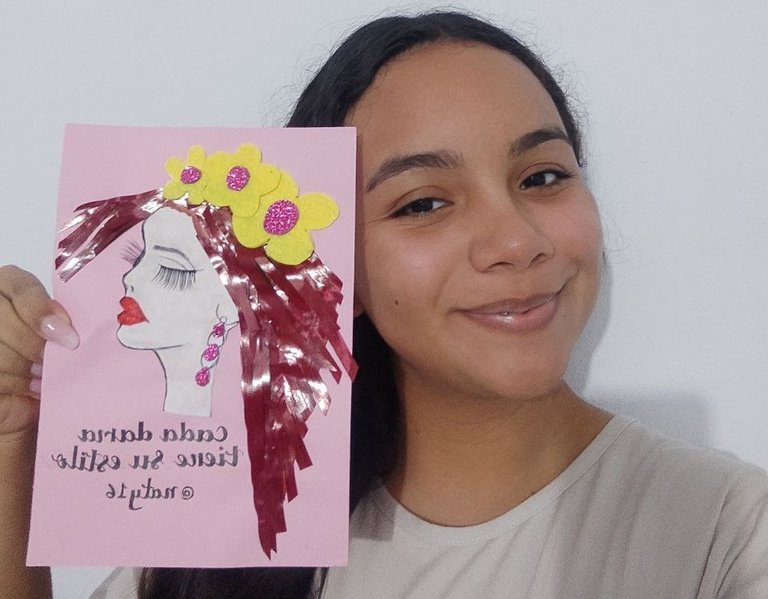
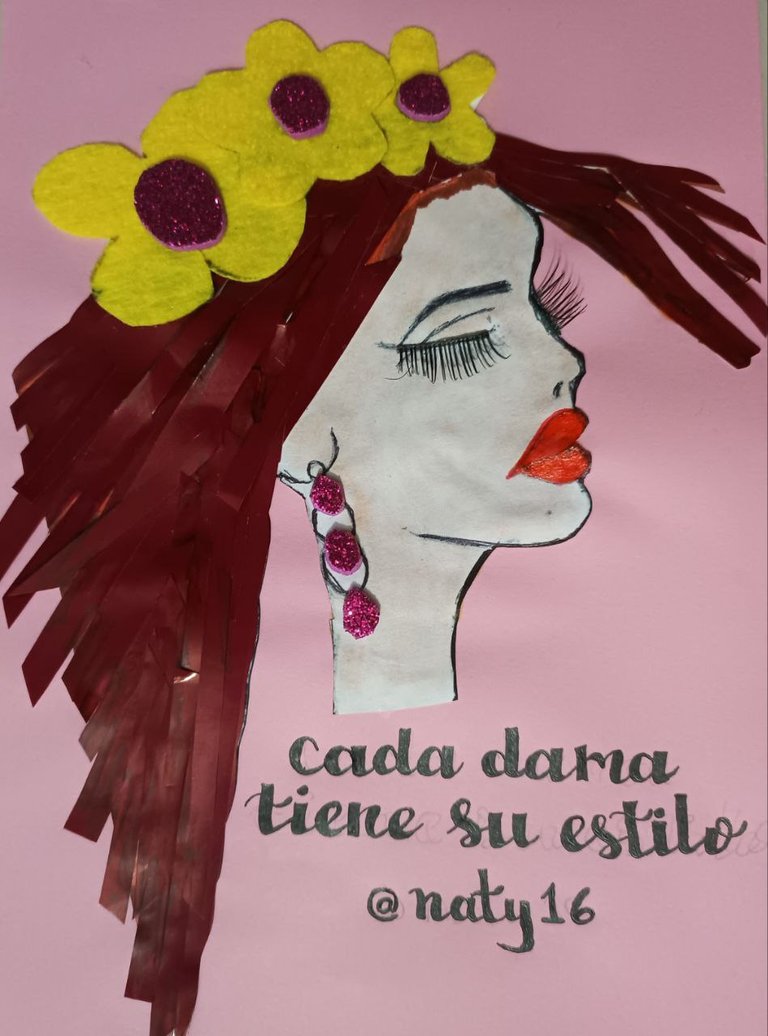
Hola amigos Hivers, hoy quiero compartir con ustedes como realice un cuadro inspirado en que cada dama tiene su estilo, que surgió de que querer dibujar la silueta de una dama y poco a poco fue incorporando detalles con diferentes tipos de materiales que realmente le dio un toque muy particular al cuadro de esta dama, a mí particularmente me encanto.
Hello friends Hivers, today I want to share with you how I made a painting inspired by that every lady has her style, which arose from wanting to draw the silhouette of a lady and gradually was incorporating details with different types of materials that really gave a very special touch to the painting of this lady, I particularly loved it.
Materiales Utilizados / Materials Used:
- Hoja de papel.
- Lápiz grafito.
- Papel lustrillo color marrón.
- Silicona líquida.
- Fieltro de color amarillo.
- Foami de color fucsia.
- Polvo facial.
- Hisopo.
- Pintura de uña color rojo.
- Pestañas postizas.
- Cartulina de color rosado.
- Marcador de color negro.
- Sheet of paper.
- Graphite pencil.
- Brown glossy paper.
- Liquid silicone.
- Yellow felt.
- Fuchsia colored foam.
- Facial powder.
- Swab.
- Red nail polish.
- False eyelashes.
- Pink cardboard.
- Black marker.
Elaboración:
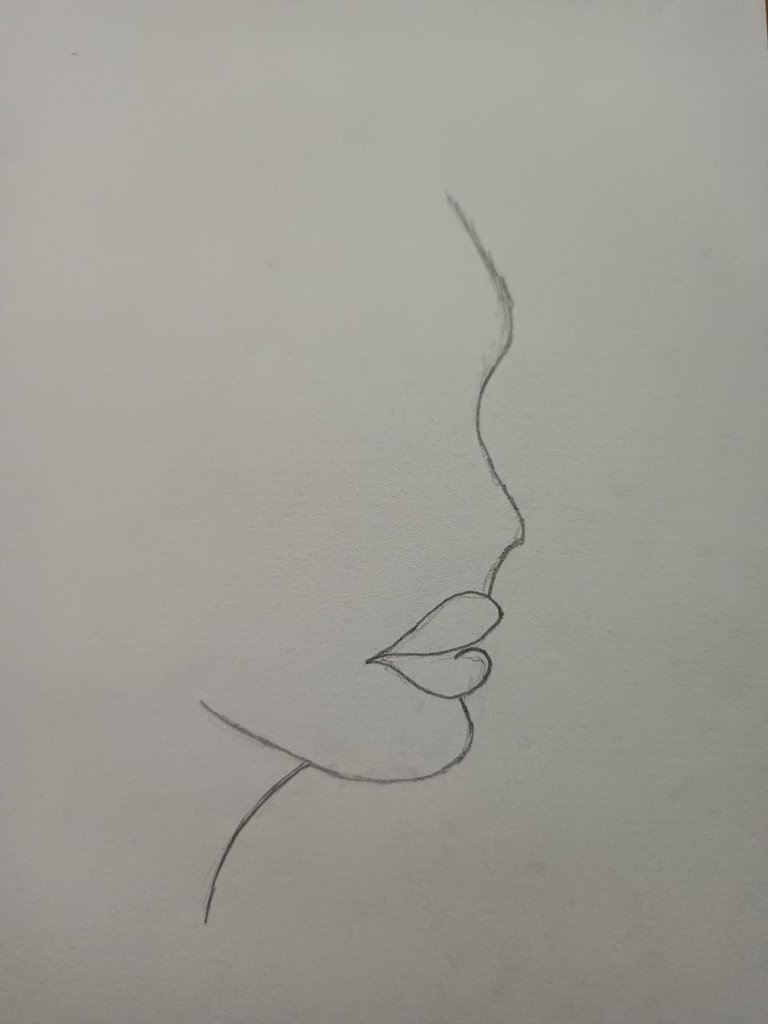
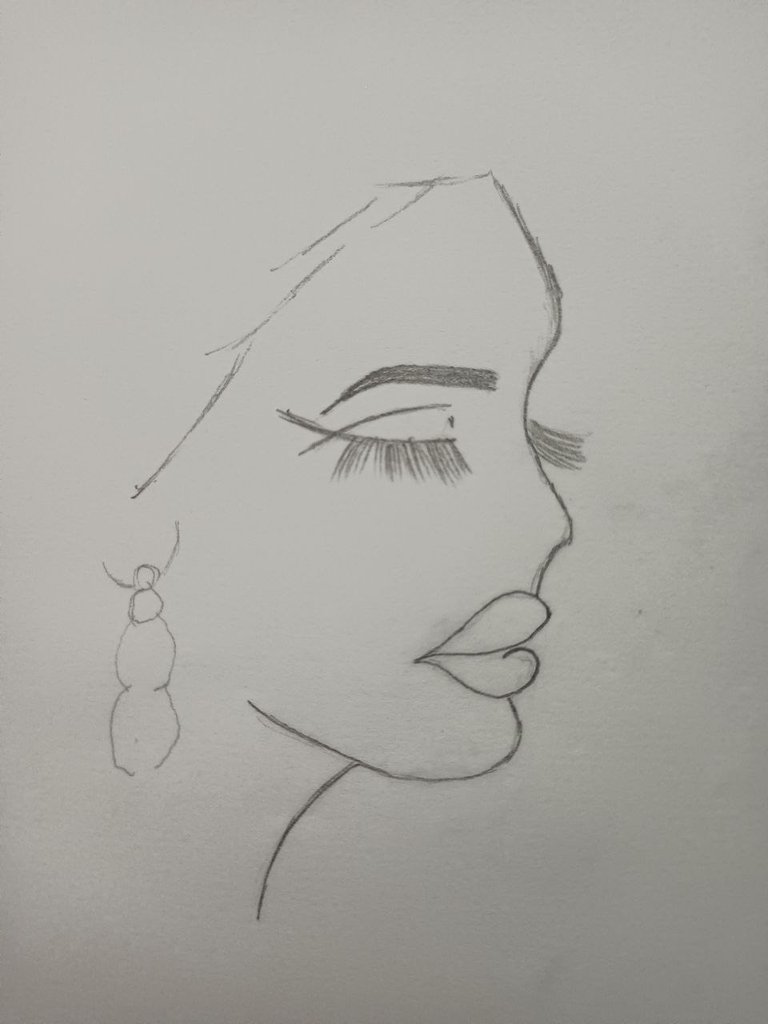
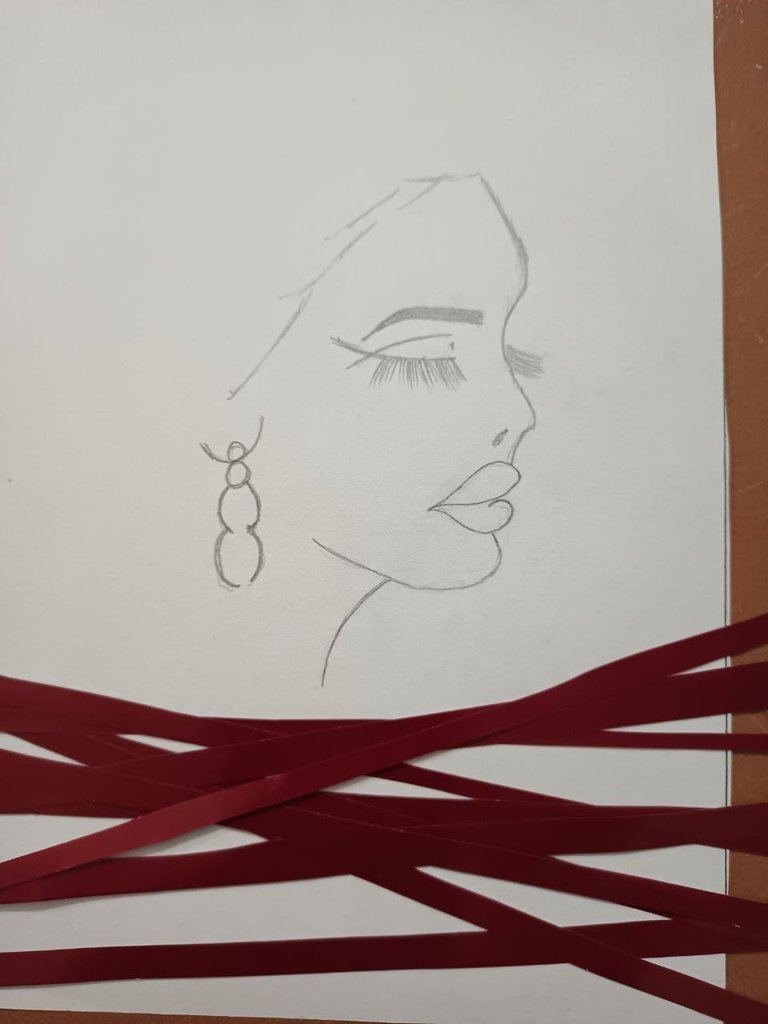
Paso 1: Inicié creando la silueta del rostro de una dama, para eso usé una hoja blanca y un lápiz grafito para dibujar el borde del rostro desde la frente, nariz, labios, barba e inclusive el cuello. Luego realicé trazos para definir el borde del cabello, las cejas, los ojos y pestañas, y además la oreja, y unos zarcillos colgantes.
Step 1: I started by creating the silhouette of a lady's face, for that I used a white sheet of paper and a graphite pencil to draw the edge of the face from the forehead, nose, lips, beard and even the neck. Then I made strokes to define the edge of the hair, eyebrows, eyes and eyelashes, and also the ear, and some hanging tendrils.
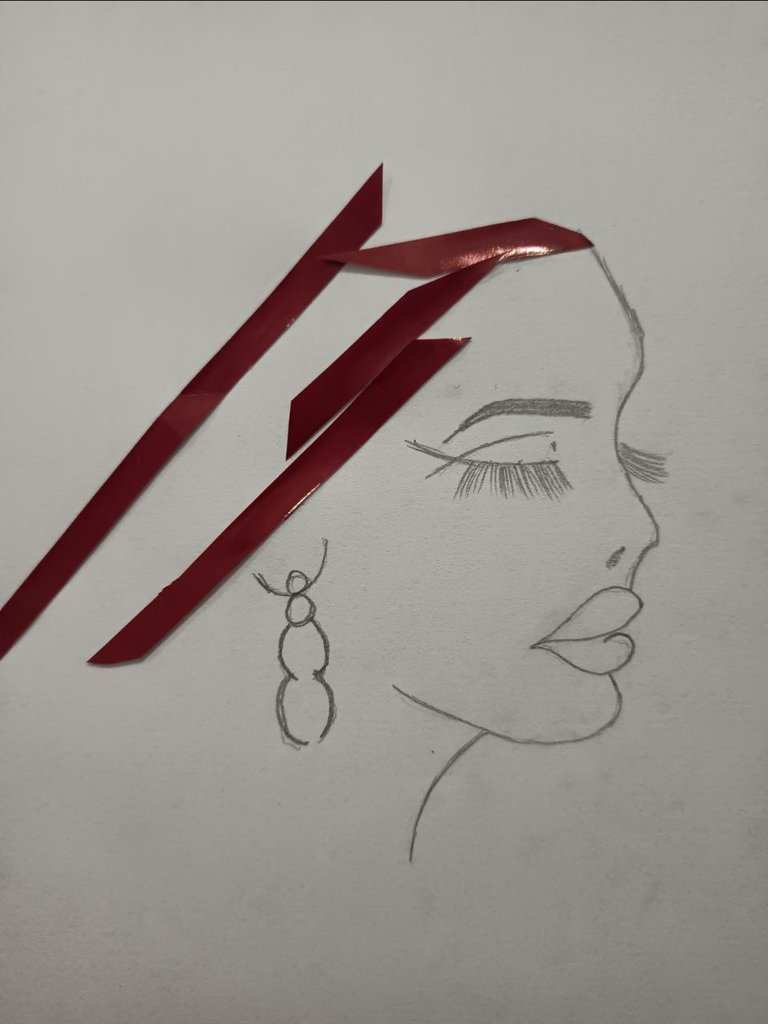
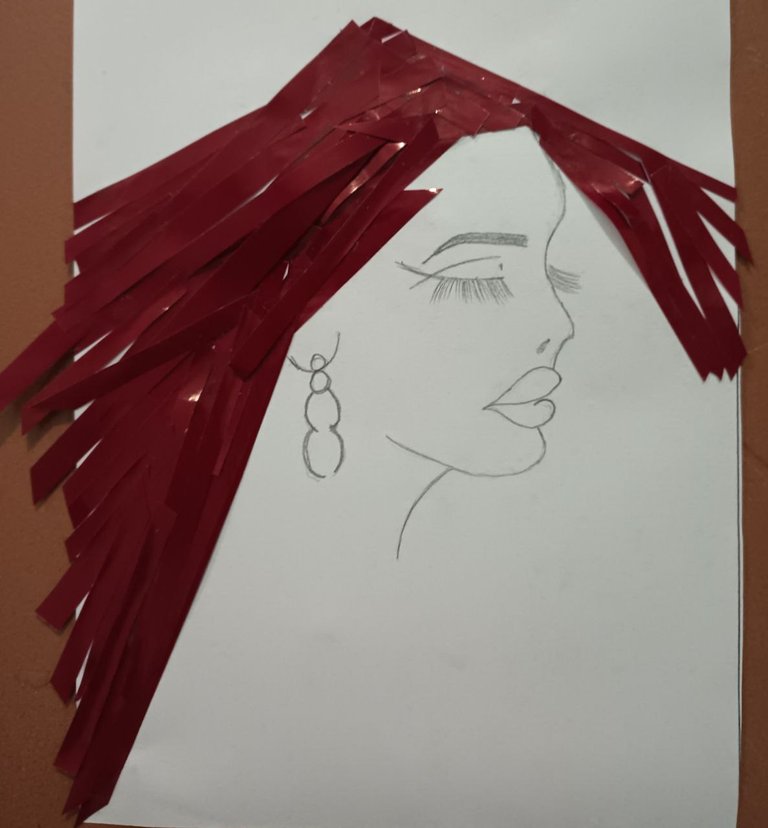
Paso 2: Luego de tener mi dibujo a lápiz listo, llegó el momento de incorporar el papel lustrillo color marrón a mi cuadro. Entonces corte varias tiras de 0,7 cm aproximadamente de ancho y con la silicona líquida empecé a pegar en el borde del cabello, hasta que completé el cabello de ambos lados de la dama.
Step 2: After I had my pencil drawing ready, it was time to incorporate the brown luster paper to my painting. Then I cut several strips of about 0.7 cm wide and with the liquid silicone I started gluing on the edge of the hair, until I completed the hair on both sides of the lady.
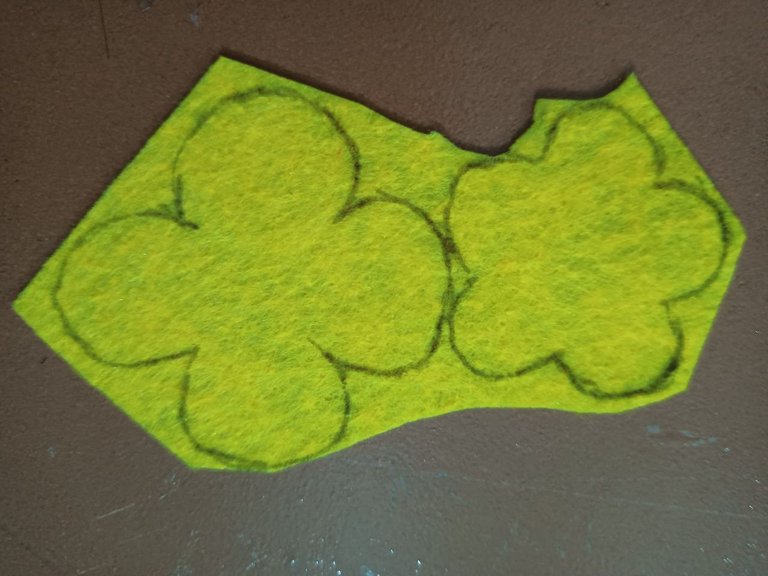
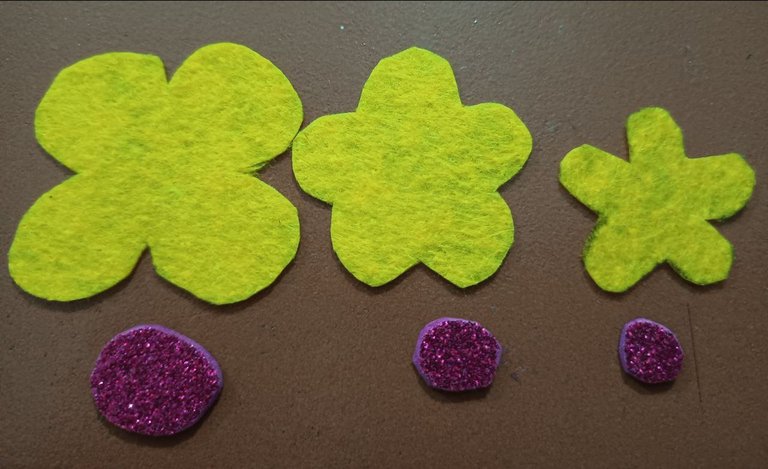
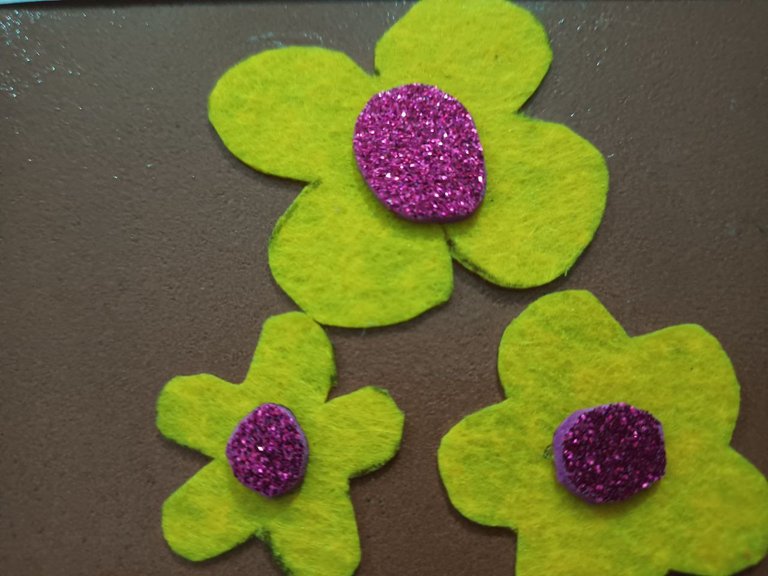
Paso 3: Ahora les muestro cómo elaboré unas lindas y pequeñas flores amarillas en fieltro. Para eso tomé un lapicero y dibujé tres flores con tamaños diferentes. Usé la tijera para recortar las flores de fieltro. Luego usé el foami rosado brillante para recortar tres círculos pequeños que posteriormente pegué con la silicona en el centro de cada flor.
Step 3: Now I show you how I made some cute little yellow flowers in felt. For that I took a pencil and drew three flowers with different sizes. I used the scissors to cut out the felt flowers. Then I used the bright pink foami to cut out three small circles that I glued with silicone in the center of each flower.
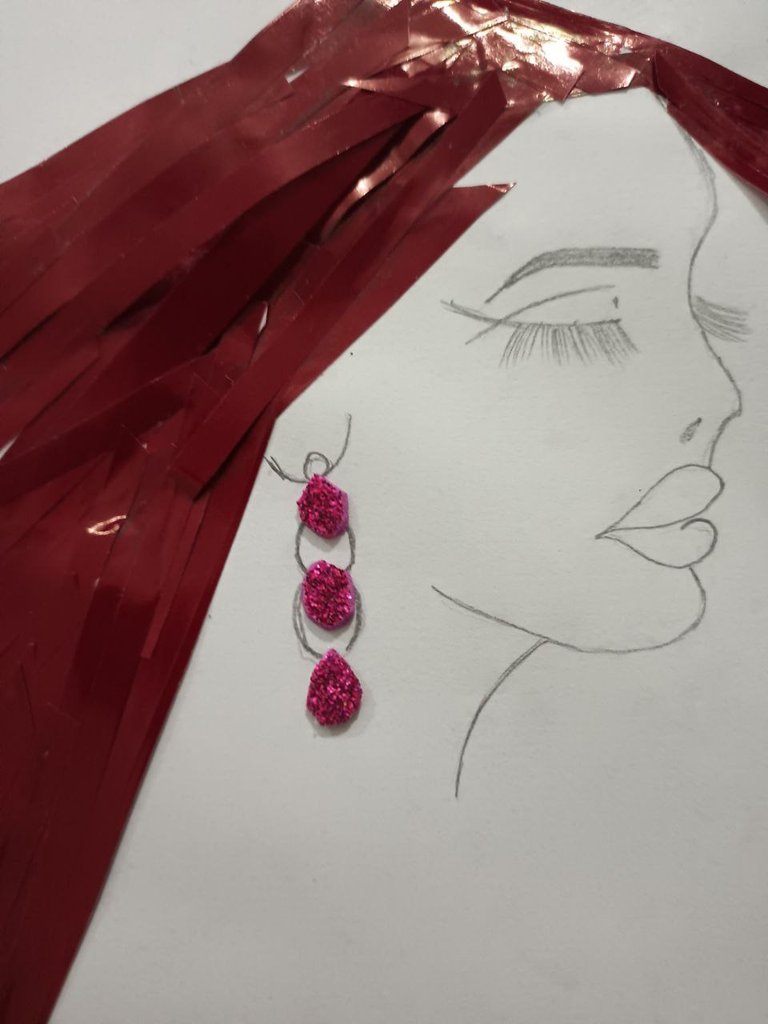
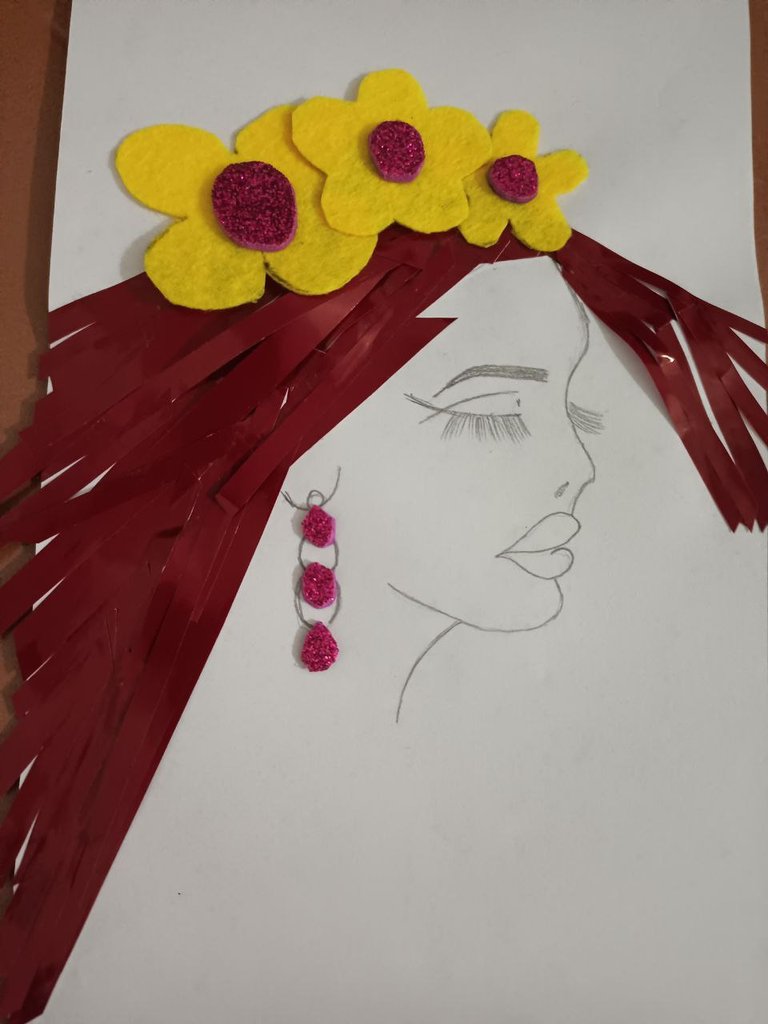
Paso 4: Para completar los accesorios de mi linda dama, marque y recorté tres pedazos en forma ovalada, que luego pegué en el área del zarcillo, de tal manera de hacer resaltar los zarcillos.
Step 4: To complete my pretty lady's accessories, I marked and cut out three oval-shaped pieces, which I then glued in the tendril area, so as to make the tendrils stand out.
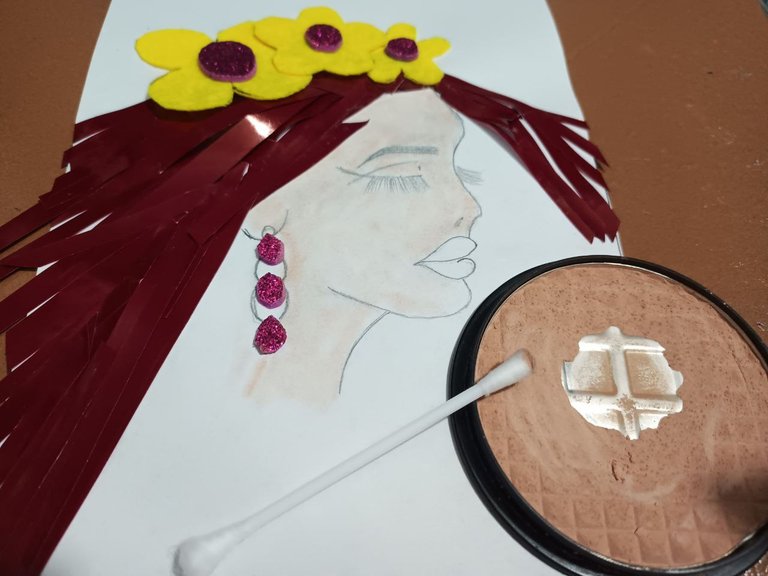
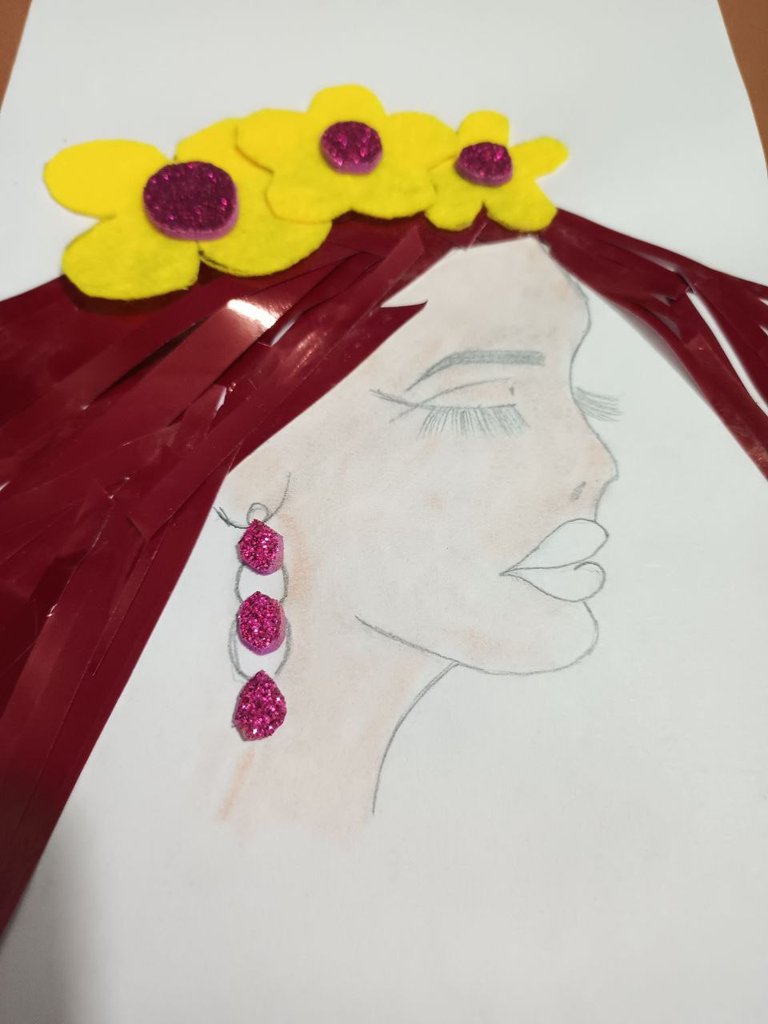
Paso 5: Este es el momento en que tocó darle color a la dama. Para eso usé polvo facial, y con ayuda de hisopo le apliqué en todo el rostro y cuello. Luego usé la pintura de uñas para dibujar con mucho cuidado los labios. Y tomé unas pestañas postizas para pegarla y darle un estilo real a la dama.
Step 5: This is the moment when it was time to give color to the lady. For that I used face powder, and with the help of a cotton swab I applied it all over her face and neck. Then I used the nail polish to carefully draw the lips. And I took some false eyelashes to glue it and give a real style to the lady.
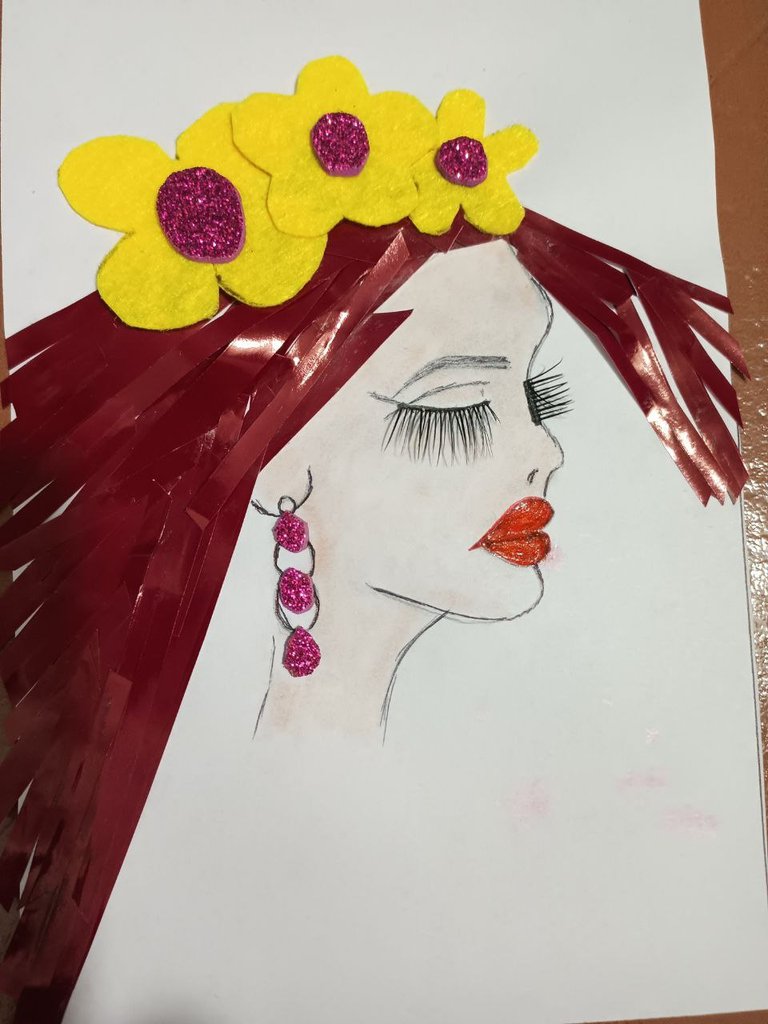
Paso 6: Para finalizar, usé la tijera para recortar desde la hoja mi dama, y luego la pegué en la base de cartulina de color rosado. Aproveché de resaltar los bordes con un marcador negro de punta fina. Y con el marcador le coloqué la frase que determina este cuadro: Cada dama tiene su estilo y agregué el nombre de mi usuario para personalizarlo.
Step 6: To finish, I used the scissors to cut out my lady from the sheet, and then glued it to the pink cardstock base. I took the opportunity to highlight the edges with a fine tip black marker. And with the marker I placed the phrase that determines this picture: Every lady has her style and I added my user's name to personalize it.
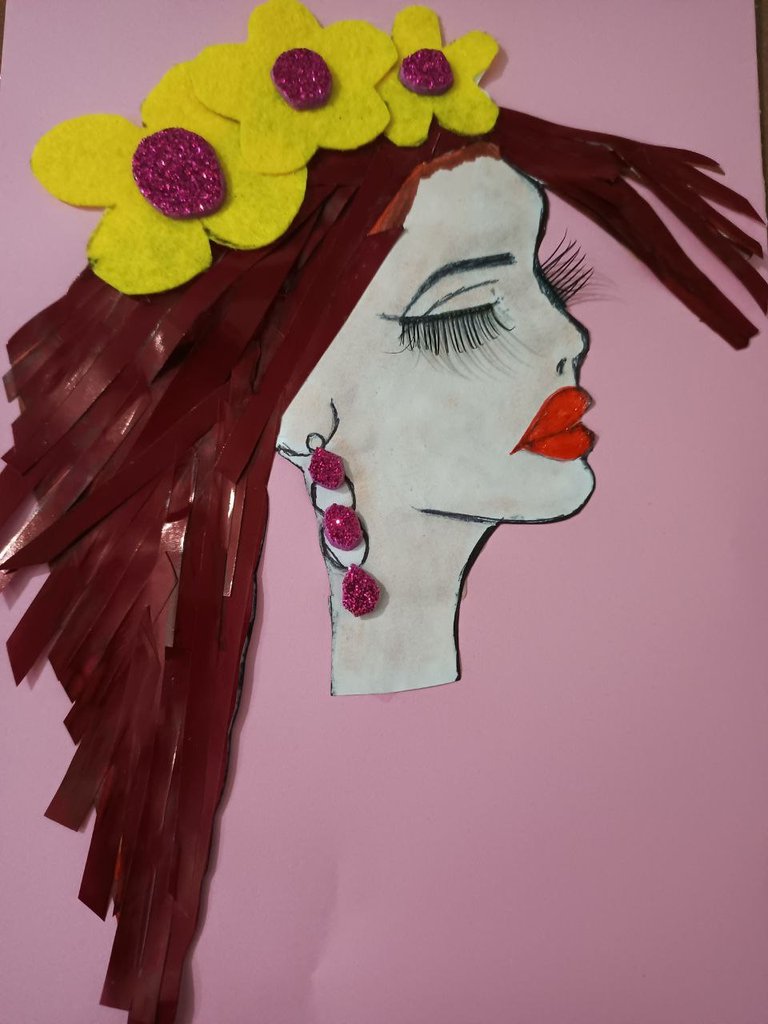
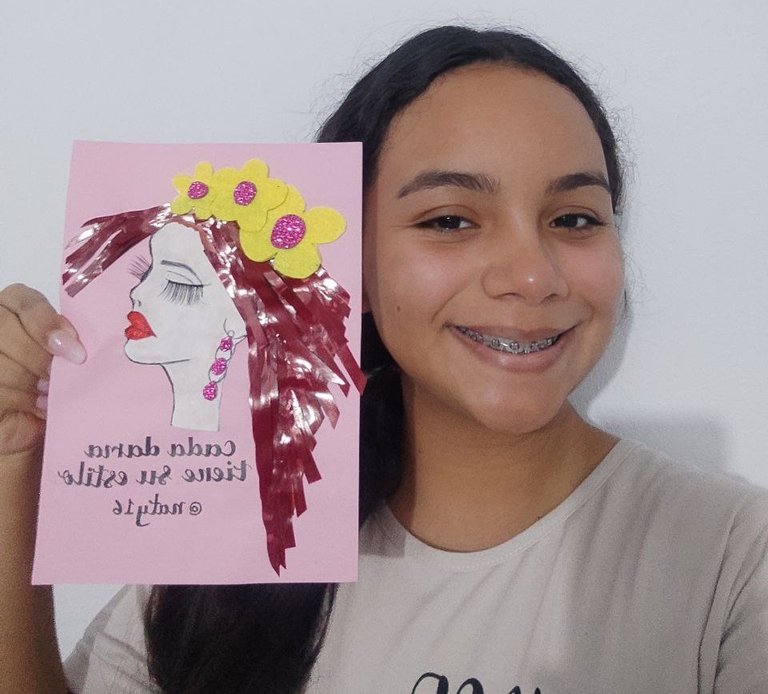
Selfie feliz con mi cuadro de cada dama tiene su estilo.
Happy selfie with my picture of every lady has her style.
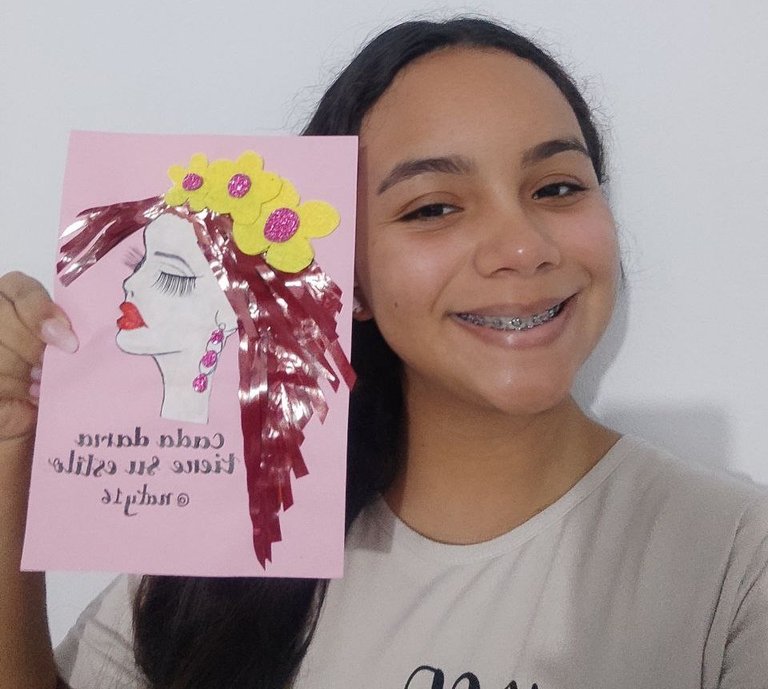
Todas las fotos son de mi propiedad y exclusivas para esta publicación.
Cámara utilizada: Teléfono Redmi Note 9.
He utilizado la aplicación Gridart para collages de fotos.
He utilizado el traductor Deepl.com versión gratuita.
Muchas gracias por leer y visitar mi post.💖
All photos are my property and exclusive for this publication.
Camera used: Redmi Note 9 phone.
I have used the Gridart application for photo collages.
I have used the translator Deepl.com free version.
Thank you very much for reading and visiting my post.💖
