

Hello, community, this is my first contest in this community and I really come with a lot of enthusiasm. My main inspiration for making this pencil case was really because of my two little sisters, since there have been times when we have not been able to give them some detail with their favorite toy - the unicorn - and I saw this as an opportunity to make something functional and practical and at the same time beautiful and to their liking. In addition, it also helps a lot in the economic part since you can do it with any useful material you have at home without incurring large expenses and with a simple detail you can brighten the day of others, in this case, my sisters Sofía and Samantha
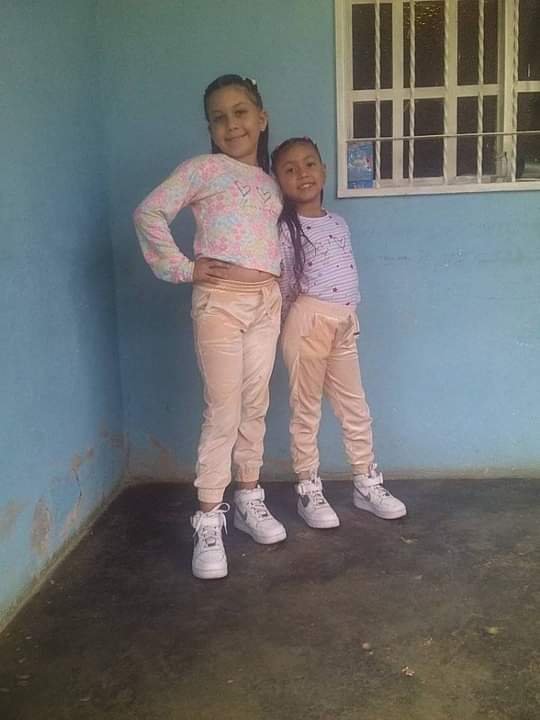 )
)And it just happened that my sisters were playing with one of their friends and Samantha's pencil case accidentally broke. She started crying and, given the fact that at this moment it couldn't be bought, she said she wasn't going to go to school "never again" because the other children were going to laugh at her for not having a place to keep her pencils.
It really was a very unpleasant moment for everyone and it didn't occur to me that I could do one, until the moment I saw the call for the contest.
I hope you like it as much as we do

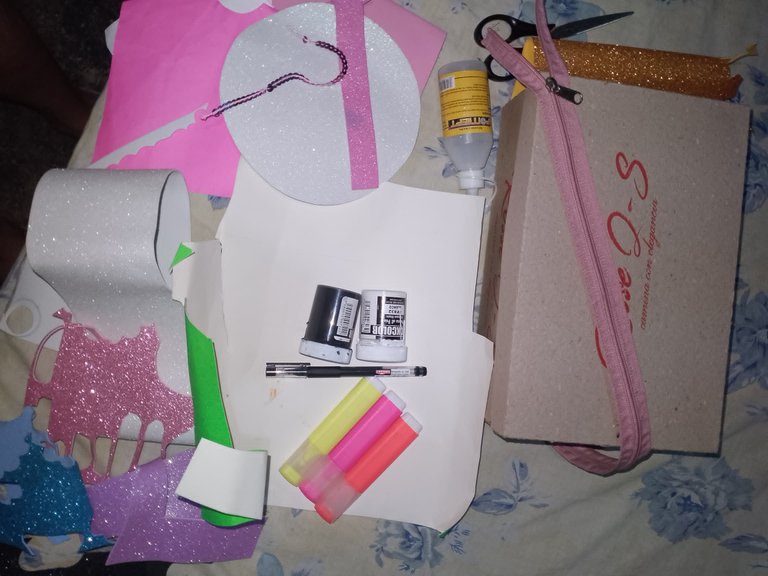
✓a shoe box
✓ liquid silicone
✓ a zipper (in my case I reused one from a very old sweater that I no longer wore)
✓ pieces of foam or cardboard in various colors (the idea is to use what we already have there and that we believe does not work at all to turn it into something cute)
✓ A cold painting (just a little bit)
✓ markers just to give details to the doll you choose
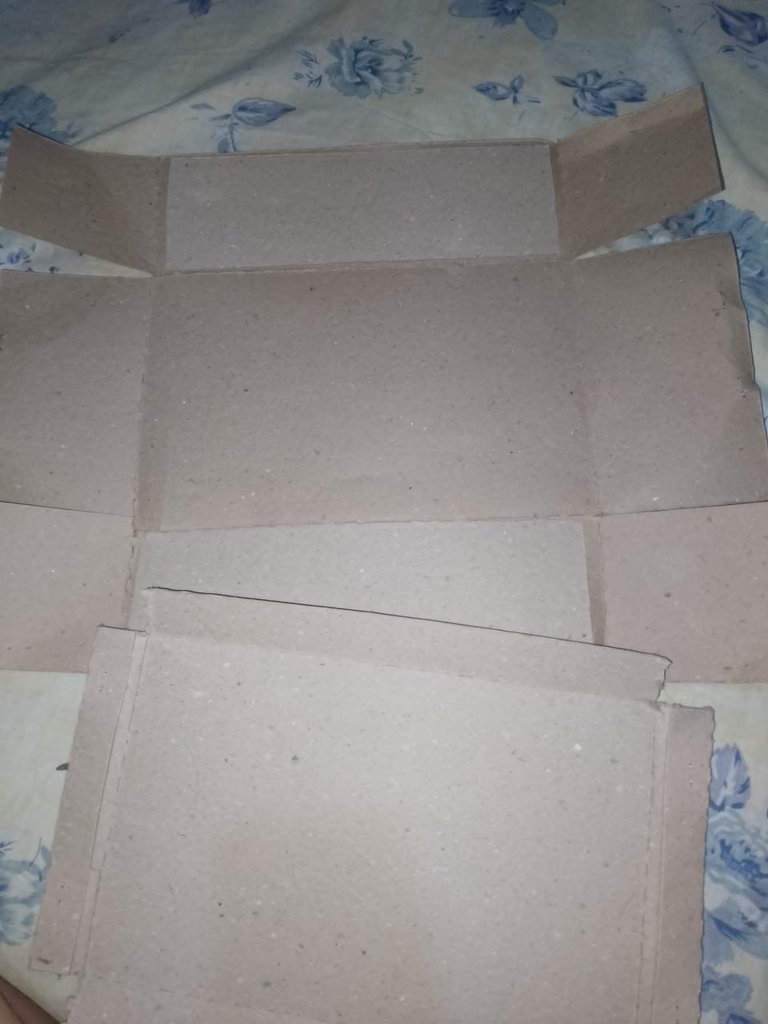
We start by disassembling the box
Then we measure what the length and width of the pencil case will be, starting with a 19 × 26 cm rectangle and then we make divisions of 12 cm and 2 cm in the center.
We cut out only the entire rectangle
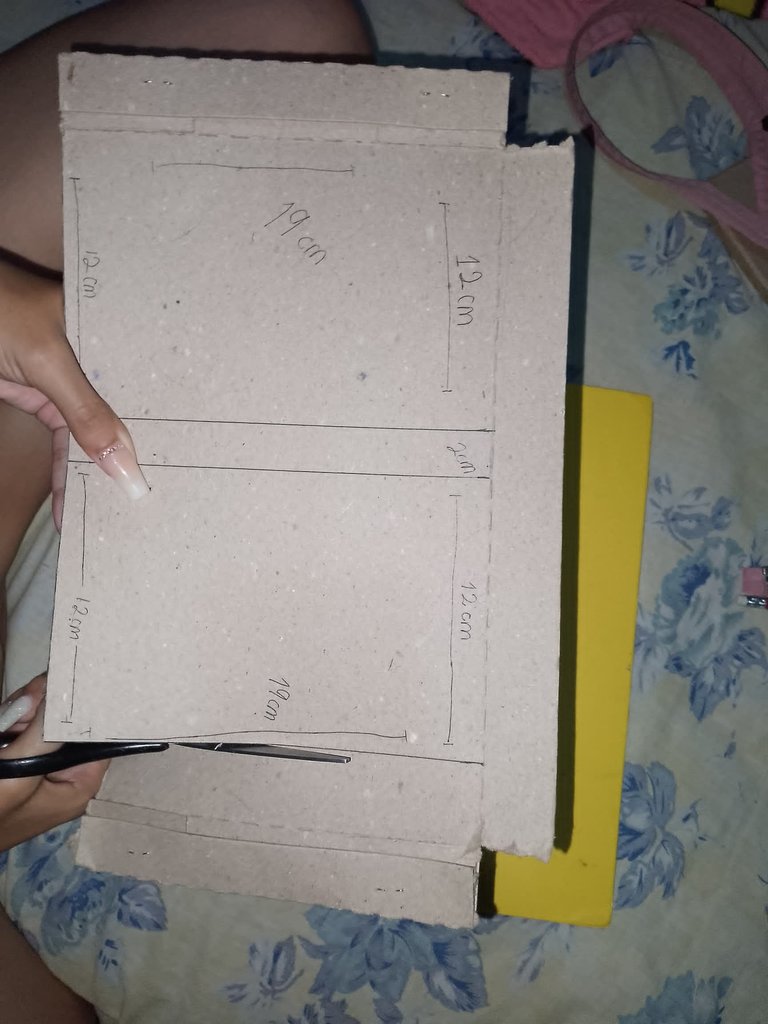
And we do the same process again to obtain two identical pieces
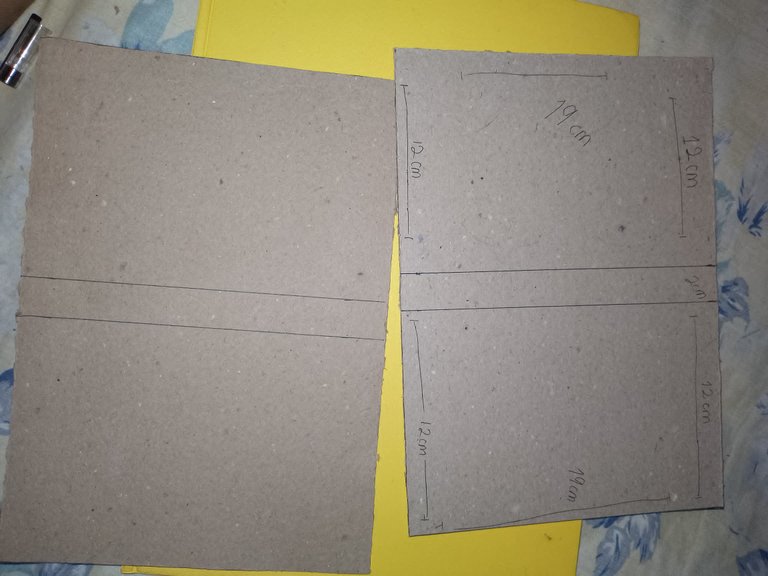
We fold along the marked lines
And we glue both pieces to give them more firmness
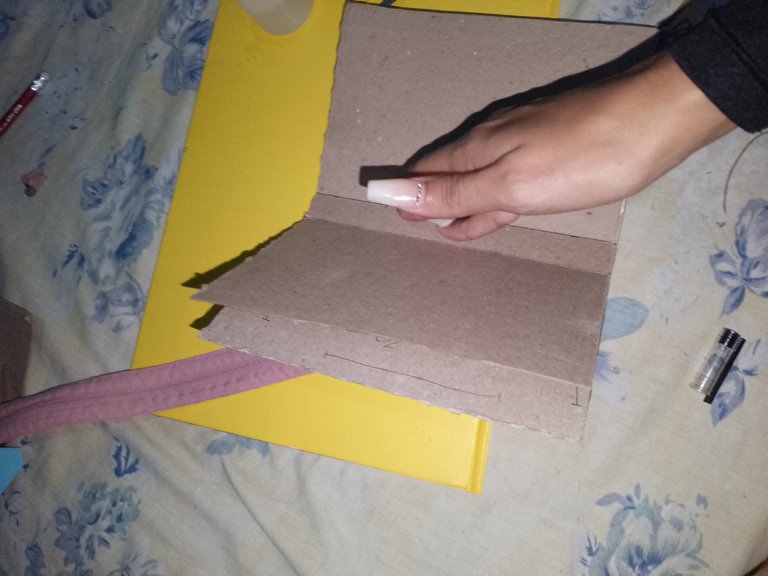
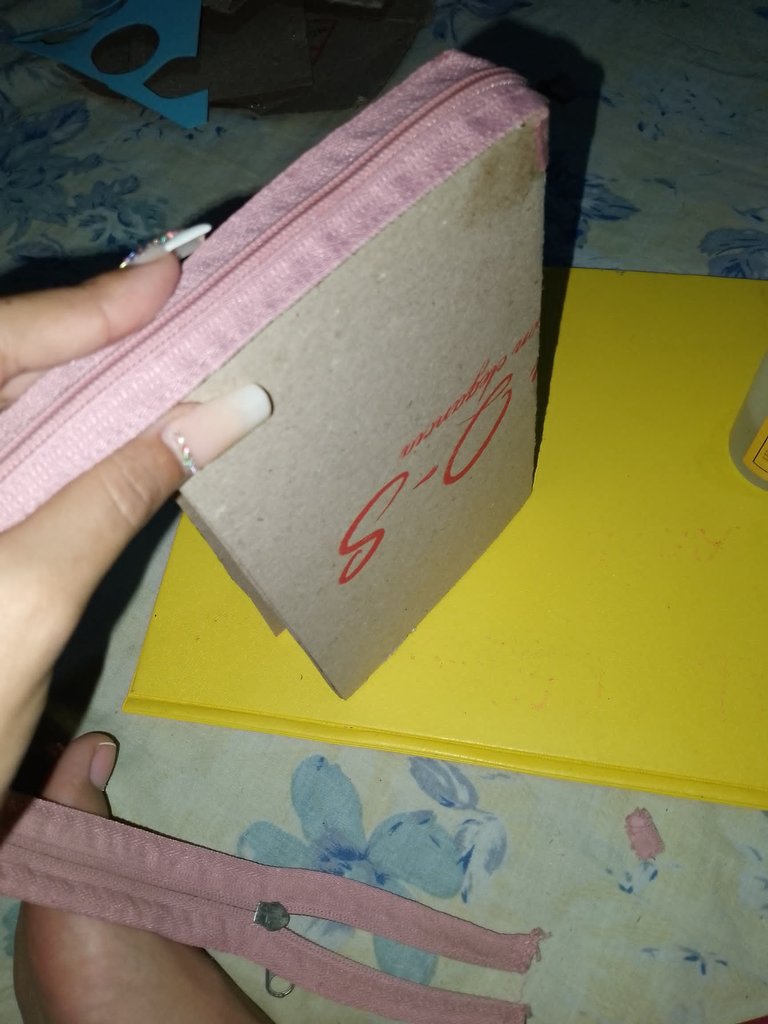
We glue the closure along the entire edge until you have the entire zipper glued
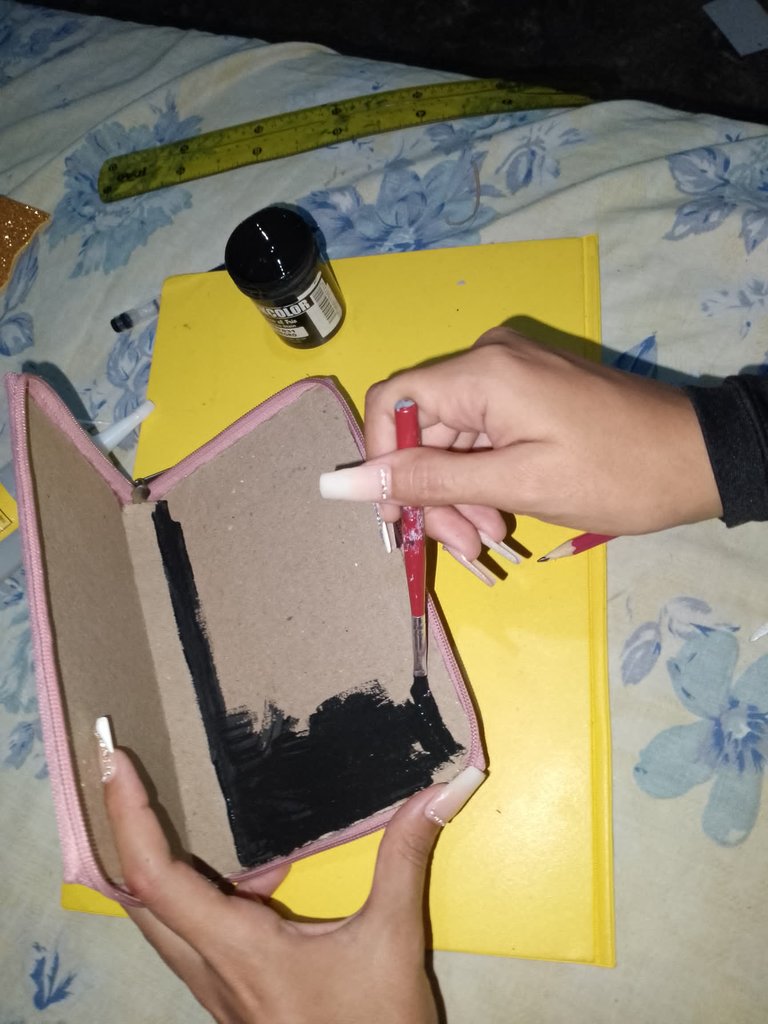
Then I painted the interior black since that was the paint I had, but I did like that it was a dark tone since this will help us prevent it from getting dirty so easily with the tip of the colors
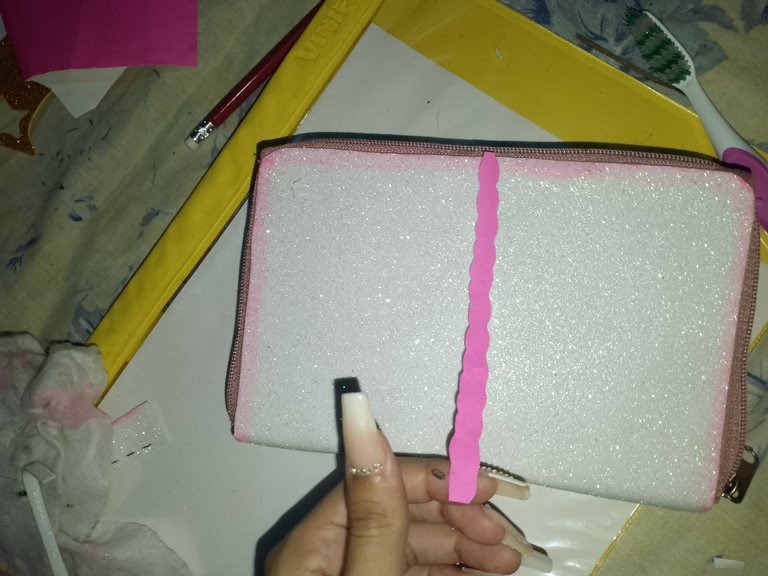
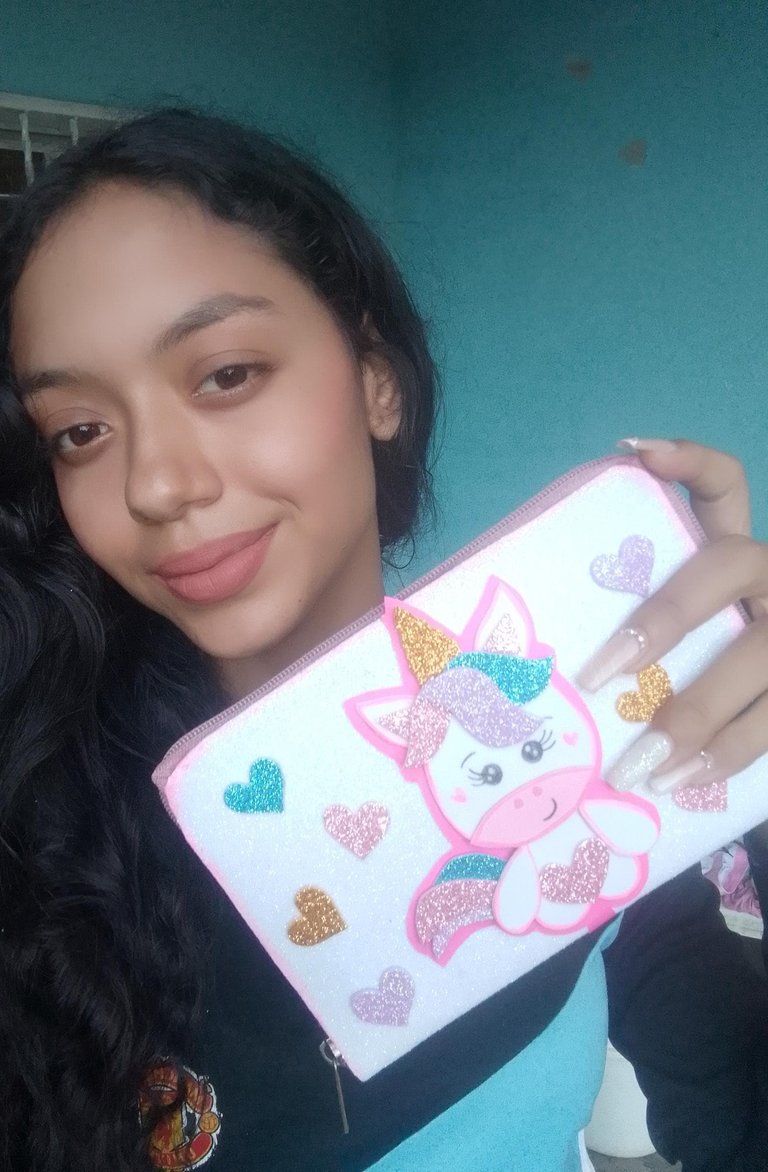
I lined the outside of the pencil case with white frosted foam in two parts so that I could render the little piece I had in that color
However, the finish was very nice.
To cover the joining line between both foams, I cut a strip of cardboard and glued it too.
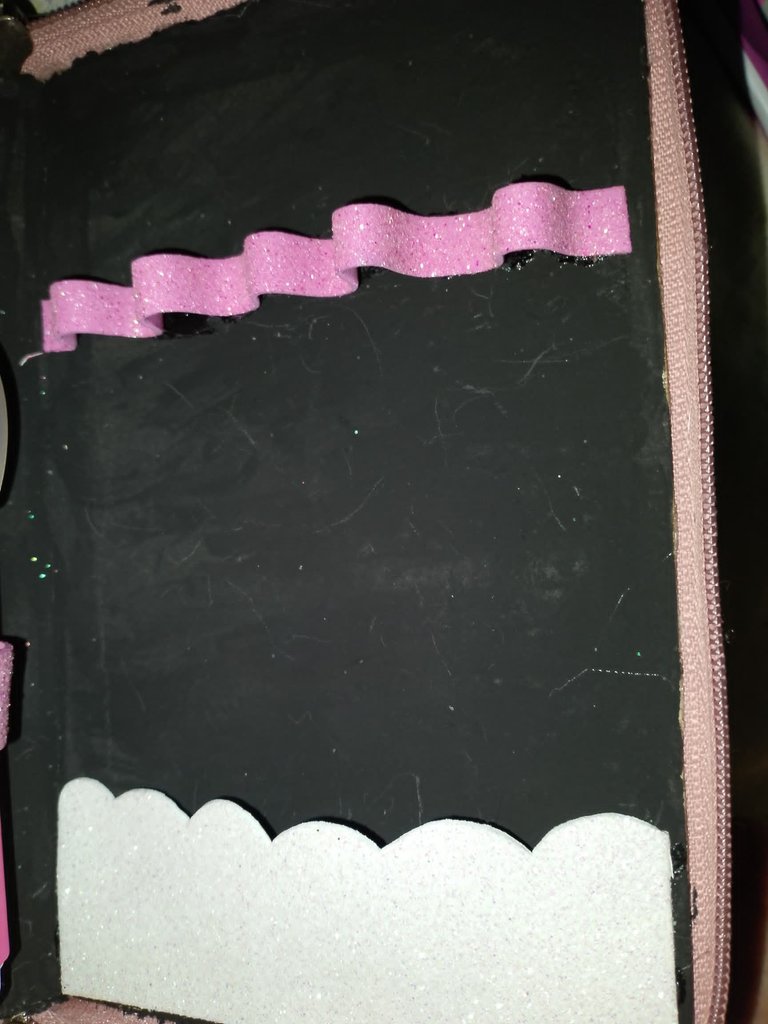
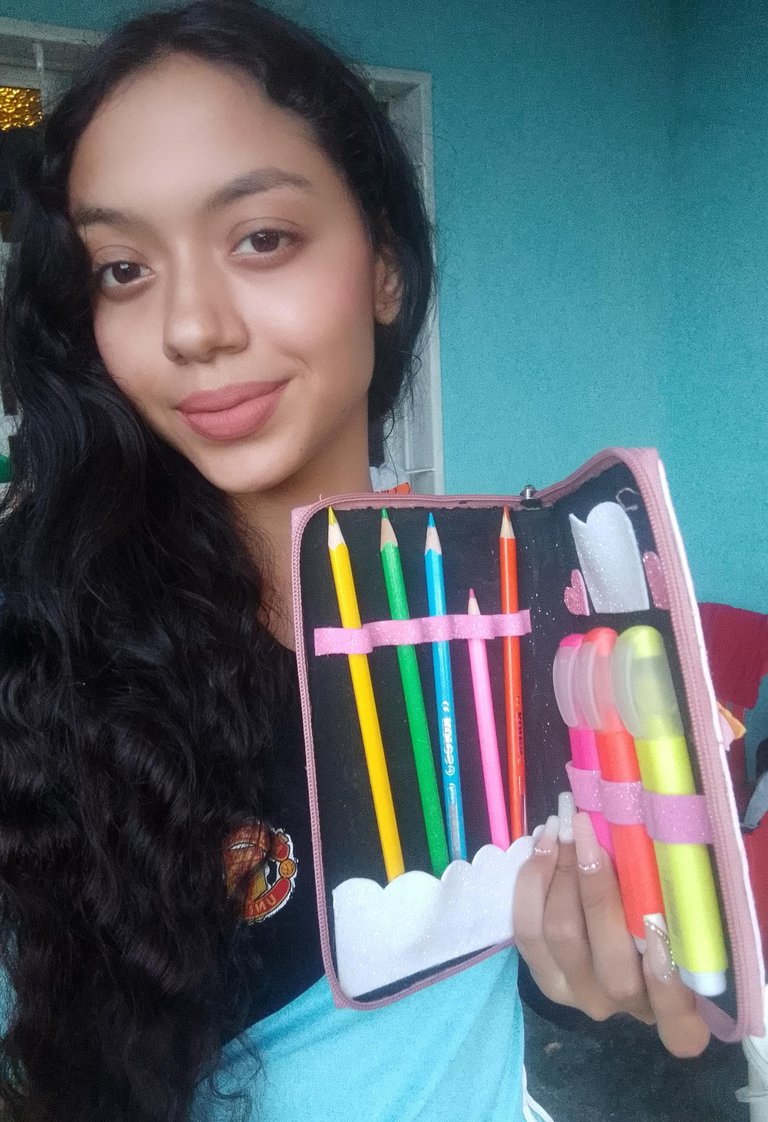
For the interior, I cut several strips in different sizes and glued them in this way, leaving little mountains so that the pencils can enter each space.
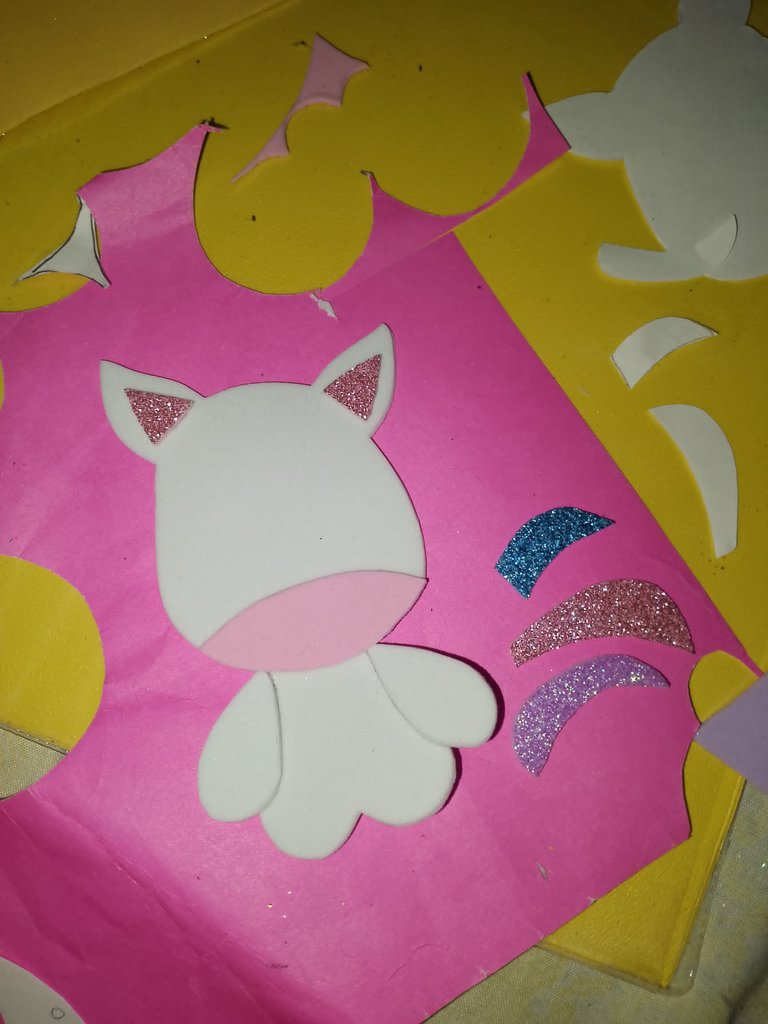
Then I took out each colored piece with the pieces of foam. I gave a little color to the unicorn's body with a pink highlighter
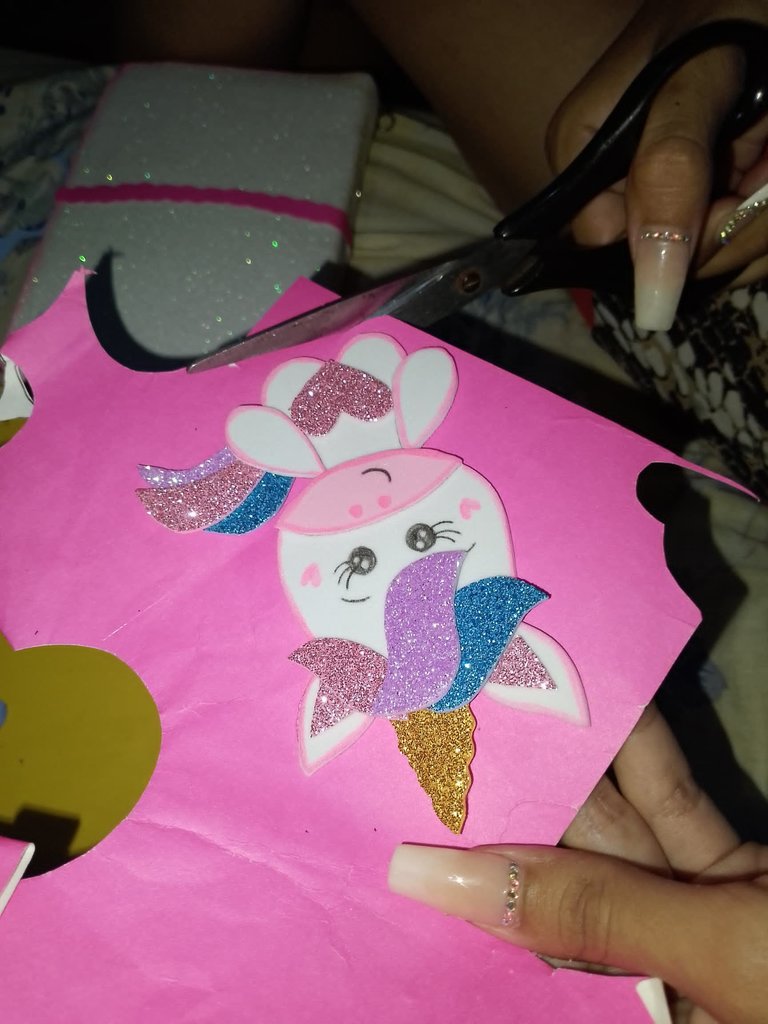
For the doll I chose an unicorn since my two little sisters love unicorns since they are super cute, magical and colorful, here I share the pattern in case you are inspired by this design
Here I made a small cloud where small supplies like an eraser or a pencil sharpener can go.
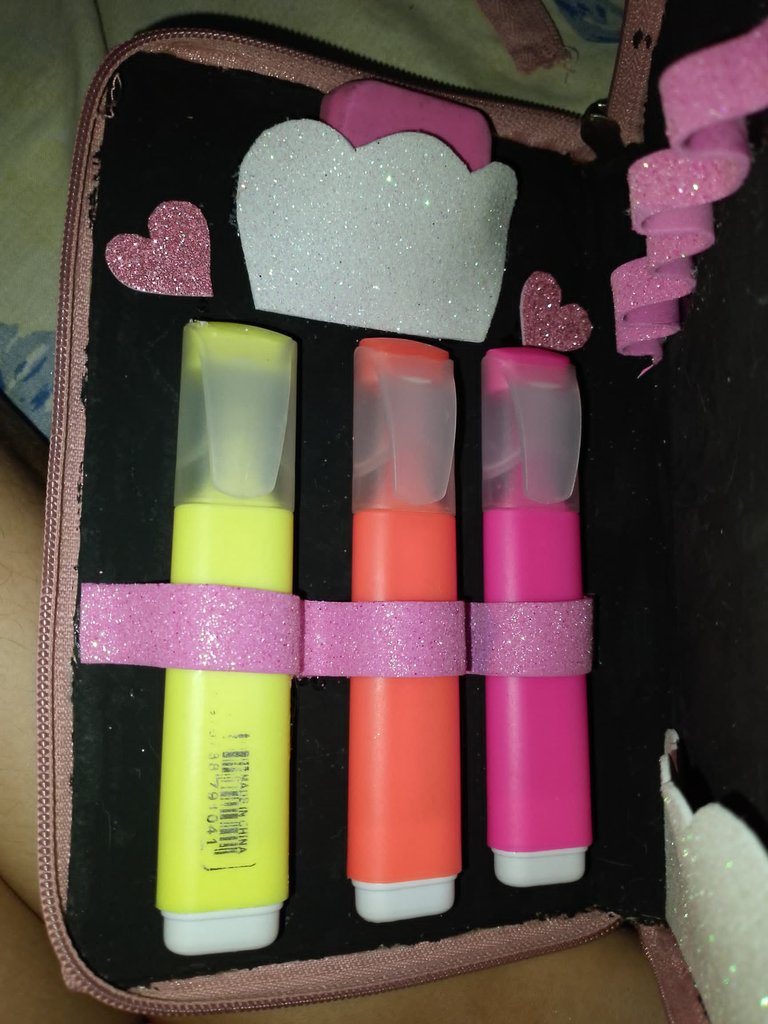
And since I felt that some glitter was missing, I made several small hearts in frosted foam
I added it to the pencil case
After I had the unicorn ready, I glued it on a thin fuchsia-colored cardboard and cut it out, leaving a small border to give more life to th
And this was the result, I hope you like it

 )
)----
Hola, comunidad, este es mi primer concurso aquí y realmente vengo con mucho entusiasmo. Mi principal motivo de inspiración para hacer esta cartuchera fue realmente por mis dos hermanitas, ya que ha habido momentos en los que no se les ha podido dar algún detallito con su muñequito favorito - el unicornio - y vi esto como una oportunidad de hacer algo funcional y práctico y a la vez bonito y a su gusto. Además que también ayuda mucho en la parte económica ya que puede hacerlo con cualquier material de provecho que se tenga en casa sin realizar grandes gastos y con un simple detalle puede alegrarle el día a los demás, en este caso, a mis hermanas Sofía y Samantha

Y es que justamente pasó que mis hermanas estaban jugando con una de sus amiguitas y accidentalmente se rompió la cartuchera de Samantha, quien se puso a llorar y ante el hecho de que en este momento no se le podía comprar dijo que no iba a ir "más nunca" a la escuela porque los otros niños se iban a reír de ella por no tener dónde guardar sus colores .
Realmente fue un momento muy desagradable para todos y no se me ocurrió que podía hacerle una, hasta el momento eņ que vi la convocatoria al concurso.
Espero les guste tanto como a nosotros

✓una caja de zapatos
✓ silicón líquido
✓ un cierre ( en mi caso reutilice un que tenía un sweater muy viejito que ya no usaba)
✓ retazos de foami o cartulina en varios colores ( la idea es usar lo que ya tenemos por allí y que creemos no funciona para nada para convertirlo en algo lindo)
✓ Una pintura al frío ( solo un poquito)
✓ marcadores solo para dar detallitos al muñequito que elijan

Comenzamos desarmando la caja


Luego medimos lo que será el largo y ancho de la cartuchera, comenzando con un rectángulo de 19 ×26 cm y luego hacemos divisiones de 12 cm y 2 cm al centro
Recortamos solo el rectángulo completo

Y hacemos de nuevo el mismo proceso para obtener dos piezas iguales

Doblamos por las líneas marcadas
Y pegamos ambas piezas para darles más firmeza

Pegamos el cierre por todo el borde
Hasta tener todo el cierre pegado

Luego pinté el interior de color negro ya que era la pintura que tenía, pero sí me agradó que fuese un tono oscuro ya que así nos ayudará a que no se ensucie tan fácilmente con la punta de los colores

Forré el exterior de la cartuchera con foami escarchado blanco en dos partes para que pudiera rendir el pedacito que tenía en ese color
Sin embargo el acabado quedó muy lindo
Para cubrir la línea de unión entre ambos foami corté una franjita en cartulina y la pegué también

Para el interior corté varias tiras en distintos tamaños y las fui pegando de esta manera dejando especie de montañitas para que puedan entrar los colores en cada espacio

Acá hice una pequeña nube dónde pueden ir útiles pequeños como un borrador, o un sacapuntas

Para el muñequito elegí un unicornio ya que mis dos hermanitas aman los unicornios porque son super lindos, mágicos y coloridos, acá les comparto el patrón por si se animan con este diseño

Luego fui sacando cada pieza en colorcito con los retazos de foami. Le di un poco de color al cuerpo del unicornio con un resaltador rosita
: Y como sentía que faltaba algo de brillo, hice varios corazones pequeños en foami escarchado
Lo agregué a la cartuchera
Luego que tuve el unicornio listo lo pegué en una cartulina delgada de color fucsia y recorté dejando un pequeño borde para darle más vida al muñequito
Y este fue el resultado, espero les guste


 )
)----
Gracias por visitar mi blog y llegar leyendo hasta acá.
Thanks for visiting my blog and reading so far
Fotos propias, tomadas con celular Yezz /Own photos taken with Yezz cell phone
The text in Spanish was created without AI The text in English I translated with
Traductor Google
Soporte fotográfico de mi autoría, editado en la versión
gratuita de Inshot
Photographic support of my authorship, edited in free Inshot
 )
) 


