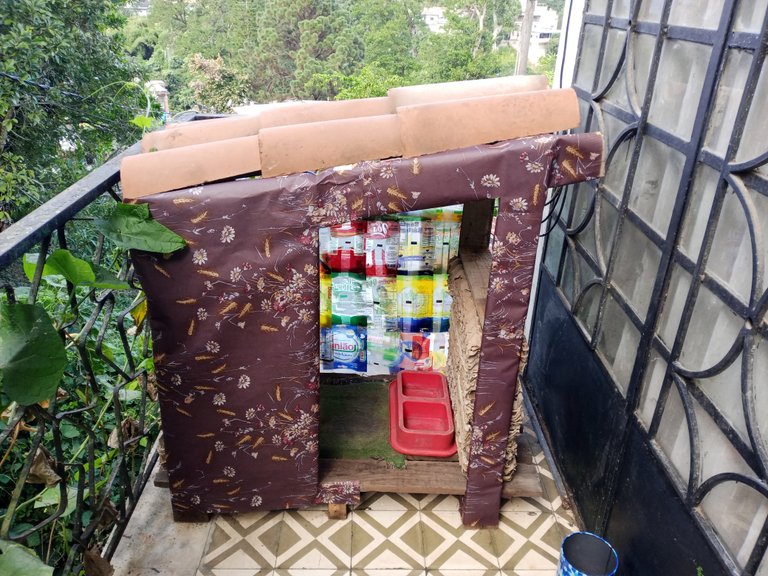
Greetings to the Hive DIY community, best wishes to everyone for these end of year celebrations.
One of my neighbors gave me a couple of discarded pallets from a lot he collected to use as firewood for cooking.
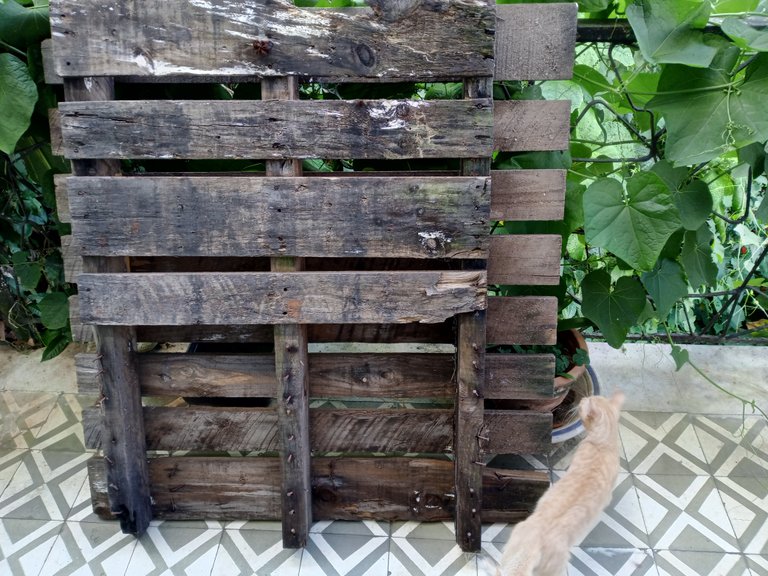
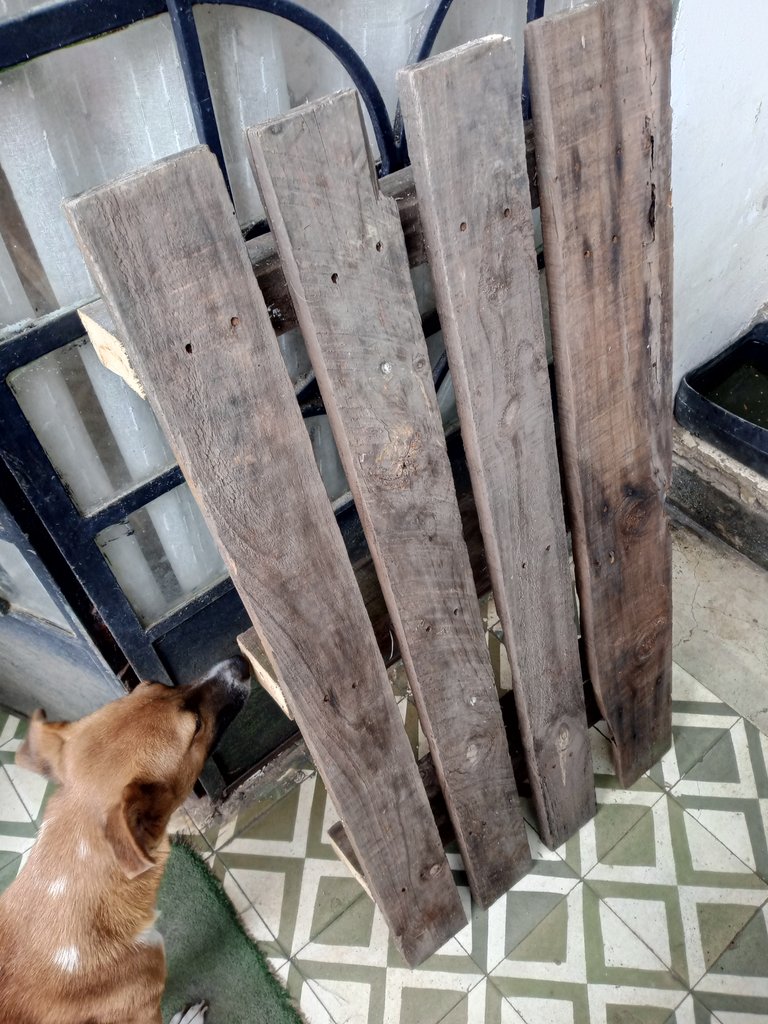
At first glance you can see that they are quite deteriorated, I can't make furniture with these pallets, but they do come in handy to make a house for the dog, which is something I had on my to-do list.
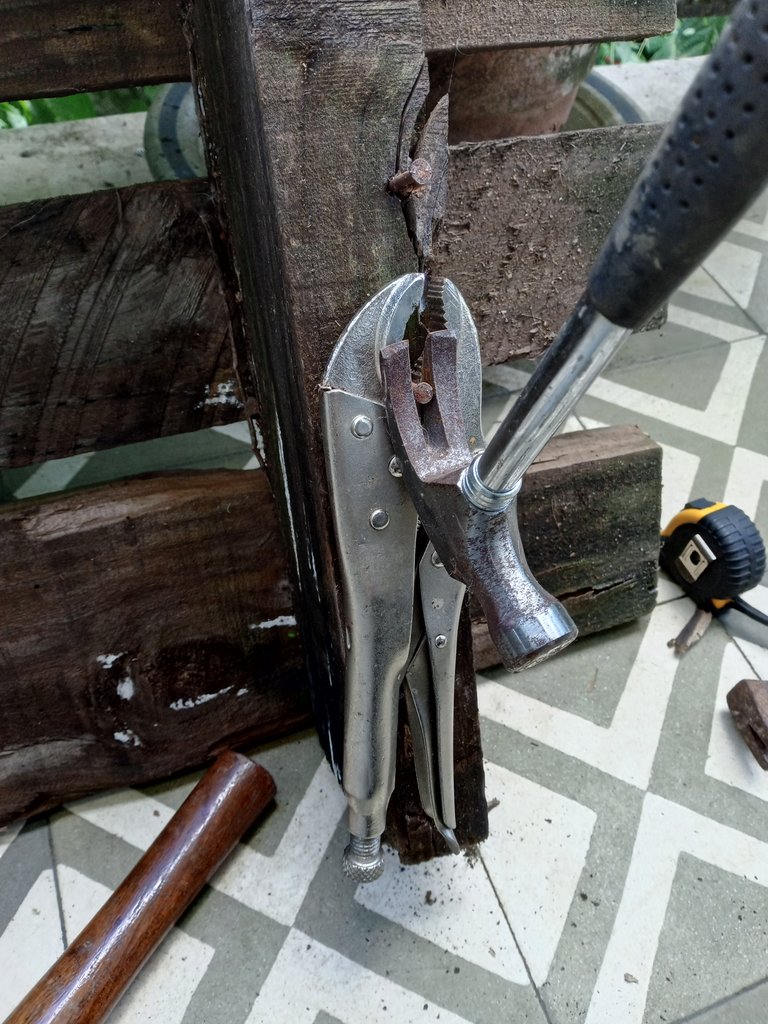
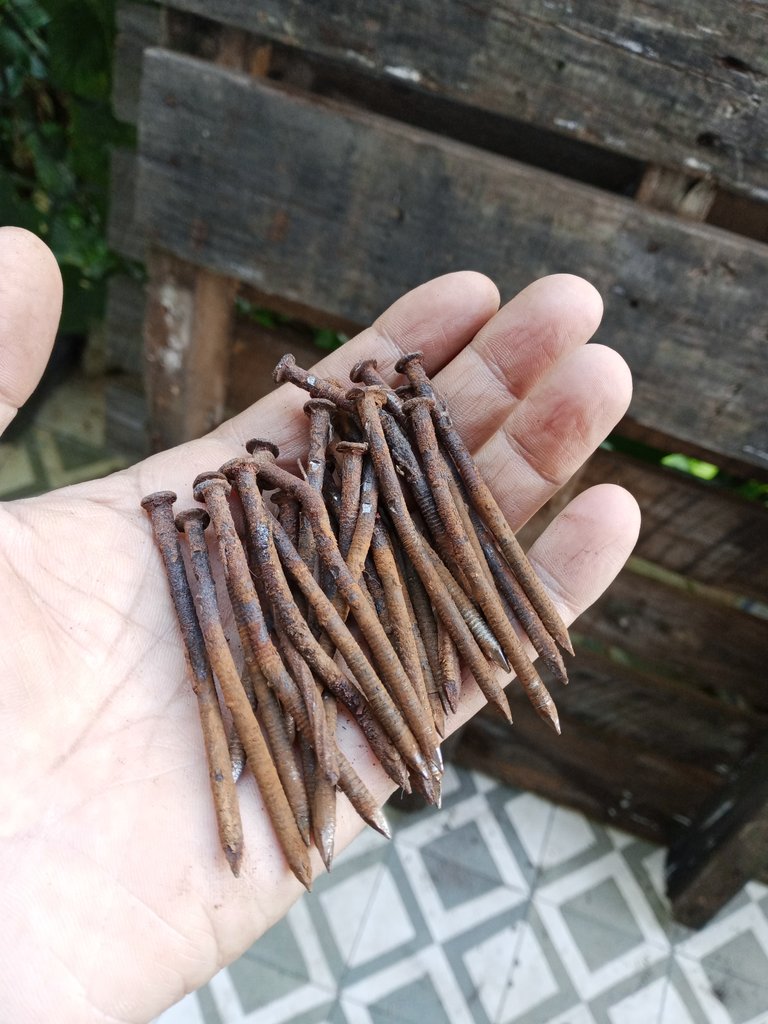
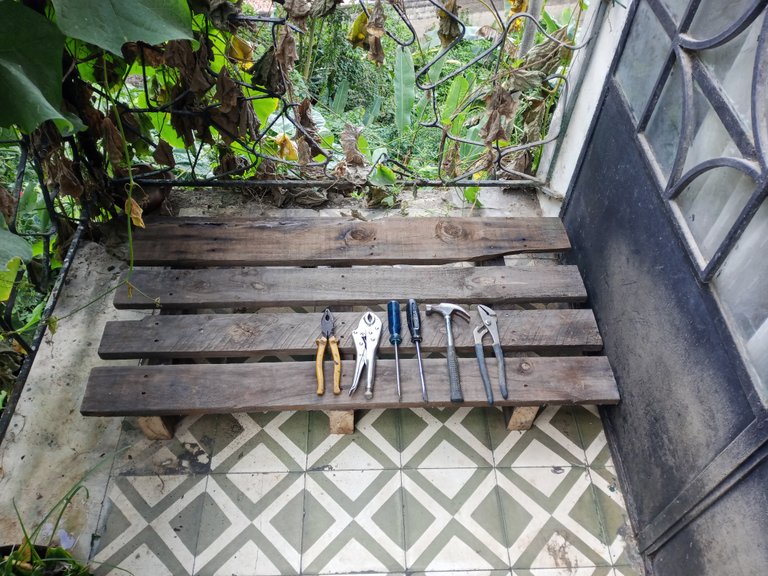
To remove the rusty nails, I resort to the same old tricks as always, with the help of a pair of pliers, to pry the nails out with the hammer that are easier to remove.
And for the nails that were very difficult, directly use the wire cutter of the locking pliers to grab the nail and pry it with the pliers.
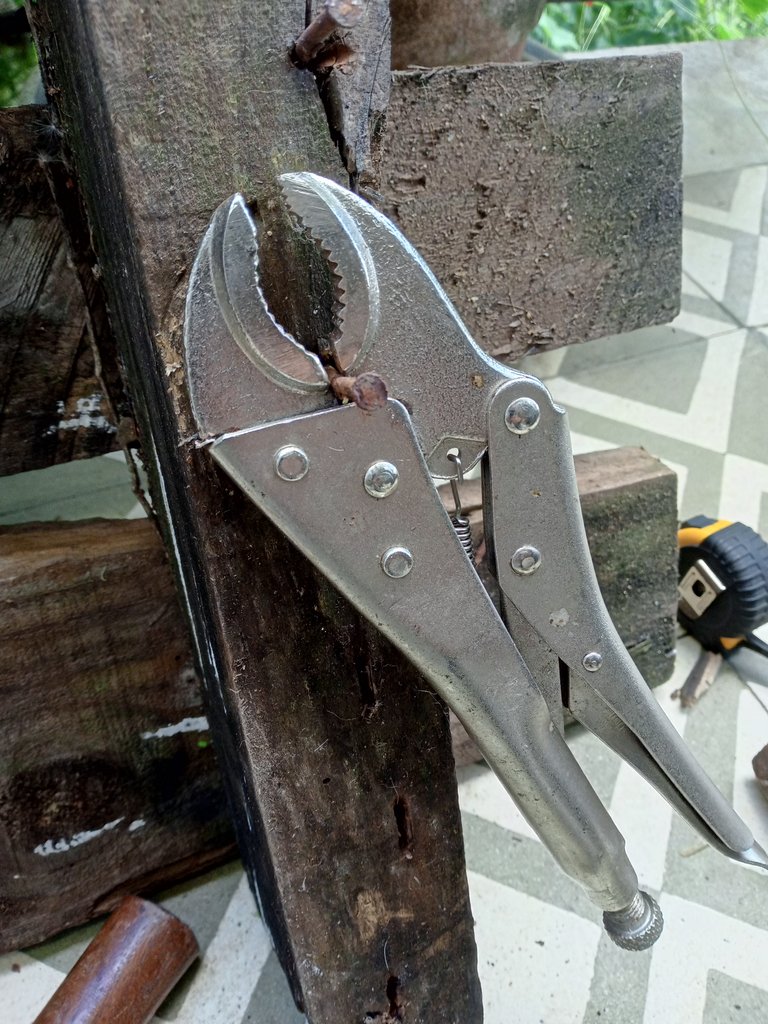
I'm not going to recycle the nails, they were in really bad shape.
I cut the least damaged part of the pallet to make the floor of the dog house and realized that the saw I was using was very worn (lol), luckily after searching a bit through my father's tools, I got a saw in better condition.
From this base I can build the rest of the doghouse as I wish.
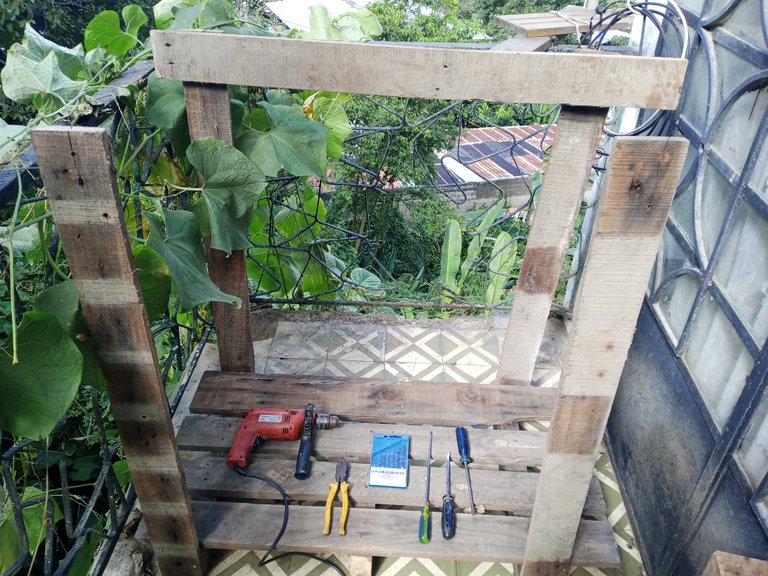
I used screws instead of nails, since the wood was so old that nails could not be used to secure the boards properly, I gave it a general shape.
I took advantage of several recycled cardboard that I had in the workshop warehouse, the kind used to package eggs, to make the side walls and create a small barrier against changes in temperature.
I also added some boards as crossbeams to give more strength to the structure.
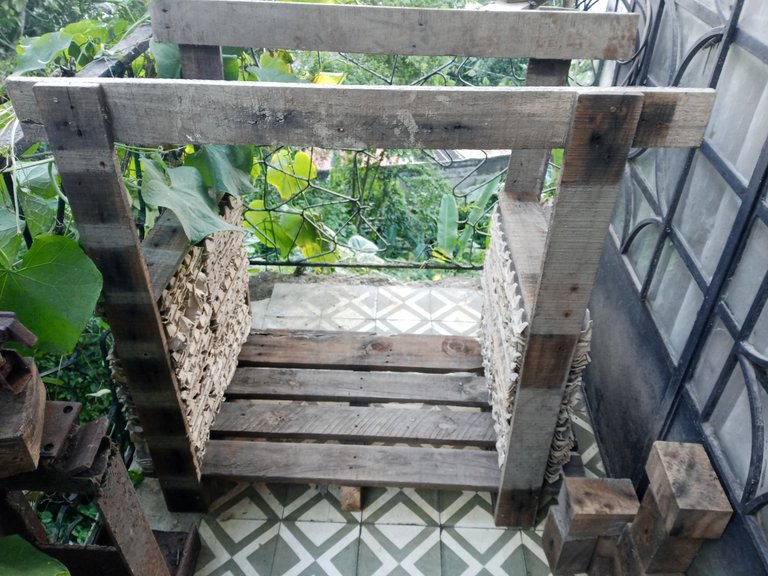
I gave the roof of the shed a slope of about 30 degrees for rainy days.
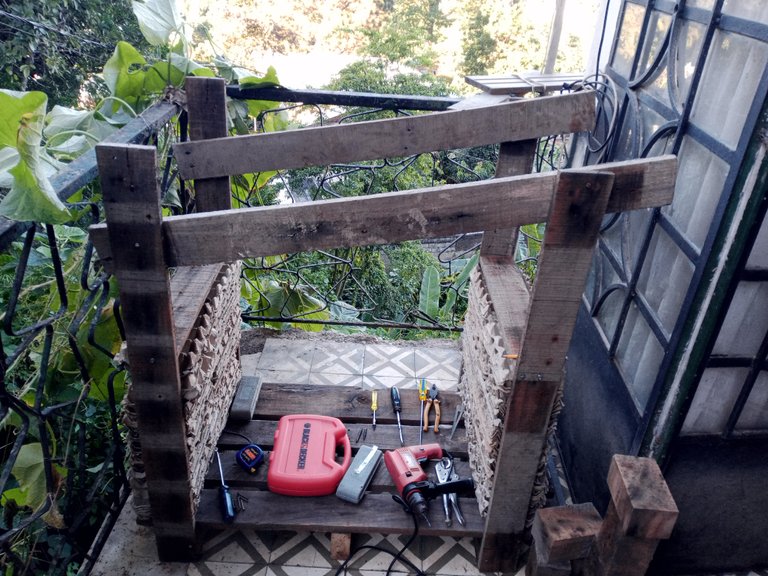
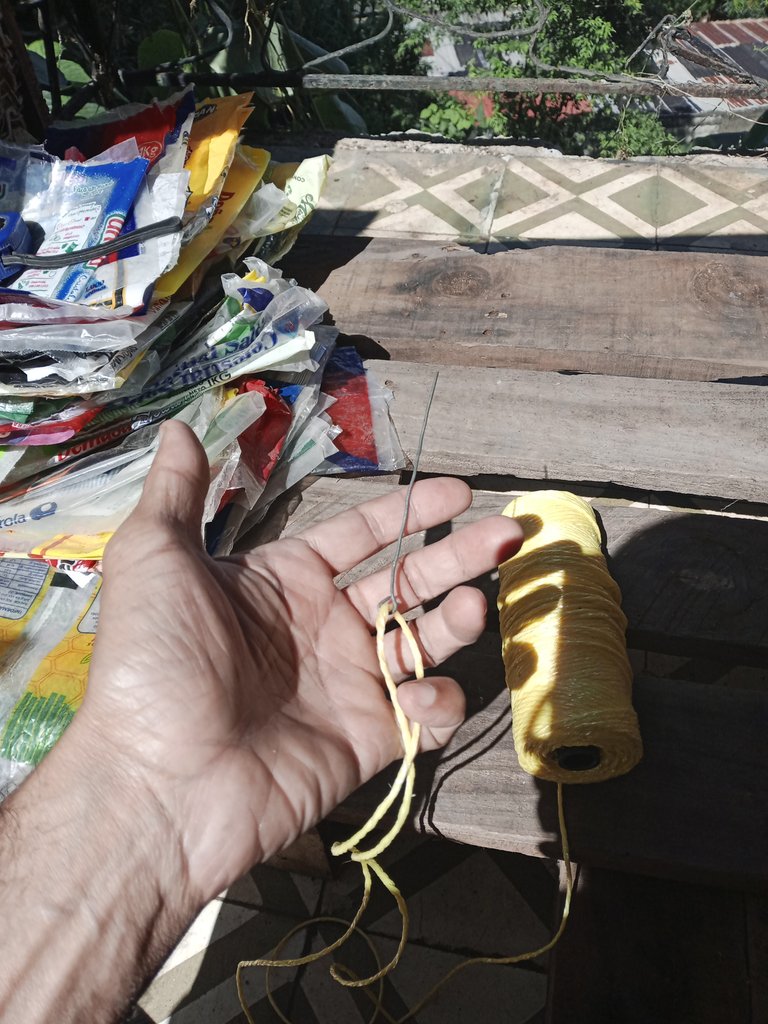
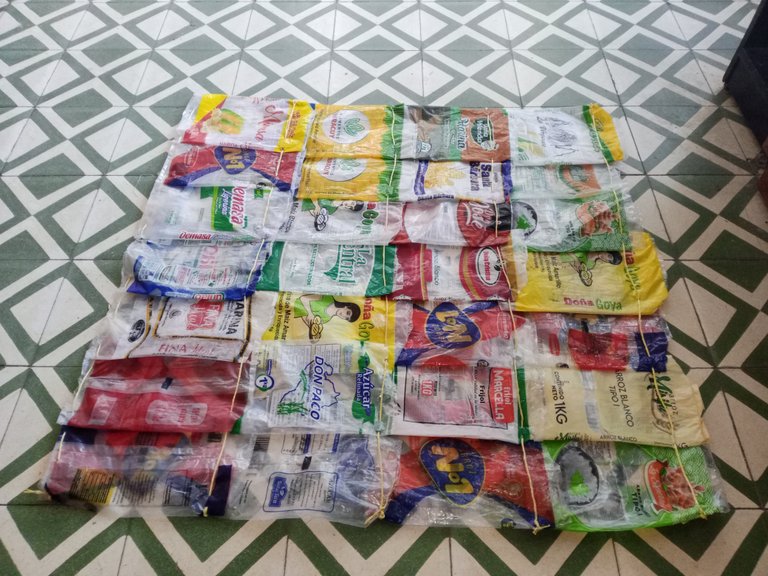
To make the back wall of the dog house, I used bags of rice and flour and made a curtain with those recycled bags.
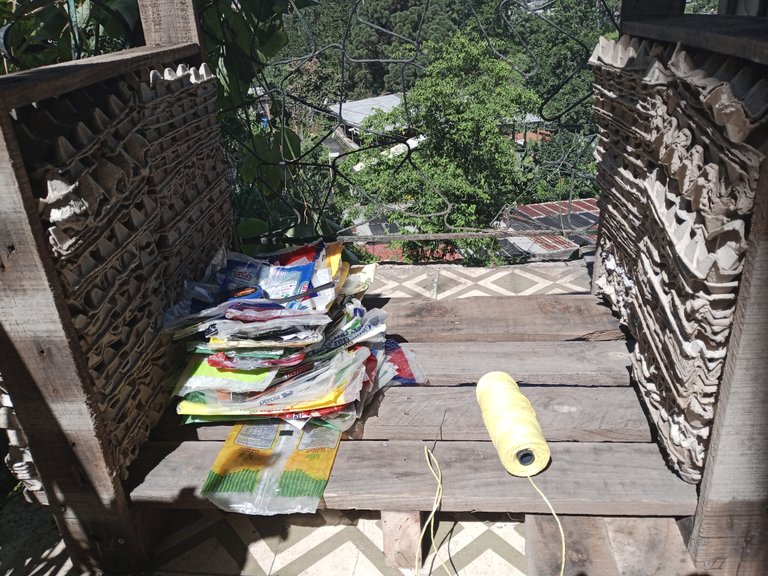
I made the needle with which I wove the bags with a piece of wire.
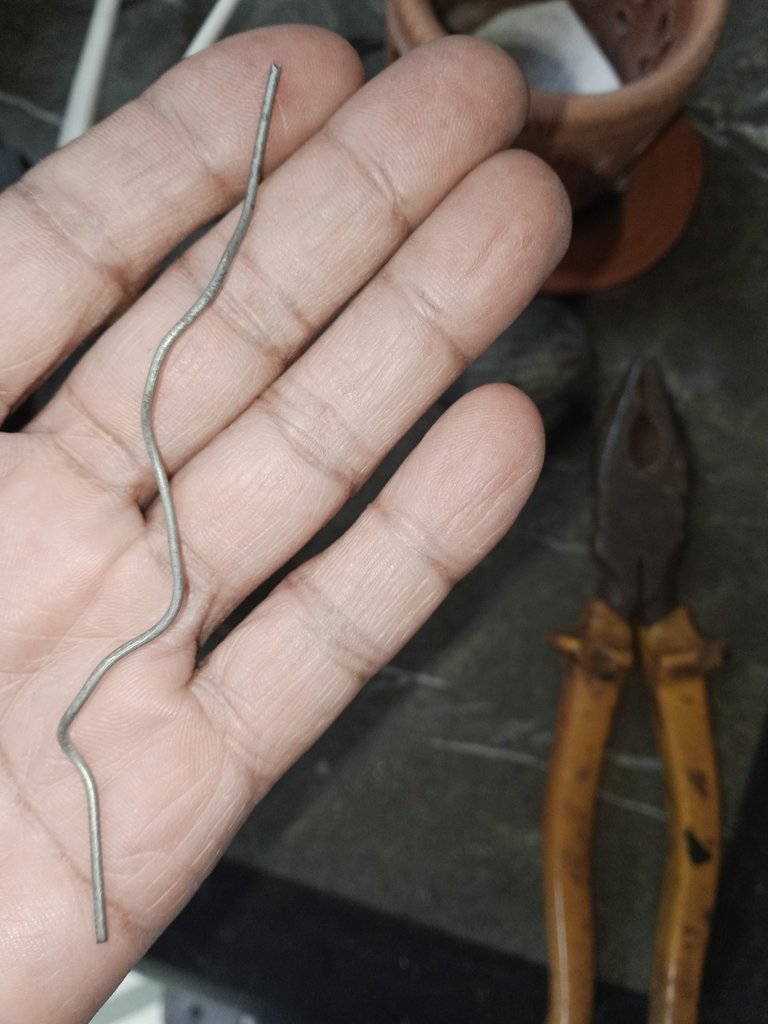
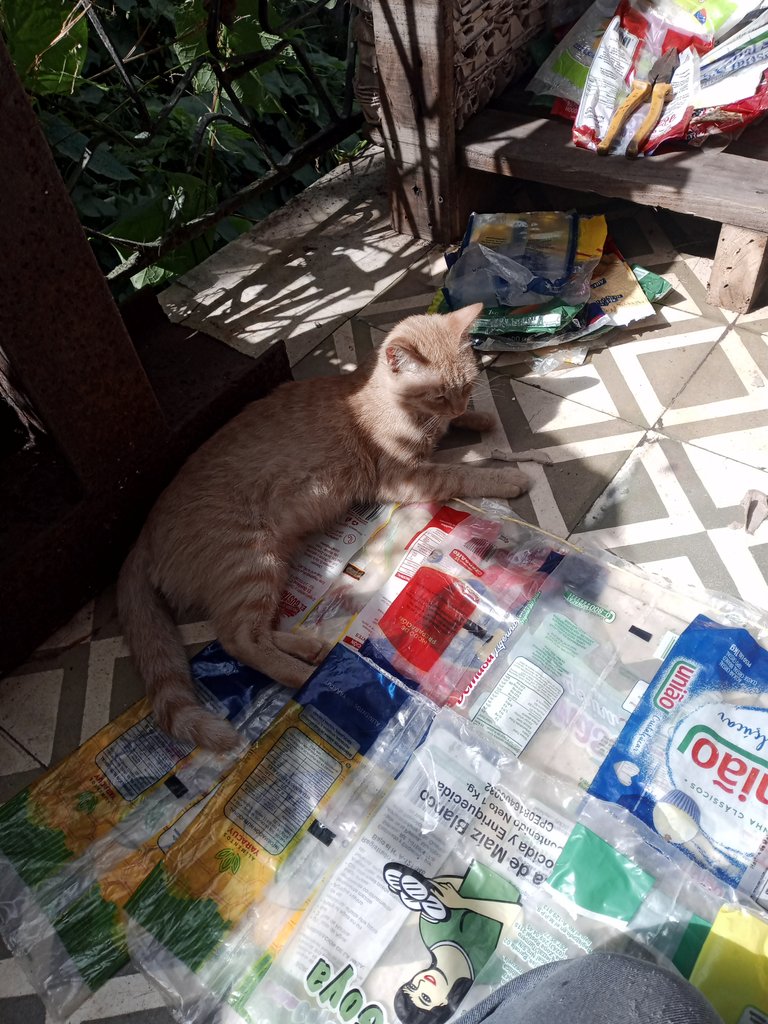
The bosses supervise all the work, they are very strict.
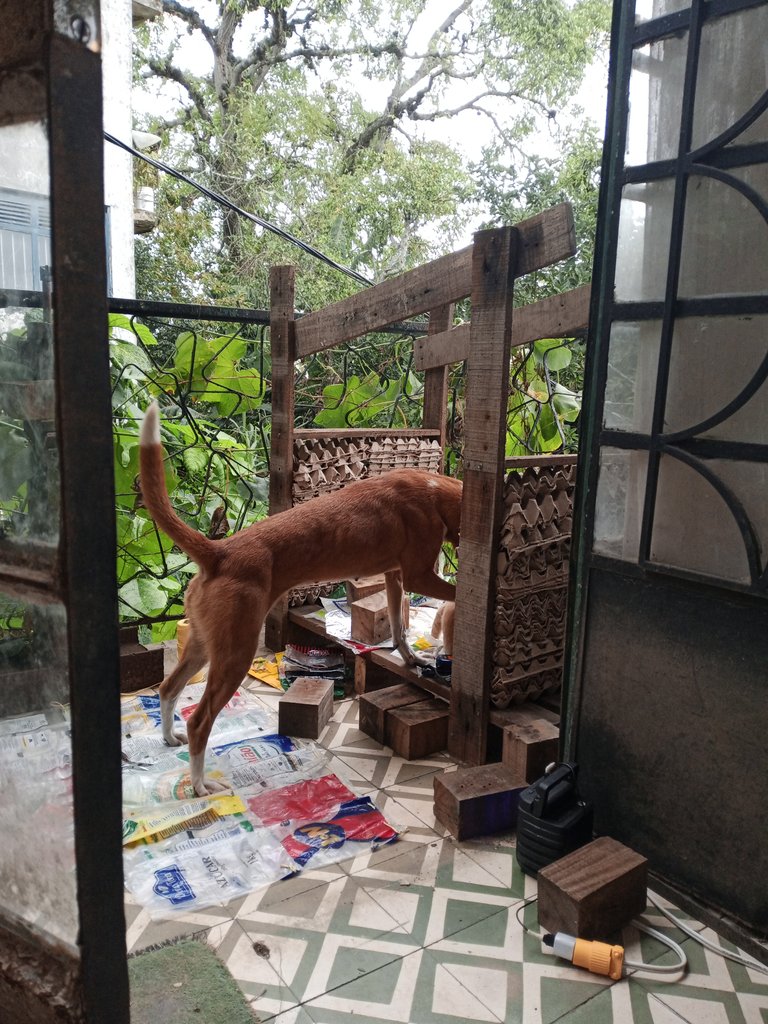
Now seriously, I knitted the curtain in the background for the dog house, with the recycled bags.
I managed to secure the curtain with some tacks.
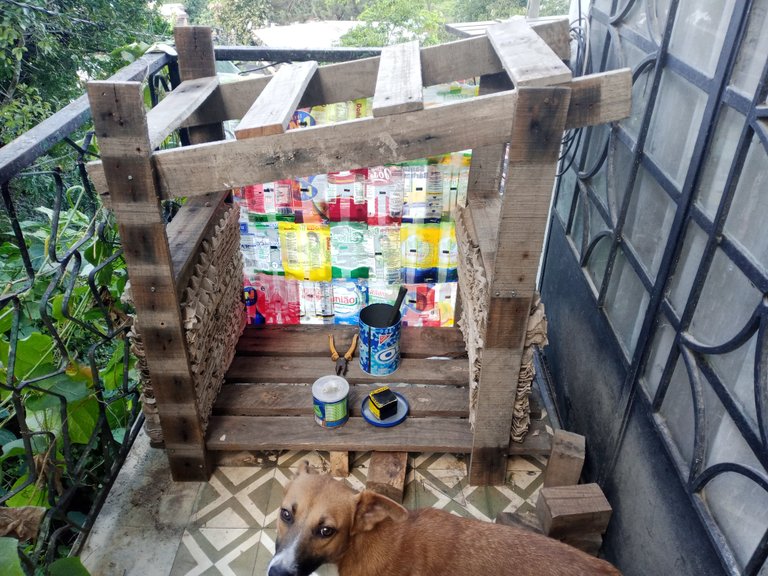
I cut off the excess boards and secured them with more screws.
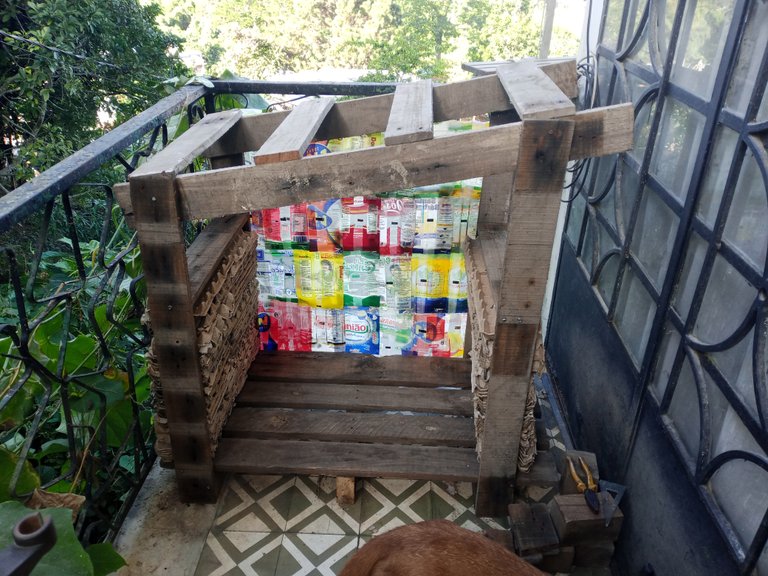
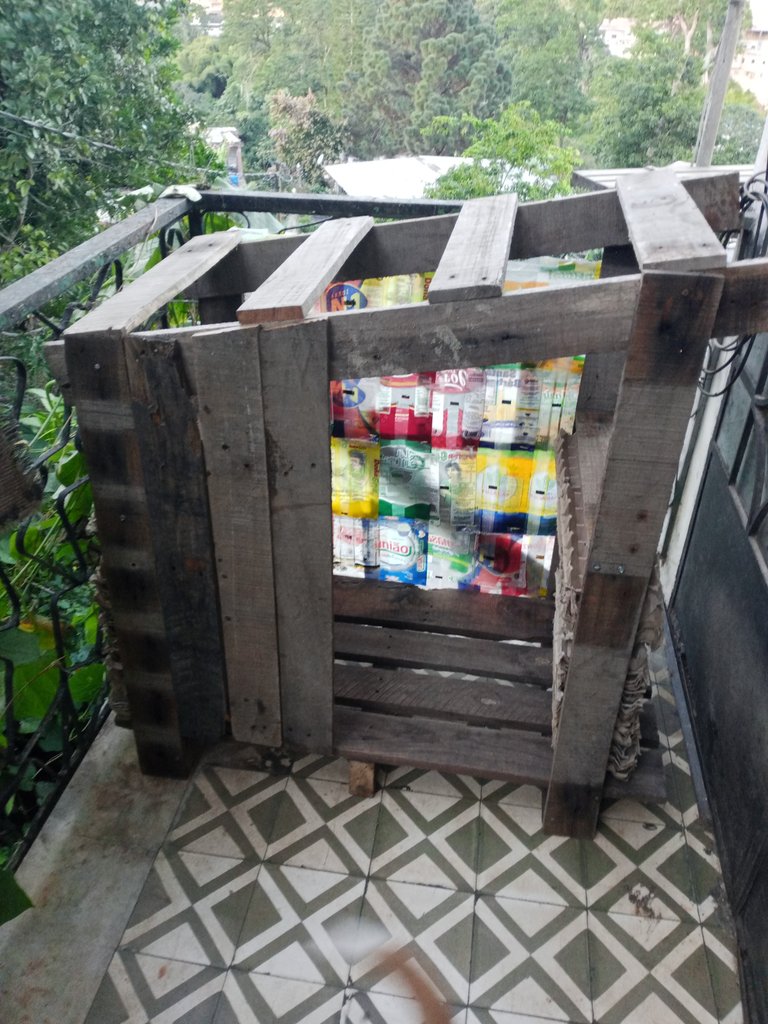
I still had some boards left to cover the front part and protect the dog from drafts.
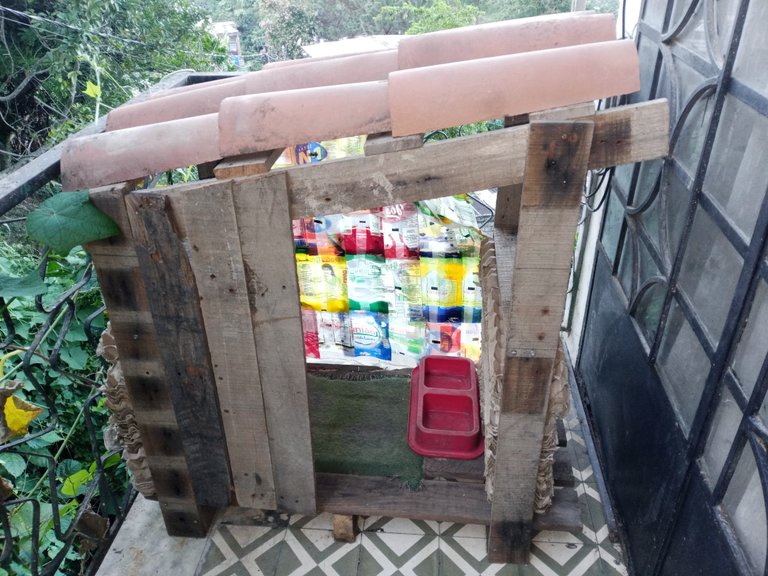
For the roof of the dog house, I used some leftover tiles from a construction.
I had to decorate the doghouse to finish the job properly, as it turned out it didn't look good, but I didn't have paint, enough sandpaper or a sander, but I did have a good piece of wrapping paper.
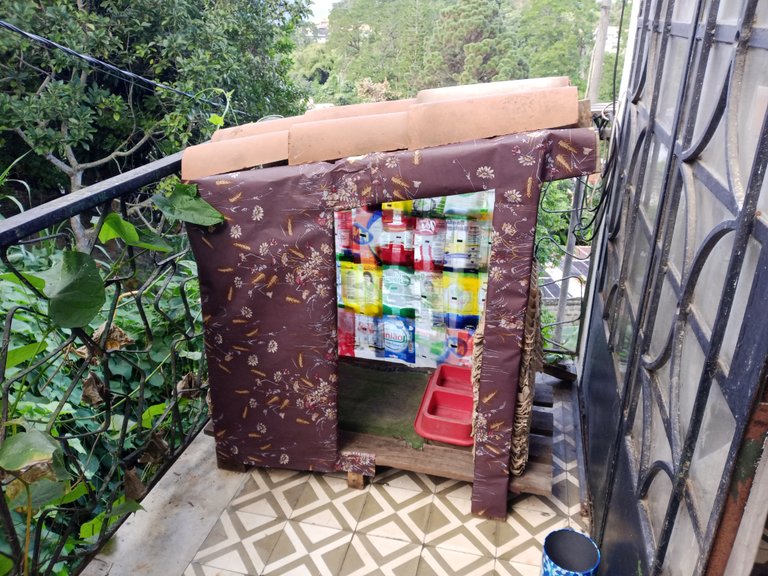
Now that it's finished and decorated, it looks more decent.
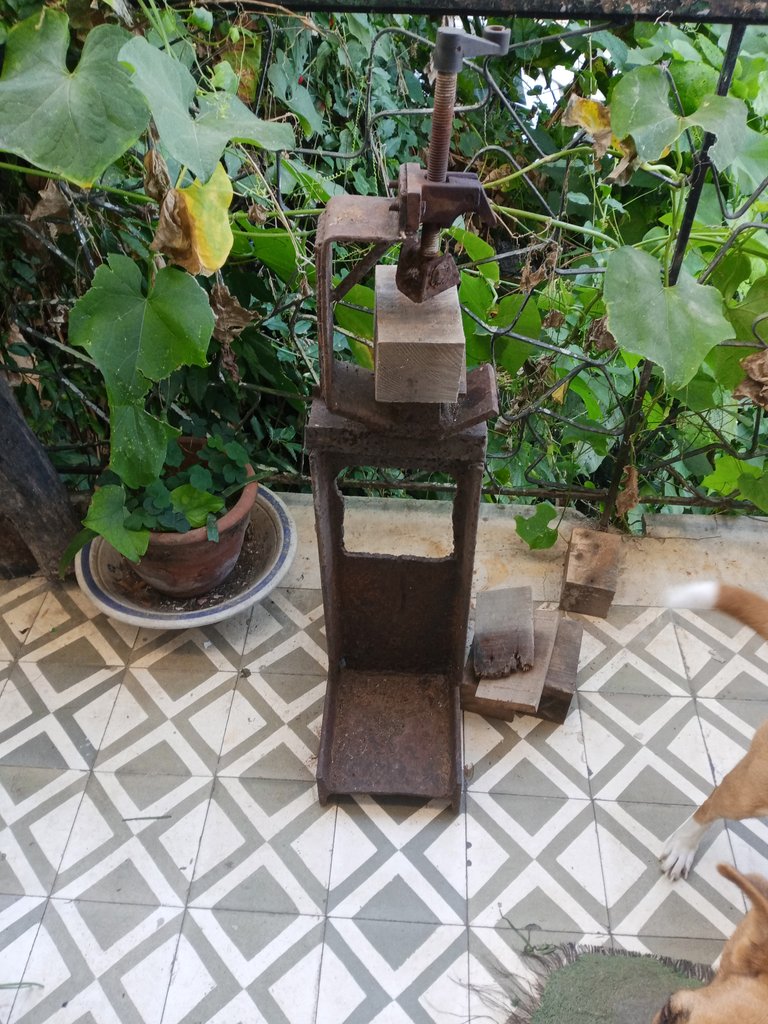
I'm very grateful for the old press I inherited from one of my uncles. My uncle made it years ago. It's not perfect, but I couldn't have done the job using just one hand to work. It's difficult.
Thank you very much for stopping by and reading me.
Have a great week.
Peace.
- Images unless otherwise noted are screenshots of my work.
- I used Google Translate for the English language.
- The decorative banner in Spanish was made with TextStudio.


Saludos a la comunidad de Hive DIY, mis mejores deseos para todos en estas celebraciones de final de año.
Uno de mis vecinos me regalo un par de palets desechadas de un lote que él recogió para usar como leña para poder cocinar.

A simple vista se puede ver que están bastante deterioradas, no puedo hacer muebles con estos palets, pero sí me viene muy bien para hacerle una casa al perro, que es algo que le tenía entre los trabajos pendientes.
Para sacar los clavos oxidados, recurro a los viejos trucos de siempre, con la ayuda de un alicate de presión, para hacer palanca con el martillo para los clavos que estén más fáciles de sacar.

Y para los clavos que estaban muy difíciles, directamente use el cortador de alambre del alicate de presión para tomar el clavo y hacer palanca con el alicate.

No voy a reciclar los clavos, estaban en muy mal estado.

Corte la parte menos dañada del palet, para hacer el piso de la casa del perro y darme cuenta de que el serrucho que estaba usando estaba muy desgastado (lol), por suerte luego de buscar un poco en las herramientas de mi padre, conseguí un serrucho en una mejor condición.

A partir de esta base puedo ir armando a discreción el resto de la caseta del perro.

Use tornillos en vez de clavos, ya que la madera era tan vieja que usando clavos no se podían fijar bien las tablas, le fui dando forma de forma general.

Aproveche varios cartones reciclados que tenía en el depósito del taller, de los que se usan para empacar los huevos, para hacer las paredes laterales y crear una pequeña barrera ante los cambios de temperatura.
También le coloqué unas tablas a modo de travesaños para ir dando más fuerza a la estructura.

Le di una inclinación de unos 30 grados al techo de la caseta para los días de lluvia.

Para hacer el fondo de la caseta aproveché bolsas de arroz y harina e hice una cortina con esas bolsas recicladas.

Fabrique la aguja con la que tejí las bolsas con un trozo de alambre.


Los jefes supervisan todo el trabajo, son muy estrictos.


Ahora en serio, que tejí la cortina del fondo para la caseta, con las bolsas recicladas.

Si logre fijar la cortina con unas tachuelas.

Fui cortando las tablas sobrantes y asegurando con más tornillos.

Me quedaban tablas aun para cubrir la parte del frente y proteger al perro de las corrientes de aire.

Para el techo de la caseta, aproveche una tejas que sobraron de una construcción.

Tenía que decorar la caseta para terminar bien el trabajo, como quedo no tenía un buen aspecto, pero no tenía pintura, tampoco lija suficiente ni lijadora, pero sí tenía un buen trozo de papel para regalos.

Ya terminada y decorada, luce más decente.
Agradezco mucho por la vieja prensa que herede de uno de mis tíos, la fabrico hace años, no es perfecta, pero no habría podido hacer el trabajo usando solo una mano para trabajar, es difícil.

Muchas gracias por pasar y leerme.
Que tengan una excelente semana.
Paz.

- Las imágenes a menos que se indique son capturas de mi trabajo.
- He usado el traductor de Google para el idioma inglés.
- El banner decorativo en español, fue hecho con TextStudio.
