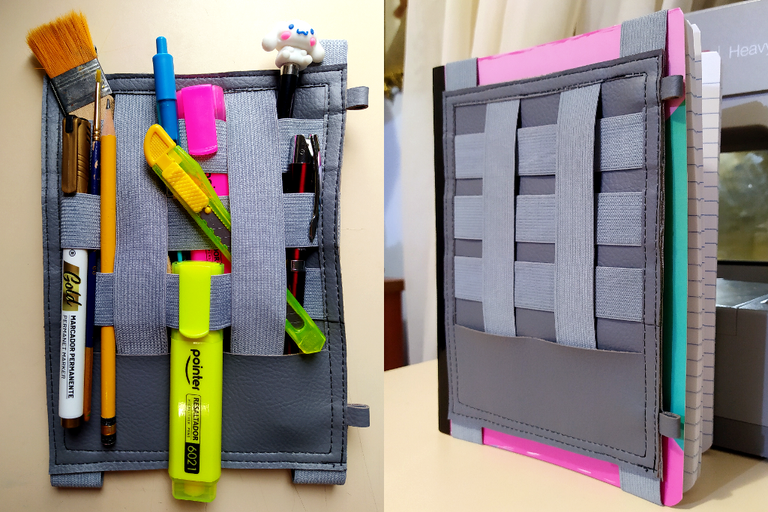
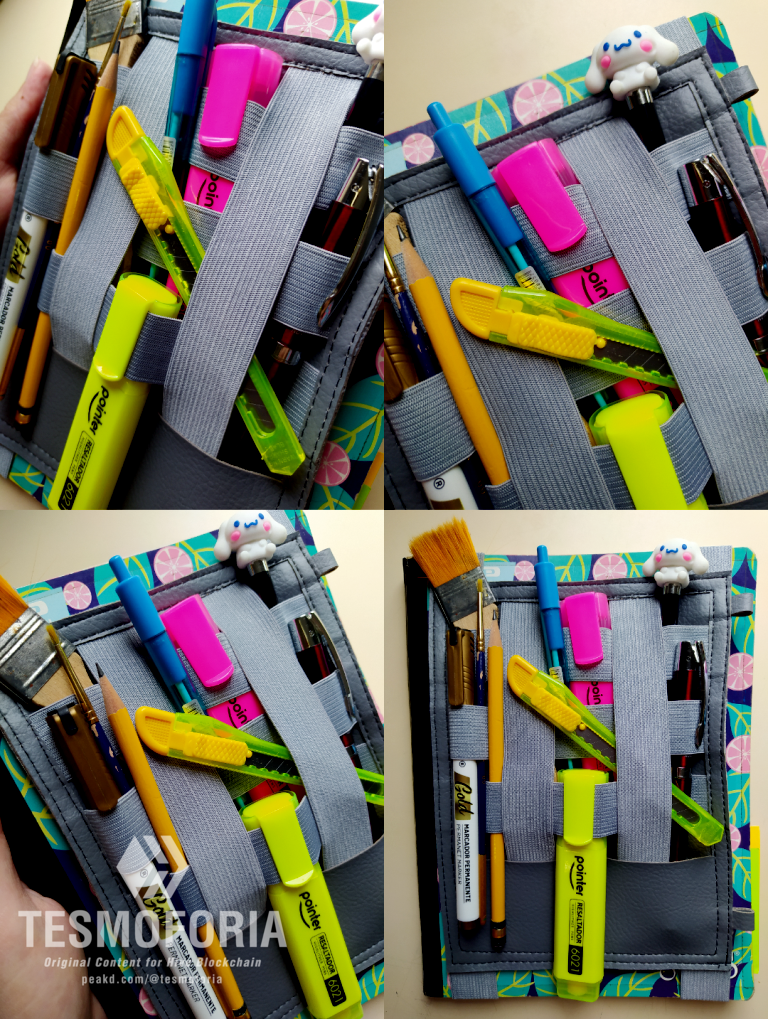
✦ An ideal project to give a gentleman as a gift (っ ˘з (˘⌣˘) ♡ - Collage & Edition in FotoJet, photos by @Tesmoforia ✦

🇪🇸 ~ ¡Hola a todos querida Comunidad de Creativos en Hive! 🎬 🦄 💡
¿Necesitas una alternativa a la cartuchera tradicional que sea práctica y divertida al mismo tiempo?, ¡te lo tengo!.
Pero vamos a realizar este proyecto con un ligero cambio: Vamos a utilizar un color neutro para hacerlo combinable tanto para chicos como para chicas 💃 🕺 👏
🇺🇸 ~ Hello everyone, dear creative community at Hive! 🎬 🦄 💡
If you need an alternative to the traditional pencil case that's both practical and fun, I've got it for you!
But let's do this project with a slight twist: We're going to use a neutral color to make it mixable for both boys and girls 💃 🕺 👏
 |  |  |
|---|
✦ "¿Por qué realizar este proyecto?" ✦
Este organizador es un articulo ligero y práctico que se sujetara a tu libro o agenda de trabajo ocupando poco espacio, y a la vez dejando a la vista las herramientas que sujetes en el, ¡también es un muy bonito regalo!.
⏳ Tiempo: ⭐⭐/ 5.
🚀 Dificultad: ⭐⭐/ 5.
🪙 Costo aproximado: ⭐⭐/ 5.
✦ "Why do this project?" ✦
This organizer is a light and practical item that attaches to your workbook or agenda taking up little space, while keeping the tools you keep inside in view, it also makes a very nice gift!.
⏳ Time: ⭐⭐/ 5.
🚀 Difficulty: ⭐⭐/ 5.
🪙 Approximate cost: ⭐⭐/ 5.

« 𝕋 𝕆 𝕆 𝕃 𝕊 • 𝔸 ℕ 𝔻 • 𝕄 𝔸 𝕋 𝔼 ℝ 𝕀 𝔸 𝕃 𝕊 »

 |
|---|
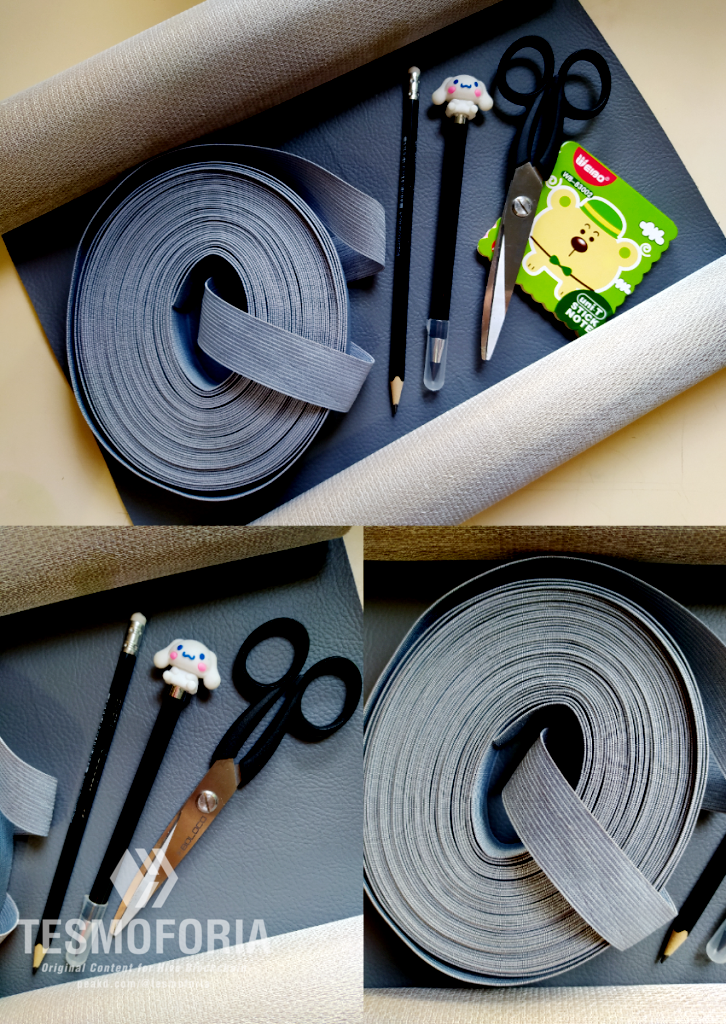
| 🇪🇸 ✦ Las herramientas y materiales que necesitas para elaborar este proyecto son: Cuero sintético, cinta elástica, lápiz, marcador fino, tijera, pegamento silicón frio, regla, cutter, pinzas de costura, maquina de coser (opcional). |
| 🇺🇸 ✦ The tools and materials you need to make this project are: Synthetic leather, elastic tape, pencil, fine marker, scissors, cold silicone glue, ruler, cutter, sewing pliers, sewing machine (optional). |
• ℙ ℝ 𝕆 𝕐 𝔼 ℂ 𝕋 𝕆 •
« Step-by-step tutorial: "Craft Organizer for notebooks" »

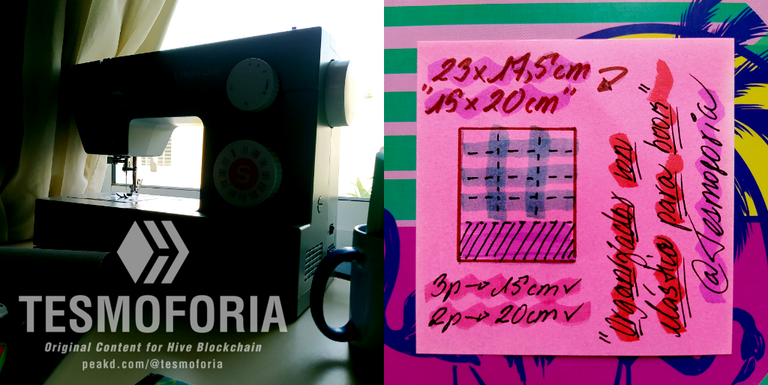
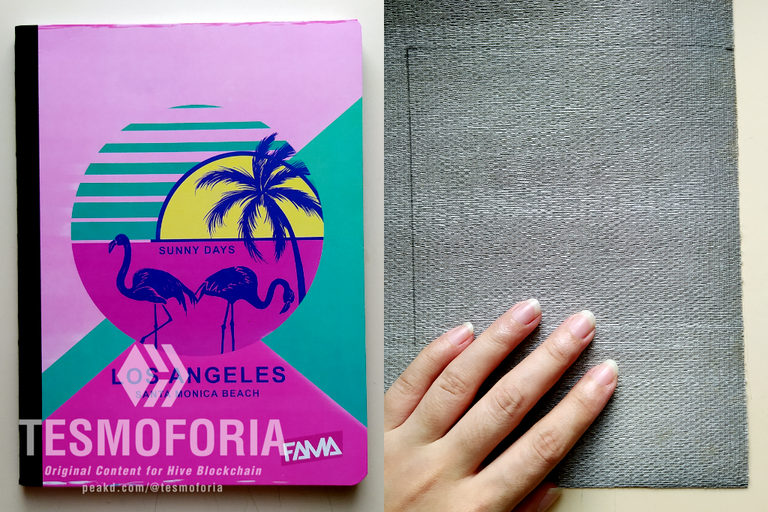
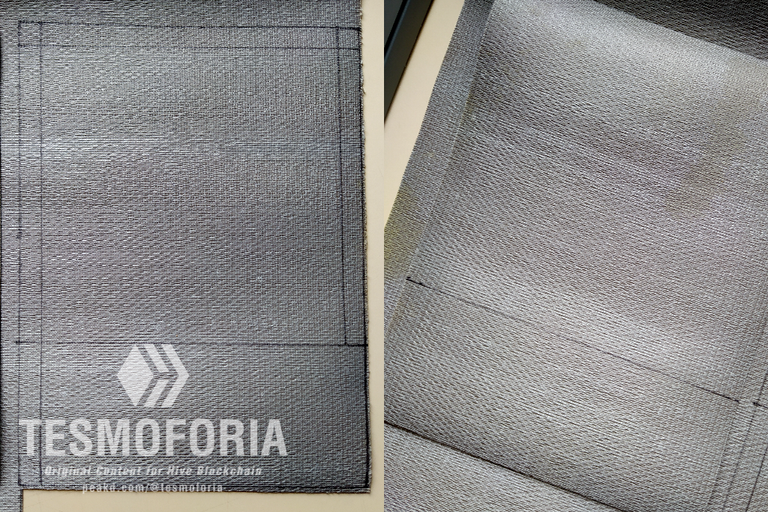
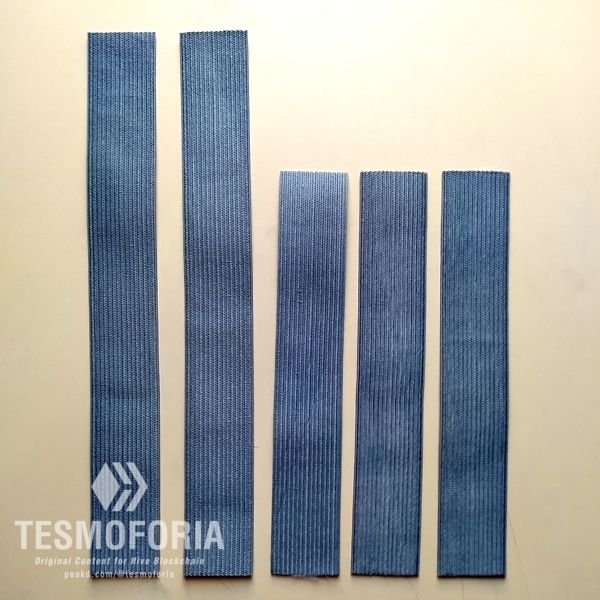

【 PASO 1 】 Para esta manualidad no necesitas elaborar patrones guía, el proceso es bastante intuitivo y fácil: Extiende el cuero sintético y dibuja 2 rectángulos de 15 cm x 20 cm, y corta 6 piezas de cinta elástica, 3 de 15 cm, 2 de 20 cm, y 2 de 30 cm.
【 STEP 1 】 For this craft you don't need to elaborate guide patterns, the process is quite intuitive and easy: Extend the synthetic leather and draw 2 rectangles of 15 cm x 20 cm, and cut 6 pieces of elastic tape, 3 of 15 cm, 2 of 20 cm, and 2 of 30 cm..

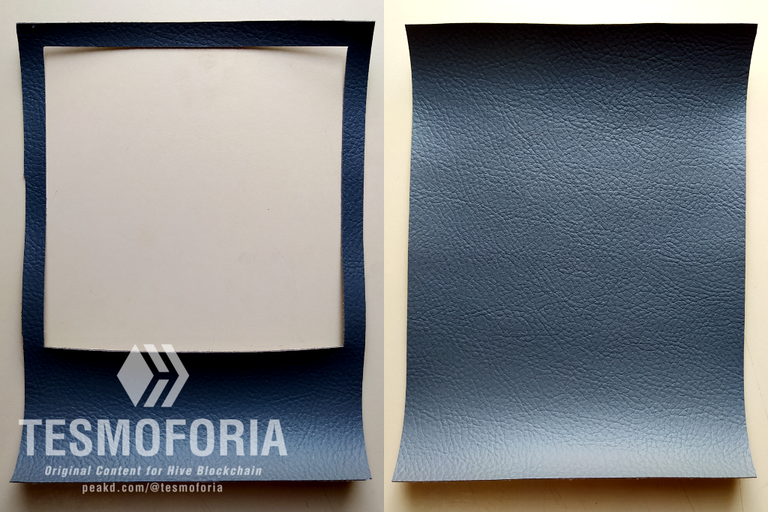
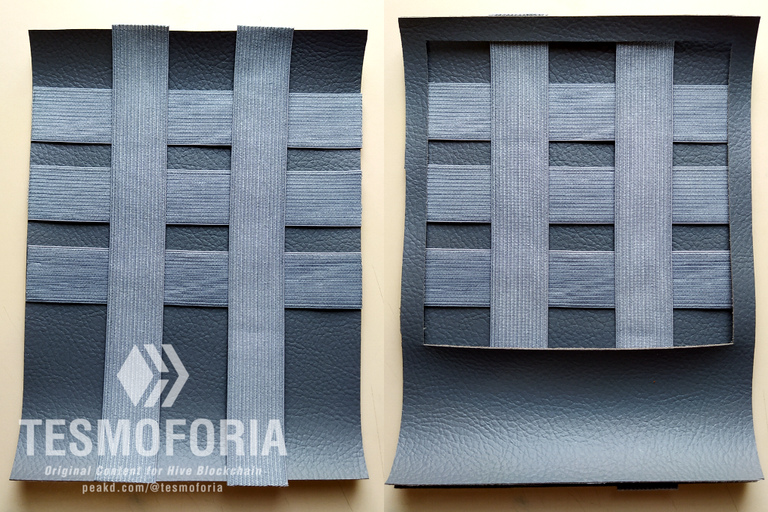
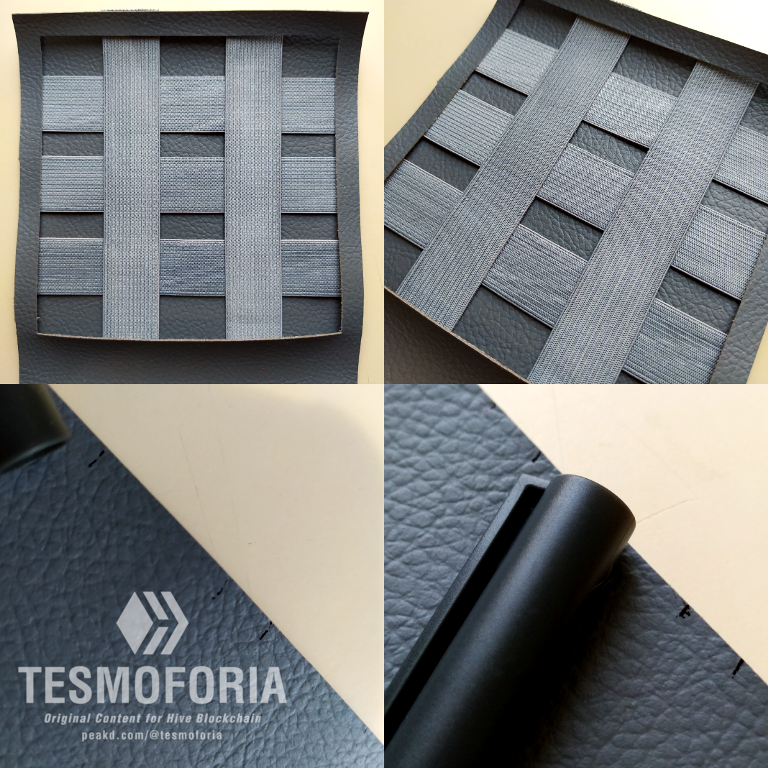

【 PASO 2 】 Recorta la silueta de los rectángulos con ayuda del cutter para que as líneas queden precisas. Coloca tentativamente las cintas elásticas pre cortadas donde te gustaría que queden y marca su posición con el marcado fino; agrega un poco de pegamento silicón frío y pega todo en su lugar MENOS, en la línea horizontal inferior de la capa superior de cuerina que parece una "ventana", porque esto es un bolsillo (guarda esta pieza bajo un libro pesado por unos 15 min para que se pegue todo muy bien).
【 STEP 2 】 Cut out the outline of the rectangles with the help of the cutter so that the lines are precise. Tentatively place the pre-cut elastic bands where you would like them to be and mark their position with the fine marker; add a bit of cold silicone glue and glue everything in place LESS, on the bottom horizontal line of the top layer of leather that looks like a “window”, because this is a pocket (keep this piece under a heavy book for about 15 minutes so that it sticks really well).
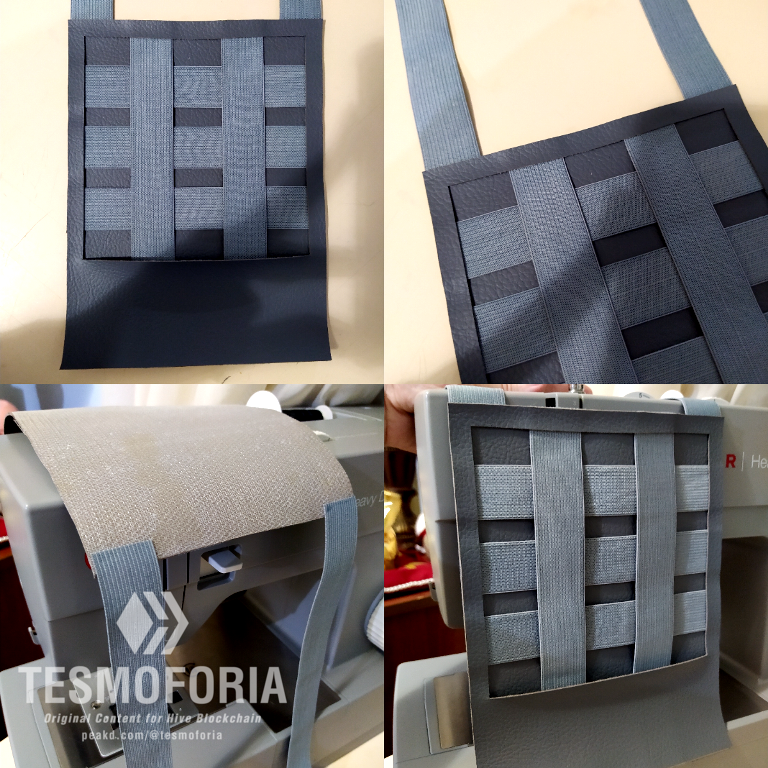
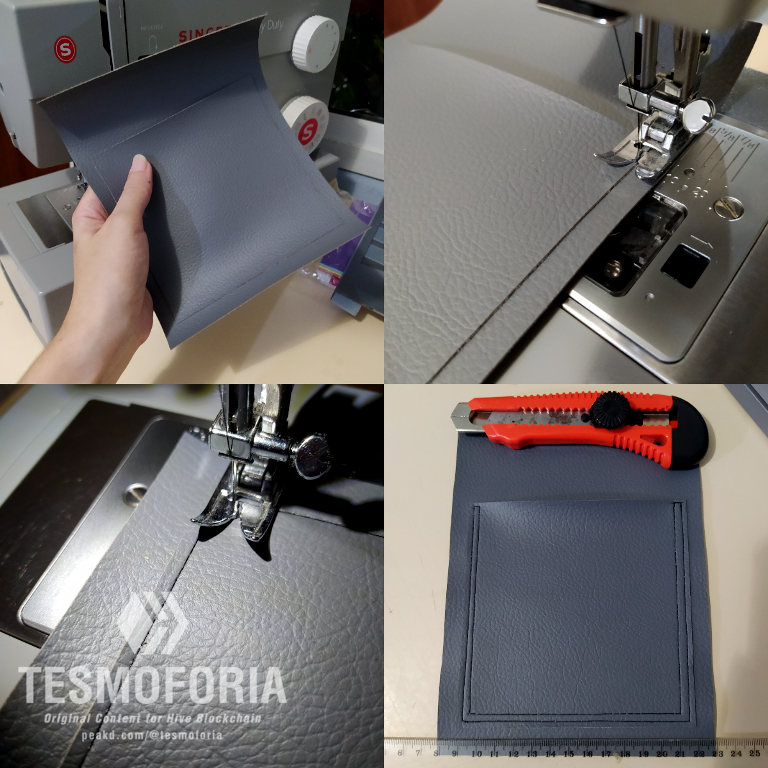
A continuación, pega las piezas de cinta elástica de 30 cm en las esquinas de la pieza que dejaste bajo el libro. Aparte corta un tercer rectángulo de 15 cm x 20 cm mas un rectángulo de la medida de tu preferencia para fabricar un bolsillo.
Next, glue the 30 cm pieces of elastic tape to the corners of the piece you left under the book. Separately cut a third 15 cm x 20 cm rectangle plus a rectangle of your choice to make a pocket.

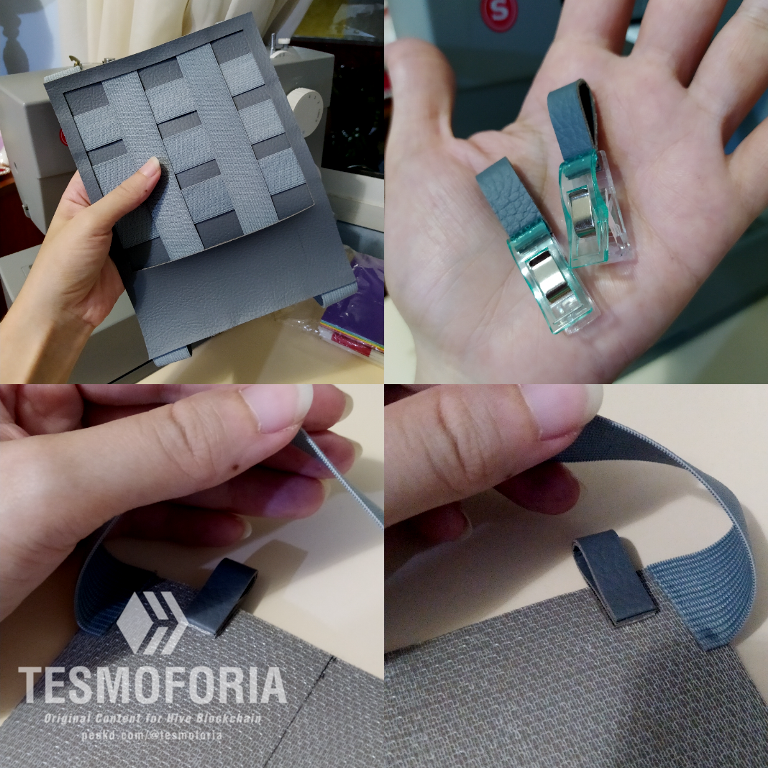

【 PASO 3 】 Ahora vamos a elaborar 2 pequeñas pestañas de cuerina sintética y las ubicaremos con algo de pegamento donde mas nos guste en 2 esquinas opuestas de la pieza principal.
【 STEP 3 】 Now we are going to make 2 small synthetic leather tabs and place them with some glue where we like in 2 opposite corners of the main piece.
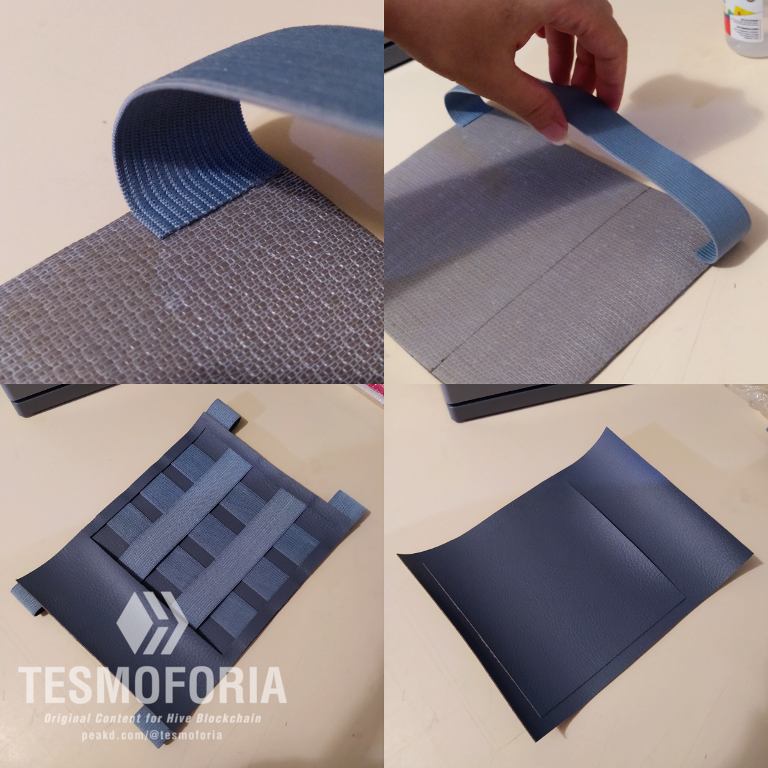
Al tercer rectángulo le agregaremos un poquito de pegamento silicón frio y le pegaremos el "bolsillo", que llevaremos a la máquina de coser para darle 2 puntadas de seguridad en sus 3 lados.
To the third rectangle we will add a little bit of cold silicone glue and we will glue the “pocket”, which we will take to the sewing machine to give it 2 safety stitches on its 3 sides.

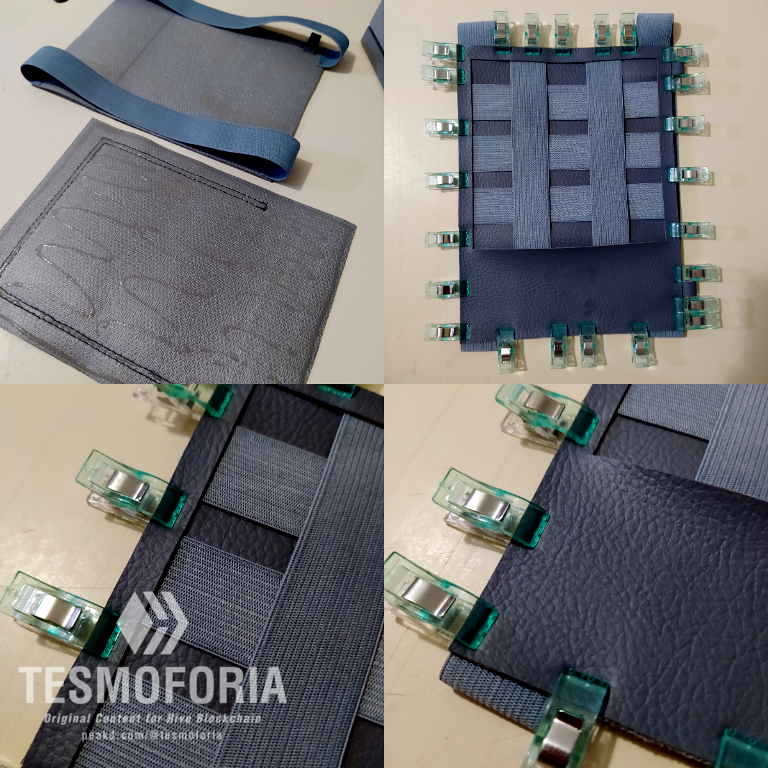
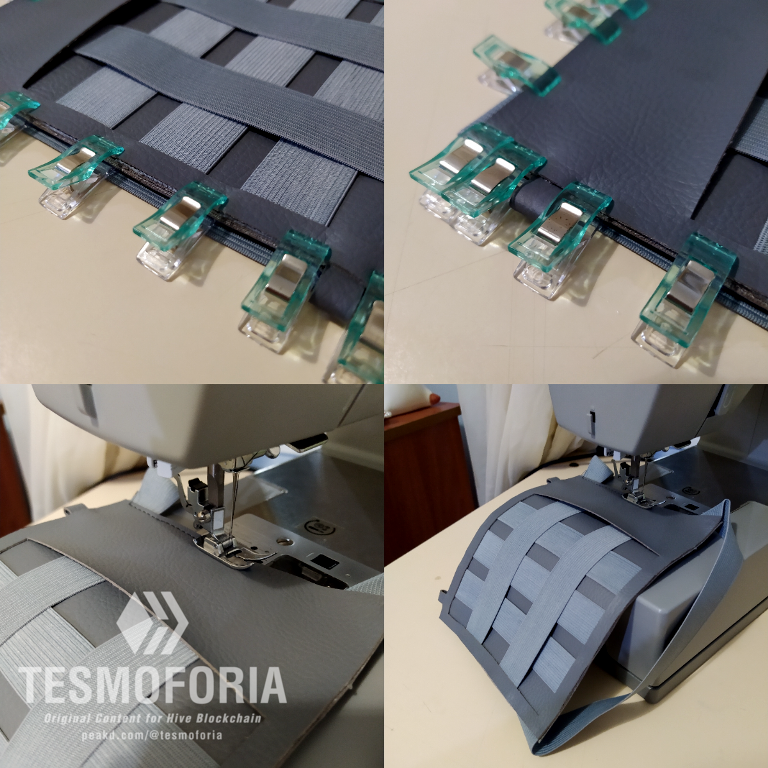

【 PASO 4 】 ¡Estamos casi por terminar!, agrega pegamento al reverso de la cara "con bolsillo" de nuestro organizador, únelo lo más centrado que puedas a la pieza principal, y mantén todo en su sitio con las pinzas de costura. Pasados 30 min, quita las pinzas de costura y lleva el proyecto a la máquina de coser, haz 2 puntadas corridas o en linea recta con número 4.
【 STEP 4 】 We're almost done!, add glue to the back of the “pocket” side of our organizer, attach it as centered as you can to the main piece, and hold everything in place with the sewing clamps. After 30 minutes, remove the sewing clamps and take the project to the sewing machine, make 2 running stitches or a straight line with number 4.

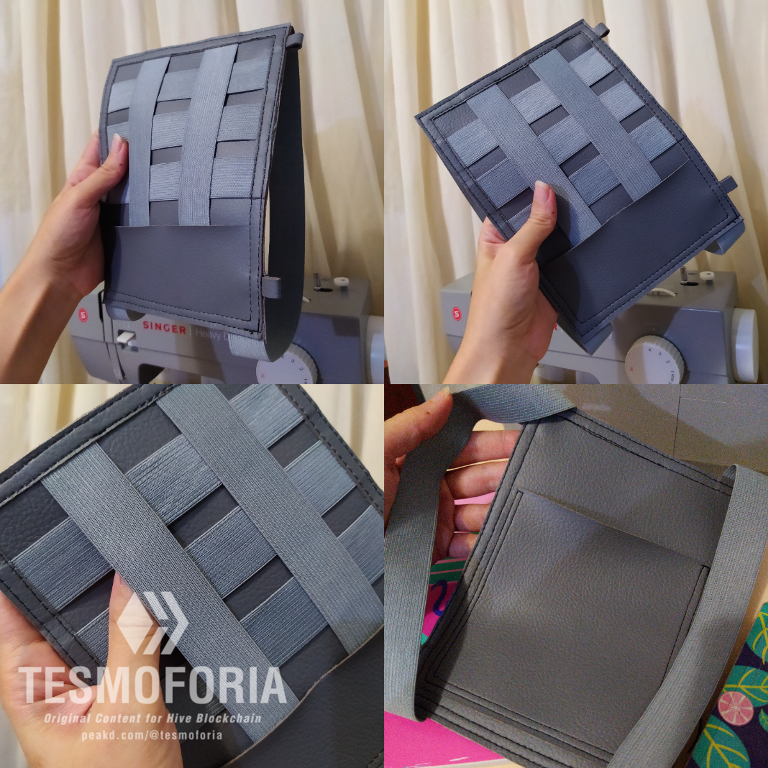
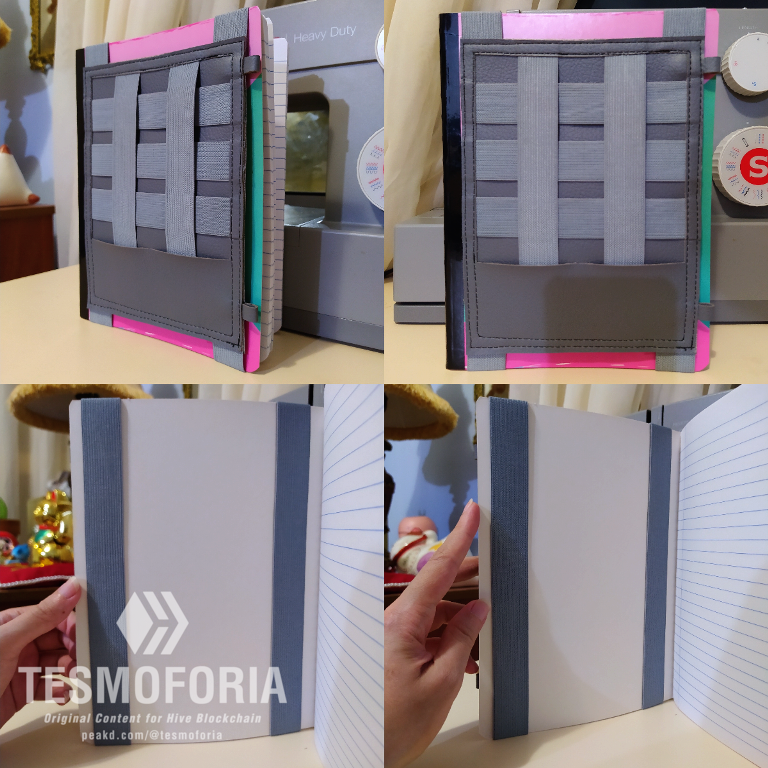

【 PASO 5 】 Por ultimo, corta todos los hilos sueltos o restantes y corta también los excedentes de cuero sintético de todos los lados y esquinas, a veces en este tipo de proyectos ambas caras no coinciden perfectamente y eso es normal. No te preocupes. ¡También has una prueba! ☝ ✨
【 STEP 5 】 Lastly, cut all loose or remaining threads and also cut the excess synthetic leather from all sides and corners, sometimes in this type of project both sides don't match perfectly and that's normal. Don't worry. Also do a test run! ☝ ✨
✨ 📖 𝐂𝐫𝐚𝐟𝐭 𝐎𝐫𝐠𝐚𝐧𝐢𝐳𝐞𝐫 𝐟𝐨𝐫 𝐍𝐨𝐭𝐞𝐛𝐨𝐨𝐤𝐬 📖 ✨

 |  |
|---|

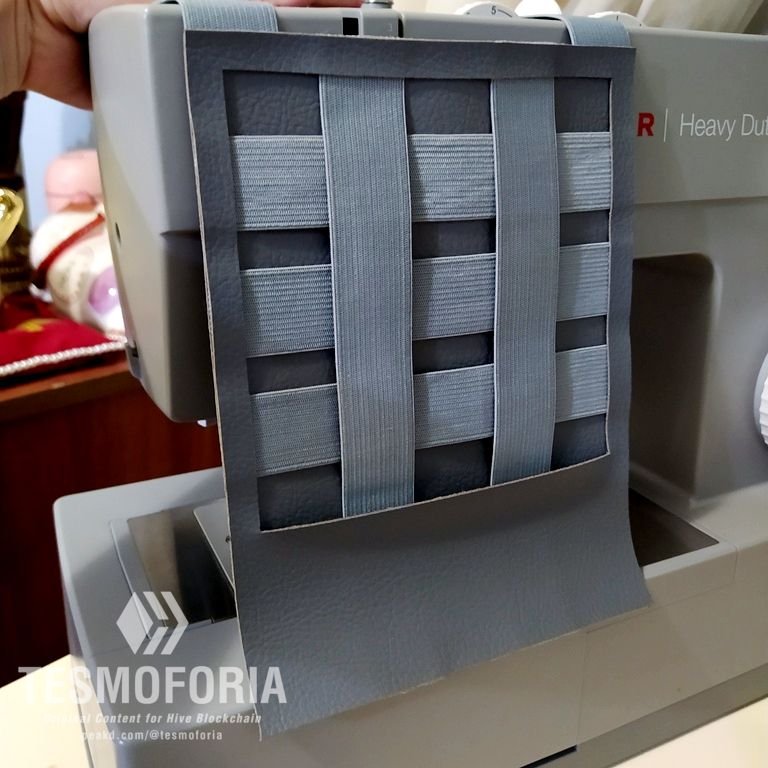
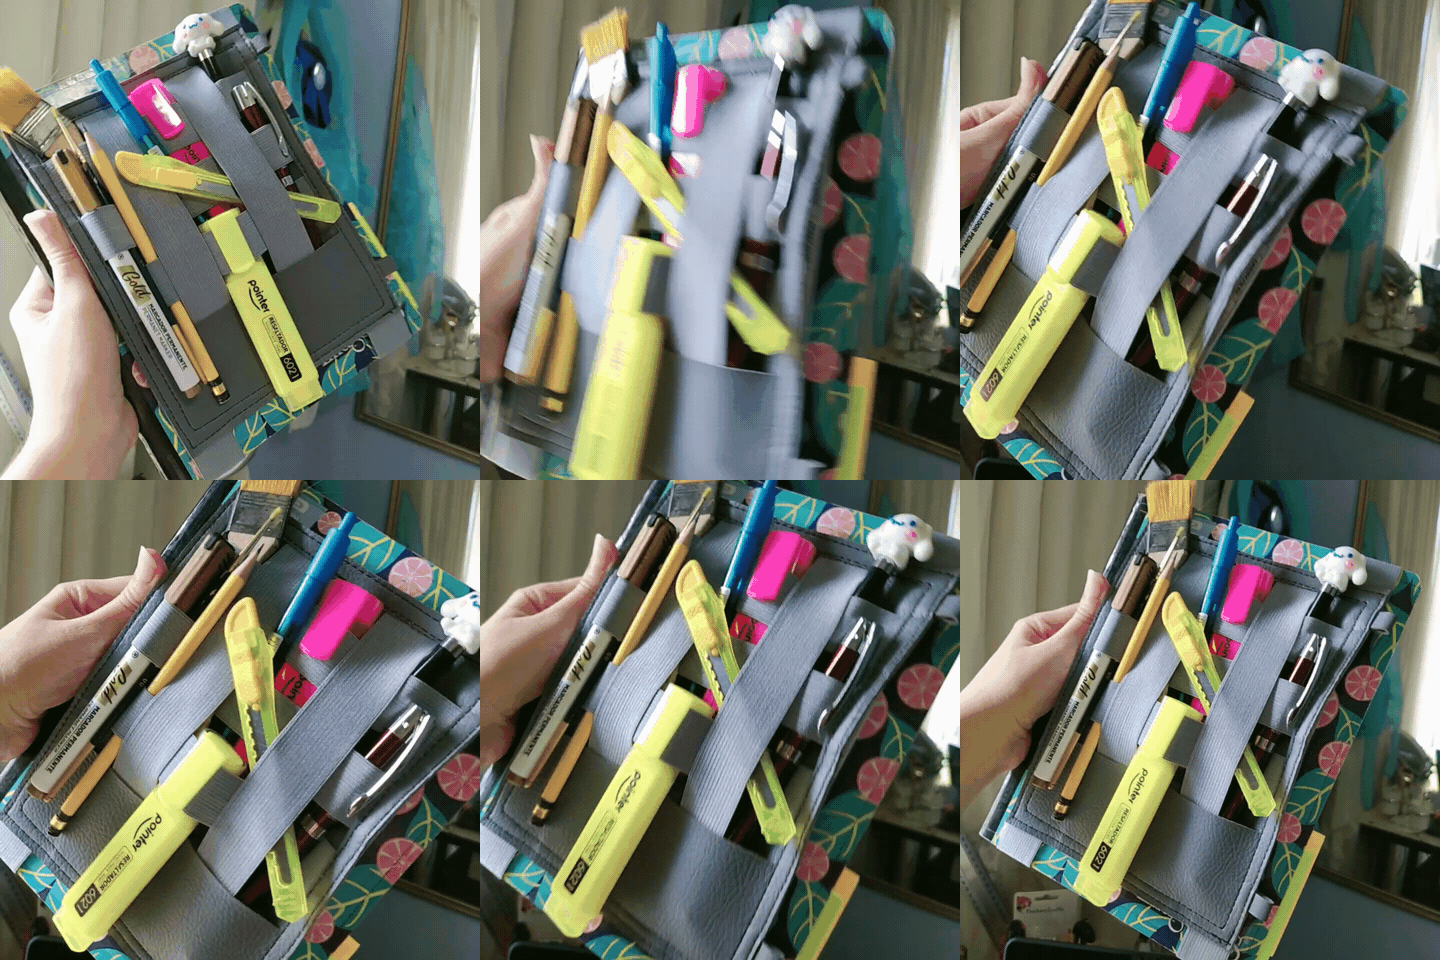
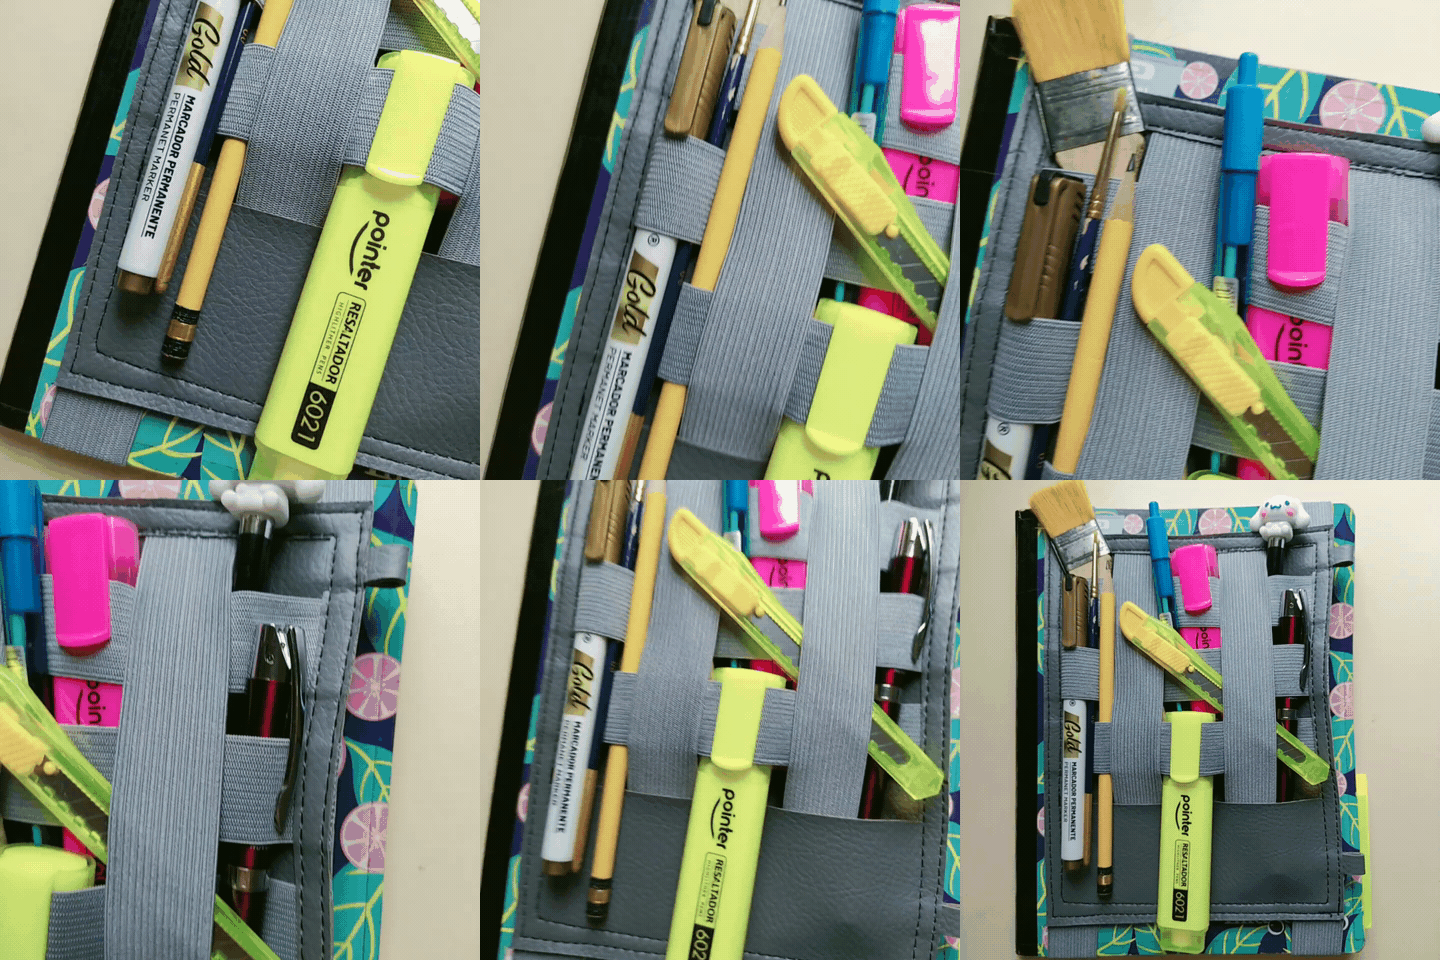
『 Resumen 』~ Esta es una manera simple, efectiva y eficiente de crear un organizador para agendas y cuadernos, te garantizo que funciona muy bien y el resultado es resistente y por tanto durable 🕶 🤌 💯
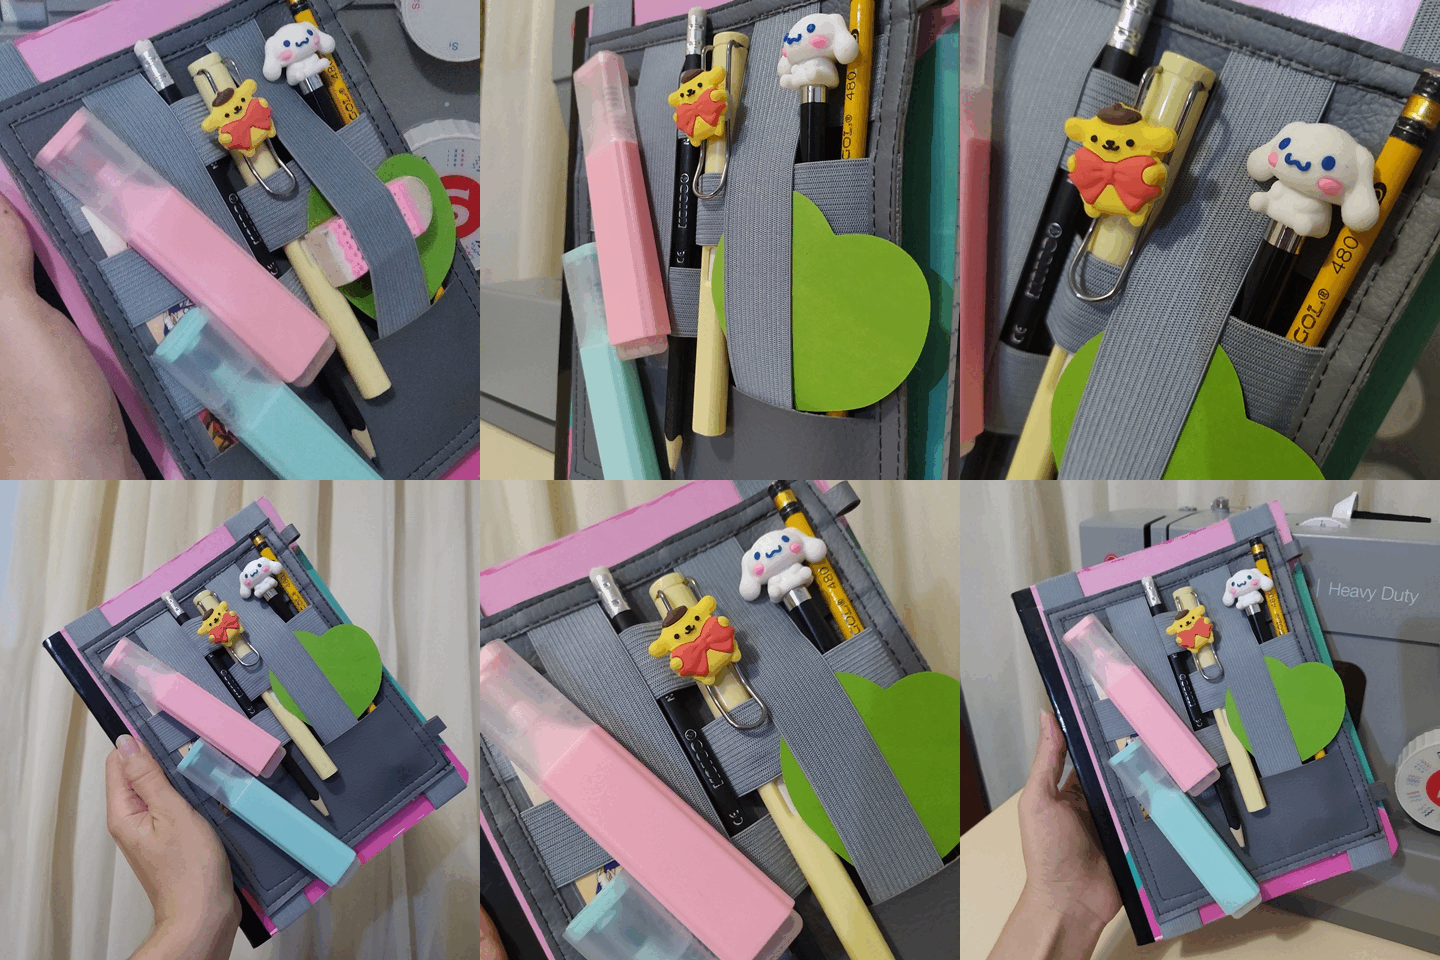
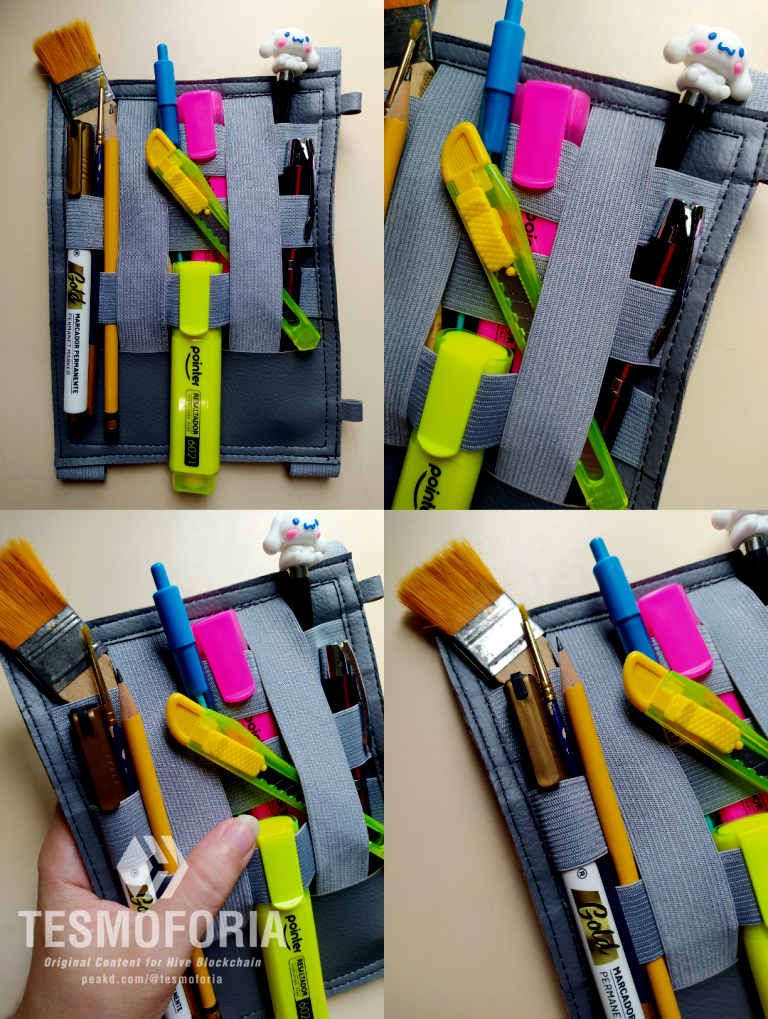
Yo he puesto cosas al desorden porque me parece divertido comprobar cuánto peso puede sostener este organizador de forma estable: Es perfecto para ir a la oficina, a la universidad, o de compras, y tiene la medida perfecta para caber en un totebag standar.
『 Recomendaciones Finales 』~
¡Muy poco puedo decir en esta ocasión!, este proyecto es simple pero bastante completo y el único consejo que puedo darte es que te diviertas mucho en el proceso de elaboración y busques maneras de personalizarlo a tu gusto...
¿Recuerdas las pestañas?, ¡SON PARA COLOCAR LLAVEROS LINDOS!, así que espero te diviertas mucho con ese extra de diseño, y estare encantada de leer lo que opinas en los comentarios, ¡un super abrazo! (/ ^ - ^ (^ ^ *) / ♡
『 Summary 』~ This is a simple, effective and efficient way to create an organizer for agendas and notebooks, I guarantee it works very well and the result is sturdy and therefore durable 🕶 🤌 💯
I put things to clutter because I find it fun check out how much weight this organizer can hold stably: It's perfect for going to the office, college, or shopping, and it's the perfect size to fit in a standard totebag.
『 Final Recommendations 』~
Very little I can say on this one, this project is simple but quite complete and the only advice I can give you is to have a lot of fun in the making process and look for ways to customize it to your liking...
Remember the tabs, THEY'RE FOR PUTTING CUTE KEYRINGS ON!, so I hope you have a lot of fun with that extra design, and I'll be happy to read what you think in the comments, super hugs! (/ ^ - ^ (^ ^ *) / ♡

 |  |  |  |  |  |  |  |  |
|---|
✨ 🍓 All texts and images by @Tesmoforia 🍓 ✨
📸 Tools: Smartphone 📲 Snow 🎬 Remini 🌓 FotoJet 📐
🚨 ¡Please do not take, edit or republish my material without my permission! 🚨
💌 ¿Do you wish to contact me? Discord #tesmoforia 💌
🌙 Banner, signature and separators by Keili Lares
Posted Using InLeo Alpha


