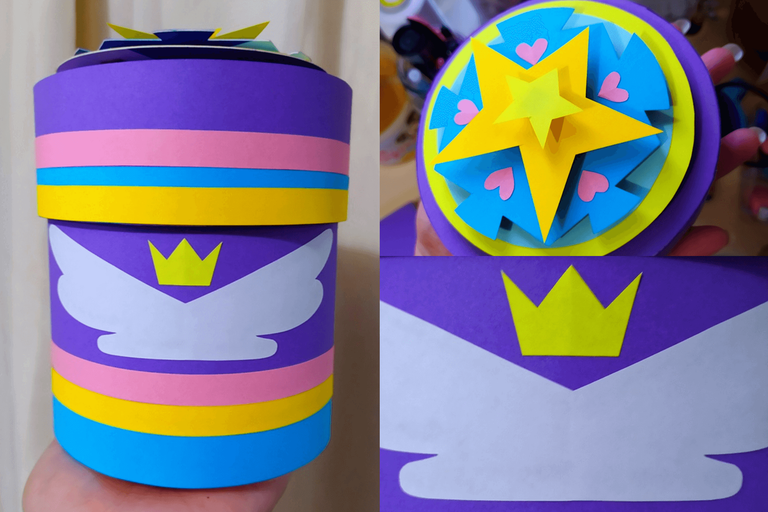
✦ Raise the level of your gifts with a gift box you won't find in any store! - Collage & Edition in FotoJet, photos by @Tesmoforia ✦

🇪🇸 ~ El lenguaje del amor se habla de diferentes maneras y se demuestra de distintas formas:
Hoy quiero demostrarte que lo especial de un obsequio no se trata de la cantidad de dinero que inviertas en el, sino de la atención a los detalles, a los gustos de la otra persona, e incluso a sus aesthetics favoritos.
🇺🇸 ~ The language of love is spoken and demonstrated in many ways:
Today I want to show you that how special a gift is is not about the amount of money you invest in it, but the attention to detail, the other person's tastes, and even their favorite aesthetics.
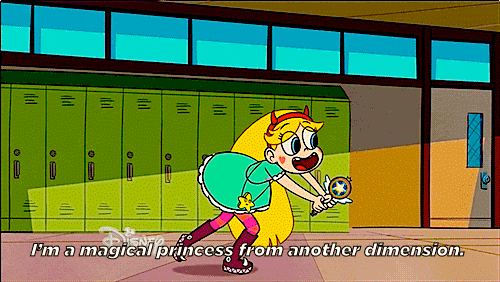
✦ "¿Por qué realizar este proyecto?" ✦
Aunque "Star vs. las Fuerzas del Mal" terminó el 19 de mayo de 2019, su estética sigue vigente por todos esos entrañables elementos que caracterizan el universo de "las magical girl".
⏳ Tiempo: ⭐⭐⭐/ 5.
🚀 Dificultad: ⭐⭐⭐/ 5.
🪙 Costo aproximado: ⭐⭐/ 5.
✦ "Why do this project?" ✦
Although “Star vs. the Forces of Evil” ended on May 19/2019, its aesthetic is still relevant because of all those enchanting elements that characterize the “magical girl” universe.
⏳ Time: ⭐⭐⭐/ 5.
🚀 Difficulty: ⭐⭐⭐/ 5.
🪙 Approximate cost: ⭐⭐/ 5.

« 𝕋 𝕆 𝕆 𝕃 𝕊 • 𝔸 ℕ 𝔻 • 𝕄 𝔸 𝕋 𝔼 ℝ 𝕀 𝔸 𝕃 𝕊 »

 |
|---|
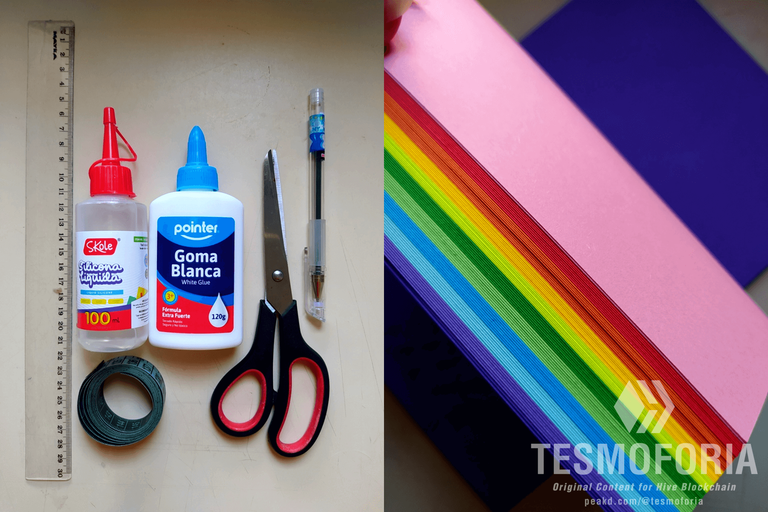
| 🇪🇸 ✦ Las herramientas y materiales que necesitas para elaborar este proyecto son: Lápiz, bolígrafo, regla, cinta métrica, pegamento escolar, silicón frio, blog de papel de colores, cartón corrugado de reciclaje, cartulina fina de reciclaje, papel de cuaderno de reciclaje. |
| 🇺🇸 ✦ The tools and materials you need to make this project are: Pencil, pen, ruler, sewing tape measure, school glue, cold silicone, colored paper blog, recycled corrugated cardboard, recycled thin cardboard, recycled notebook paper. |
• 𝕄 𝔸 ℕ 𝕌 𝔸 𝕃 𝕀 𝔻 𝔸 𝔻 •
« ✨ 🦄 Gift box with 3D effect 🦄 ✨ »

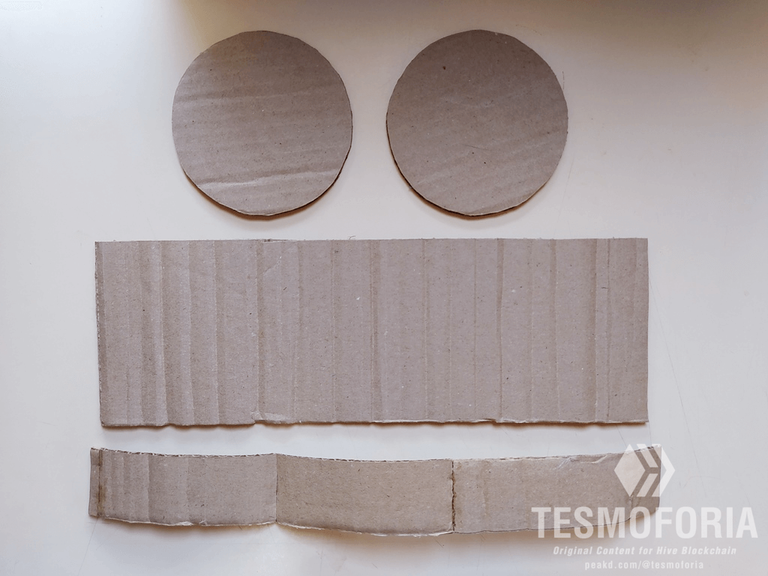
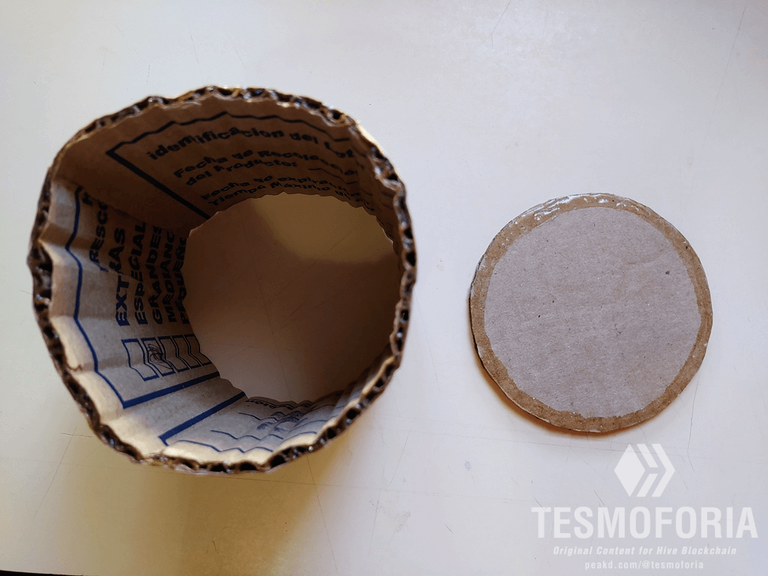
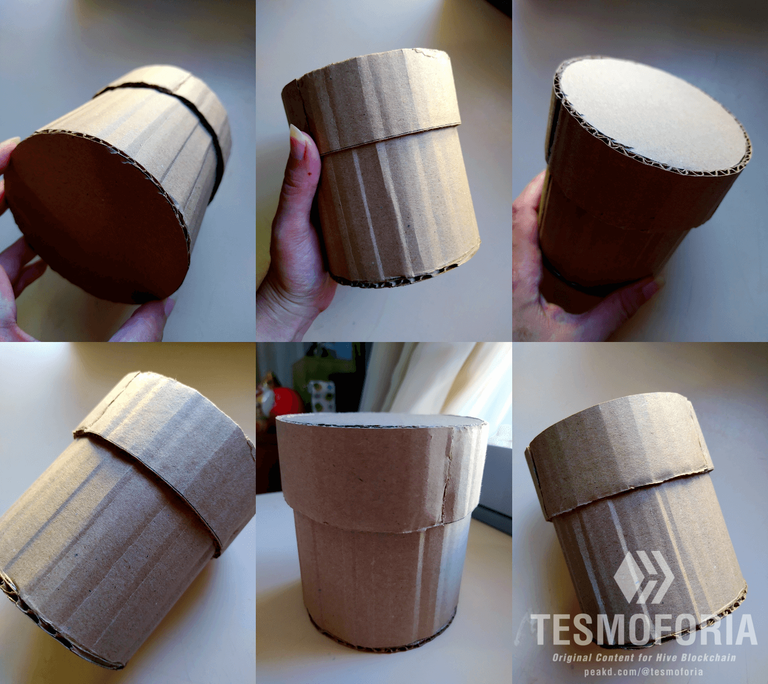
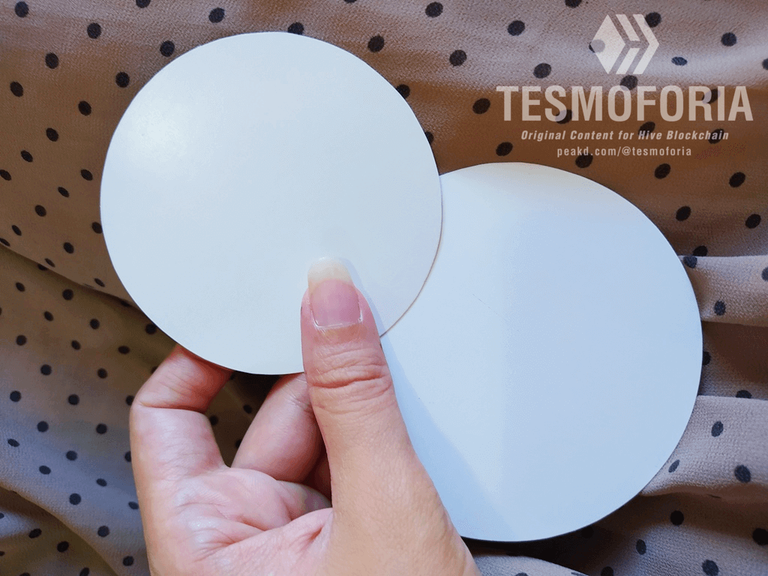
【 STEP 1 】 Let's start by making the body of our gift box, for which you will need 2 circles of recycled cardboard of 10.5 cm (top of the lid and bottom of the box), 1 strip of 35 x 4 cm (body of the lid), 1 piece of 33 x 11 cm (body of the box); join everything together using cold silicone.
【 PASO 1 】 Ensamblemos primero el cuerpo de nuestra caja de regalo, para eso necesitaras: 2 círculos de cartón reciclado de 10,5 cm (parte superior de la tapa, y piso de la caja), 1 tira de 35 x 4 cm (cuerpo de la tapa), 1 pieza de 33 x 11 cm (cuerpo de la caja); une todo con ayuda del silicón frío.

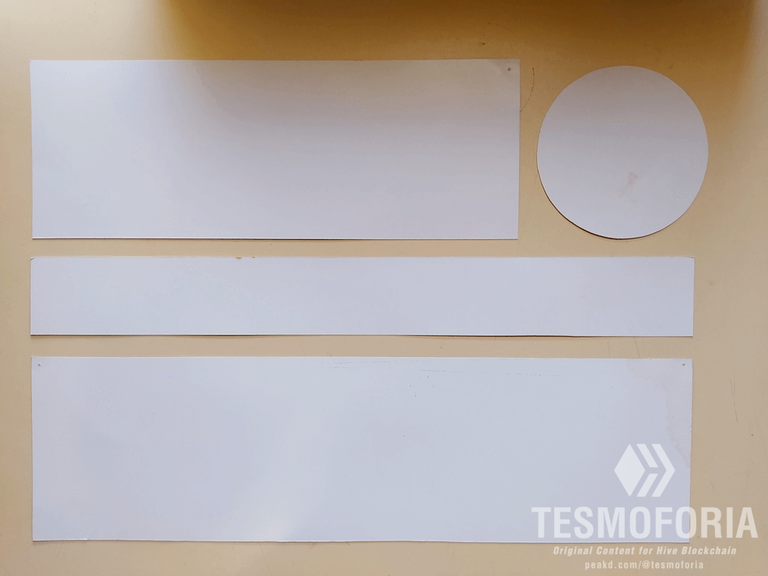
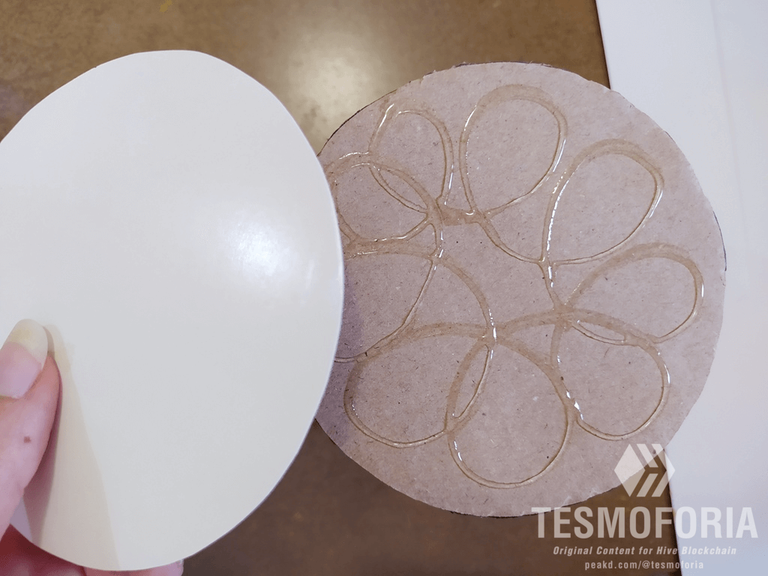
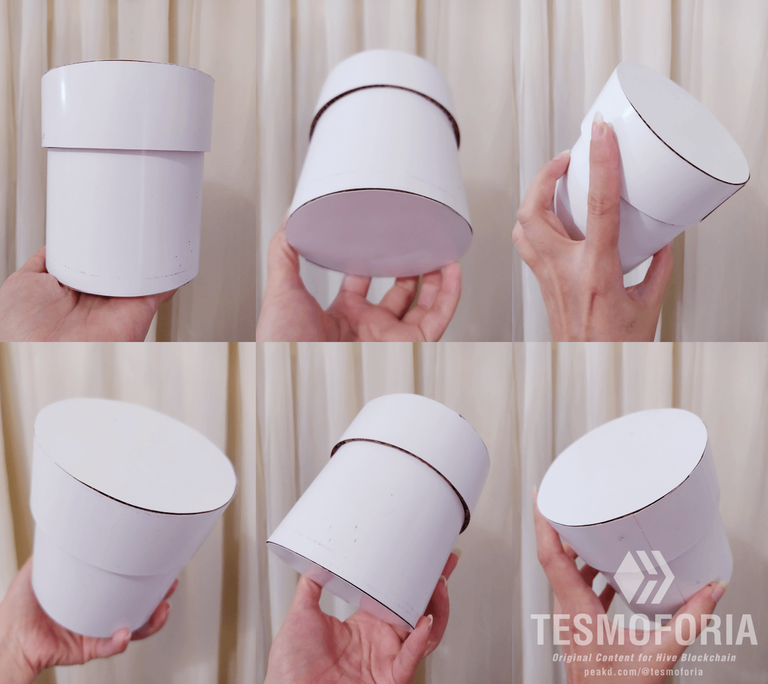
【 STEP 2 】 Reproduce the same dimensions of the recycled cardboard pieces on the thin recycled cardboard (I used some old school posters) and line the cardboard box with only the necessary amount of glue, if you add too much you run the risk of the cardboard deforming due to the humidity, and do not include in the piece that corresponds to the body of the box the section that will cover the lid once it is put on.
【 PASO 2 】 Replica las mismas medidas de las piezas de cartón reciclado, en la cartulina de reciclaje fina (yo utilice unos poster escolares viejos), y forra la caja de cartón utilizando solo la cantidad de pegamento necesaria, si agregas mucho corres el riesgo de que la cartulina de deforme por la humedad, y no incluyas en la pieza que corresponde al cuerpo de la caja, la sección que cubre la tapa una vez puesta.

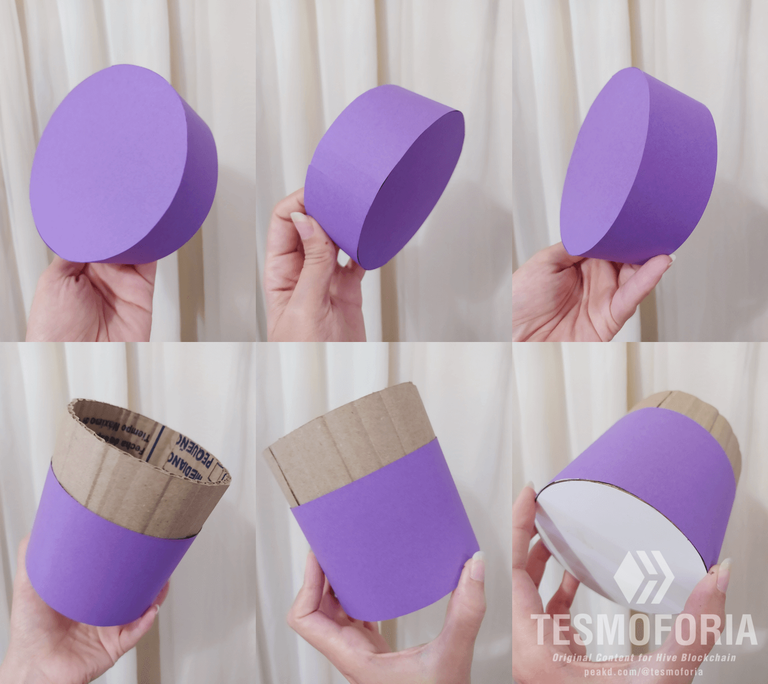
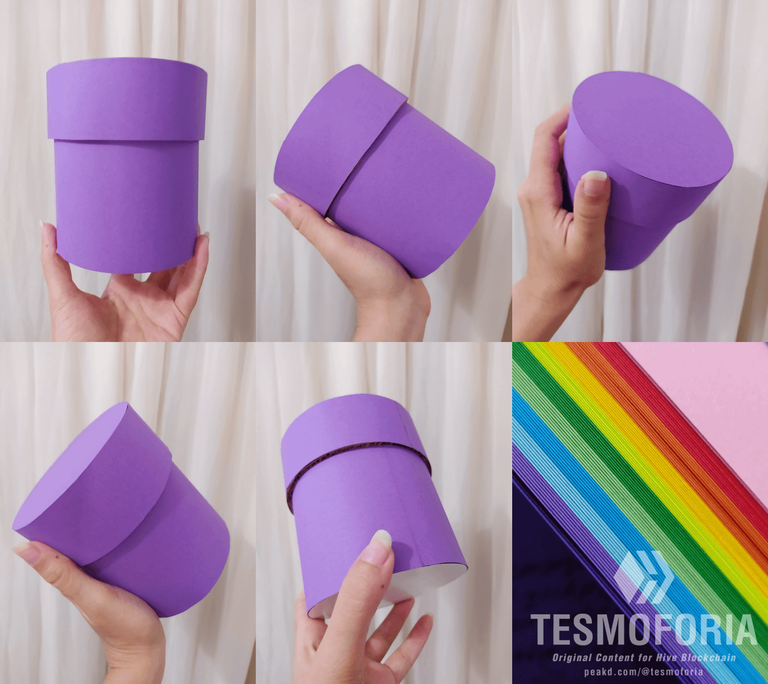
【 STEP 3 】 Repeat the previous step with the colored paper of your choice; you will find that pre-lining the box with thin cardboard makes the final colored paper lining look ultra neat and clean, ¡flawless! ~
【 PASO 3 】 Repite el paso anterior con el papel de color de tu preferencia; notaras que forrar previamente la caja con una cartulina fina, hace que el forro final de papel de color se vea ultra prolijo y limpio, ¡sin defectos!.

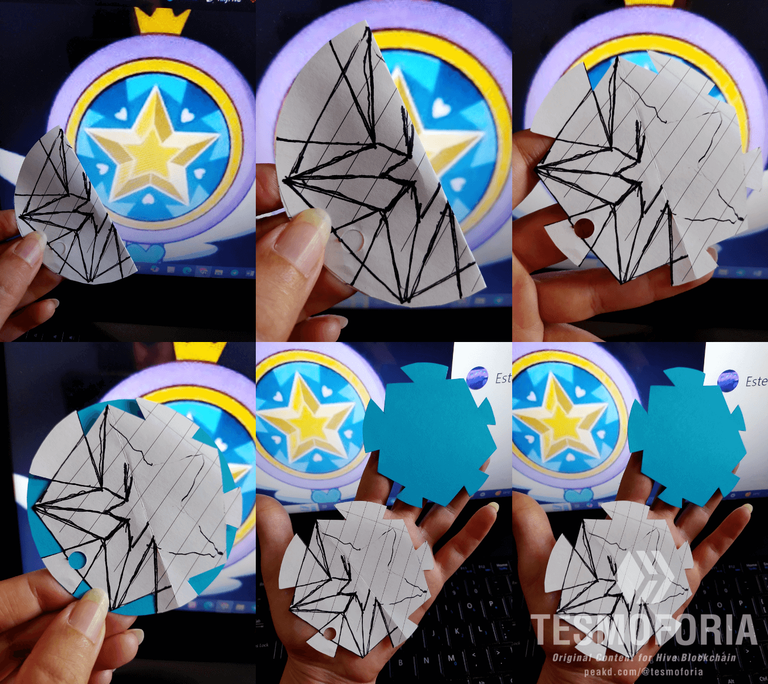
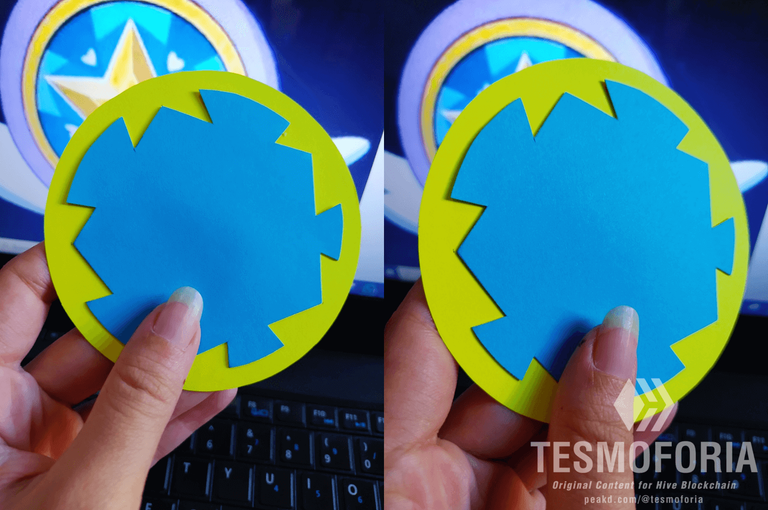
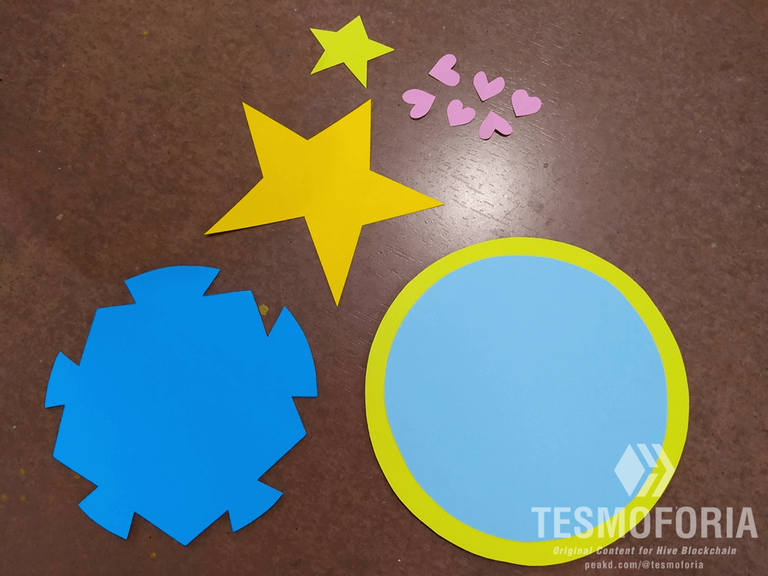
【 STEP 4 】 For the cover, draw the entire figure with all its details on the recycled notebook paper and reproduce it "from largest to smallest" on the sheets of colored paper, cutting out the pattern one by one until you reach the star in the center. For the bases of the figure, reinforce them with a background of thin cardboard.
【 PASO 4 】 Para la tapa, dibuja en la hoja de cuaderno de reciclaje la figura completa con todos sus detalles, y replícala "de mayor a menor" en las hojas de papel de colores, para eso recorta poco a poco el patrón hasta llegar a la estrella del centro. Para las bases de la figura, refuérzalas con un fondo de cartulina fina.

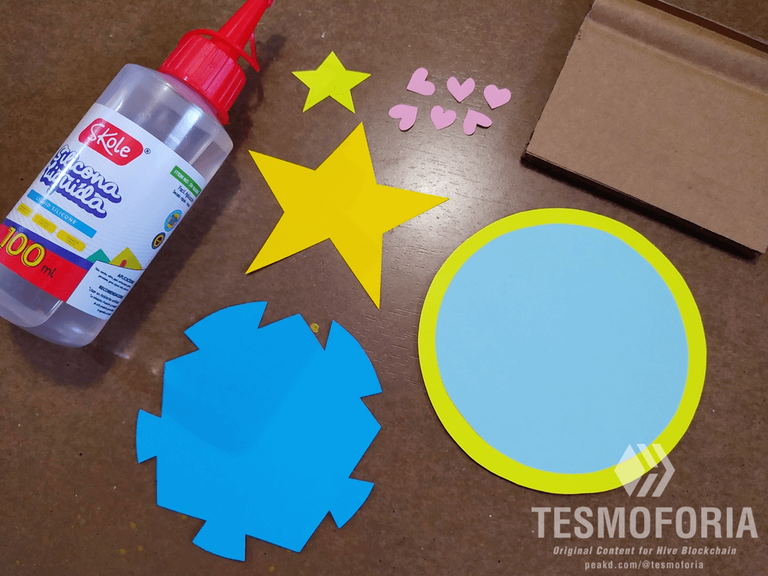
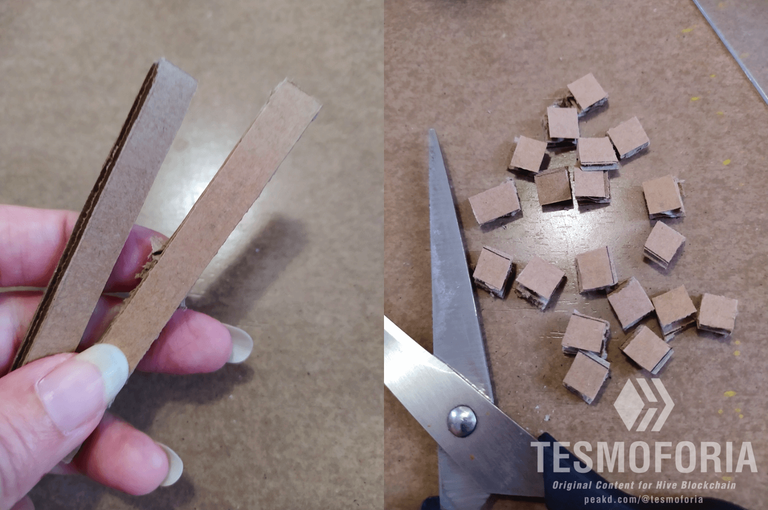
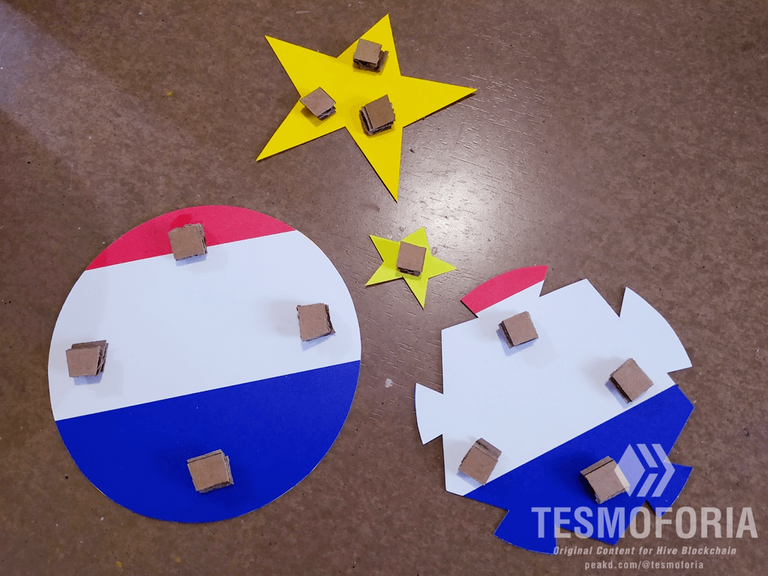
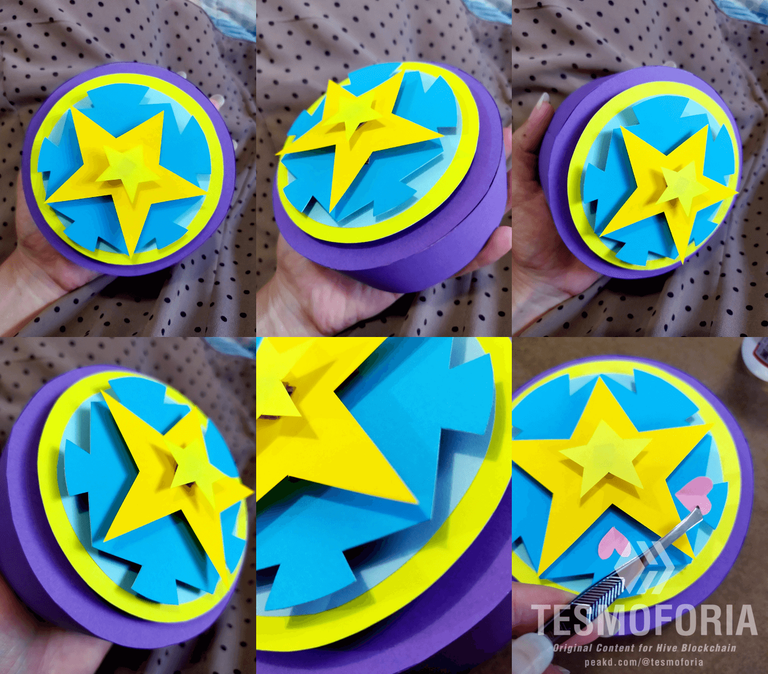
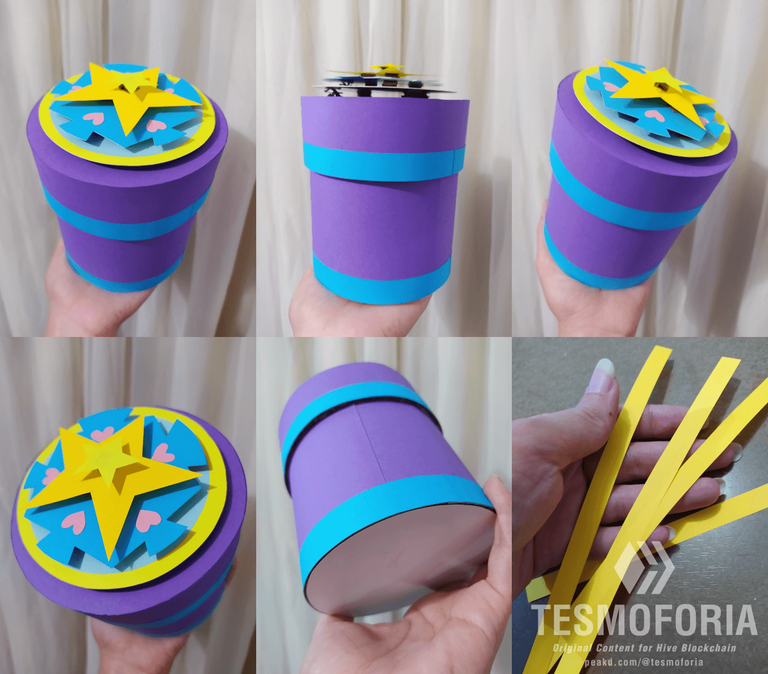
【 STEP 5 】 Now for the fun part! Cut strips of recycled cardstock, then cut these strips into small cubes, glue these cubes to the backs of the colored paper figures, and assemble this puzzle from largest to smallest, being careful not to over-glue.
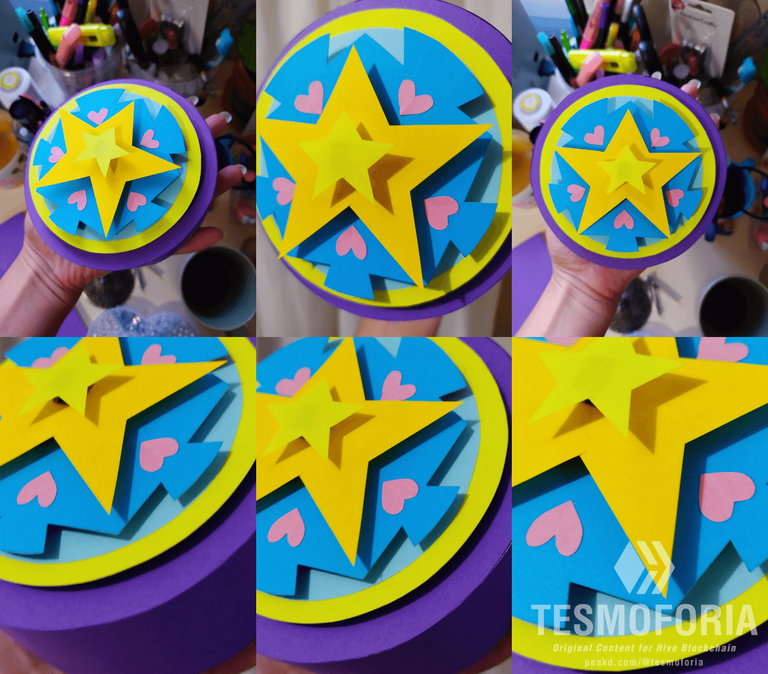
Use eyebrow tweezers to glue on the smaller details, and add a series of colored paper ribbons to the body and lid of the box.
【 PASO 5 】 ¡Esta es a parte mas divertida!, corta tiras de cartulina de reciclaje, y luego esas tiras córtalas en pequeños cubitos, **pega estos cubitos al reverso de las figuras de papel de colores e instala este rompecabezas de mayor a menor, cuidando de no excederte en la cantidad de pegamento.
Utiliza una pinza de cejas para pegar los detalles mas pequeños, y agrega una secuencia de cintas de papel de colores al cuerpo y tapa de la caja.
« ℂ 𝕆 𝕄 ℙ 𝕃 𝔼 𝕋 𝔼 • ℙ ℝ 𝕆 𝕁 𝔼 ℂ 𝕋 »

 |  |  |
|---|
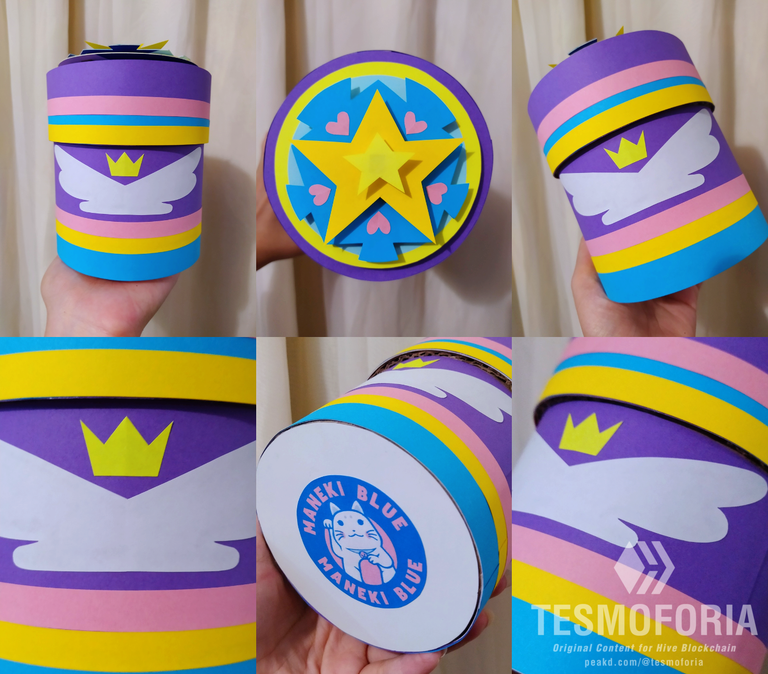
『 Resumen 』~
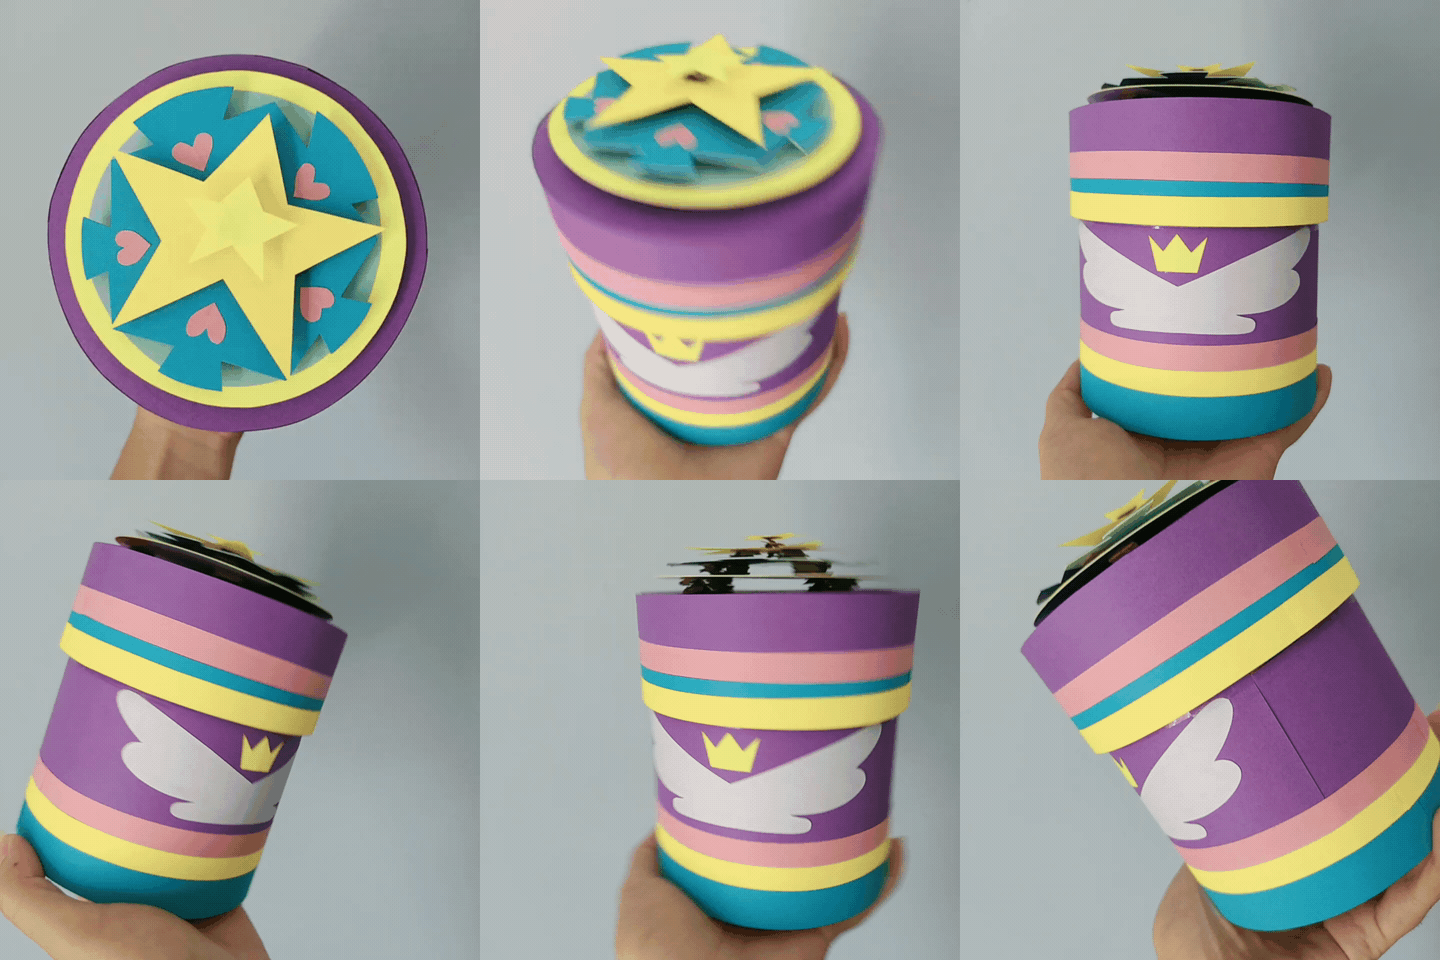
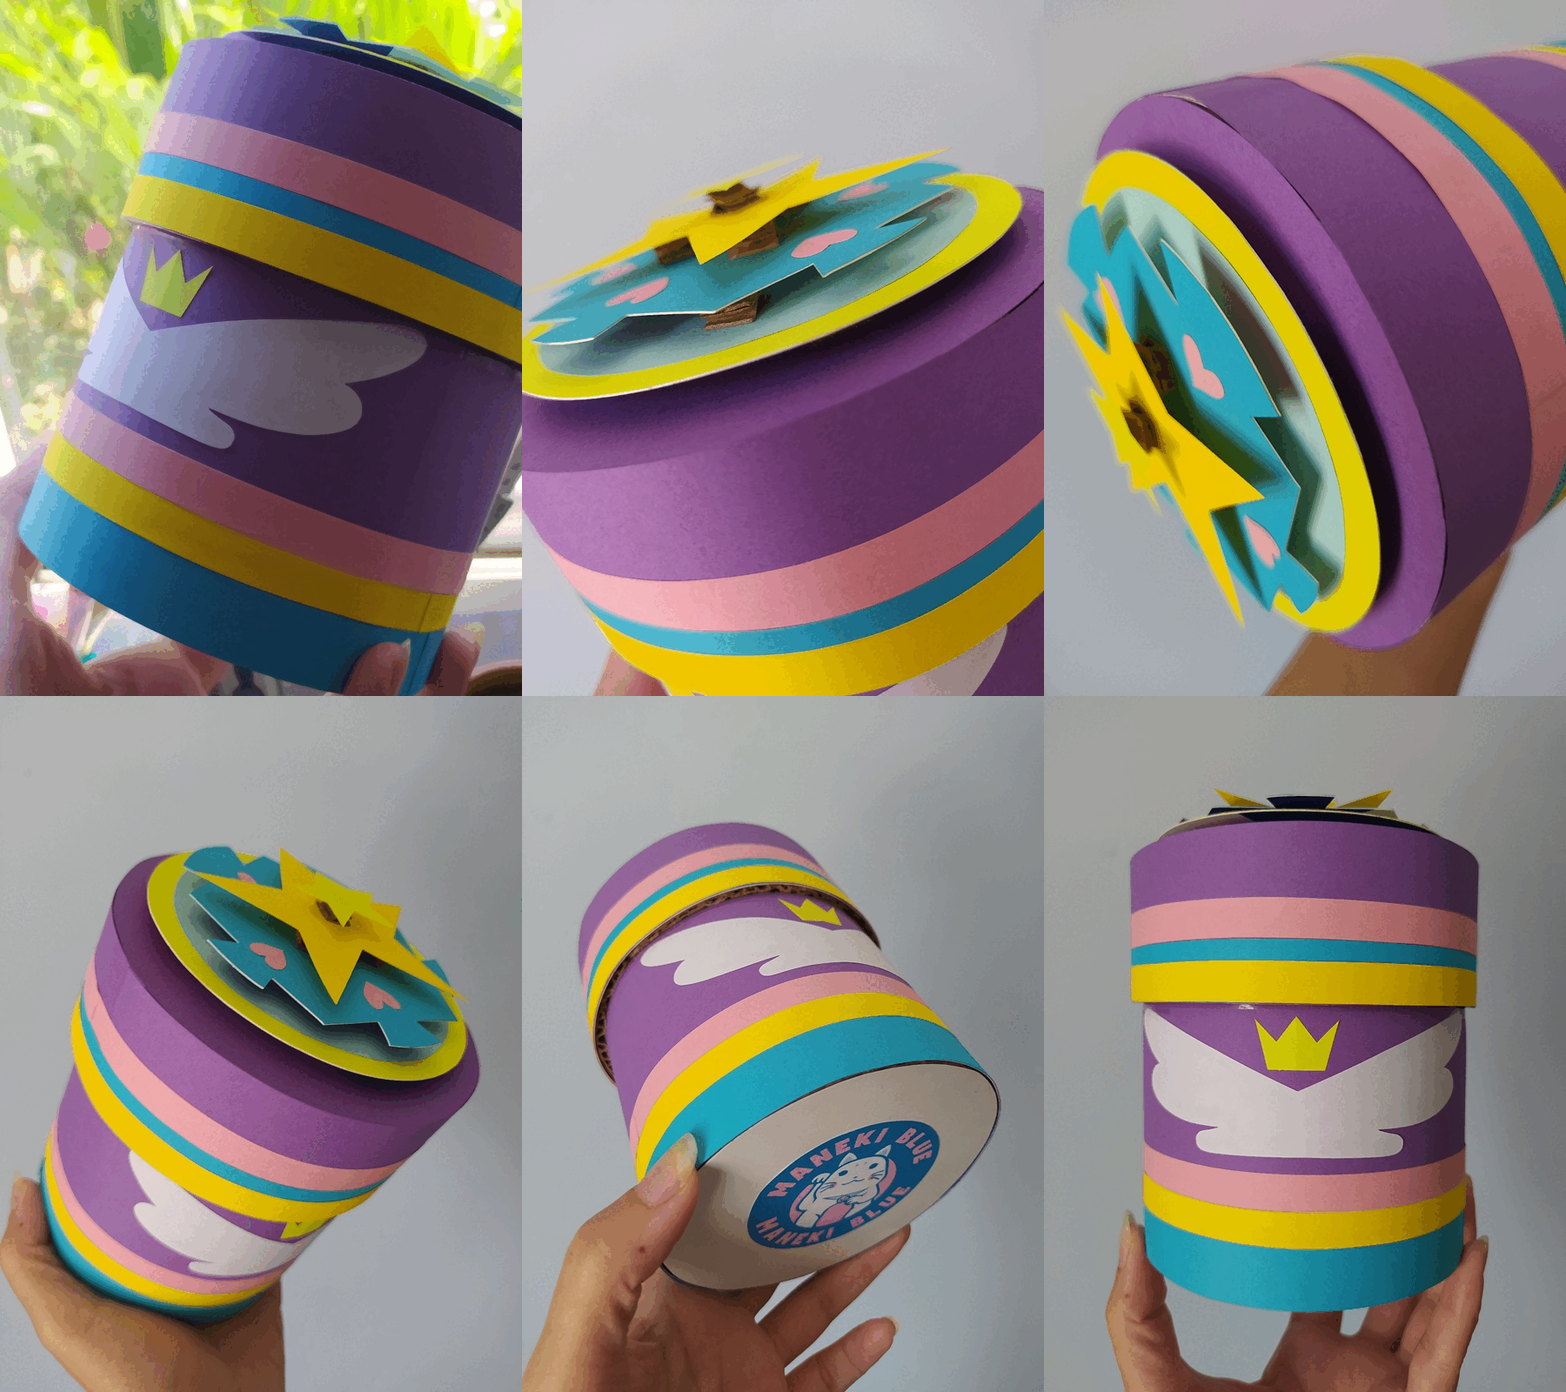
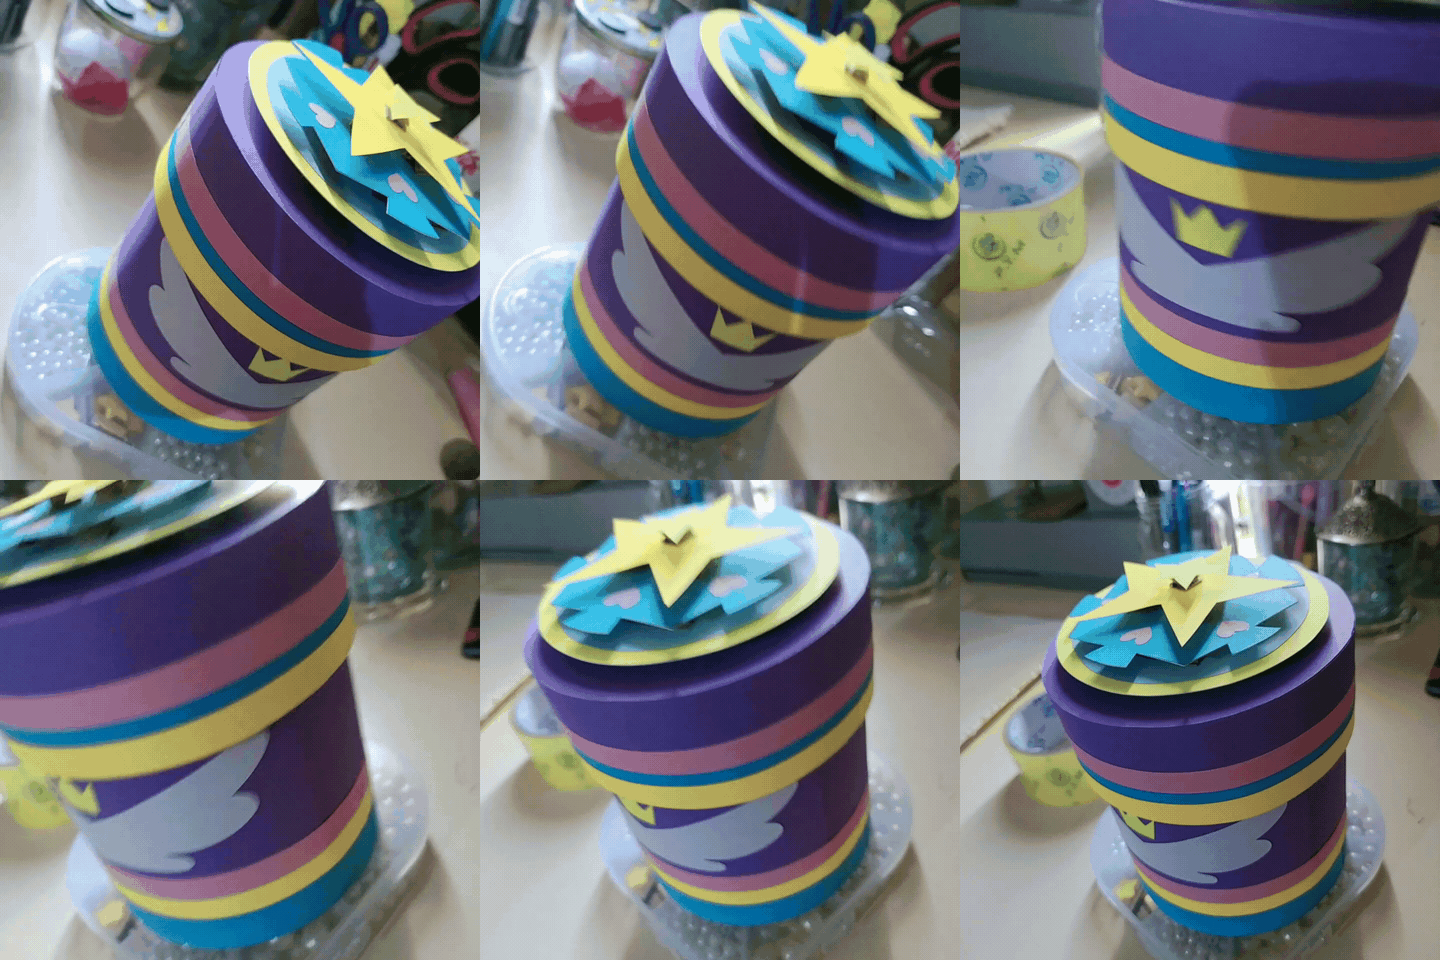
Un resultado excelente depende de tu disposición y el correcto uso de los materiales que dispongas: Una caja de regalo decorativa con técnica 3D en su etapa es algo muy especial que jamás pasara de moda y siempre sorprende.
『 Recomendaciones Finales 』~
Utiliza la menor cantidad de pegamento posible, el papel tiene alta capacidad de absorción y la tintura de algunos tipos de papel puede activarse por a humedad.
Si no quieres utilizar papel, el foami es una gran alternativa.
『 Summary 』~
An excellent result depends on your disposition and the correct use of the materials you have: A decorative gift box with 3D technique in its stage is something very special that never goes out of fashion and always surprises.
『 Final Tips 』~
Use as little glue as possible, paper has a high absorption capacity and the color of some types of paper can be activated by moisture.
If you don't want to use paper, Foami is a great alternative.

 |  |  |  |  |  |  |  |  |
|---|
✨ 🍓 All texts and images by @Tesmoforia 🍓 ✨
📸 Tools: Smartphone 📲 Snow 🎬 Remini 🌓 FotoJet 📐
🚨 ¡Please do not take, edit or republish my material without my permission! 🚨
💌 ¿Do you wish to contact me? Discord #tesmoforia 💌
🌙 Banner, signature and separators by Keili Lares
Posted Using INLEO

