A visit to the craft store
Today I was on a mission to buy a few baking supplies with my daughter. When we stepped out of the subway station, I realised that I could check the crafting store as it was just around the corner and I don't come to that area that often anymore. Therefore I should probably just have a look, as I always have a shortage of some supplies. Today I realized that I have many beads but not many jump rings and locks and stuff like that. I was hoping to find some of these so that I could pick up jewellery making again.

I bought a few new things
And I was actually planning on making something else first, but while I'm sitting here with thousands of beads and other supplies in front of me, I was first drawn to something else and my inspiration was shifted towards making a keychain first. Now that my keychain is finished, I still have a desk filled with designs waiting for me to put them together. I hope that I can manage to get them all ready tonight because the office looks like a mess with all my supplies, lol.

Tools & supplies
You can create a keychain completely to your liking, but I will share which tools and supplies I used for my creation:
- Pincers to hold the jump rings easier and to open and close them
- Pink rope
- A handful of beads in two sizes (see images for details)
- A Tassel
- Love, Hope & Handmade charms
- Several jump rings
- Keychain
- Budha Bead
- Scissors

The Process
The first part I made was this string:
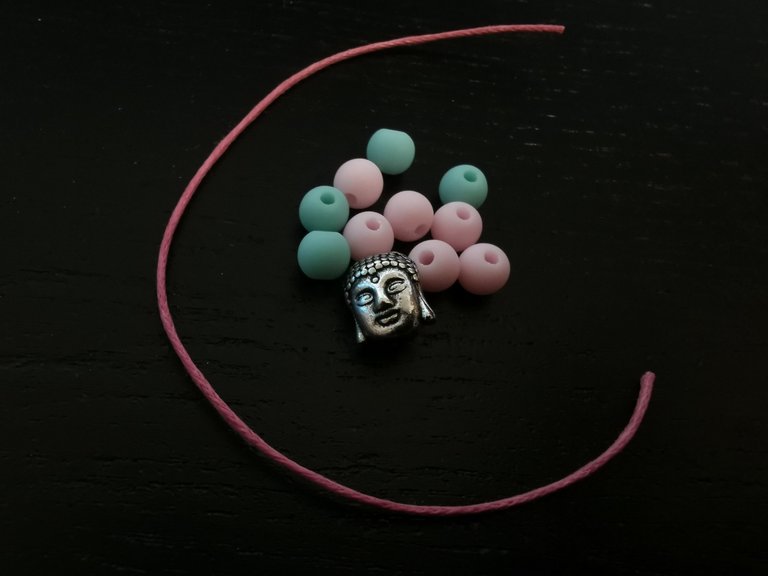
You can see which bead I used and a short rope to attach them to.
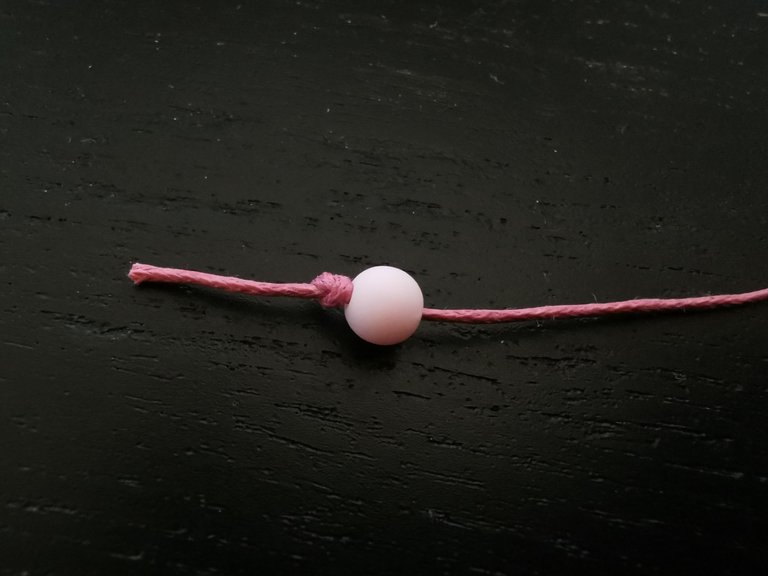
Pardon the dusty desk visible in the image, lol.
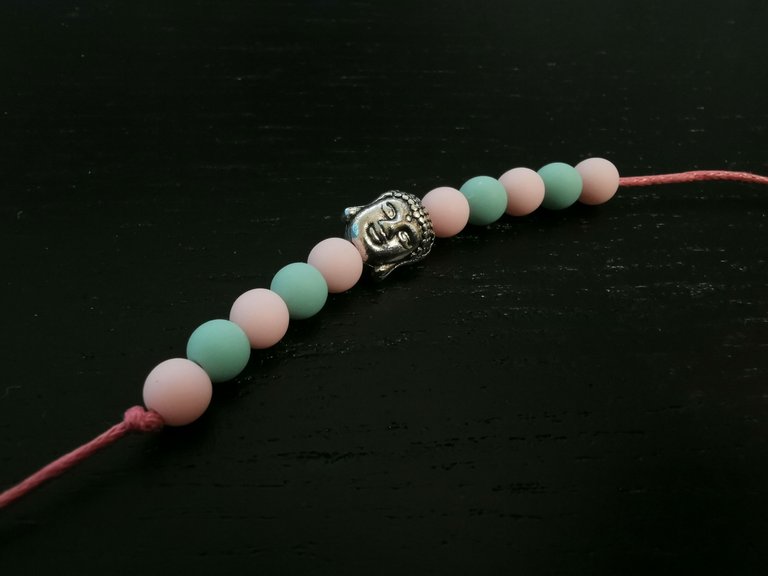
The first string is ready!
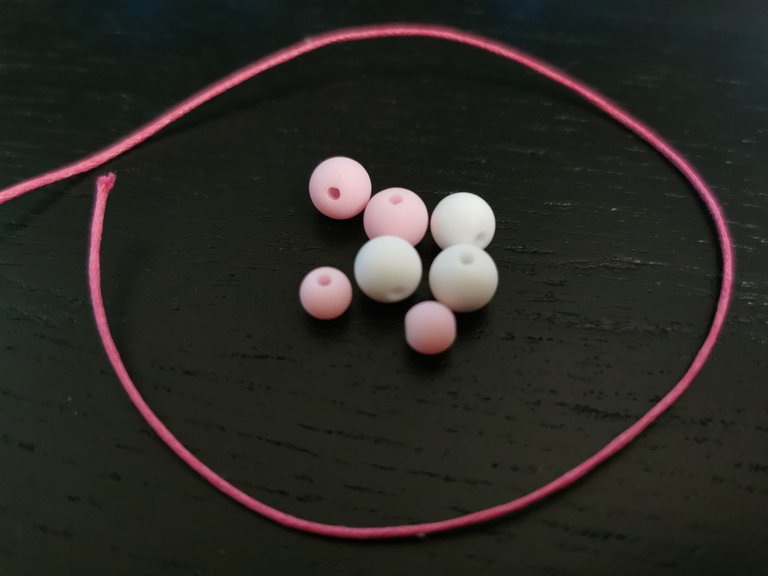
Now it's time to repeat this, but with the beads shown above. As you can see, I used 2 bigger white and two bigger pink beads together with 2 pink small beads.
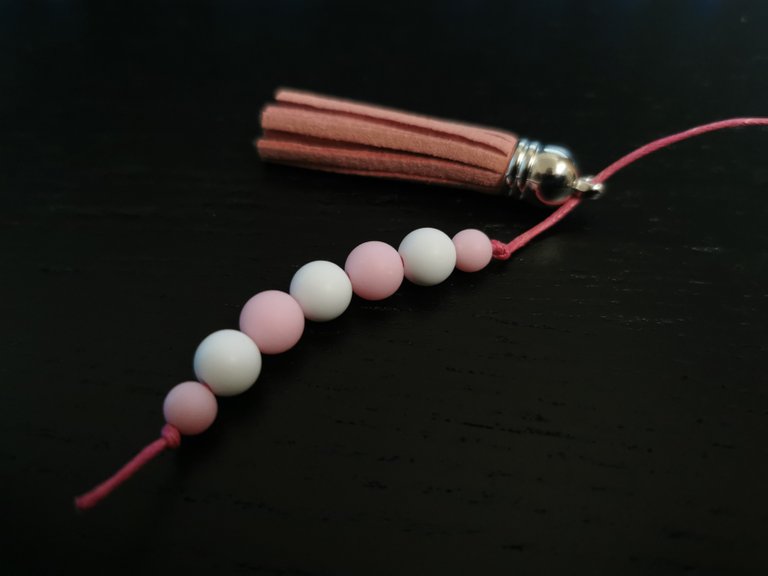
This is how I attached them, and then I used the end of this rope to attach the tassel as well.
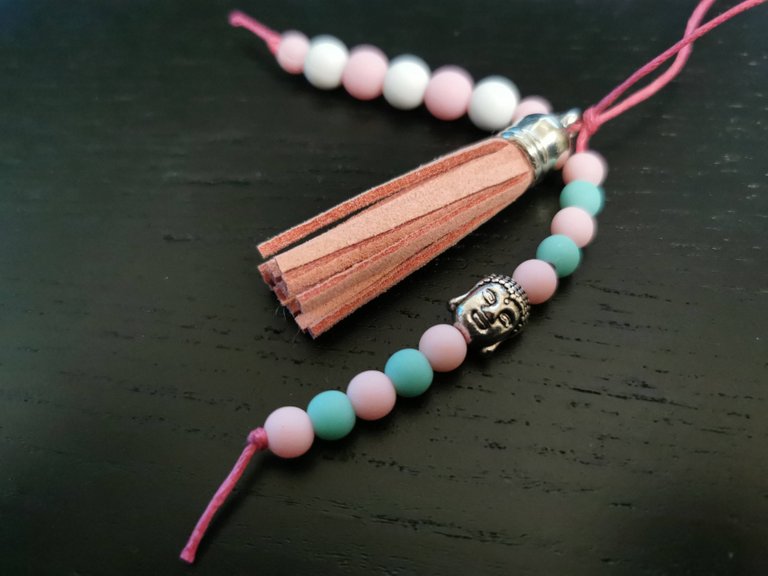
Here you can see how I did that.
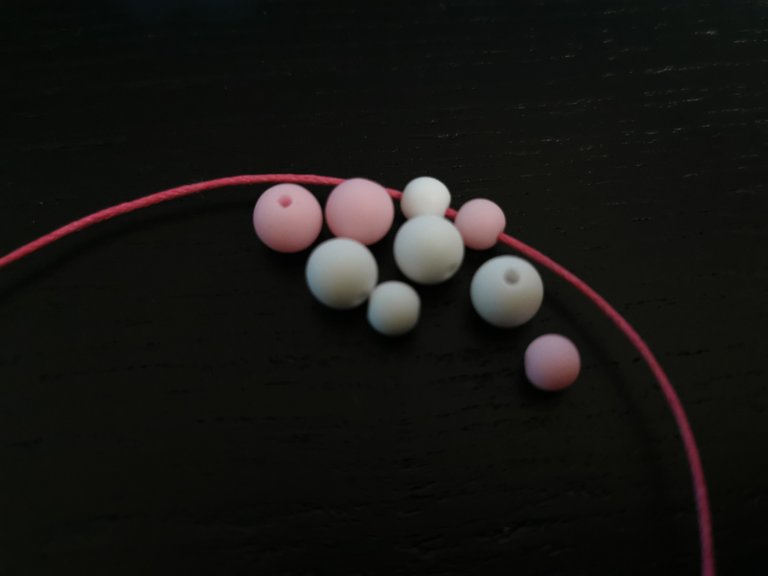
It's time for the last string of beads, these are the beads I used. This time there were three bigger white and two bigger pink ones used.
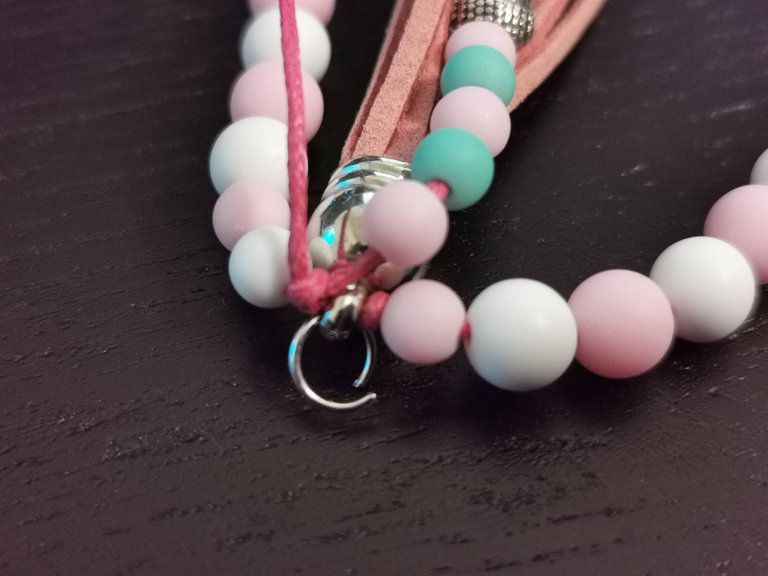
Knotting the ropes so it all stays together.
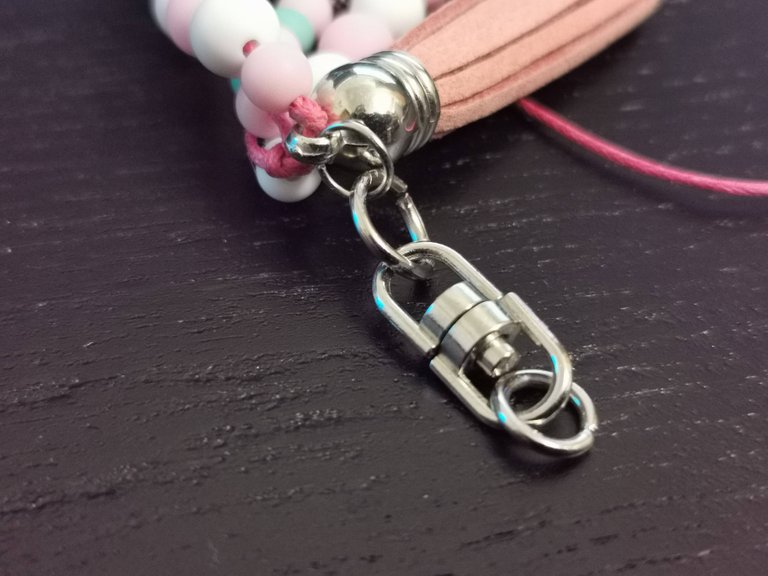
Now add the keychain middle part using a decent jump ring.
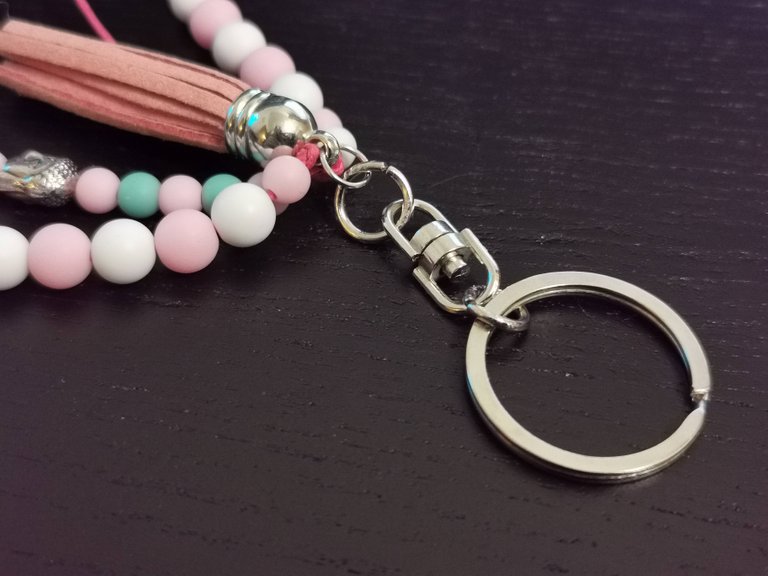
And add the keychain ring with another jump ring.
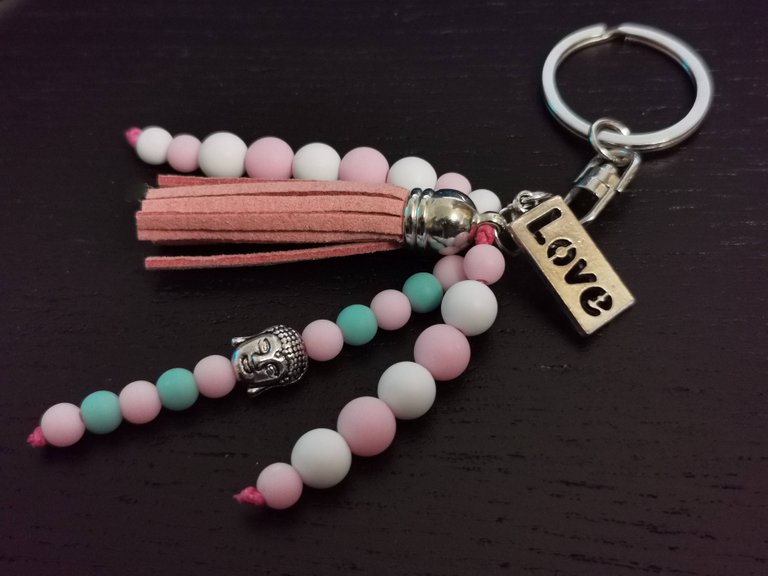
Use jump rings to attach the charms Love, Hope & Handmade.
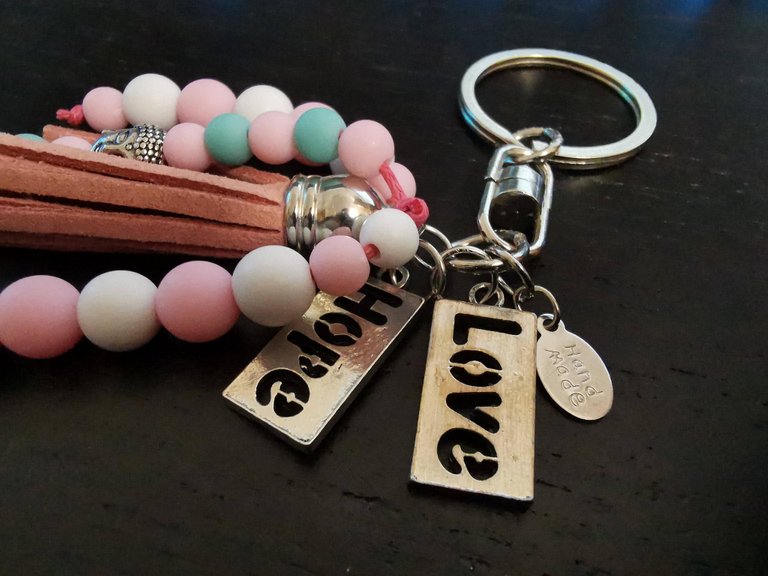
And that's it! That wasn't too hard, was it? I think this craft can be done by anyone and you can use endless supplies to make the keychain your own.

The End Result
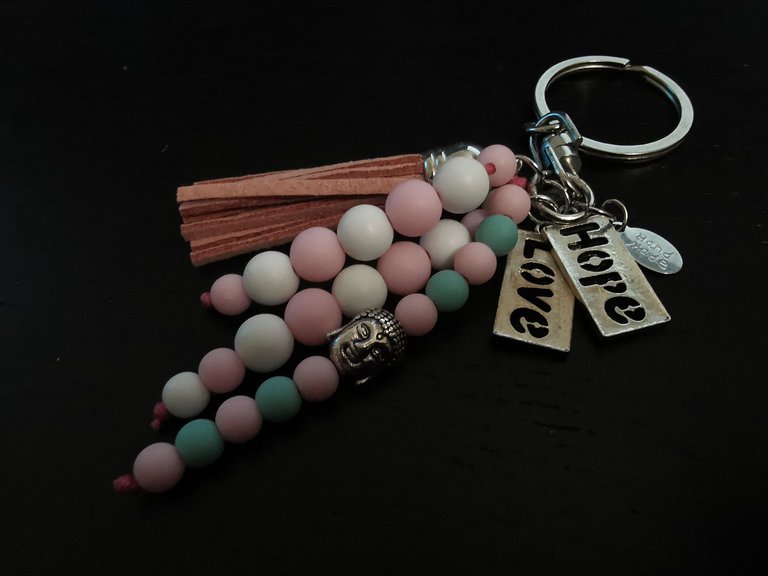
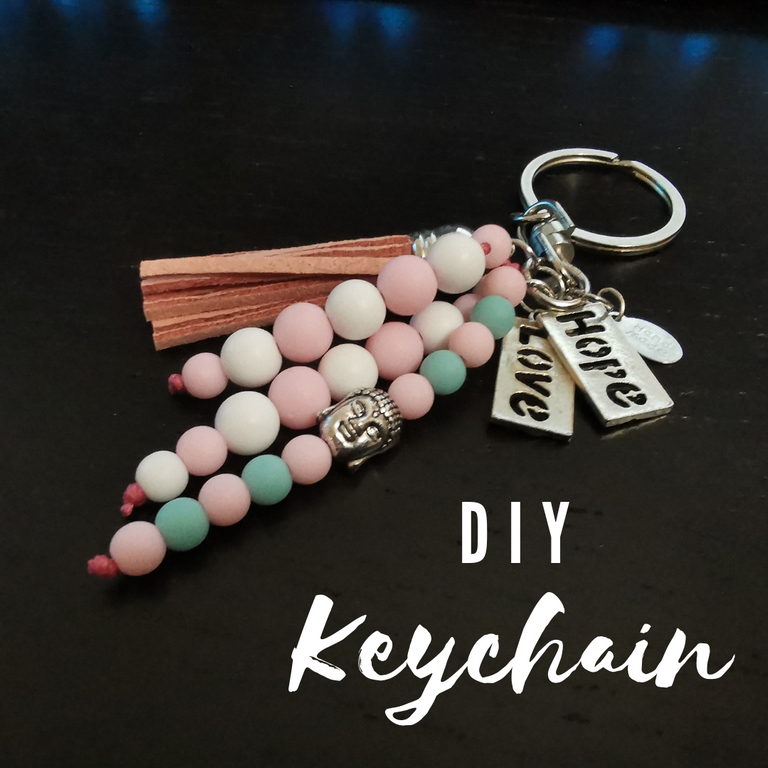
And here's the end result. Hopefully, you enjoyed the tutorial and are inspired to make your own keychain. You can endlessly combine beads and other things you like to add. My daughter already confiscated this one. As per usual, she's my biggest fan, haha.
Thanks for stopping by, have a great weekend!

Let's Connect
If you want to connect, you can give me a follow on my socials. For inquiries, you can send me a direct message on Discord.