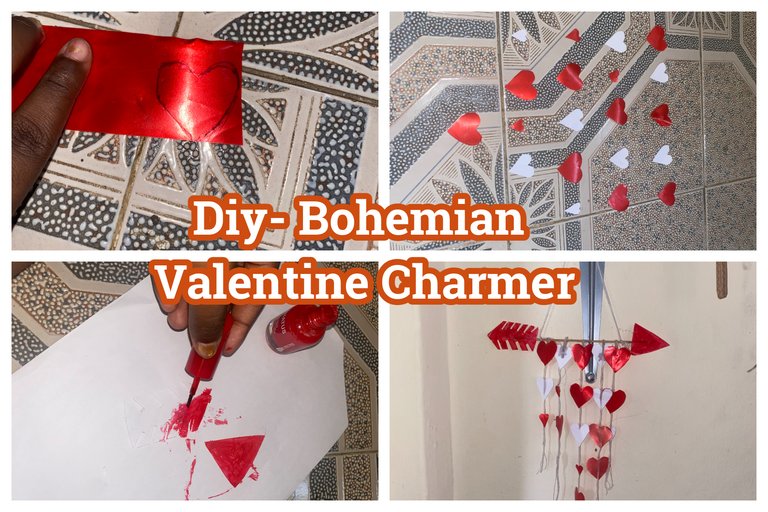
Hello everyone welcome back to my diy blog, today i bring to you a valentine inspired decor of bohemian styel, this decore style is liking to the dream catcher which is a bohemian style decor, read below to see how to create an easy valentine decoration for your home or room.
Esp
Hola a todos, bienvenidos de nuevo a mi blog de bricolaje, hoy les traigo una decoración de estilo bohemio inspirada en San Valentín, este estilo de decoración le gusta el atrapasueños, que es una decoración de estilo bohemio, lea a continuación para ver cómo crear una decoración de San Valentín fácil para tu casa o habitación.

Materials used
Ribbon
paper
red paint
paper glue or glue
barbeque stick
white thread
Esp
Cinta
papel
pintura roja
cola de papel o pegamento
palo de barbacoa
hilo blanco
Step By Step Process
Step 1
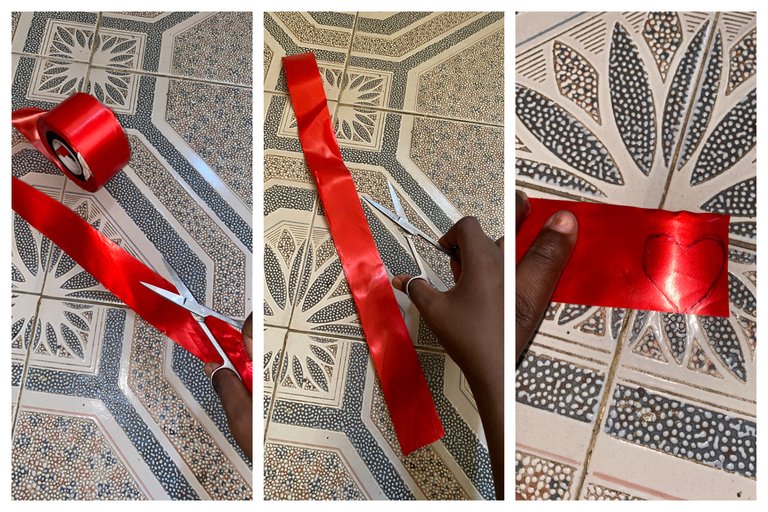
starting of with the shaping of the love, i have cut a ribbon on which i am going to be making the love shape using a scissors , firstly i draw on the love shape unto the ribbon.
Para empezar a dar forma al amor, he cortado una cinta en la que voy a hacer la forma del amor con unas tijeras, primero dibujo la forma del amor en la cinta.
Step 2
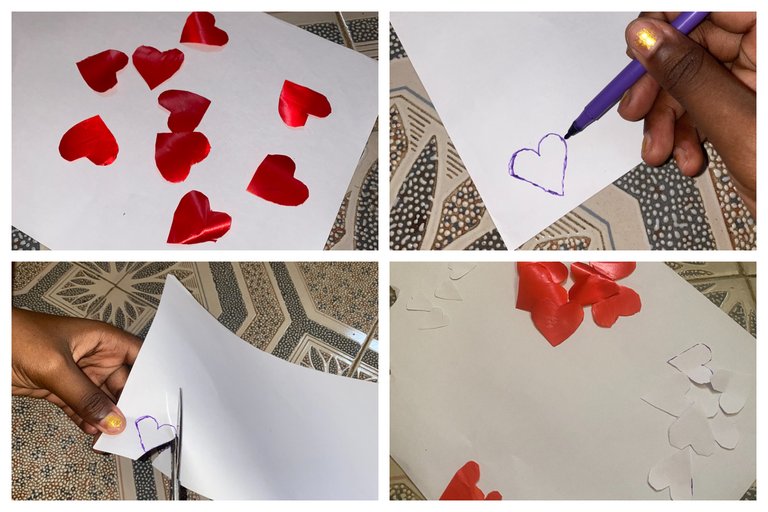
In my next step, I am cutting out the shapes which I had drawn on the ribbon on the paper.. now I have a set of red lives shapes and white love , I also included smaller love shapes of both colors.
En mi siguiente paso, estoy recortando las formas que había dibujado en la cinta sobre el papel... ahora tengo un conjunto de formas de vidas rojas y amor blanco , también incluí formas de amor más pequeñas de ambos colores.
Step 3

I have prepared the thread. In this step, creating a thick size from rolling the thread back and forth.i repeated this step for five of the thread strands before moving over to my next step.
haber preparado el hilo. En este paso, la creación de un tamaño grueso de rodar el hilo hacia atrás y adelante. repetí este paso para cinco de las hebras de hilo antes de pasar a mi siguiente paso
Step 4
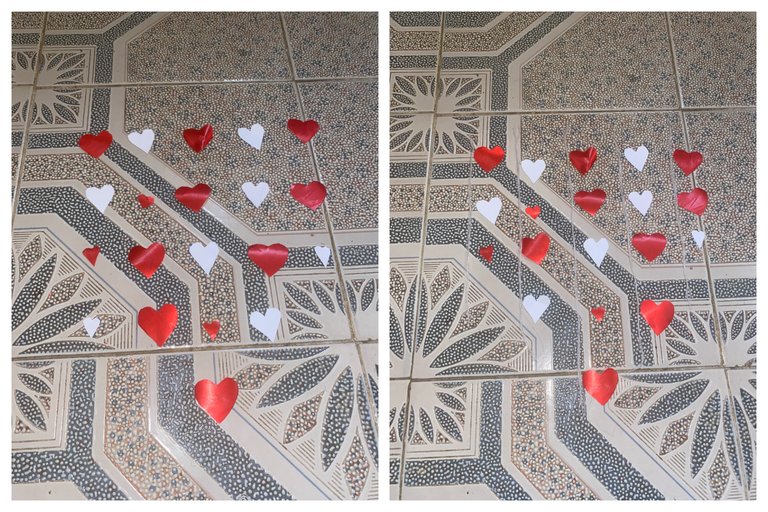
Here i am aligning the love shapes in the order that they are going to be attached to the thread… I created 5 strands of threads, placing them next to the love shapes in an asymmetrical pattern.
Aquí estoy alineando las formas de amor en el orden en que se van a unir al hilo... He creado 5 hebras de hilo, colocándolas junto a las formas de amor en un patrón asimétrico
Step 5
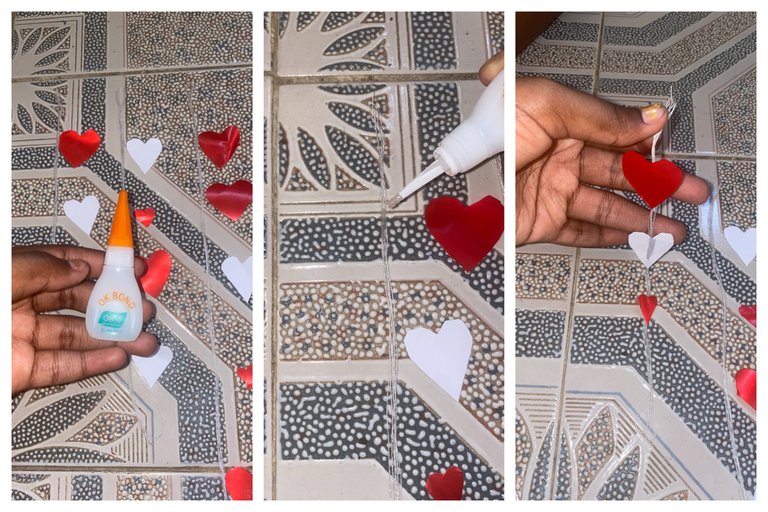
Using the glue bond, I glue on the love shapes into the thread 1 by one, the first thread from the left having the love shapes on it to the middle having a total of 7 love shapes. Reapeatingbthe same pattern on both sides.
Utilizando el pegamento de unión, pego las formas de amor en el hilo de 1 en 1, el primer hilo de la izquierda que tiene las formas de amor en él hasta el centro que tiene un total de 7 formas de amor. Repite el mismo patrón en ambos lados.
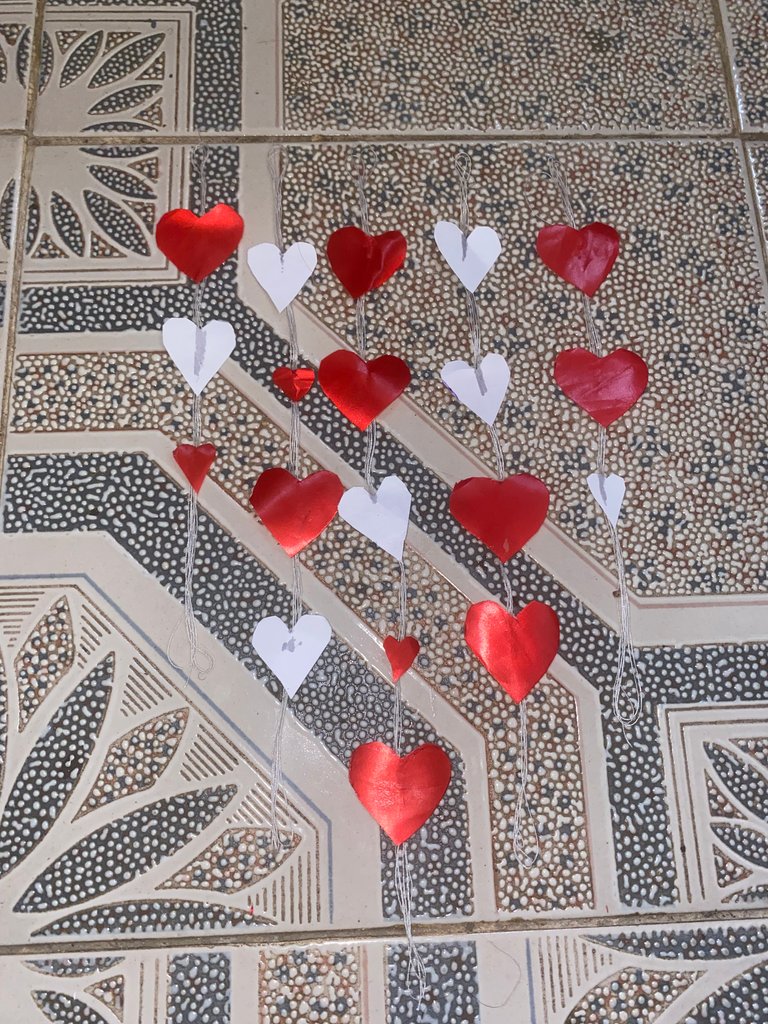
Thus is how the charm looks like after gluing all the love shape unto the thread, aligning them from left to right in an assymetrical order.
Así es como queda el amuleto después de pegar todas las formas de amor al hilo, alineándolas de izquierda a derecha en orden asimétrico.
step 6
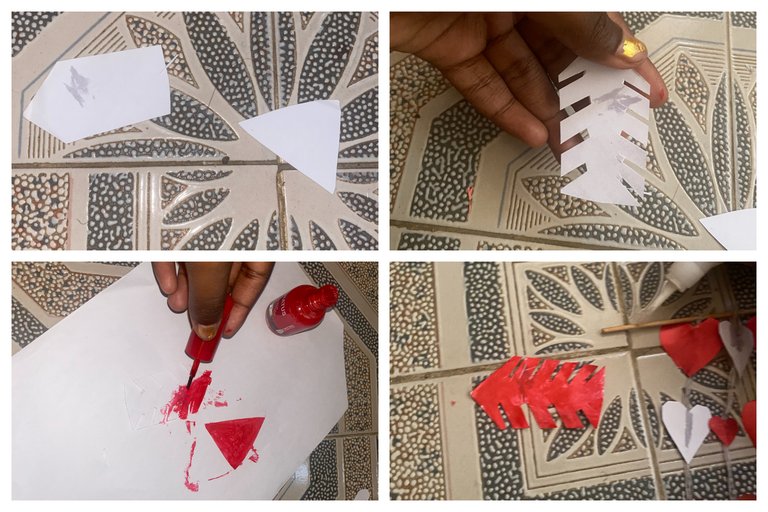
In this step I am the arrow. After attaching the threads with love on the barbecue stick, I the cut out the both ends for the arrow.. shaping the paper and painting it red with nail polish
En este paso soy la flecha. Después de unir los hilos con amor al palo de barbacoa, recorté los dos extremos para la flecha... dando forma al papel y pintándolo de rojo con esmalte de uñas.
step 7
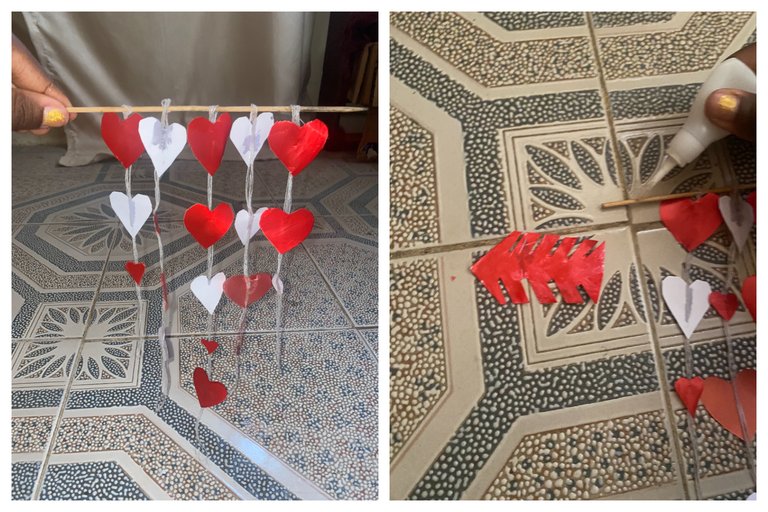
In this step Ii move over to completing the charm decore , i have waited for the polish to dry down on the pare taking my glue i proceed to apply glue on the the the paper and stick it unto the barbecue stick and my project was complete, and my project was complete.
En este paso paso a completar el encanto decore , he esperado a que el esmalte se seque en el pare tomando mi pegamento procedo a aplicar pegamento en el el el papel y pegarlo en el palo de la barbacoa y mi proyecto estaba completo, y mi proyecto estaba completo.
result!!
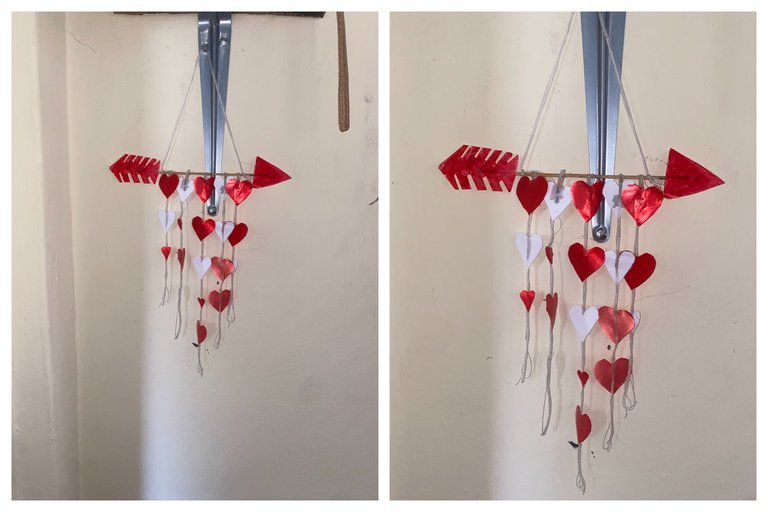
This is the final result my Valentine charm decor, I have hung it in a room, underneath the elbow of a shelf. Which you would see once you come in the room.it was a really cutesy type diy, i personally this that it is very easy to complete it, i would want to know if this is something you would try, if this is your stly e at all or you prefer more classic decore items, let m know your thoughts in the comment section, what your thoughts are on this homemade craft decore for the upcoming valetine season.
Este es el resultado final de mi Valentine encanto decoración, lo he colgado en una habitación, por debajo del codo de un estante. Que se vería una vez que entras en el room.it era un diy tipo muy cutesy, yo personalmente esto que es muy fácil de completar, me gustaría saber si esto es algo que intentaría, si este es su estilo e en absoluto o prefiere más clásico decore artículos, que m saber sus pensamientos en el comentario. qué opinas de esta decoración casera para la próxima temporada de San Valentín.
All images are mine captured on mobile device

Posted Using INLEO